
bacon bap
intro
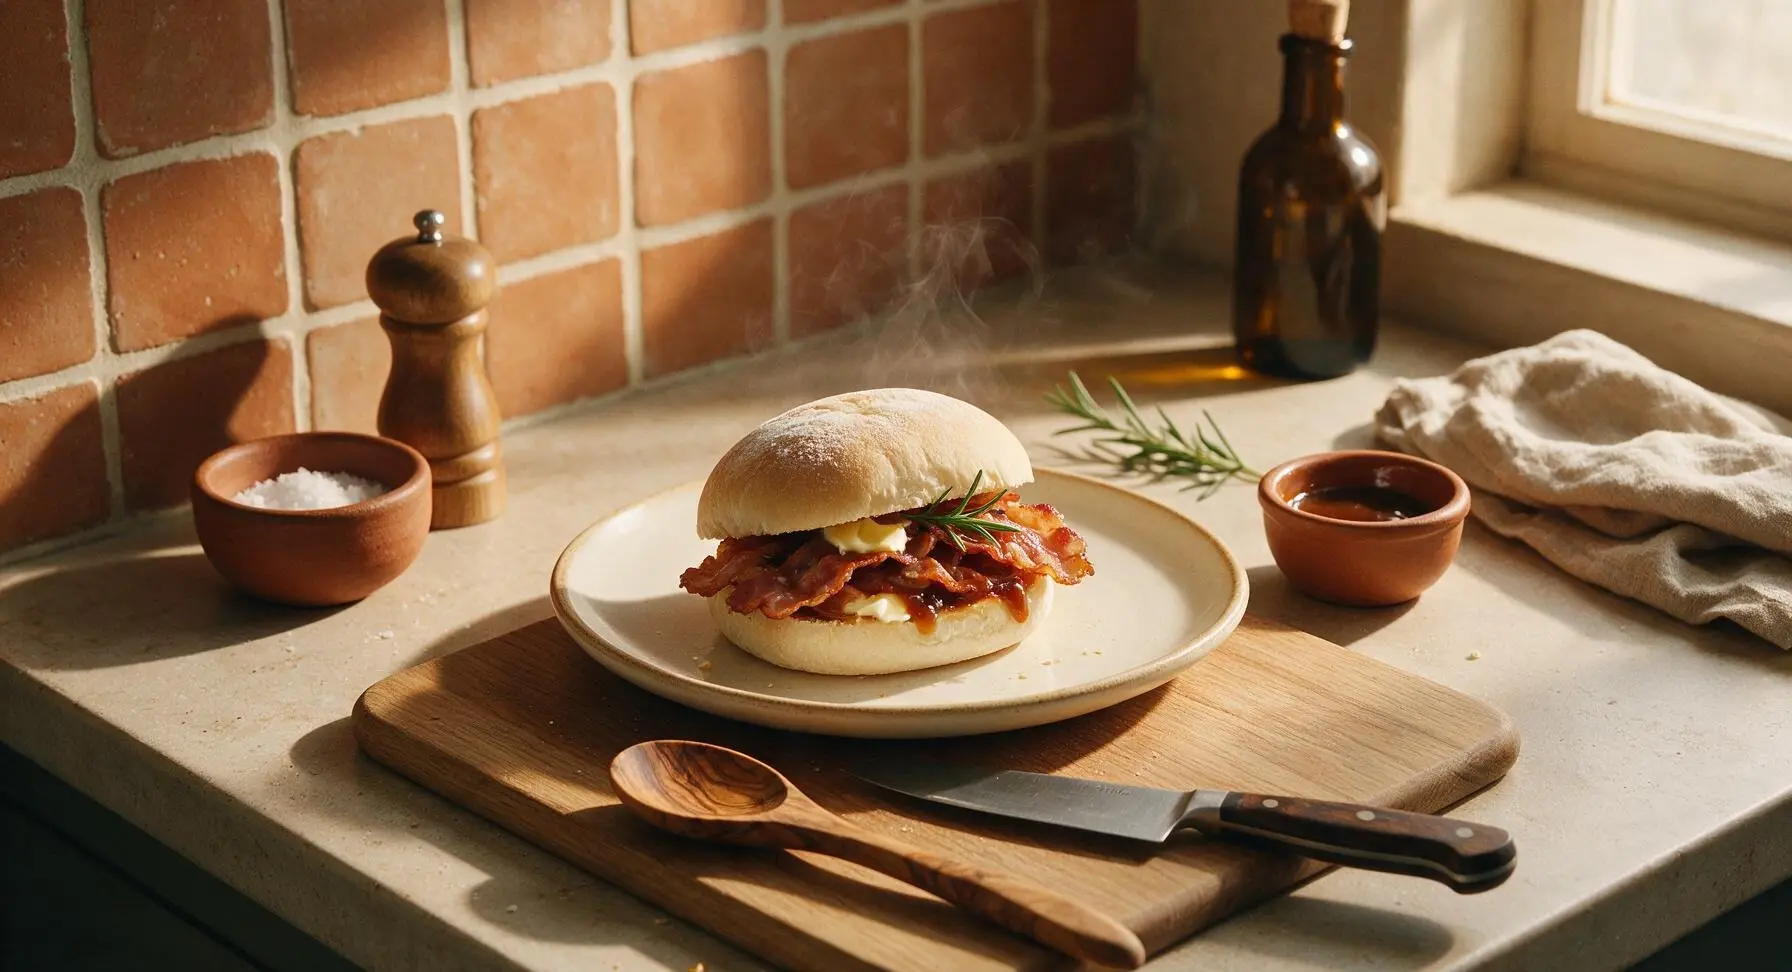
The iconic British comfort sandwich: soft flour-dusted bap loaded with crispy streaky bacon, melted butter, and tangy brown sauce for a quick, deeply satisfying hot bite.
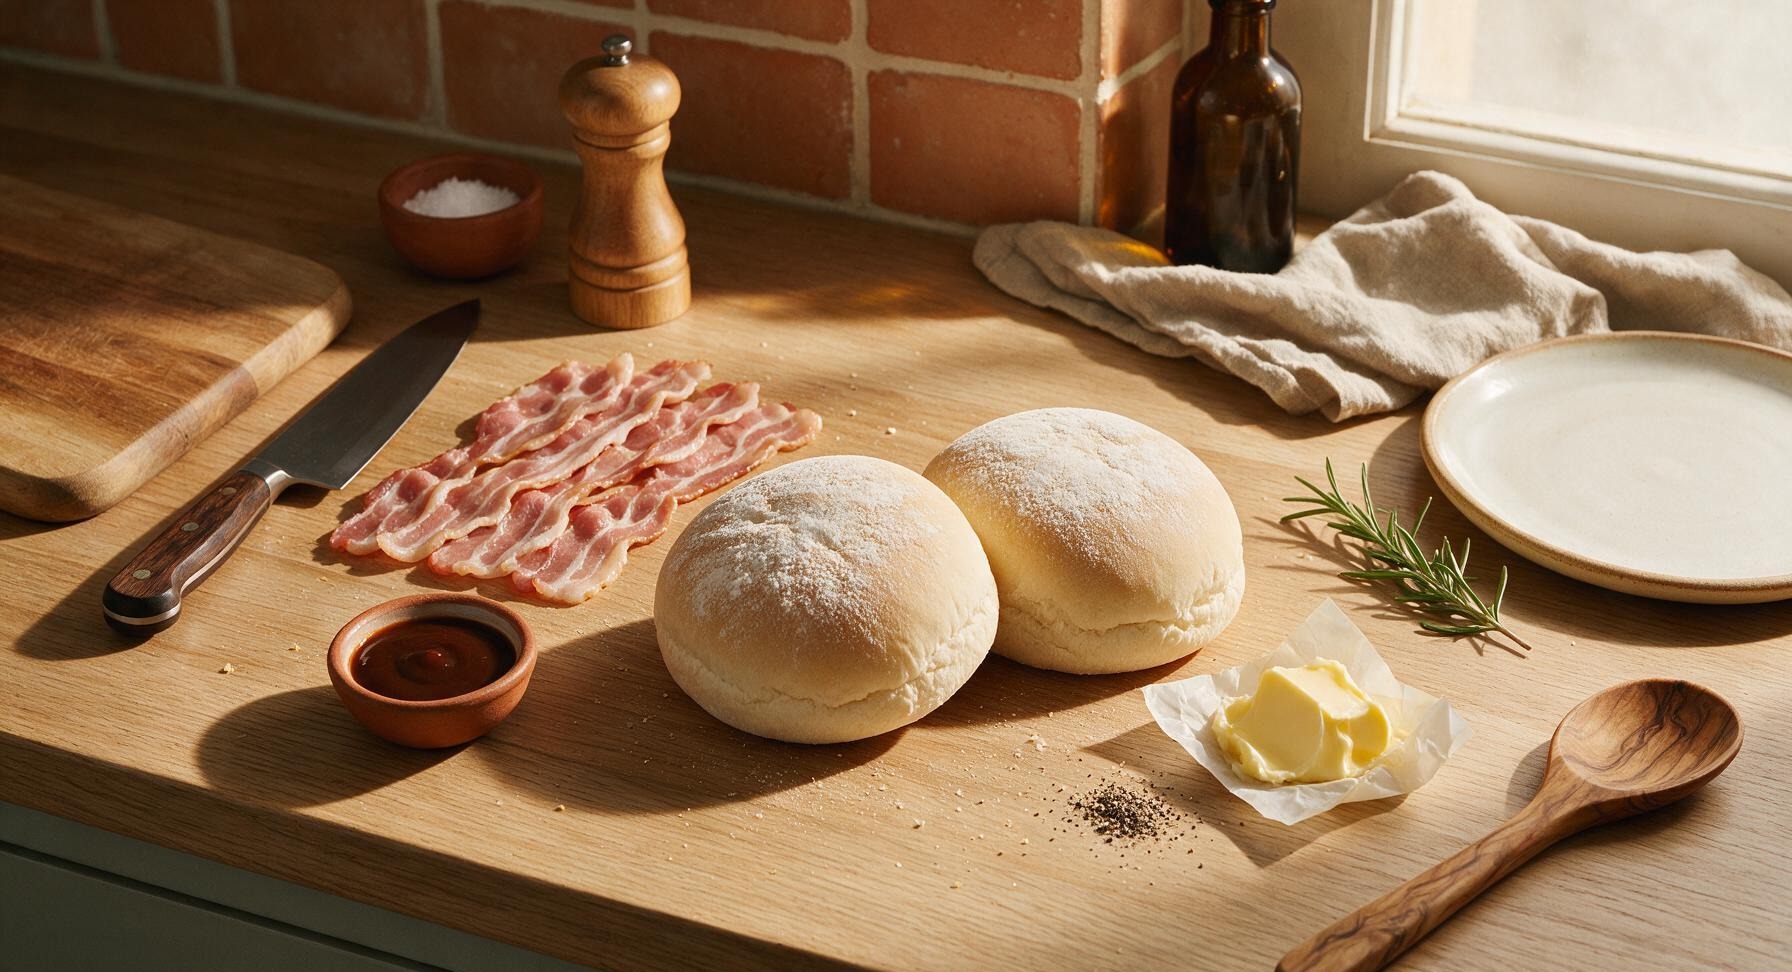
Ingredients
Steps
Split and butter baps
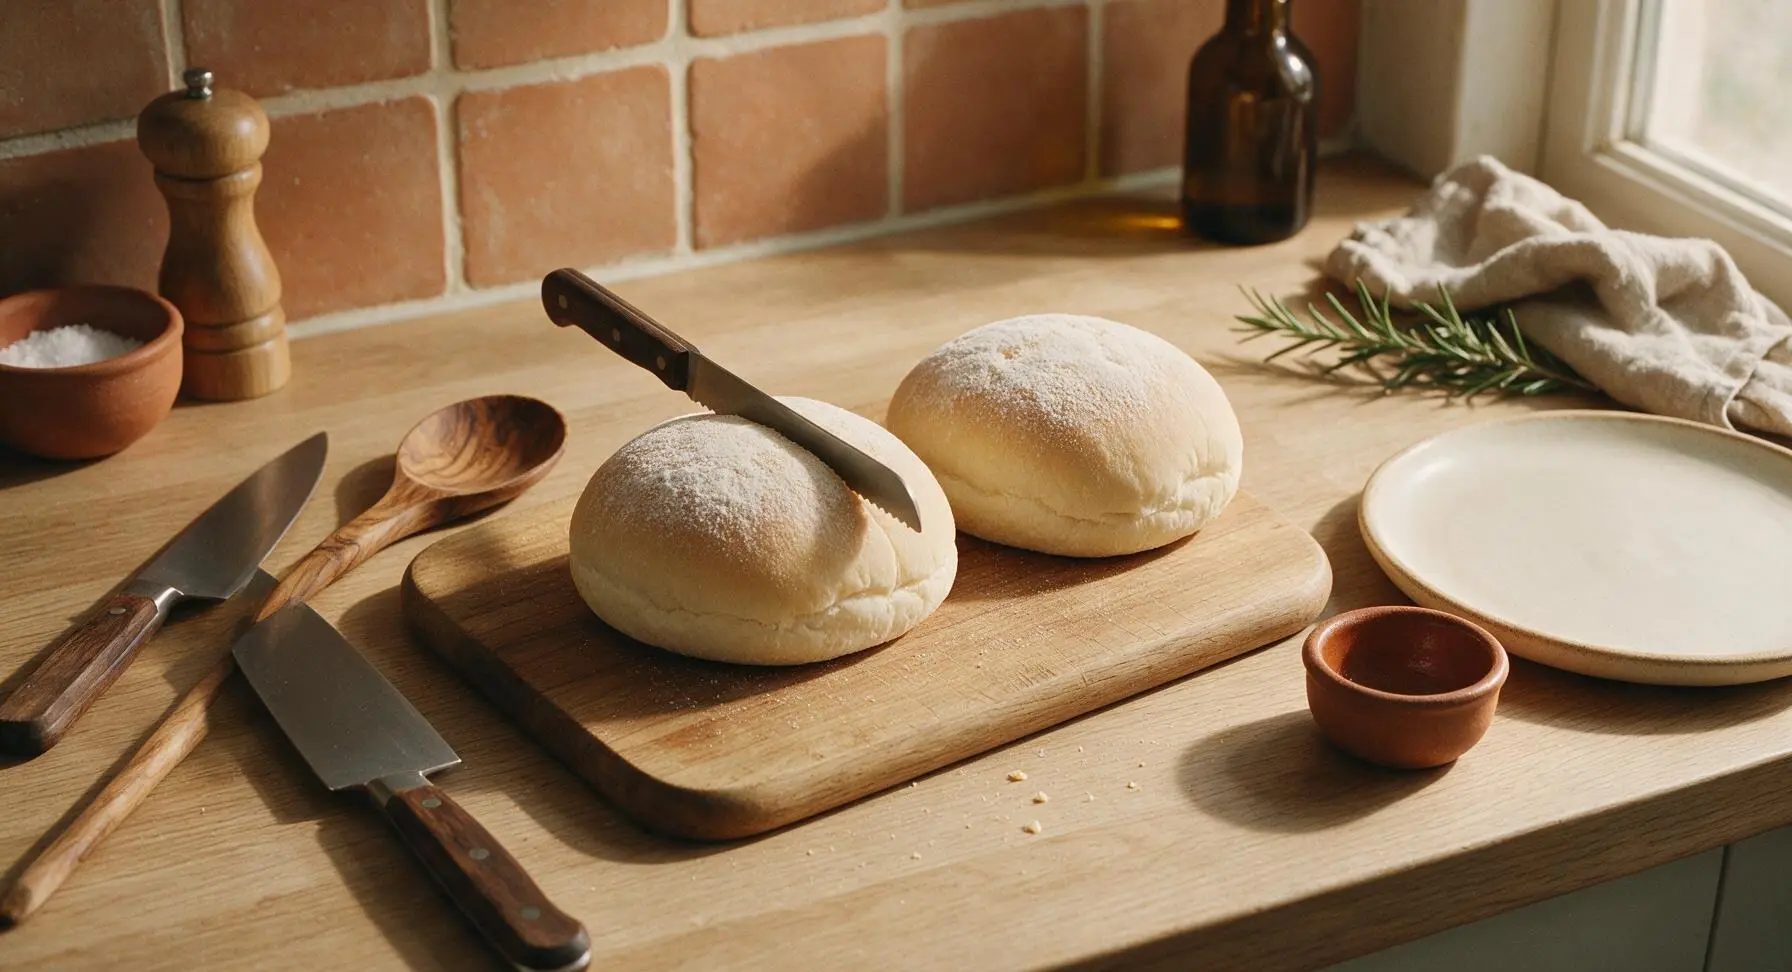
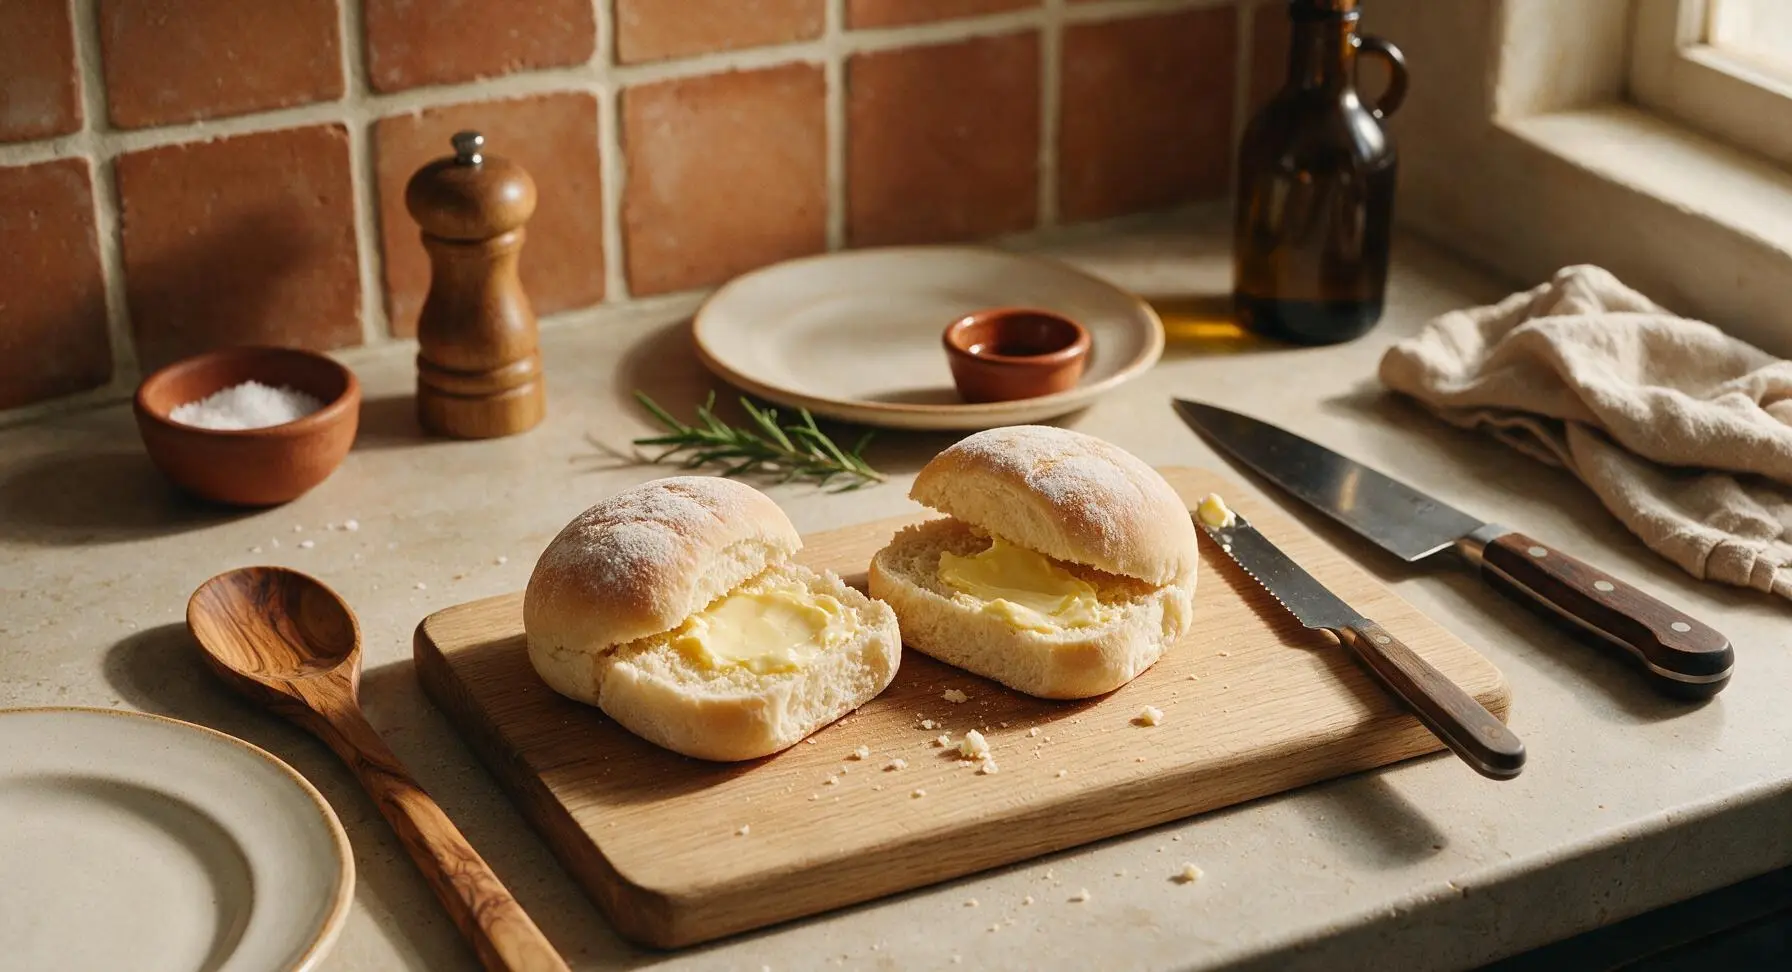
Place the light beechwood cutting board in the center of the work area. Set the two plump flour-dusted baps on the board, then use the small serrated bread knife to slice each horizontally through the middle, leaving a 1cm uncut hinge on one side to contain fillings. Spread 1.5 teaspoons of softened salted butter evenly across the cut inner surfaces of each bap, taking care not to tear the soft, pillowy crumb. Set the buttered baps aside on the edge of the cutting board.
Preheat the frying pan
Place the 20cm seasoned carbon steel frying pan on the permanent induction burner at back center, and set the heat to medium (160°C/320°F). Let the pan preheat for 2 minutes, until a drop of water flicked onto the surface sizzles and evaporates immediately. Do not add oil to the pan— the bacon will release enough fat as it cooks to prevent sticking.
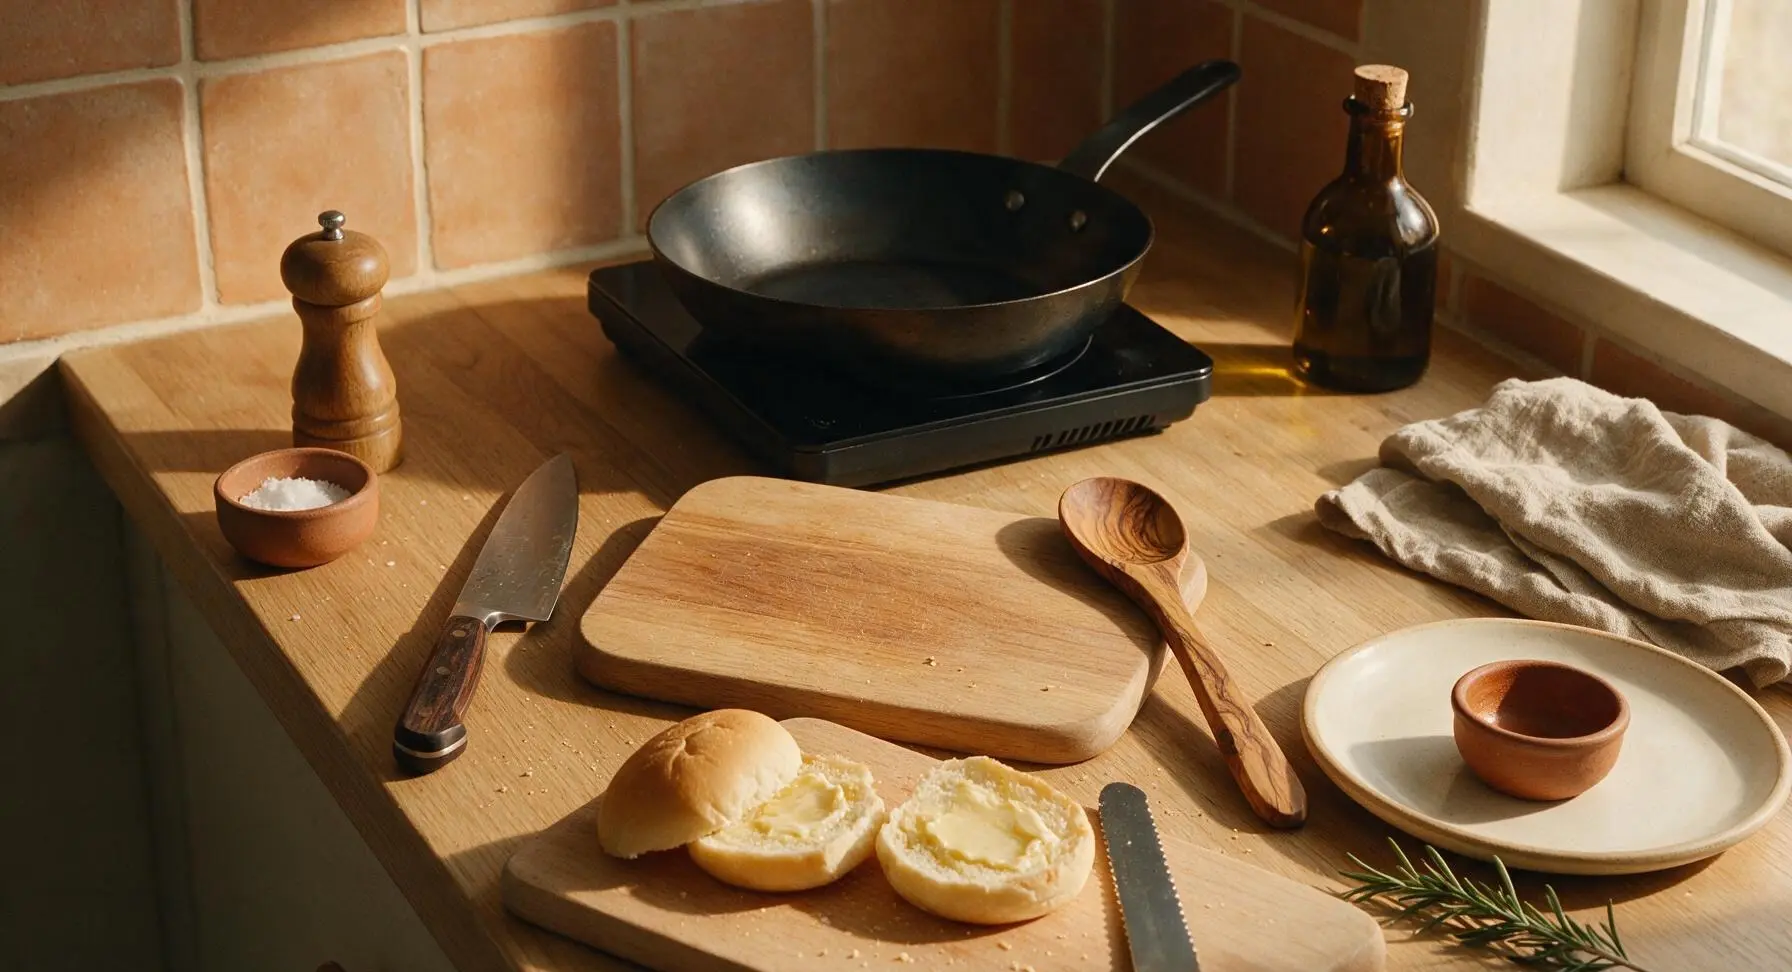
Add bacon to pan
Use the stainless steel silicone-tipped tongs to lay 6 streaky bacon rashers in a single layer in the preheated pan, taking care not to overlap them. Place the cast iron bacon press on top of the bacon to ensure even contact with the pan, which prevents curling and creates uniformly crispy rashers. Cook for 3 minutes on the first side, until the underside is deep golden and crispy, with rendered fat pooling lightly in the pan.
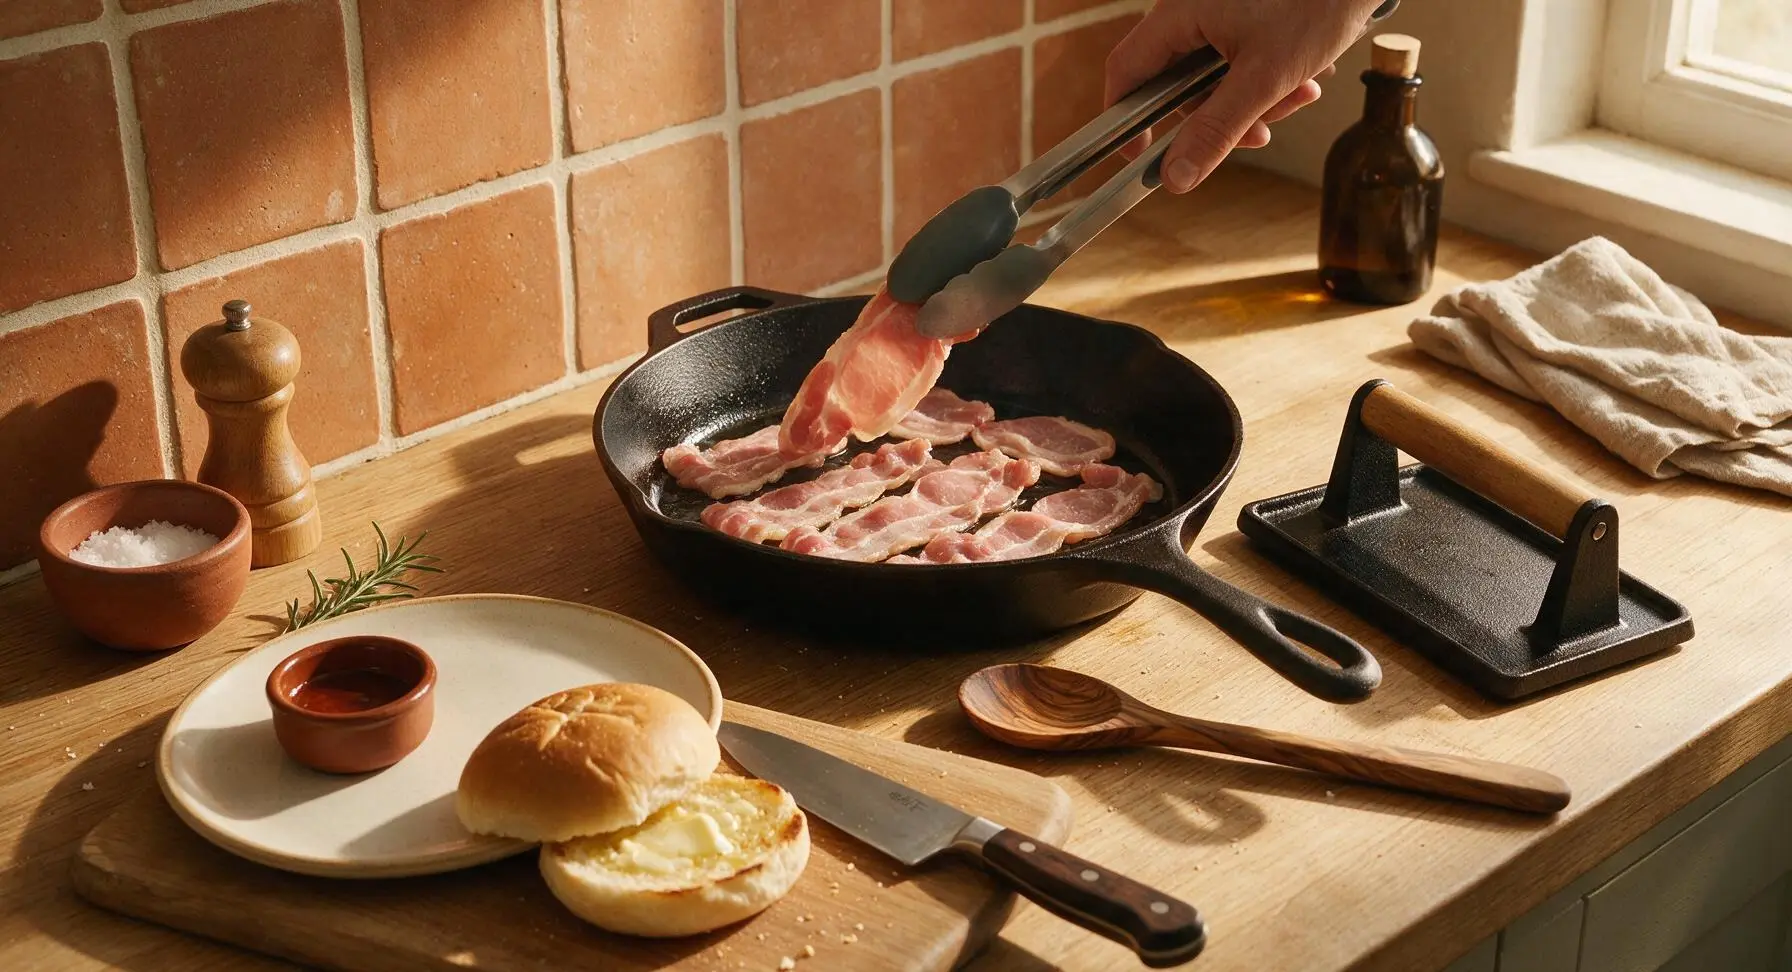
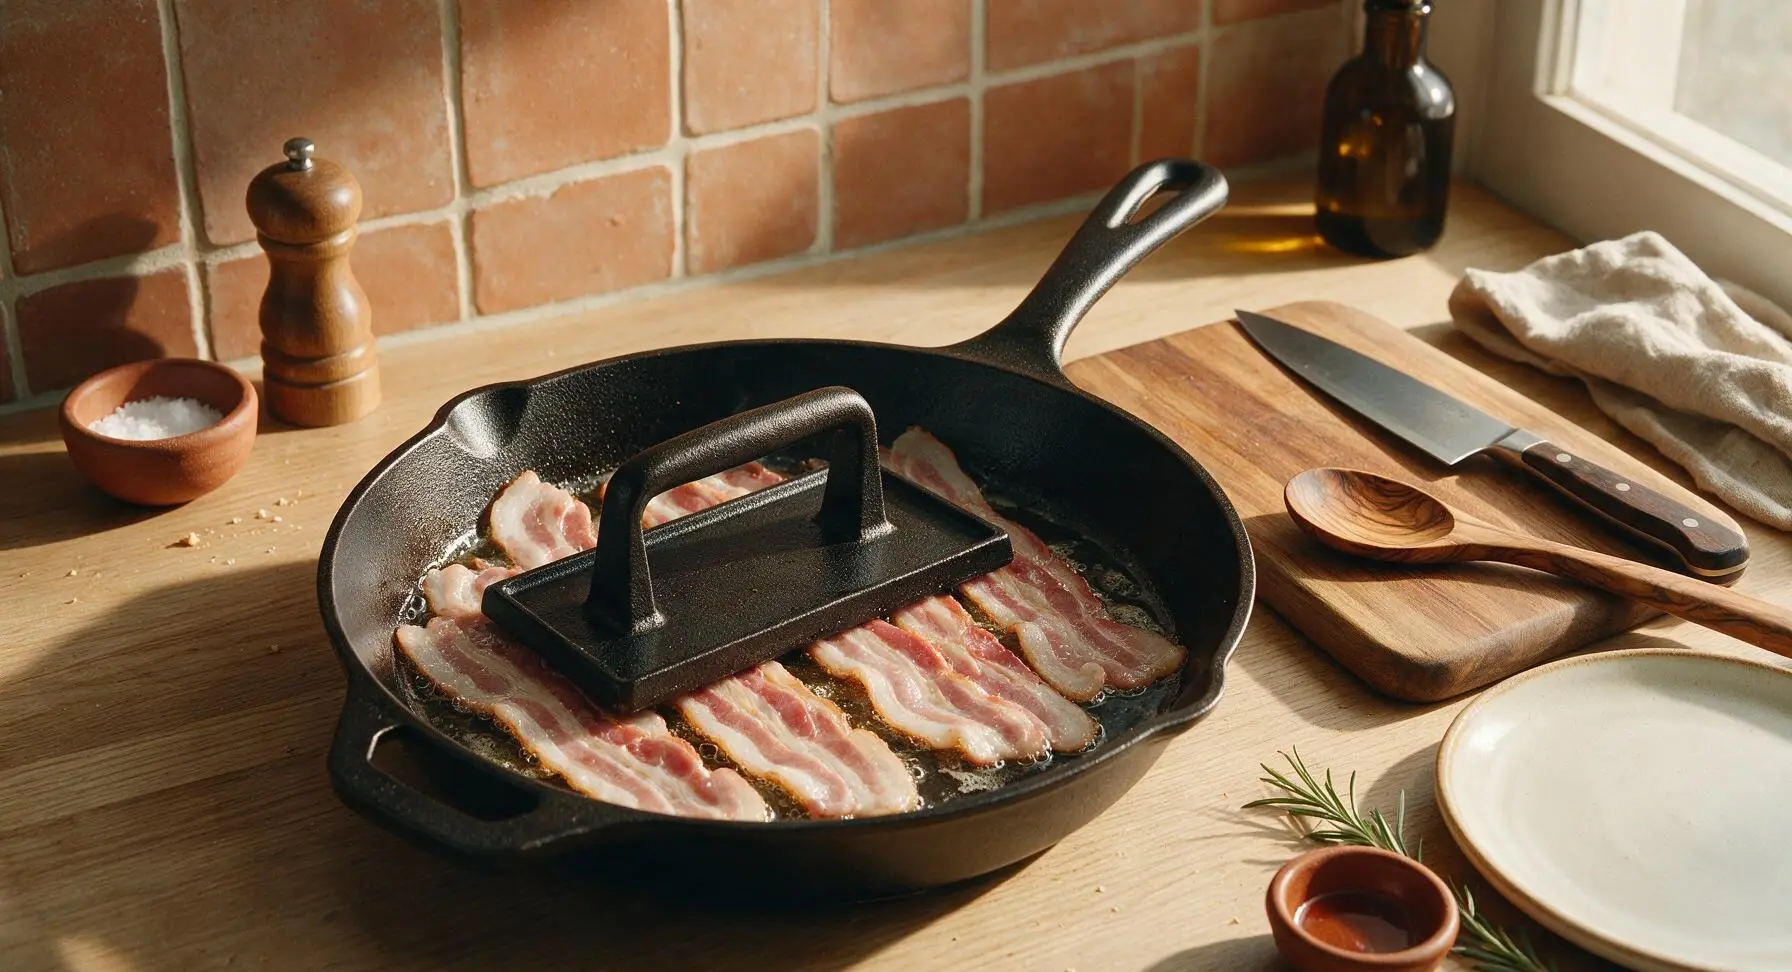
Flip and crisp bacon
Use the tongs to lift the bacon press and flip each rasher to the second side. Replace the bacon press, and cook for a further 2-3 minutes, until the second side is deep golden and crispy, with no soft, translucent fatty sections remaining. Once cooked, transfer the bacon rashers to a small square of paper towel placed on the edge of the cutting board to drain excess fat for 30 seconds. Give a light twist of freshly ground black pepper over the hot bacon.
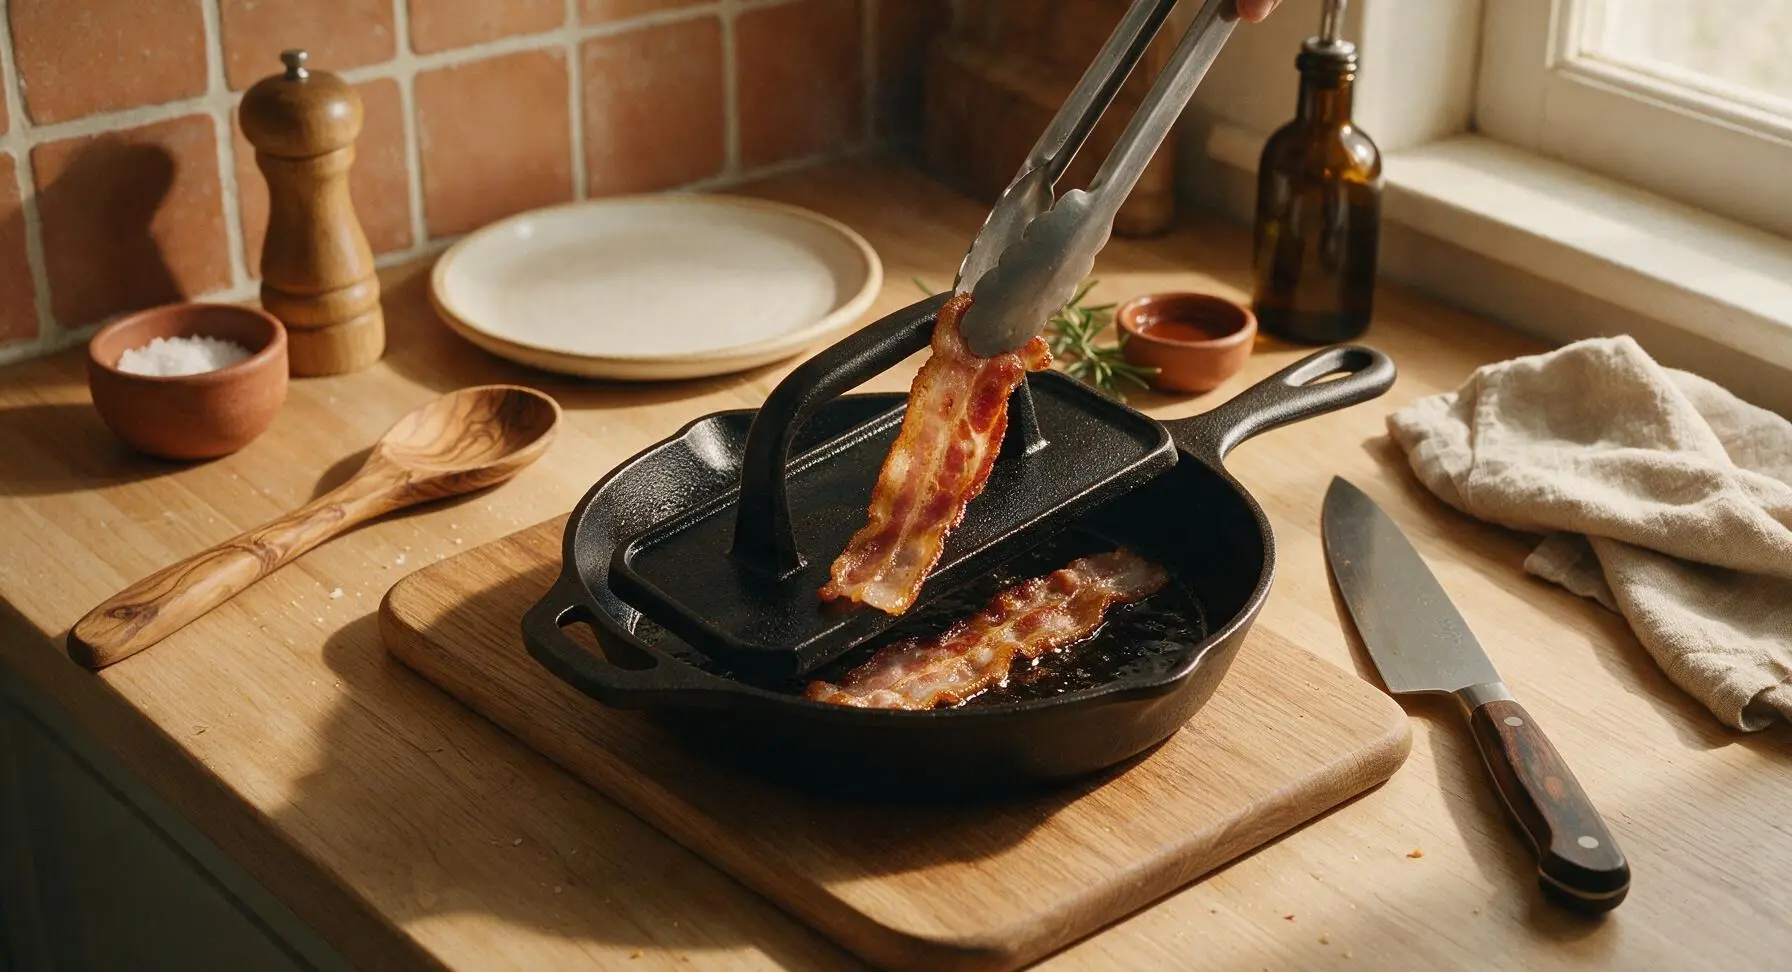
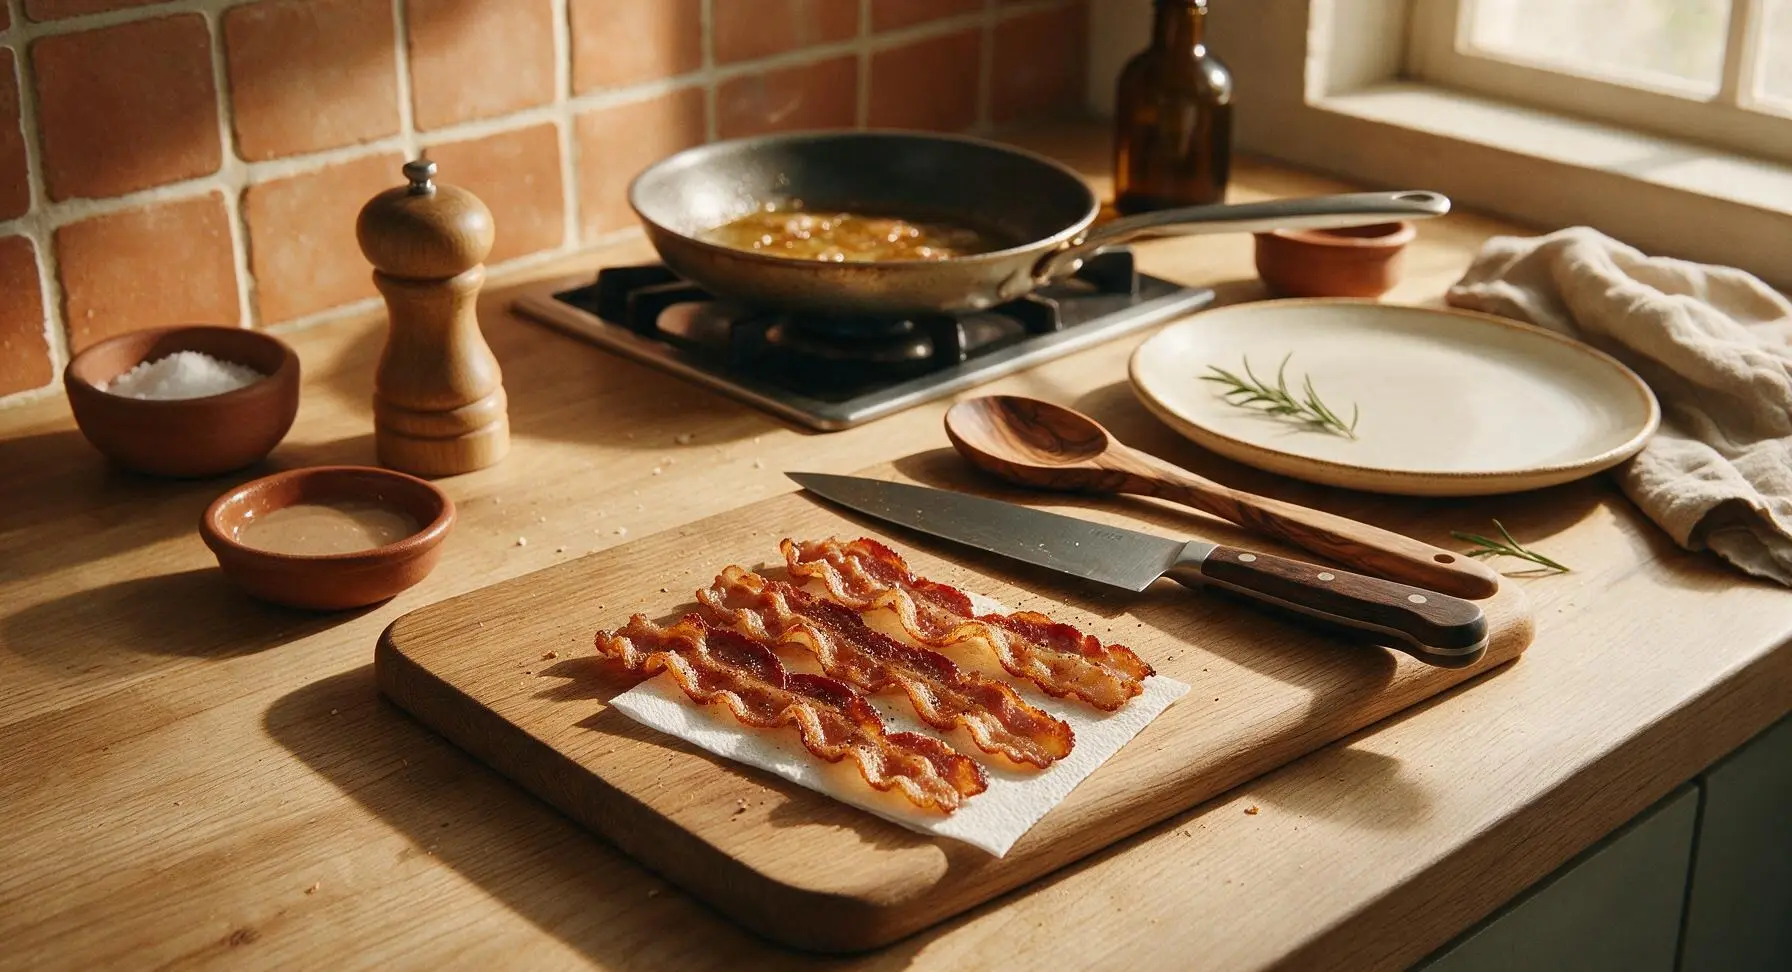
Toast baps in fat
Turn the induction heat down to low. Place the buttered cut sides of the split baps face-down in the remaining hot bacon fat in the frying pan. Toast for 1 minute, until the cut surface is light golden and crisp around the edges, infused with savory bacon flavor. Do not toast the outer crust sides of the baps—these should remain soft and pillowy to hold the fillings.
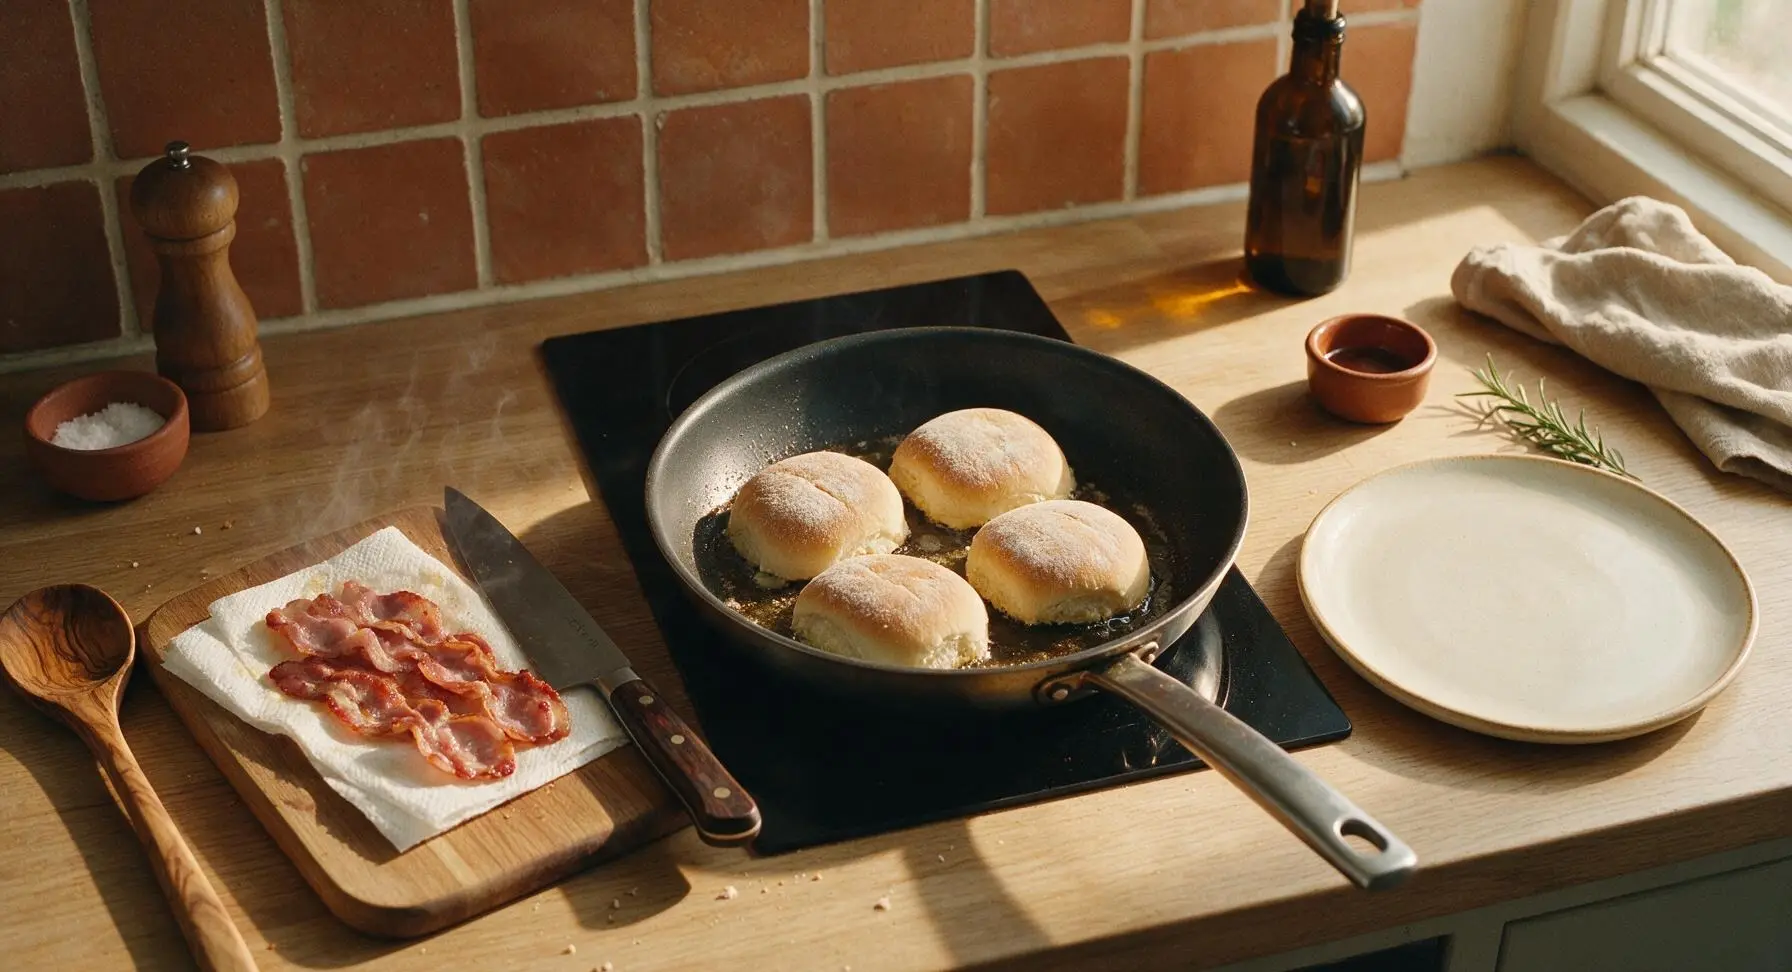
Layer bacon and sauce
Lift the toasted baps from the pan and set one on the matte cream ceramic dinner plate, split open. Arrange 3 drained crispy bacon rashers across the bottom half of the bap, folding the rashers slightly so they sit evenly without falling out. Drizzle 1 tablespoon of tangy brown sauce in a thin zig-zag across the top of the bacon, then fold the top half of the bap over the fillings. Set the second assembled bap aside on the cutting board to keep warm.
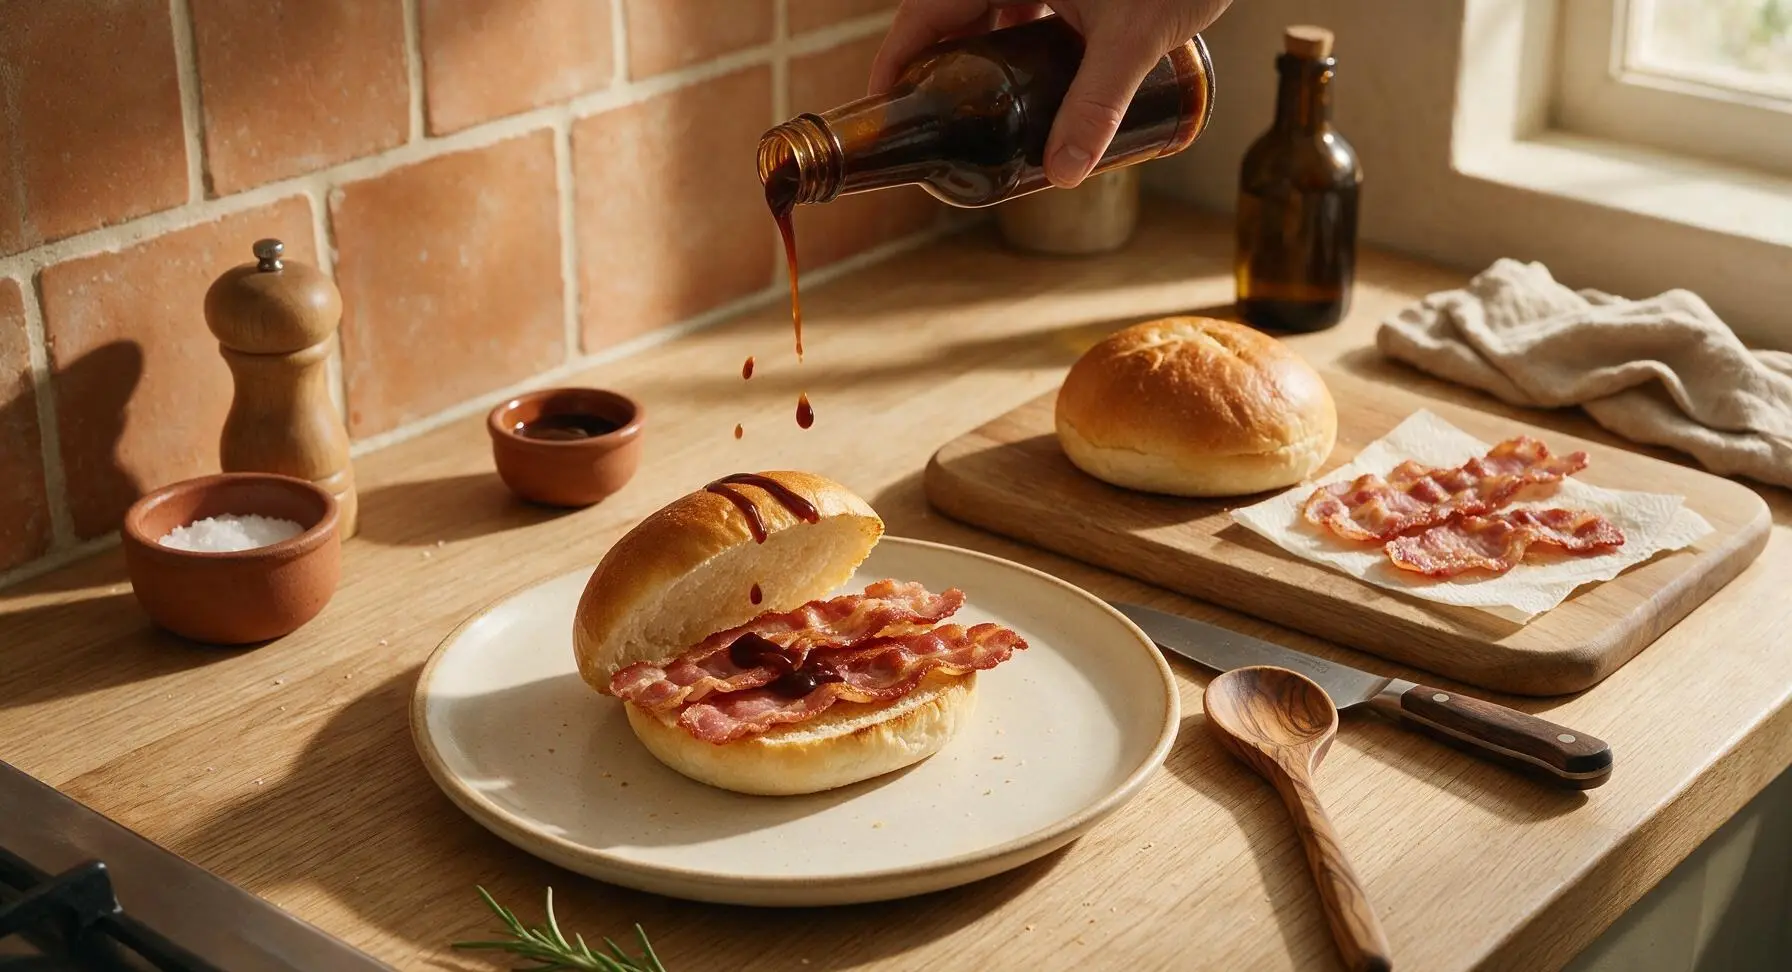
Press and serve hot
Press the top of the filled bap down gently with the palm of your hand to compress the fillings slightly, which helps every bite have a balance of bread, bacon, butter, and sauce. Serve immediately while the bap is warm, the bacon is crispy, and the butter is melted, with extra brown sauce on the side if desired.
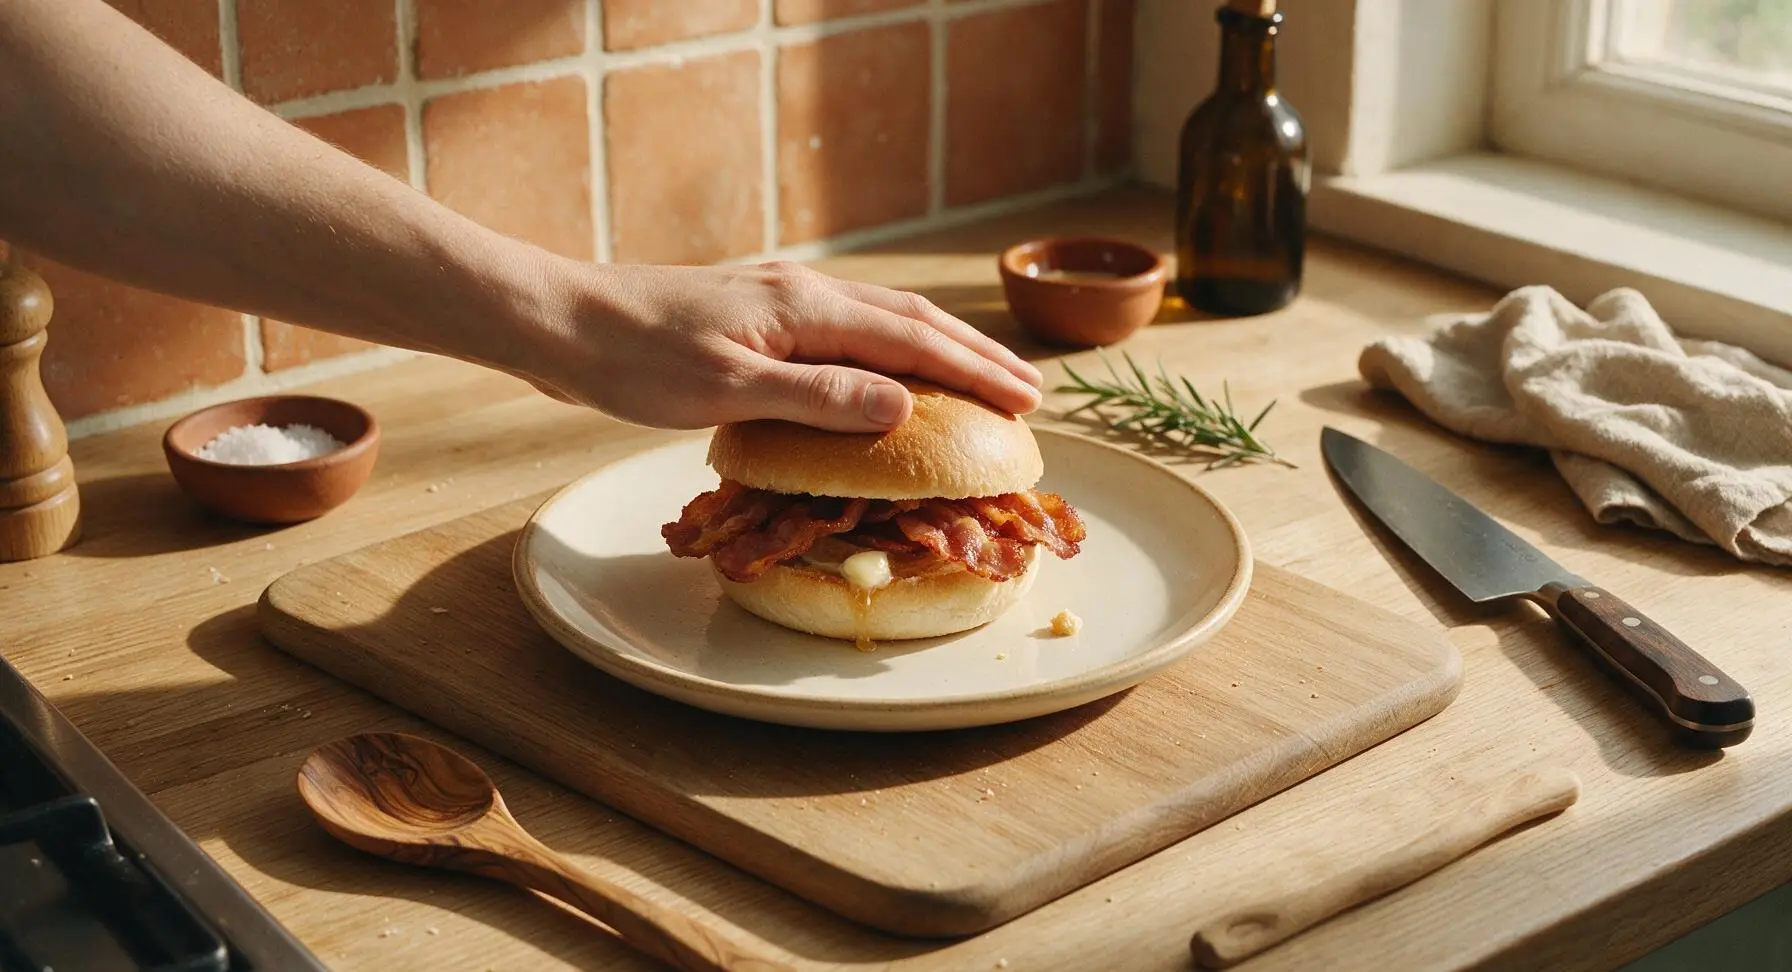
Tips
2.Leave a 1cm uncut hinge when splitting the baps instead of slicing all the way through: this keeps bacon and sauce from sliding out the back of the sandwich when you take a bite, and holds melted butter in place to avoid drips down your wrist.
3.If you don’t have a cast iron bacon press, use a heavy spatula weighed down with a full tinned bean can: this stops bacon rashers from curling as they cook, ensuring every inch gets evenly crispy instead of having soft, undercooked fatty patches, and cuts cooking time by roughly 2 minutes.






OMG this classic crispy bacon bap was a total hit at our Saturday morning soccer snack spread! I swapped regular buns for soft brioche baps and my kids devoured two each. 10 minute cook time is a total game changer for chaotic weekends.
Made this for my roommate potluck brunch yesterday and everyone was begging for the recipe! I added a little slather of salted butter and a dash of black pepper on the bacon while it cooked, *chef’s kiss*. SO good, way better than the sad breakfast sandwiches from the bodega down the street.
Quick question – do these hold up well for meal prep? I’m trying to prep easy breakfasts for the work week and I’m sick of overnight oats.
Wait, cooked this on my cast iron outside instead of the oven like I usually do bacon, and man that crisp level was unbeatable. Only thing is I added a slice of cheddar and a dollop of BBQ sauce, don’t @ me. It slapped.
Super easy to make in my tiny dorm kitchen! I didn’t have a fancy pan, just used the cheap microwave bacon tray and it still came out crispy enough, bap was soft and warm. Saved me $12 on a breakfast delivery this morning lmao.
Made these for my grandkids when they visited over the weekend, I used my homemade soft white rolls instead of store bought baps and they said it was the best breakfast I’ve ever made (and I’ve been making them pancakes for 20 years!).
Threw these together before our early morning hike last weekend, wrapped them in foil and ate them at the trailhead. Best trail breakfast I’ve ever had, no crumbly mess, perfect amount of salt, kept us full for 3 hours of hiking.
I added a couple slices of pickled jalapeño to mine for a little kick, and wow it cut through the saltiness of the bacon so well. 10/10 will be making this every Sunday from now on.
My dog kept staring at me while I ate this, that’s how you know it’s good. Crispy bacon was perfect, no flimsy floppy bacon garbage here. The bap stayed soft even after I loaded it up with a little extra mayo. 10/10.
Wait I’ve burned every breakfast I’ve tried to make for the last 6 months and even I nailed this. Cook time was exactly 10 minutes like the recipe said, bacon was crispy not burnt, bap was toasted perfect. My girlfriend thought I ordered takeout lmao.
Brought these to our office potluck breakfast last week and they were gone in 5 minutes flat. People kept asking if I got them from the fancy bakery downtown, nope! Just 10 minutes at home, super easy. Will be doubling the batch next time for sure.