1.How bitter will this classic dry stout be compared to pub versions I’ve tried?
▾
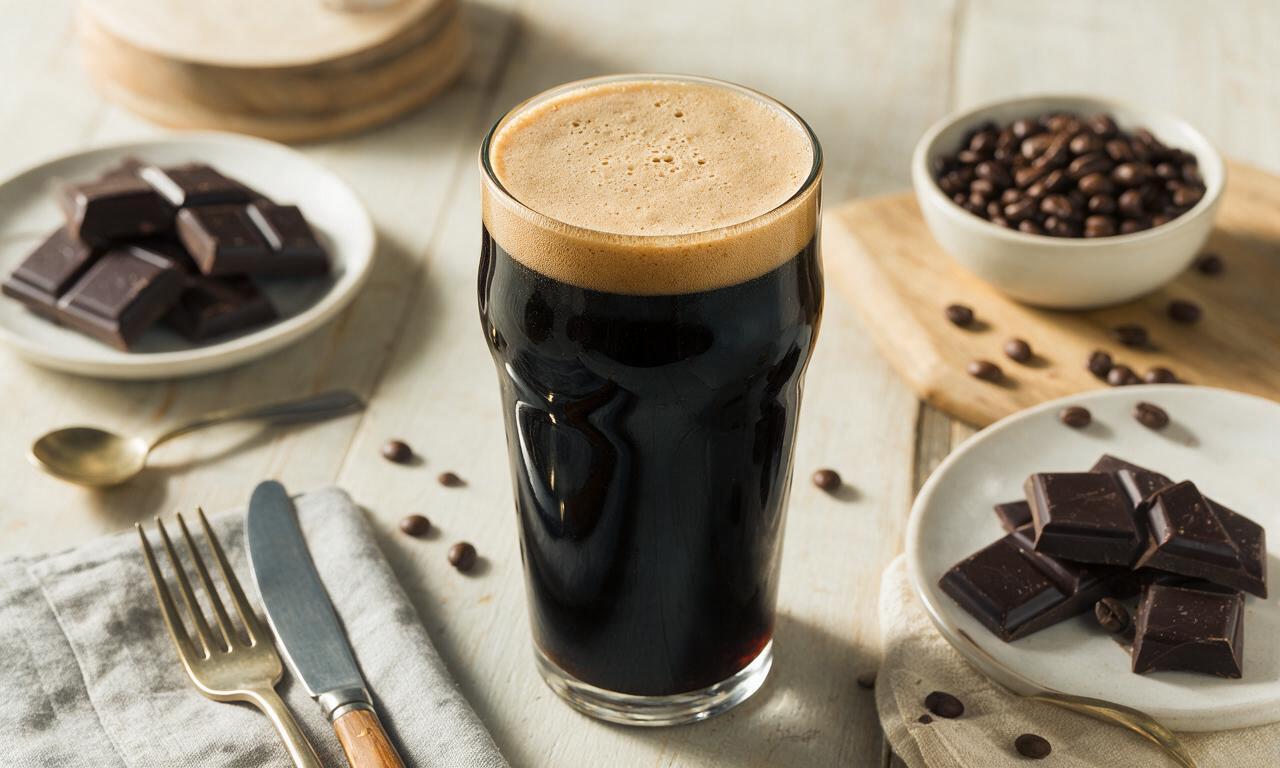
This recipe lands right in the classic pub dry stout range of 30–40 IBUs, thanks to balanced East Kent Goldings hops. It won’t have sharp, harsh bitterness—instead, the hops complement roasty coffee and dark chocolate notes from the grains, leaving a crisp, dry finish that doesn’t cling cloyingly to your palate. Cut late hop additions by 25% if you prefer a milder profile.
2.Can I use tap water instead of filtered cold water for this brew?
▾
I strongly recommend sticking to filtered cold water here. Tap water often contains chlorine, chloramine, or unbalanced mineral levels that can mute delicate chocolate and coffee notes from roasted grains, or create off-flavors reminiscent of wet cardboard. If tap is your only option, run it through a carbon filter first and let it sit 30 minutes to off-gas volatiles before use.
3.Do I need special all-grain mashing equipment to use the crushed roasted barley and chocolate malt?
▾
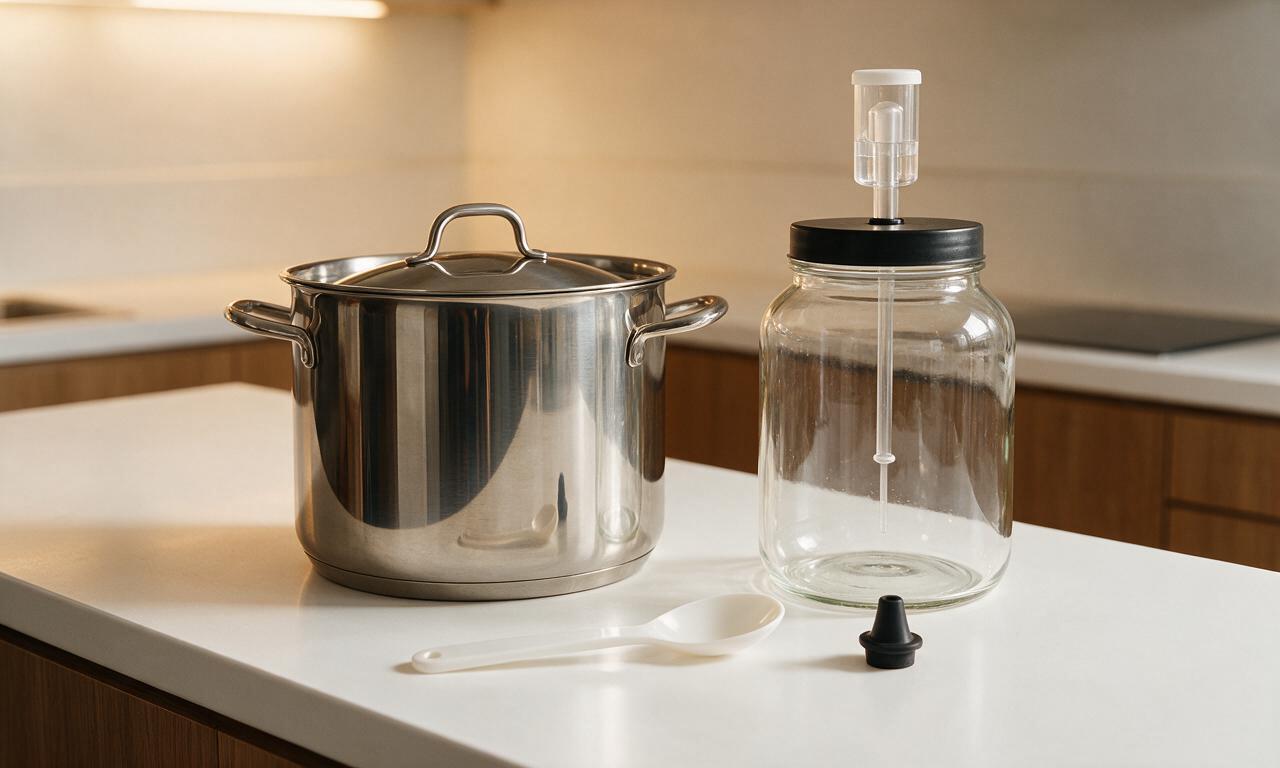
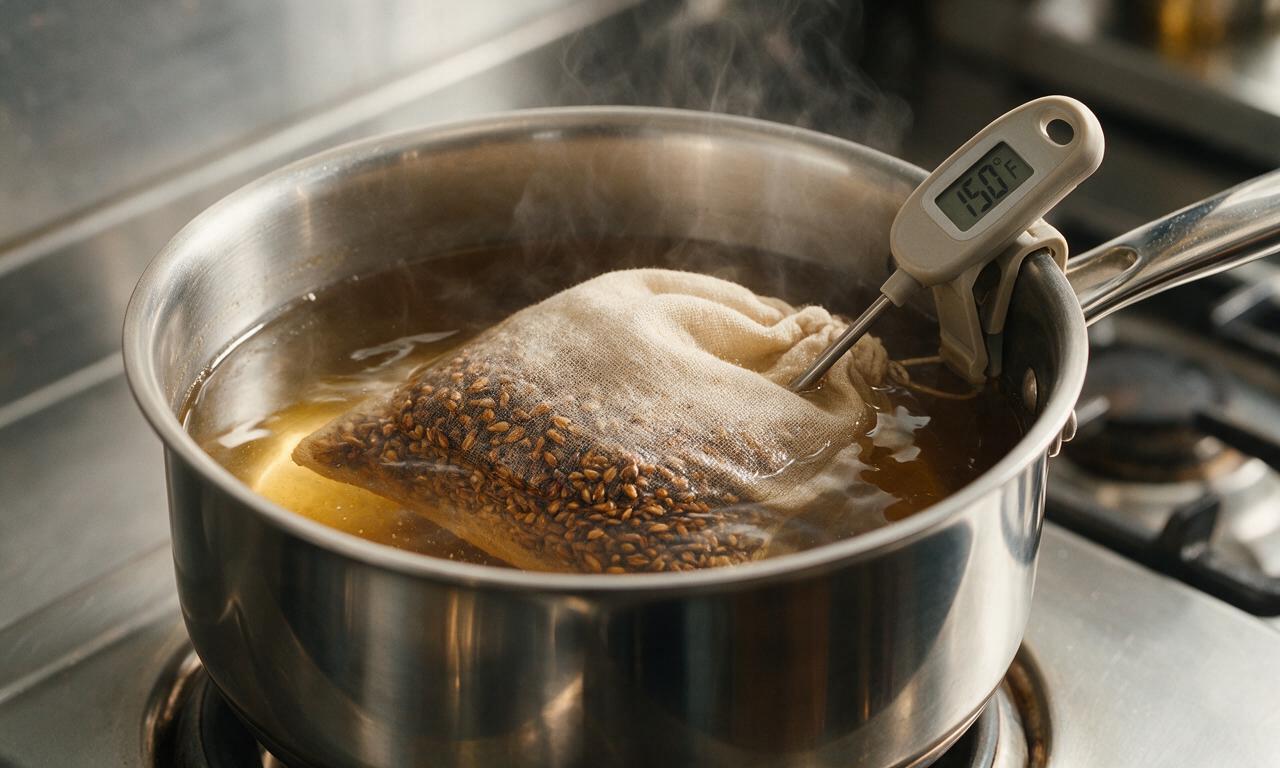
You don’t need fancy professional gear for this extract-based recipe! Since the base is light dry malt extract, you just steep the crushed roasted barley and chocolate malt in 150–155°F filtered water for 20–30 minutes before adding extract and hops. A standard mesh grain bag and large stock pot works perfectly for this step, no specialized mash tun required.
4.Why use light dry malt extract instead of dark malt extract for a dark stout?
▾
Light dry malt extract gives you full control over the final roasty flavor, rather than relying on pre-roasted dark extract that often tastes harsh or one-note. The deep color and signature coffee, dark chocolate notes come directly from your crushed roasted barley and chocolate malt, so you get a smoother, more balanced pub-style flavor instead of burnt, overly bitter results.
5.How long do I need to age this dry stout before it’s ready to drink?
▾
After primary fermentation wraps up in 1–2 weeks, bottle or keg it and let it condition for a minimum of 3 weeks at a cool 50–55°F cellar temperature. You can drink it earlier, but that conditioning time lets sharp roasty edges mellow, East Kent Goldings hop notes integrate, and carbonation settle into that smooth, creamy pub-style mouthfeel you want.
6.What roast level should I look for when buying crushed roasted barley for this recipe?
▾
Stick to standard roasted barley kilned to roughly 300–350° Lovibond for this classic dry stout. Avoid heavily roasted, 500+ Lovibond roasted barley, which adds ashy, burnt notes that overpower smooth chocolate malt and delicate earthy hops. If buying pre-crushed, check the roast date—grains older than 6 months will taste flat and stale.
7.Can I get a creamier mouthfeel without turning this into a sweet stout?
▾
Absolutely! You don’t need lactose (the ingredient that makes sweet stouts creamy and sweet) to get that lush texture. Add 4–6 ounces of flaked barley to your grain steep, hold fermentation steady at 65–68°F for your yeast, and carbonate to 2.2–2.4 volumes of CO2 when bottling. You’ll keep the dry finish while nailing that classic pub creaminess.
8.Why does the recipe use East Kent Goldings hops instead of popular citrusy hops like Cascade?
▾
East Kent Goldings are a traditional English hop with soft, earthy, subtly floral notes that complement roasty grains perfectly, rather than competing with them. Bright, citrusy hops like Cascade would clash with the deep coffee and dark chocolate malt notes, creating a disjointed flavor. East Kent Goldings add just enough balancing bitterness without pulling focus from the malt.
9.What’s the ideal serving temperature for this homemade dry stout?
▾
Skip the ice-cold serving temp you’d use for a light lager—this dry stout shines at 45–50°F, cool but not frigid. Serving it too cold mutes the rich coffee and dark chocolate notes, making it taste thin and overly bitter. If your pour feels almost ice-cold, let it sit in the glass for 2–3 minutes to warm slightly and let those nuanced flavors open up.
10.I crushed my roasted barley and chocolate malt too fine—will that ruin the batch?
▾
It won’t ruin the batch, but you’ll need to adjust your steep to avoid harsh, astringent flavors. Don’t squeeze the grain bag when you pull it out of the steep water, and never steep at temperatures above 160°F, since that pulls out bitter tannins from over-crushed grain husks. You may get a slightly deeper color, but flavor will stay smooth if you follow those steps.
11.What ABV will this classic dry stout reach if I follow the recipe exactly?
▾
When brewed to spec, this dry stout lands at a very sessionable 4.2–4.8% ABV, right in line with traditional pub dry stouts you’d order on tap. It’s rich and flavorful without being heavy or high-alcohol, which is exactly why it’s ideal for casual winter gatherings where you might enjoy a couple of pints with friends over a few hours.
12.Can I add extra coffee or chocolate to this recipe without ruining the classic profile?
▾
You can, but keep additions light so you don’t overpower the base roasty notes. Stick to 2–4 ounces of cold-brewed black coffee added right at bottling, or 2 ounces of unsweetened crushed cacao nibs steeped in secondary for 3–5 days. Skip sweetened chocolate syrups or flavored coffee, which add unwanted sugar and throw off the signature dry finish.
13.Why does the recipe call for starting with cold filtered water instead of hot water for steeping?
▾
Starting with cold filtered water and bringing it up to steep temperature gradually reduces the chance of extracting harsh, astringent tannins from crushed roasted barley and chocolate malt. Jumping straight to boiling hot water can shock grain husks, pulling off-flavors that make your stout taste puckery and harsh, instead of the smooth, crisp dry finish you want.
14.What’s the best way to store this dry stout if I can’t drink it all within a few weeks?
▾
Store sealed, bottled stout upright in a cool, dark spot that holds a consistent 50–55°F, away from direct sunlight or temperature swings. It will stay fresh and flavorful for up to 6 months under these conditions; after that, roasty notes fade and hop character flattens. Avoid long-term fridge storage, as constant cold slows conditioning and dulls flavor over time.



OMG, this dry stout recipe is an absolute game changer! I’ve been homebrewing for 3 years and have struggled to nail that classic Guinness-adjacent dry finish without it tasting watery. Followed the steps exactly, let it ferment the full 14 days, and it came out SO good. Brought a growler to my weekly fantasy football potluck last weekend and everyone was begging for the recipe. 10/10, will be making this on repeat from now on.
I was super nervous to try my first all-grain brew since I’ve only done extract kits before, and this medium difficulty recipe felt like the perfect challenge. The 90 minute active prep went way faster than I expected when I roped my husband into helping! We bottled a batch last week, cracked the first one last night and it was perfectly carbonated, super smooth, not heavy at all. My adult kids came over for Sunday dinner and they all said it was better than the store-bought stout we usually pick up.
Tried this recipe last month and it’s now my go-to house stout. I did tweak it just a tiny bit by adding a half ounce of Willamette hops at the end of the boil for a little extra earthy note, and it paired so well with the roasted grain profile. Brought a six pack to our neighborhood block party and people were going back for seconds all afternoon. Only note: make sure you give it the full 14 days to carb up! I cracked one at 10 days and it was totally flat, the wait is so worth it.
I’ve been chasing that perfect dry stout to serve at my annual St. Patrick’s Day potluck for YEARS, and y’all — this is the one. It’s got that perfect creamy mouthfeel, no weird aftertaste, and it’s strong enough that you don’t need to drink 10 to feel festive but smooth enough that you’ll want to anyway. Even my friend who swears she hates dark beer loved it! Total win.
Solid recipe, no weird fancy ingredients that you have to drive 45 minutes to a specialty brew shop to find. I picked up all the grains and yeast at my local homebrew store on the way home from work, knocked out the active prep on a Tuesday night, and now I’m just waiting out the fermentation period. Tasted the hydrometer sample after a week and it was already tasting great, super excited for the final pour.
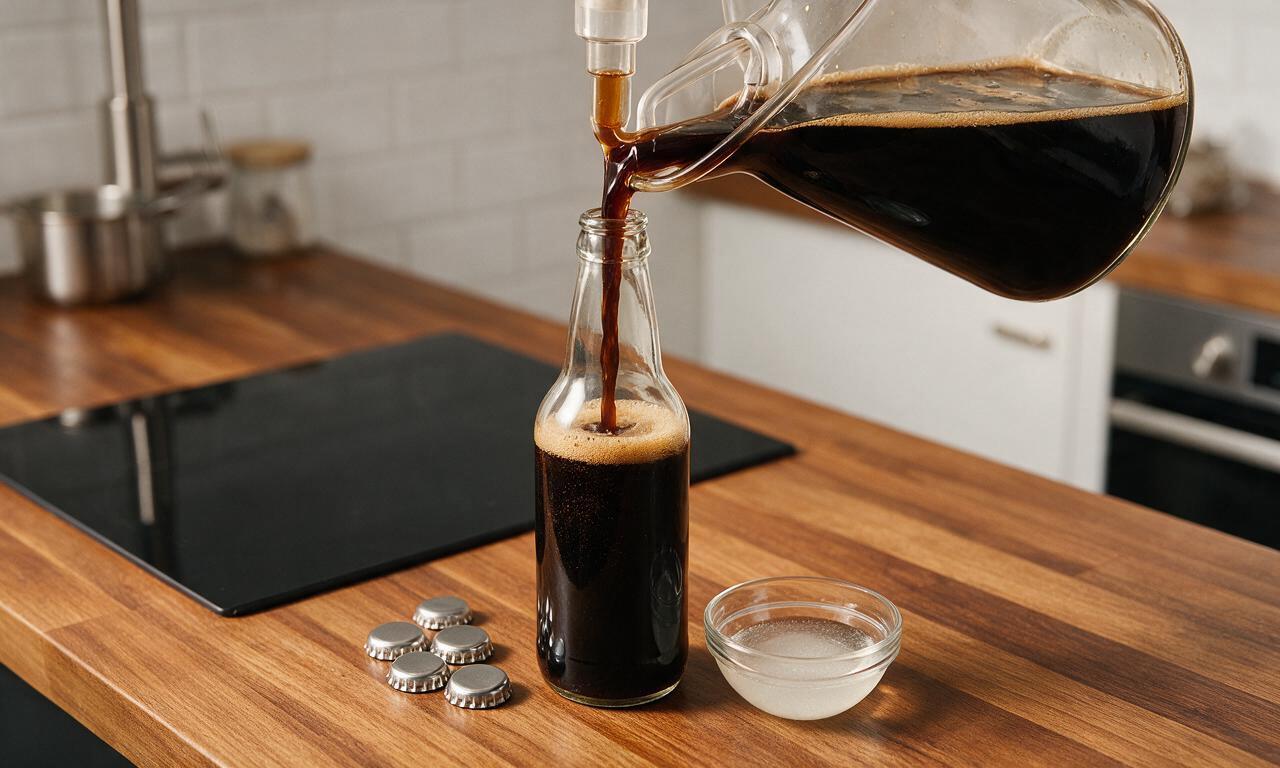
Made this for my partner’s birthday cookout a couple weeks ago, and it was the star of the spread. We paired it with smoked brisket and homemade Irish soda bread, and the combo was unreal. My only tiny complaint is that my first batch came out a little less creamy than I expected — I think I messed up the priming sugar calculation when bottling. Still delicious though, will definitely be making it again.
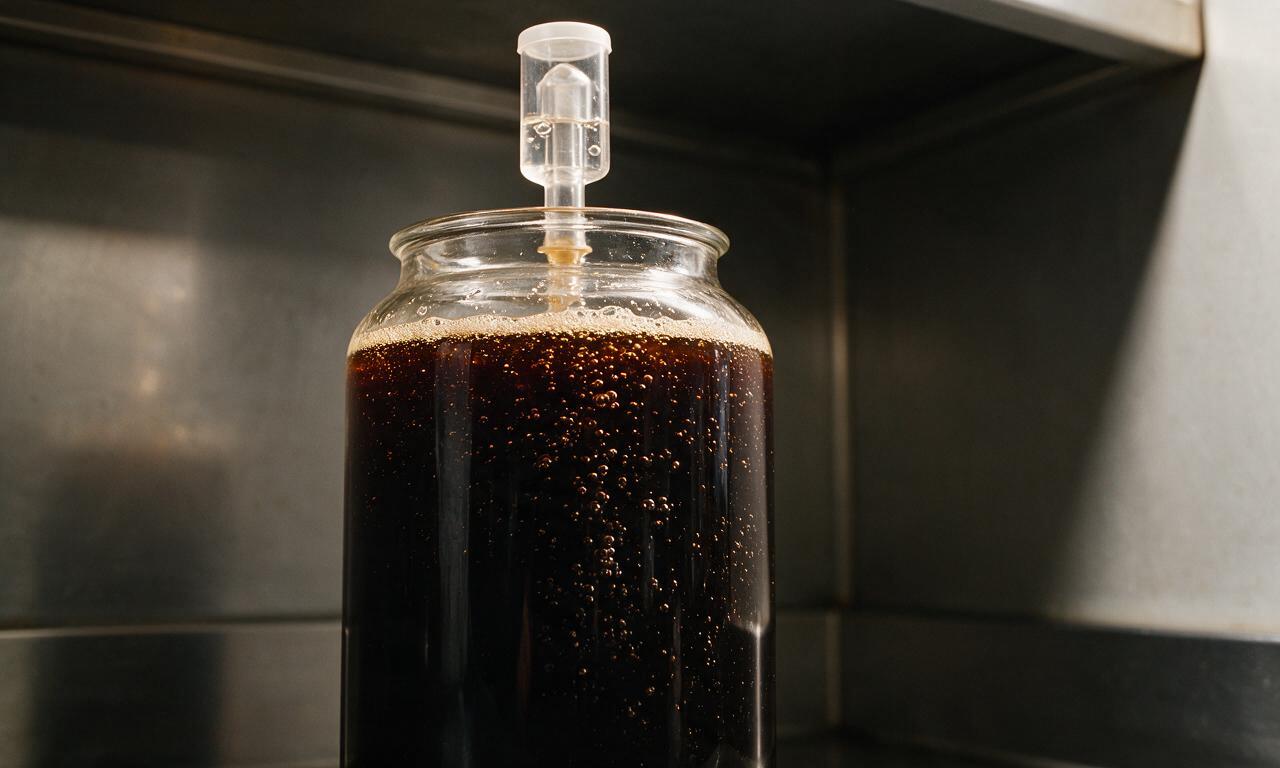
First time brewing beer ever, and I picked this recipe because it was medium difficulty and didn’t have a million steps. The instructions were so clear, I didn’t get lost at any point even when I was messing with the mash temp for the first time. It’s been 10 days fermenting so far, the airlock is bubbling away and it smells amazing in the closet where I’m storing the fermenter. Fingers crossed it turns out as good as everyone else’s!
Took this recipe out for a test run before my homebrew club meeting next month, and I’m already confident it’s gonna take home the people’s choice award. It’s perfectly balanced, not too roasty, not too sweet, exactly what a classic dry stout should be. I’ve already had three friends ask for the link to the recipe after I posted a pic of my first pour on Instagram.
SO good. I’ve made a lot of stout recipes over the years, and this one is easily top 3. The 90 minute prep time is totally accurate, no hidden steps that tack on extra time like some other recipes I’ve tried. I did a side by side with a can of imported dry stout and honestly? Mine was better. No cap.
I’m usually a light beer guy, but I wanted to branch out and try making something darker for fall. This stout was so smooth, I didn’t even feel like I was drinking a dark beer! It’s got that nice little roasty flavor that tastes like coffee but not overwhelming, perfect for sipping on the porch when the weather cools down. Already planning my second batch.
Meh, it was good but not life changing. I followed the recipe exactly, but mine came out a little thinner than I expected a dry stout to be. Maybe I didn’t mash long enough? It was still drinkable, I brought the rest to a work potluck and my coworkers finished it all, but I was hoping for a little more depth of flavor. Might tweak the grain bill next time to add a little more chocolate malt.
Game changer for anyone who doesn’t want to drop a ton of money on fancy homebrew equipment. I made this using my basic 5 gallon pot and a cheap bucket fermenter, no fancy mash tun or anything, and it turned out perfect. Saved me so much money compared to buying craft stout at the liquor store, too. I did the math, each bottle comes out to like 75 cents, you can’t beat that.