
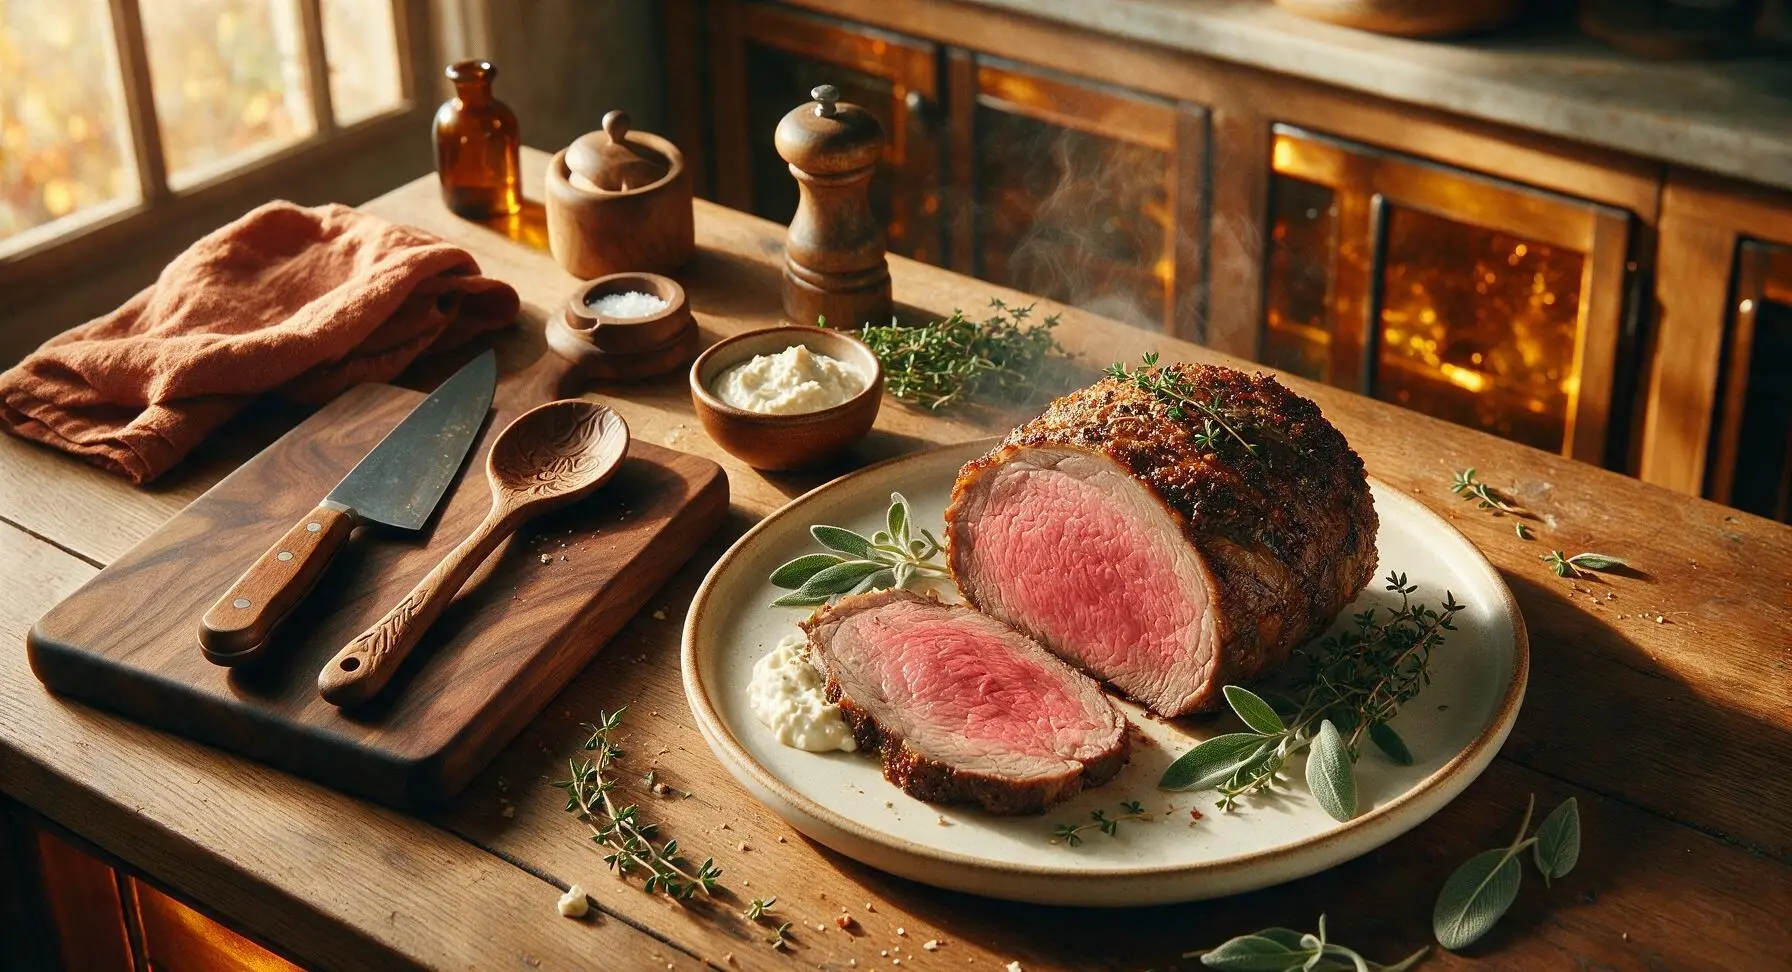
perfect roast beef

title 1
perfect roast beef
⏱️ cook time 1 hour 15 minutes
🍽️ servings 4
⚡ Difficulty medium

intro

Juicy, tender roast beef with a crisp savory crust, perfect pink medium-rare center, and tangy horseradish sauce: the iconic centerpiece of a cozy family Sunday dinner.

Ingredients
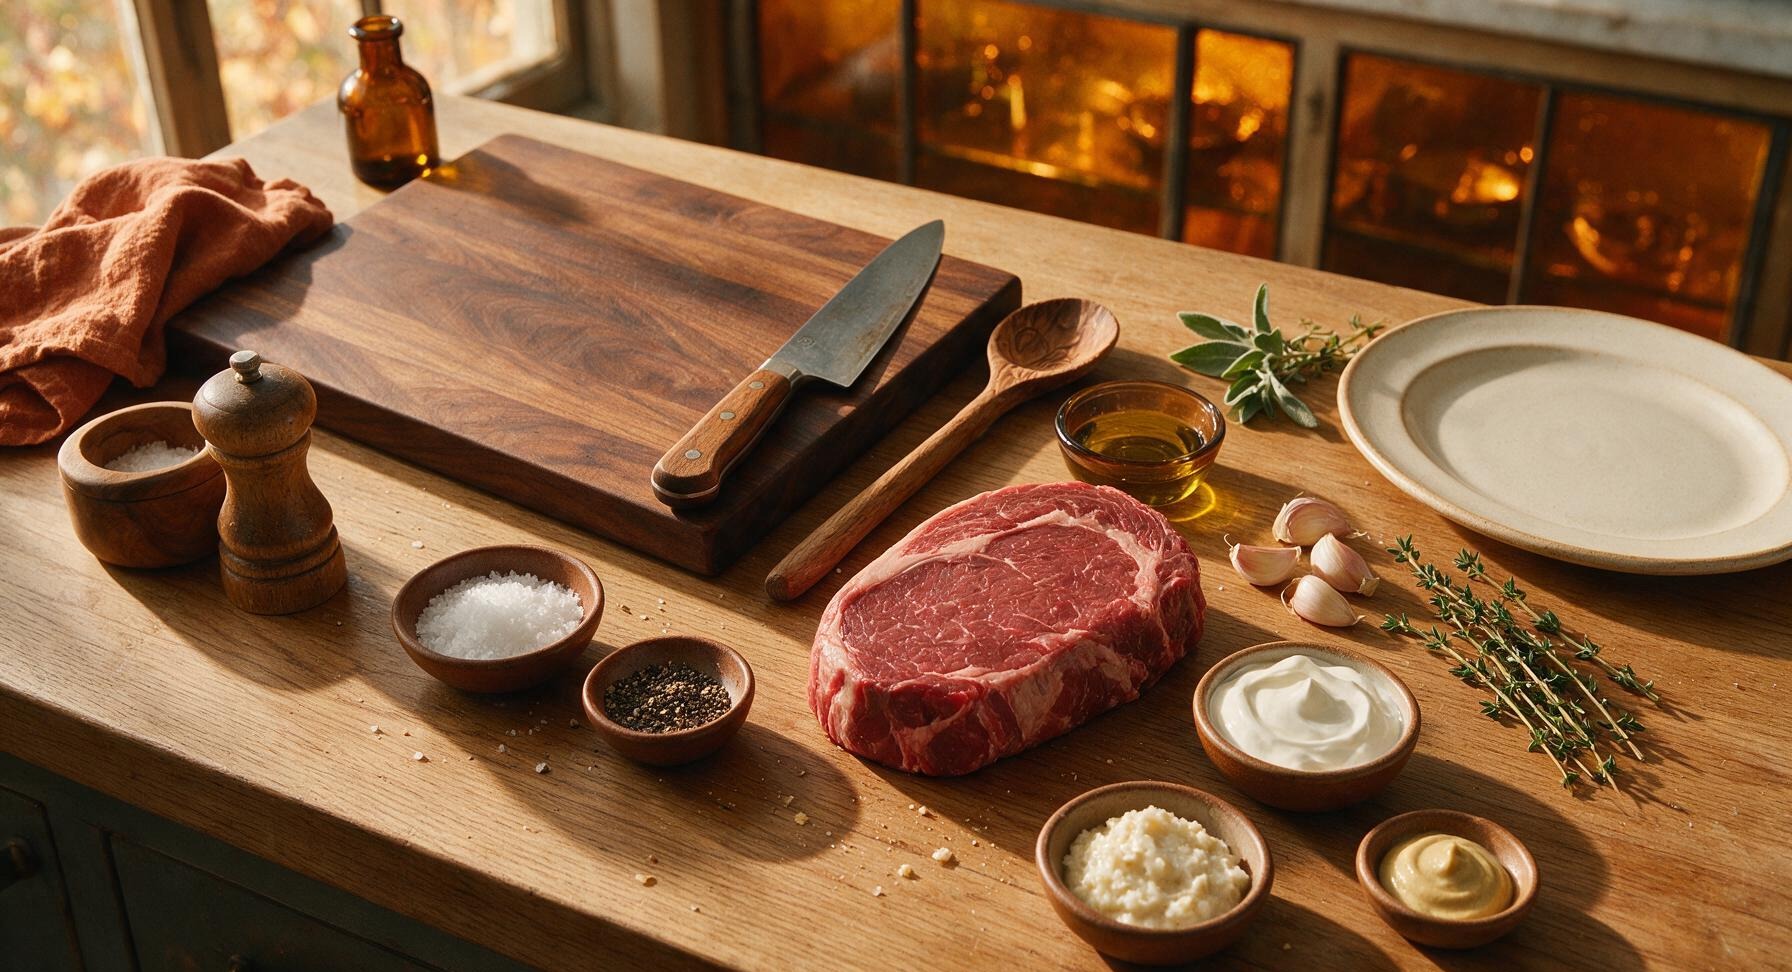
Boneless top sirloin beef roast 1.2kg (2.7lb)
Coarse kosher salt 1 tbsp
Freshly ground black pepper 1 tsp
Extra-virgin olive oil 2 tbsp
Garlic cloves 4 each
Fresh thyme 6 sprigs
Full-fat sour cream 60ml (¼ cup)
Prepared horseradish 2 tbsp
Dijon mustard 1 tsp

Steps

1

Bring Beef to Room Temp

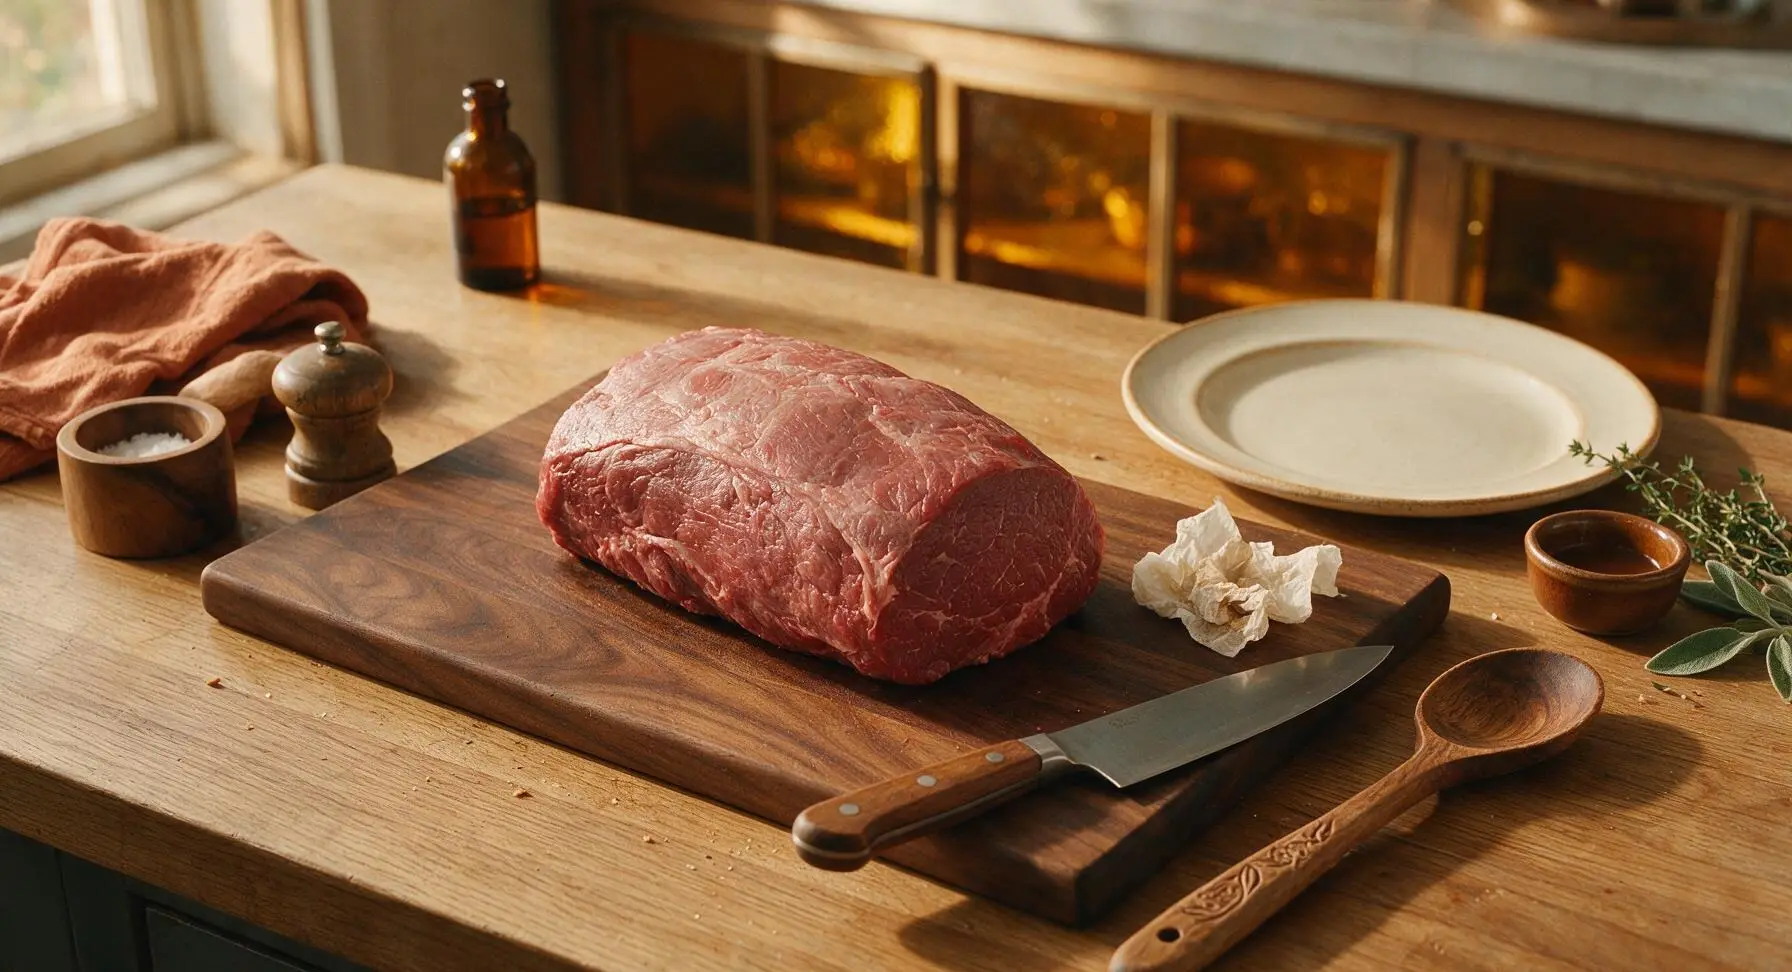
Remove the 1.2kg top sirloin roast from the refrigerator 1 hour before cooking, unwrap it, and place it on the acacia wood cutting board set on the soapstone counter. Pat the entire surface dry with paper towels, allowing the meat to rise to 15-18°C (60-65°F) to ensure even cooking. The meat surface should feel cool to the touch, not cold, when ready to season.
Step 1
step1:Bring Beef to Room Temp
2

Season Roast Generously

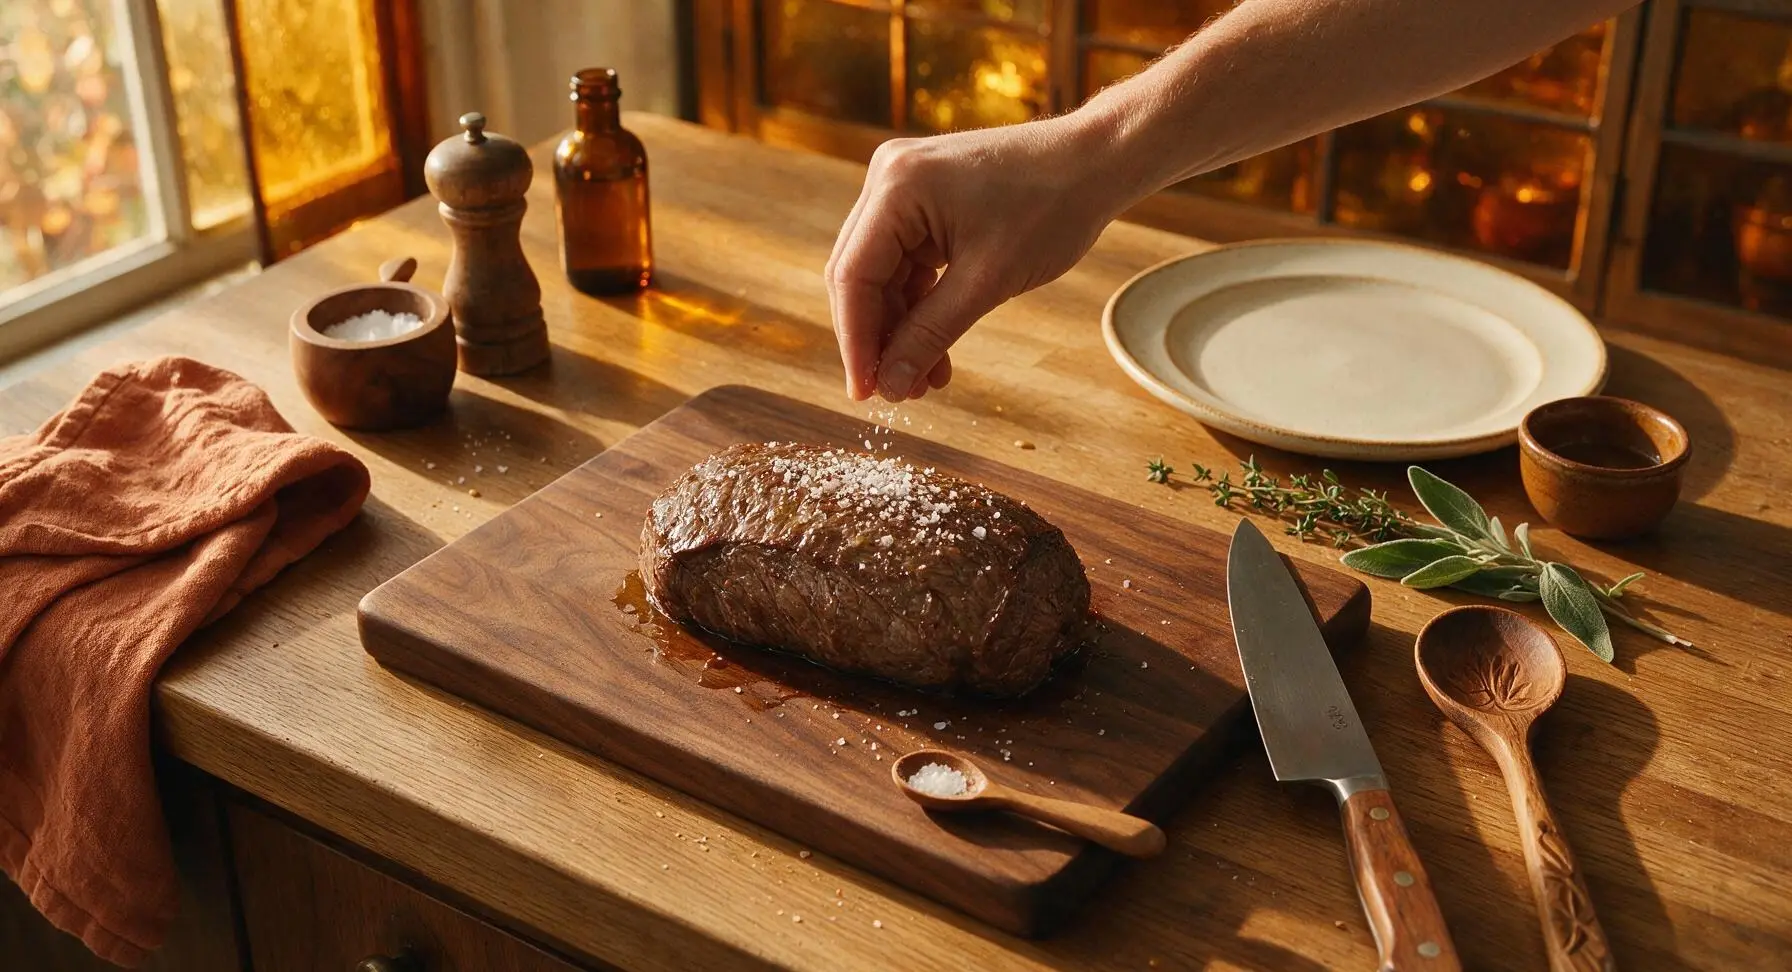
Drizzle 1 tablespoon of olive oil over the entire roast, rubbing it into all surfaces with clean hands. Sprinkle the full 1 tablespoon of coarse kosher salt and 1 teaspoon of freshly ground black pepper evenly over every side of the roast, pressing the seasoning gently into the meat so it adheres. The seasoning should form a thin, even crust across the entire surface, with no bare meat spots visible.
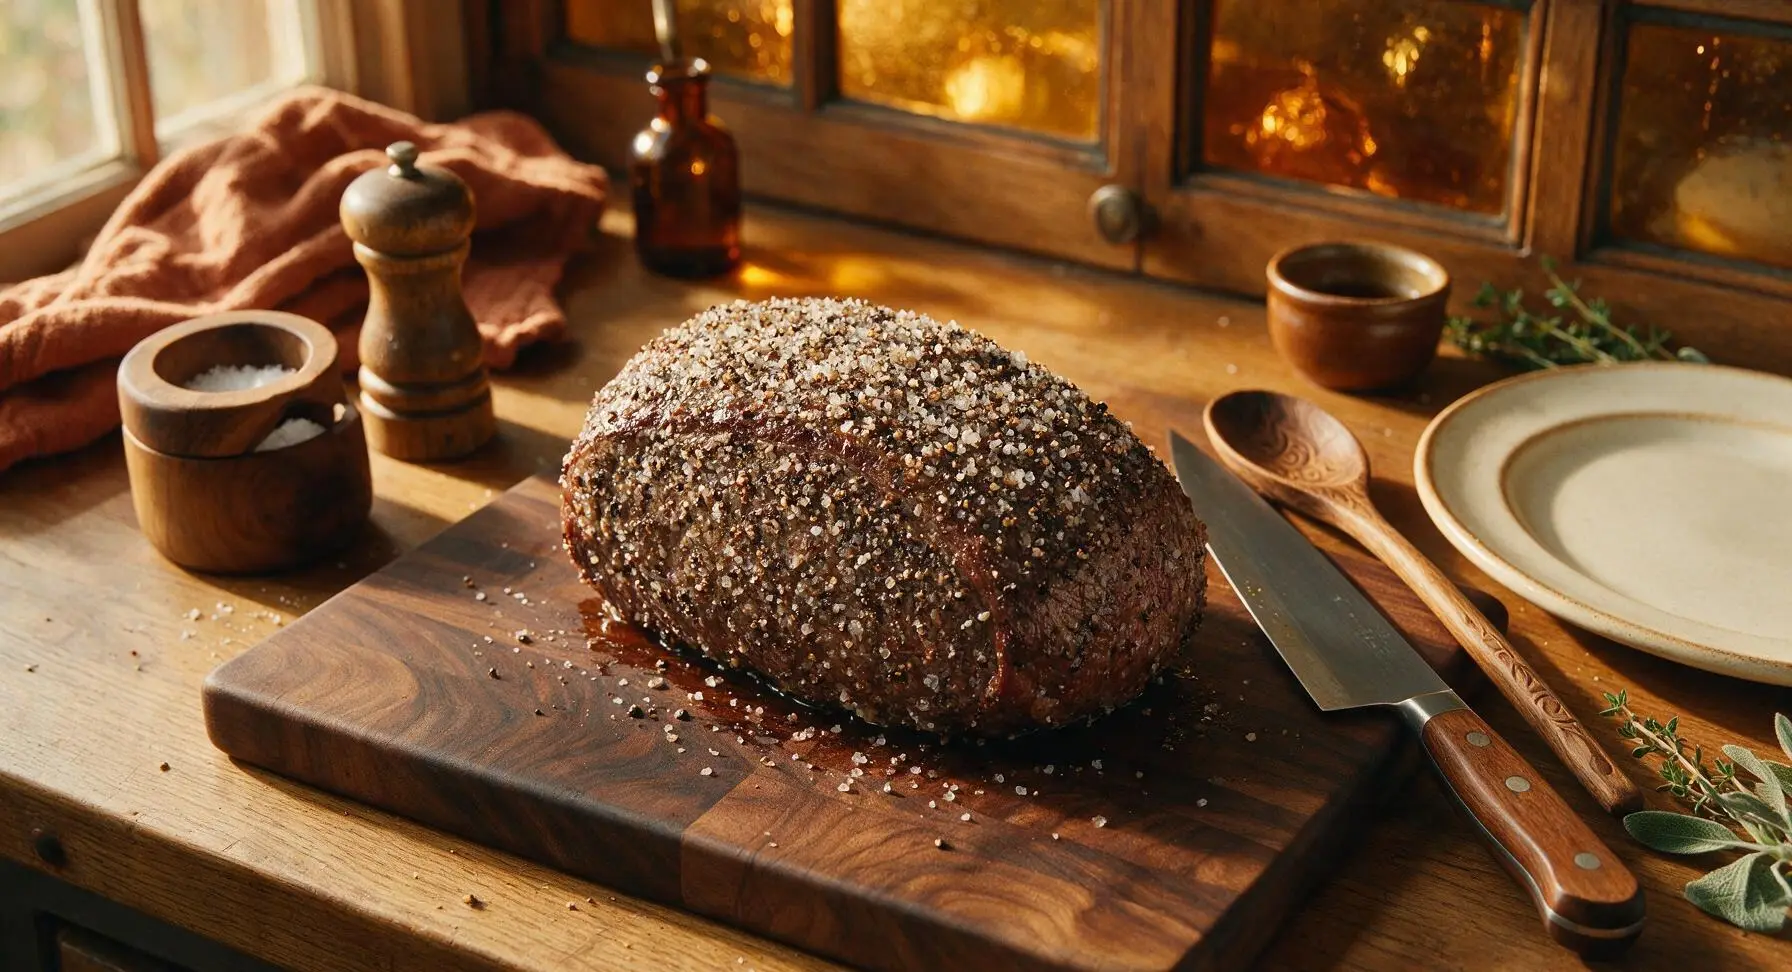
Step 2
step2:Season Roast Generously
Step 2
step2:Season Roast Generously
3

Sear All Roast Surfaces

Place the heavy-gauge carbon steel roasting pan on the induction stovetop over medium-high heat, add the remaining 1 tablespoon of olive oil, and heat until the oil shimmers (about 2 minutes). Use the stainless steel tongs to place the seasoned roast in the pan, searing each side for 2-3 minutes until a deep, golden-brown crust forms, including the narrow ends of the roast. Total searing time is 10-12 minutes; do not move the meat while each side sears to build a crisp, dark crust.
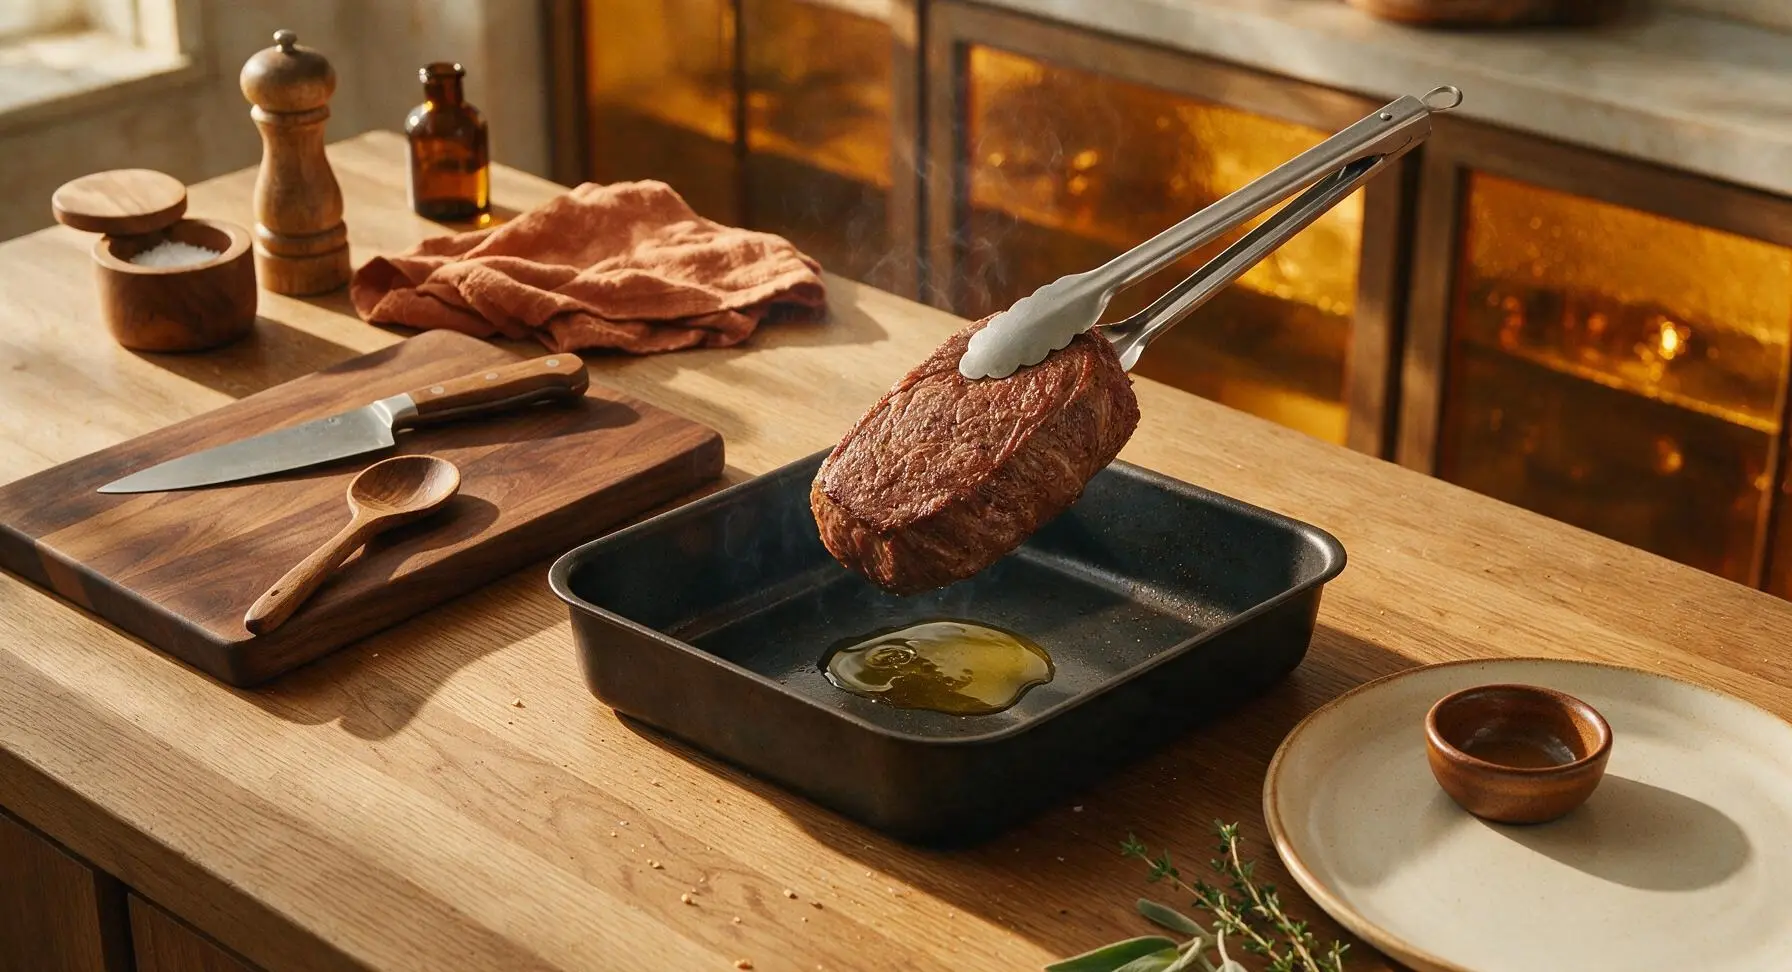
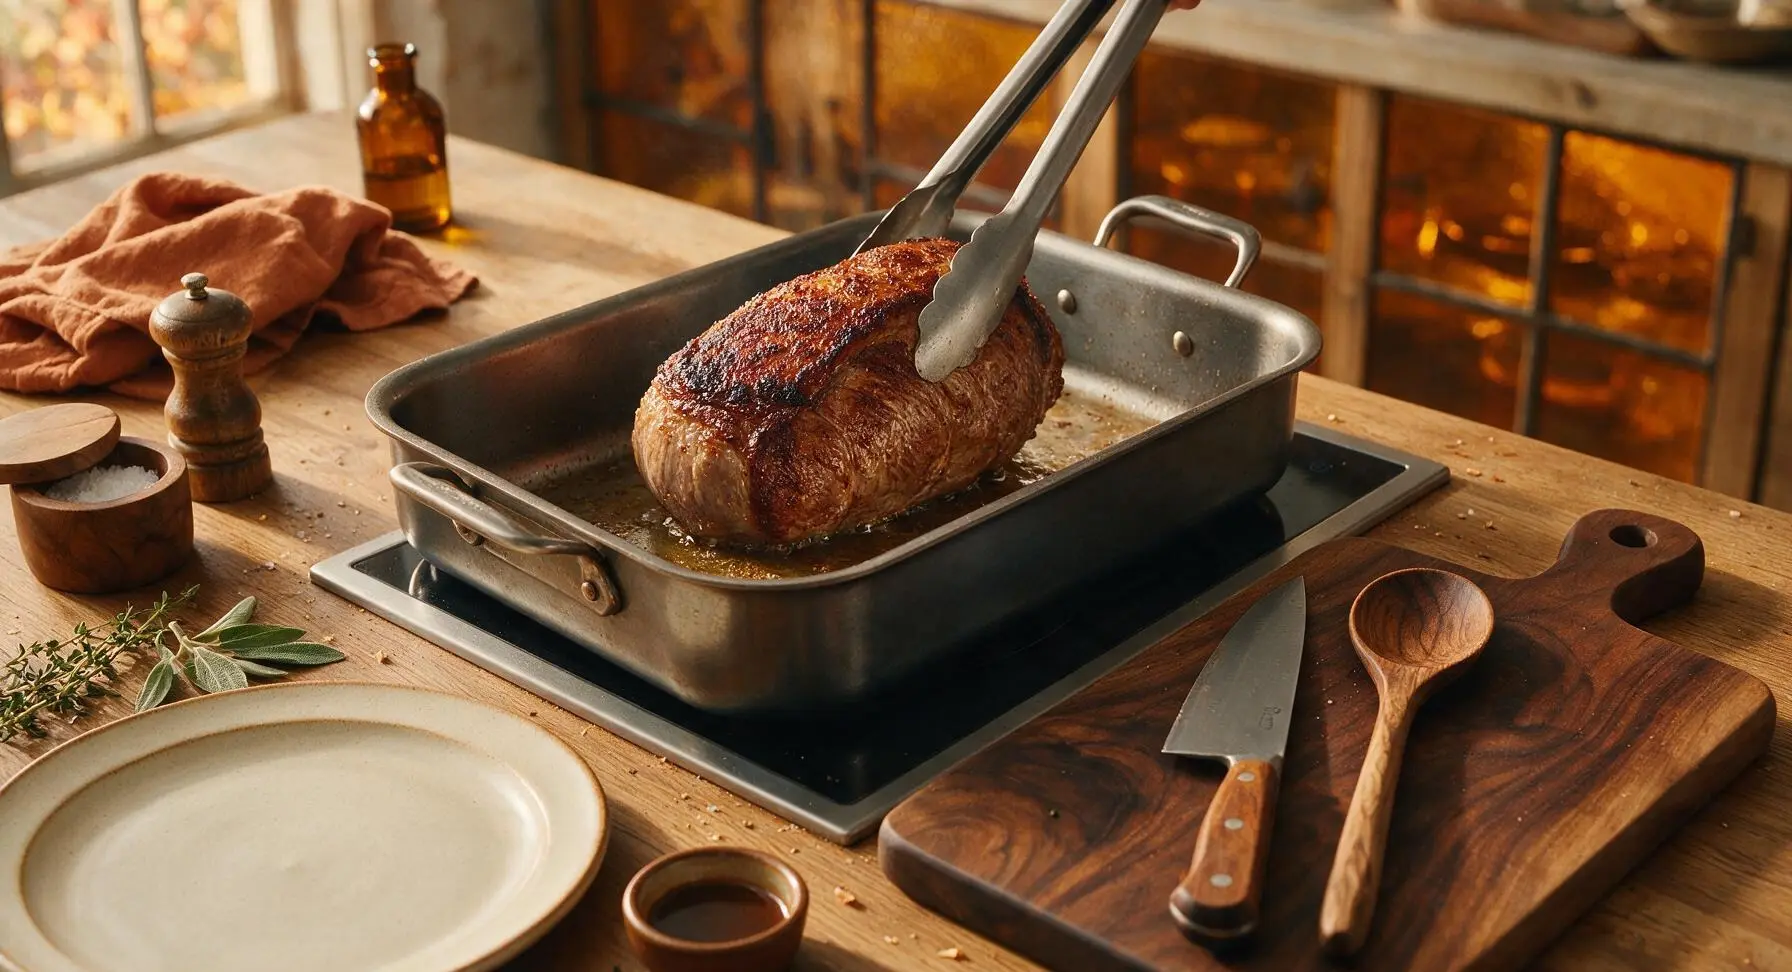
Step 3
step3:Sear All Roast Surfaces
Step 3
step3:Sear All Roast Surfaces
4

Roast to Correct Temp

Once all sides are seared, turn off the stovetop heat. Set the stainless steel wire rack inside the roasting pan, then place the seared roast on top of the rack to elevate it above the pan drippings. Scatter the 4 crushed garlic cloves and 6 thyme sprigs around the roast in the pan base. Transfer the pan to a preheated 175°C (350°F) oven, roasting until the instant-read thermometer inserted into the thickest part of the meat (not touching fat or pan) reads 57°C (135°F) for medium-rare, approximately 55-65 minutes. Never rely on cook time alone—internal temperature is the only accurate measure of doneness.
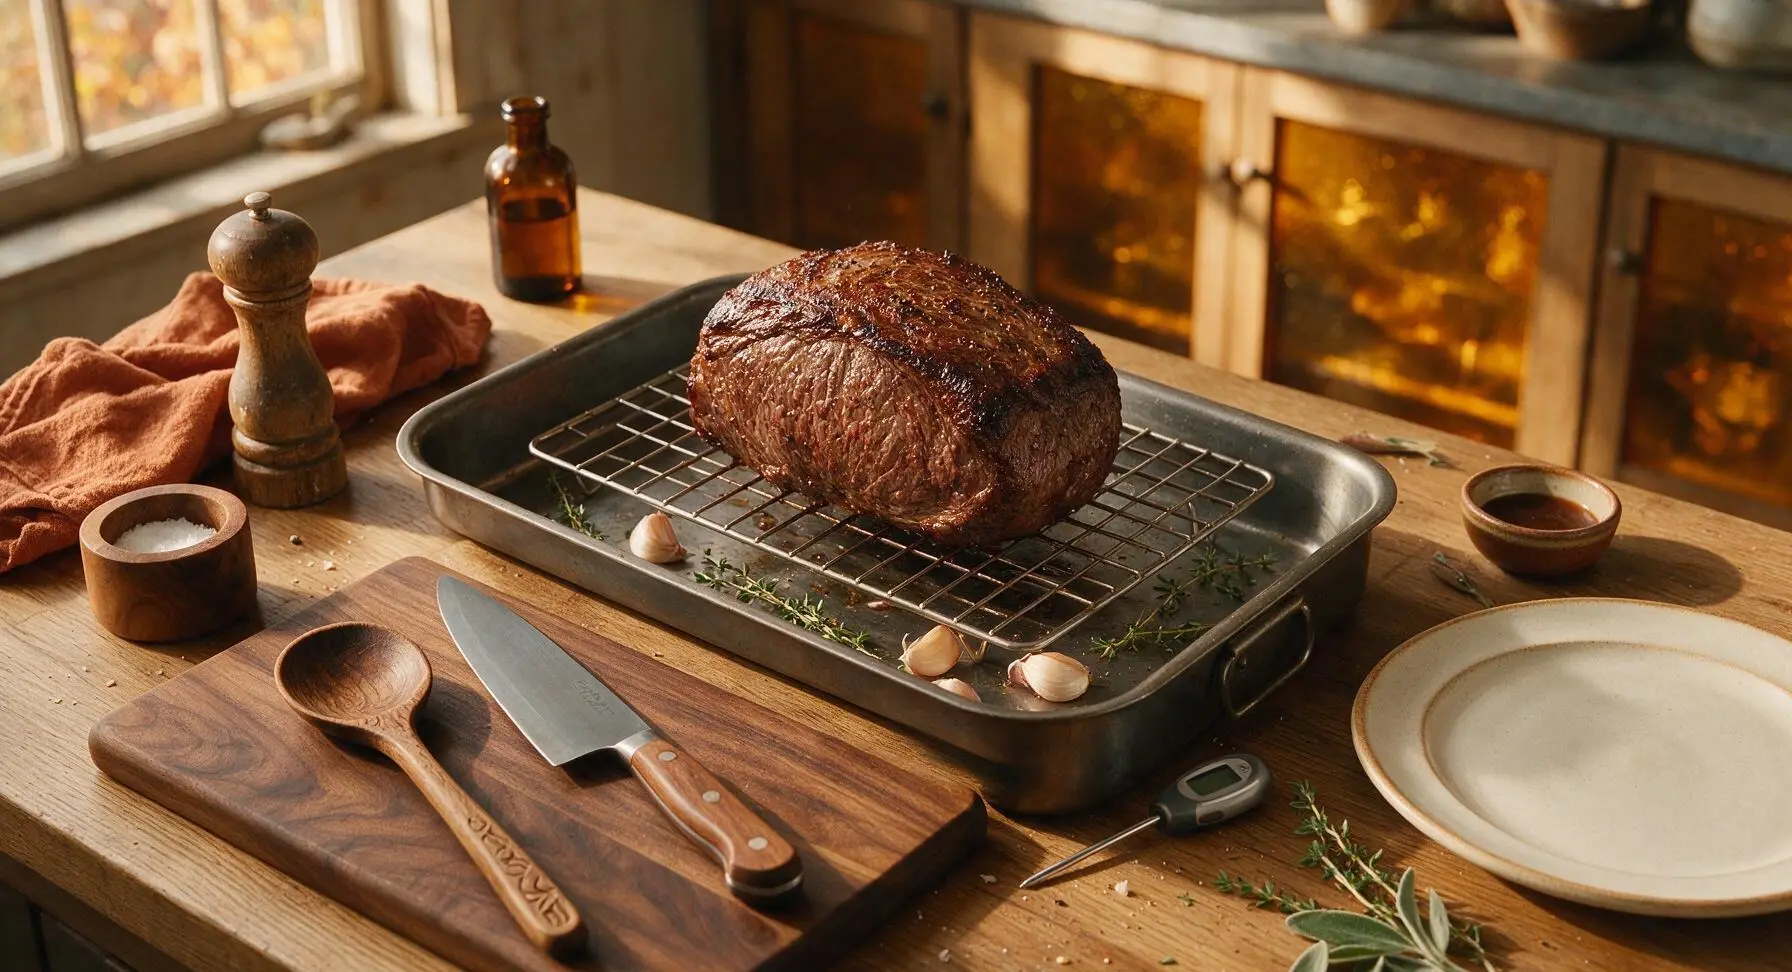
Step 4
step4:Roast to Correct Temp
5

Rest Roast Properly

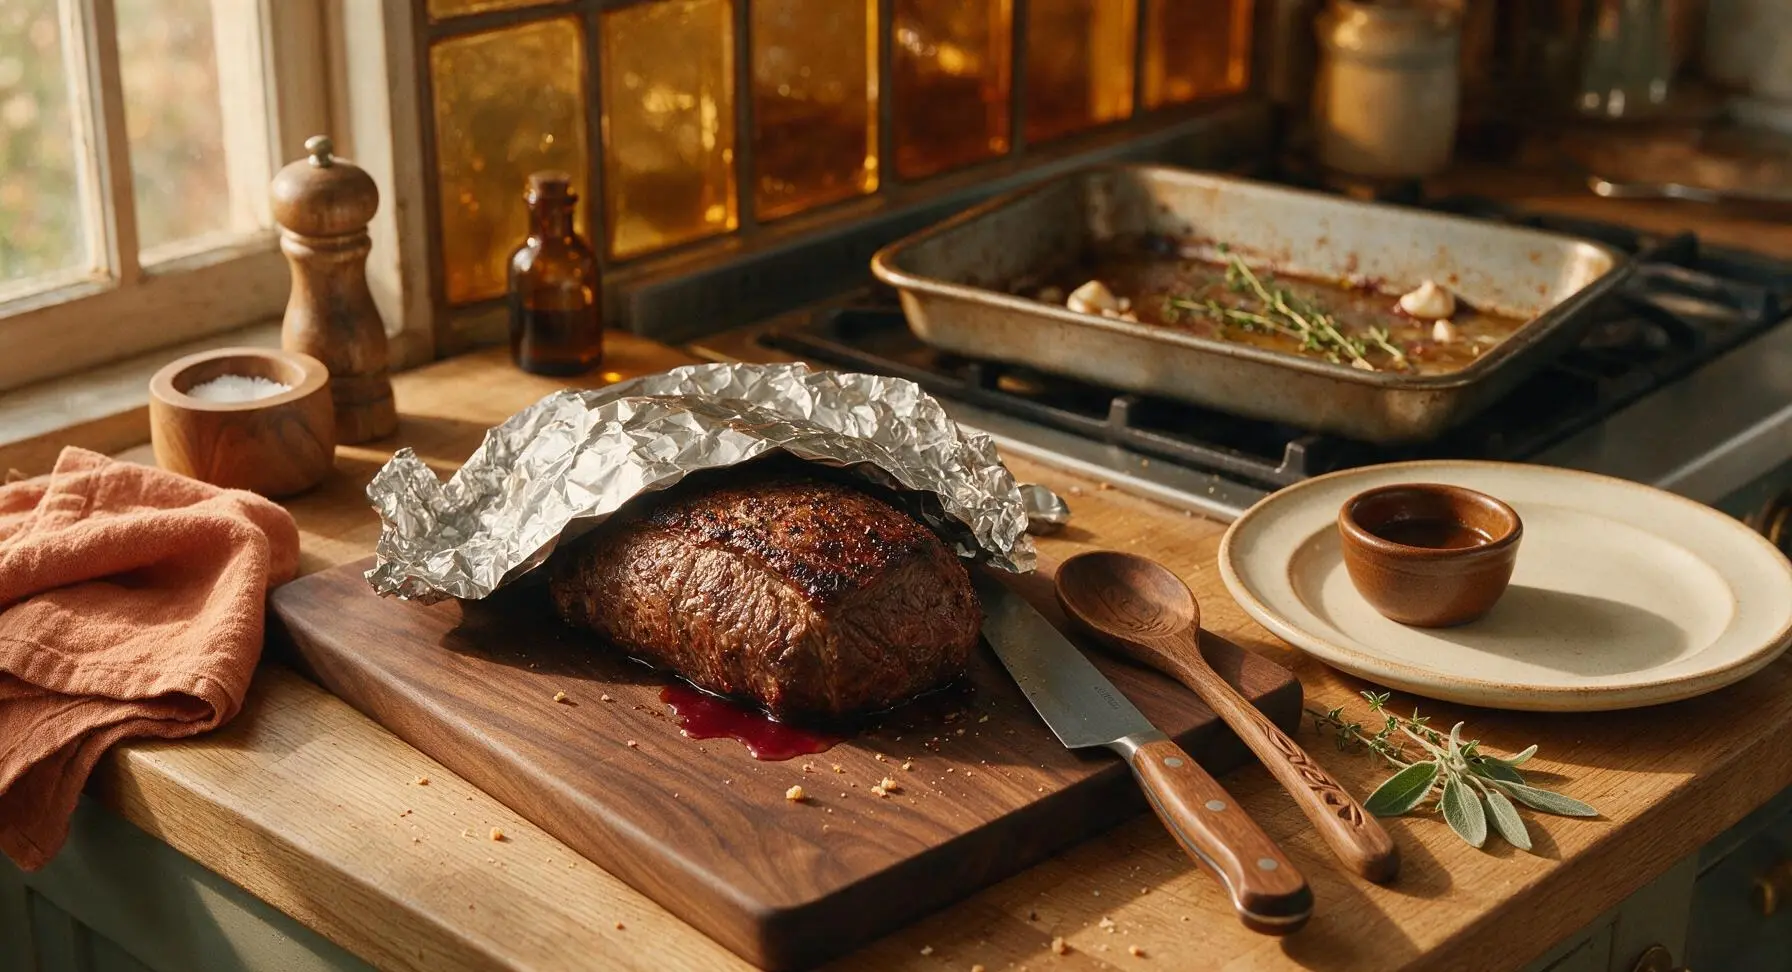
When the roast reaches 57°C (135°F) internally, use the tongs to transfer it from the wire rack back to the acacia wood cutting board. Loosely tent the roast with a sheet of heavy-duty aluminum foil (do not wrap tightly, as this will steam the crisp crust), and let it rest for 25-30 minutes. Resting allows muscle fibers to relax and reabsorb juices, preventing all the flavorful liquid from running out when you slice. Small amounts of jus collecting on the cutting board as it rests is normal.
Step 5
step5:Rest Roast Properly
6

Mix Horseradish Sauce

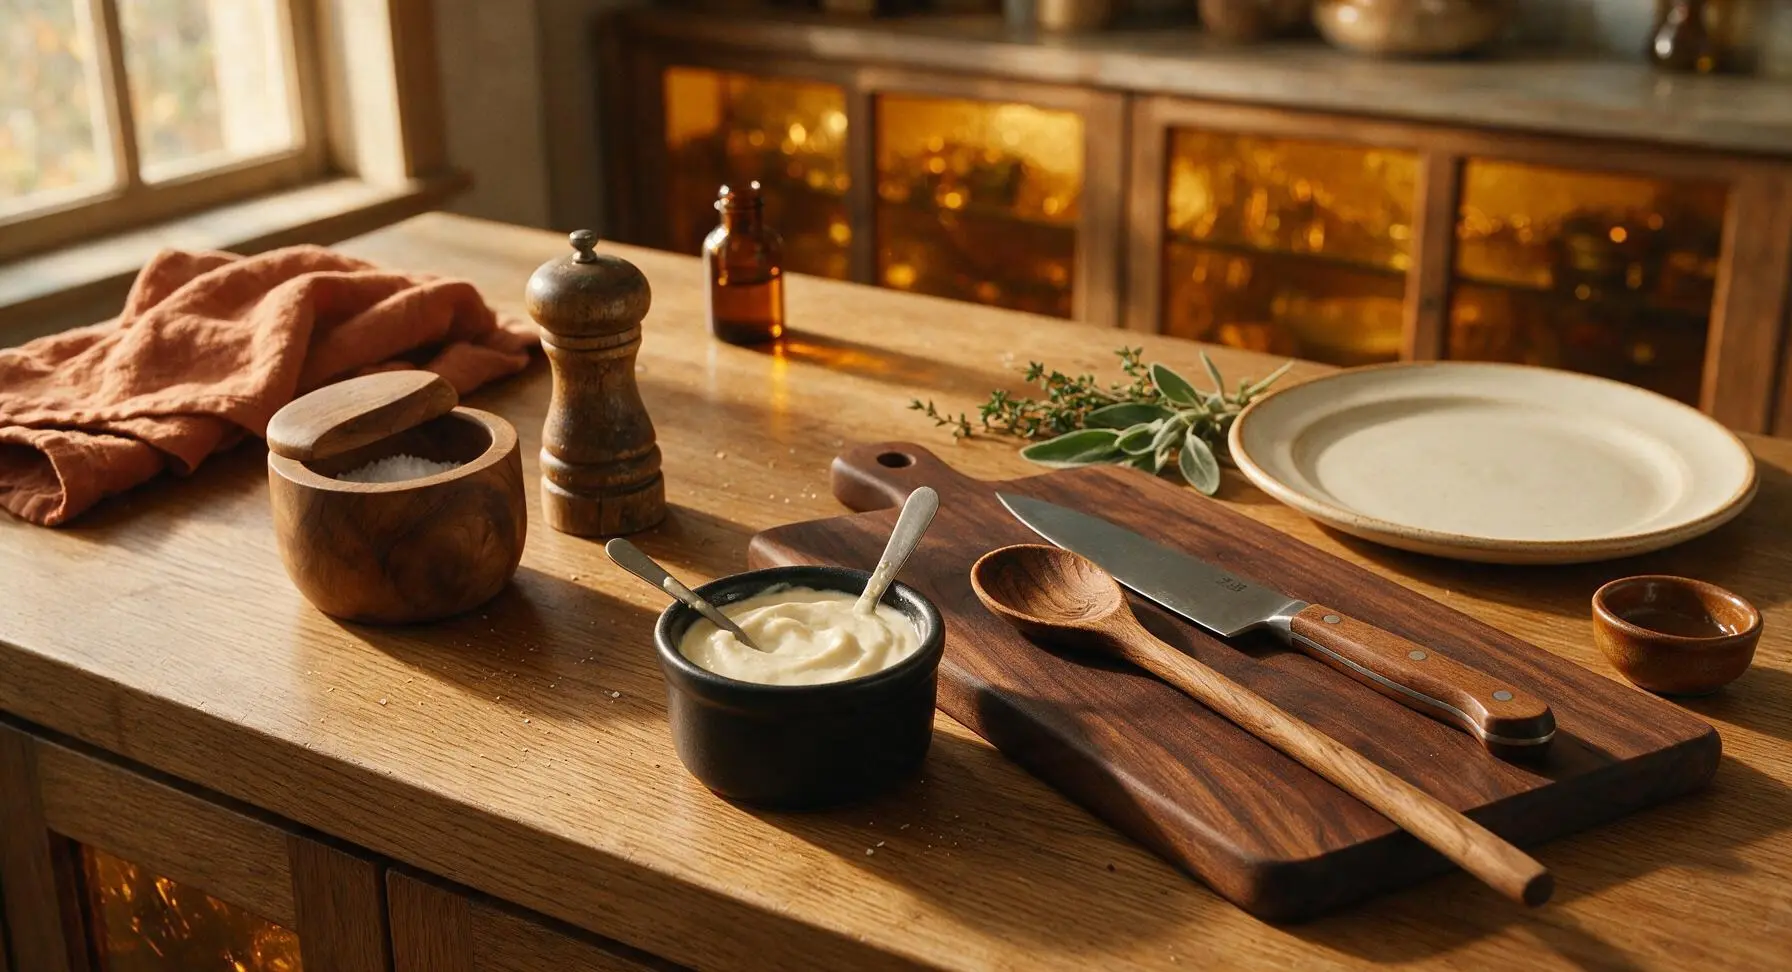
While the roast rests, combine ¼ cup full-fat sour cream, 2 tablespoons prepared horseradish, and 1 teaspoon Dijon mustard in the small matte black ceramic ramekin. Stir with the small stainless steel spoon until completely smooth, then season with a tiny pinch of salt and pepper to taste. The sauce should be pale cream color, with no lumps, and taste tangy and sharp to balance the rich beef.
Step 6
step6:Mix Horseradish Sauce
7

Slice and Plate Roast

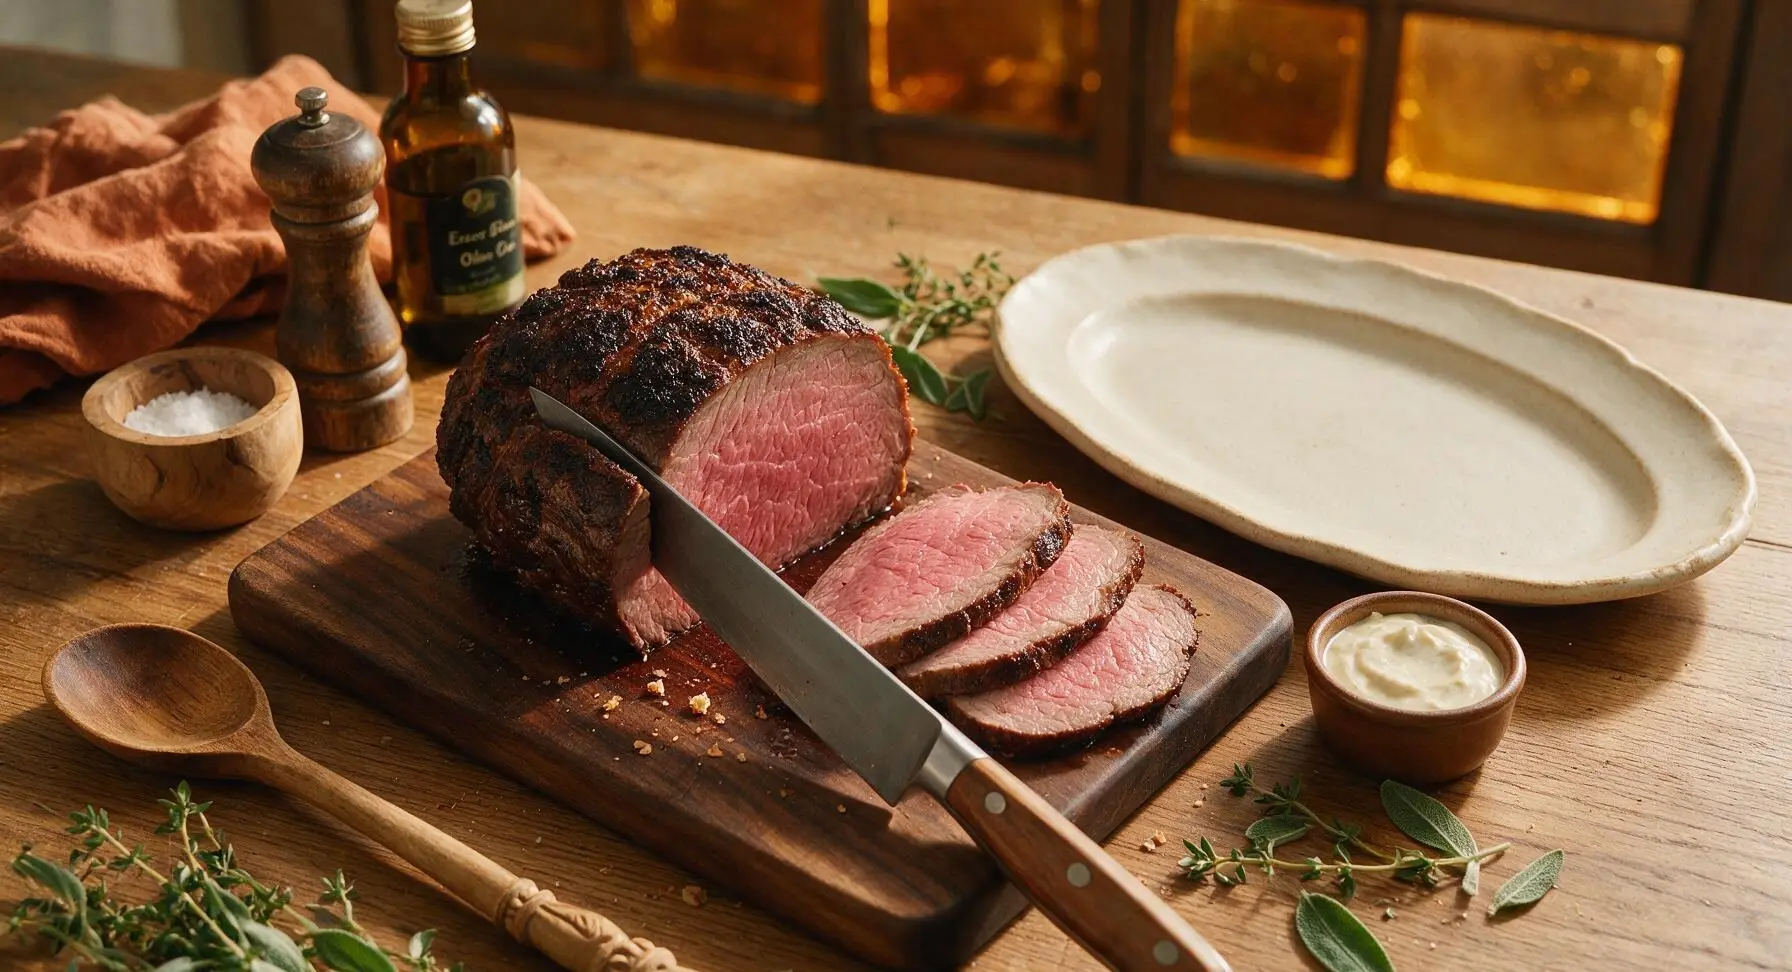
After the full 25-30 minute rest, remove the foil tent from the roast. Use the 20cm forged chef’s knife to slice the roast against the grain into uniform 5mm (¼-inch) thick slices. Arrange the slices fanned across the center of the matte cream stoneware oval platter, drizzle any accumulated jus from the cutting board over the top, scatter a few fresh thyme leaves for garnish, and serve with the horseradish sauce ramekin on the side. The slices should show a thin dark crust, even pink center, and glisten lightly with natural jus.
Step 7
step7:Slice and Plate Roast

Tips

1.Remove the roast from the refrigerator 1 full hour before cooking to bring it to room temperature: cold meat seizes when exposed to high heat, leading to uneven cooking with overdone, tough edges and an underdone center, even if you use a thermometer.
2.Always rely on an instant-read thermometer instead of cook time estimates: oven temperatures vary by 15°C (25°F) or more, and roast shapes differ, so temperature is the only foolproof guide. Remember carryover cooking will raise the roast’s internal temperature by 3-5°C (5-10°F) as it rests, so pull it at 57°C (135°F) for perfect medium-rare, not higher.
3.Slice the roast against the grain into ¼-inch thick pieces after resting: beef muscle fibers run in a consistent direction, so cutting across the fibers shortens them, resulting in tender, easy-to-chew bites. Slicing with the grain will produce chewy, stringy meat even if you cooked the roast perfectly.


✨ You May Also Like

Main Course
🍜 United Kingdom

A showstopping classic of tender seared beef, savory mushroom duxelles, and crisp prosciutto wrapped in flaky golden puff pastry, baked to juicy perfection.

⏱️ 2 hours 1Main Course ★ 4.7
Main Course
🍜 India

Tender charred marinated chicken simmered in a rich, spiced creamy tomato sauce, this iconic Anglo-Indian curry pairs perfectly with basmati rice or warm naan.

⏱️ 50 minuteMain Course ★ 4.6
Main Course
🍜 Thailand

Classic tangy, sweet, and savory Thai stir-fried rice noodles with shrimp, tofu, and crunchy garnishes, balancing all five core Thai flavor profiles.

⏱️ 30 minuteMain Course ★ 4.5
Main Course
🍜 United Kingdom

Crispy golden beer-battered cod and fluffy double-fried chips, served with tangy tartar sauce and malt vinegar: the timeless, beloved British pub comfort classic.

⏱️ 45 minuteMain Course ★ 4.7
Main Course
🍜 Mexico

Smoky, chile-marinated pork tacos with caramelized pineapple, fresh cilantro, and lime: a beloved classic Mexican street food perfect for casual summer gatherings.

⏱️ 1 hour 45Main Course ★ 4.8
Main Course
🍜 United States

Crunchy Fritos corn chips layered with savory beef chili and melted cheddar, topped with cool, zesty fixings for a beloved, cozy Tex-Mex comfort food.

⏱️ 35 minuteMain Course ★ 4.8

perfect roast beef:Frequently Asked Questions

1.What cut of beef is best for this perfect roast beef recipe? ▾
Boneless top sirloin is my absolute go-to for this recipe! It strikes the ideal balance of rich, beefy flavor, subtle even marbling for juiciness, and tender texture without the premium price tag of beef tenderloin. It holds its shape beautifully as it roasts, making it easy to get that consistent pink center and crisp crust, and slices cleanly with no tricky bones to navigate.
2.How far in advance should I salt my roast for the juiciest results? ▾
For the juiciest, most deeply seasoned roast, salt it with coarse kosher salt 12 to 24 hours before cooking, resting it uncovered on a wire rack in the fridge. This gives salt time to draw out surface moisture that dissolves the salt, which then reabsorbs deep into the meat to tenderize and season all the way through. If you’re short on time, salting right before roasting works, just won’t deliver that same deep, juicy flavor.
3.How do I get that crisp, savory crust everyone loves on roast beef? ▾
Start by patting the roast completely dry with paper towels before seasoning—surface moisture is the number one enemy of a good crust. Rub it all over with extra-virgin olive oil, then press a generous coating of coarse kosher salt, freshly ground black pepper, and minced garlic into every side. Kick off cooking at 475°F for the first 15 minutes to jumpstart the Maillard browning reaction that creates that crispy, flavorful outer layer.
4.What internal temperature do I need for that perfect pink medium-rare center? ▾
Pull your roast out of the oven when an instant-read thermometer inserted into the thickest part (avoiding any fat pockets) reads 125°F for that ideal warm, pink medium-rare center. Remember, carryover cooking will raise the internal temperature by 5 to 10°F as it rests, so pulling it at 125°F lands you right at a perfect 130 to 135°F, with no tough, overcooked gray edges. Ditch the poke test—a thermometer is 100% foolproof.
5.Why is resting the roast so important, and how long should I let it sit? ▾
Resting is non-negotiable for juicy roast beef! When you cook meat at high heat, all the juices rush toward the hot outer surface. If you slice it right out of the oven, those juices will pour right out onto your cutting board, leaving you with dry, bland meat. Let it rest loosely tented with foil for 20 to 30 minutes so those juices redistribute evenly back through every single slice.
6.Can I add extra seasonings beyond the salt, pepper, garlic, and olive oil? ▾
You absolutely can, but I recommend keeping additions minimal to let that rich, natural beef flavor shine! A pinch of smoked paprika, dried thyme, or rosemary mixed into your garlic-oil rub works beautifully, but skip heavy, sugary rubs or thick sauces during cooking—they’ll burn before the crust forms. Save bright, tangy add-ons like the classic horseradish sauce for serving, not for the roasting pan.
7.My roast always cooks unevenly—what am I doing wrong? ▾
The most common culprits are cooking an ice-cold roast straight from the fridge, using the wrong pan, or poor oven airflow. Let your roast sit out at room temperature for 45 to 60 minutes before cooking so it cooks evenly from edge to center. Use a heavy, shallow roasting pan (not a deep covered dish) and set your rack in the lower third of the oven to let hot air circulate around the whole roast.
8.How thick should I slice roast beef for the best eating texture? ▾
For tender, easy-to-eat slices, cut against the grain into ¼-inch thick slices once the roast is done resting. Cutting against the grain shortens the long, tough muscle fibers, so every bite feels tender even with a slightly lean cut like top sirloin. If you want extra-thin slices for sandwiches later, chill the cooked roast for a couple hours first to make clean, paper-thin cuts much easier.
9.What’s in that tangy horseradish sauce mentioned to serve with the roast? ▾
My go-to quick horseradish sauce takes just 2 minutes to mix: stir together ½ cup full-fat sour cream, 2 tablespoons drained prepared horseradish, 1 teaspoon apple cider vinegar, a pinch of kosher salt, and a small crack of black pepper. It’s bright, zesty, and cuts through the rich, savory beef perfectly, balancing every bite without overpowering that classic roast flavor. Adjust the horseradish to match your preferred heat level.
10.Can I make this roast ahead of time for a Sunday dinner or holiday gathering? ▾
Absolutely! Roast the beef a day ahead, let it cool completely, then wrap it tightly and store it in the fridge. When you’re ready to serve, slice it cold, arrange slices in a baking dish with a few tablespoons of beef broth, cover tightly, and warm in a 300°F oven for 10 to 15 minutes until just heated through. It keeps that perfect pink center, and you’ll skip last-minute cooking stress on gathering day.
11.What should I do with the garlicky pan drippings left after roasting? ▾
Don’t toss those golden drippings—they’re total liquid gold! Pour off any excess clear fat, then set the roasting pan on the stovetop over medium heat, add a splash of beef broth or dry red wine, and scrape up all the browned flavorful bits from the pan bottom. Simmer for a few minutes, strain, and you’ve got a quick, rich au jus to drizzle over slices, no fancy gravy recipe required.
12.How do I store leftover roast beef, and how long will it stay good? ▾
Let leftover roast beef cool completely within 2 hours of cooking, then wrap it tightly in plastic wrap or stash it in an airtight container in the fridge for up to 4 days. You can also freeze tightly wrapped slices for up to 3 months for quick meals. Leftovers work great for sandwiches, hash, or salads—just avoid reheating them too hot, or you’ll overcook that perfect pink center.

Comments (8)

2 days ago

OMG this roast beef was a total game changer for our Sunday family dinner! I was so nervous I’d overcook it, but following the temp guide exactly gave us perfect medium-rare all the way through, no weird gray edges. My kids devoured two slices each and asked when we’re making it again. SO good, even my picky mother-in-law raved about it! 10/10 will be making this for every potluck from now on.

1 week ago

Took a stab at this for my buddy’s birthday cookout and it turned out insane. Let it rest the full time like the recipe said and the juices didn’t run all over the plate when we sliced it. Only thing I changed was adding a little extra garlic to the rub, personal preference. Cook time was spot on for my 3lb roast, no guesswork needed.

3 days ago

Really loved the flavor, but my roast came out a little more well done than I wanted even when I pulled it at the temp listed? I used a convection oven, did that throw things off? Tasted great regardless, just wish it had that pink middle I was going for.

2 days ago

Hi Sarah! Convection ovens cook about 25% faster than conventional ones, so that’s likely the culprit! Next time, drop your oven temp by 25 degrees F and start checking the internal temp 15-20 minutes early to hit that perfect medium-rare. So glad you enjoyed the flavor though!

yesterday

Made this yesterday for my weekly meal prep and it’s perfect for slicing thin for sandwiches all week. So much better than the deli roast beef I usually buy, way less sodium and way more flavor. 1 hour 15 minutes cook time was totally doable even on a busy weeknight, I was shocked!

5 minutes ago

Wait this is genius, I never thought to make roast beef for weekly sandwich prep! How thin are you slicing it? I’ve been looking for a cheaper alternative to deli meat lately too.

1 week ago

Brought this to our neighborhood block party last weekend and people were hovering around the platter the whole time! I served it with a little horseradish cream on the side and it was chef’s kiss. Only complaint is I wish I made a bigger roast, every last slice was gone in 10 minutes flat.

5 days ago

So happy it was a block party hit! Horseradish cream is such a perfect pairing, great call. For next time, plan for about 1/2 pound of roast per person if you’re serving a crowd — that’ll make sure no one misses out!

2 weeks ago

First time ever making roast beef, I was so stressed I’d ruin it for our first anniversary dinner at home with my wife. Followed every step to the letter, seared it on all sides first, used a meat thermometer, let it rest — she said it was better than the roast beef we had at our wedding reception! Wild. Only question: can I use the same method for a bigger 5lb roast for Thanksgiving this year?

1 week ago

Congrats on nailing the anniversary dinner! I did a 5lb roast with this recipe last Christmas, just added about 30 minutes total cook time and checked the temp often, turned out perfect. You’ve got this!

5 days ago

That makes my day to hear, happy belated anniversary! @HomeCookHero is exactly right — for a 5lb roast, add roughly 25-35 minutes of cook time, and just keep an eye on that internal temp to avoid overcooking. It’ll be a Thanksgiving hit!

30 minutes ago

Wait, is there a way to make this work without a cast iron skillet? I only have a regular stainless steel roasting pan, no cast iron, and I really want to try this this weekend. Medium difficulty has me a little nervous as someone who mostly makes one-pan meals.

5 minutes ago

I made this last month with a regular stainless pan and it worked totally fine! Just make sure your pan is oven-safe all the way up to 425 degrees, and get it nice and hot before searing, same as you would with cast iron. You got this!

just now

Great question! @RVersusan is spot on — any oven-safe heavy-bottomed pan works for the sear, no cast iron required. If your roasting pan is thin, you can do the sear on the stovetop in a regular skillet first then transfer the roast to the roasting pan for the oven part. It’ll turn out great!

3 days ago

I’ve been making roast beef for 40 years and decided to give this recipe a shot after my granddaughter sent it to me. The rub is really tasty, I loved the rosemary and black pepper combo! My only note is that for folks at high altitude, you might need to add a little extra cook time — mine took an extra 12 minutes to hit temp at 6000ft.

2 days ago

Thank you for the high altitude tip! I’m at 7000ft and always have to guess at adjustments, this saves me so much trial and error. Can’t wait to make this for Sunday supper!

yesterday

Thanks so much for sharing that high altitude tip, Liz! That’s such helpful info for folks cooking above 5000ft — I’m going to add that note to the recipe card for future cooks. So glad you enjoyed the rub!



