
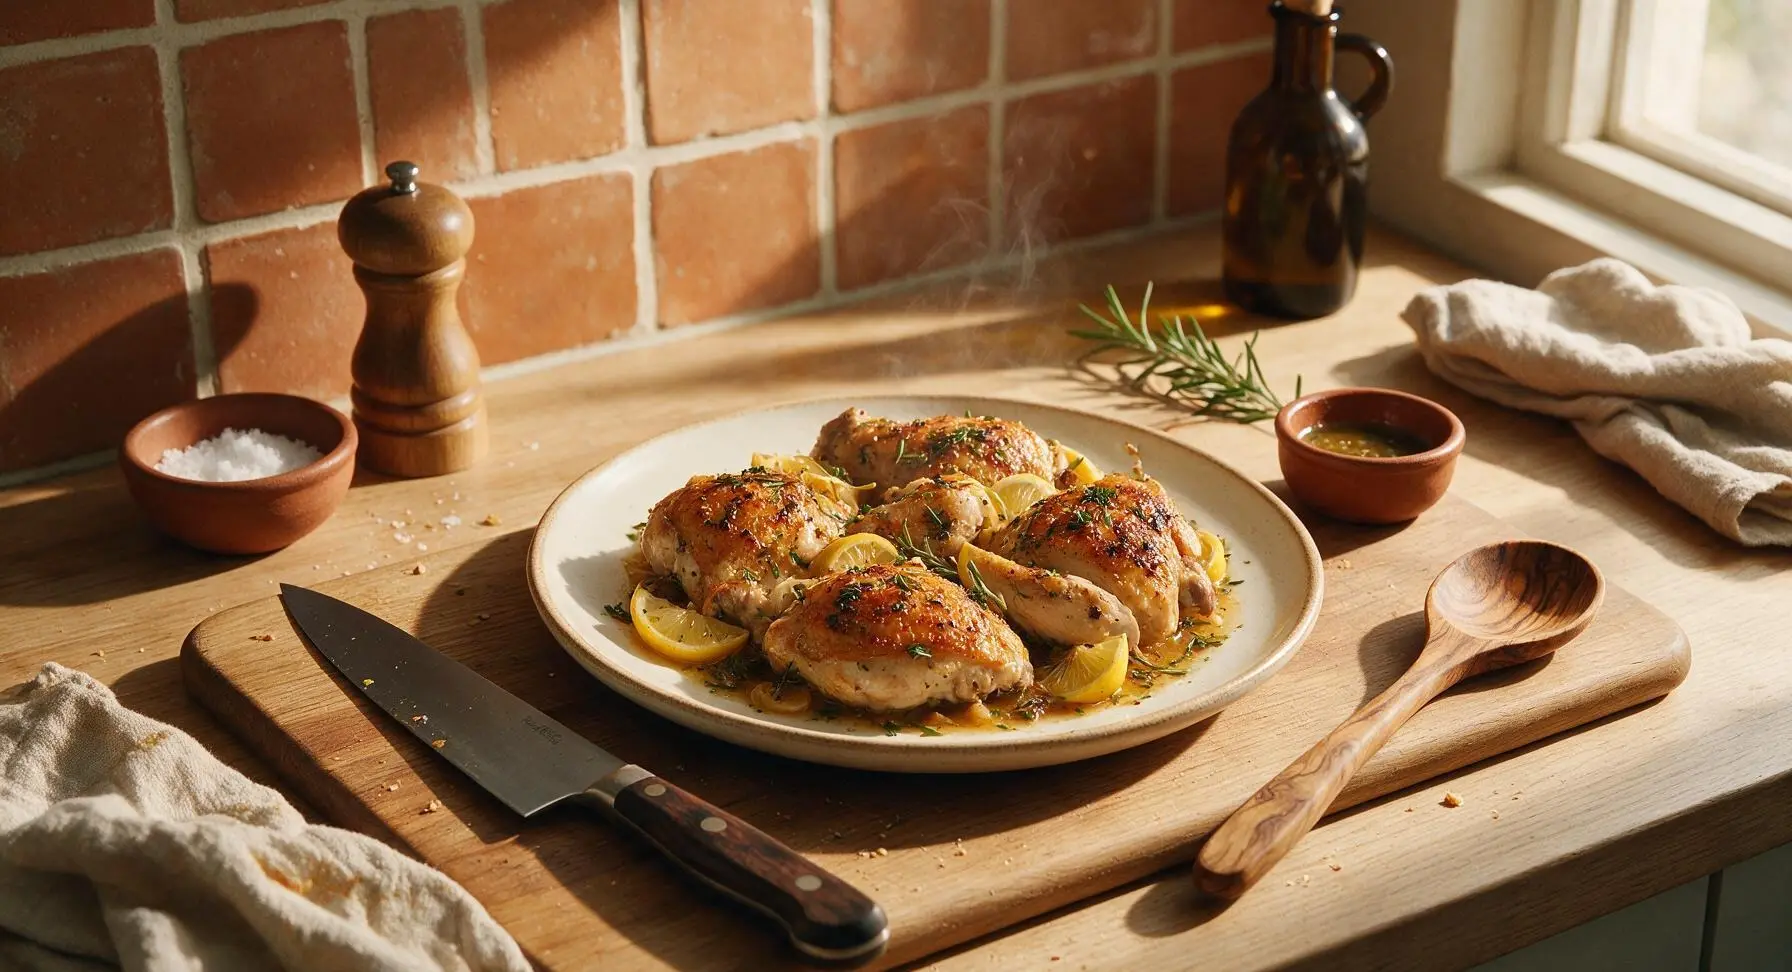
baked lemon chicken

title 1
baked lemon chicken
⏱️ cook time 35 minutes
🍽️ servings 4
⚡ Difficulty easy

intro

Juicy, crisp-skinned baked chicken infused with bright lemon and earthy herbs, with a simple tangy pan sauce—minimal prep, one pan, perfect for easy weeknights.

Ingredients
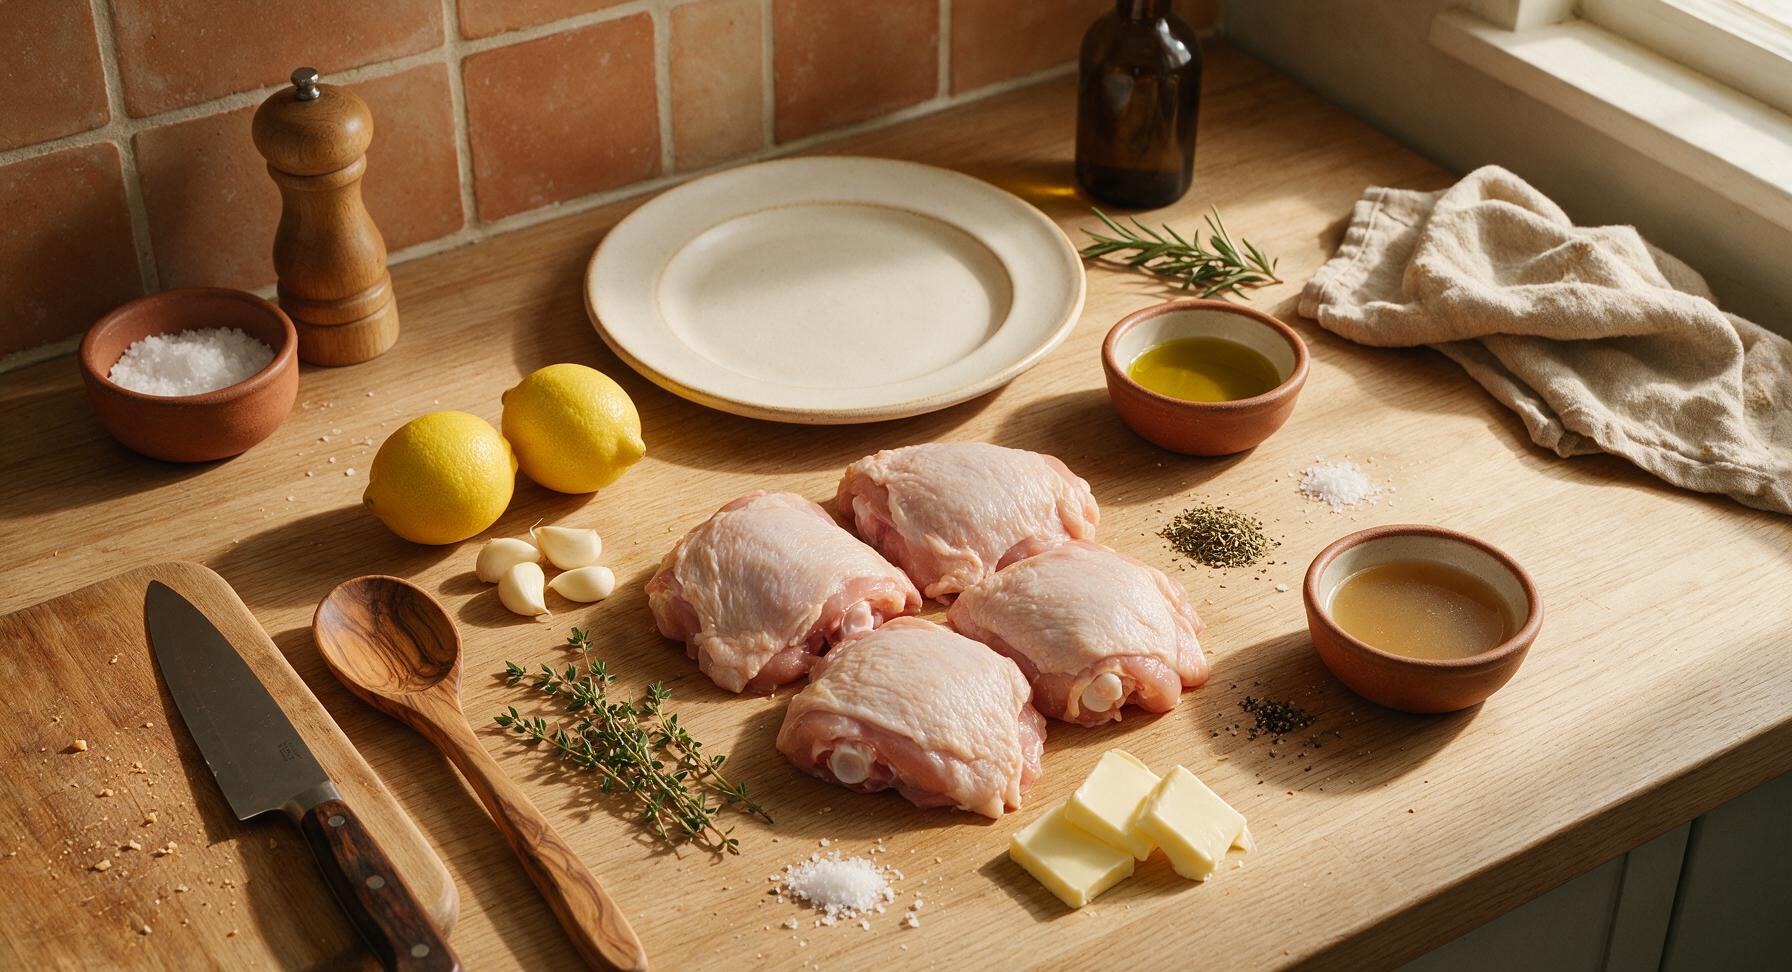
Bone-in, skin-on chicken thighs 1.1kg (4 pieces, ~275g each)
Fresh lemons 2 medium (~150g each)
Extra-virgin olive oil 3 tbsp (45ml)
Garlic cloves 4 large (~20g total)
Fresh thyme 6 sprigs (~10g total)
Dried oregano 1 tsp
Kosher salt 1 tsp
Freshly cracked black pepper 1/2 tsp
Unsalted butter 2 tbsp (28g), cut into 4 pats
Low-sodium chicken broth 1/4 cup (60ml)

Steps

1

Prep Chicken and Aromatics

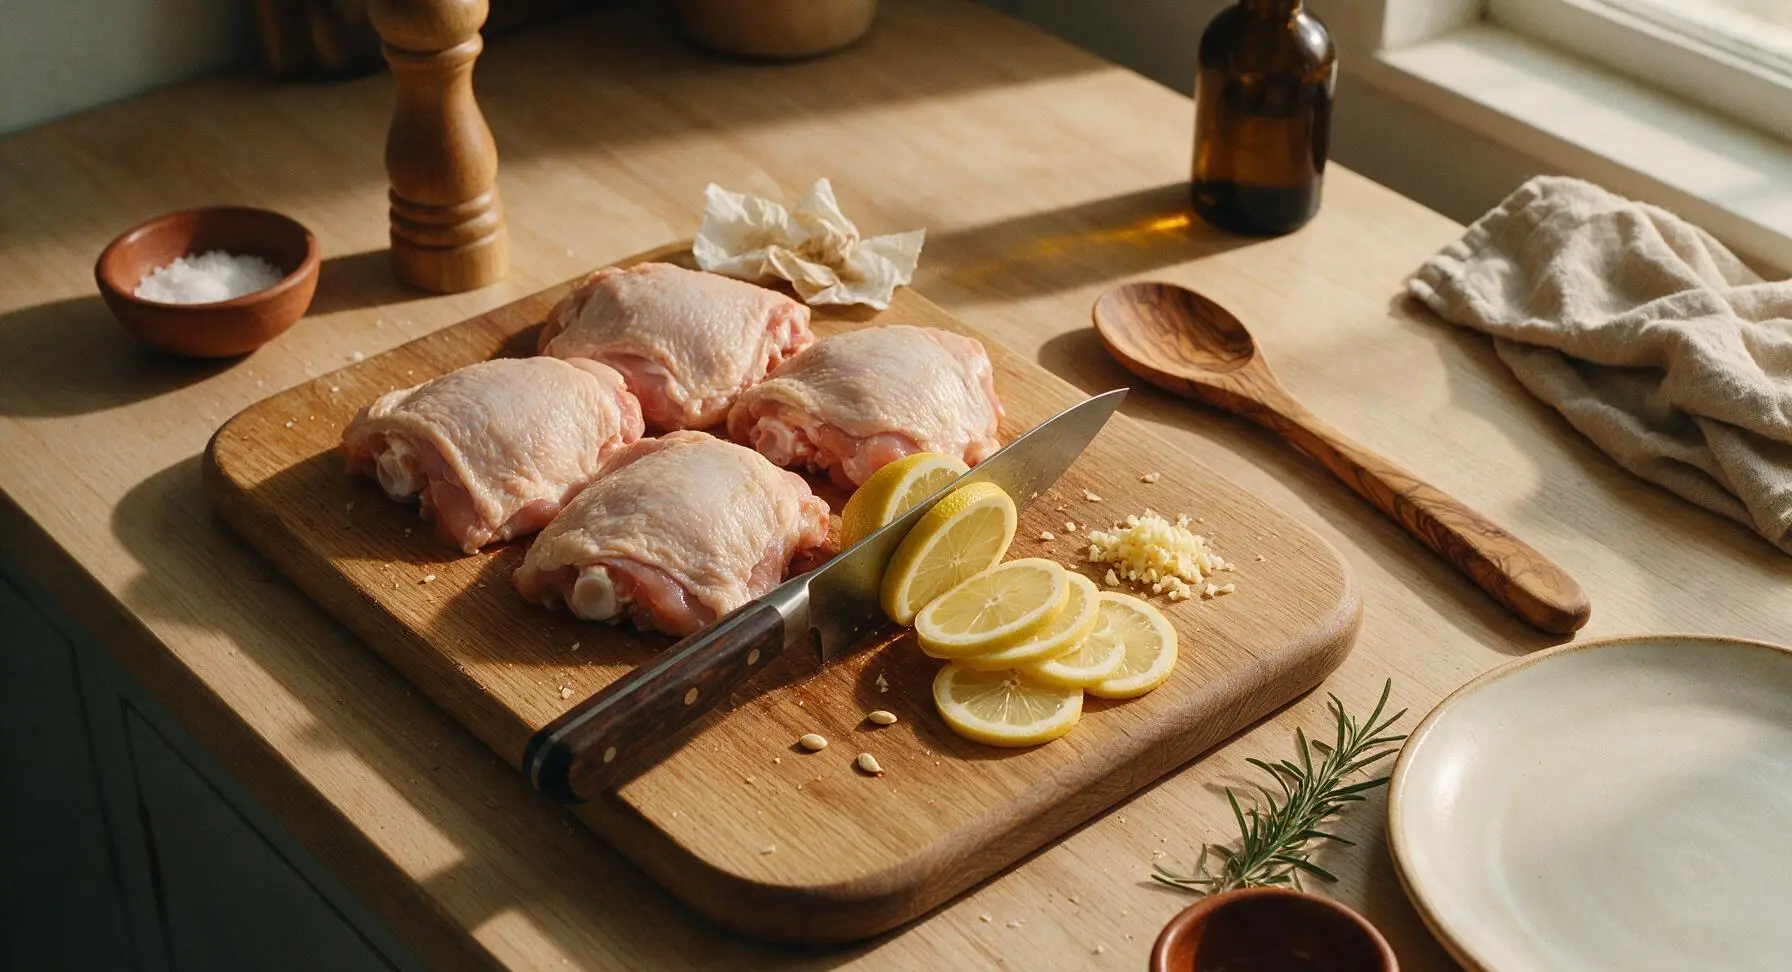
Pat the 4 bone-in, skin-on chicken thighs completely dry with paper towels, ensuring no excess moisture remains on the skin (this is critical for crispiness). Slice one lemon into 1/4-inch thick rounds, removing any visible seeds. Juice the second lemon to yield 2 tablespoons of fresh juice, discarding seeds. Peel and finely mince the 4 garlic cloves.
Step 1
step1:Prep Chicken and Aromatics
2

Mix Herb Marinade

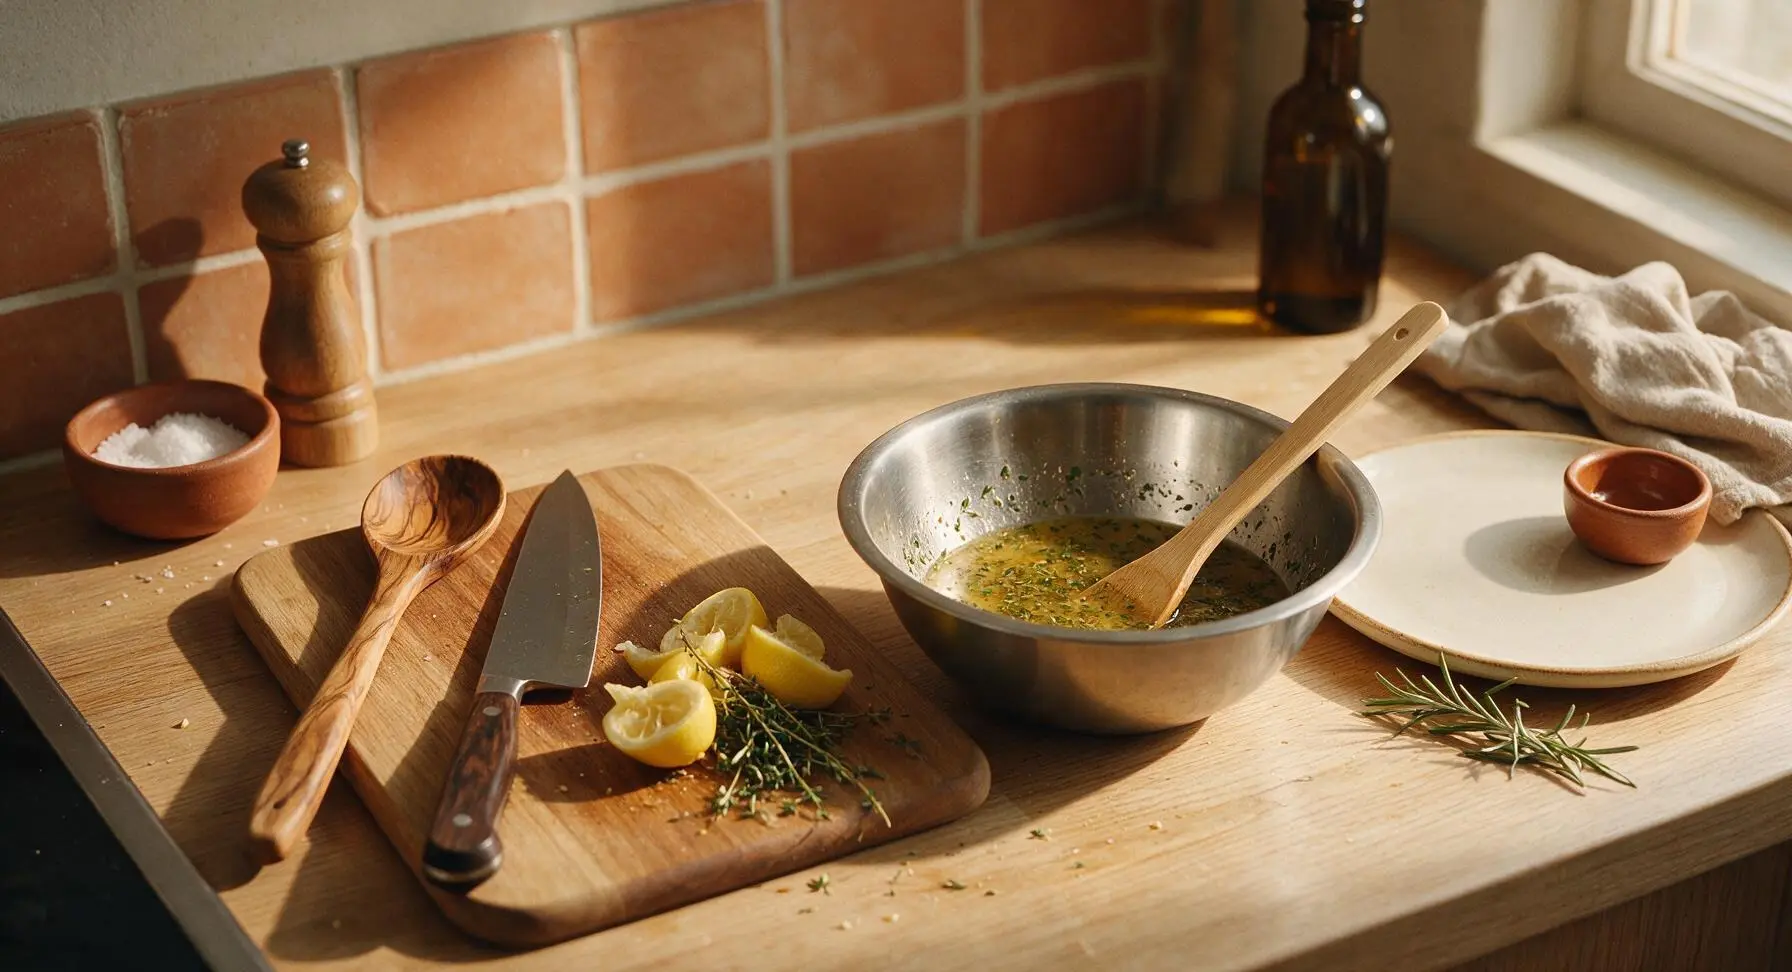
In the brushed stainless steel small mixing bowl, combine the 3 tablespoons extra-virgin olive oil, 2 tablespoons fresh lemon juice, minced garlic, 1 tablespoon picked fresh thyme leaves (stripped from 4 sprigs), 1 teaspoon dried oregano, 1 teaspoon kosher salt, and 1/2 teaspoon cracked black pepper. Stir with the light bamboo mixing spoon until fully combined into a fragrant, pale golden mixture with visible flecks of green herbs.
Step 2
step2:Mix Herb Marinade
3

Assemble Baking Dish

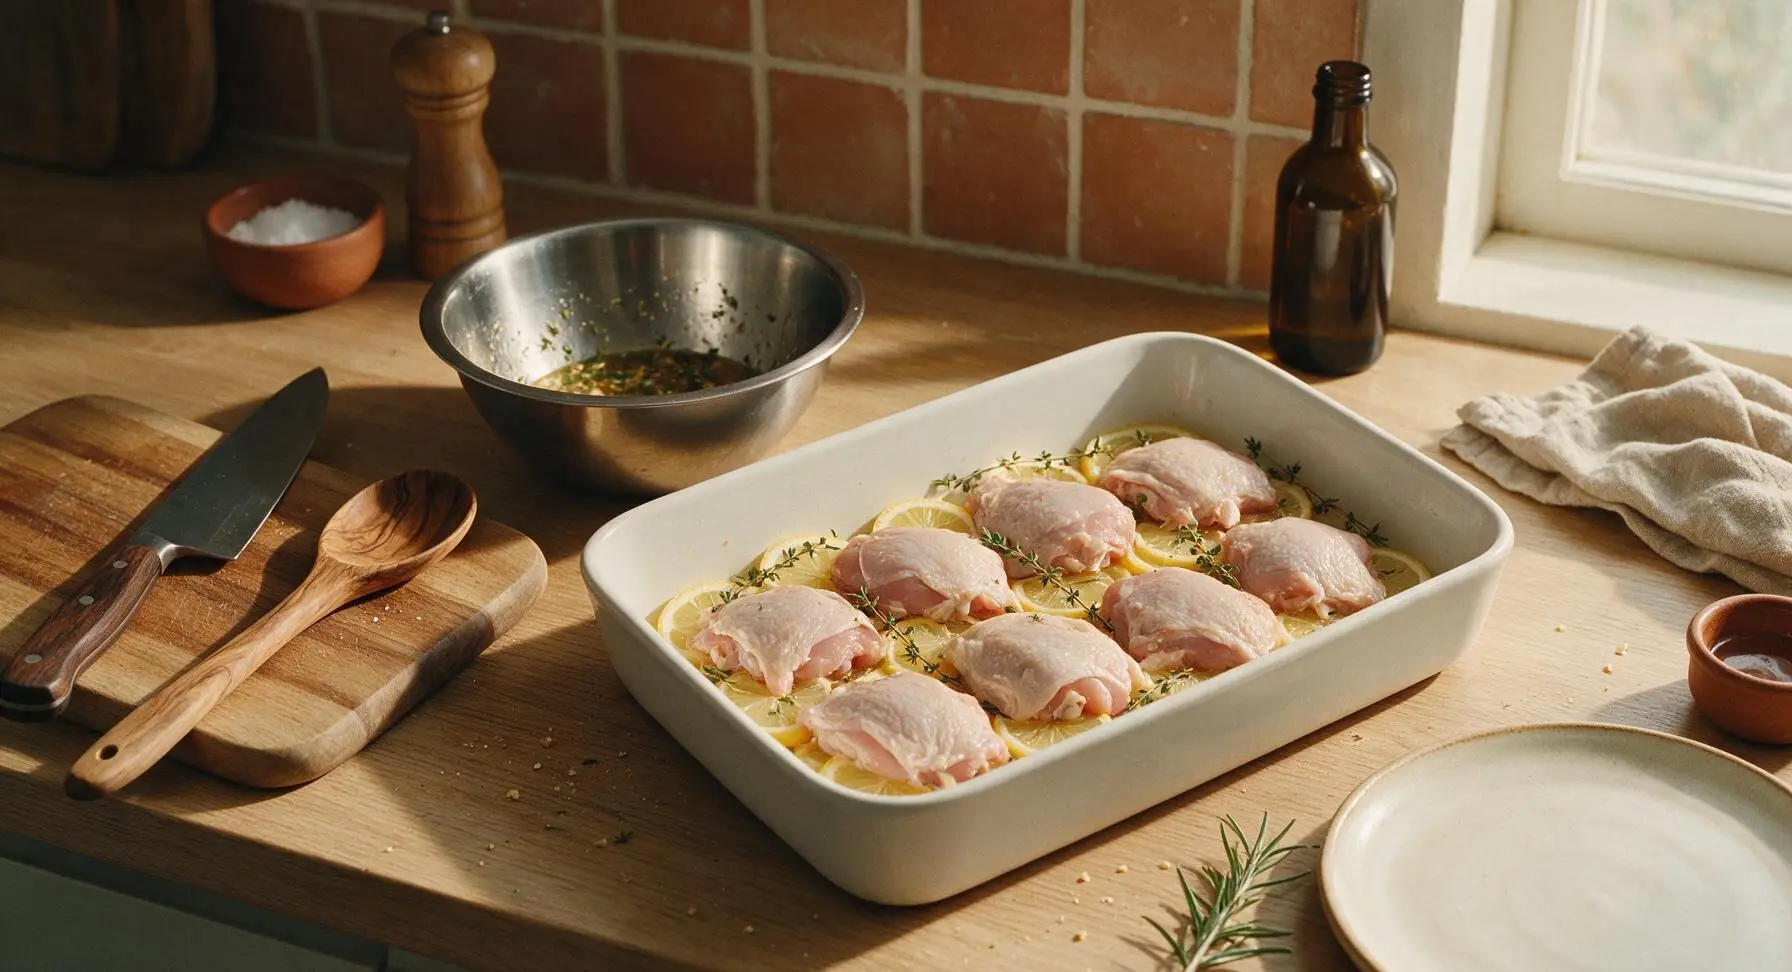
Place the 9x13 inch matte white ceramic baking dish on the counter. Arrange the sliced lemon rounds in a single even layer across the bottom of the dish, scattering the remaining 2 whole thyme sprigs over the lemons. Set the dried chicken thighs skin-side up on top of the lemon and thyme bed, leaving 1cm of space between each piece to allow hot air to circulate for even crisping.
Step 3
step3:Assemble Baking Dish
4

Coat Chicken in Marinade

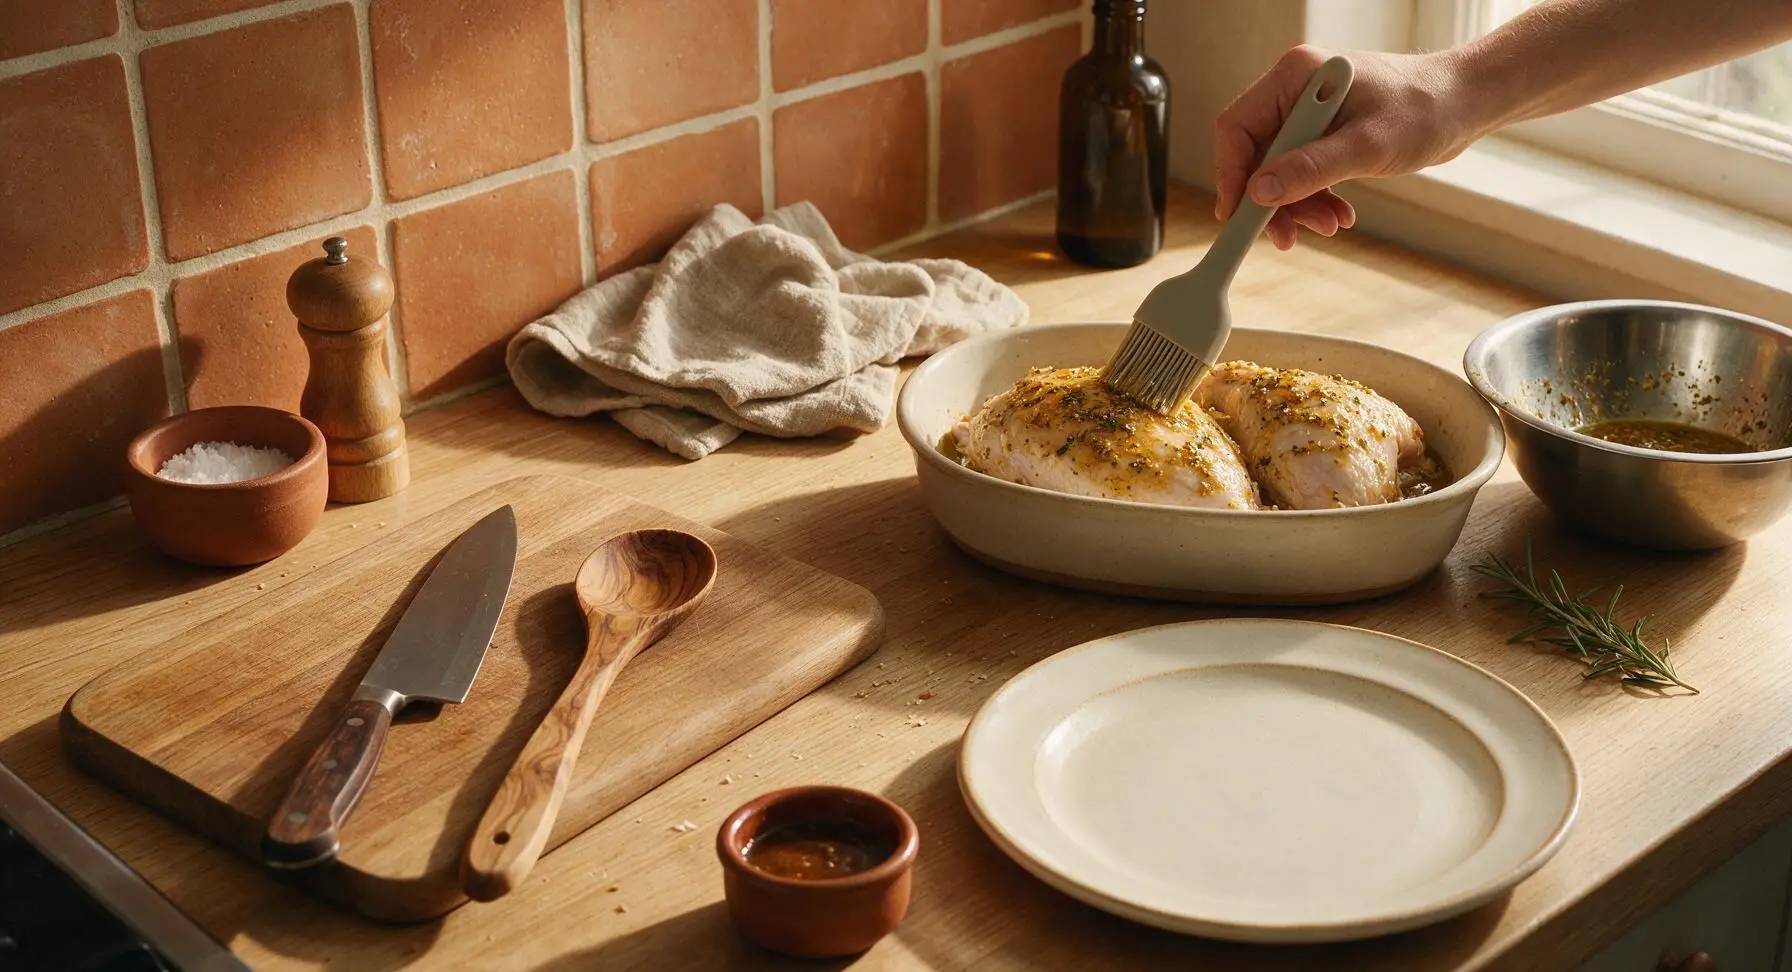
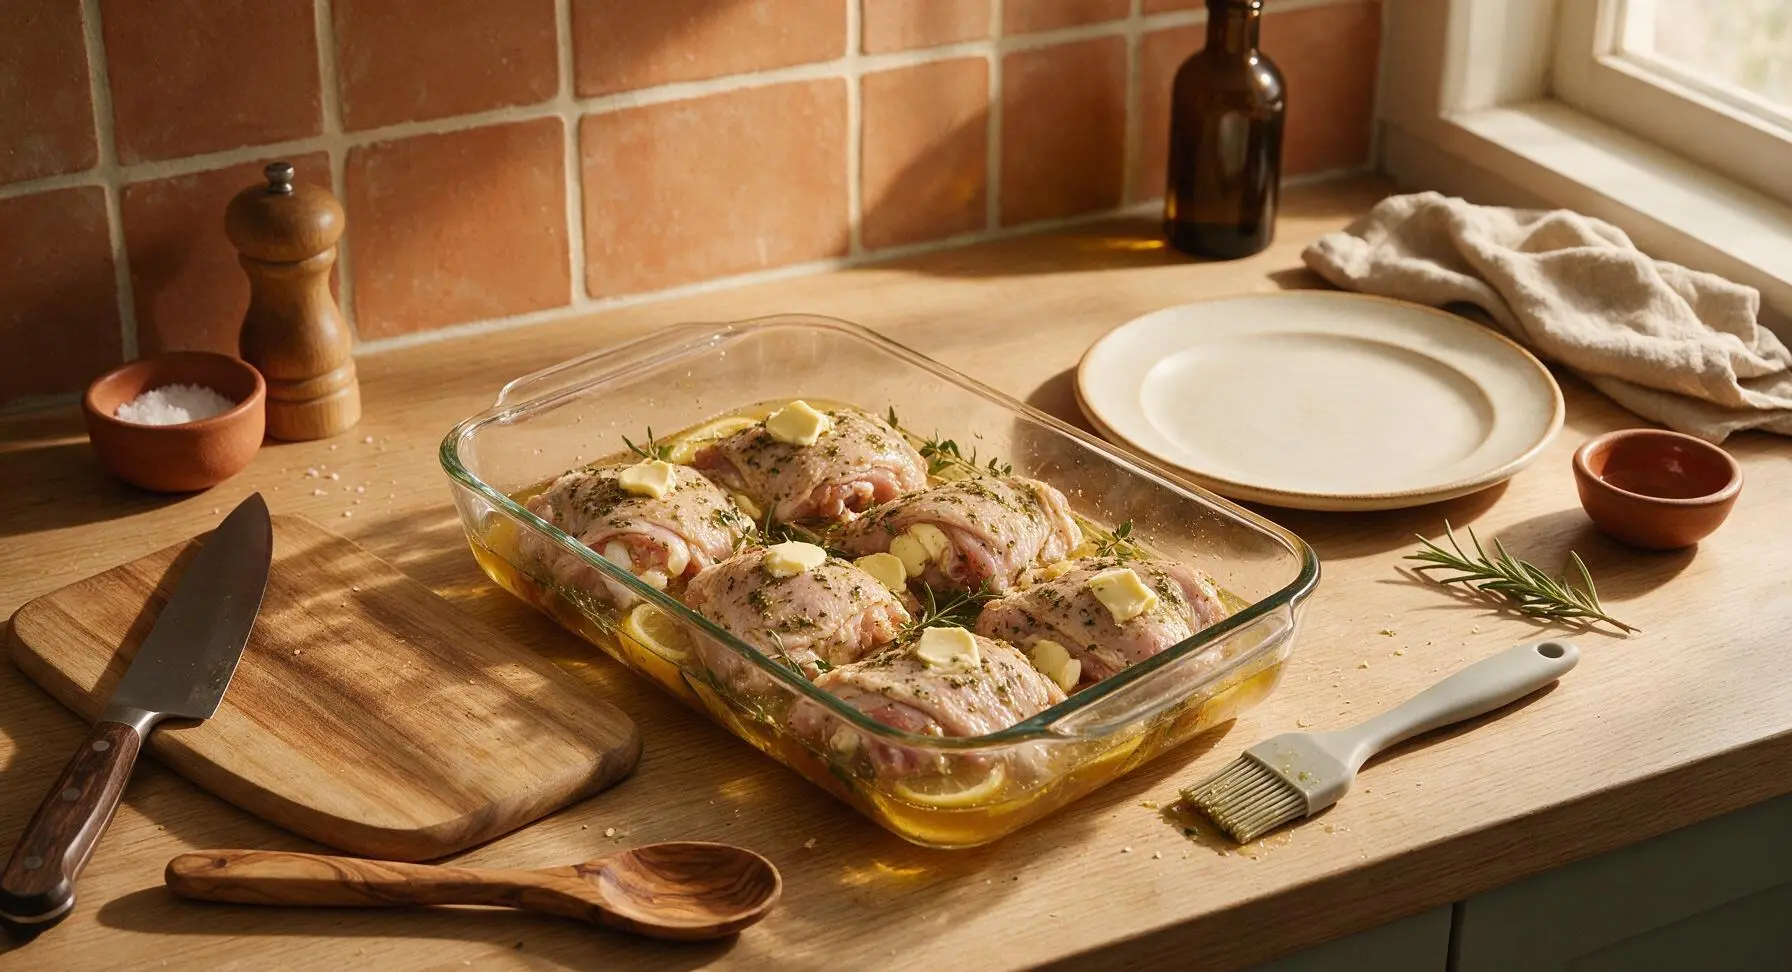
Use the light grey silicone basting brush to brush every surface of the chicken thighs (especially the exposed skin) with the herb marinade, making sure to work marinade into the crevices between the skin and meat. Tuck one small pat of butter under the loosened skin of each chicken thigh, then set any remaining butter pats on top of the chicken skin. Pour the 1/4 cup chicken broth into the bottom of the dish, taking care not to pour it directly over the chicken skin to preserve crispness.
Step 4
step4:Coat Chicken in Marinade
Step 4
step4:Coat Chicken in Marinade
5

Bake Until Golden Crisp

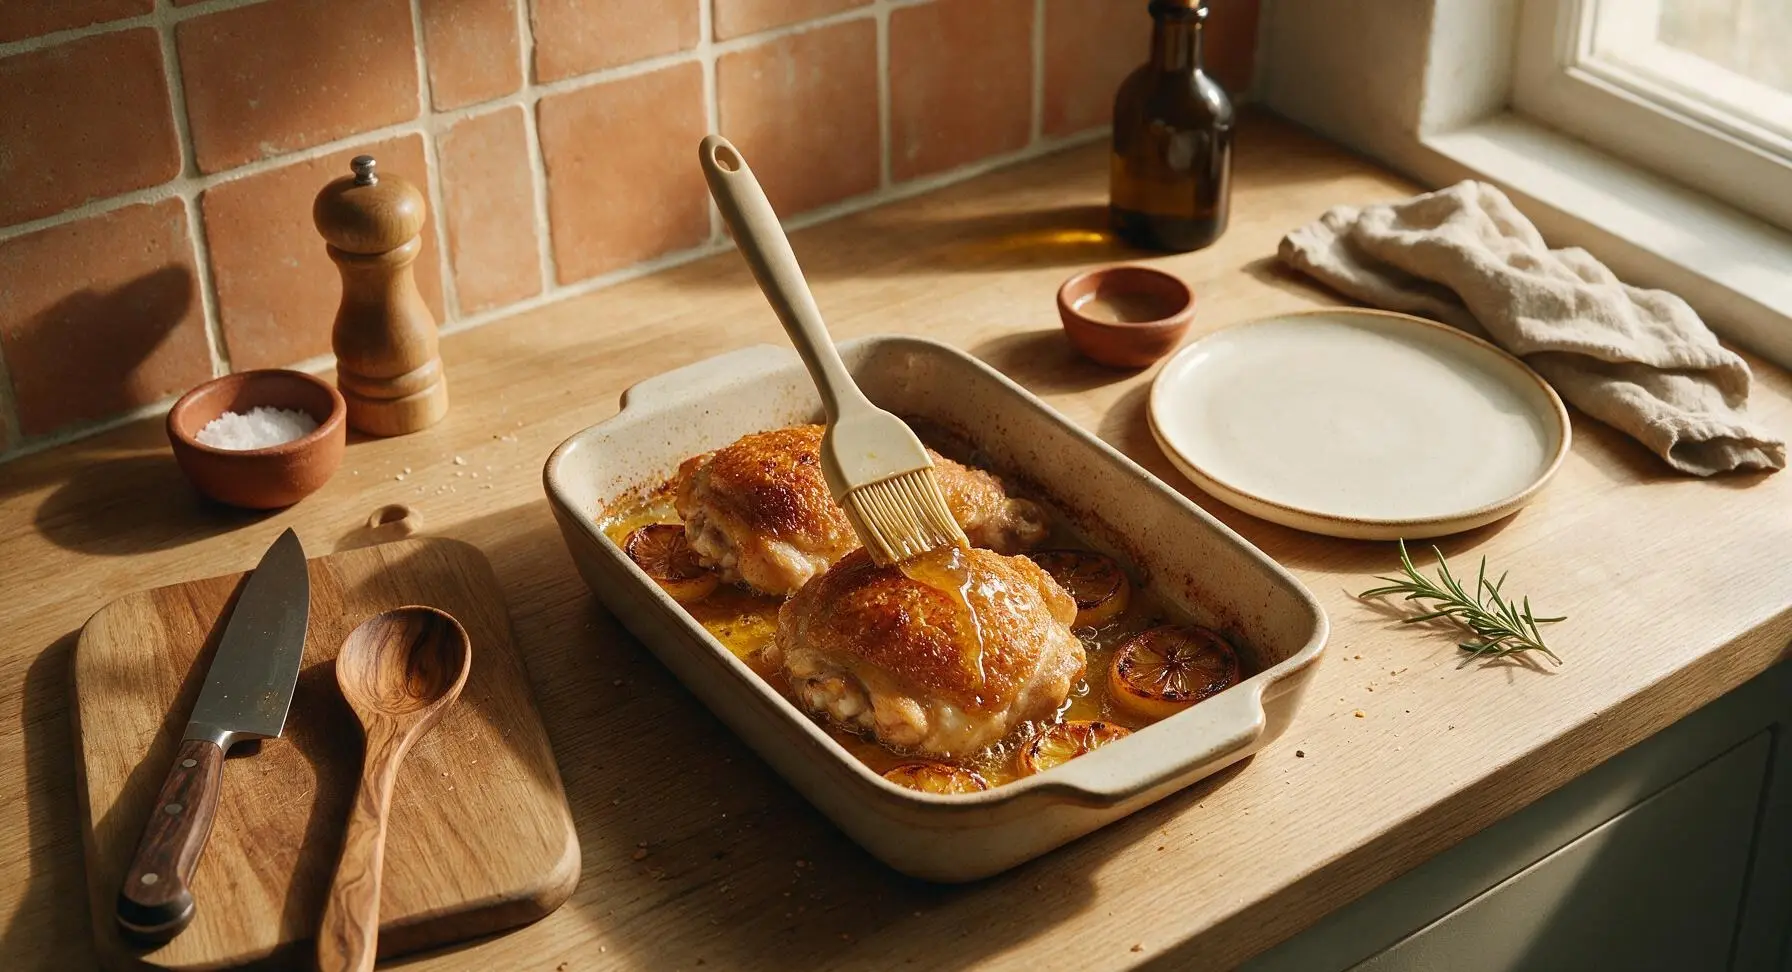
Place the baking dish on the middle rack of a preheated 400°F (200°C) oven. Bake for 30 minutes, then use the silicone basting brush to baste the chicken with accumulated pan juices. Bake for an additional 5 minutes, or until the chicken skin is deep golden and crispy, and the internal temperature at the thickest part of the thigh (not touching bone) reads 165°F (74°C) on the digital instant-read meat thermometer.
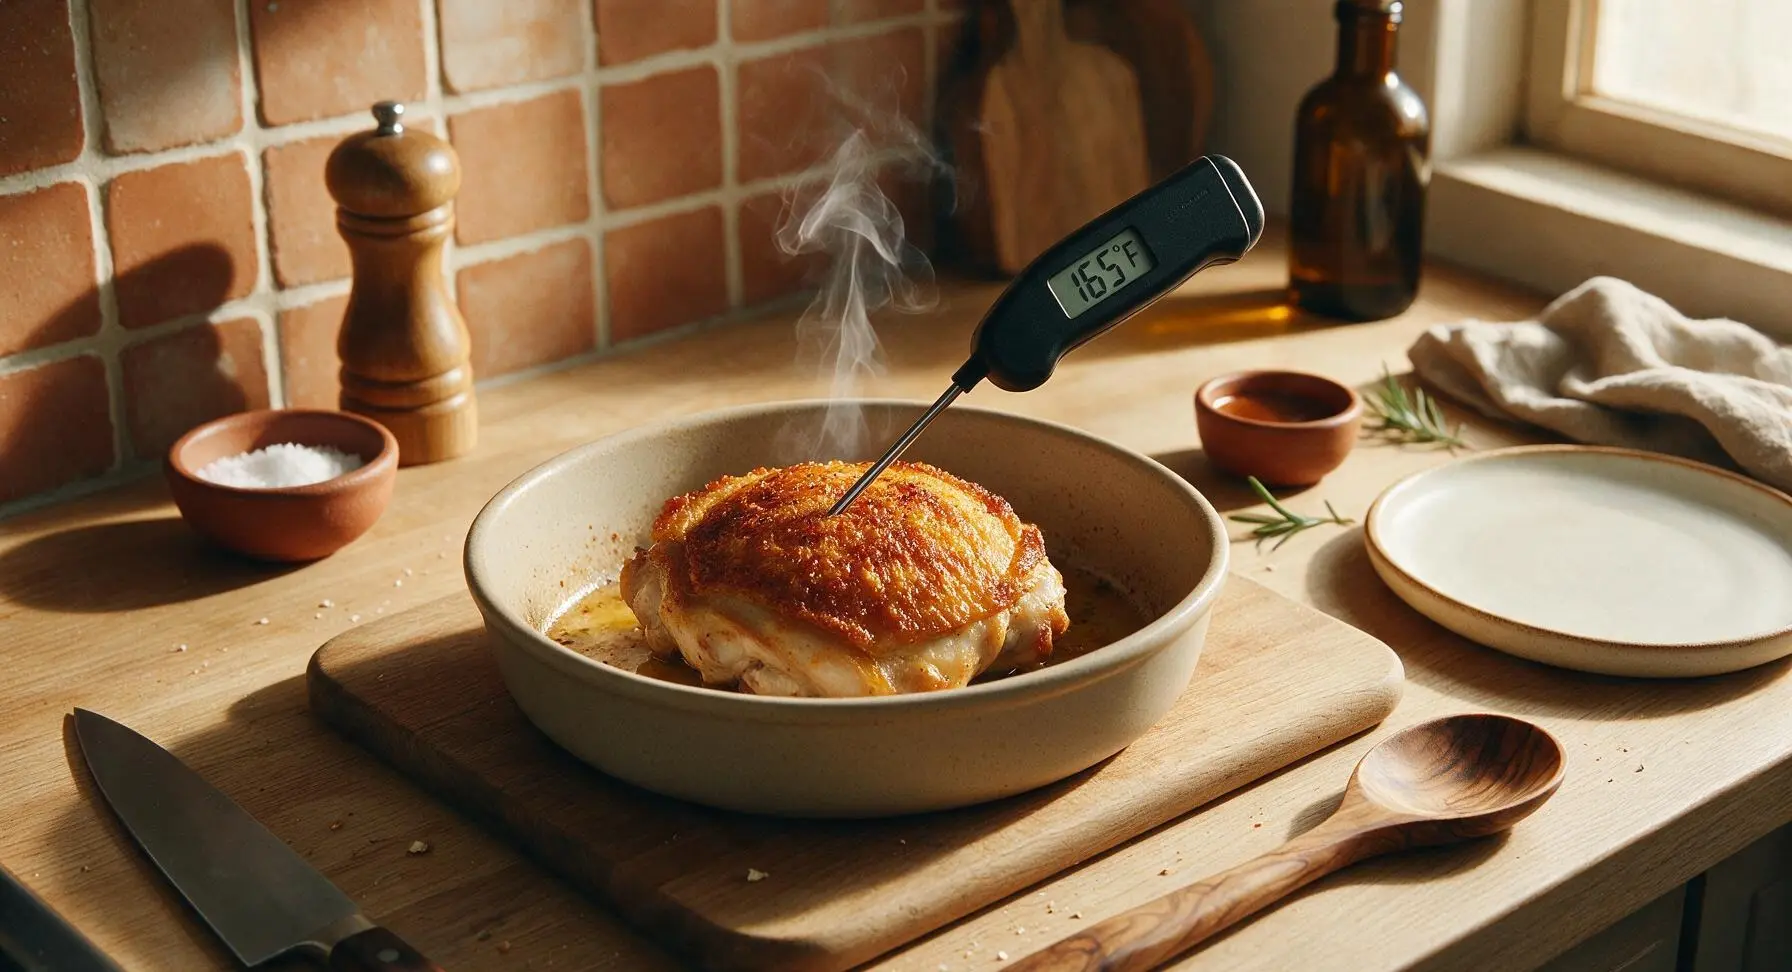
Step 5
step5:Bake Until Golden Crisp
Step 5
step5:Bake Until Golden Crisp
6

Rest Chicken Before Serving

Set the hot baking dish on a heat-safe spot on the counter, and let the chicken rest for 5 full minutes. This allows muscle fibers to relax and juices to redistribute through the meat, ensuring every bite is juicy rather than having juices run out when cut. Spoon the accumulated pan juices from the bottom of the dish into the matching matte cream ceramic ramekin for serving.
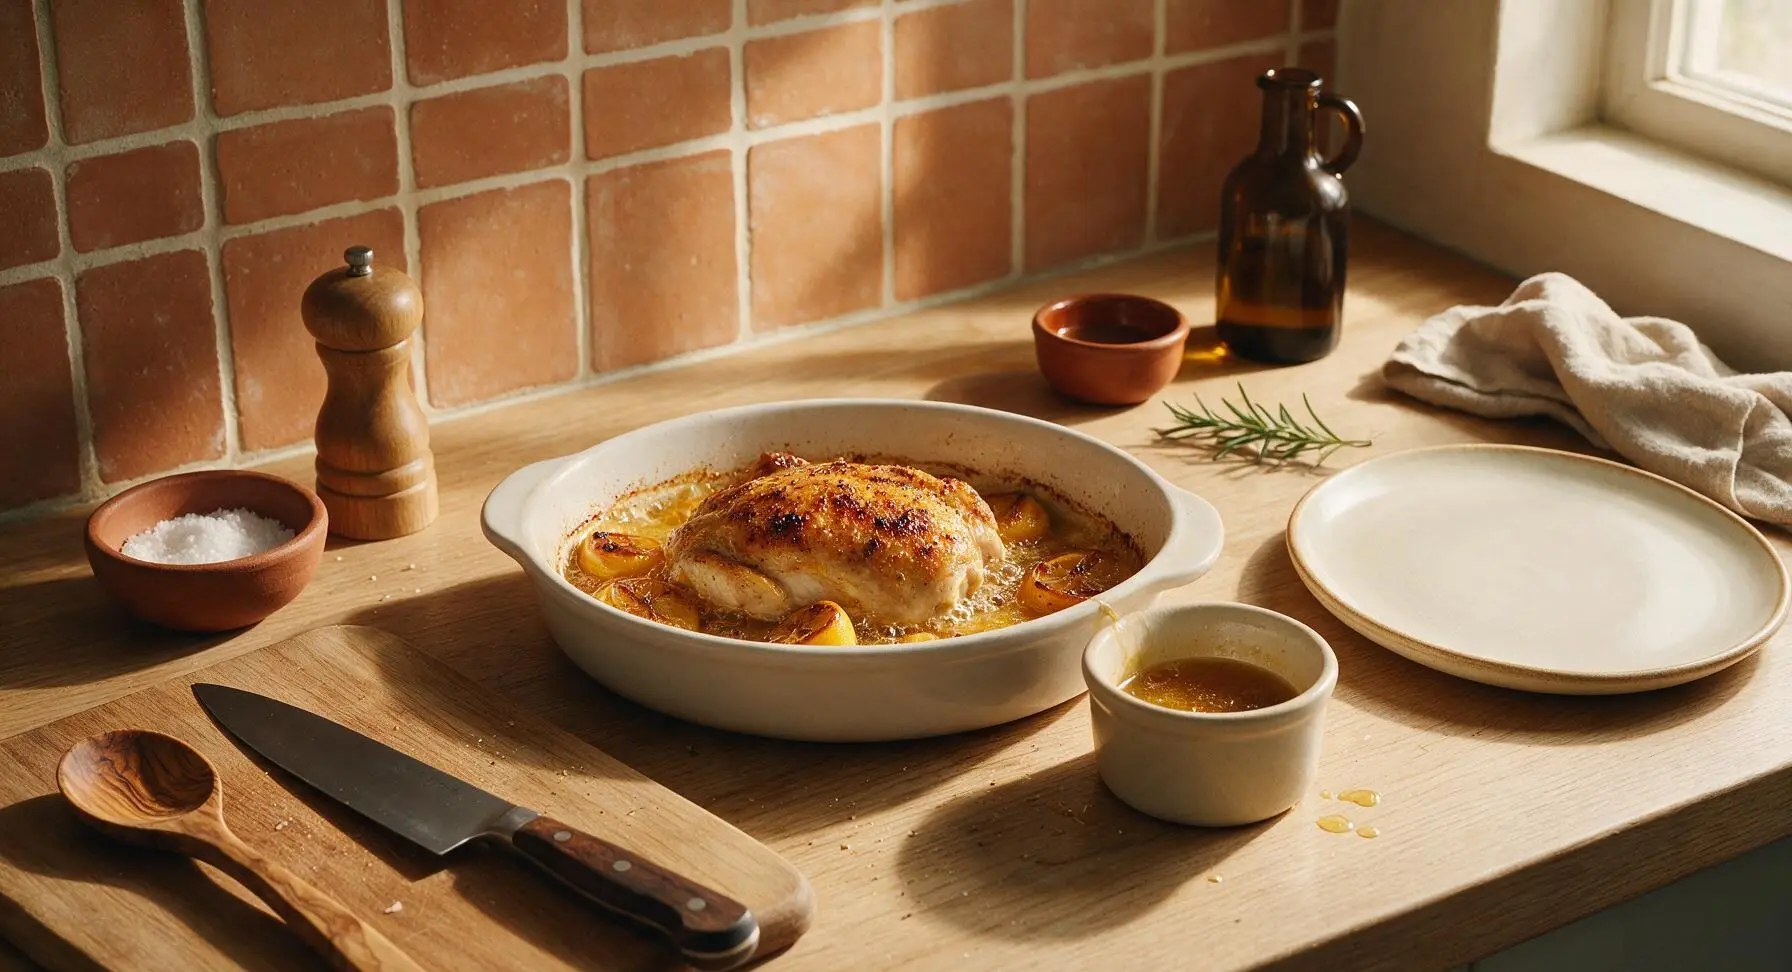
Step 6
step6:Rest Chicken Before Serving
7

Plate and Garnish

Use the stainless steel silicone-tipped tongs to transfer the chicken thighs to the matte cream ceramic dinner plate, tucking a few caramelized lemon slices between the pieces. Drizzle 1 tablespoon of pan sauce over each piece of chicken, then garnish with a few fresh thyme leaves. Serve immediately, with extra pan sauce on the side.
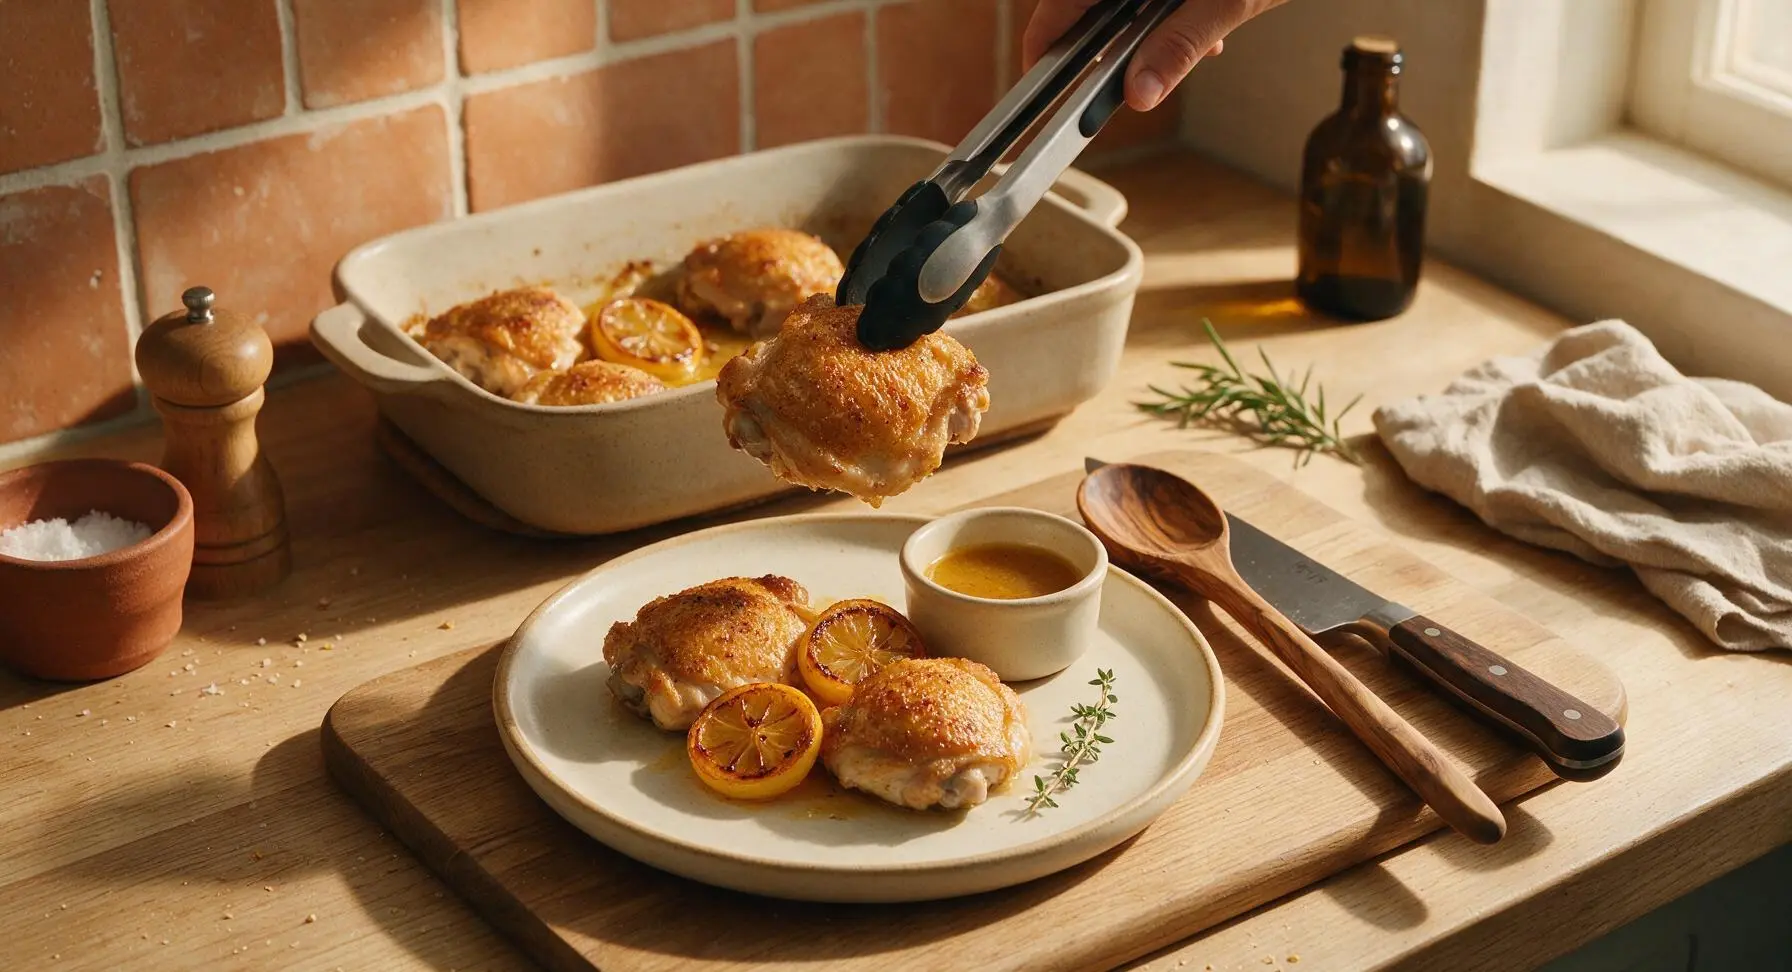
Step 7
step7:Plate and Garnish

Tips

1.Pat chicken skin completely dry with paper towels before assembling the dish: any residual moisture on the skin will steam instead of crisp in the hot oven, leading to rubbery, pale skin instead of the desired crackly golden finish.
2.Pour chicken broth into the bottom of the dish, not directly over the chicken skin: liquid on the skin will prevent crisping, while broth in the pan bottom creates gentle steam to keep meat juicy and forms the base of the tangy pan sauce.
3.Always let chicken rest for 5 minutes after baking: cutting into hot chicken immediately causes all the flavorful, juicy liquid to run out onto the plate, leaving the meat dry even if it was cooked perfectly.


✨ You May Also Like

Main Course
🍜 United Kingdom

A showstopping classic of tender seared beef, savory mushroom duxelles, and crisp prosciutto wrapped in flaky golden puff pastry, baked to juicy perfection.

⏱️ 2 hours 1Main Course ★ 4.7
Main Course
🍜 India

Tender charred marinated chicken simmered in a rich, spiced creamy tomato sauce, this iconic Anglo-Indian curry pairs perfectly with basmati rice or warm naan.

⏱️ 50 minuteMain Course ★ 4.6
Main Course
🍜 Thailand

Classic tangy, sweet, and savory Thai stir-fried rice noodles with shrimp, tofu, and crunchy garnishes, balancing all five core Thai flavor profiles.

⏱️ 30 minuteMain Course ★ 4.5
Main Course
🍜 United Kingdom

Crispy golden beer-battered cod and fluffy double-fried chips, served with tangy tartar sauce and malt vinegar: the timeless, beloved British pub comfort classic.

⏱️ 45 minuteMain Course ★ 4.7
Main Course
🍜 Mexico

Smoky, chile-marinated pork tacos with caramelized pineapple, fresh cilantro, and lime: a beloved classic Mexican street food perfect for casual summer gatherings.

⏱️ 1 hour 45Main Course ★ 4.8
Main Course
🍜 United States

Crunchy Fritos corn chips layered with savory beef chili and melted cheddar, topped with cool, zesty fixings for a beloved, cozy Tex-Mex comfort food.

⏱️ 35 minuteMain Course ★ 4.8

baked lemon chicken:Frequently Asked Questions

1.Why does this recipe use bone-in, skin-on chicken thighs instead of chicken breasts? ▾
Great question! Bone-in, skin-on thighs have just enough natural fat to stay juicy through high-heat baking without drying out, and the skin renders to that perfect crisp, golden texture. They’re far more forgiving for busy weeknights too—you won’t accidentally overcook them into tough, bland bites the way you easily can with ultra-lean chicken breasts.
2.How do I get perfectly crisp chicken skin instead of soggy, flabby skin? ▾
Pat the chicken skin completely dry with paper towels before seasoning—that’s the number one non-negotiable trick! Skip covering the pan while baking, make sure your oven is fully preheated before the tray goes in, and drizzle a tiny bit of extra olive oil over the skin to help it render and crisp evenly as it cooks.
3.Can I prep this Baked Lemon Chicken ahead for busy weeknights? ▾
Absolutely! You can marinate the chicken thighs with olive oil, crushed garlic, thyme, and lemon slices in an airtight container in the fridge for up to 24 hours before baking. When you’re ready to eat, just spread everything out on a sheet pan and pop it in the oven—no last-minute chopping or prep required.
4.How do I make the tangy pan sauce mentioned in the recipe intro? ▾
It couldn’t be easier, since it uses all the delicious drippings right in the same pan! Once you pull the baked chicken off the tray, set the pan over medium stovetop heat, squeeze in a little extra fresh lemon juice, scrape up all the browned flavorful bits from the bottom, and simmer 1-2 minutes before drizzling over the chicken.
5.Can I use dried thyme instead of fresh thyme for this recipe? ▾
You can absolutely swap in dried thyme if that’s what you have on hand—just use 1 teaspoon of dried thyme for every 1 tablespoon of fresh, since dried herbs are far more concentrated. I still recommend finishing with a tiny sprinkle of fresh lemon zest right before serving to keep that bright, fresh flavor front and center.
6.What internal temperature should the chicken reach to be safe and juicy? ▾
Always cook chicken thighs to a safe internal temperature of 165°F, measured with an instant-read thermometer stuck into the thickest part of the thigh, away from the bone. You can pull them at 160°F and let them rest 5 minutes, too—carryover cooking will bring them up to the perfect temp without drying them out.
7.Do I need to flip the chicken thighs while they bake? ▾
You don’t need to flip them at all! Bake them skin-side up the entire time to let the skin render and crisp fully without sticking or getting soggy. If you notice the edges of the lemon slices or garlic browning too fast, just tuck them under the chicken thighs halfway through baking to prevent bitter burnt bits.
8.What easy side dishes pair well with this Baked Lemon Chicken? ▾
Since it’s a one-pan recipe, you can even roast veggies right on the same tray! Baby potatoes, broccoli florets, or asparagus tossed in a little olive oil work perfectly, as do quick stovetop sides like buttered rice, roasted green beans, or a simple arugula salad tossed with light vinaigrette to cut through the rich chicken.
9.How do I keep the garlic from burning while the chicken bakes? ▾
Burnt garlic adds a harsh, bitter taste that throws off the whole dish, but there’s an easy fix! Instead of mincing garlic super fine, crush the cloves lightly or slice them thick, and tuck them slightly under the chicken thighs instead of leaving them exposed directly on the hot pan. This lets them mellow and infuse the oil without charring.
10.Can I use bottled lemon juice instead of fresh lemons to save time? ▾
I really recommend sticking with fresh lemons for that bright, zingy, authentic flavor—bottled lemon juice has a flat, slightly metallic aftertaste that just doesn’t shine the same way. You’ll only need 2 to 3 medium fresh lemons total: some sliced to roast with the chicken, some juiced for the marinade and quick pan sauce.
11.How should I store leftovers, and how long will they keep? ▾
Let leftover chicken cool completely, then store it in an airtight container in the fridge for up to 4 days. To reheat without making the skin soggy, warm it on a wire rack set over a baking sheet in a 375°F oven for 10 to 12 minutes until heated through—skip the microwave if you want to preserve that crisp skin texture.
12.Do I need any special baking pan to make this one-pan recipe? ▾
No fancy equipment is required at all! A standard rimmed metal half-sheet pan works perfectly for 4 to 6 chicken thighs. The raised rim catches all the savory chicken drippings so you can make the quick pan sauce without making a mess, and metal conducts heat evenly for consistent, all-over crisping.
13.Do I need to marinate the chicken for hours to get good flavor? ▾
You don’t need a long, fussy marinade for this recipe! Thanks to the bold garlic, bright lemon, earthy thyme, and rich chicken skin, even 15 minutes of resting at room temperature with the seasonings before baking is enough to infuse great flavor. If you have extra time to marinate, that’s a nice bonus, not a requirement.
14.Why is my chicken coming out dry even when I use thighs? ▾
The most common culprits are an oven that’s running too cool, or overcooking the chicken past 175°F internal temp. Make sure your oven is calibrated correctly, use an instant-read thermometer to check doneness, and let the chicken rest 5 minutes after baking so juices redistribute instead of running out when you cut into it.

Comments (9)

2 days ago

OMG this baked lemon chicken is a total game changer for our weeknight family dinners! My kids usually turn their noses up at any chicken that isn’t nuggets, but they cleaned their plates and asked for seconds. SO good, and so easy to throw together after work. I paired it with roasted broccoli and rice, perfect meal prep for the week too.

3 days ago

I made this for my meal prep this week and it held up perfectly! The lemon flavor is bright but not overpowering, and the chicken came out so juicy, no dry bits at all. I did add a little extra garlic because we’re garlic obsessed over here. 10/10, will be making this again for our potluck next weekend!

2 days ago

So glad you loved it! Extra garlic is always a great call in my book. Hope it’s a hit at your potluck — I bet people will be asking you for the recipe!

30 minutes ago

Wait, quick question — I’ve never baked chicken before, do I need to use boneless skinless thighs for this or can I use breasts? I only have breasts in the fridge right now and don’t want to run to the store. Also, what temp do I bake it at? The recipe says 35 mins cook time but I don’t see the temp listed? Wait no, wait maybe I missed it, oops.

5 minutes ago

I used boneless skinless breasts last time I made this! Just pound them to an even thickness so they don’t dry out, and I baked mine at 400°F for the 35 minutes and it turned out perfect. No dry spots at all!

just now

Great question! You can absolutely use chicken breasts — just as HomeCook101 mentioned, pound them to even thickness so they cook evenly, and bake at 400°F. If your breasts are extra thick, you might need to add 3-5 minutes, just check that the internal temp hits 165°F!

1 week ago

Made this for our neighborhood block party last weekend and everyone was raving about it! Multiple people came up to ask for the recipe, I felt like an actual chef lol. The lemon zest in the coating is chef’s kiss, I added a sprinkle of parmesan on top for the last 5 minutes of baking and it was *chef’s kiss*. Will be adding this to my regular rotation.

yesterday

Tried this last night for dinner and honestly? It was just okay for us. I think I overcooked the chicken a little because it was pretty dry, and I wished there was more lemon flavor. Maybe I’ll add more lemon juice and zest next time, and keep a closer eye on the cook time. Not a total loss, just not a home run for us.

2 hours ago

Oh no, sorry it turned out dry! I had that happen the first time I made it too — I started covering the pan with foil for the first 20 minutes then uncovering for the last 15, and it stays so juicy now. Also, I squeeze half a fresh lemon over the top right when it comes out of the oven, that amps up the lemon flavor so much!

2 weeks ago

Is this recipe gluten free if I use gluten free breadcrumbs? I’m cooking for my sister who has celiac next week and want to make something she can actually eat without worrying. I feel like this would be perfect if I can swap the crumbs!

1 week ago

I made this with GF panko breadcrumbs last month for my GF kiddo and it worked perfectly! No weird texture or anything, nobody even noticed it was GF. Just make sure your seasonings don’t have hidden gluten, obviously.

5 days ago

Seconding the GF panko swap! I also skip the breadcrumbs sometimes and just do a light coating of olive oil, lemon, garlic and herbs, and it’s just as tasty if you want lower carb too!

30 minutes ago

Wow, this was so easy even I couldn’t mess it up! I’m a college student with basically zero cooking skills, and I made this in my tiny dorm oven (it’s so uneven, I was worried) and it came out amazing. My roommate and I ate the whole pan in one sitting lmao. 10/10, no notes.

5 minutes ago

That’s what we love to hear! So glad you and your roommate enjoyed it — easy, forgiving recipes are the best for dorm cooking, right? Great job pulling it off with a finicky oven!

2 hours ago

Has anyone tried making this in the air fryer instead of baking it? I use my air fryer for 90% of my cooking these days and would love to adapt this if possible! What temp/time would you recommend?

30 minutes ago

I did it in my air fryer last week! 375°F for 18-20 minutes, flip halfway through, came out perfectly juicy with that little crispy edge I love. Spritz a little oil on top before cooking and it’s even better.

3 days ago

This is our new go-to Sunday dinner recipe! It’s fancy enough to serve when we have family over, but easy enough that I don’t spend all afternoon in the kitchen. I served it with roasted asparagus and mashed potatoes last Sunday when my in-laws visited, and my mother-in-law asked for the recipe, which is basically the highest compliment possible, trust me. SO delicious.



