
microwave chocolate sponge pudding

title 1
microwave chocolate sponge pudding
⏱️ cook time 3 minutes
🍽️ servings 4
⚡ Difficulty easy

intro

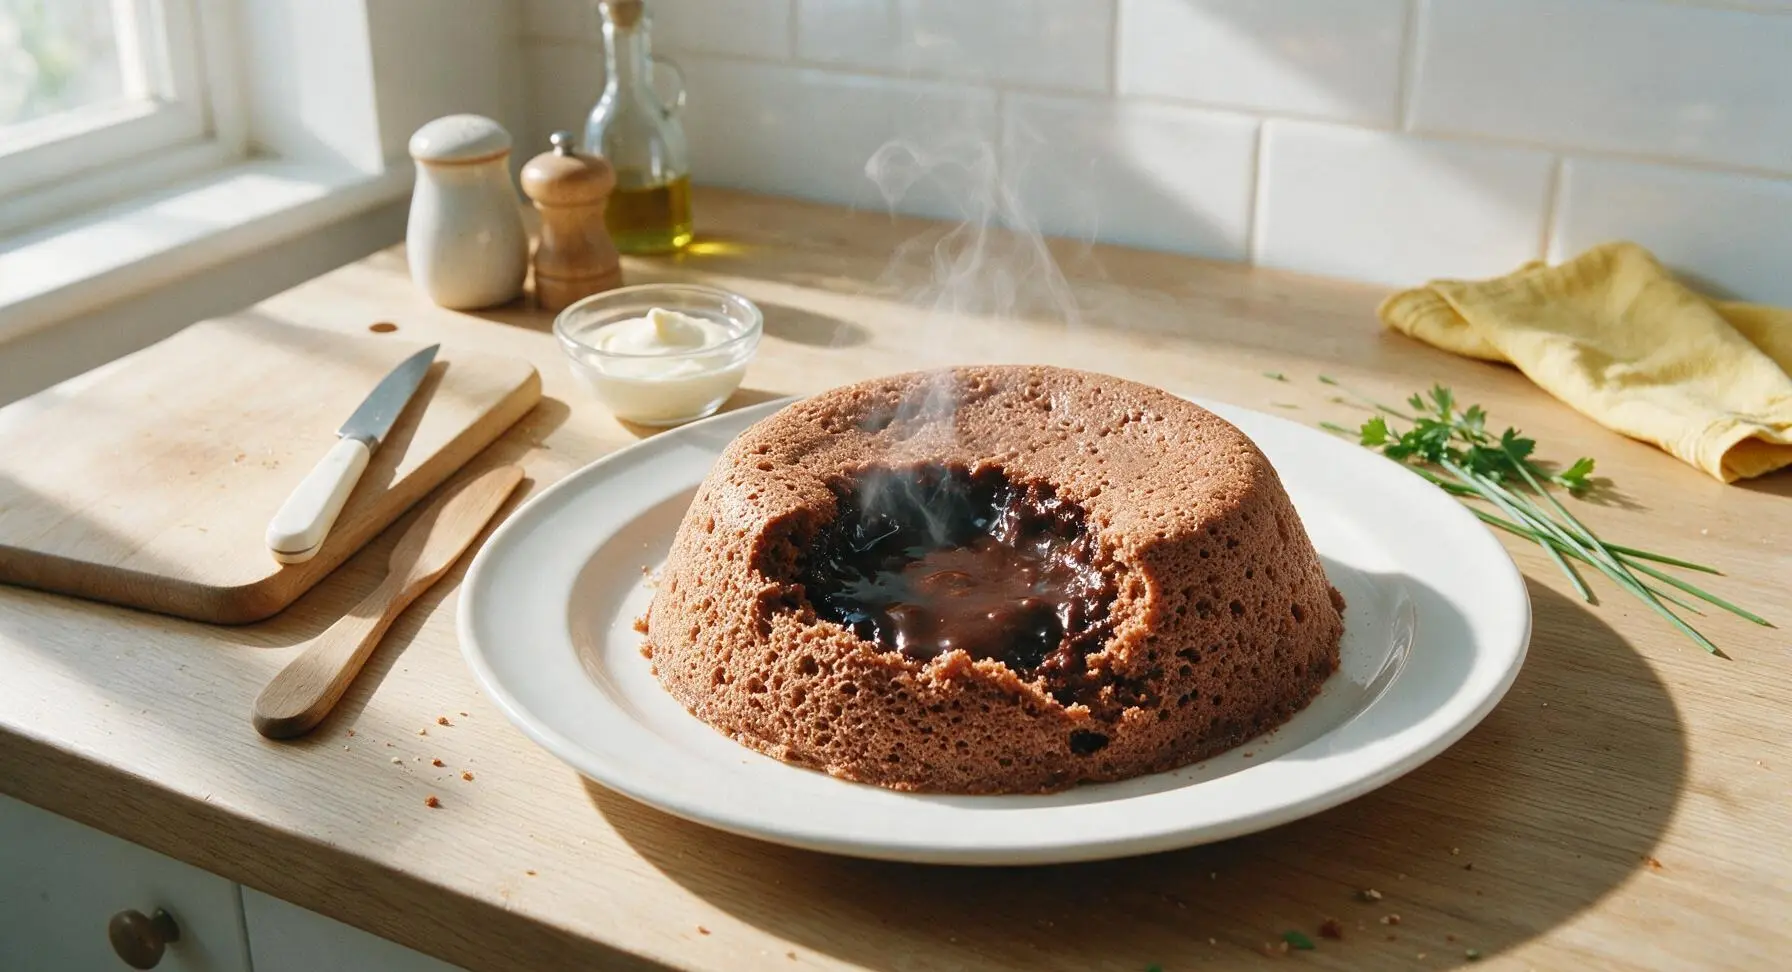
Light, fluffy chocolate sponge with a molten fudgy center, ready in minutes in the microwave—no oven required, perfect for cozy winter weeknight sweet cravings.

Ingredients
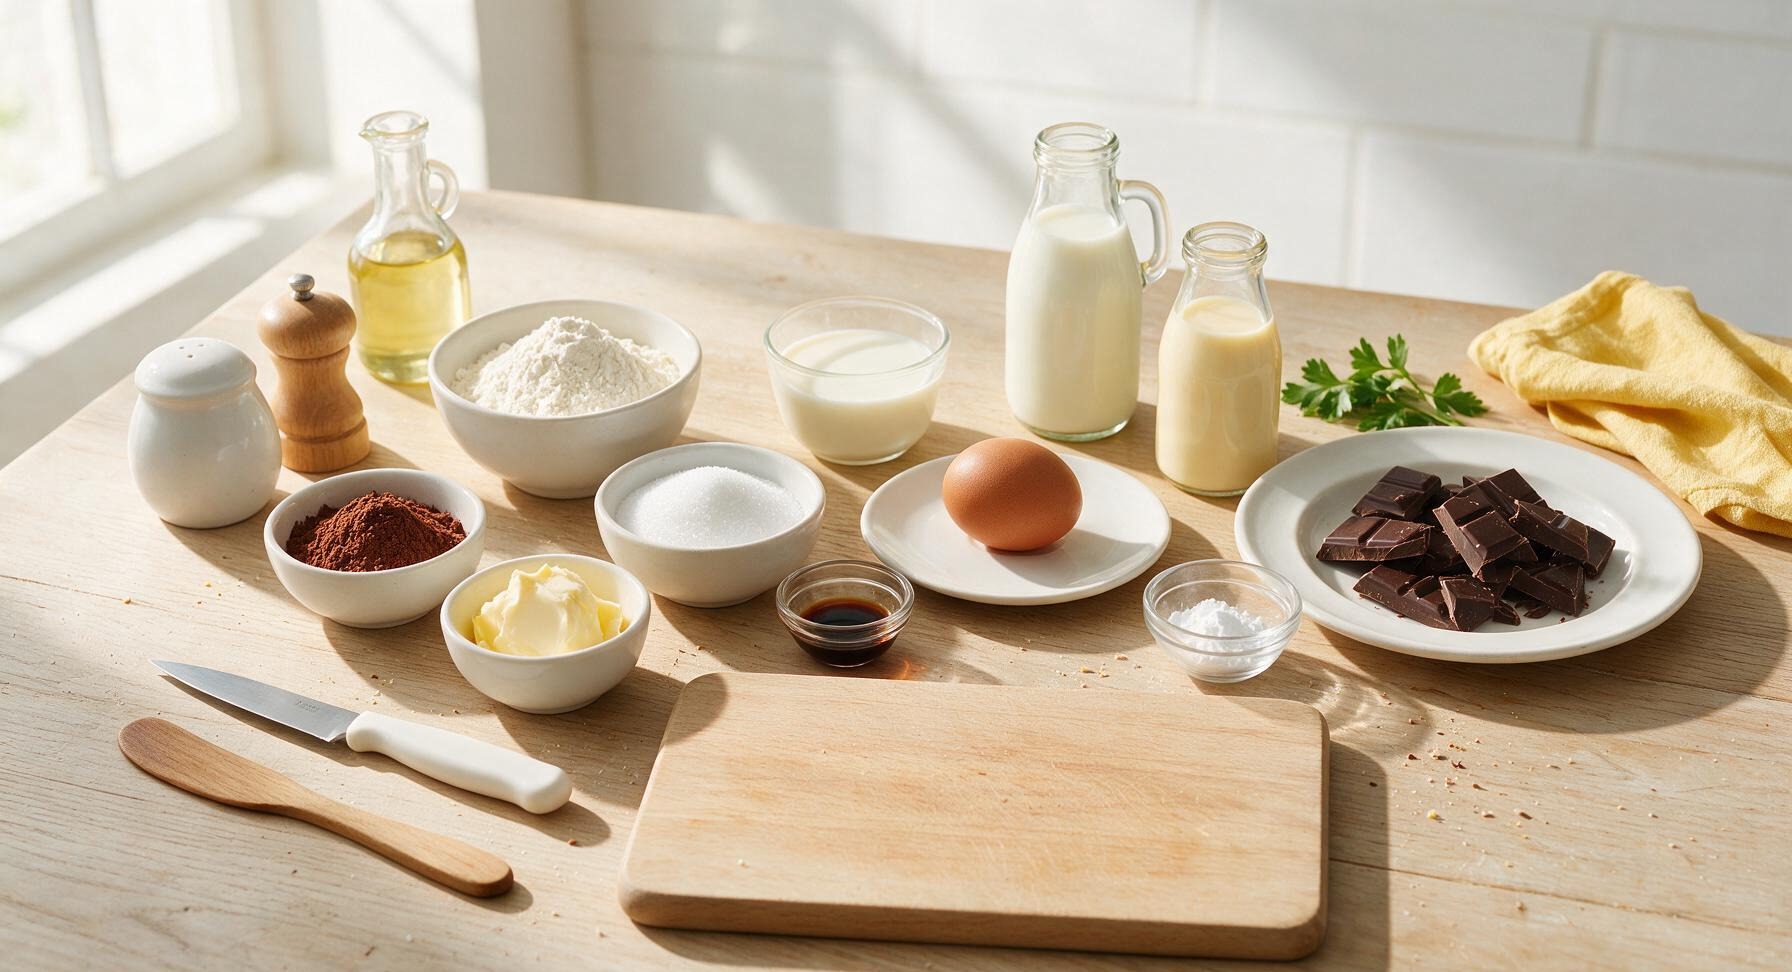
Self-raising flour 100g
Unsweetened cocoa powder 25g
Caster sugar 75g
Unsalted butter (softened, plus extra for greasing) 50g
Whole milk 75ml
Large free-range egg 1
Vanilla extract 1 tsp
70% dark chocolate (broken into chunks) 50g
Icing sugar 1 tsp
Vanilla custard (for serving) 150ml

Steps

1

Grease Pudding Basin

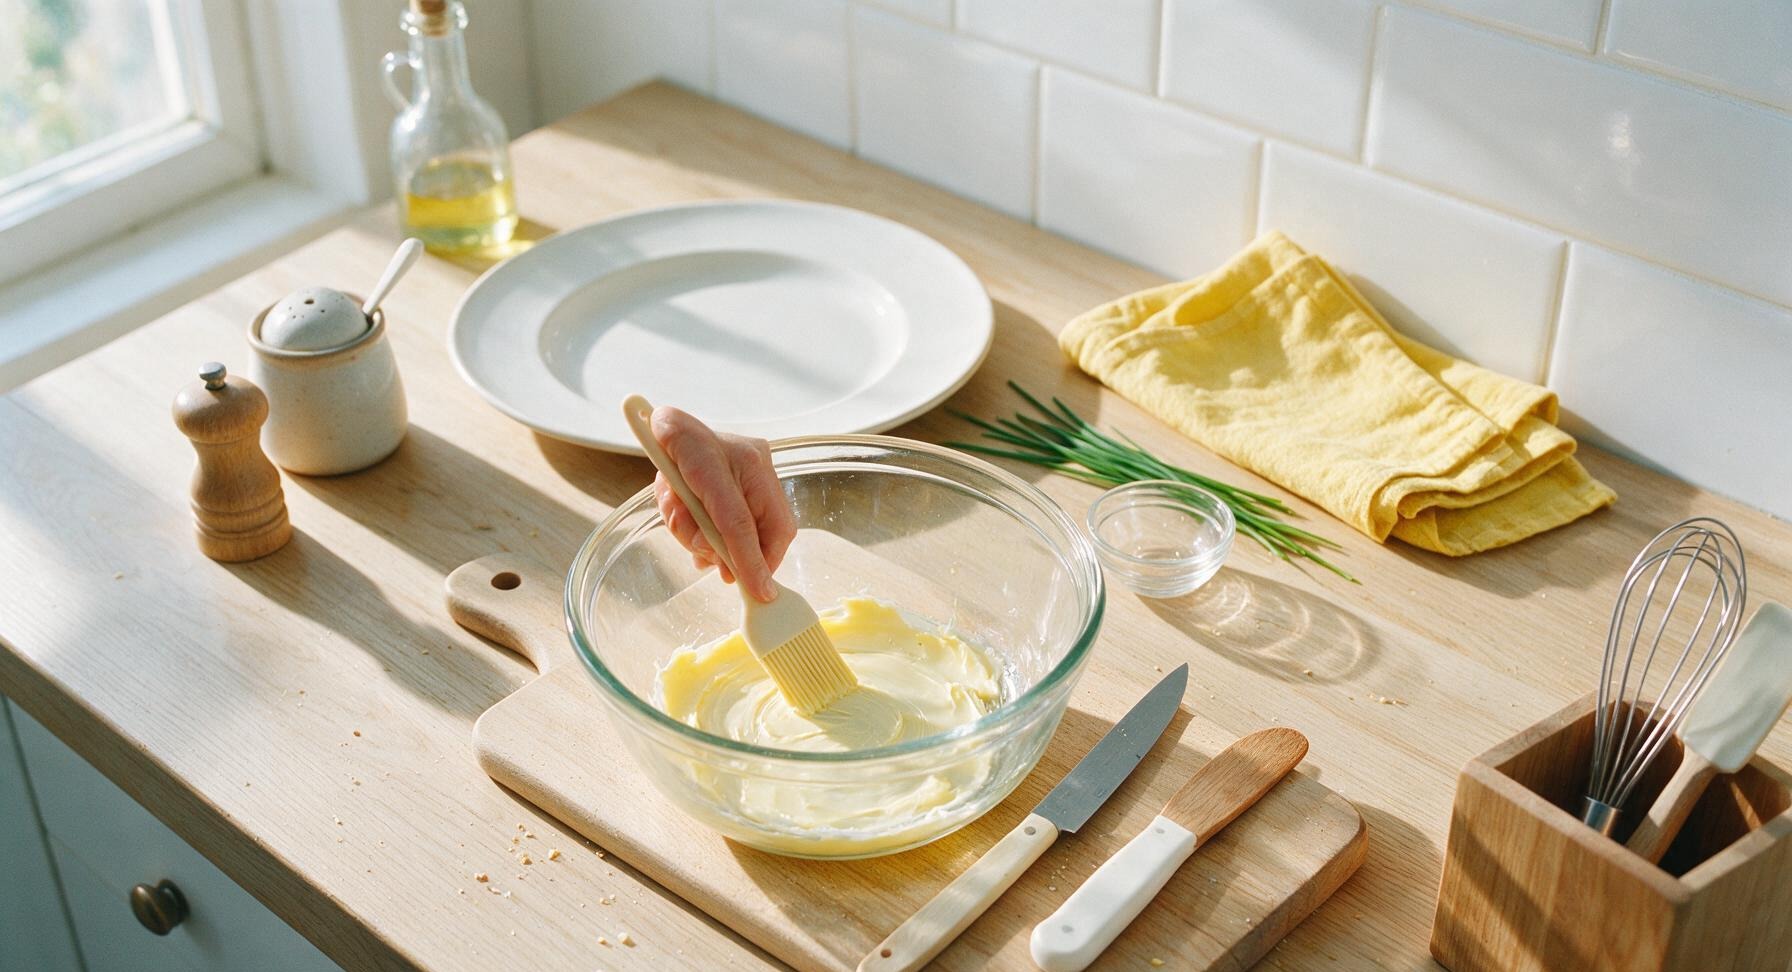
Use the small silicone pastry brush to coat the entire inside surface of the 1L clear glass pudding basin with 1 tsp of softened unsalted butter, making sure to cover the bottom and 2cm up the sides to prevent sticking. Set the greased basin in the center of the work counter.
Step 1
step1:Grease Pudding Basin
2

Sift Dry Ingredients

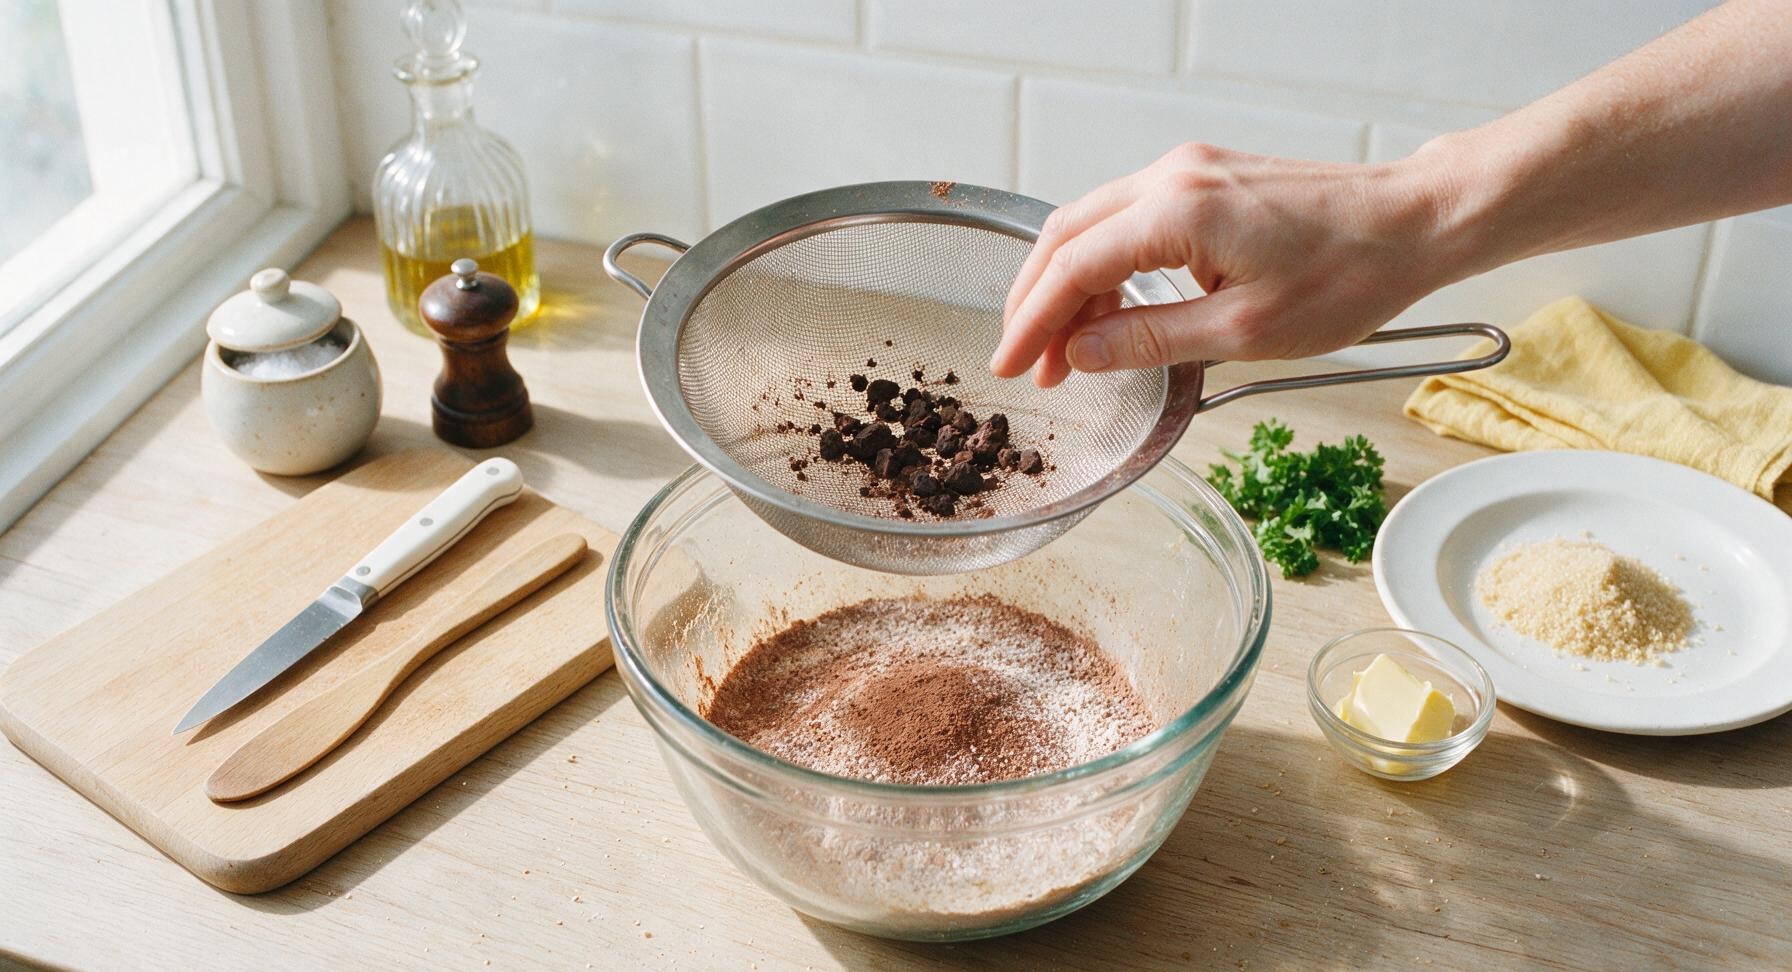
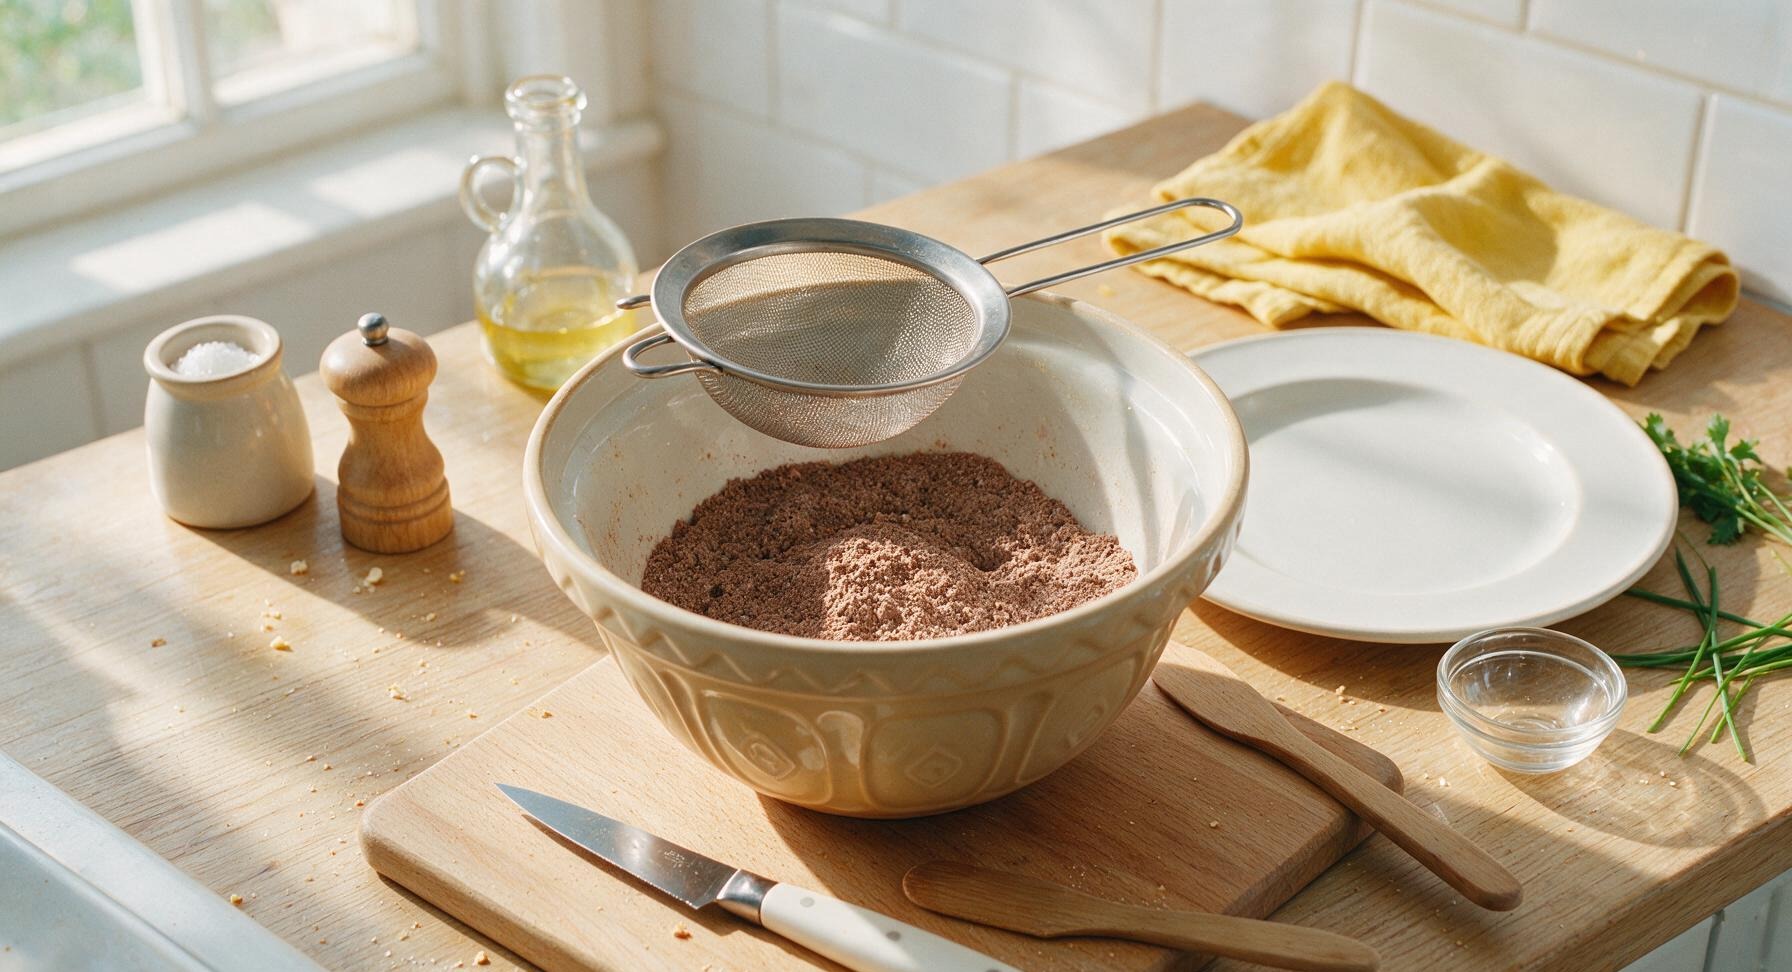
Place the fine-mesh stainless steel sieve over the greased pudding basin. Add the 100g self-raising flour, 25g unsweetened cocoa powder, and 75g caster sugar to the sieve, and tap gently to sift all dry ingredients into the basin, removing any lumps. Stir gently to combine the sifted ingredients evenly.
Step 2
step2:Sift Dry Ingredients
Step 2
step2:Sift Dry Ingredients
3

Combine Wet Ingredients

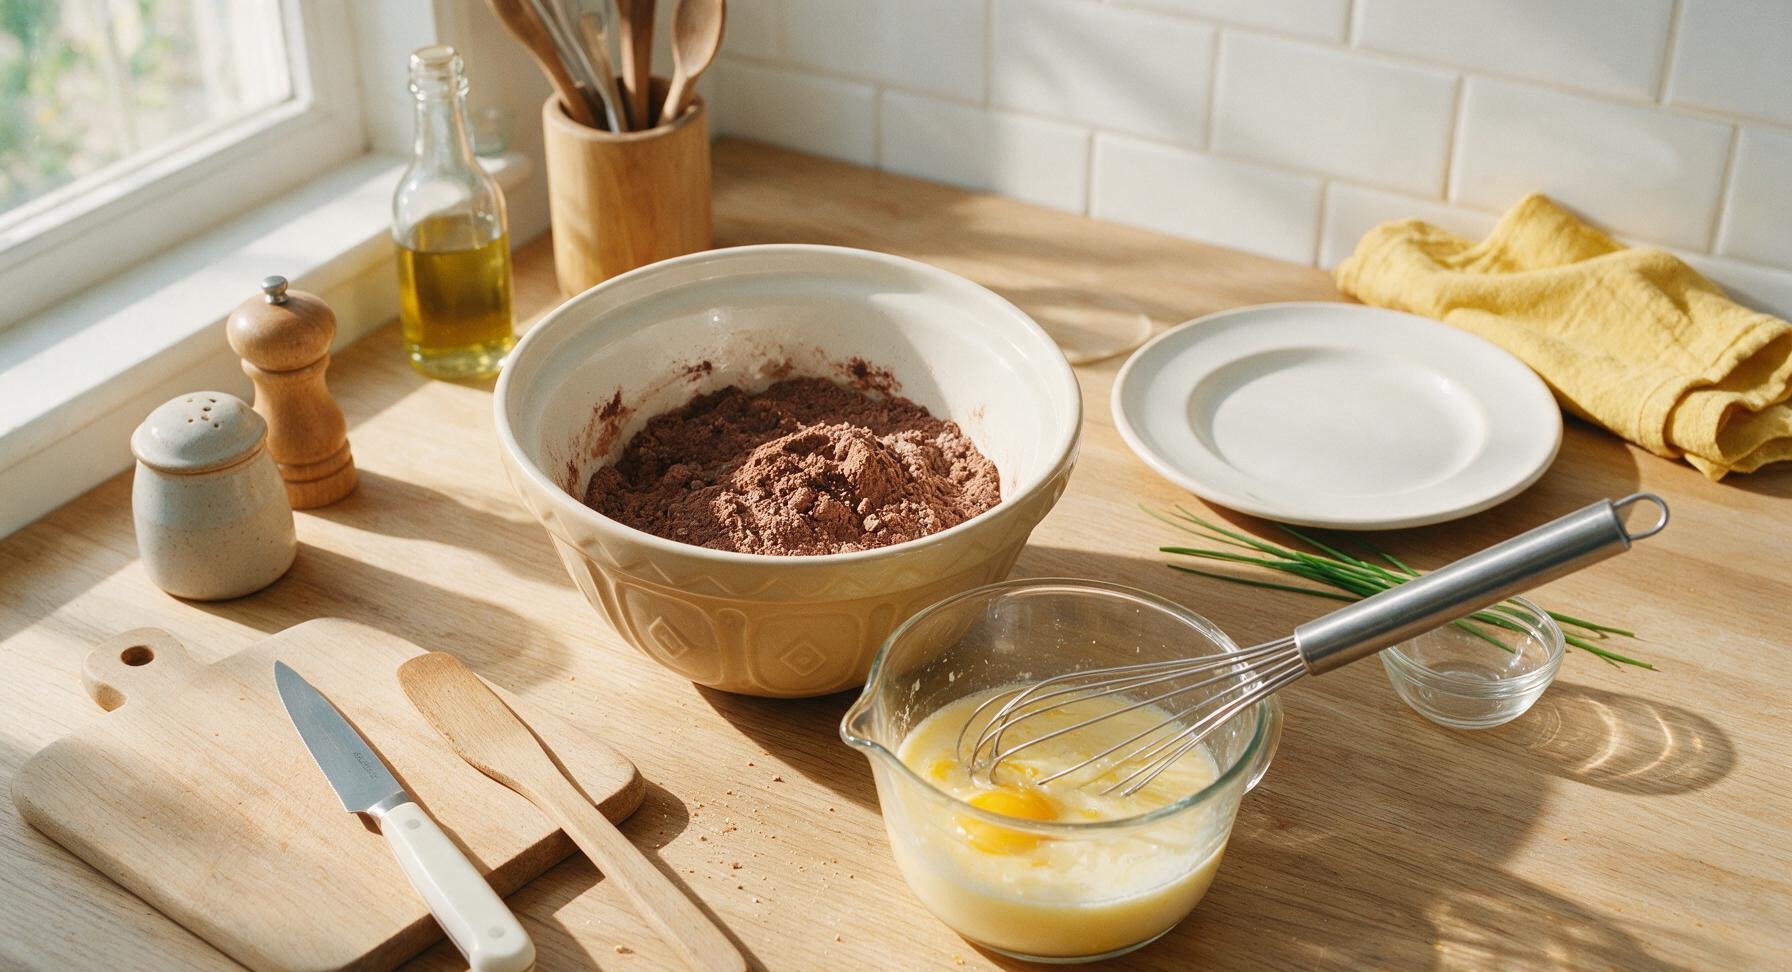
In a small glass mixing jug, use the stainless steel balloon whisk to mix together the 50g cooled melted unsalted butter, 75ml whole milk, 1 lightly beaten large egg, and 1 tsp vanilla extract until fully combined, with no streaks of egg visible.
Step 3
step3:Combine Wet Ingredients
4

Mix Smooth Batter

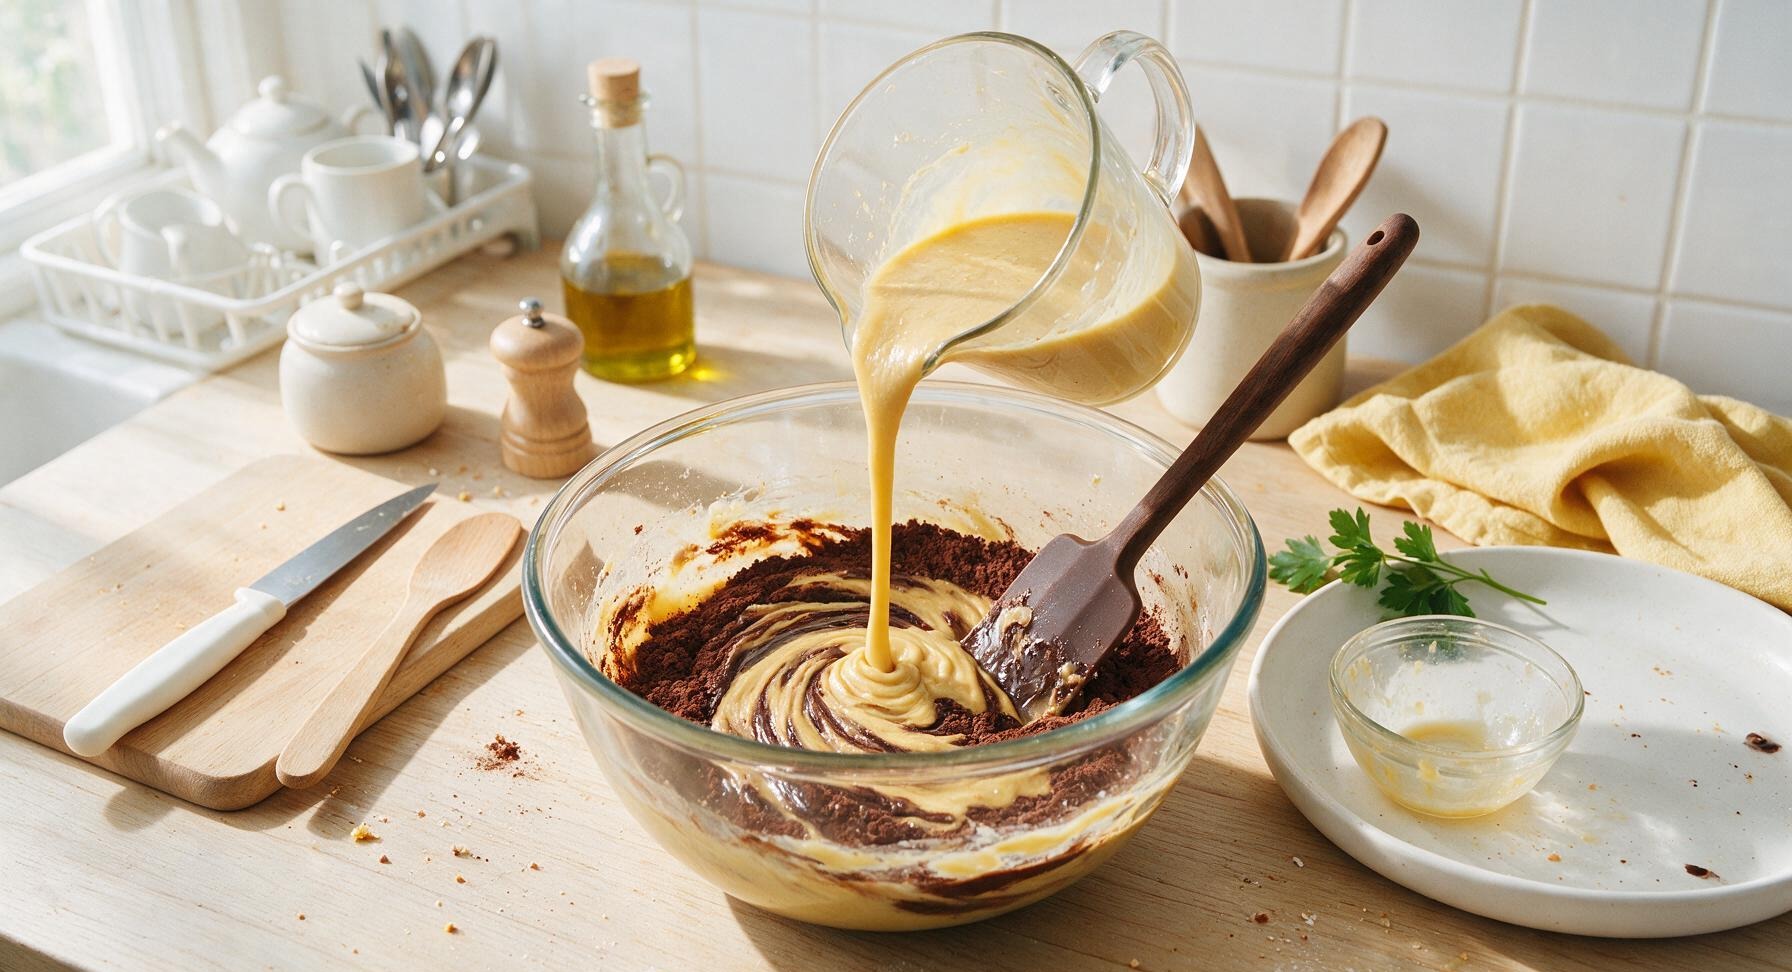
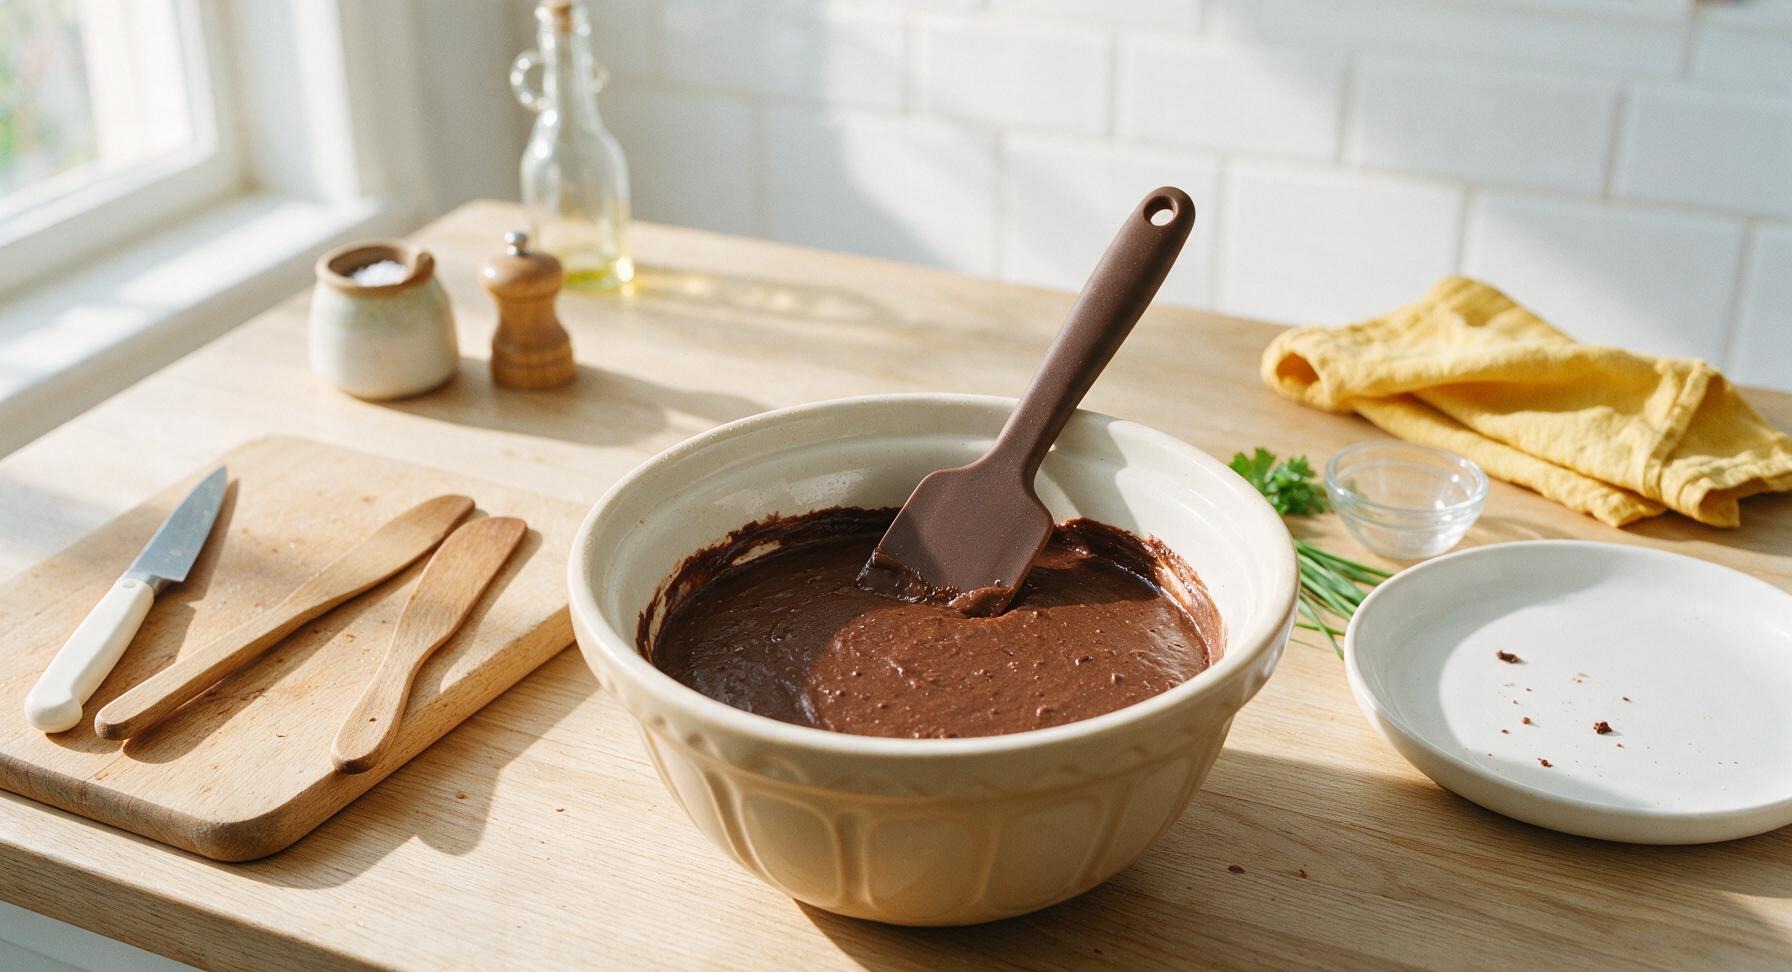
Pour the combined wet ingredients into the pudding basin with the dry ingredients. Use the matte dark brown silicone spatula to fold the mixture together gently, just until no dry flour patches remain—do not overmix, as this will make the sponge tough. The batter should be thick, smooth, and drop easily from the spatula.
Step 4
step4:Mix Smooth Batter
Step 4
step4:Mix Smooth Batter
5

Add Chocolate Center

Scatter the 50g of 70% dark chocolate chunks evenly over the top of the batter—do not press them down, as they will sink to the middle during cooking to create a molten, fudgy center.
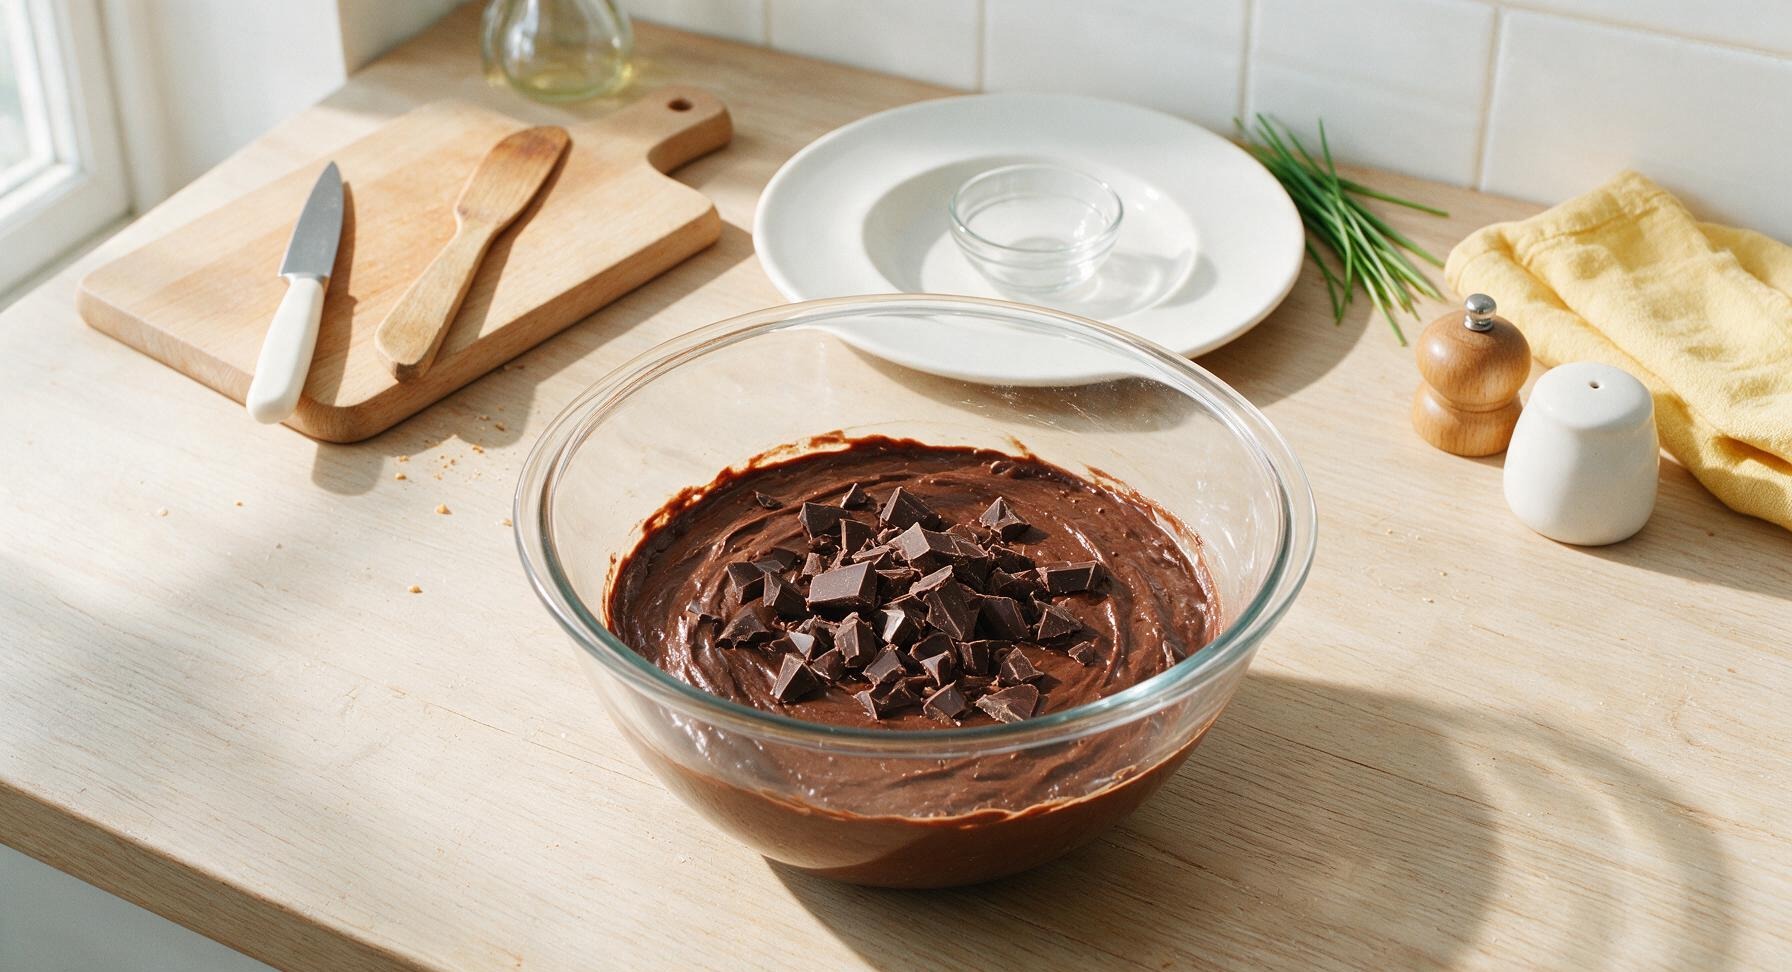
Step 5
step5:Add Chocolate Center
6

Microwave on High

Place the uncovered pudding basin into the matte black countertop microwave. Cook on full power (800W) for exactly 3 minutes. The pudding will rise up the sides of the basin and the top will look set, with slightly damp-looking spots where melting chocolate is visible through the sponge. Do not overcook, as this will make the sponge dry.
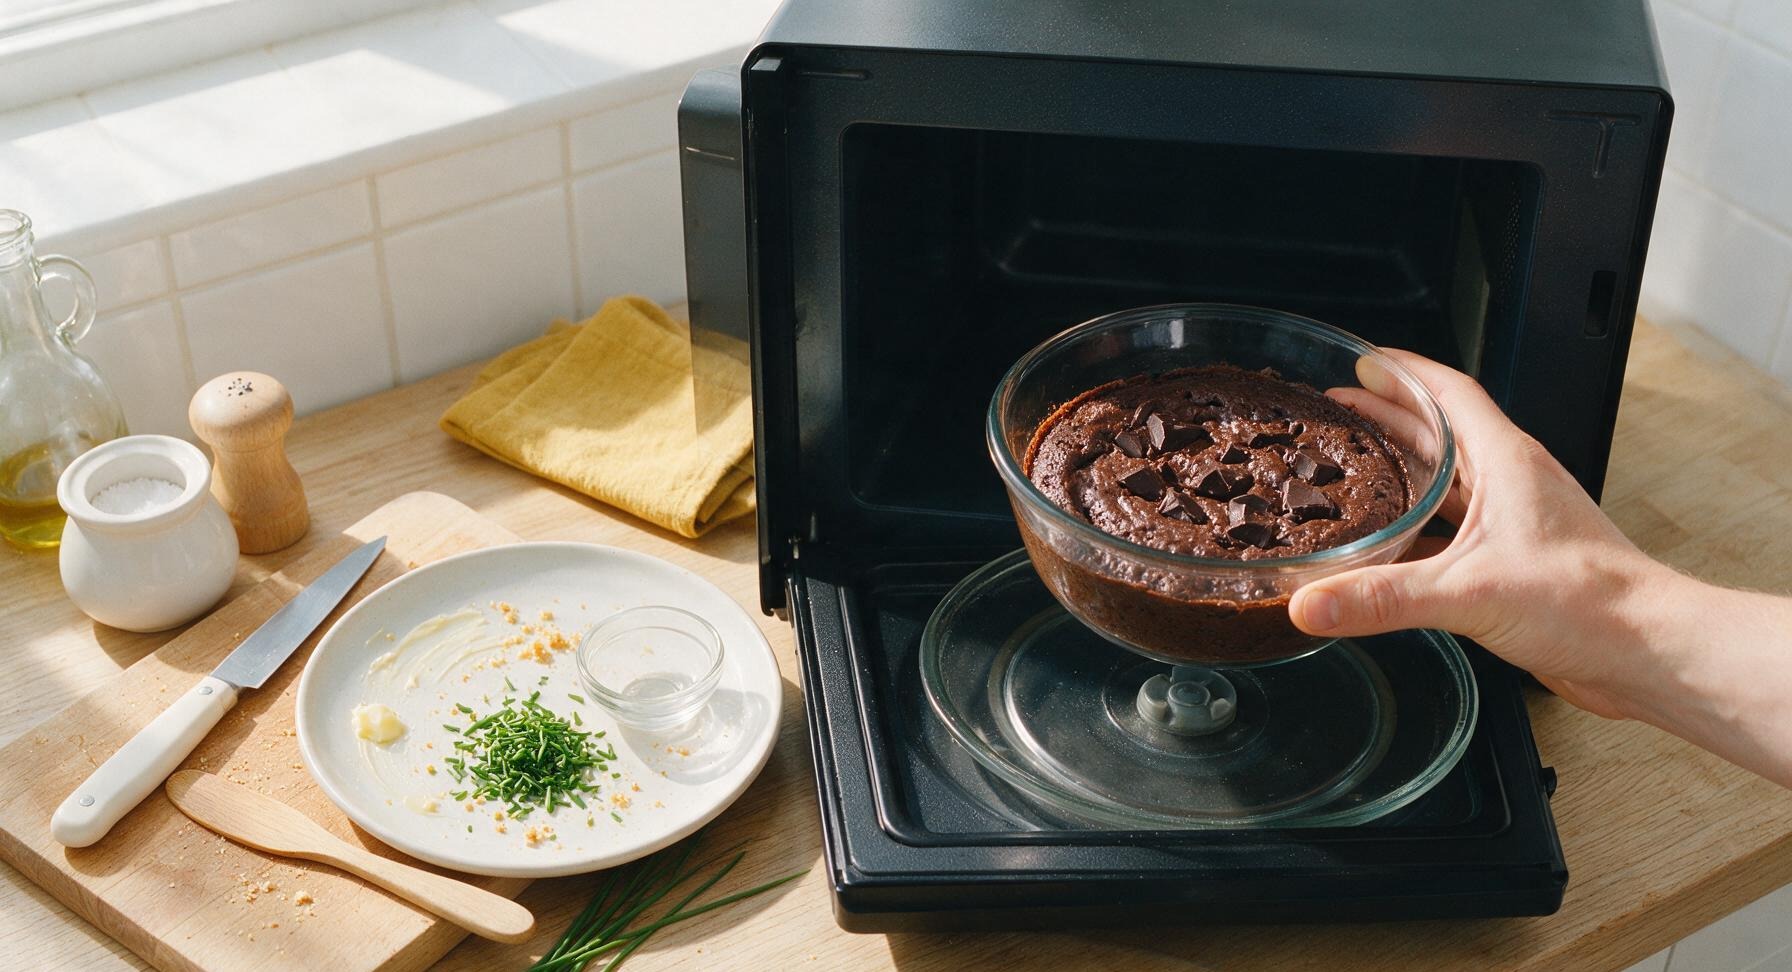
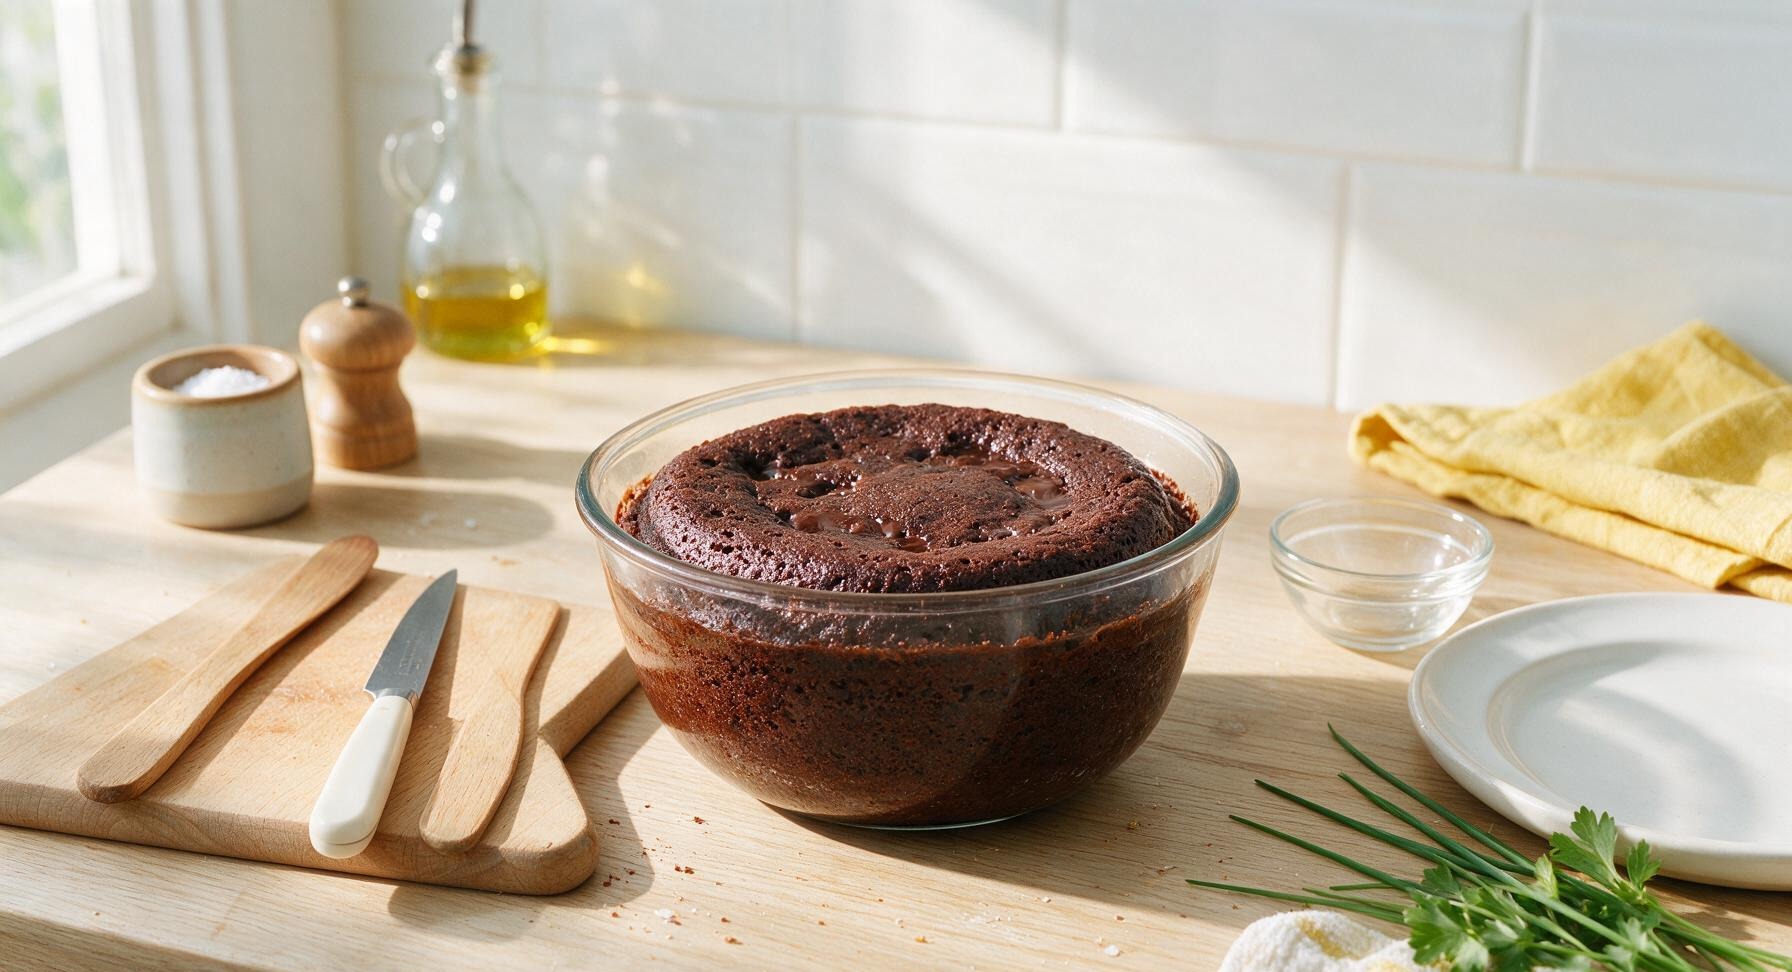
Step 6
step6:Microwave on High
Step 6
step6:Microwave on High
7

Rest and Unmold

Let the pudding rest for 1 full minute in the basin to set slightly. Run a thin knife around the inner edge of the basin to loosen the sponge, then place the warm off-white matte ceramic dessert bowl upside down over the top of the basin. Hold the bowl and basin firmly together, flip quickly, and lift the basin off to release the pudding onto the bowl.
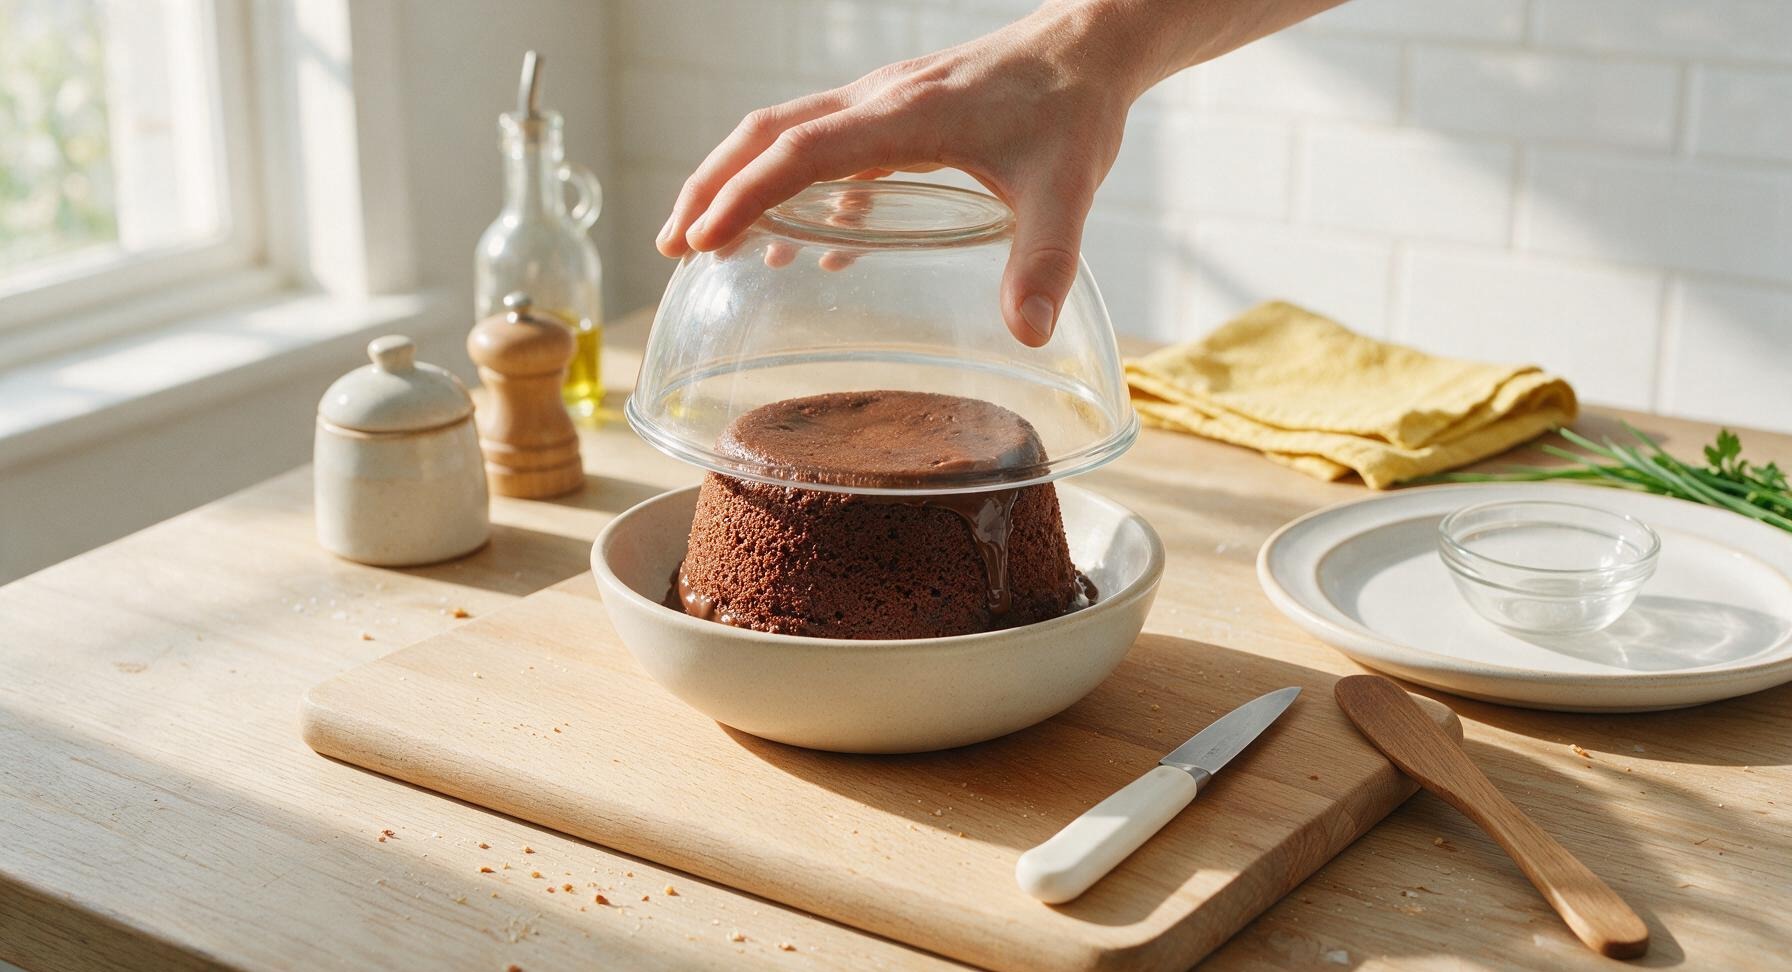
Step 7
step7:Rest and Unmold
8

Garnish and Serve

Lightly dust the top of the warm pudding with the 1 tsp of icing sugar using the fine sieve. Serve immediately, with warm vanilla custard poured from the small ceramic custard jug alongside or over the top.
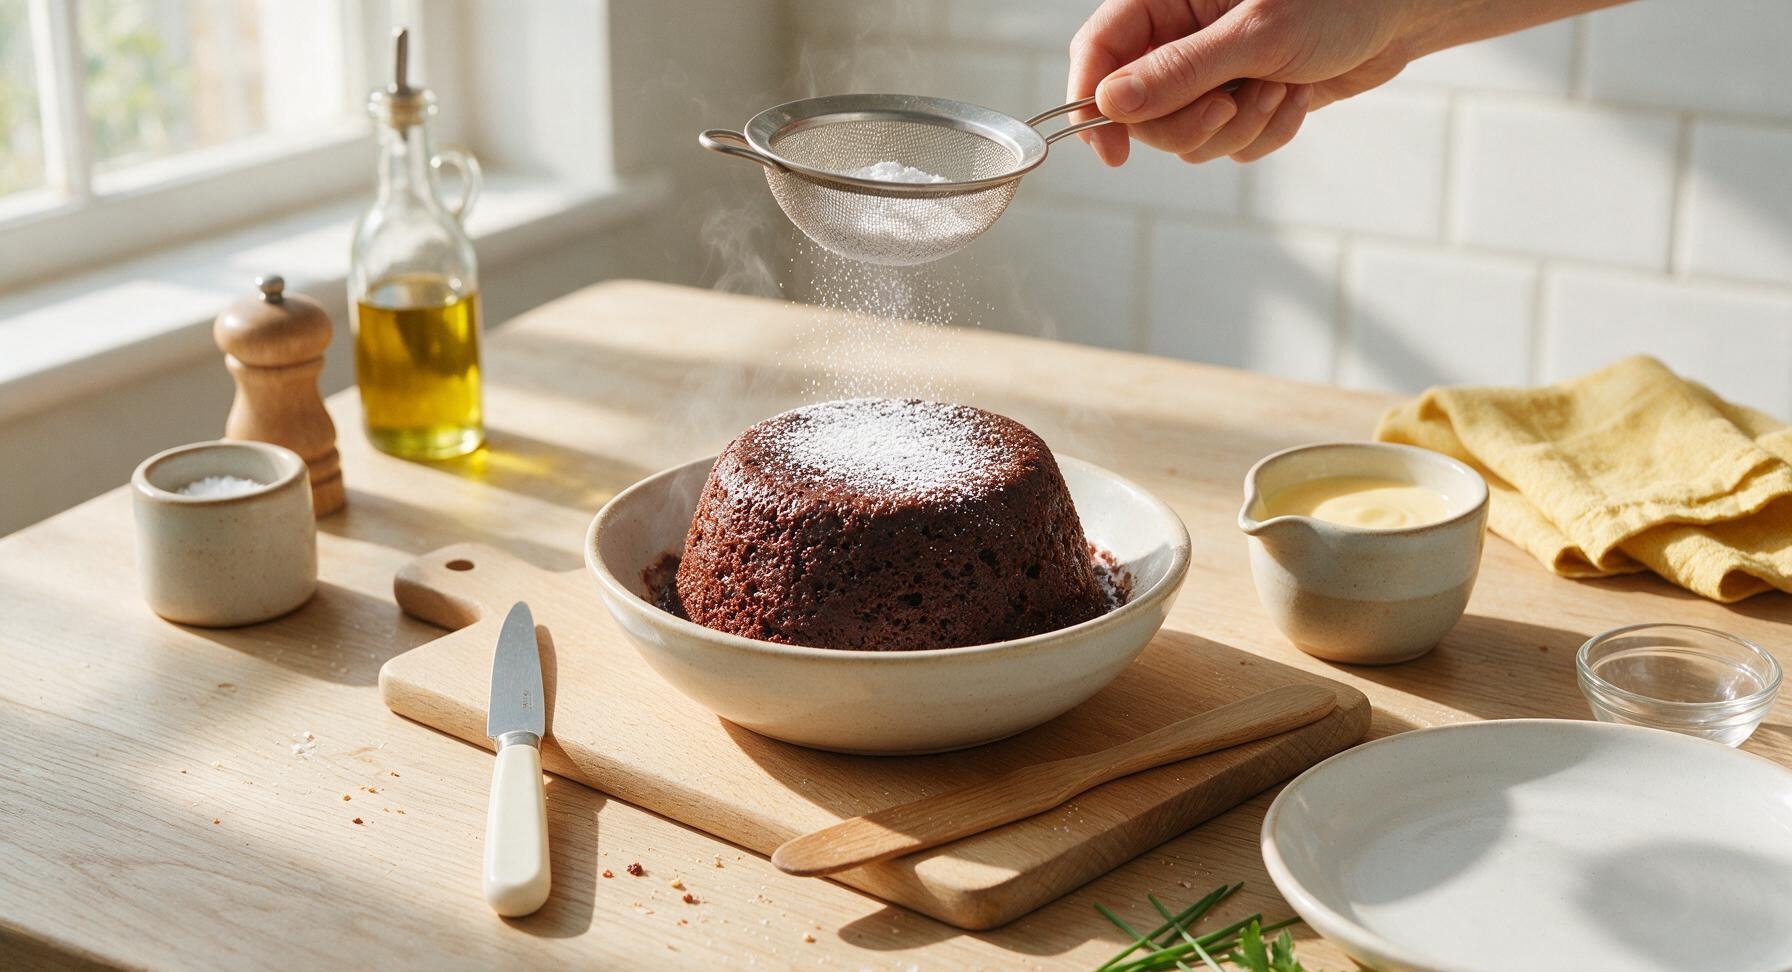
Step 8
step8:Garnish and Serve

Tips

1.Avoid overmixing the batter once wet ingredients are added: overmixing develops gluten in the self-raising flour, leading to a tough, dense sponge instead of the desired light, fluffy texture. Stop folding as soon as no dry flour patches remain.
2.Adjust cook time to match your microwave wattage for perfect results: reduce time to 2 minutes 20 seconds for 1000W microwaves to prevent dryness, or increase to 4 minutes for 600W microwaves. The pudding is done when the top looks just set, with no runny wet batter visible.
3.Do not skip the 1-minute rest time after microwaving: this short wait lets the sponge crumb set so it holds its shape when unmolded, and allows the molten chocolate center to thicken to the perfect gooey, fudgy consistency instead of running straight out when cut.


✨ You May Also Like

Desserts & Baking
🍜 Italy

Creamy, coffee-kissed classic Northern Italian no-bake dessert, with layers of rum-spiked mascarpone cream, soft ladyfingers, and a rich cocoa dusting.

⏱️ 4 hours 3Desserts & Baking ★ 4.7
Desserts & Baking
🍜 France

Flaky, shatteringly crisp, buttery French croissants with golden exteriors and soft, airy layered interiors, perfect for pairing with coffee for a special morning treat.

⏱️ 12 hours Desserts & Baking ★ 4.5
Desserts & Baking
🍜 United States

Warm, spiced baked apples topped with a fluffy golden biscuit crust, this cozy dessert pairs perfectly with vanilla ice cream for cool-weather comfort.

⏱️ 55 minuteDesserts & Baking ★ 4.6
Desserts & Baking
🍜 United States

A star-spangled classic American blueberry pie with buttery flaky crust and bright sweet-tart filling, perfect for summer patriotic gatherings.

⏱️ 1 hour 25Desserts & Baking ★ 4.7
Desserts & Baking
🍜 United States

A beloved no-bake regional Maine candy with a chewy coconut-potato center coated in rich dark chocolate, a New England holiday staple since the 1870s.

⏱️ 2 hours 3Desserts & Baking ★ 4.8
Desserts & Baking
🍜 France

Luxuriously creamy, floral frozen custard made with aromatic Tahitian vanilla beans, boasting a smooth, rich texture that melts slowly on the tongue.

⏱️ 3 hours 3Desserts & Baking ★ 4.5

microwave chocolate sponge pudding:Frequently Asked Questions

1.How long does this pudding take to make from start to finish? ▾
From measuring ingredients to digging in, this takes right around 10 minutes total. Prep takes 5 minutes tops with no fancy mixing or special tools required, then 3 to 4 minutes in the microwave, plus 1 minute of resting time so the molten fudgy center sets just enough without turning overly firm.
2.Can I use all-purpose flour if I don’t have self-rising flour on hand? ▾
Absolutely! For every 1 cup of all-purpose flour you use, add 1 ½ teaspoons of baking powder and ¼ teaspoon of fine table salt, then whisk thoroughly to evenly distribute the leavening. This swap delivers the same light, fluffy lift you get from pre-mixed self-rising flour without a last-minute grocery run.
3.Why does my pudding turn out rubbery instead of light and fluffy? ▾
Rubbery texture almost always comes from overcooking it in the microwave, or overmixing the batter. Stop microwaving as soon as the edges look set and the top is barely firm to the touch—don’t cook it until the center is solid, and mix only until dry ingredients are incorporated to avoid tough, developed gluten.
4.Do I need a special pudding mold to make this, or can I use a regular microwave-safe bowl? ▾
You don’t need any specialty equipment at all! A standard 1.5-quart microwave-safe glass or ceramic bowl works perfectly, as long as you grease it well with extra softened butter first. You can either turn the set pudding out onto a plate or serve it straight from the bowl for easy cleanup.
5.The recipe lists caster sugar—can I use regular granulated sugar instead? ▾
Absolutely! Caster sugar is just extra-fine granulated sugar that dissolves quickly, but standard white granulated sugar works perfectly here. If you have a spice grinder, give the sugar a 10-second blitz to make it finer, or mix it into the wet ingredients a minute early to help it dissolve fully for a smooth, even batter.
6.How do I guarantee that signature molten fudgy center instead of a fully cooked sponge? ▾
The trick is to stop microwaving before the center looks fully set! Aim for edges that are firm and pull slightly away from the bowl, with a 2-inch wide spot in the middle that looks soft and slightly jiggly. The 1-minute post-cook rest lets residual heat set the edges while leaving the center rich and fudgy.
7.Can I use plant-based milk and vegan butter to make this dairy-free? ▾
Definitely! Swap the whole milk for unsweetened oat or soy milk—these have the closest thickness and creaminess to whole milk, so they won’t make the sponge watery—and use your favorite softened vegan baking butter in place of regular unsalted butter for both the batter and greasing. The texture will stay just as light and fluffy.
8.My microwave is higher wattage than average—how do I adjust cook time? ▾
If you have a 1200-watt or higher microwave, start with an initial cook time of 2 minutes, then check it in 30-second bursts after that. High-wattage microwaves cook extremely fast, and it’s easy to go from perfectly molten to overcooked in 30 seconds, so always err on the side of slightly undercooking at first.
9.Can I add mix-ins like chocolate chips or nuts to this pudding? ▾
Absolutely! Fold 2 to 3 tablespoons of semi-sweet chocolate chips, chopped toasted walnuts, or even peanut butter chips into the batter right before microwaving for extra texture and flavor. Just don’t add more than that, or the weight of the mix-ins will weigh down the sponge and make it dense instead of fluffy.
10.How should I store leftover pudding, and will it keep its fudgy center when reheated? ▾
Store any leftover pudding covered tightly in the fridge for up to 3 days. When you’re ready to enjoy a serving, reheat it in the microwave for 15 to 20 seconds—this softens the sponge back up and revives that gooey, fudgy center, instead of the dry, firm texture you get from over-reheating.
11.Do I need to cover the bowl while the pudding cooks in the microwave? ▾
You don’t have to, but I recommend loosely covering it with a microwave-safe plate or paper towel to catch any small splatters as the sponge rises. Don’t seal it tightly with plastic wrap, though—trapping too much steam will make the sponge top soggy and can cause messy, unexpected boil-overs.

Comments (6)

2 days ago

OMG this is a total game changer! I had a random chocolate craving at 10pm last night and threw this together in literally 2 minutes, microwaved it, and it was perfectly fluffy, gooey in the middle, SO good. My 8 year old wandered into the kitchen right as it finished and begged for a bite, ended up eating half of it with a scoop of vanilla ice cream. No fancy ingredients, no oven preheating, 10/10 will make again for quick weeknight treats.

1 day ago

So glad you and your kiddo loved it! Adding a scoop of vanilla ice cream on top is honestly our favorite way to serve this too, it pairs so perfectly with the warm, fudgy sponge. Enjoy making it again soon!

3 days ago

Wait, hold on, this actually works? I’ve tried so many microwave chocolate sponge recipes that come out rubbery or totally raw in the middle, so I was super skeptical going in. I live in a dorm with no oven so quick microwave desserts are my whole vibe, and I’ve been burned too many times. Tried this last night after seeing the recipe, and??? No rubbery texture, perfectly cooked all the way through, even had that nice soft crumb I thought you could only get from an oven-baked cake. Game. Changer. Only note: I added a handful of chocolate chips on top before microwaving and it was *chef’s kiss*.

2 days ago

Oh I feel this so hard, 90% of microwave dessert recipes are straight up garbage! I made this last week too and added a little peanut butter swirl in the middle, would 100% recommend. No rubbery garbage at all, promise it’s worth the 3 minutes.

2 days ago

Love the chocolate chip add-in! We’re so glad this worked out for your dorm setup — this recipe was actually tested specifically to avoid that weird rubbery microwave texture so it makes us so happy to hear that came through. The peanut butter swirl idea from the comment above sounds incredible too, we’ll have to test that ourselves!

1 week ago

I brought this to my office potluck last week (I made a big batch in a larger microwave-safe dish instead of individual mugs!) and people were hounding me for the recipe all afternoon. It’s so easy even I can’t mess it up, and it tastes like I spent an hour baking instead of 3 minutes in the microwave. My coworkers thought I bought it from the fancy bakery down the street, lmao.

5 days ago

Wait has anyone tried making this ahead and reheating it? I do meal prep for the whole week on Sundays and would love to tuck a couple of these into my lunch bag for a midweek sweet treat, but I don’t want it to get all dried out when I reheat it at work. Made one last night to test and it was incredible, just not sure how it holds up for a few days in the fridge.

3 days ago

I did this last week! I made them on Sunday, kept them covered in the fridge, and zapped them for 30 seconds at work when I wanted one. They stayed totally moist, no dry weird texture at all! Just don’t overheat them when you reheat and it’ll be perfect.

yesterday

Okay, I messed this up the first time I made it 😂 I used way too much milk because I eyeballed it instead of measuring, and it was super runny. Tried it again today measuring everything properly, and OMG it’s perfect. So rich, so chocolatey, exactly the warm, cozy dessert I wanted on this rainy day. Even my partner who hates all microwave food asked for seconds!

2 hours ago

Oh I did the exact same thing my first try! Eyeballed the milk and ended up with chocolate soup, lmao. Second go around with proper measurements was chef’s kiss, totally worth the second attempt.

5 minutes ago

So glad you gave it a second try! Measuring really does make a difference for this recipe since the microwave cooks so fast, even a little extra liquid can throw the texture off. So happy you and your partner loved the properly measured version!

2 weeks ago

My kids loved this!!! I’ve been looking for super quick after-school snacks that aren’t just pre-packaged cookies or chips, and this is perfect. Let the kids help stir the ingredients (minimal mess, win!) and they were so proud they ‘made’ dessert themselves. We topped ours with whipped cream and sprinkles, and they’ve already asked if we can make it again tomorrow.



