1.Why didn’t my pita bread puff up to form that classic pocket?
▾
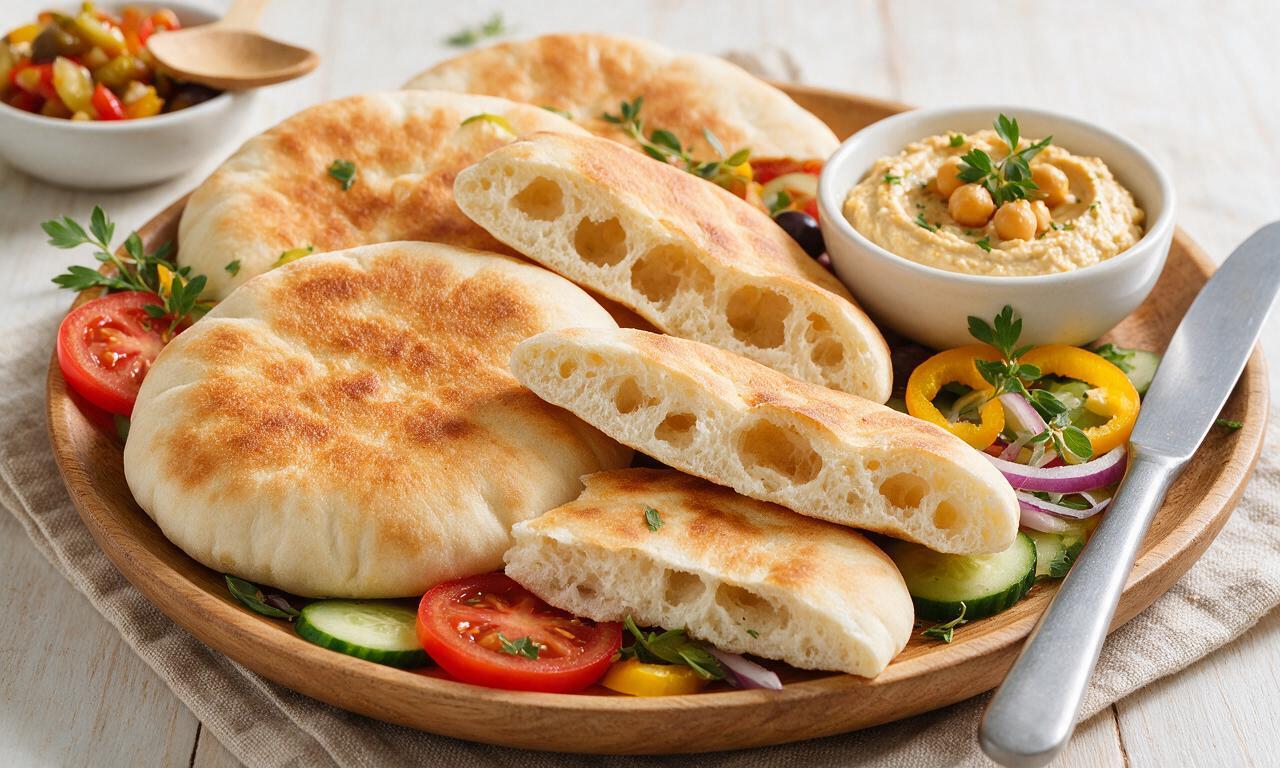
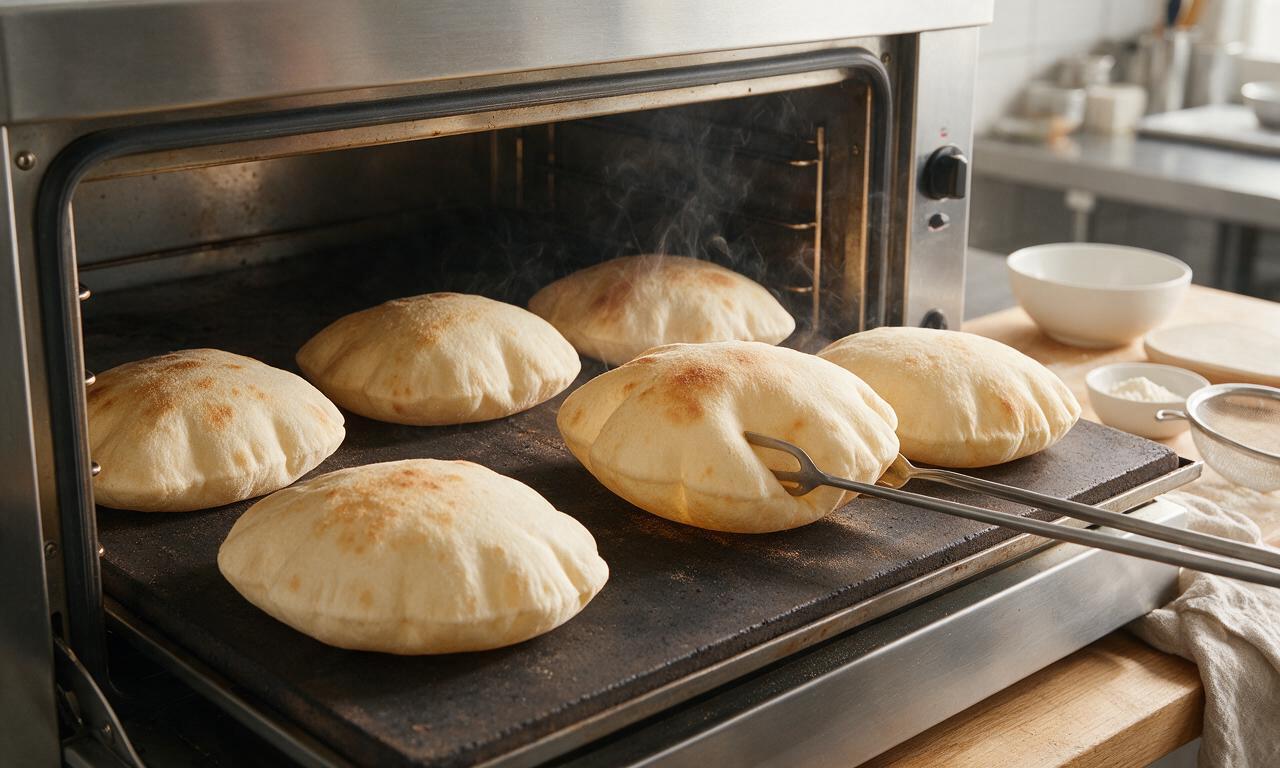
Puffing depends on two key factors: high, consistent heat and intact dough. Preheat your oven (and baking steel/stone) to 475°F for at least 20 minutes before baking, roll dough to an even ¼-inch thickness, and don’t poke holes in the surface during shaping. Even flat, un-puffed pitas work perfectly for dipping.
2.Can I use active dry yeast instead of instant dry yeast for this recipe?
▾
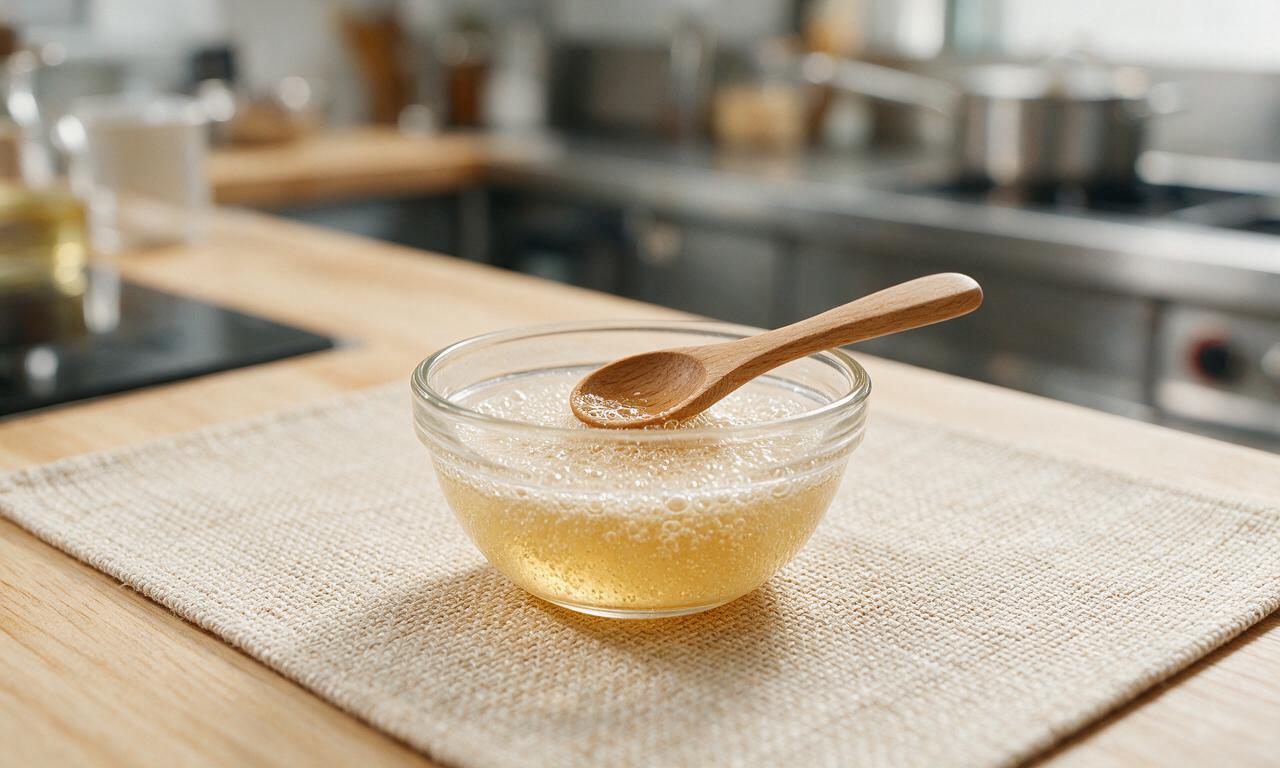
Absolutely! Use the exact same measured amount, but activate it first: stir the yeast and sugar into the warm water, let it sit for 5 to 10 minutes until foamy on top, then mix into the dry ingredients just as you would with instant yeast. This activation step is not required for instant yeast, but is non-negotiable for active dry.
3.How warm should the water be to activate the yeast properly?
▾
Aim for water between 105°F and 110°F, which feels like warm bath water to the touch—no hotter! Water over 120°F will kill yeast, leading to dense, flat bread that won’t rise, while water too cold will slow yeast activity so much your dough won’t rise in the recommended time.
4.Do I really need to add granulated sugar to the pita dough?
▾
The small amount of granulated sugar isn’t there to make the bread sweet—it acts as quick food for the yeast to kickstart fermentation, leading to a lighter, softer crumb and better puff. If you skip it, you can still make great pita, but expect slightly longer rise times and less dramatic pocket formation.
5.What role does fine sea salt play in the dough, and can I leave it out?
▾
Fine sea salt does more than add subtle, balanced flavor to the pita—it also tightens the gluten structure for better puff and slows yeast activity to prevent overly fast, uneven fermentation. You can skip it for a low-sodium diet, but your pita will taste flat and may have a slightly more fragile crumb.
6.Can I substitute whole wheat flour for some of the all-purpose flour?
▾
Yes! Swap up to 50% of the all-purpose flour for whole wheat flour for a nuttier, more fiber-rich pita. Going higher than 50% will lead to denser, less pillowy bread that struggles to puff, since whole wheat flour has less gluten-forming protein to trap the steam that creates the signature pocket.
7.How do I know when I’ve kneaded the pita dough enough?
▾
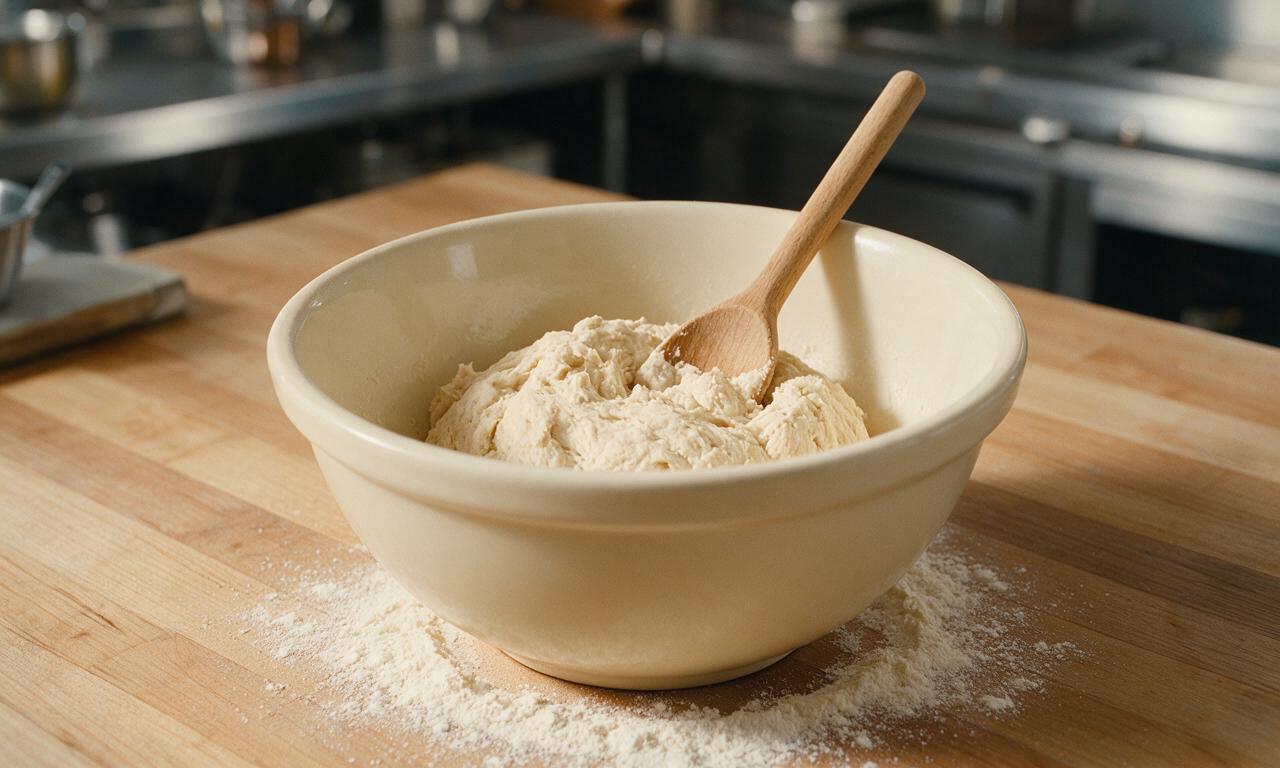
Properly kneaded dough will be smooth, elastic, and pull away cleanly from the sides of your mixing bowl. If you poke it with a finger, the indent should spring back slowly, leaving a small shallow mark. This usually takes 8 to 10 minutes by hand, or 4 to 5 minutes in a stand mixer with a dough hook on low speed.
8.How long should I let the pita dough rise for the first proof?
▾
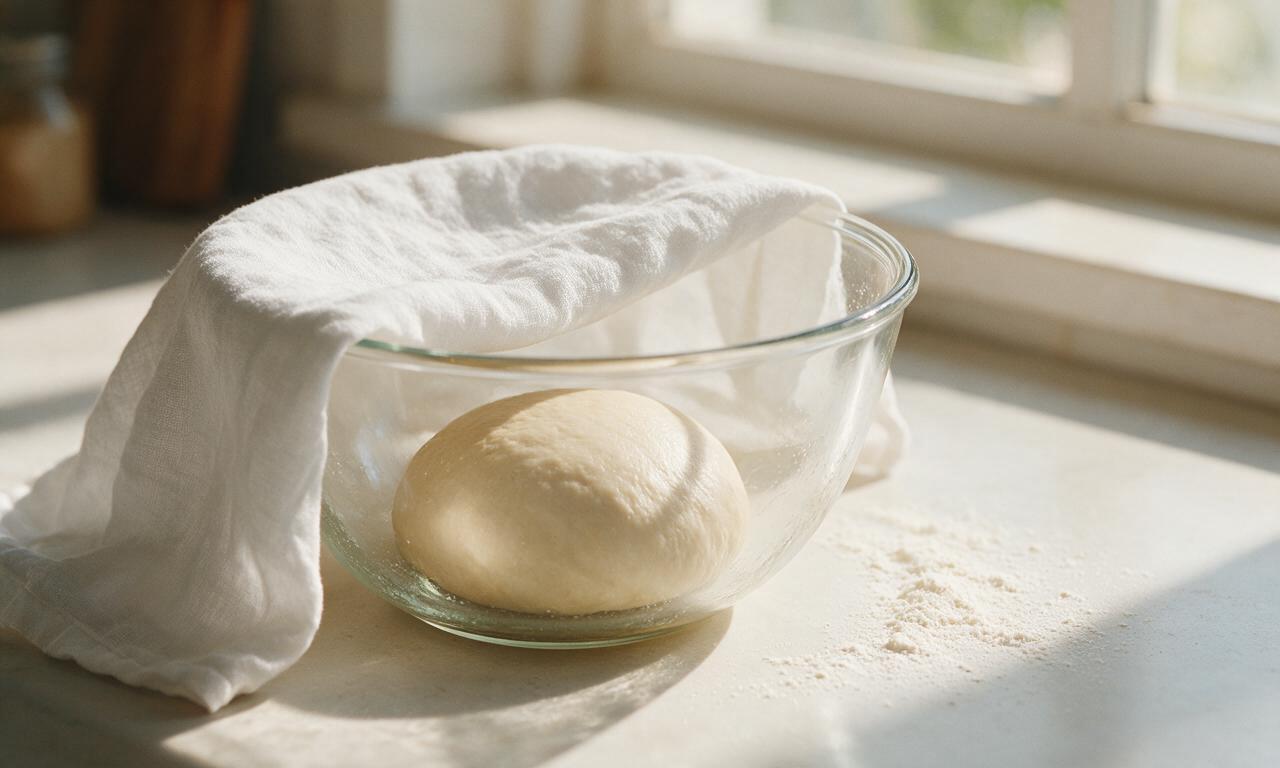
Let the covered dough rise in a warm, draft-free spot until it doubles in size, which takes 1 to 1.5 hours at average room temperature (around 70°F). If your kitchen is cooler, it may take closer to 2 hours; don’t rush this step, as a slow rise builds better flavor and a softer final texture.
9.Can I make the pita dough ahead of time and bake it later?
▾
Definitely! After the first rise, punch the dough down, seal it tightly in an airtight container, and store it in the fridge for up to 3 days. When you’re ready to bake, pull the dough out, let it come to room temperature for 30 minutes, then portion, shape, and bake as directed.
10.What’s the best surface to bake pita on for the most reliable puff?
▾
A preheated baking stone, cast iron skillet, or heavy baking steel works best, because it retains high, even heat that instantly hits the dough when it goes in the oven, creating the rapid steam that puffs the pocket. If you only have a regular baking sheet, preheat it for 15 minutes before adding pitas.
11.Why is my pita tough and chewy instead of soft and pillowy?
▾
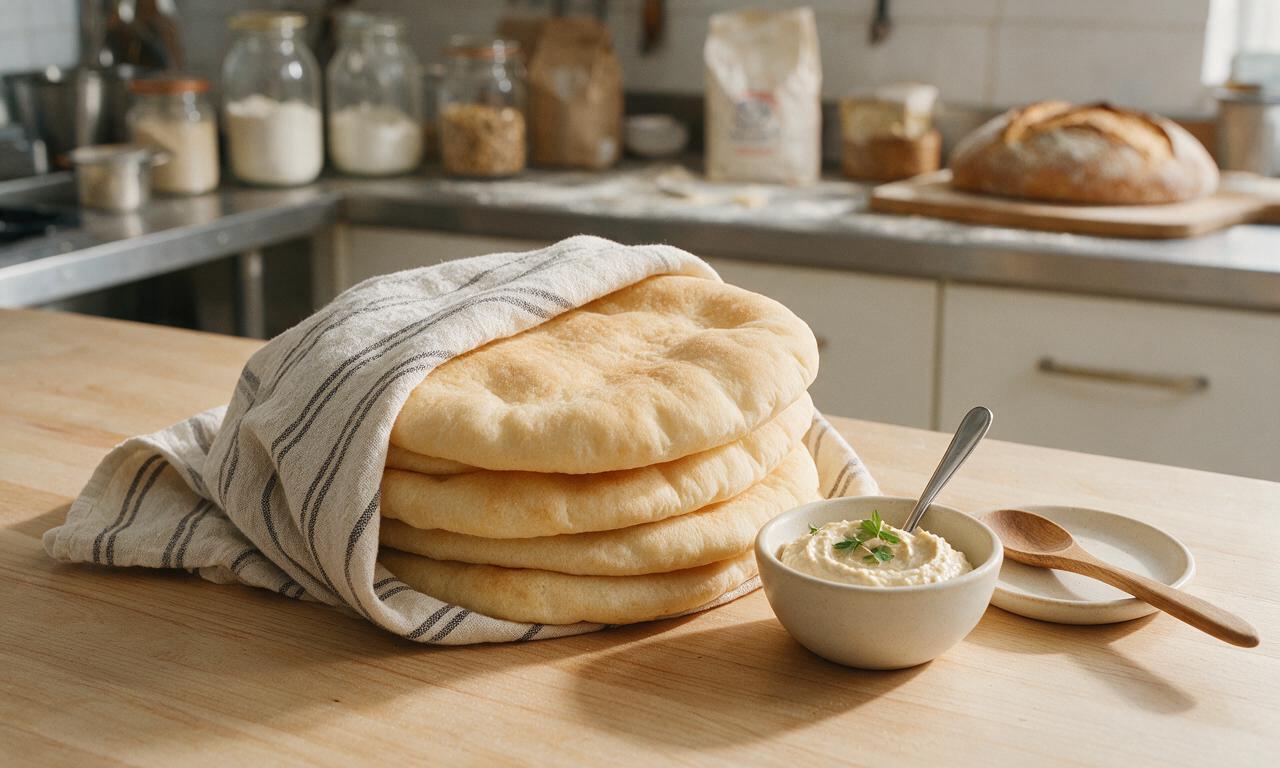
Tough pita usually comes from one of three issues: you added too much flour when rolling, you baked it too long, or you didn’t rest the dough enough after shaping. Keep added flour light when rolling, bake only 2 to 3 minutes per side, and stack baked pitas in a clean kitchen towel to trap steam as they cool.
12.Can I cook pita bread on the stovetop instead of in the oven?
▾
Absolutely! Heat a dry cast iron skillet over medium-high heat until it’s very hot, then lay a rolled-out pita round on it. Cook for 30 seconds until bubbles form, flip, cook 1 to 2 minutes on the second side until it puffs, then flip again for 30 more seconds. Stack cooked pitas in a towel to stay soft.
13.How thin should I roll out the pita rounds before baking?
▾
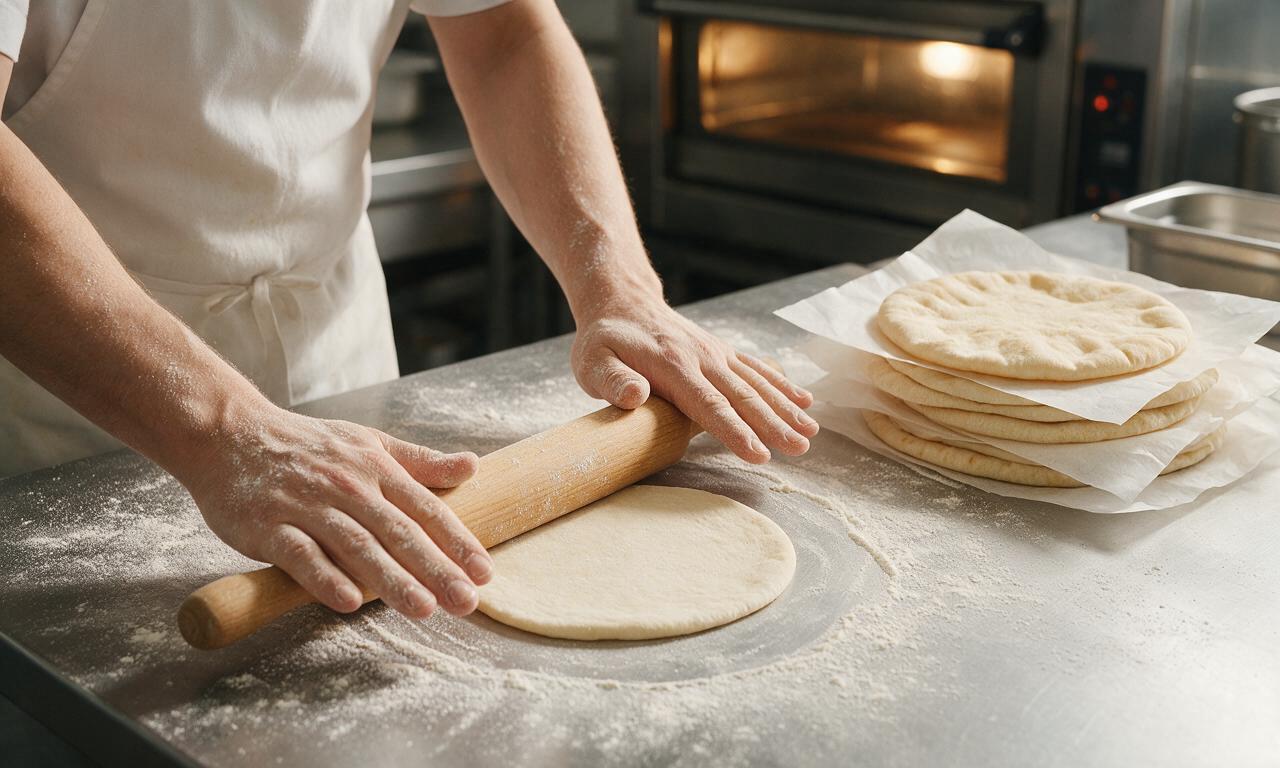
Aim for an even ¼-inch thickness, across a 6 to 7 inch round. If you roll them thinner than that, the dough won’t have enough structure to hold the steam pocket, and it will tear easily. If they’re too thick, they’ll bake up like dense dinner rolls instead of light, foldable pita.
14.Do I need to let the rolled-out pita rounds rest before baking?
▾
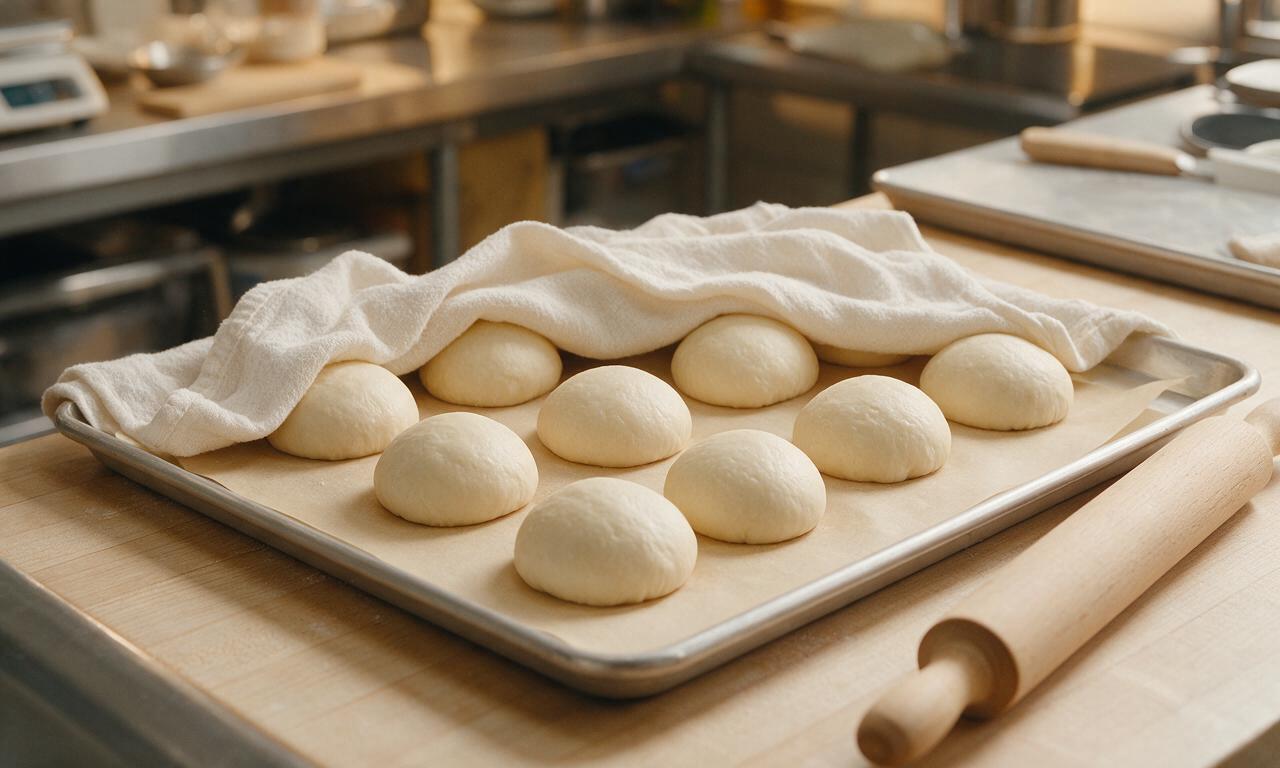
Yes! Let the shaped rounds rest, covered loosely with a clean towel, for 10 to 15 minutes before baking. This relaxes the gluten in the dough so it doesn’t shrink back when you transfer it to the hot baking surface, and it helps the dough puff more reliably in the oven.
15.Why does my dough shrink back when I try to roll it out?
▾
Shrinking dough means the gluten is too tight, usually because you skipped the short rest after portioning the dough into balls. If the dough springs back constantly as you roll, set it aside for 5 minutes to let the gluten relax, then come back to it—it will roll out easily without fighting you.
16.Why do my pitas have a dense, thick crumb instead of a light, airy texture?
▾
A dense crumb usually means your dough didn’t rise long enough, or your yeast was old and inactive. Always check the expiration date on your yeast before starting, and make sure you let the dough double fully in size during the first proof—don’t cut rise time short, as that builds the light, open crumb.
17.How should I store leftover homemade pita bread to keep it soft?
▾
Let the pitas cool completely first, then store them in a sealed zip-top bag or airtight container at room temperature for up to 3 days. Don’t store them in the fridge, as the cold temperature will dry them out quickly and make them go stale much faster than room temperature storage.
18.Can I freeze homemade pita bread for later use?
▾
Yes, pita freezes beautifully! Stack cooled pitas with small squares of parchment paper between each one to prevent sticking, seal them in a freezer-safe bag, and freeze for up to 3 months. Thaw at room temperature for 15 minutes, or warm for 10 seconds in the microwave before using.
19.What’s the best way to reheat pita to keep it soft and pliable?
▾
The easiest method is to wrap pitas in a slightly damp paper towel and microwave them for 10 to 15 seconds, until warm and flexible. You can also warm them directly over a gas stove flame for 10 seconds per side for a slightly charred, toasty edge, or heat them in a dry skillet for 30 seconds per side.
20.Is it normal for some of my pitas to not puff fully even if I follow the recipe exactly?
▾
It’s totally normal! Even professional bakers get a couple of un-puffed pitas per batch, especially when first learning. Those un-puffed rounds are still perfectly delicious—cut them into wedges for dipping hummus, toast them for pita chips, or use them as soft flatbreads for wraps instead of tossing them.







OMG this pita recipe is such a game changer! I’ve tried three other homemade pita recipes before that always turned out tough or never puffed right, but these came out perfectly soft and pillowy on the first try. Served them with hummus and grilled chicken for our family dinner last night and everyone went back for seconds. Already planning to make a double batch for my neighborhood potluck this weekend!
Quick question – has anyone tried freezing these after baking? I do big Sunday meal preps for work lunches and would love to stock a batch to pull out throughout the week instead of buying store-bought pita that’s full of weird preservatives. The texture looks way softer than what I usually grab at the grocery store!
My kids are OBSESSED with these! I was so nervous they’d turn out a mess because I’m definitely not a seasoned bread baker, but the easy step-by-step instructions made this totally foolproof. We stuffed them with peanut butter and jelly for their school lunches today and both kids asked if we could make them every week from now on. SO good!
Made these for a work potluck yesterday and they were the first thing gone! I set them out with a trio of dips – roasted red pepper hummus, tzatziki, and baba ganoush – and so many coworkers asked for the recipe. The total time felt totally manageable even on a busy weeknight, and they stayed soft for hours after baking. 10/10 will make again and again!
I was worried I messed up the dough because it felt a little stickier than I expected after the first rise, but I just floured my counter a tiny bit extra when rolling and they still turned out amazing! Got that perfect pocket every single time, which I’ve never managed with homemade pita before.
Quick question – do I need a pizza stone to make these? I only have regular baking sheets and a tiny apartment oven, so I don’t have space for a bunch of fancy baking equipment. Would love to make these this weekend if they work without one!
Has anyone tried making these with half whole wheat flour? I try to sneak in whole grains where I can for my family, but I don’t want to make them tough or ruin that soft texture the recipe promises.
No more store bought pita for me, ever. These are so soft and chewy, way better than any brand I’ve ever picked up at the grocery store. I ate two straight off the baking sheet because I couldn’t wait for them to cool, no dip even needed. Worth every minute of the rise time!
Ugh, my first batch didn’t puff at all! I think I rolled them too thick? I’m gonna give it another try tomorrow because the dough itself tasted amazing, I just want that perfect pocket to stuff with falafel.
These are exactly like the soft pita I used to get from the Greek diner down the street from my college dorm! Total nostalgia trip. I stuffed mine with gyro meat, tzatziki, tomato, and onion for a homemade gyro night and my partner said it was better than takeout. Absolute win.