
best cheese for mac n cheese

title 1
best cheese for mac n cheese
⏱️ cook time 30 minutes
🍽️ servings 6
⚡ Difficulty easy

intro

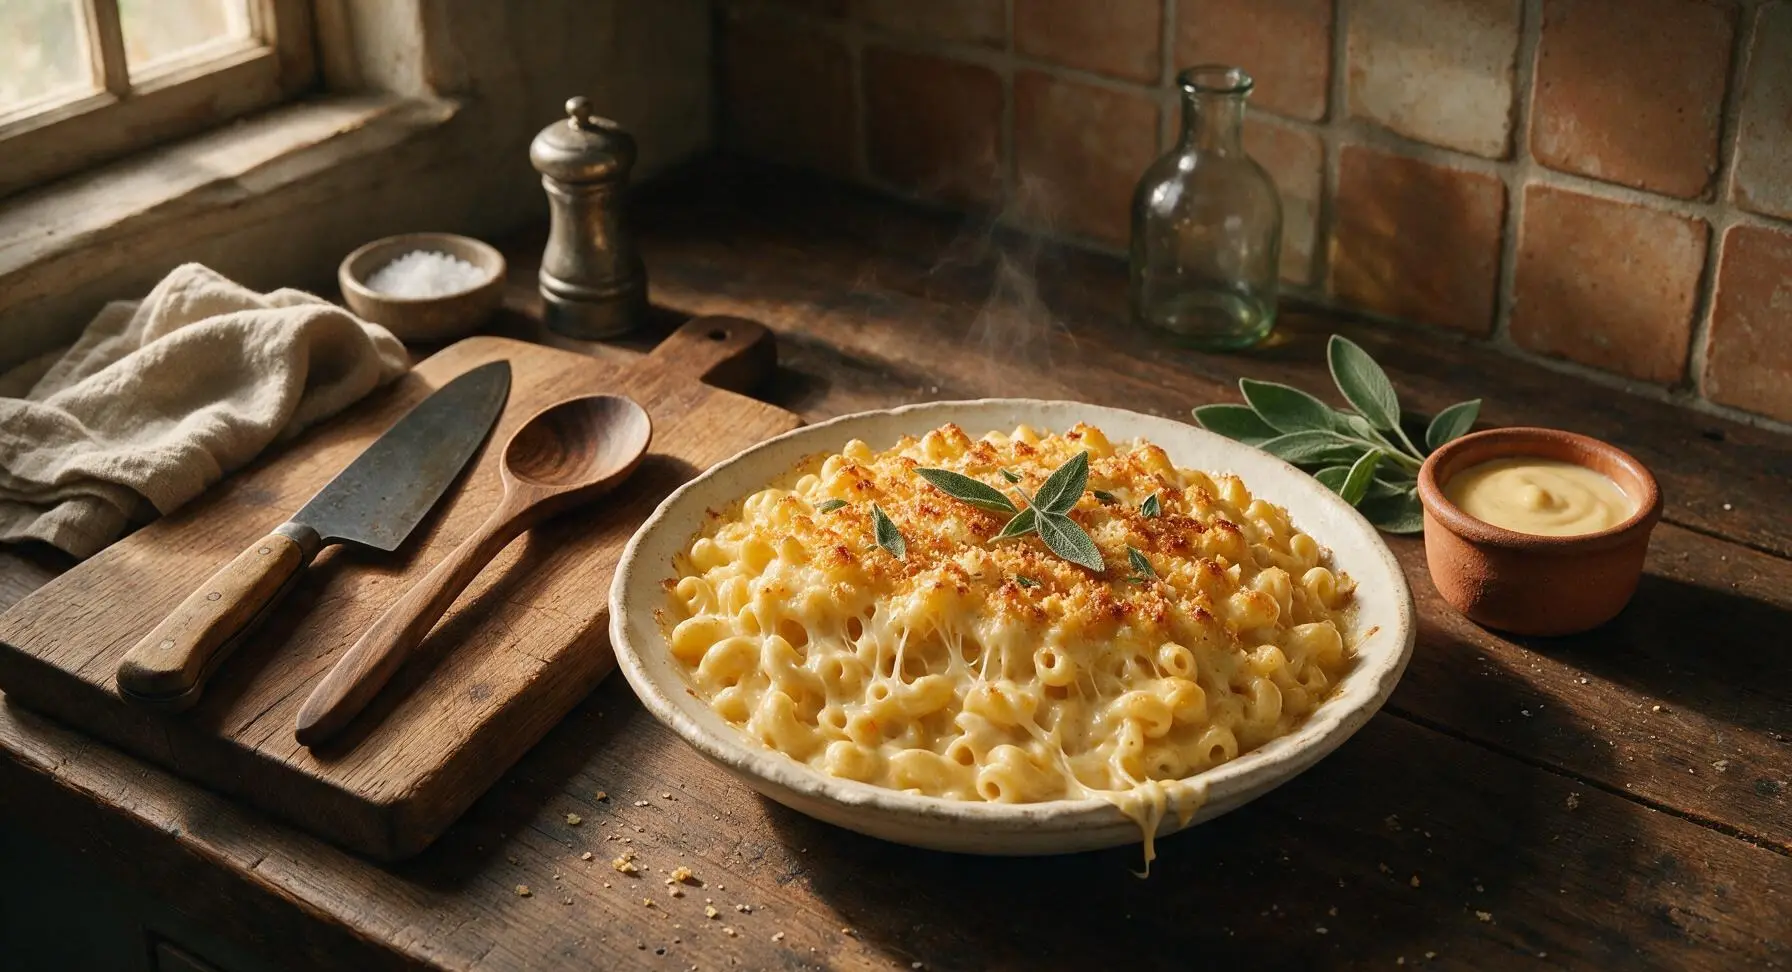
Ultra-creamy baked mac and cheese made with a perfectly balanced 3-cheese blend that melts smooth, pulls long, and has deep tangy, nutty flavor—no grainy sauce, just pure cozy comfort.

Ingredients
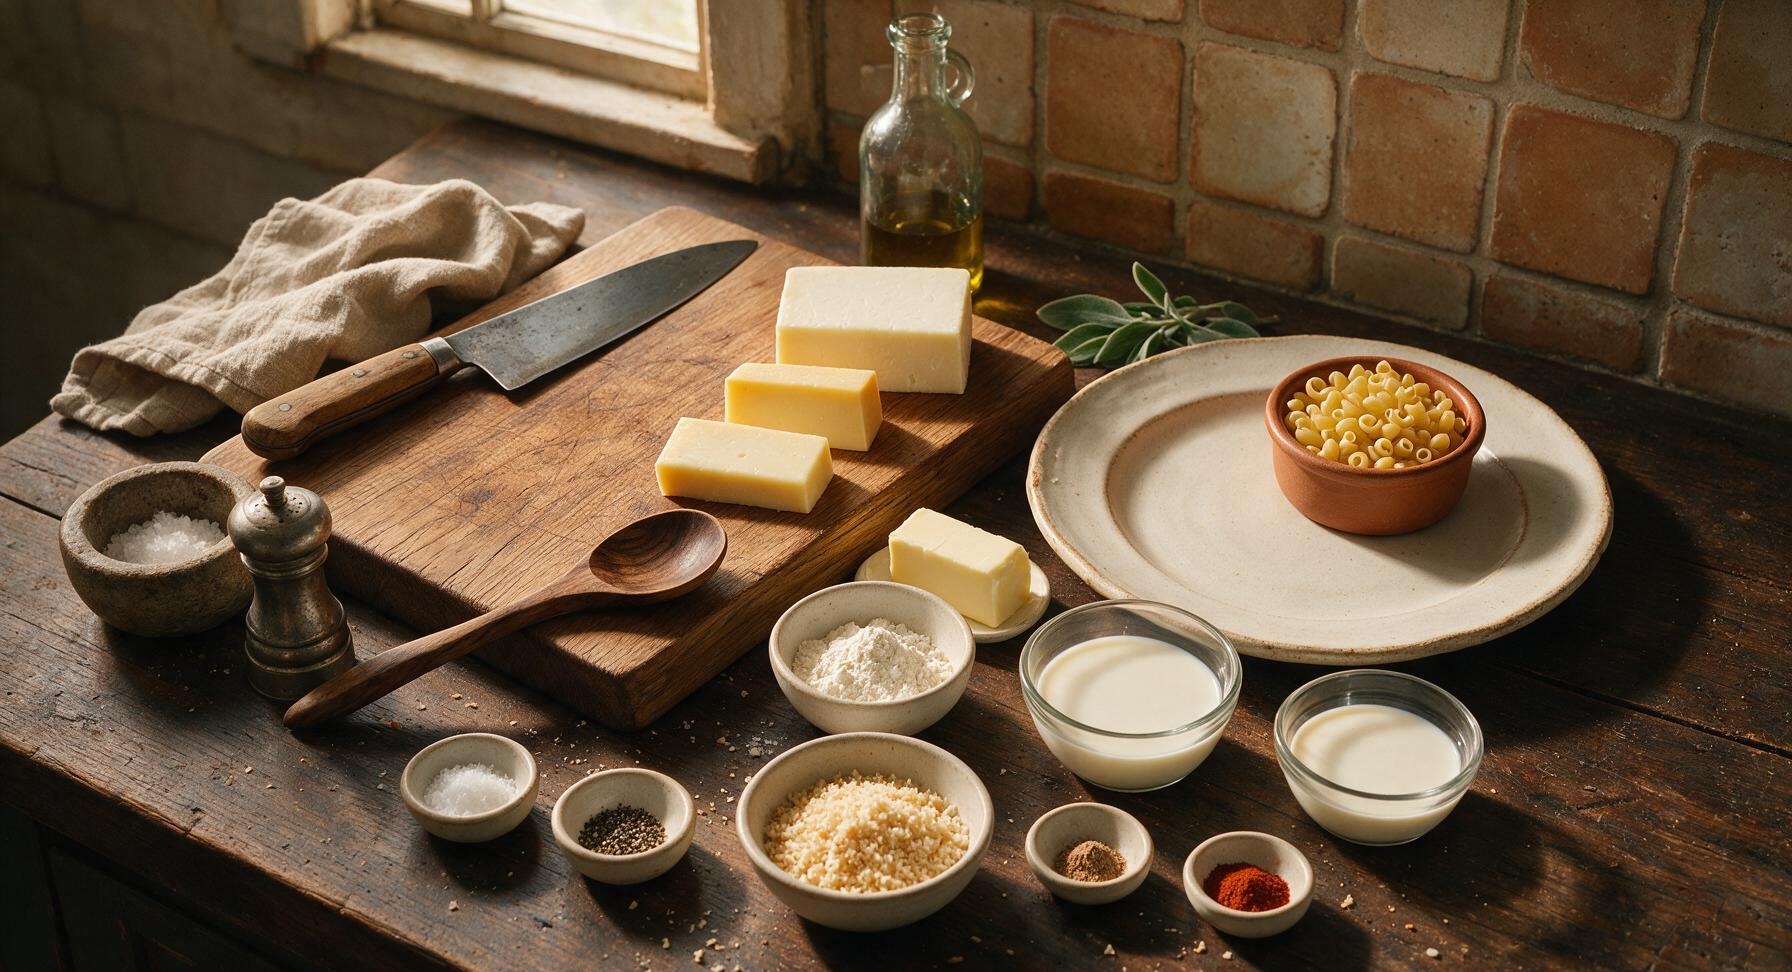
Dry elbow macaroni 225g (8oz)
Sharp white cheddar cheese (block, not pre-shredded) 170g (6oz)
Gruyère cheese (block) 110g (4oz)
Fontina cheese (block, rind removed) 55g (2oz)
Unsalted butter 4 tbsp (55g)
All-purpose flour 3 tbsp (25g)
Whole milk, warmed 2 cups (480ml)
Heavy cream, warmed 1/2 cup (120ml)
Kosher salt 1 tsp
Freshly ground black pepper 1/2 tsp
Freshly grated nutmeg 1/8 tsp
Sweet paprika 1/4 tsp
Panko breadcrumbs 1/4 cup (15g)

Steps

1

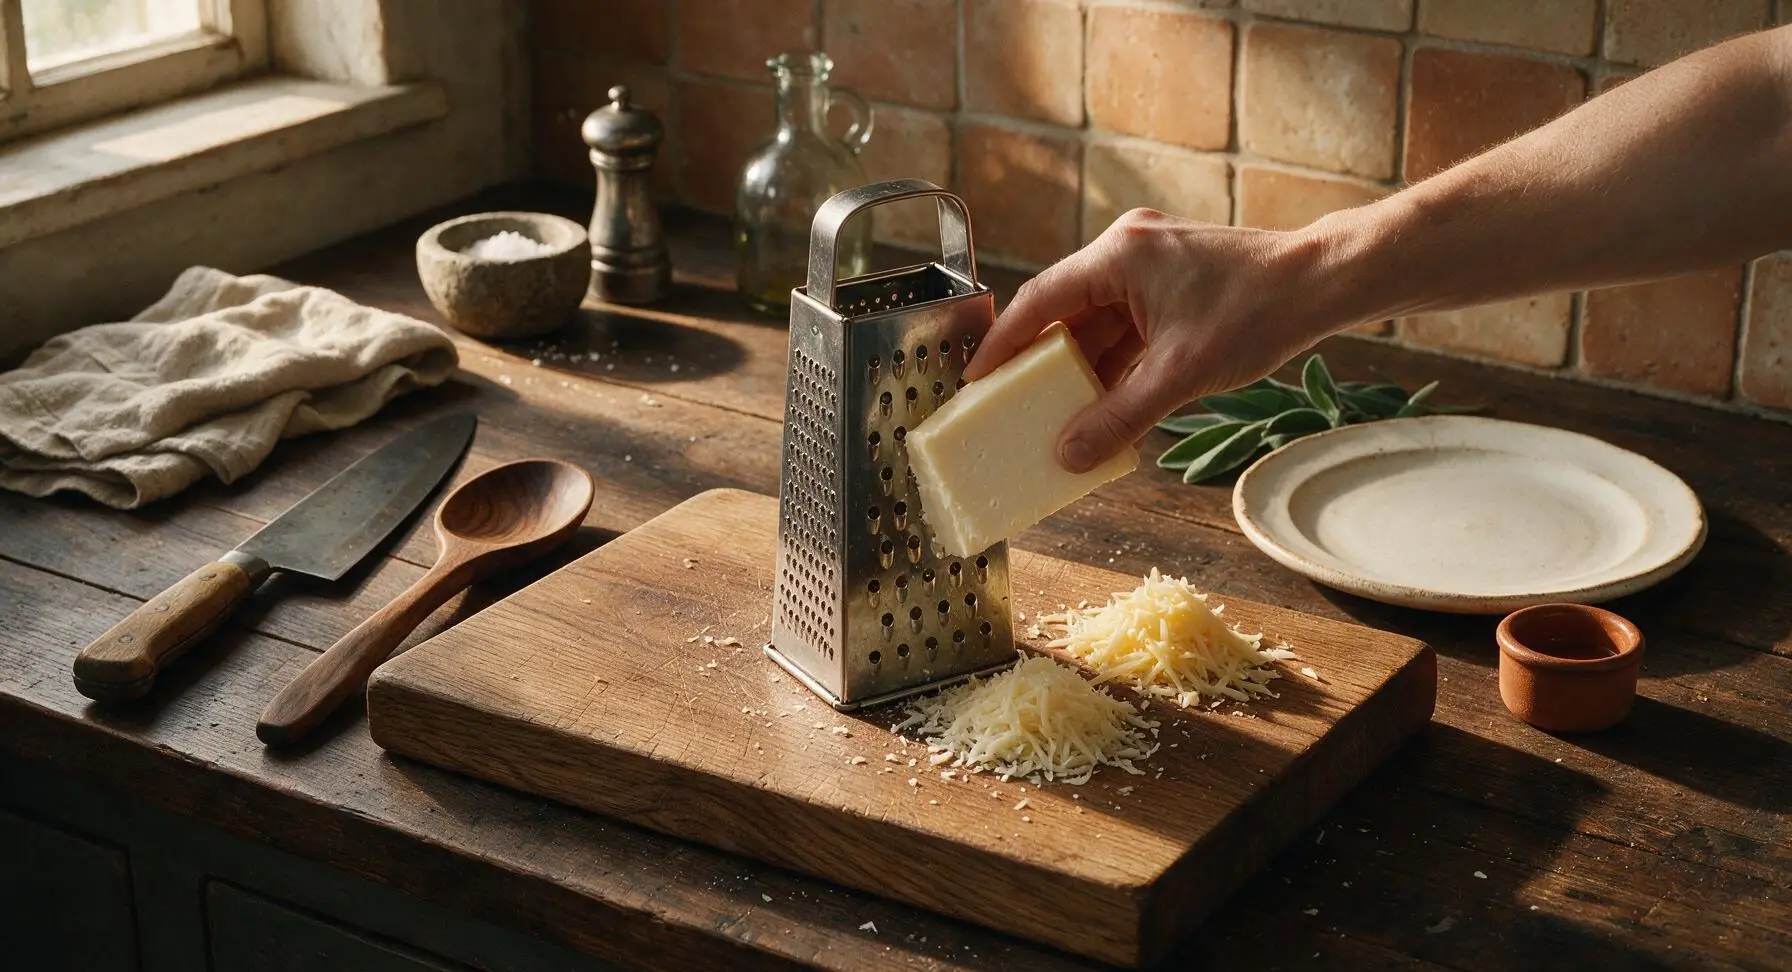
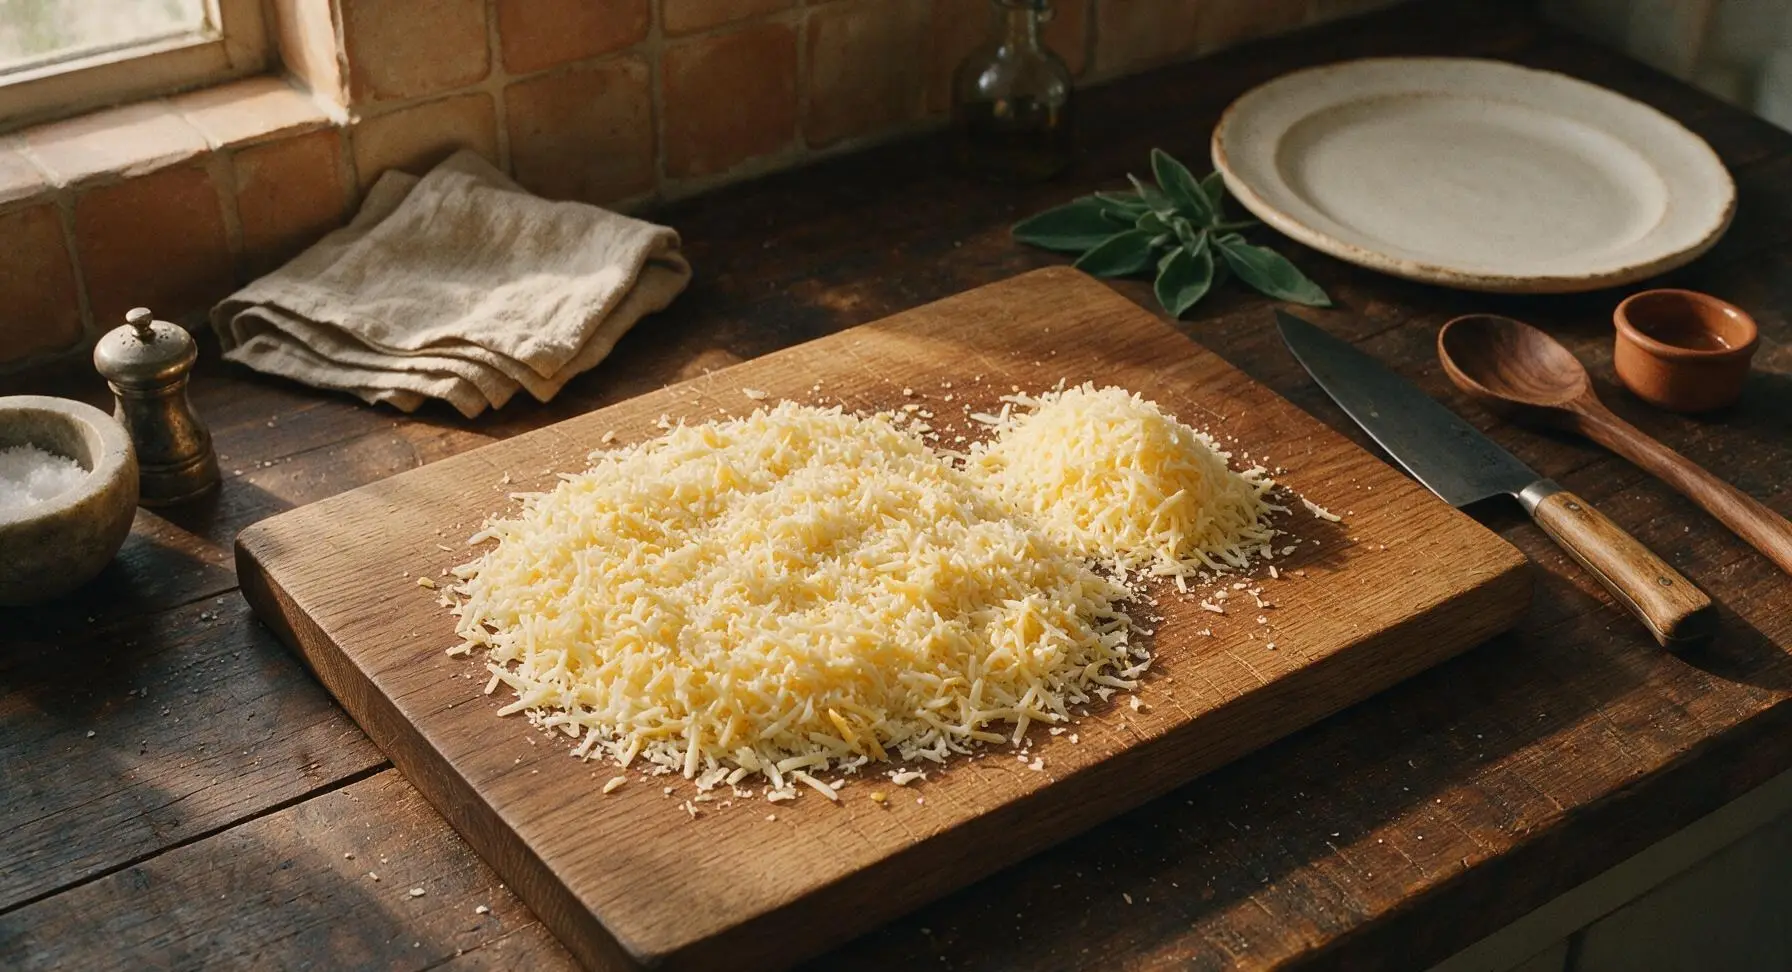
Grate Cheese Blend

Set the stainless steel box grater on the light maple cutting board. Coarsely grate the sharp white cheddar, Gruyère, and rind-removed fontina into separate small piles on the board. Toss 3/4 of the total grated cheese together to create a uniform blend; set the remaining 1/4 aside for the topping. Never use pre-shredded cheese for this recipe, as its anti-caking coating prevents smooth melting.
Step 1
step1:Grate Cheese Blend
Step 1
step1:Grate Cheese Blend
2

Boil Elbow Macaroni

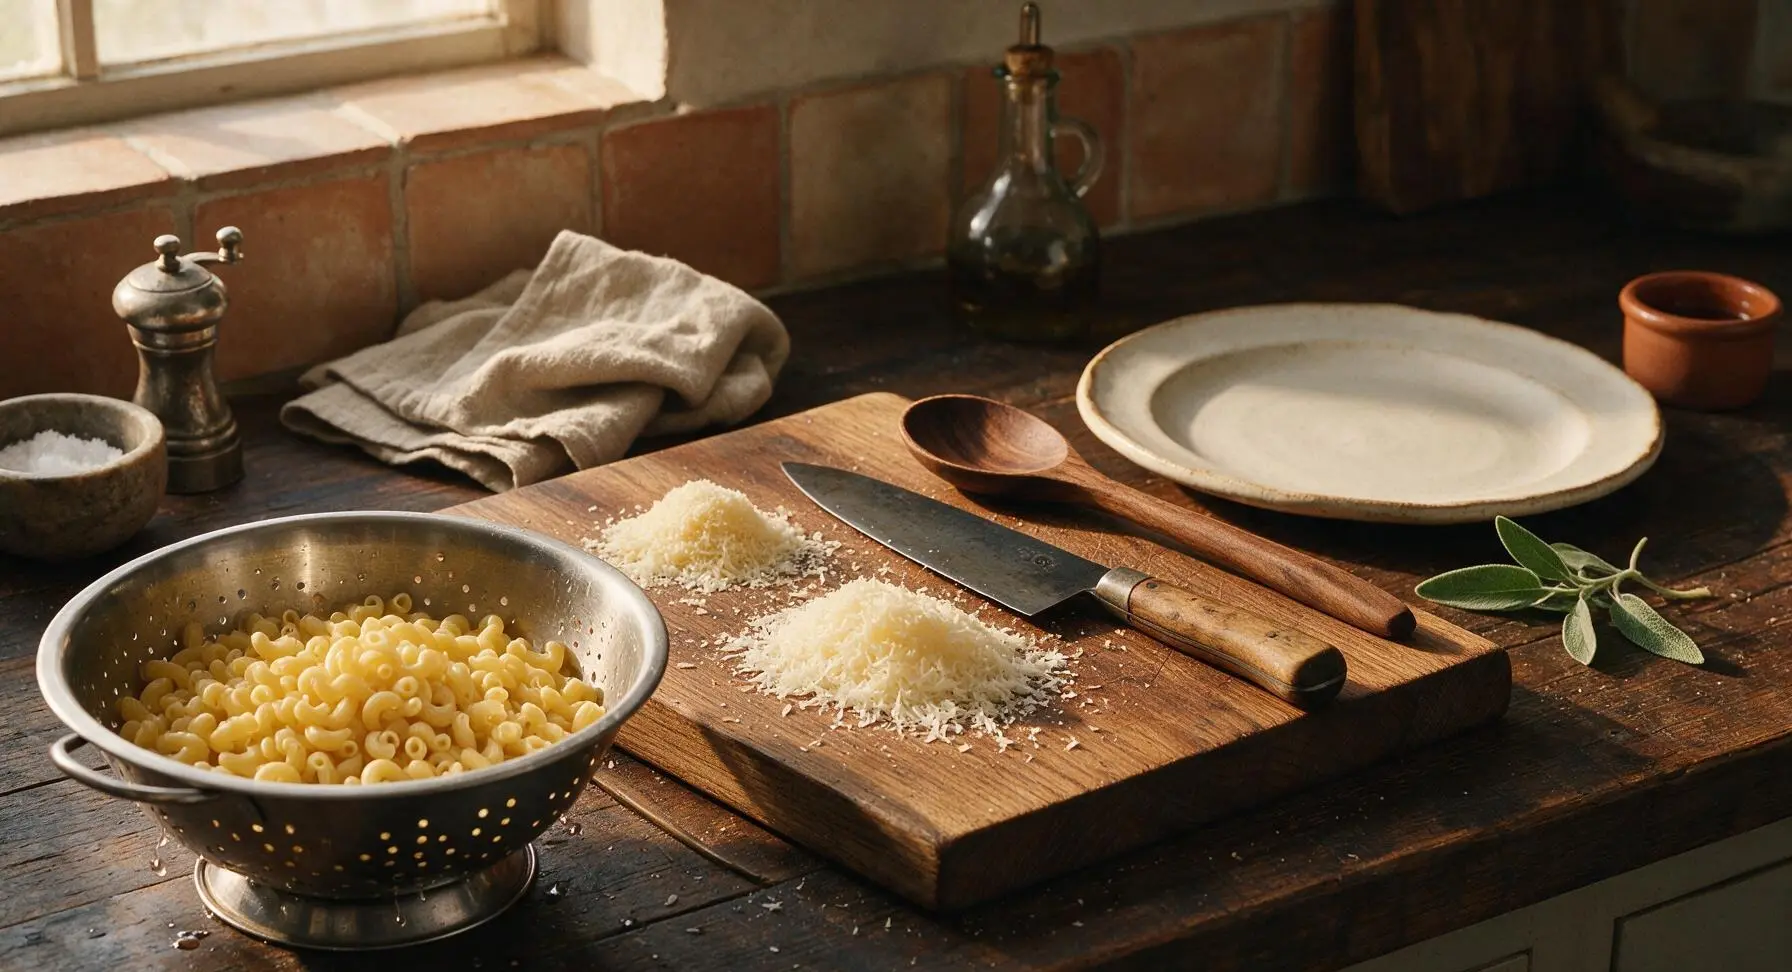
Bring a large pot of heavily salted water to a rolling boil over high heat. Add dry elbow macaroni and cook for exactly 6 minutes, until 2 minutes short of al dente (pasta will be firm at the center, with no raw white core). Drain pasta in the stainless steel colander, and do not rinse it—residual surface starch helps the cheese sauce cling tightly to every noodle.
Step 2
step2:Boil Elbow Macaroni
3

Make Butter Roux

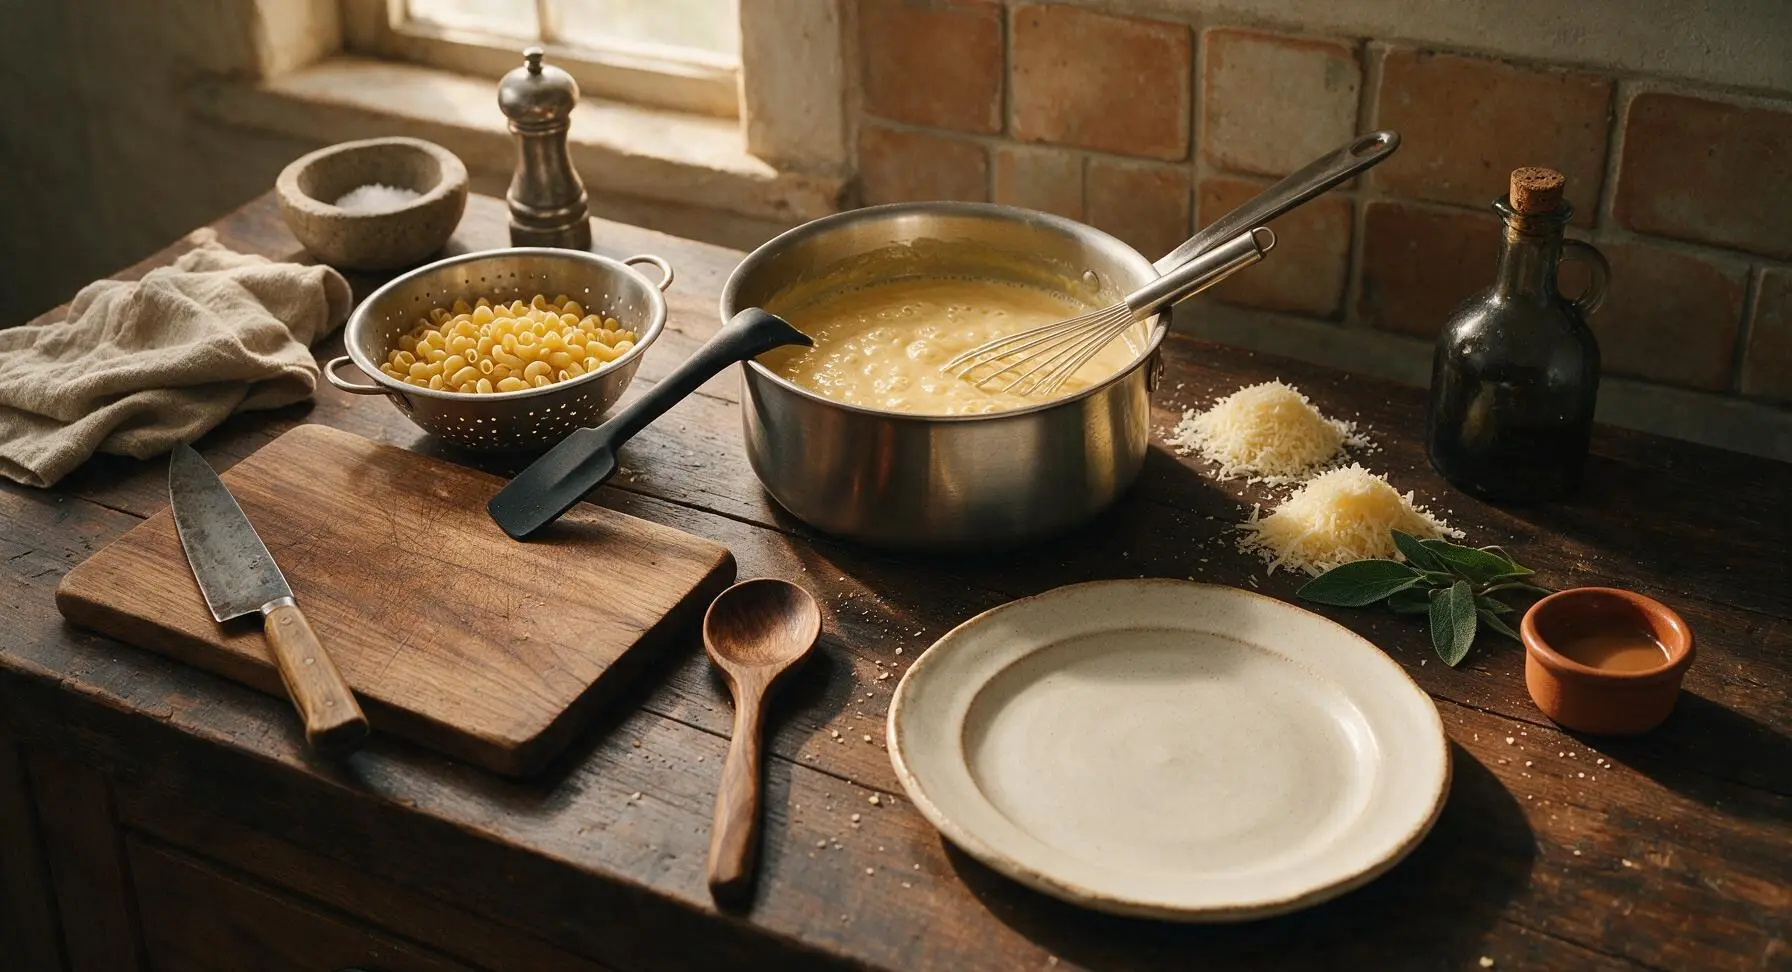
Set the 3-quart stainless steel saucepan over medium-low heat. Add unsalted butter and melt completely, then whisk in all-purpose flour with the stainless steel wire whisk to form a smooth, pale golden paste. Cook the roux for 2 minutes, stirring constantly, until it smells faintly toasty and nutty, with no raw flour aroma. Do not let the roux turn dark brown, as this will create a dark, bitter sauce.
Step 3
step3:Make Butter Roux
4

Simmer Creamy Base

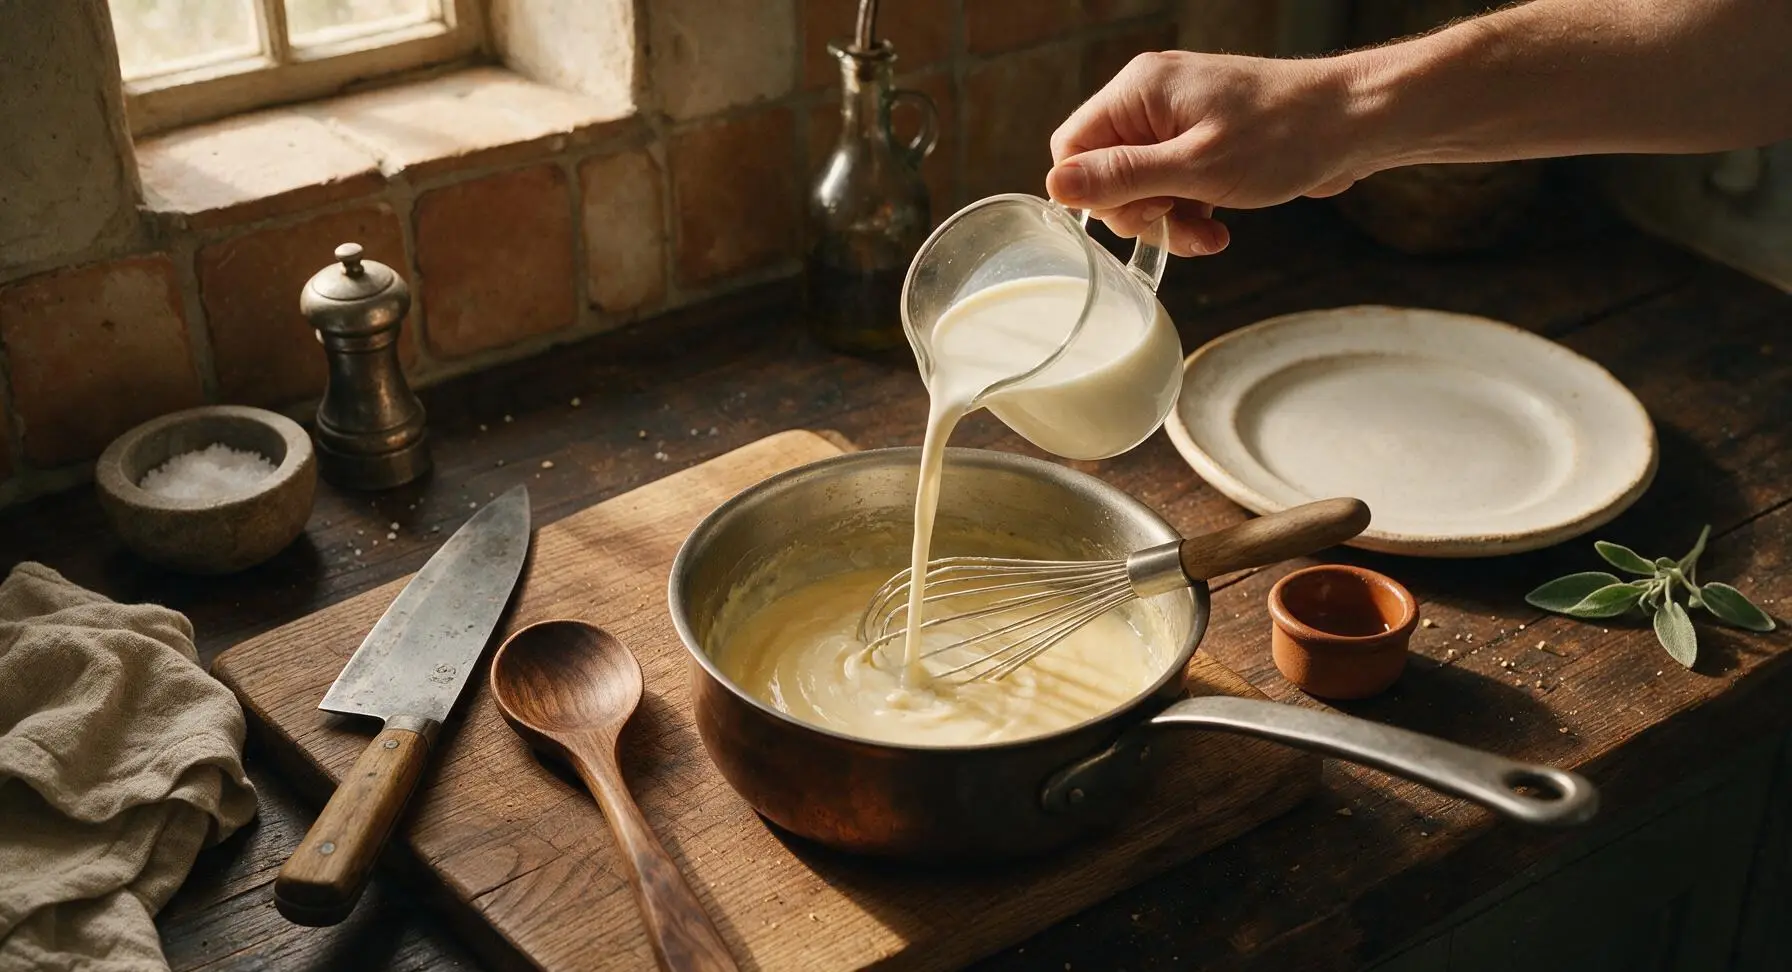
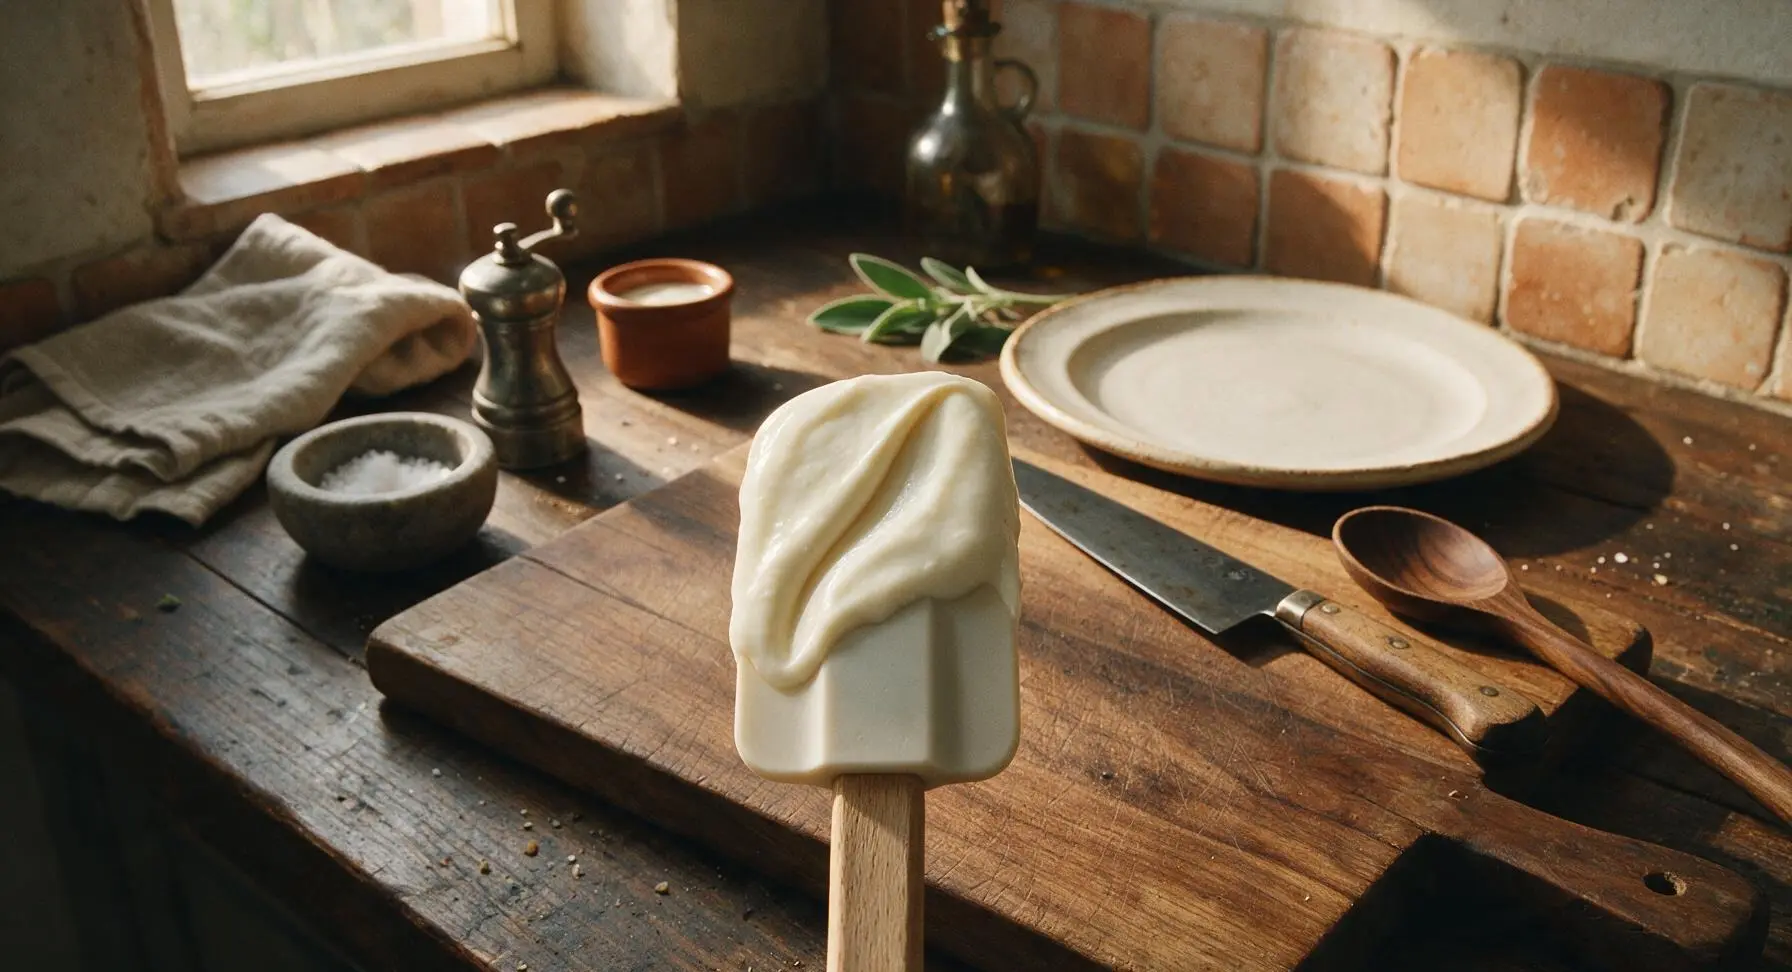
Slowly pour the warmed whole milk and heavy cream into the roux, whisking constantly with the wire whisk to prevent lumps from forming. Bring the sauce to a gentle simmer, cooking for 3-4 minutes until it thickens enough to evenly coat the back of the silicone spatula: run a finger across the coated spatula, and the line should hold cleanly without sauce running into it. Remove the pan from heat.
Step 4
step4:Simmer Creamy Base
Step 4
step4:Simmer Creamy Base
5

Melt Cheese into Sauce

Add the blended 3/4 portion of grated cheese to the warm béchamel one handful at a time, stirring slowly with the silicone spatula until each addition is fully melted and smooth before adding more. Stir in kosher salt, freshly ground black pepper, freshly grated nutmeg, and sweet paprika. Taste and adjust salt if needed; the finished sauce will be silky, tangy, and nutty, with no grainy texture.
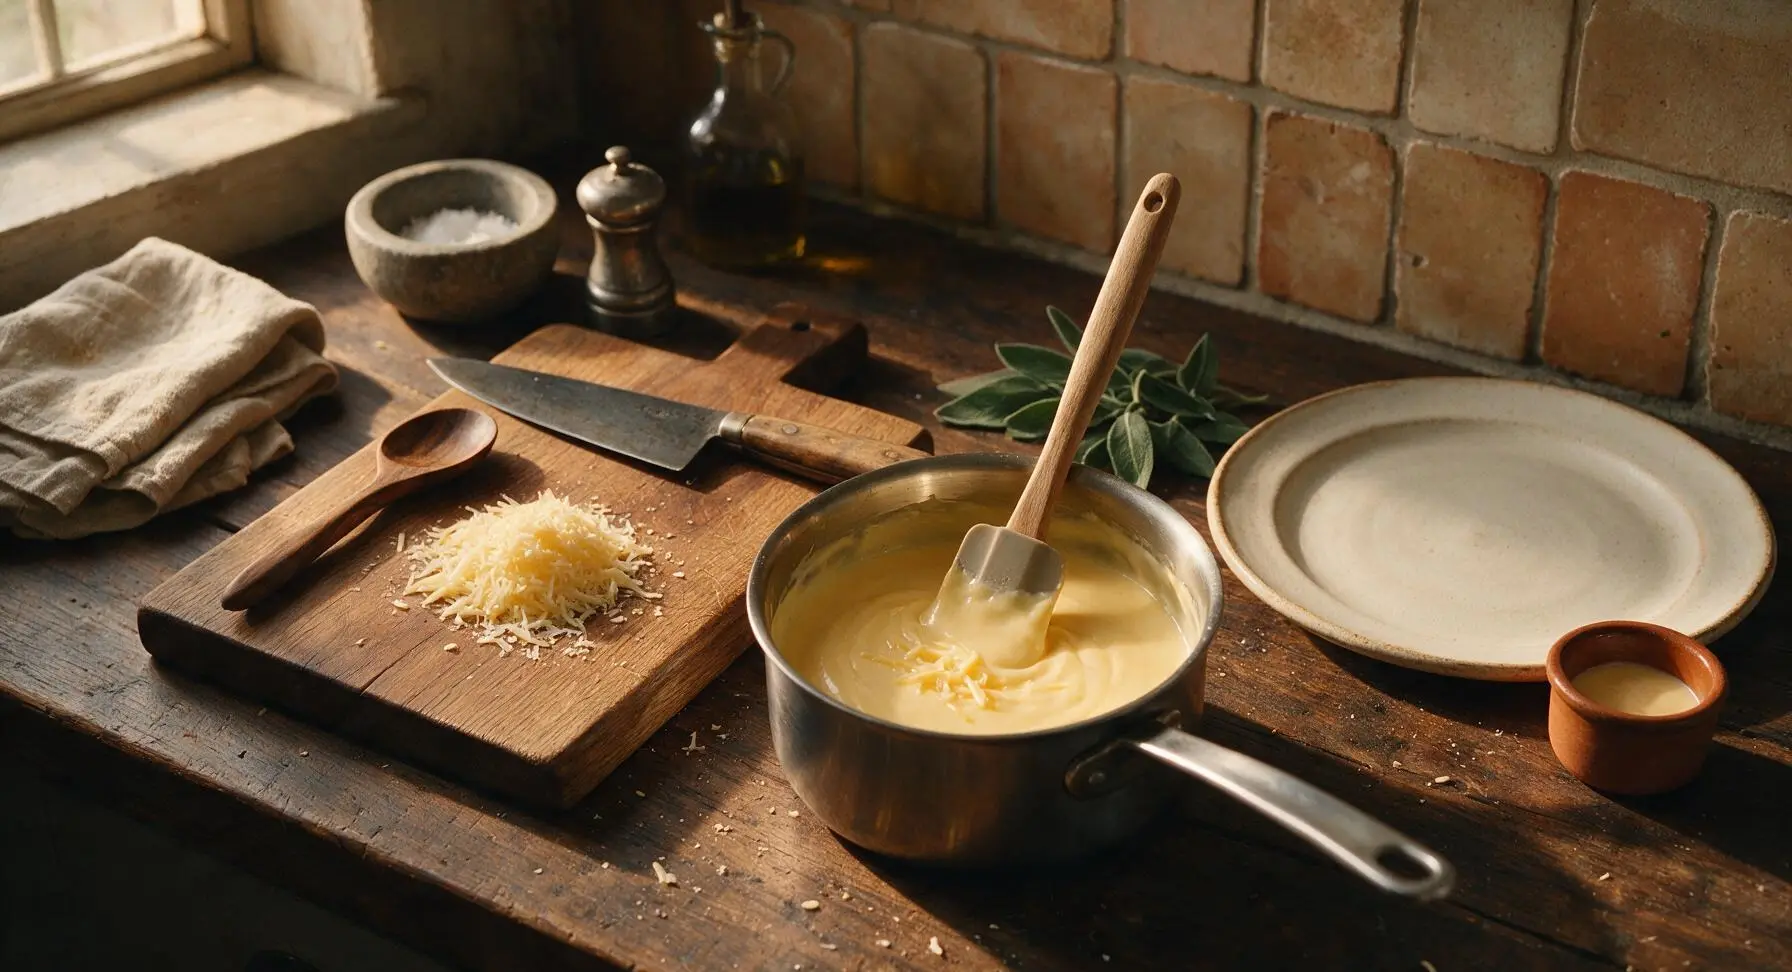
Step 5
step5:Melt Cheese into Sauce
6

Fold Pasta into Sauce

Add the drained, unrinsed elbow macaroni from the colander to the saucepan of cheese sauce, folding gently with the silicone spatula until every noodle is evenly coated in thick cheese sauce. Do not stir vigorously, as this can break tender pasta noodles into mushy pieces.
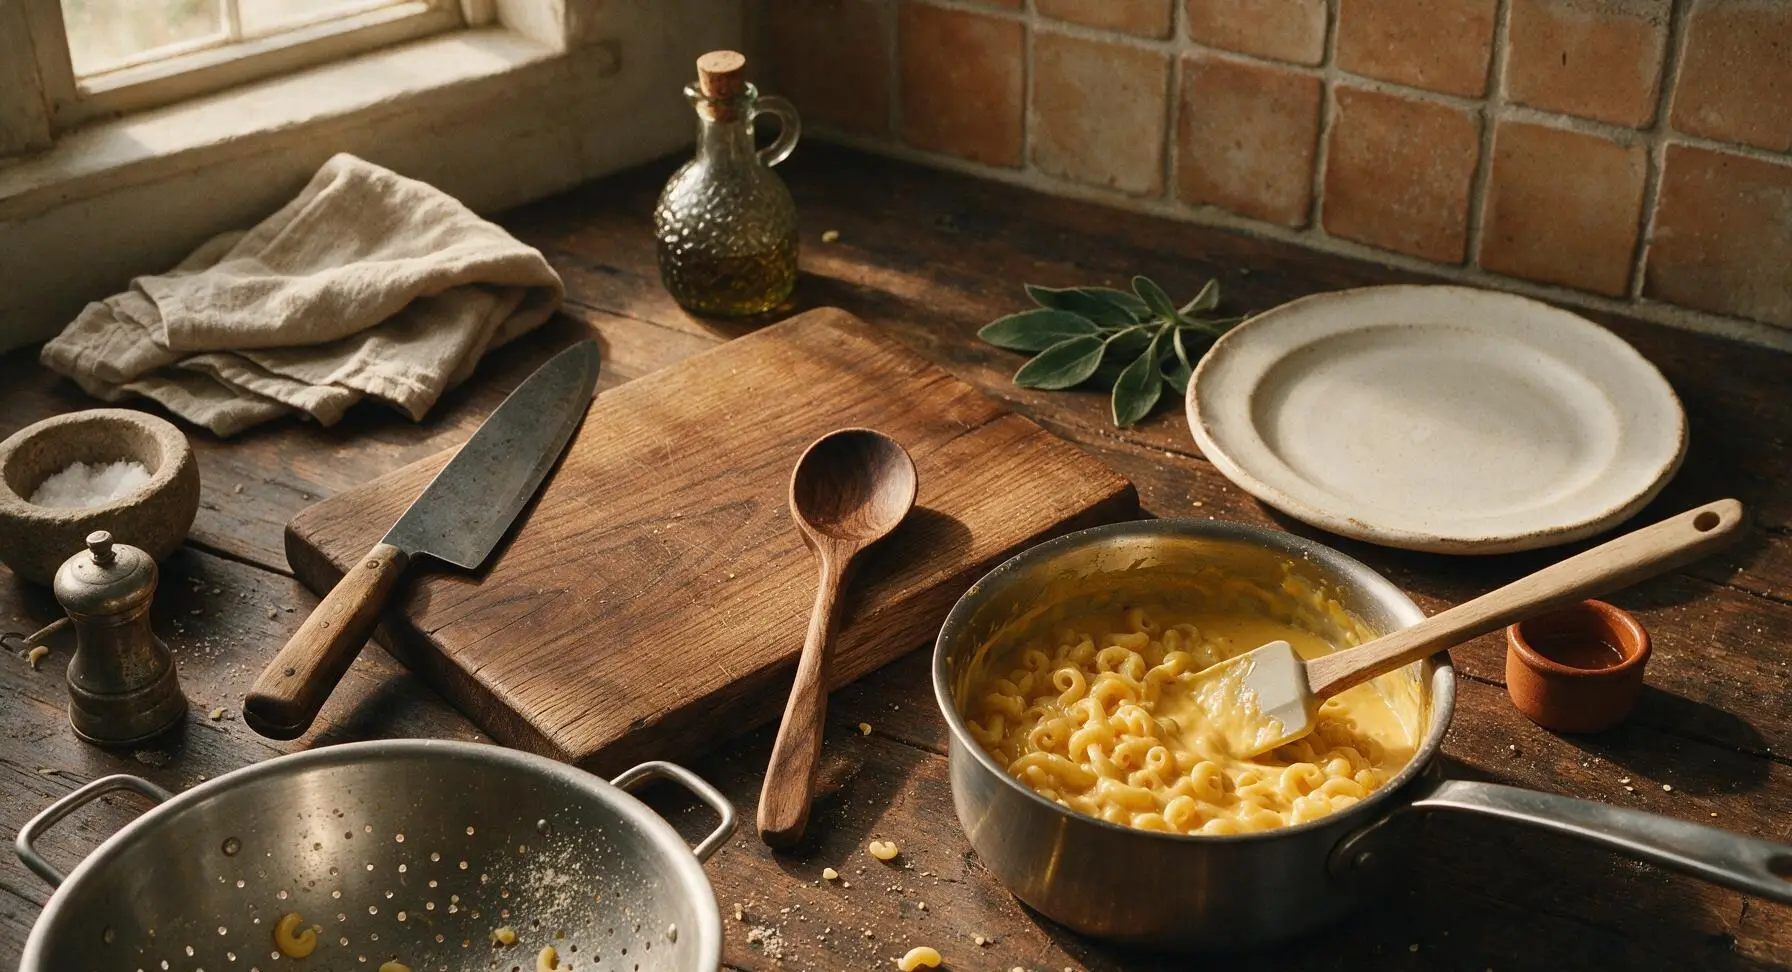
Step 6
step6:Fold Pasta into Sauce
7

Add Crispy Topping

Pour the sauced macaroni into the 20cm square matte white ceramic baking dish, spreading it into a smooth, even layer with the spatula. Sprinkle the reserved 1/4 portion of grated cheese evenly across the top, then scatter panko breadcrumbs over the cheese in a thin, uniform layer for extra crunch.
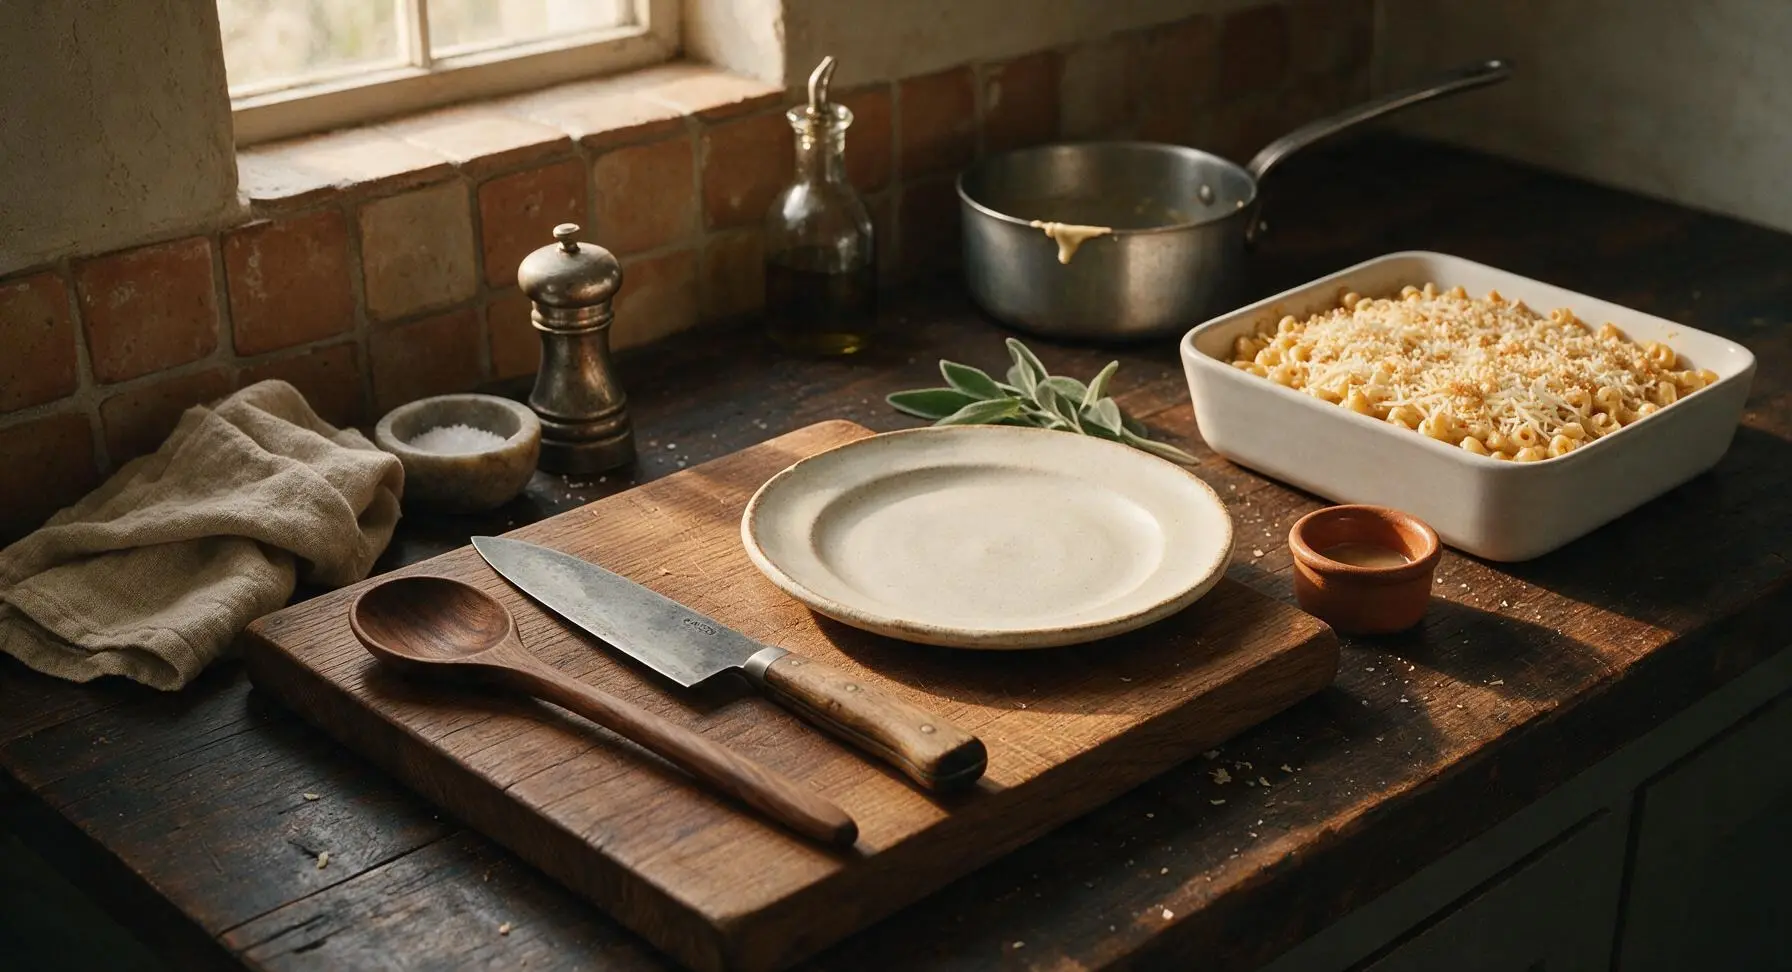
Step 7
step7:Add Crispy Topping
8

Bake Until Bubbly

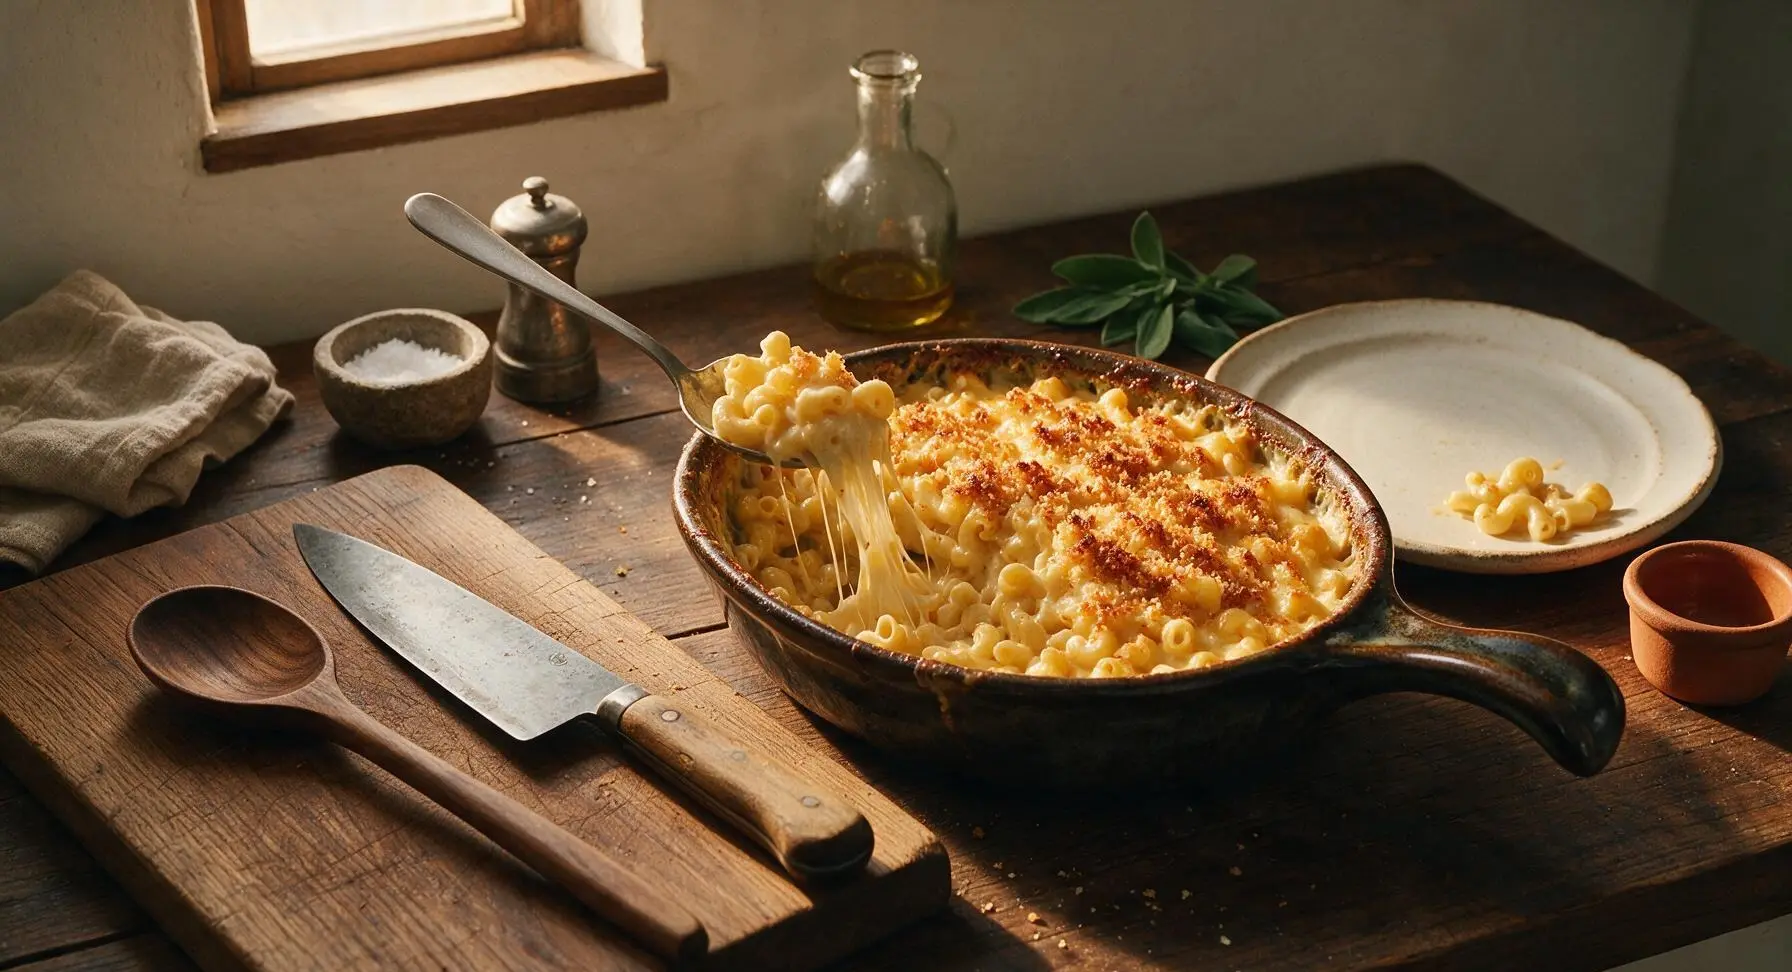
Bake in a preheated 200C (400F) oven for 12-15 minutes, until the sauce bubbles vigorously around the dish edges, the top cheese is fully melted, and the panko crumbs turn deep golden brown. Remove from the oven and let rest for 5 minutes before serving; this resting time lets the sauce set so it does not run when plated.
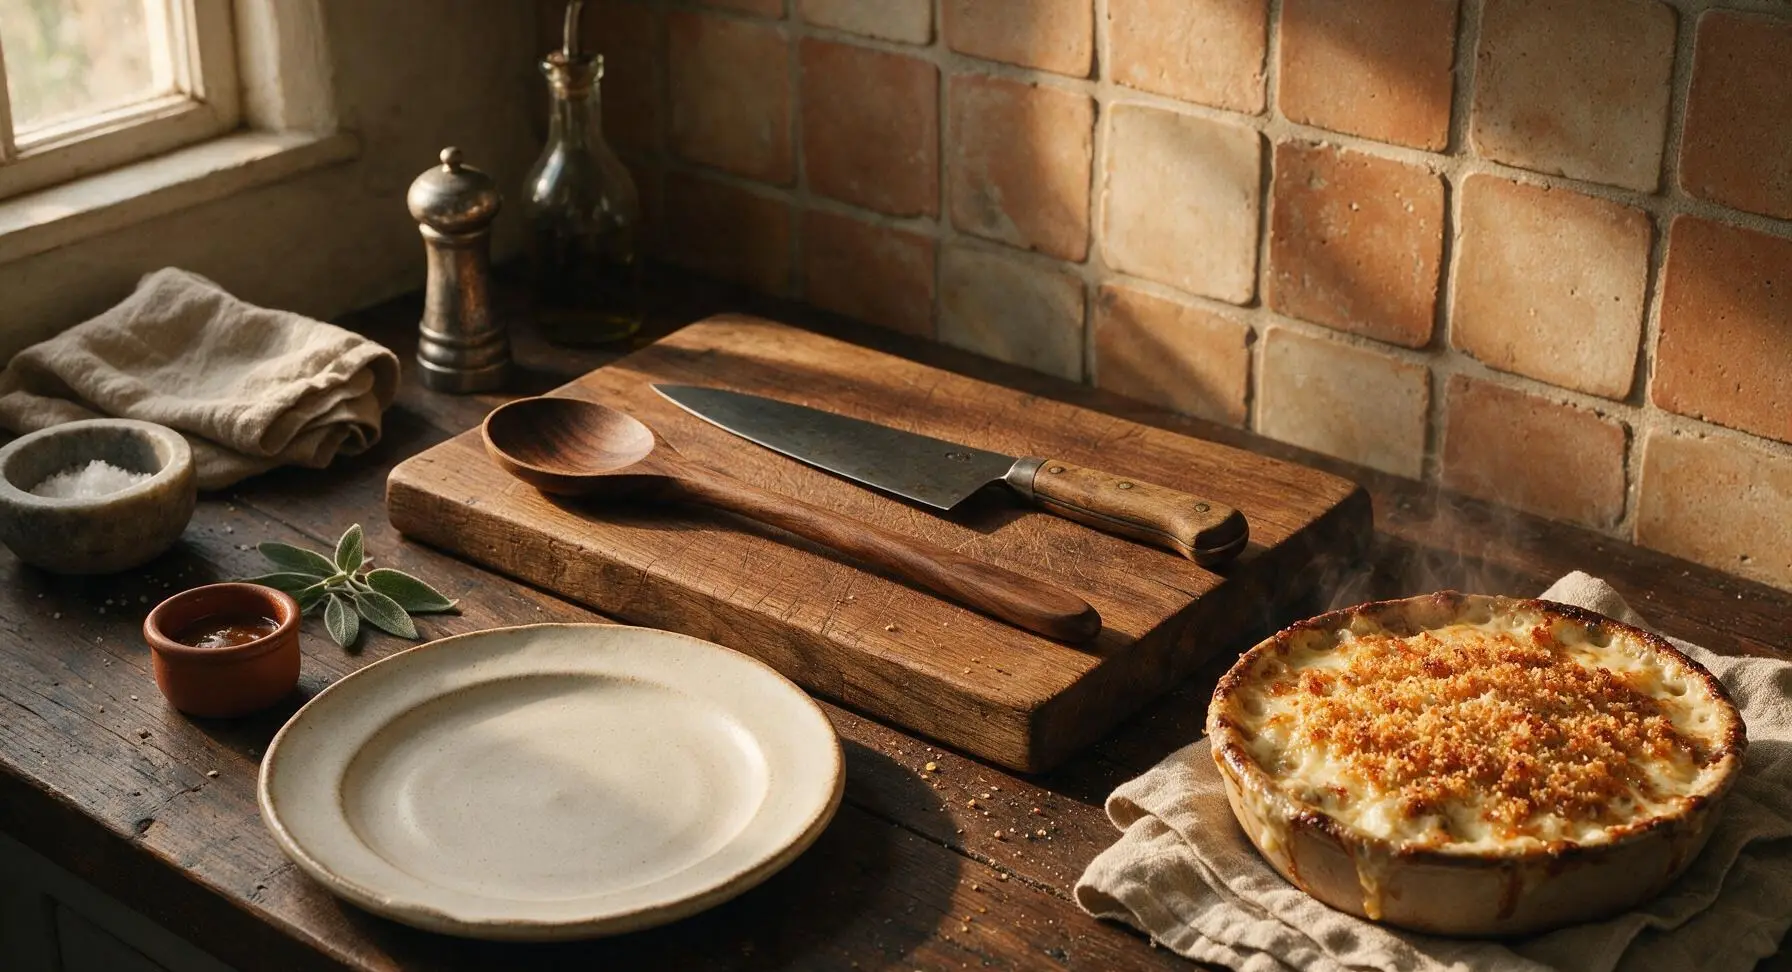
Step 8
step8:Bake Until Bubbly
Step 8
step8:Bake Until Bubbly

Tips

1.Grate cheese fresh from the block instead of using pre-shredded bagged cheese: pre-shredded cheese is coated in potato starch and natamycin to prevent clumping in the bag, which stops it from melting smoothly and creates a grainy, gritty sauce texture.
2.Warm milk and cream before adding to the roux: pouring cold dairy into hot roux causes the starch granules to seize up into hard lumps, while warm liquid mixes seamlessly for a perfectly silky sauce with minimal whisking.
3.Under-cook pasta by 2 minutes before baking: pasta continues to absorb liquid and cook in the hot cheese sauce and oven, so starting it firmer than al dente prevents mushy, over-soft noodles in the finished dish.


✨ You May Also Like

Main Course
🍜 United Kingdom

A showstopping classic of tender seared beef, savory mushroom duxelles, and crisp prosciutto wrapped in flaky golden puff pastry, baked to juicy perfection.

⏱️ 2 hours 1Main Course ★ 4.7
Main Course
🍜 India

Tender charred marinated chicken simmered in a rich, spiced creamy tomato sauce, this iconic Anglo-Indian curry pairs perfectly with basmati rice or warm naan.

⏱️ 50 minuteMain Course ★ 4.6
Main Course
🍜 Thailand

Classic tangy, sweet, and savory Thai stir-fried rice noodles with shrimp, tofu, and crunchy garnishes, balancing all five core Thai flavor profiles.

⏱️ 30 minuteMain Course ★ 4.5
Main Course
🍜 United Kingdom

Crispy golden beer-battered cod and fluffy double-fried chips, served with tangy tartar sauce and malt vinegar: the timeless, beloved British pub comfort classic.

⏱️ 45 minuteMain Course ★ 4.7
Main Course
🍜 Mexico

Smoky, chile-marinated pork tacos with caramelized pineapple, fresh cilantro, and lime: a beloved classic Mexican street food perfect for casual summer gatherings.

⏱️ 1 hour 45Main Course ★ 4.8
Main Course
🍜 United States

Crunchy Fritos corn chips layered with savory beef chili and melted cheddar, topped with cool, zesty fixings for a beloved, cozy Tex-Mex comfort food.

⏱️ 35 minuteMain Course ★ 4.8

best cheese for mac n cheese:Frequently Asked Questions

1.Why do you recommend block cheese instead of pre-shredded for this blend? ▾
Pre-shredded cheese is coated in potato starch and anti-caking preservatives to prevent clumping in the bag, which leads to grainy, unevenly melted sauce. Grating your own block sharp white cheddar, Gruyère, and Fontina right before use delivers a silkier, stretchier texture with no grit, so the cheeses melt smoothly when combined with melted butter for your sauce.
2.What makes this 3-cheese blend better than using just one type of cheese for baked mac and cheese? ▾
Each cheese brings a specific, necessary strength to the mix: sharp white cheddar adds bold, tangy depth, Gruyère contributes nutty, earthy notes and a smooth melt, and Fontina brings that iconic ultra-creamy, stretchy cheese pull. Using only one cheese leaves you with flat flavor, greasy sauce, or a stiff texture that doesn’t hold up well to baking.
3.Can I substitute yellow cheddar for the sharp white cheddar in the blend? ▾
Absolutely! Sharp yellow cheddar will give your mac and cheese that classic golden hue and nearly identical tangy flavor profile—just make sure it’s a sharp (not mild) block version you grate yourself. Mild cheddar tastes bland and is more prone to separating during baking, so skip low-sharpness options if you want that rich, deep flavor the recipe is known for.
4.Why is Fontina included in the blend, and can I leave it out? ▾
Fontina is the secret to that ultra-creamy, long cheese pull everyone loves in baked mac and cheese—it has high moisture content and melts incredibly smoothly without turning greasy. If you leave it out, your sauce will be firmer and less stretchy; a close swap is low-moisture whole-milk mozzarella, though it will have a milder, less buttery flavor than Fontina.
5.My cheese sauce always turns out grainy—how does this blend prevent that? ▾
Grainy sauce almost always stems from overheating cheese or using pre-shredded cheese coated in anti-caking agents. This blend uses three low-separation, high-moisture block cheeses that melt at lower temperatures, so as long as you stir them into your warm (not boiling hot) butter and pasta base off direct high heat, you’ll get perfectly smooth, grit-free sauce every time.
6.What ratio of each cheese should I use for the best balance of flavor and texture? ▾
Aim for a 2:1:1 ratio for ideal results: 8 ounces of sharp white cheddar for bold tang, 4 ounces of Gruyère for nutty depth, and 4 ounces of Fontina for creaminess and stretch. That adds up to a full pound of cheese, which is the perfect amount for a 1-pound box of dry elbow macaroni, so every bite is evenly coated without being overly heavy.
7.Can I prep this cheese blend ahead of time for easier weeknight cooking? ▾
Yes! Grate all three cheeses, toss them together gently, and store the blend in an airtight container in the fridge for up to 3 days, or in the freezer for up to 3 months. Skip adding any extra starch or coating to the blend—just seal it tightly to prevent drying, so it melts just as smoothly as freshly grated when you’re ready to make your mac and cheese.
8.Is there a non-dairy cheese swap that works well for this 3-cheese blend? ▾
For a dairy-free version, look for block-style (not sliced or pre-shredded) vegan sharp cheddar, vegan Gruyère-style, and vegan Fontina or mozzarella formulated specifically for melting. Avoid crumbly vegan cheeses that don’t advertise good melt, as those will turn grainy; test a small melt first to make sure the blend doesn’t separate when heated.
9.Why do you recommend removing the rind from the Fontina before adding it to the blend? ▾
Fontina has a thick, tough, rubbery rind that doesn’t fully melt even after 25 minutes of baking, which will leave hard, chewy bits in your otherwise smooth sauce. It takes just 30 seconds to slice the rind off the Fontina block before grating, and that small step ensures every bite is silky, with no unexpected tough texture to break up the cozy, creamy experience.
10.Will this cheese blend work for stovetop mac and cheese, or is it only for baked versions? ▾
This blend works beautifully for both stovetop and baked mac and cheese! For stovetop, toss it directly with your hot cooked elbow macaroni and melted butter, and serve immediately. For baked versions, the blend holds up perfectly to 20-25 minutes in the oven without separating, and develops a light golden cheesy top if you sprinkle a little extra on the surface before baking.
11.I don’t have Gruyère on hand—what’s the best substitute to keep the blend balanced? ▾
If you don’t have Gruyère, the closest swap is young Emmental, which has the same nutty, slightly sweet flavor and smooth melting properties. If Emmental is hard to find, you can use good quality young Swiss cheese; skip very aged, hard Swiss cheeses, as their lower moisture content can make your sauce grainy or greasy when melted.
12.Why does this blend stay creamy after baking, instead of turning into a solid, clumpy mass? ▾
Unlike blends that rely heavily on low-moisture, hard cheeses, this mix balances sharp, nutty, high-moisture cheeses that emulsify smoothly with melted butter. The Fontina adds just enough elastic, creamy fat to keep the sauce loose even as it cools slightly after baking, so you won’t end up with dry, congealed mac and cheese straight out of the casserole dish.

Comments (5)

1 week ago

OMG this cheese blend is an absolute game changer! I brought a big pan of this baked mac to our neighborhood potluck last weekend and people were lined up to get seconds. I was worried the sharp cheddar would be too overpowering but mixing it with Gruyere and that little bit of mozzarella the recipe calls for makes it perfectly melty and balanced. SO good, I’ll never use a different blend again!

5 days ago

So happy this was a potluck hit, Jess! The small amount of mozzarella is our little secret for that perfect stretchy, pull-apart cheese texture everyone loves. So glad you gave it a try!

2 weeks ago

I cannot believe how easy this recipe is! 30 minutes total from start to finish is a total weeknight win for me, since I work late and don’t have a ton of energy to cook after my commute. I followed the cheese blend exactly and it came out so rich and creamy, zero grainy bits like I usually get with homemade mac. My kids loved it so much they asked to have it for dinner two nights in a row!

3 days ago

I meal prepped this mac and cheese for my work lunches this week and it reheats unbelievably well! I was fully expecting the cheese sauce to separate or get clumpy when I microwaved it at my desk, but it stayed just as creamy as it was when I pulled it out of the oven. 10/10, already sent the recipe link to all my coworkers.

2 days ago

Wait how are you reheating it? I tried meal prepping mac a few months ago and it turned into a rubbery mess by day 3, would love to get this right!

yesterday

Great question Nick! We recommend reheating portions in the microwave with a tiny splash of milk stirred in halfway through, covered with a damp paper towel. That keeps the sauce silky instead of drying out or getting rubbery. Works like a charm!

30 minutes ago

This cheese blend sounds absolutely amazing, I’m so excited to try it! Quick question before I make it for my sister’s birthday dinner this weekend – has anyone tested this with gluten free pasta? I have celiac and I’ve had so many GF mac and cheese recipes turn out mushy or grainy, and I don’t want to mess this up!

5 minutes ago

Hi Mia! We’ve tested this blend with both brown rice and chickpea gluten free pasta and it works beautifully! Just make sure to cook your pasta a full minute less than the package directions (al dente!) so it doesn’t get mushy when it bakes, and the sauce will coat it just as smoothly as regular pasta. Hope the birthday dinner is perfect!

2 days ago

Game. Changer. I’ve been a diehard boxed mac and cheese fan my whole life because I always thought homemade baked mac was too fussy and time consuming, but this blend is so easy to throw together and tastes a million times better. I made it for movie night with my roommates and we demolished the entire pan in 10 minutes flat. Zero leftovers, which is basically a standing ovation from my crew.

yesterday

Right?! I made this for my boyfriend’s football watch party last Sunday and everyone was raving about it. I added a crispy panko topping with a little paprika and it took it over the top!

2 hours ago

We are obsessed with that paprika panko trick too, Sarah! Adds the perfect little smoky crunch to contrast the creamy cheese. So glad it was a hit at the watch party!



