
no bake macaroni
intro
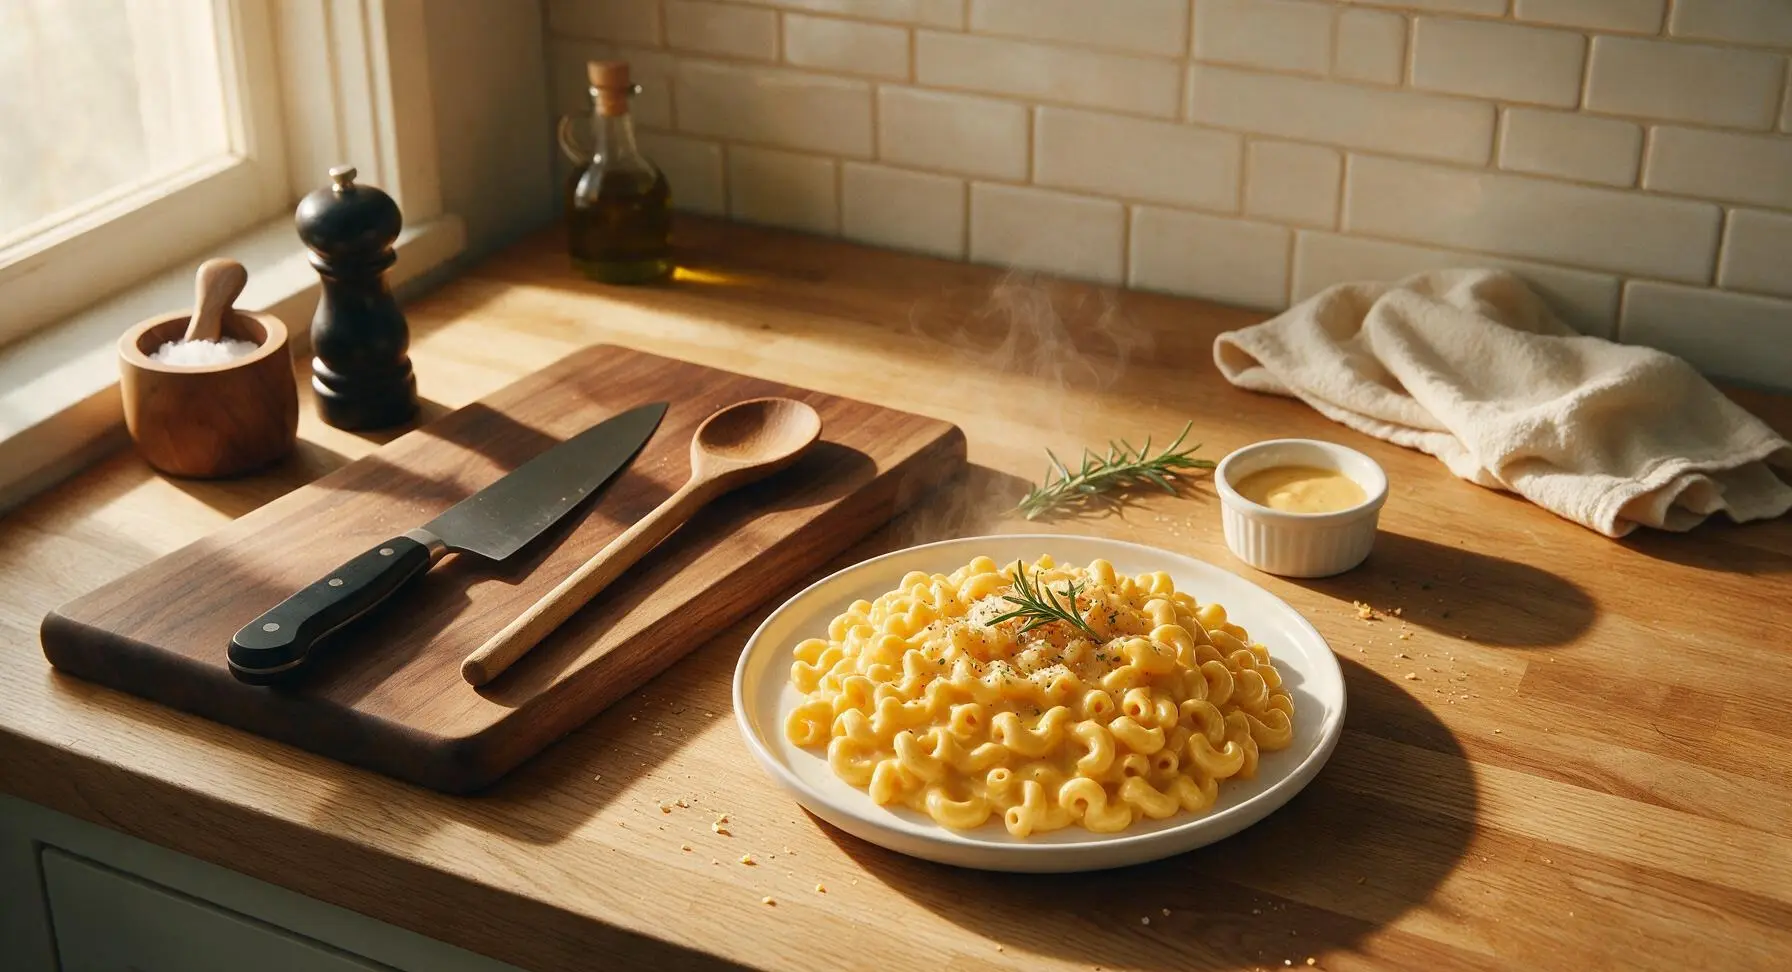
Ultra-creamy, velvety no-bake macaroni ready in 20 minutes, no oven required. Rich, smooth cheddar sauce coats every elbow noodle for cozy, fast comfort food.
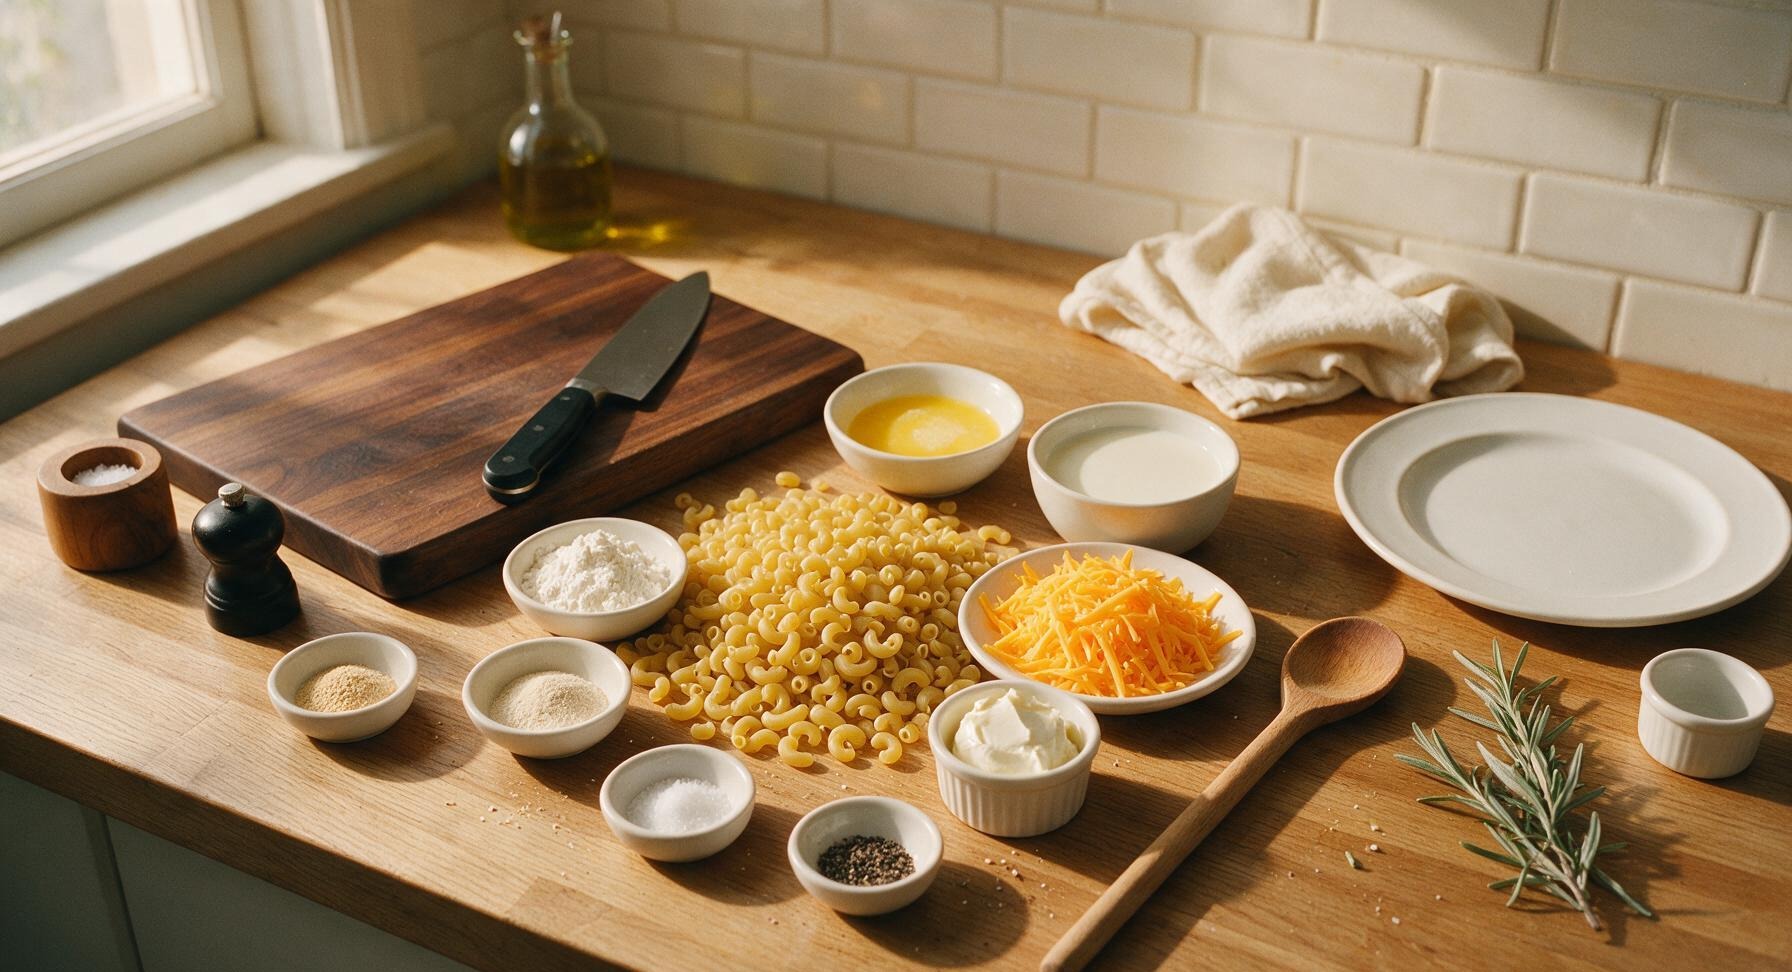
Ingredients
Steps
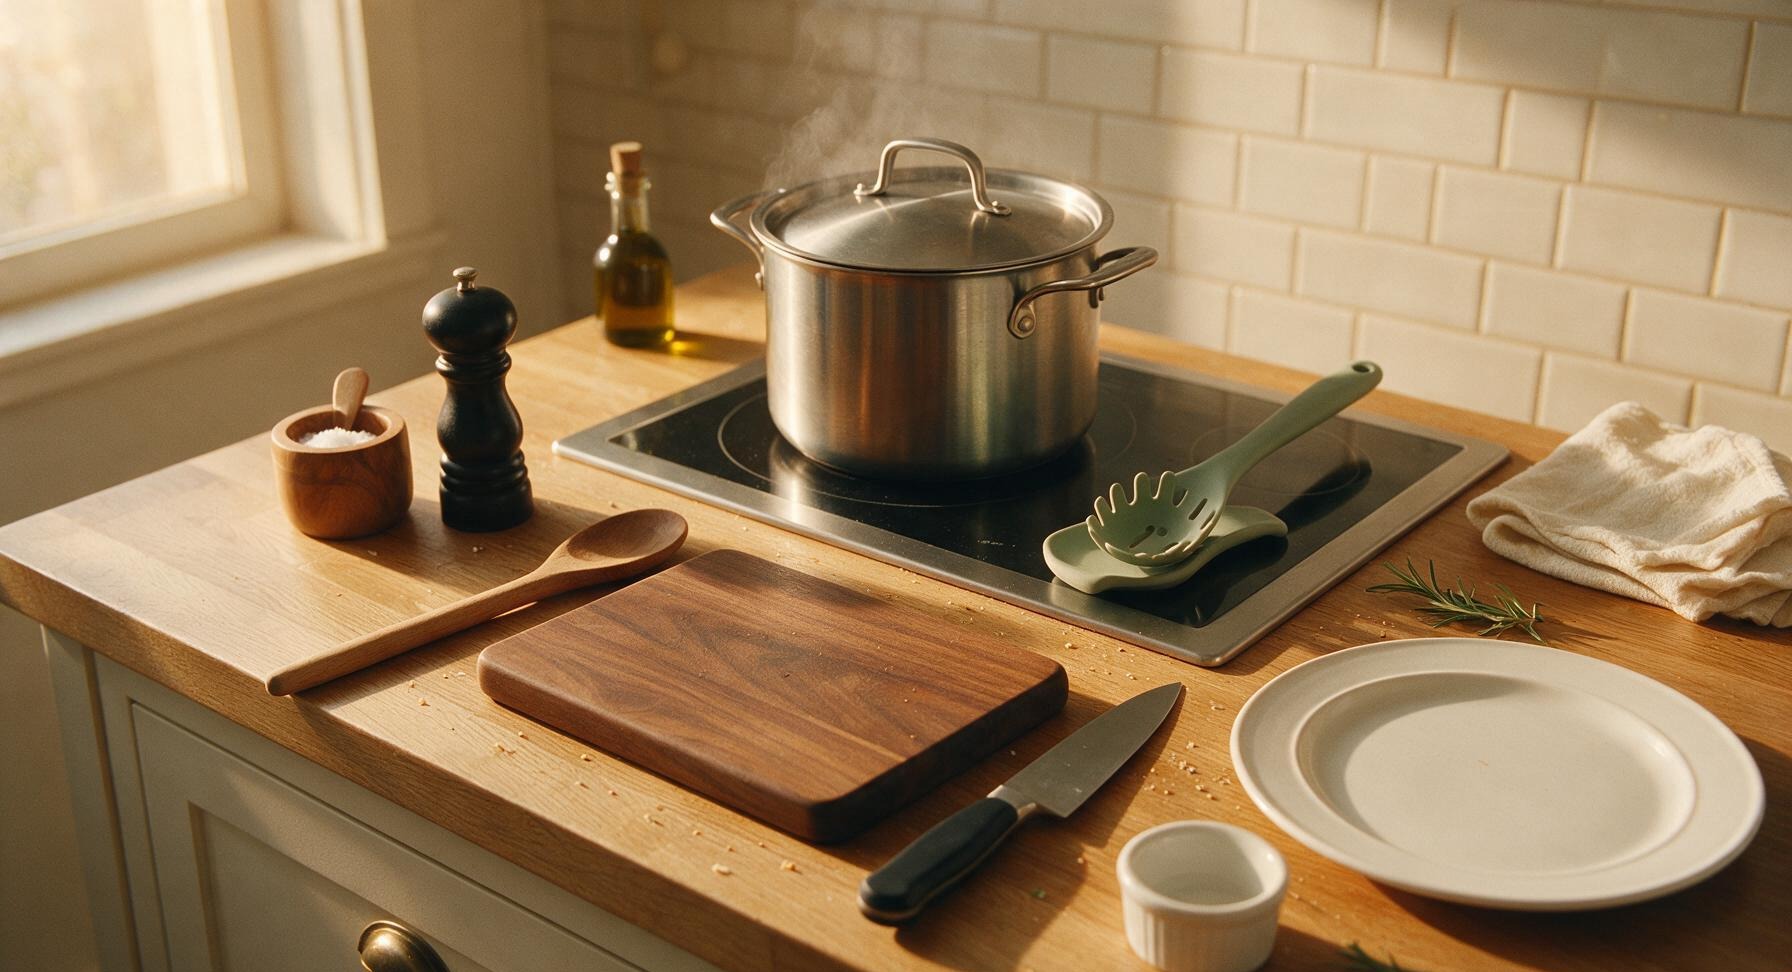
Boil Salted Pasta Water
Fill the 4-quart brushed stainless steel stock pot with 2 liters (8 cups) of cold tap water, stir in 1/2 teaspoon of fine sea salt, cover with the matching stainless steel lid, and set on the rear induction zone turned to high heat. Bring water to a full rolling boil, where large bubbles break continuously at the surface, about 7 minutes.
Cook Elbow Macaroni
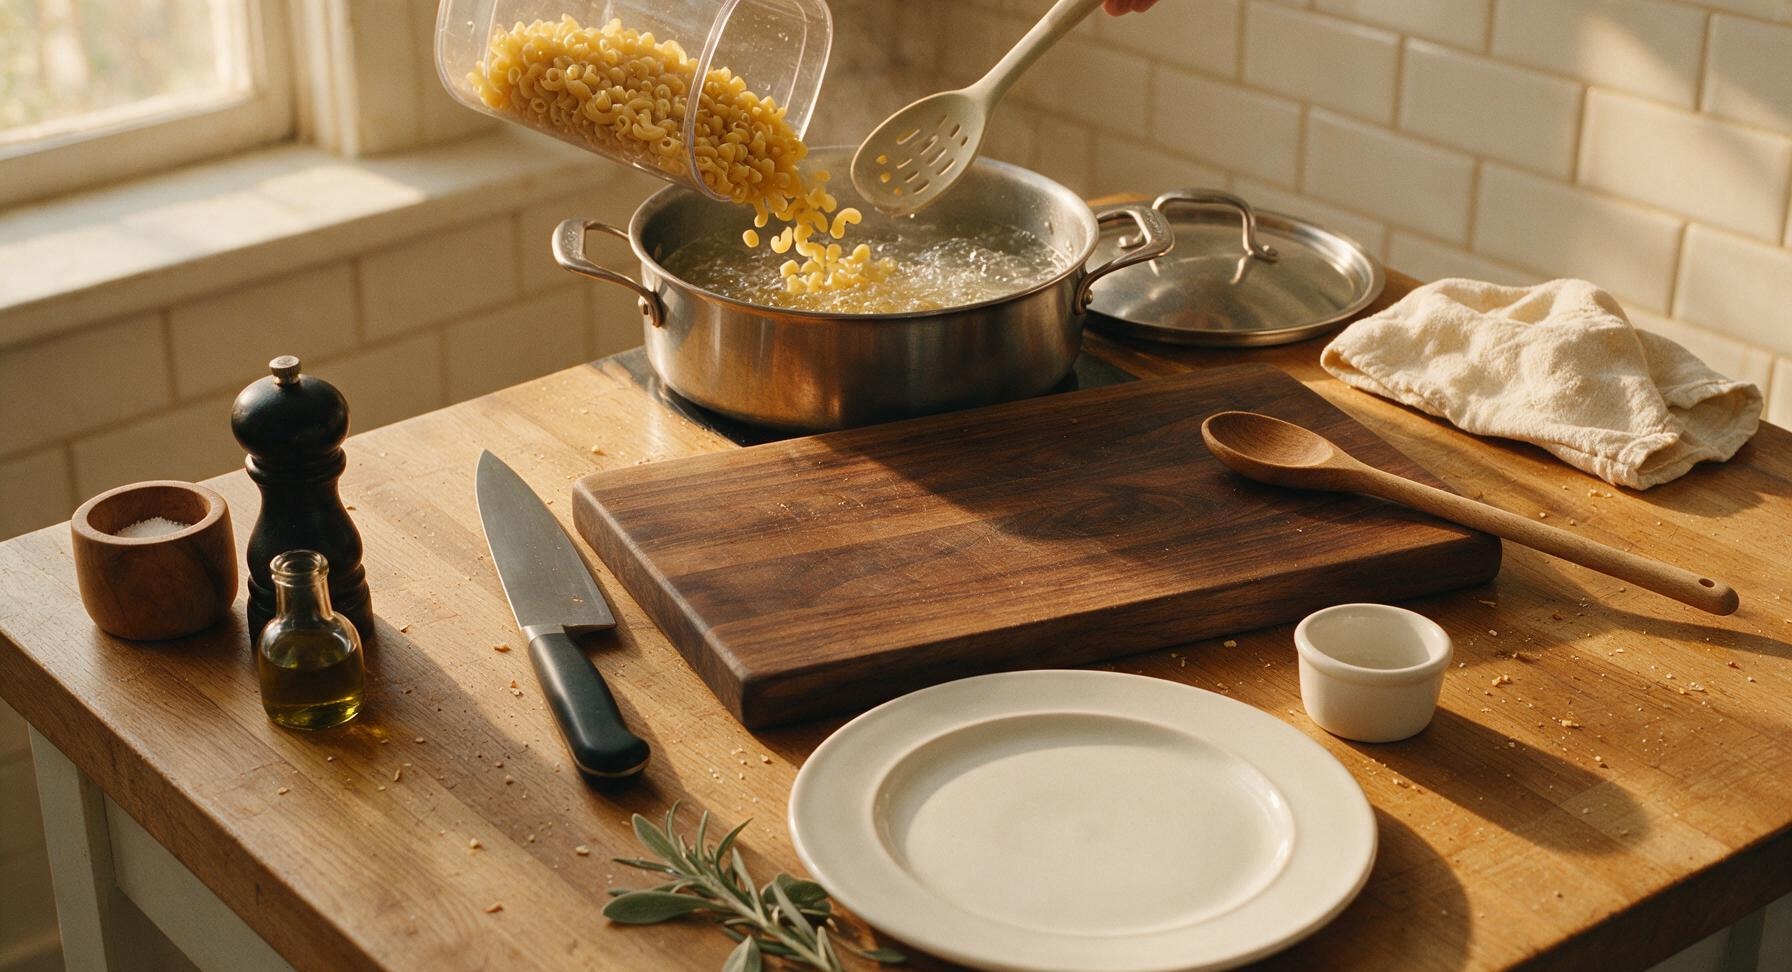
Once water reaches a rolling boil, remove the pot lid, pour in all 225g of dry elbow macaroni, and stir immediately with the slotted silicone pasta spoon to prevent noodles from sticking to the pot bottom. Cook uncovered for 7-8 minutes, stirring occasionally, until pasta is al dente: tender but with a slight firm bite at the center, not mushy. Do not overcook, as noodles will continue to soften slightly in the warm cheese sauce.
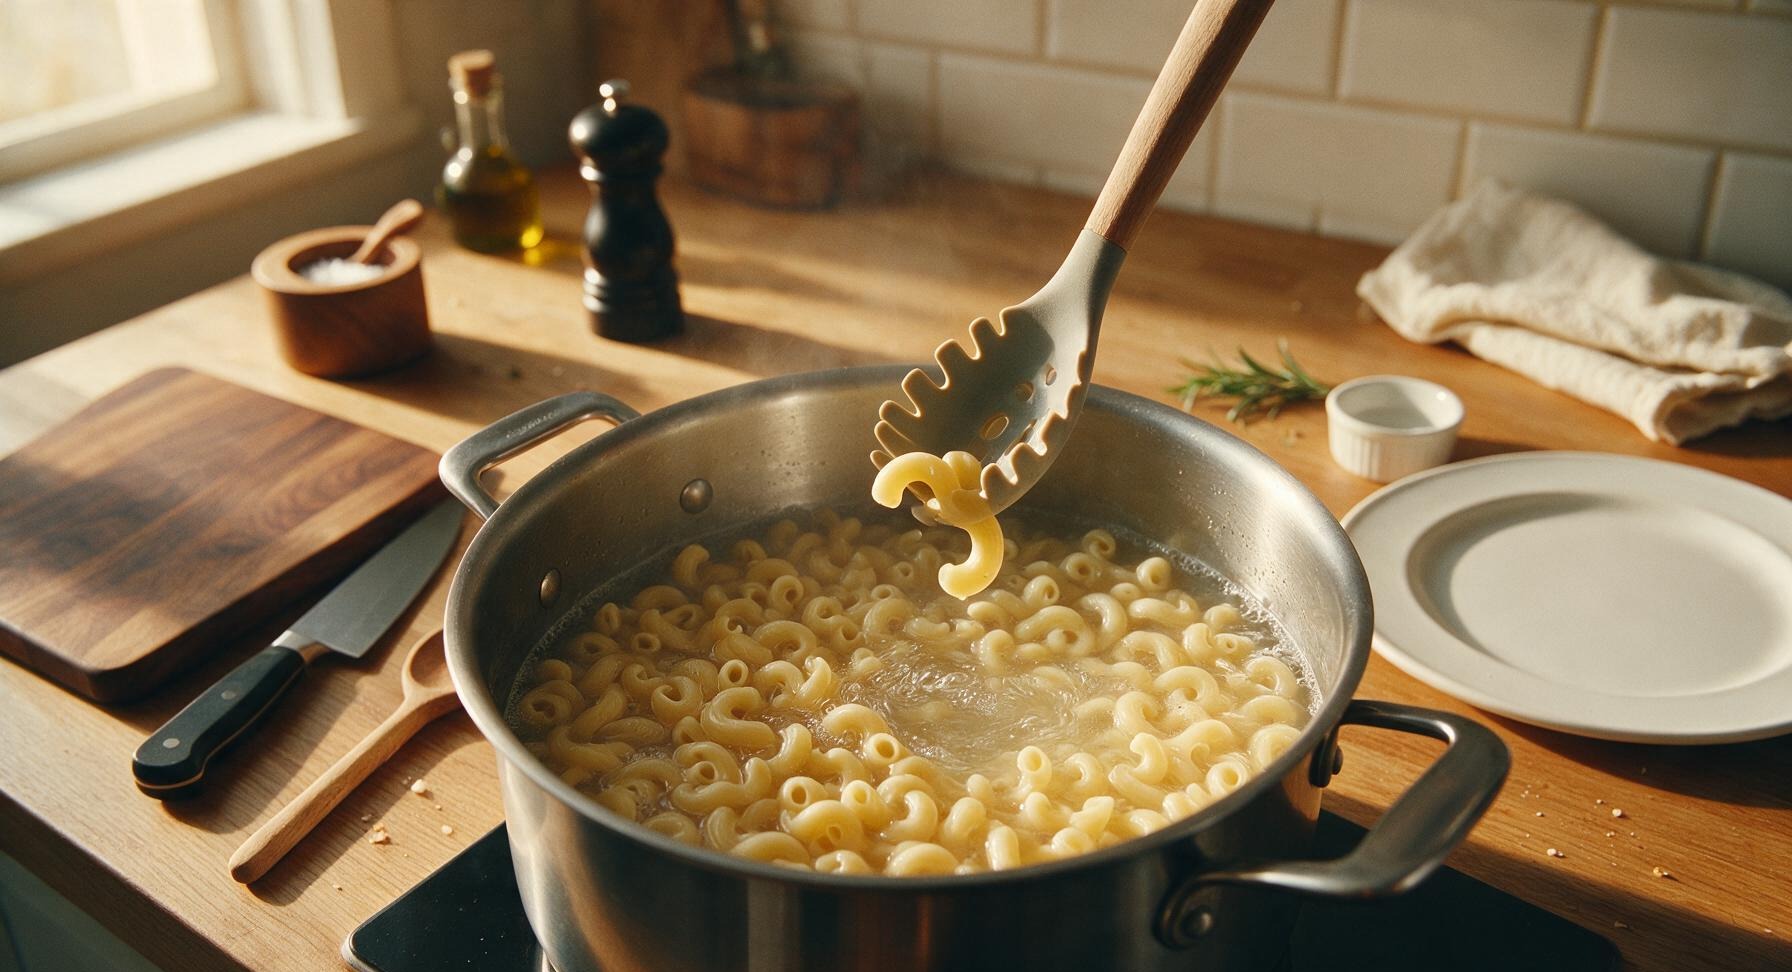
Drain Cooked Pasta
Once pasta reaches al dente texture, turn off the induction heat, carefully pour the entire contents of the stock pot into the fine-mesh stainless steel colander positioned at the far right counter edge to drain all water. Do not rinse the pasta, as the starchy coating helps the cheese sauce cling to noodles. Set the colander with drained pasta aside while you make the sauce.
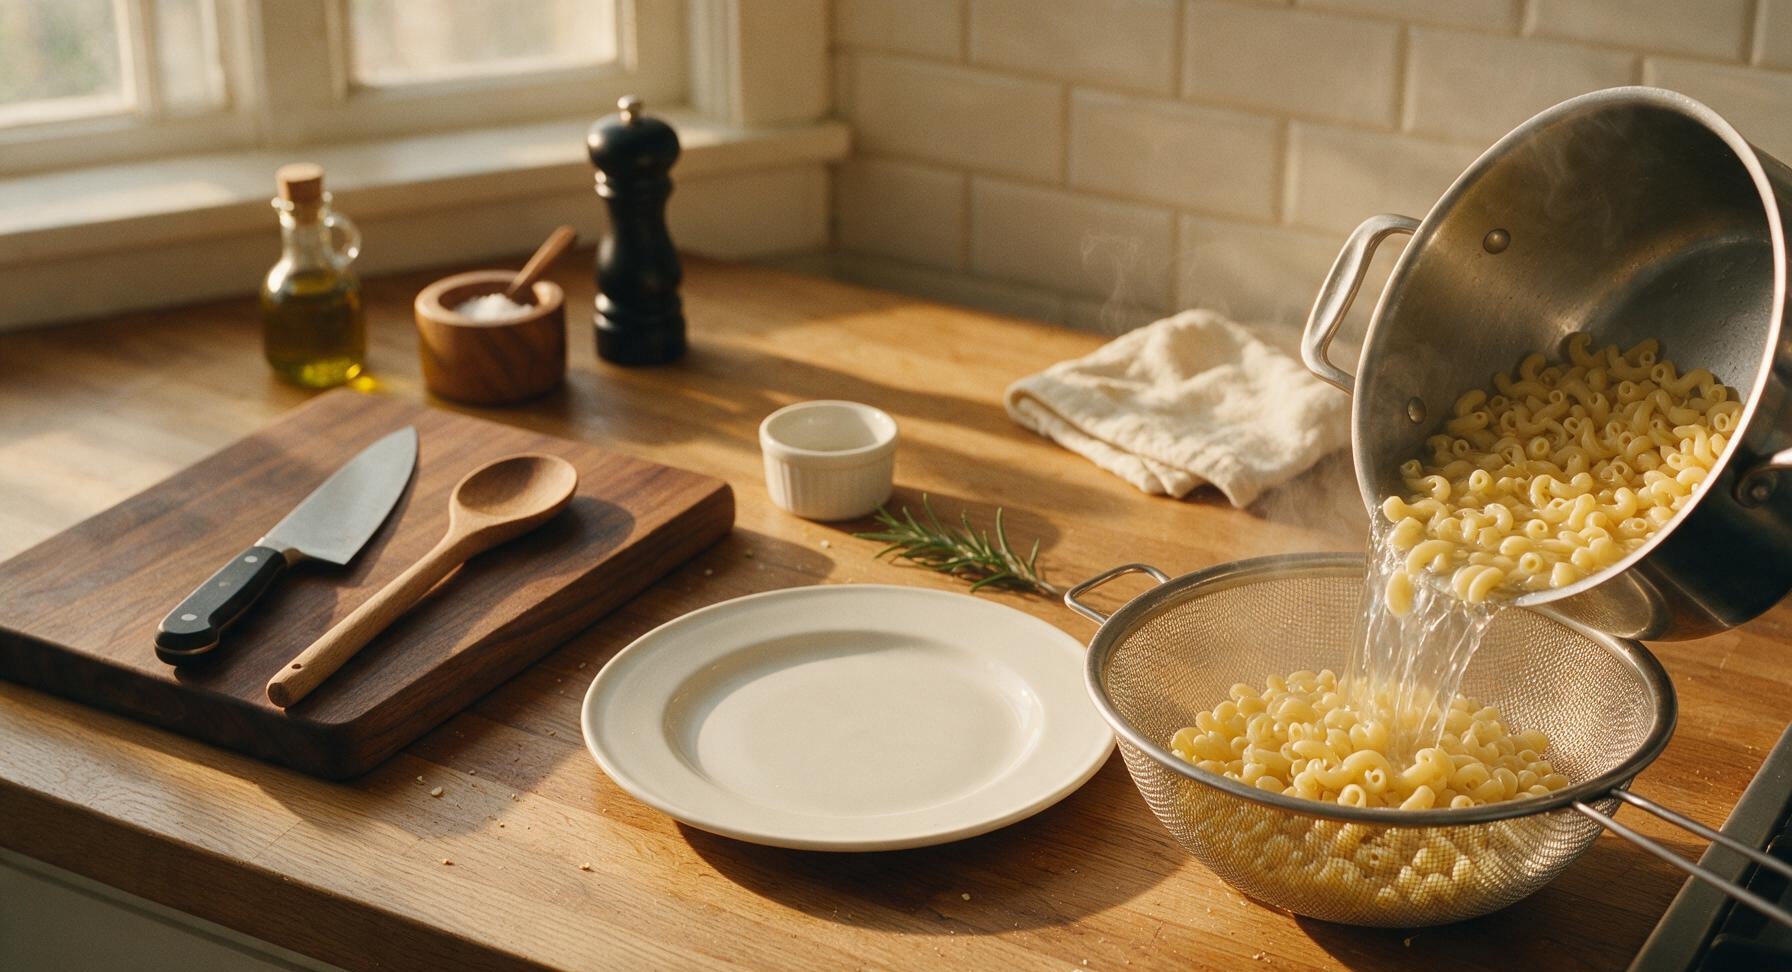
Melt Butter for Roux
Place the 2-quart matte white ceramic saucepan on the front induction zone set to medium-low heat. Add all 3 tablespoons of unsalted butter to the pan, and melt completely, about 1 minute, until butter is foamy and fragrant but not browned.
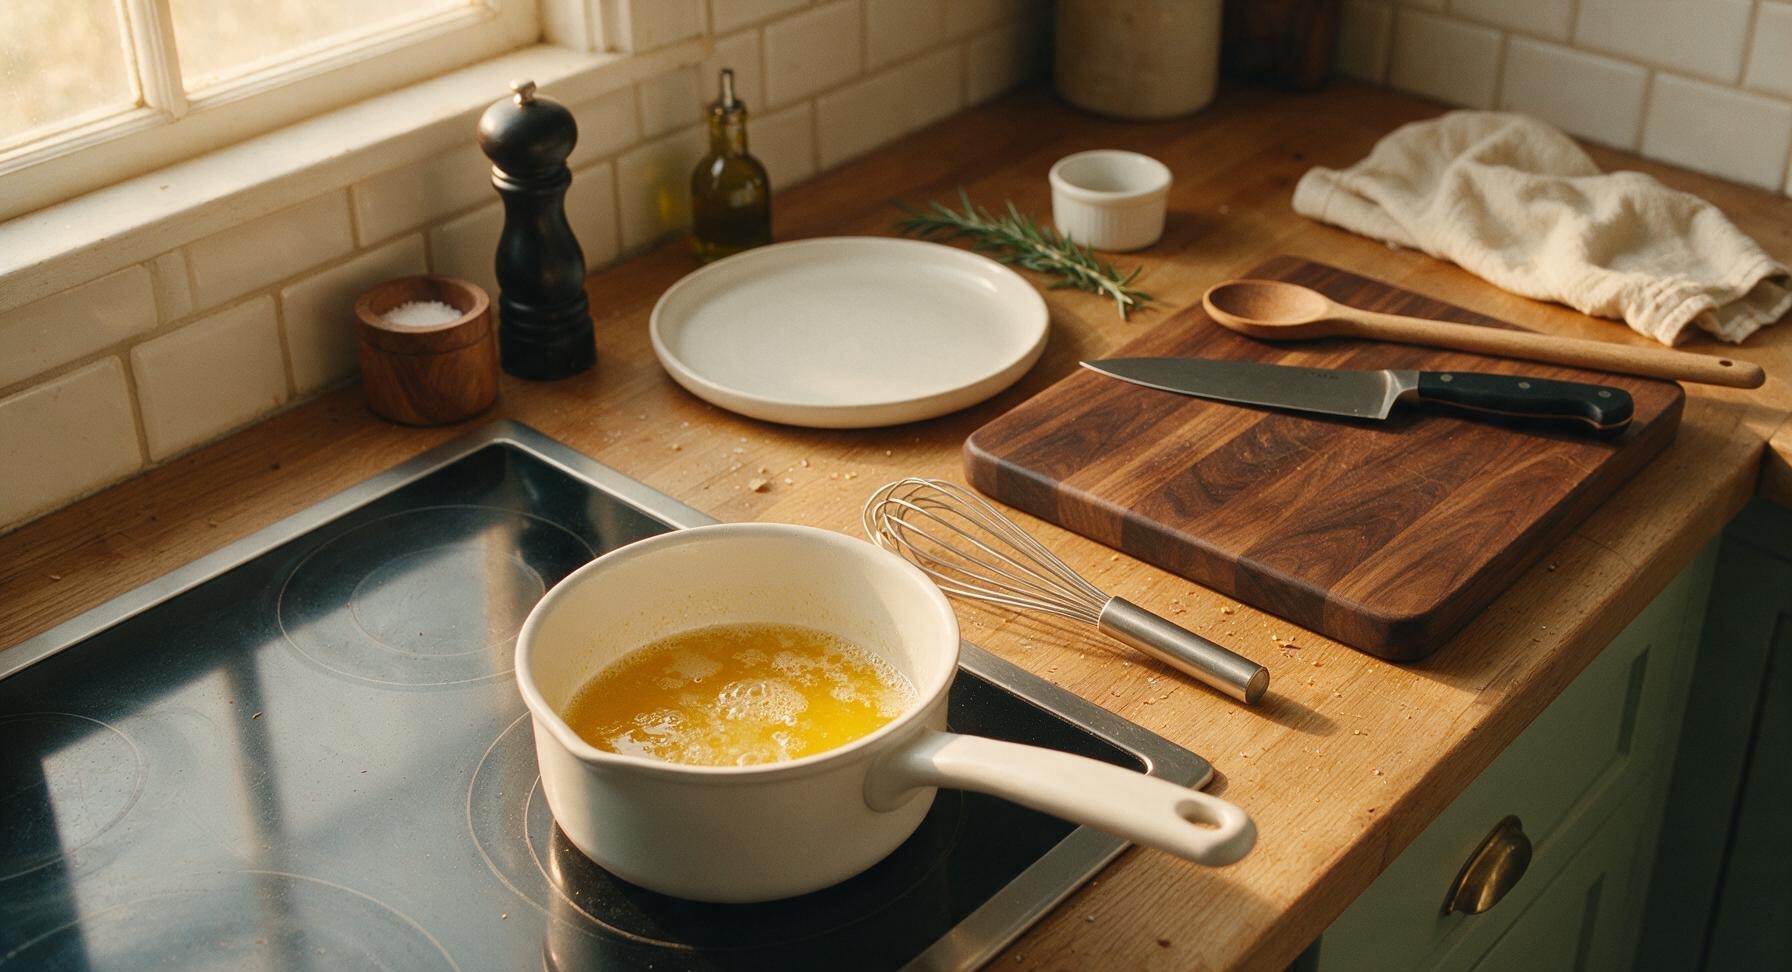
Whisk Smooth Roux
Add the 2 tablespoons of all-purpose flour to the melted butter, whisking constantly with the stainless steel wire whisk for 1 minute to form a smooth, pale golden roux. The mixture will bubble and thicken to a paste-like consistency; cook out the raw flour taste but do not let it turn dark brown.
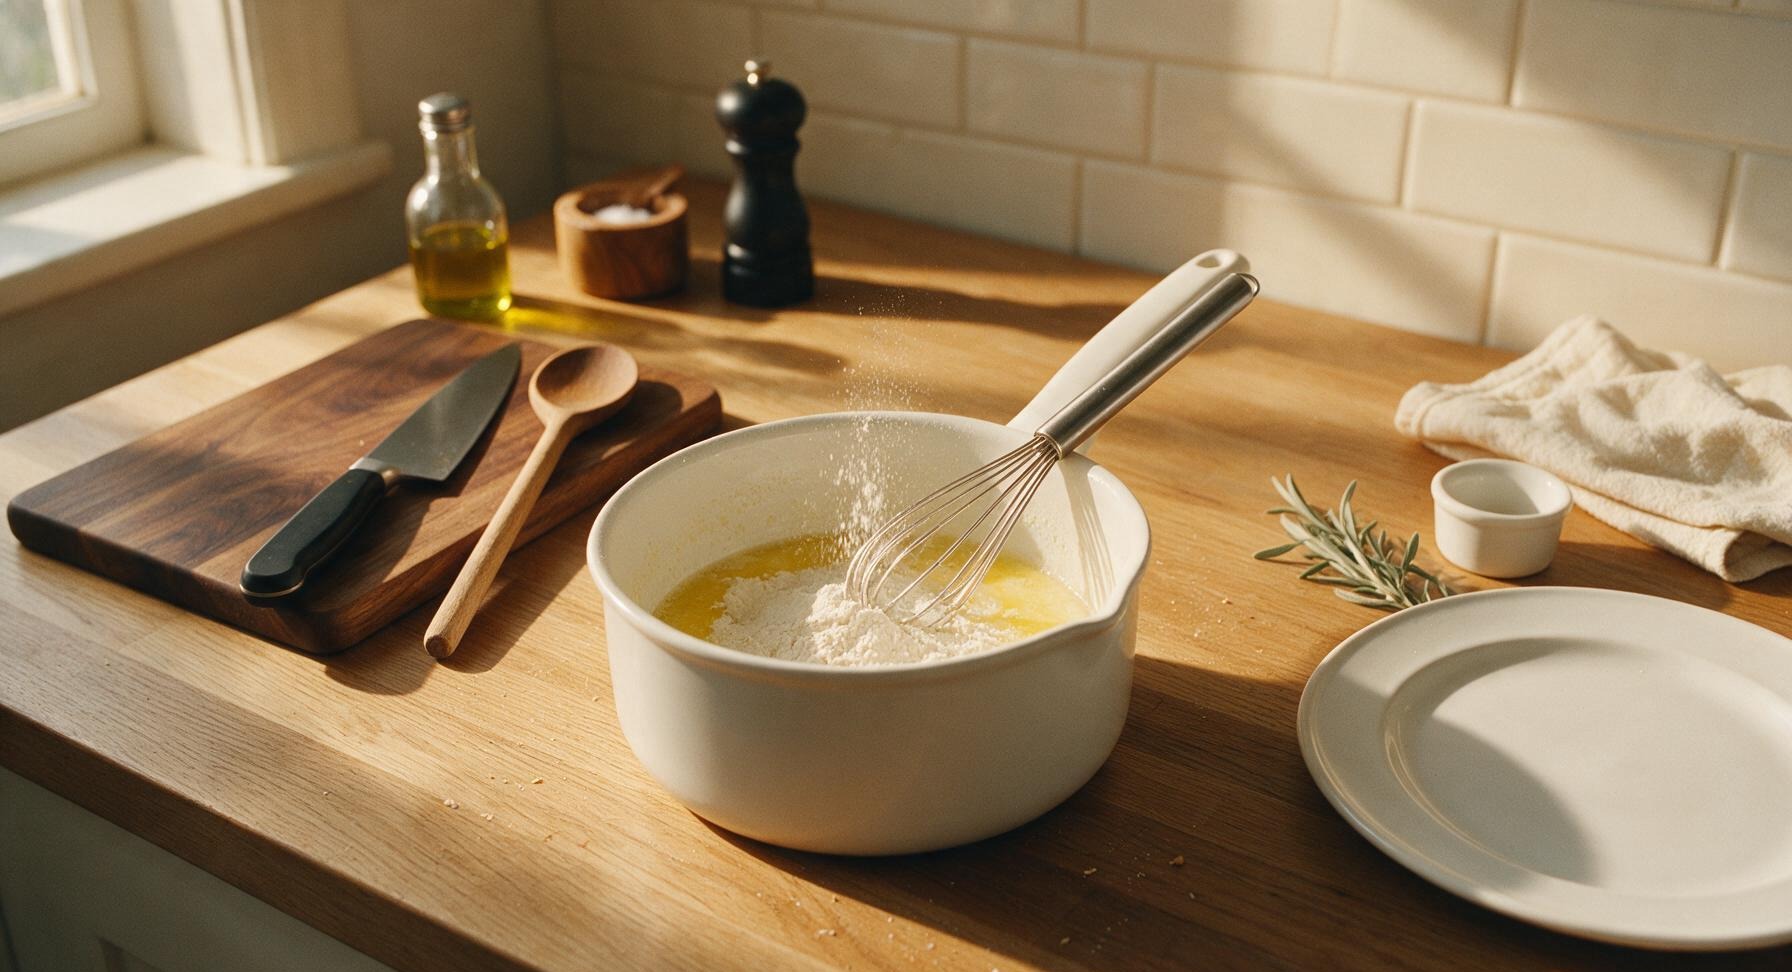
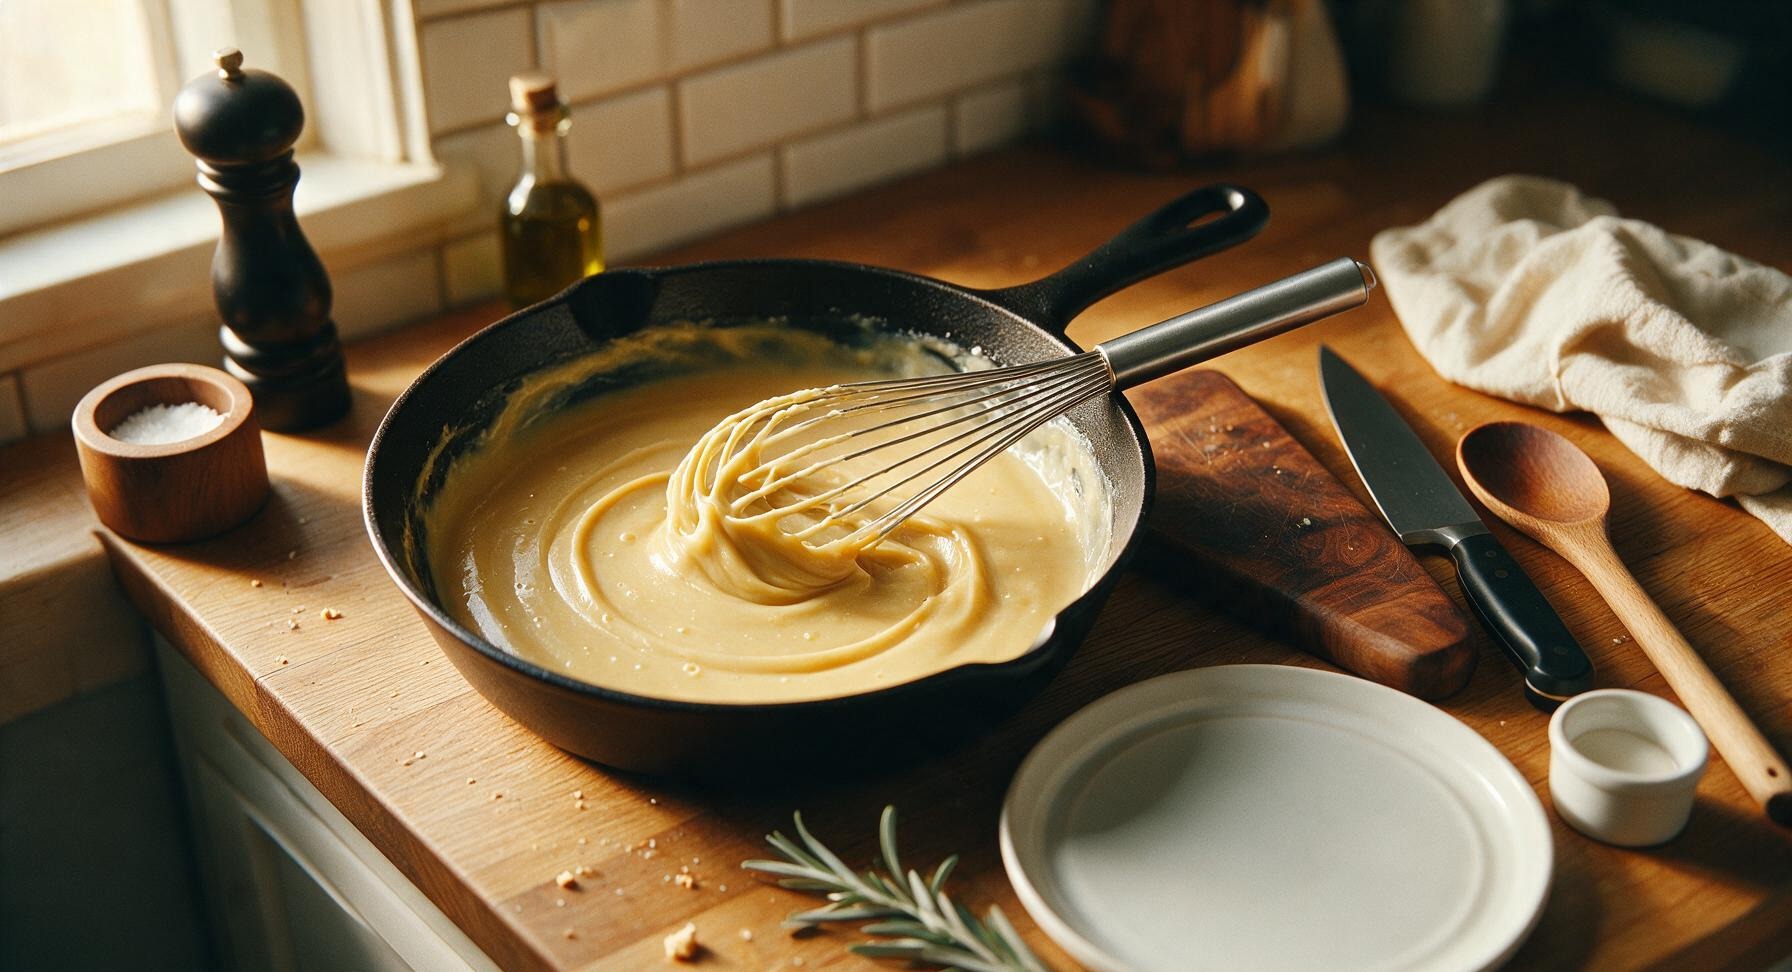
Add Warm Milk Slowly
Gradually pour the warmed whole milk into the roux, 1/4 cup at a time, whisking constantly after each addition to eliminate lumps. Once all milk is added, continue cooking and whisking for 3-4 minutes until the sauce base thickens to a smooth, velvety consistency that coats the back of a spoon, leaving a clear line when you run your finger across it.
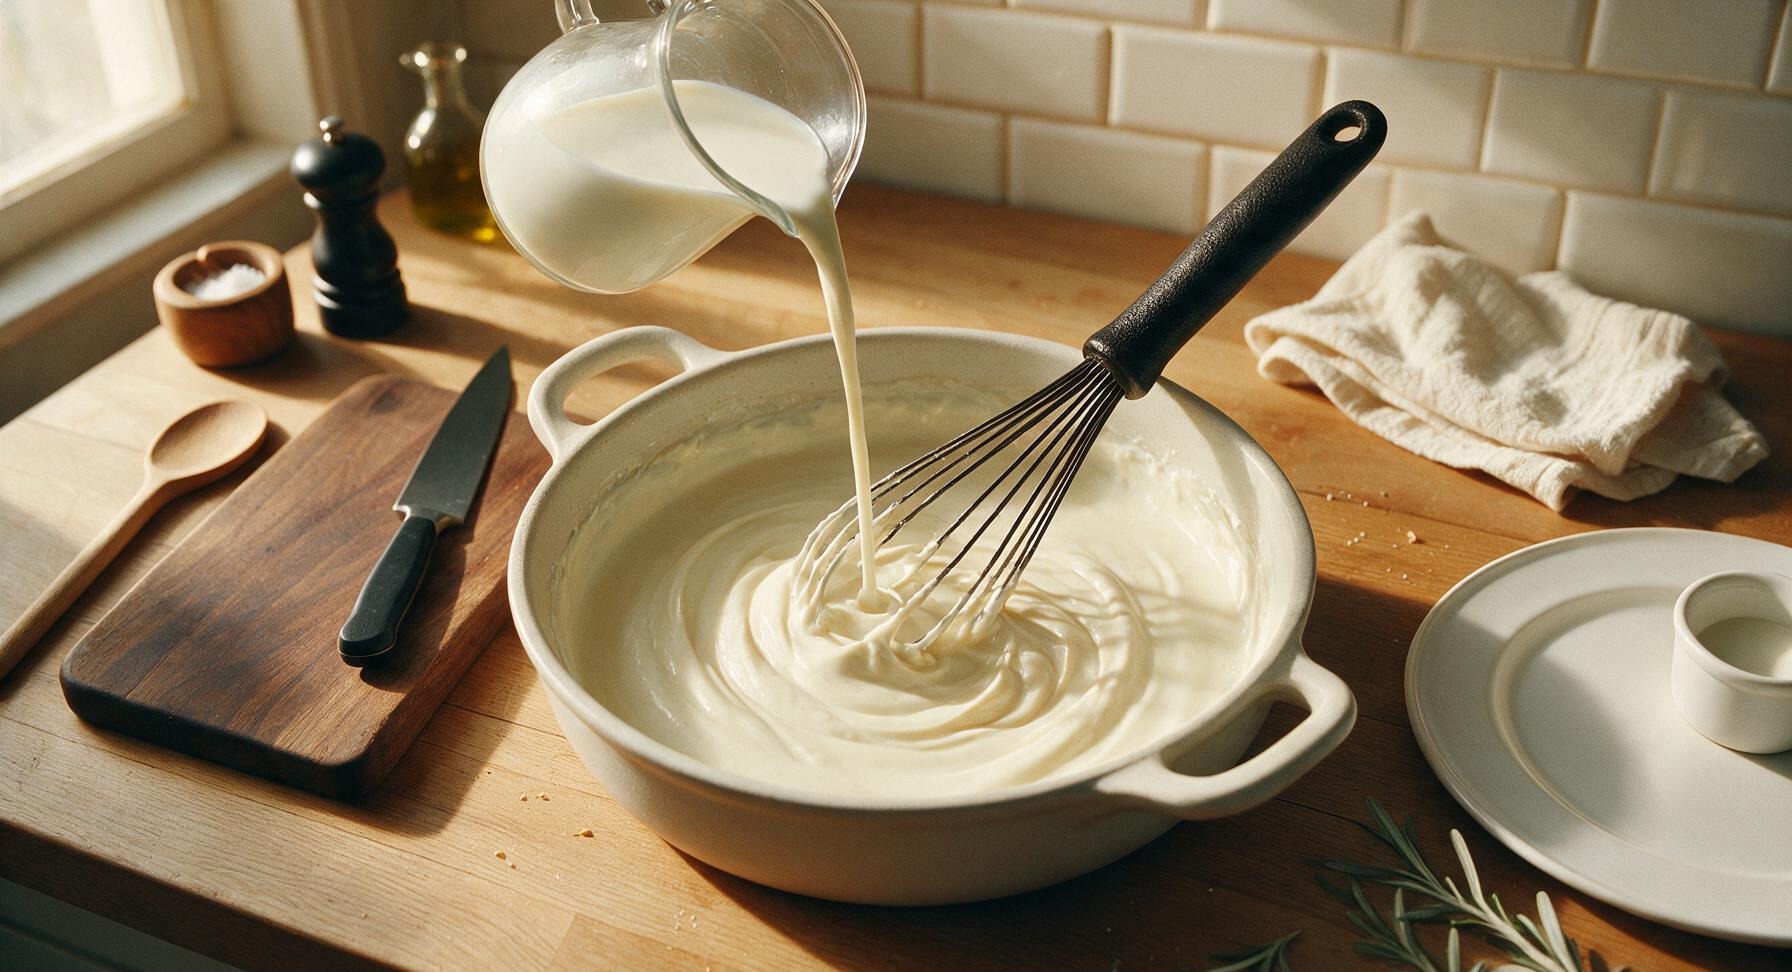
Melt Cheeses Into Sauce
Turn the induction heat to low. Add the softened cream cheese to the thickened milk base, whisking until fully melted and smooth, about 1 minute. Gradually stir in 200g (7oz) of the freshly shredded sharp cheddar cheese, reserving 25g (1oz) for topping, stirring with the silicone spoon until all cheese is fully melted into a glossy, golden, smooth sauce with no lumps. Stir in garlic powder, onion powder, remaining 1/2 teaspoon salt, and black pepper.
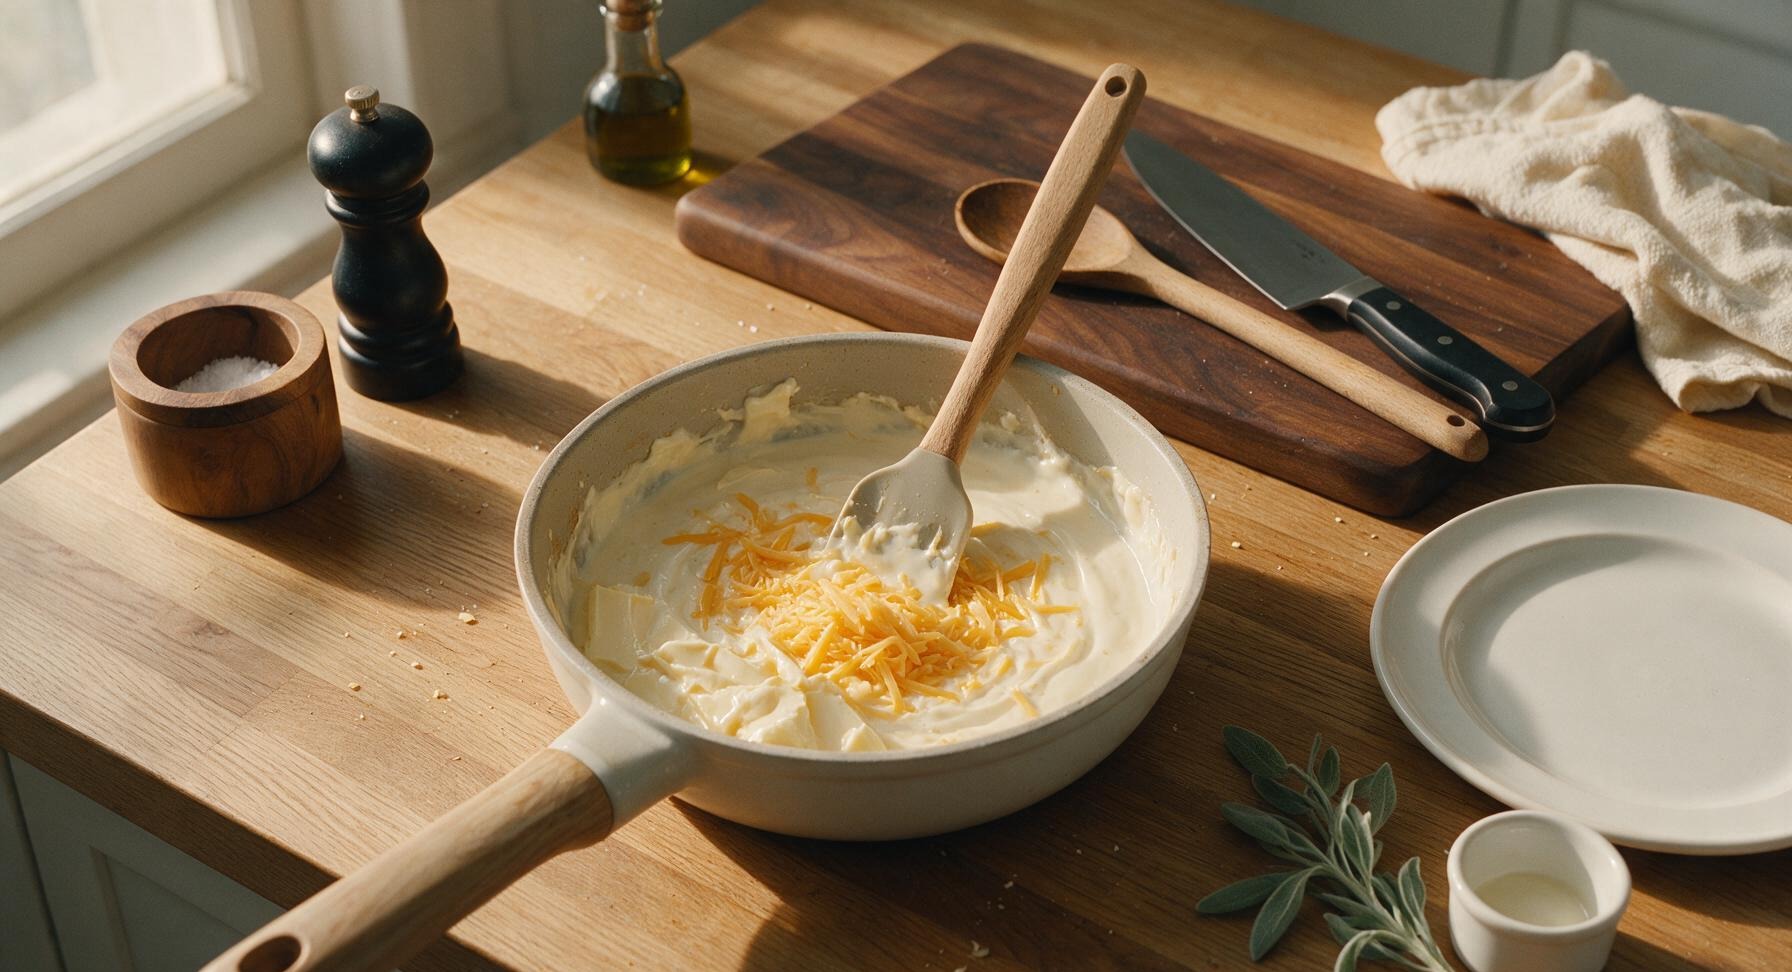
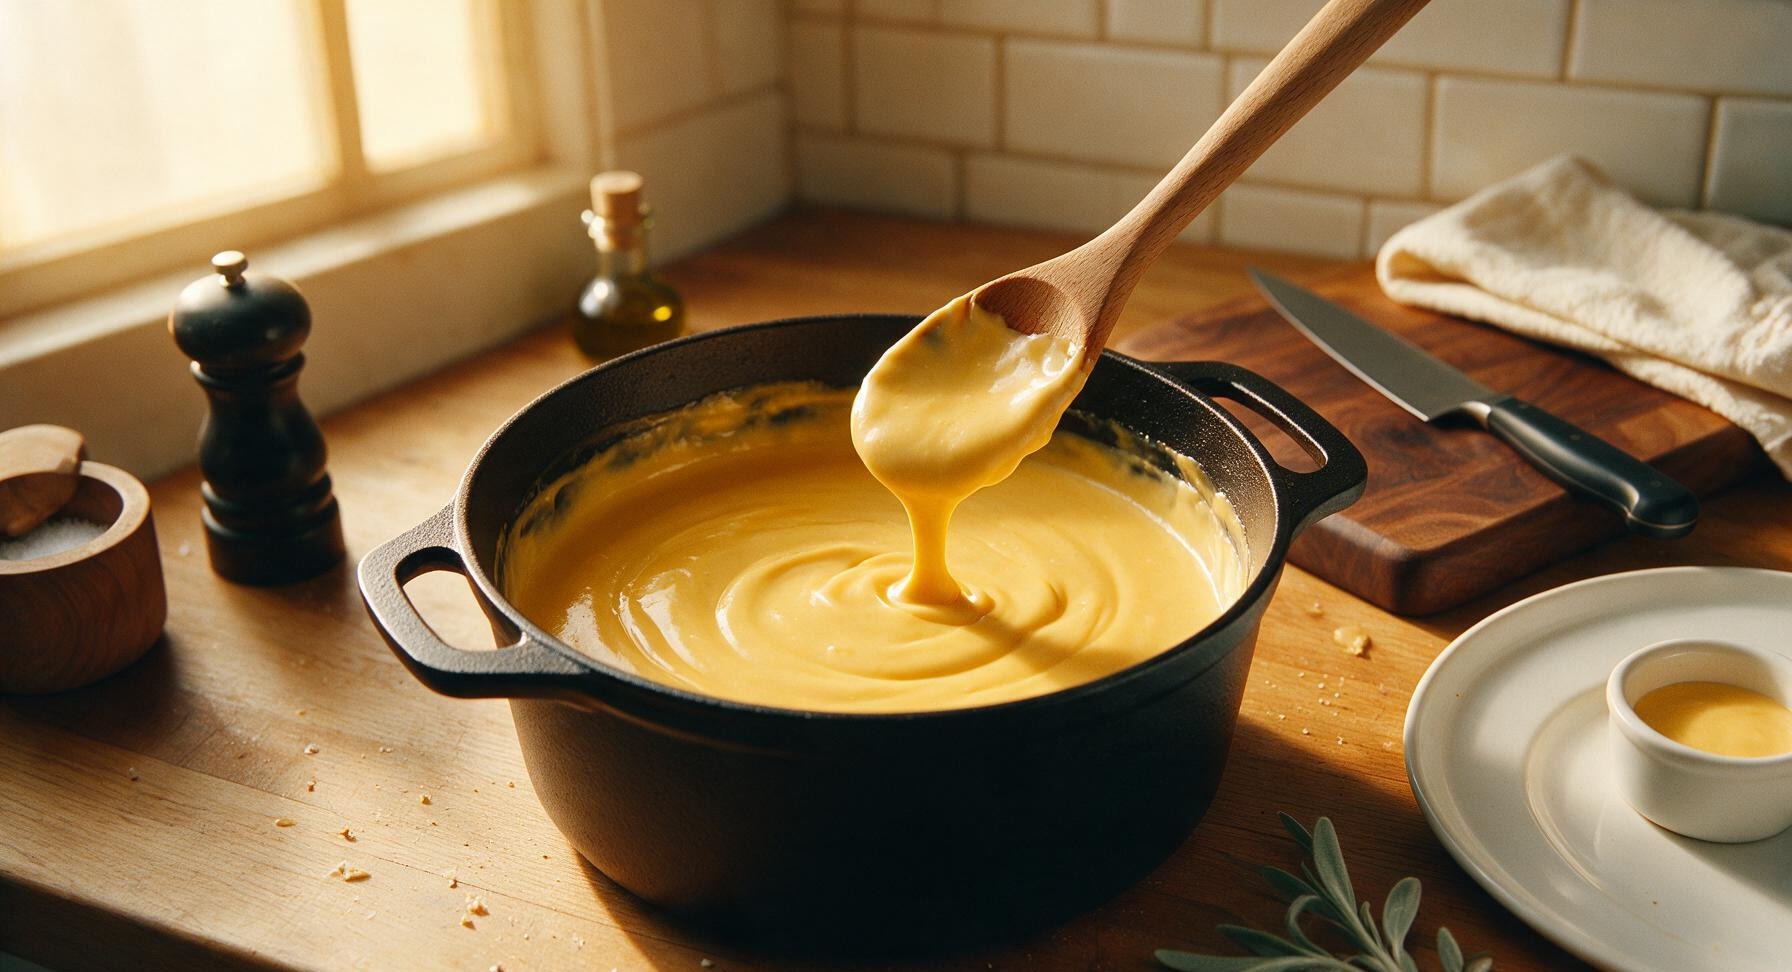
Combine Pasta and Sauce
Add the drained, unrinsed elbow macaroni from the colander directly into the saucepan with the cheese sauce. Stir gently with the silicone pasta spoon until every noodle is evenly coated in the glossy cheese sauce, about 1 minute. Turn off the heat, and let the macaroni rest for 2 minutes to allow the sauce to thicken and cling to the noodles.
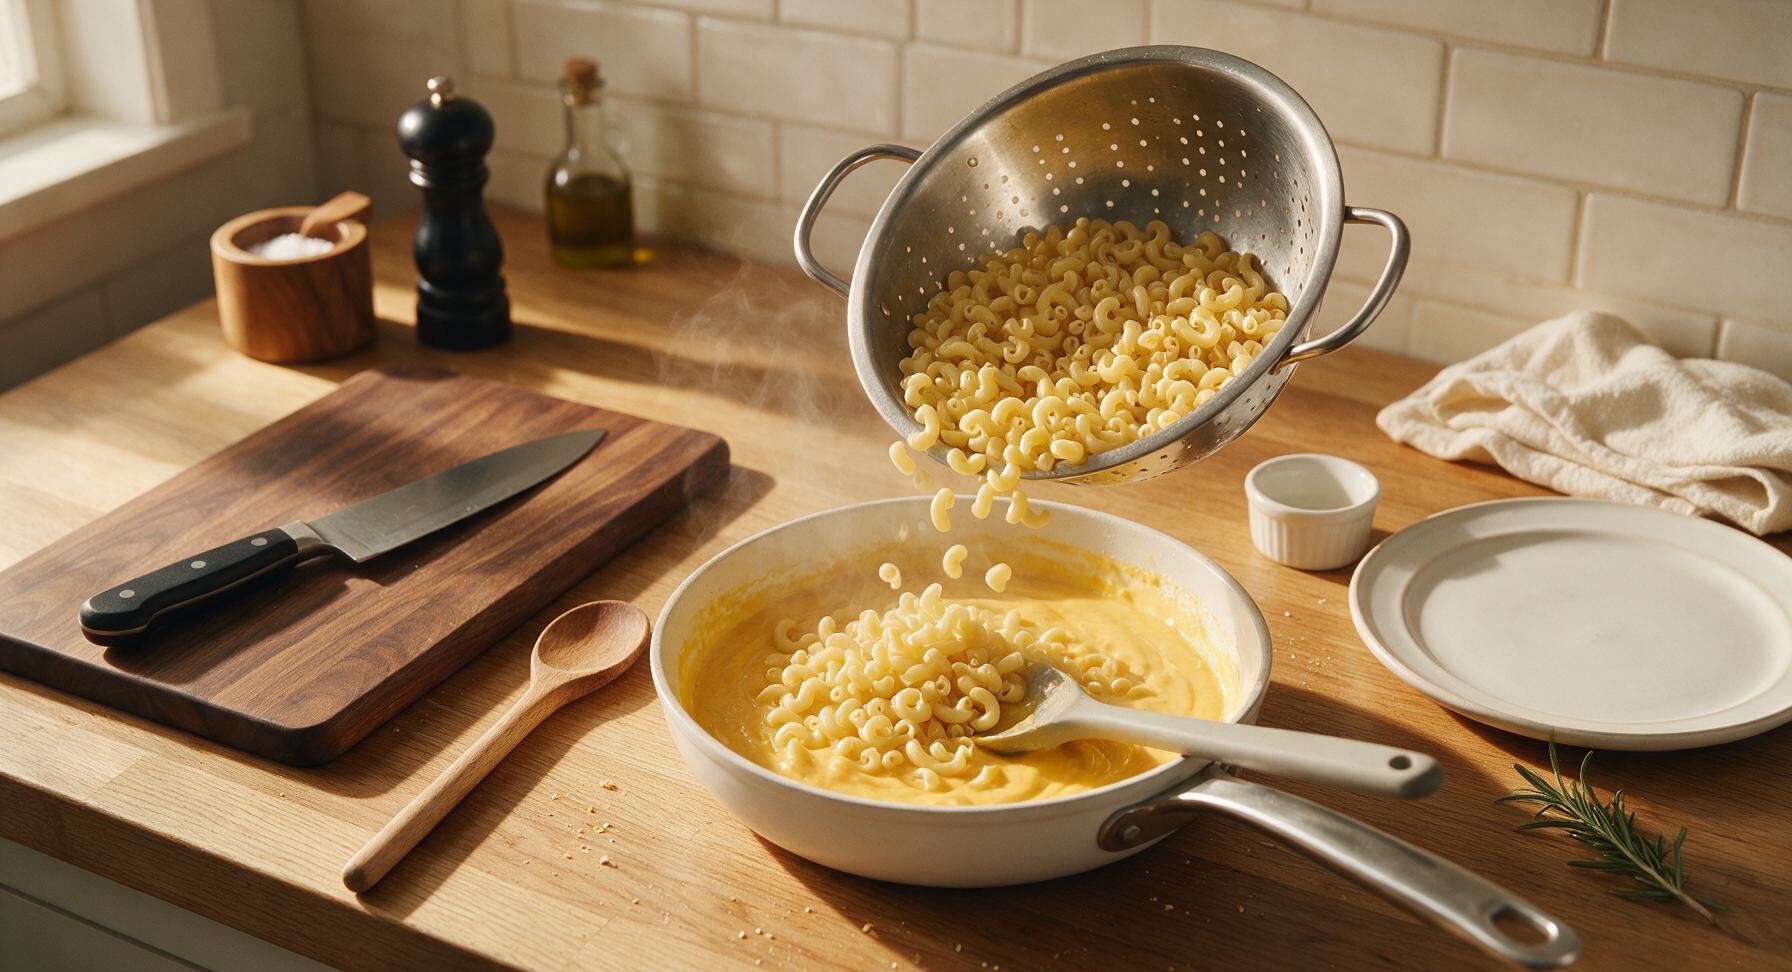
Plate and Serve
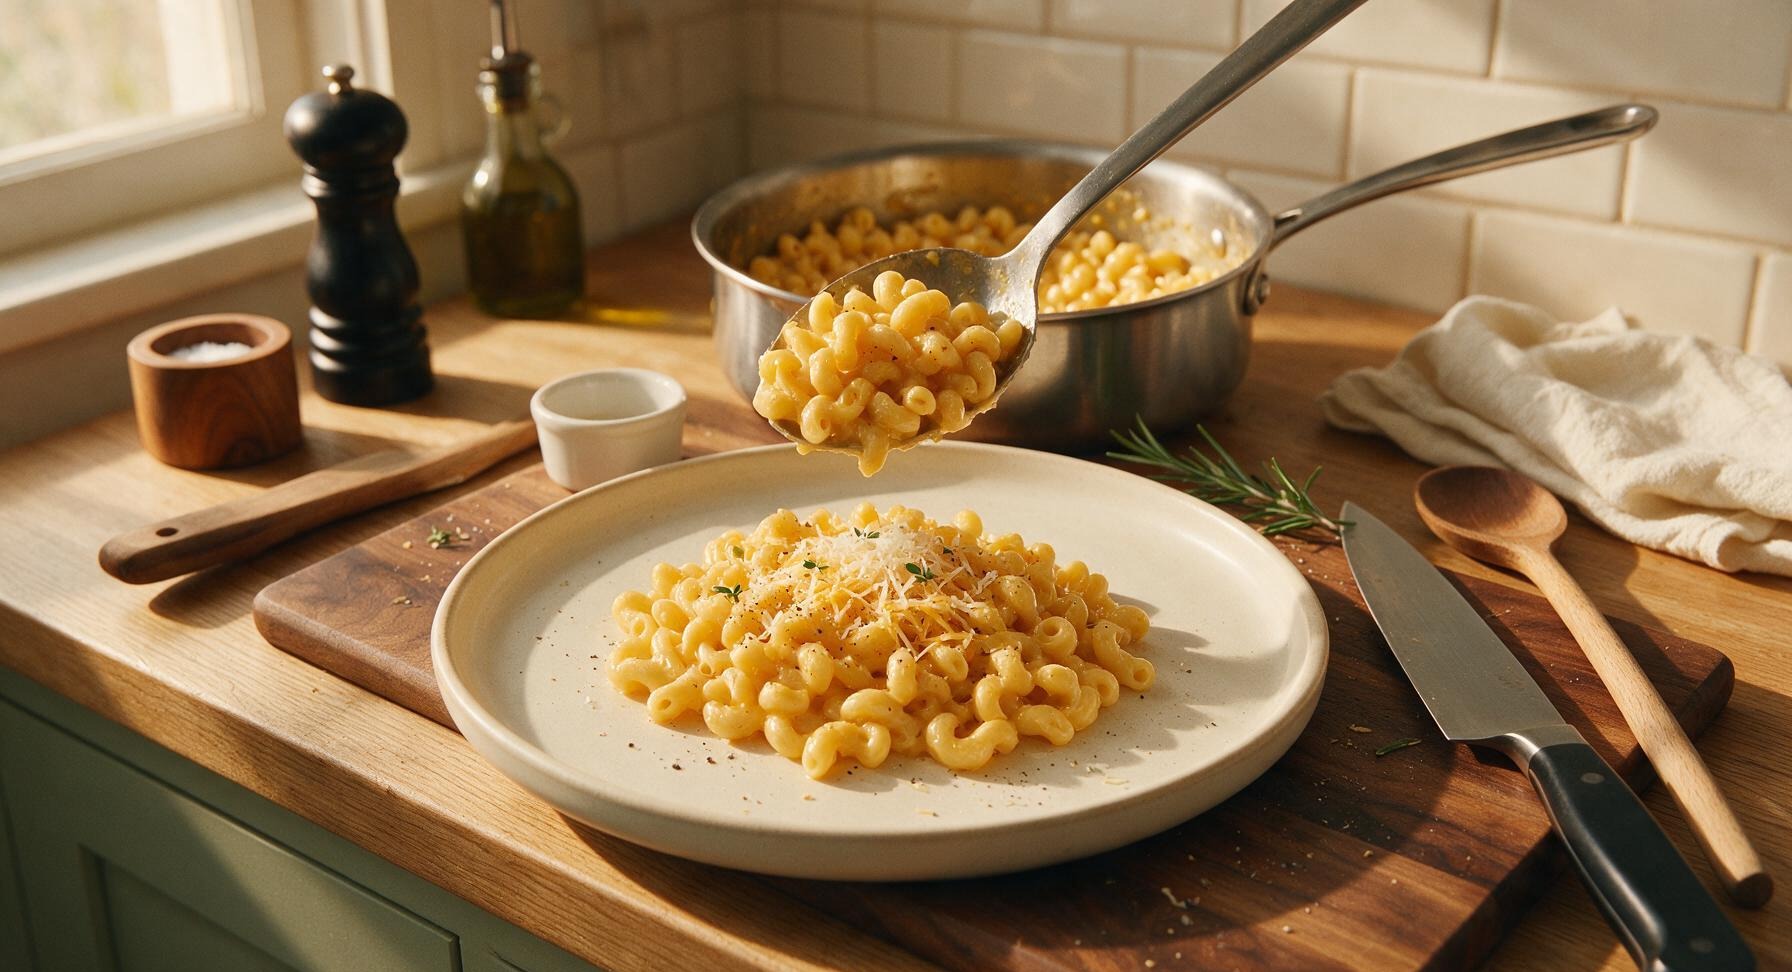
Scoop the finished creamy macaroni onto the center of the matte cream ceramic dinner plate, mounding it gently. Top with the reserved 25g of shredded cheddar (which will melt slightly from the heat of the pasta), a light crack of fresh black pepper, and a few tiny fresh thyme leaves for garnish. Serve immediately while warm and creamy.
Tips
2.Warm your whole milk for 30 seconds in the microwave before adding it to the roux: cold milk can shock the cooked flour-butter mixture and cause stubborn lumps to form, while gently warmed milk mixes in smoothly with minimal whisking for a perfectly lump-free sauce.
3.Skip rinsing your cooked pasta after draining: the starchy film left on the outside of al dente noodles acts as a natural binder that helps the cheese sauce adhere evenly to every noodle, rather than sliding off and pooling at the bottom of your plate.






OMG this 15 minute mac is a total game changer for our weeknight dinners! My two picky kids gobbled up two servings each and didn’t even complain about ‘no weird crunchy bits’ like they do with the baked version. SO good, I already made it twice this week.
Bro I live in a dorm with a tiny hot plate and no oven, this is perfect. No fancy ingredients, done in 15, tastes way better than the boxed stuff I’ve been surviving on. 10/10 would make again when I’m tired of ramen.
Brought this to our neighborhood potluck last weekend and the whole pan was gone in 10 minutes! Only reason I’m not giving 5 stars is I added a little extra paprika and garlic powder because I like my mac with a little kick, but the base recipe is chef’s kiss.
I make a big batch of this every Sunday for my work lunches for the week and it holds up SO much better than baked mac! The creaminess doesn’t separate when I reheat it at the office, no gross grainy cheese texture. Game. Changer.
Used a mix of sharp cheddar and gouda like I had on hand and oh my GOD this is the creamiest stovetop mac I’ve ever made. No roux fails? No weird clumpy cheese? Sign me up, I’m never going back to my old recipe.
I’m literally the worst at cooking, I burn toast half the time, and this turned out perfect first try. 15 minutes, no complicated steps, my roommate thought I ordered takeout lmao. So proud of myself right now.
This is a nice quick recipe! I’ve made baked mac for my family for 40 years, but on days when my knees act up and I can’t stand in the kitchen long, this is perfect. I did add a handful of breadcrumbs toasted in butter on top for a little crunch, though, old habits die hard!
Made this for my boyfriend last night for our casual at-home date night with some hot dogs and roasted broccoli, and he said it’s better than the mac and cheese his mom makes. Don’t tell his mom lmao, but I agree.
Made this on our camp stove on our last camping trip and it was such a hit! No oven needed, super minimal cleanup, fed all four of us after a long hike. Will definitely be a staple on our future trips.
Used lactose-free whole milk and dairy-free cheddar to make this work for my stomach, and it was still so creamy! I was worried it would be weird or grainy but it totally worked, I’m so happy I can eat mac and cheese again without the consequences.
Made this for our tailgate before the OSU game last weekend, kept it warm in the crockpot on low, and everyone was raving. Way easier than making a bunch of burgers, paired perfectly with the brats we brought. 10/10 for game day.
All the ingredients for this cost me less than $5 total at the grocery store, and it makes 4 servings? Way cheaper than takeout, way better than the 99 cent boxed mac, perfect for when I’m trying to save money at the end of the month.
Tossed in some diced pickled jalapeños and a handful of crispy bacon bits at the end, and oh my gosh, this is next level. The creamy base balances the heat so well, I could eat the whole pan by myself.
My husband and I just moved into our first apartment and this is the first recipe we’ve made together that didn’t turn into a total disaster. So easy, no fancy equipment needed, and we got to eat delicious mac while we unpacked our kitchen boxes. Obsessed.
Stirred in some roasted cauliflower and caramelized onions to add a little veggie boost, and it was amazing. The creamy cheese sauce coats every bite so you don’t even feel like you’re eating veggies, great for anyone who struggles to get their greens in.
Woke up at 1am craving mac and cheese, threw this together in the time it took my show to come back from commercial break. No weird processed cheese, just straight creamy goodness, hit the spot so hard. 10/10 late night snack.
I used to eat the neon orange boxed mac every single week because I thought homemade was too hard, but this is just as easy and tastes a million times better. I’m never going back, you’ve converted me.
Added this to our regular Sunday dinner rotation, served it with fried chicken and collards last weekend and the whole family raved. It’s so fast to make I don’t have to stress about getting all the sides on the table at the same time.
Used gluten-free elbow pasta and it turned out perfectly creamy, no weird gritty texture that I usually get with gluten-free mac recipes! I was so shocked how well it worked, I already passed the recipe along to all my celiac friends.