
best roast chicken
intro
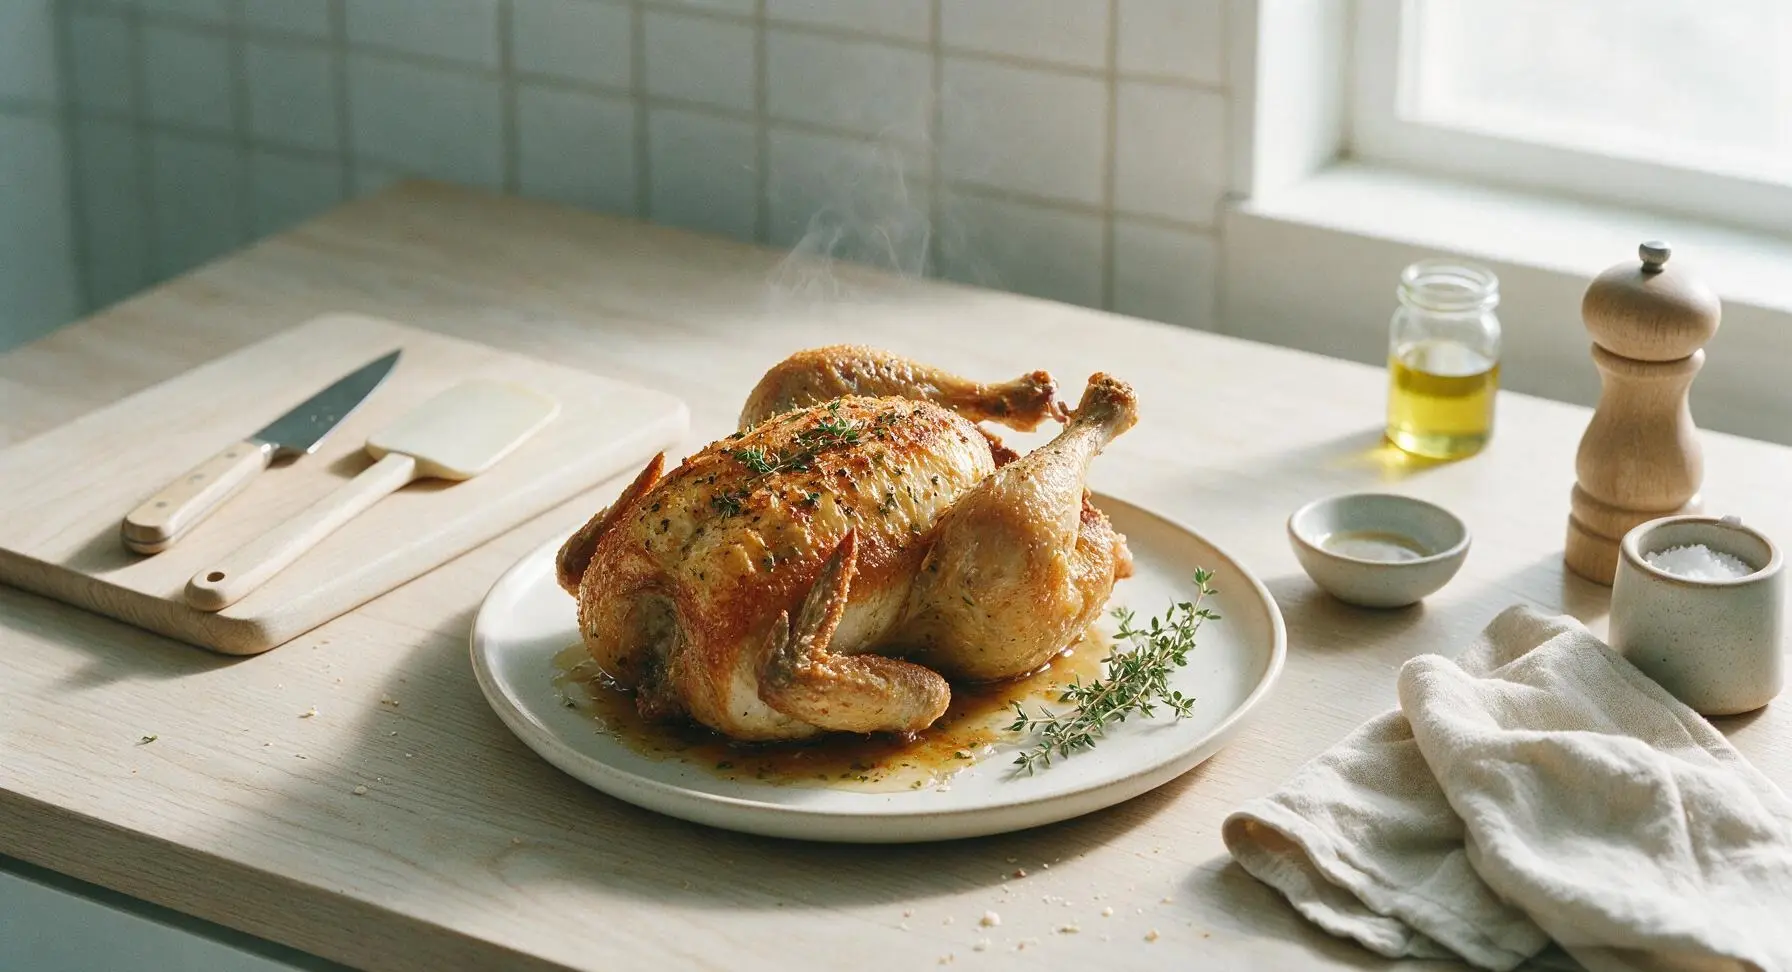
Shatteringly crisp golden skin, juicy herb-infused meat, and rich pan drippings make this foolproof roast chicken the ultimate cozy centerpiece for family meals.
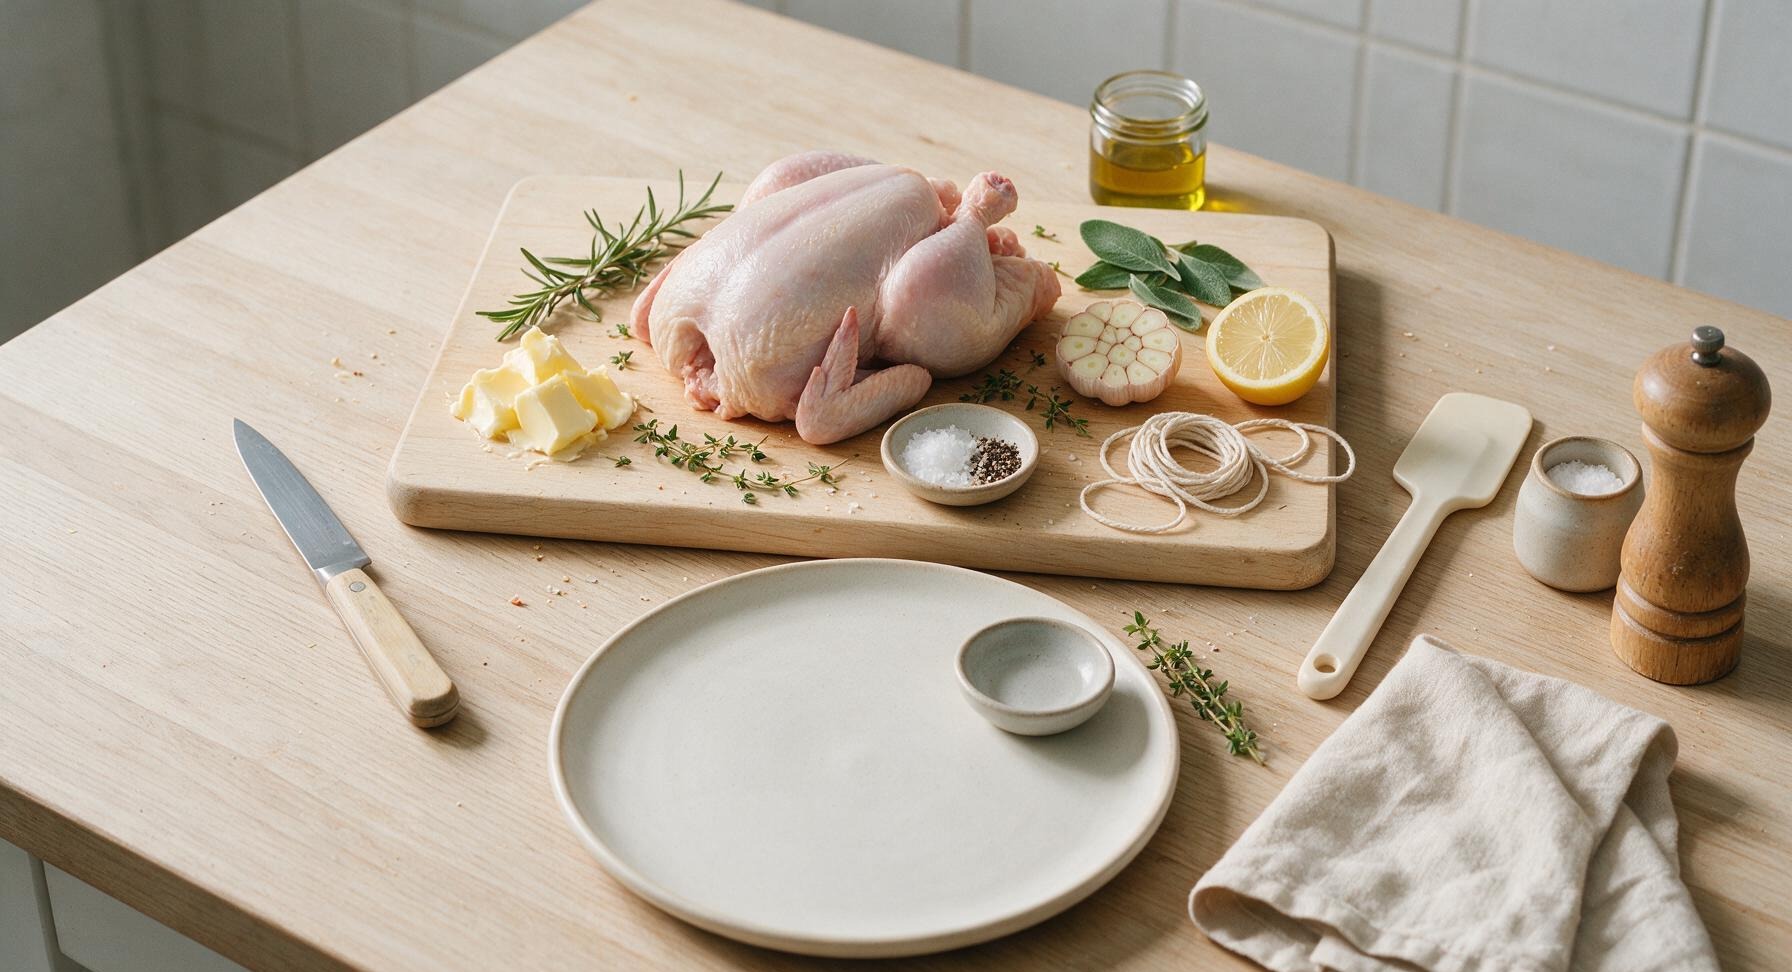
Ingredients
Steps
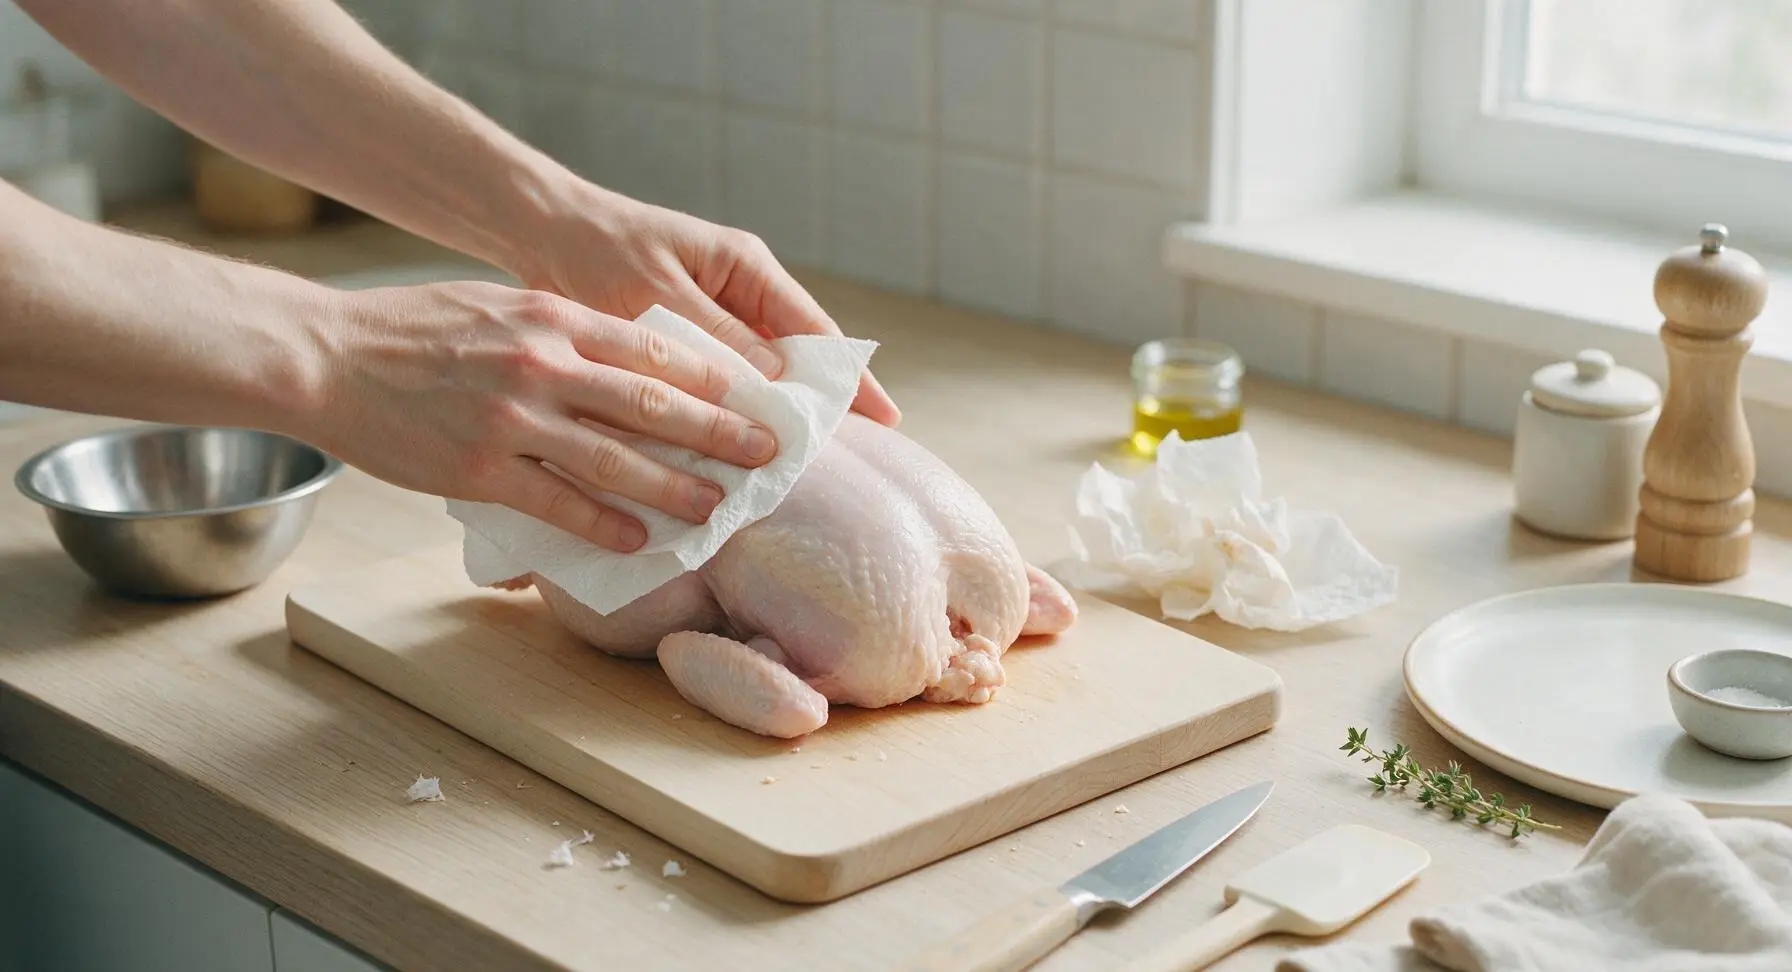
Pat Chicken Completely Dry
Remove the whole chicken from packaging, pull out any giblets or neck from the internal cavity (reserve for stock if desired, otherwise discard). Place the chicken on the honey maple cutting board. Use paper towels to thoroughly pat every surface of the chicken—outer skin, internal cavity, under wing and leg joints—until completely dry, with no visible moisture remaining on the skin. Let the chicken rest uncovered at room temperature for 15 minutes to further air-dry while you prep the herb butter; dry skin is non-negotiable for shatteringly crisp results.
Mix Herb Butter Blend
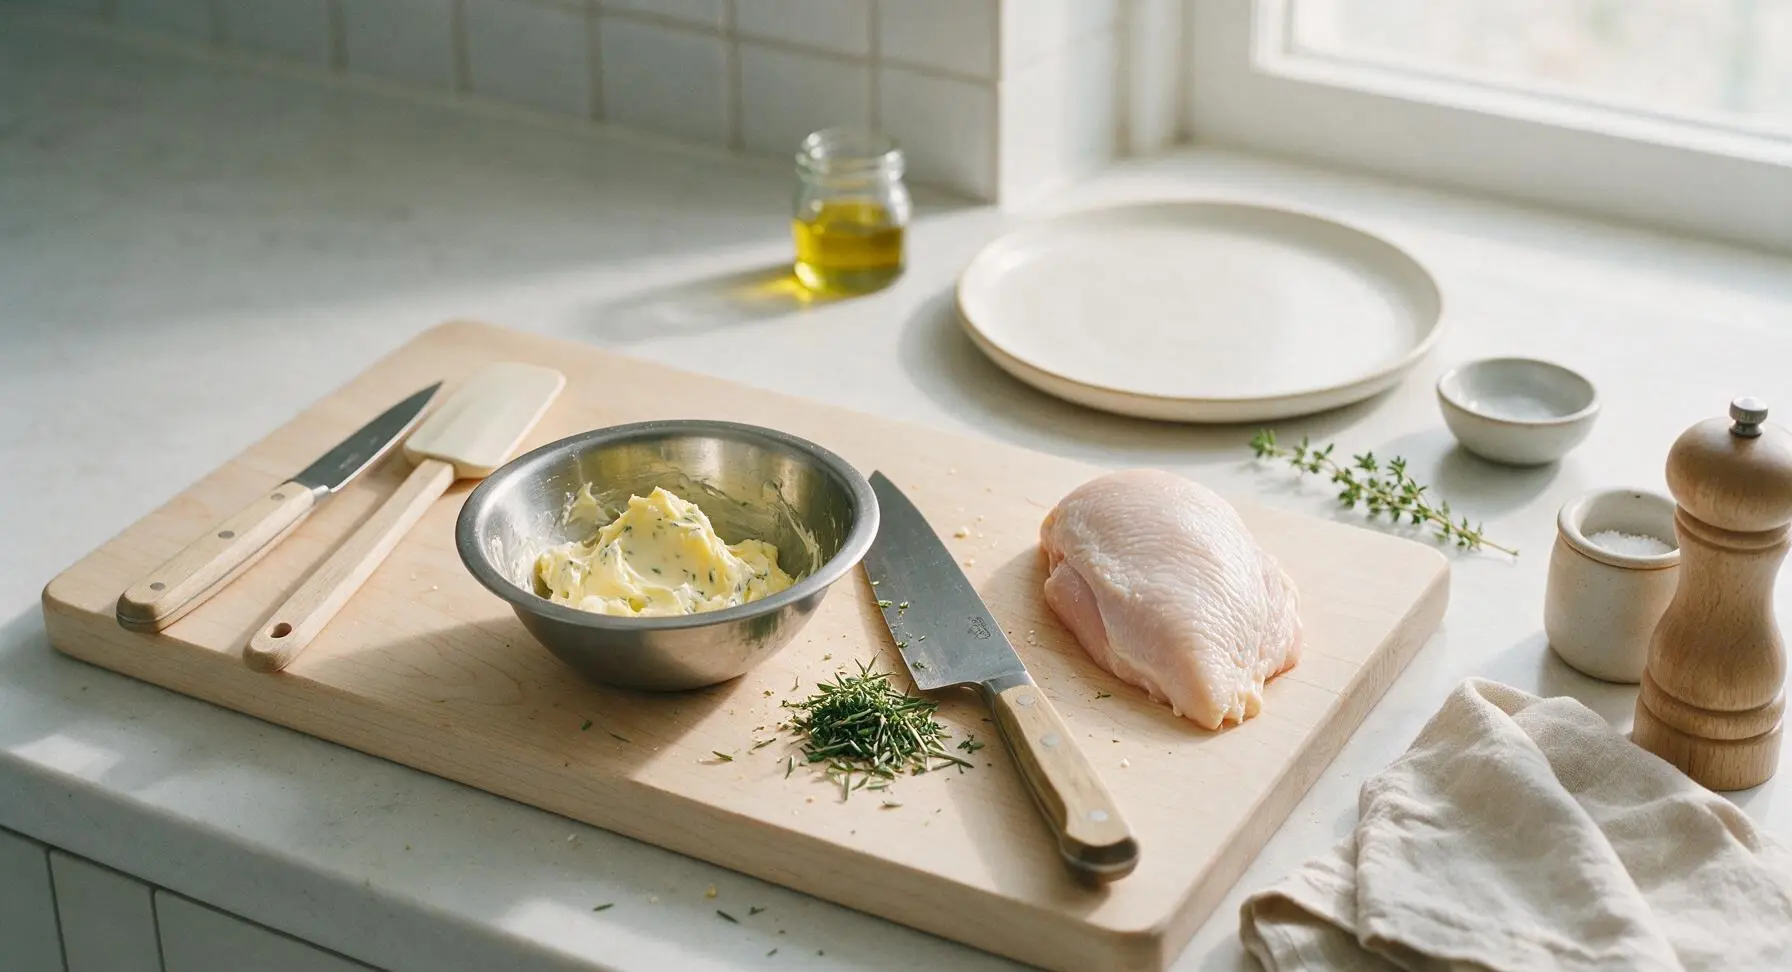
Place the rosemary, thyme, and sage on the maple cutting board, and use the forged steel chef knife to finely chop 1 teaspoon of rosemary and 1 teaspoon of thyme, setting remaining whole herb sprigs aside for the cavity. In the small 15cm stainless steel mixing bowl, combine the softened 4 tablespoons unsalted butter, chopped herbs, 1/2 teaspoon flaky sea salt, and 1/4 teaspoon cracked black pepper. Stir with a small spoon until herbs and salt are evenly distributed through the butter, which should be soft and spreadable but not melted.
Butter Under the Skin
Gently slide your fingers under the chicken skin covering the breast and upper thighs, taking care not to tear the delicate skin, to create a loose pocket between skin and meat. Use your fingers to spread 3/4 of the herb butter evenly under the skin, directly onto the breast and thigh meat, pressing gently from the outside of the skin to distribute the butter in a thin, even layer. Rub the remaining 1/4 of the herb butter all over the entire outer surface of the chicken skin.
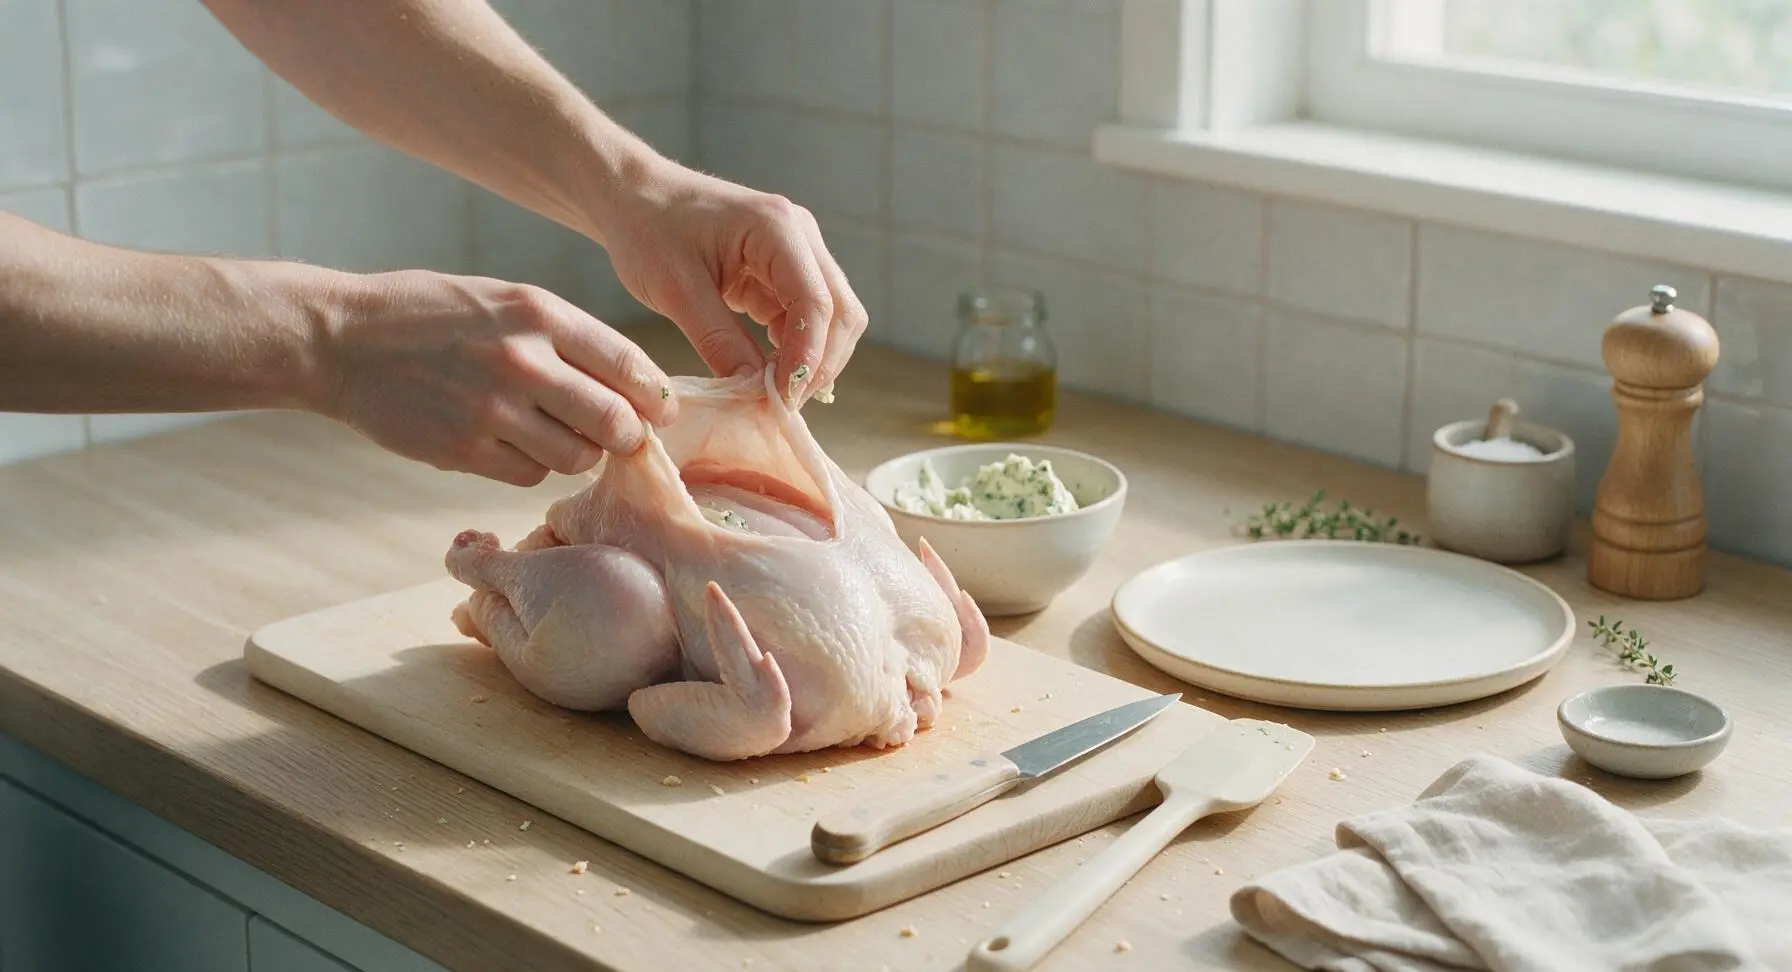
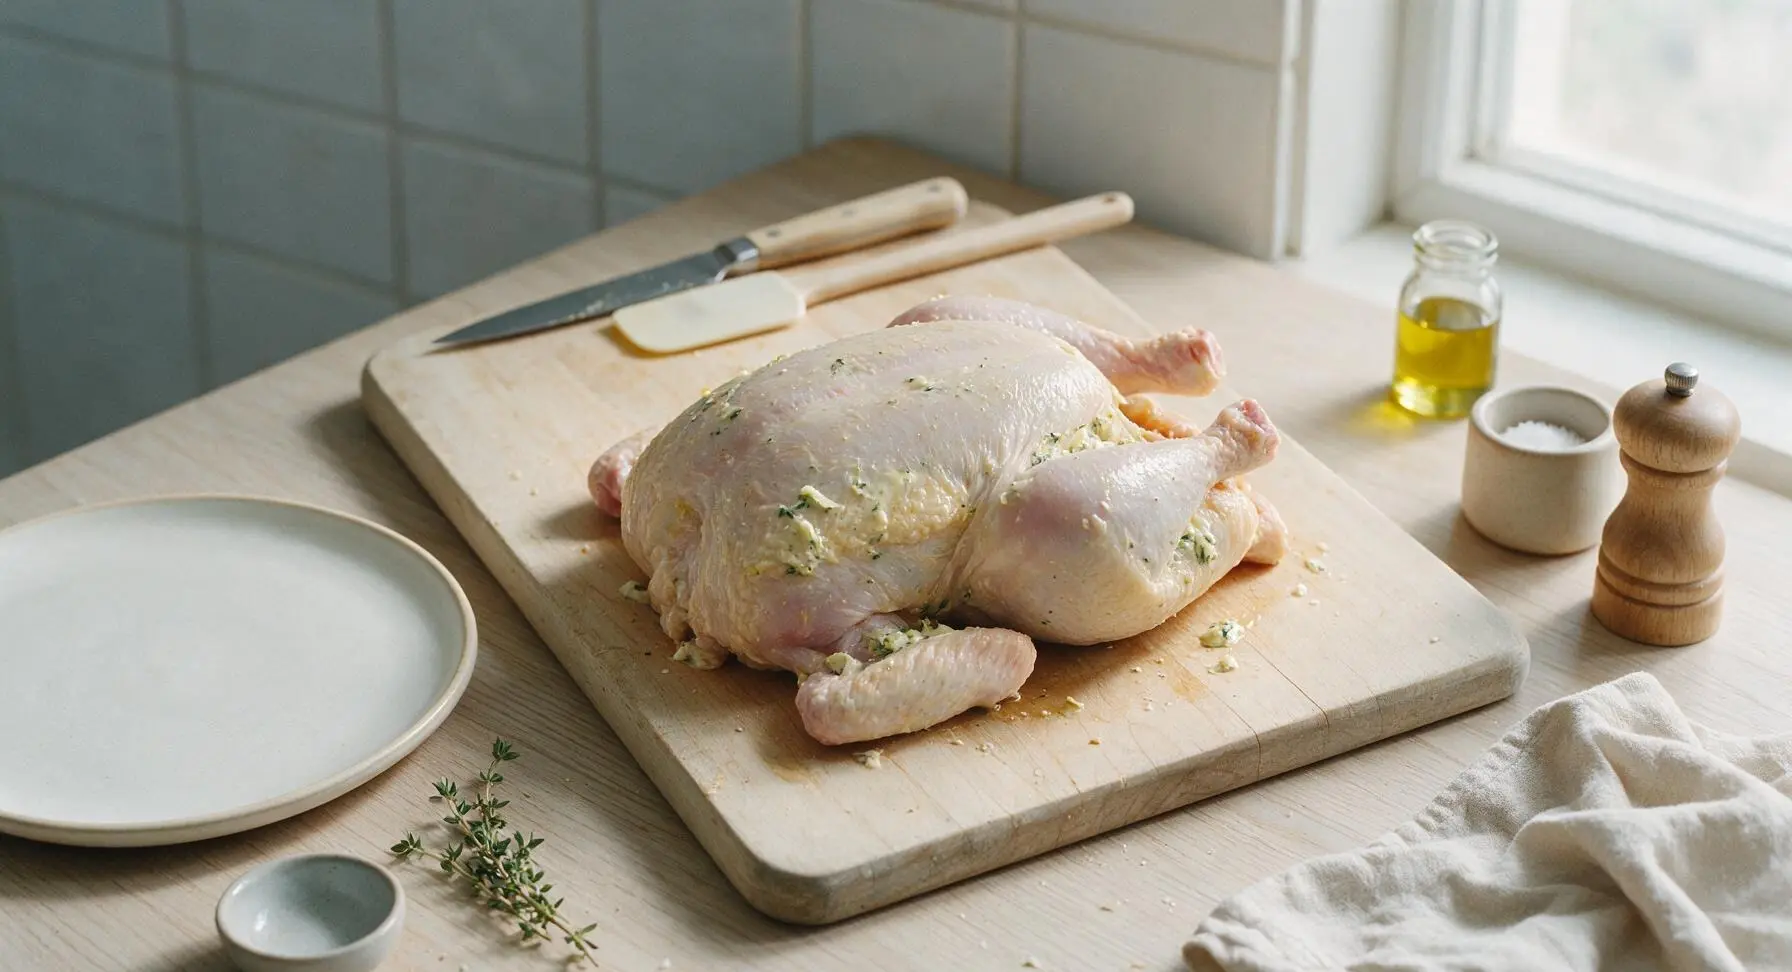
Season and Truss Chicken
Sprinkle the remaining flaky sea salt and cracked black pepper evenly over every surface of the buttered outer chicken skin, including wings and drumsticks. Stuff the chicken cavity with the halved lemon, reserved whole herb sprigs, and both halves of the split garlic head. Use a 30cm length of cotton kitchen twine to tie the chicken drumsticks together tightly, tucking the wing tips under the back of the chicken to prevent them from burning during roasting.
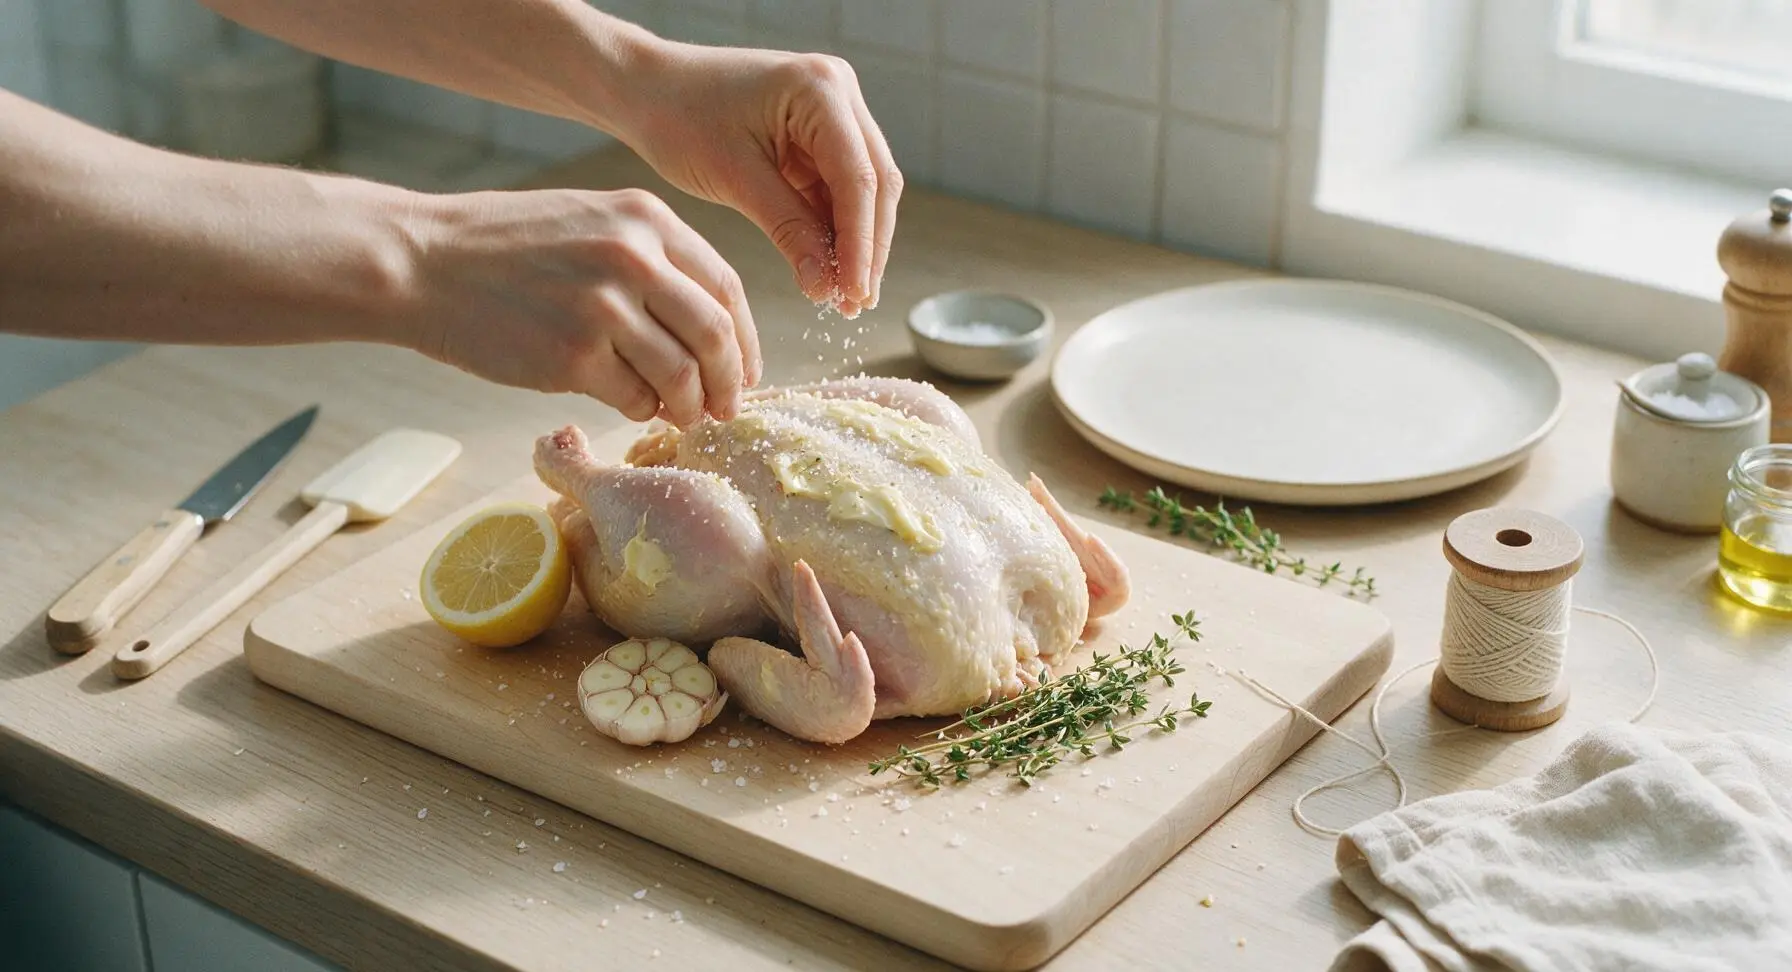
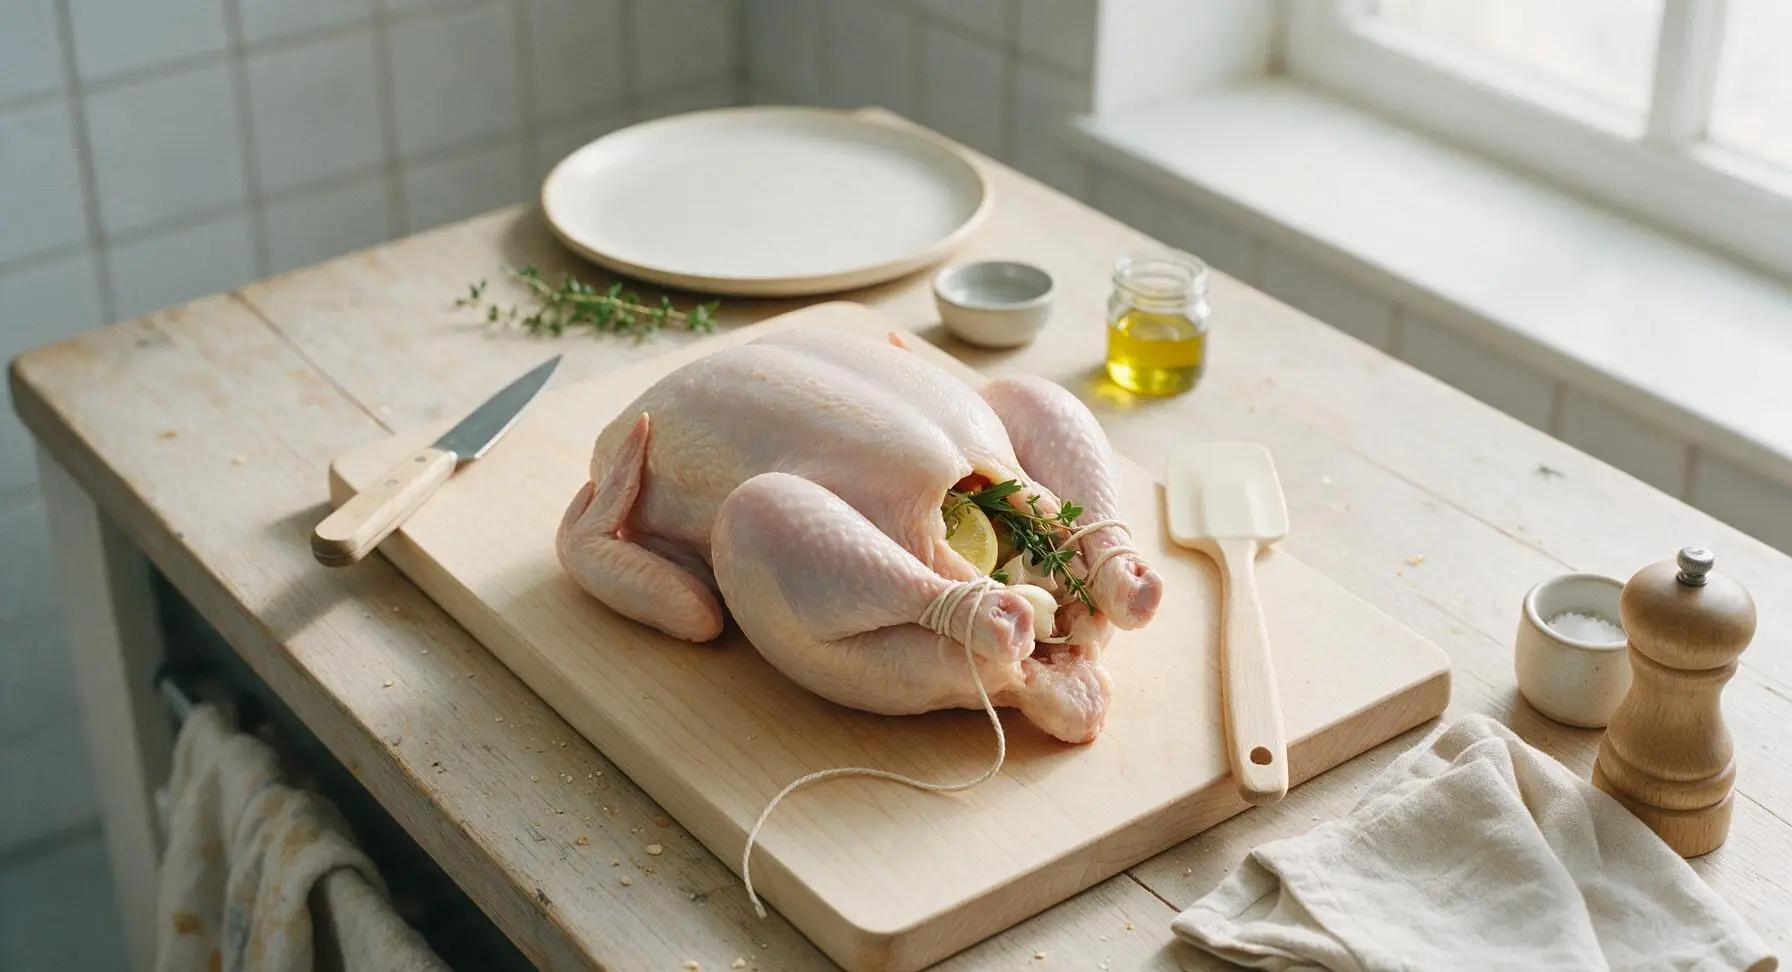
Roast at High Temperature
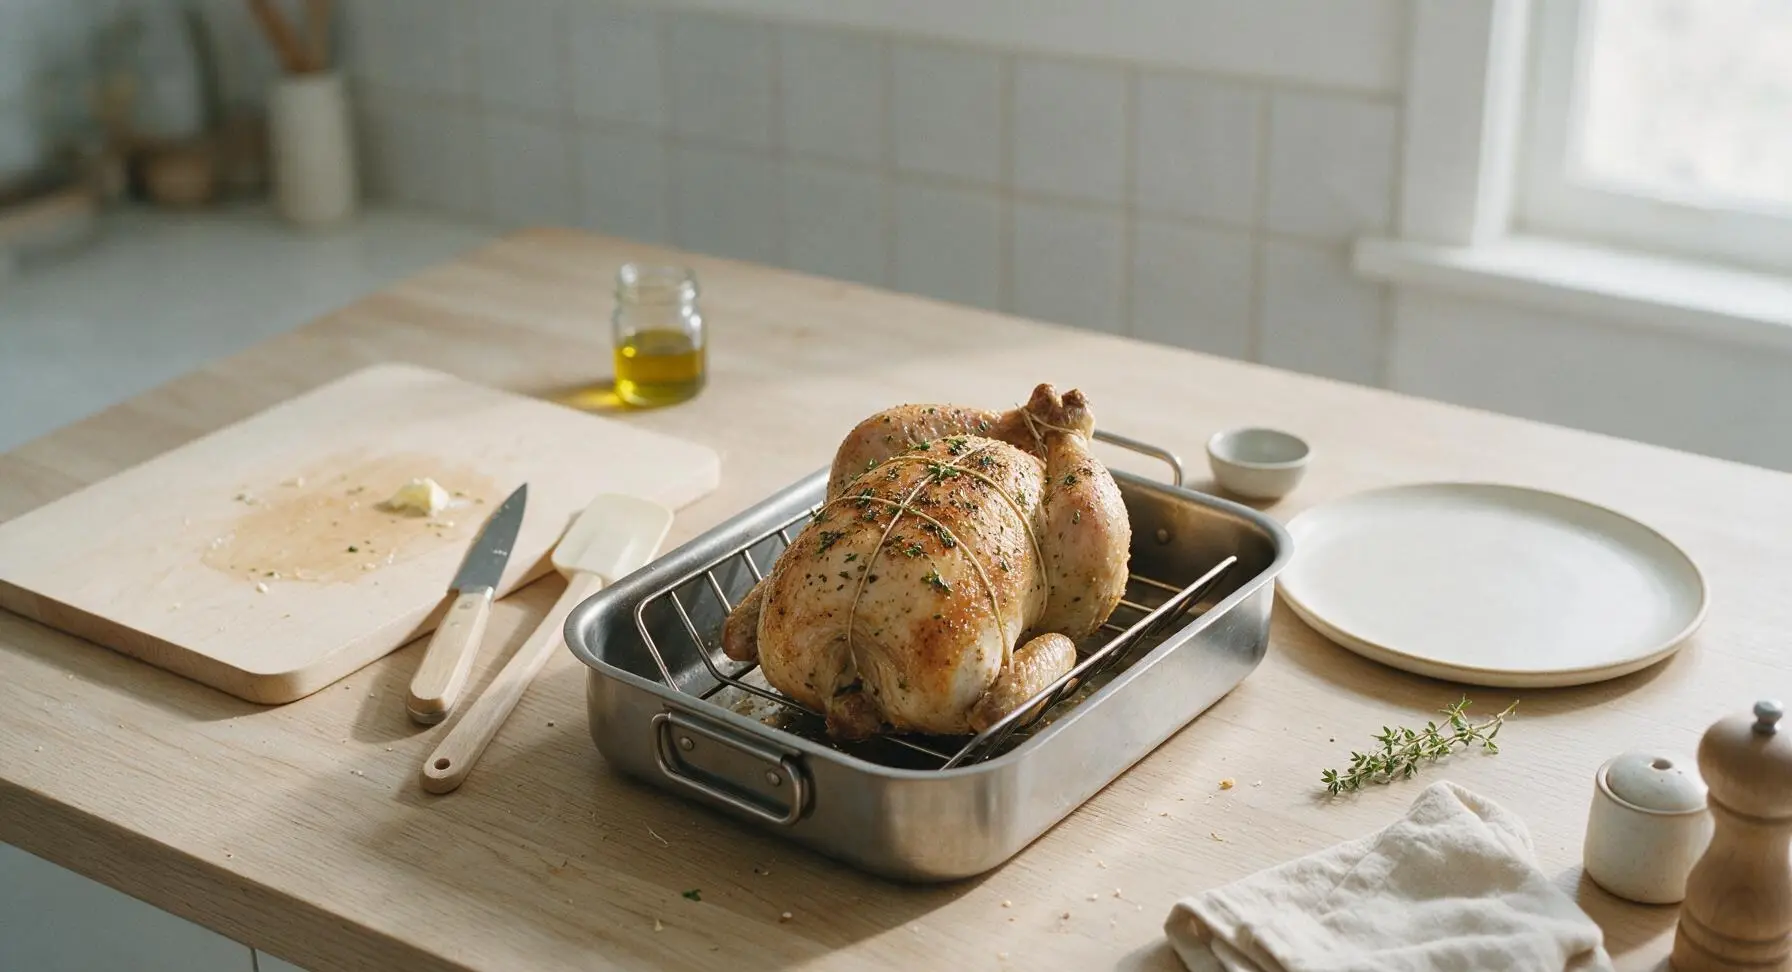
Place the V-rack inside the 12-inch stainless steel roasting pan, then set the trussed chicken breast-side up on the rack. Transfer the pan to a preheated 220C / 425F oven, and roast for 45 minutes. Do not open the oven door during this first 45 minutes, as dropping the oven temperature will prevent the skin from crisping properly and slow fat rendering.
Baste and Check Doneness
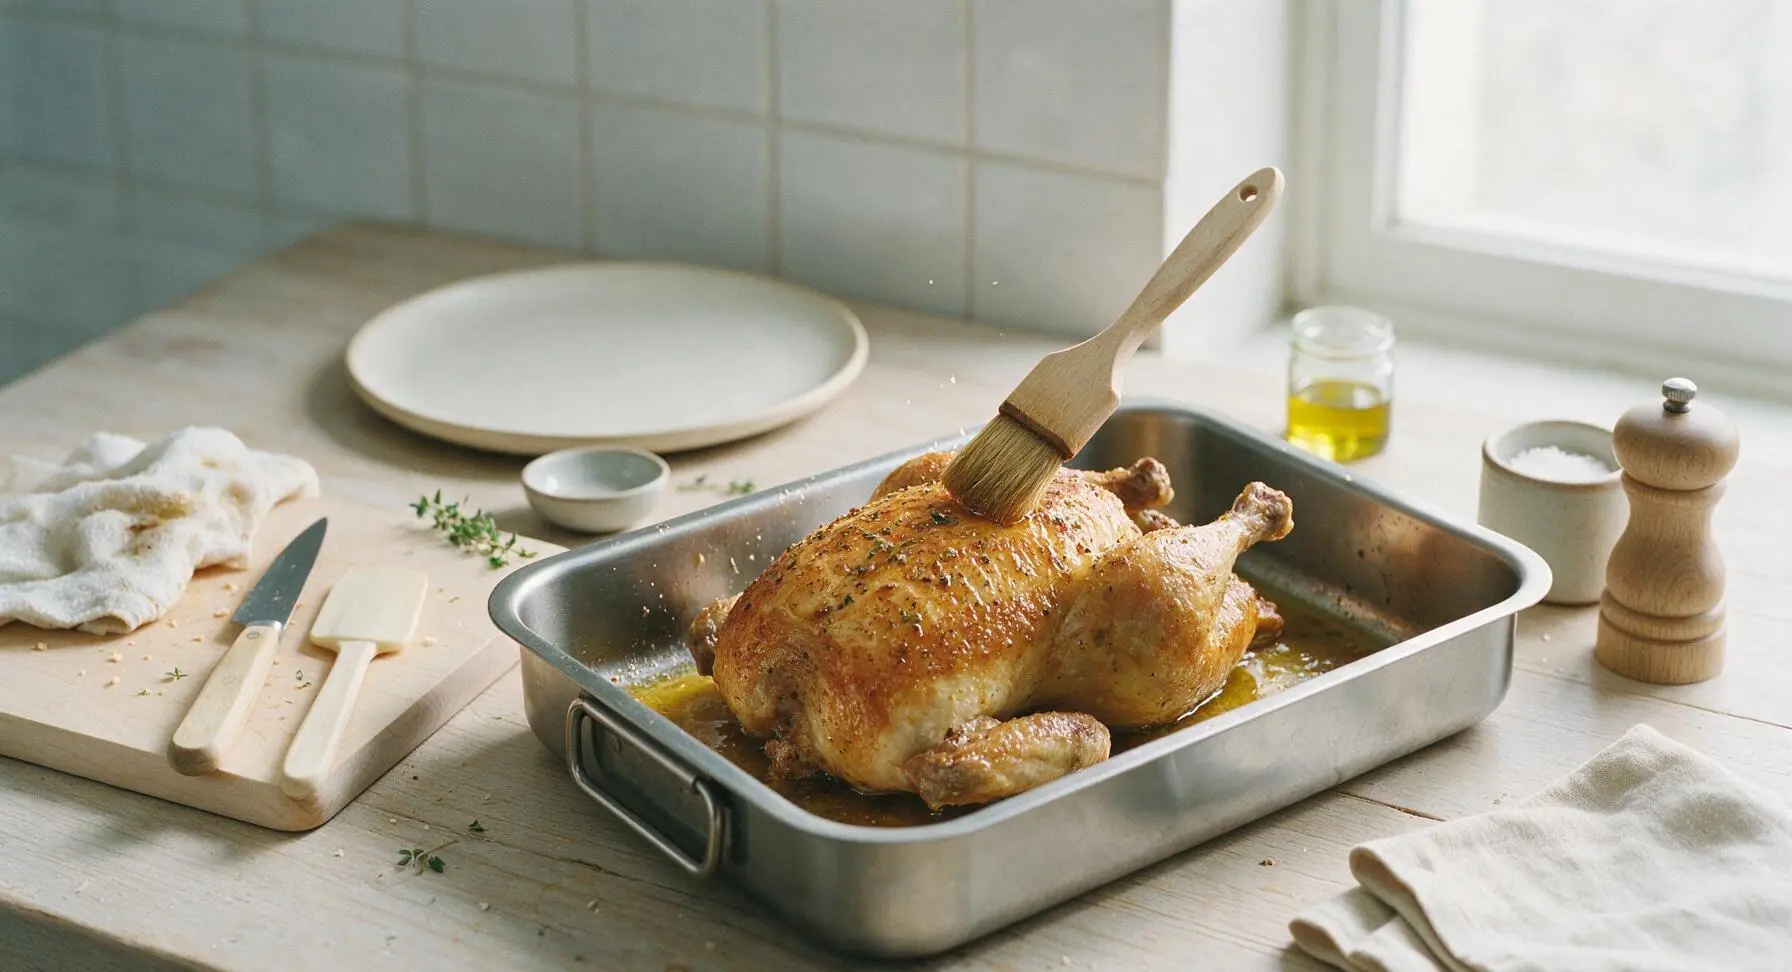
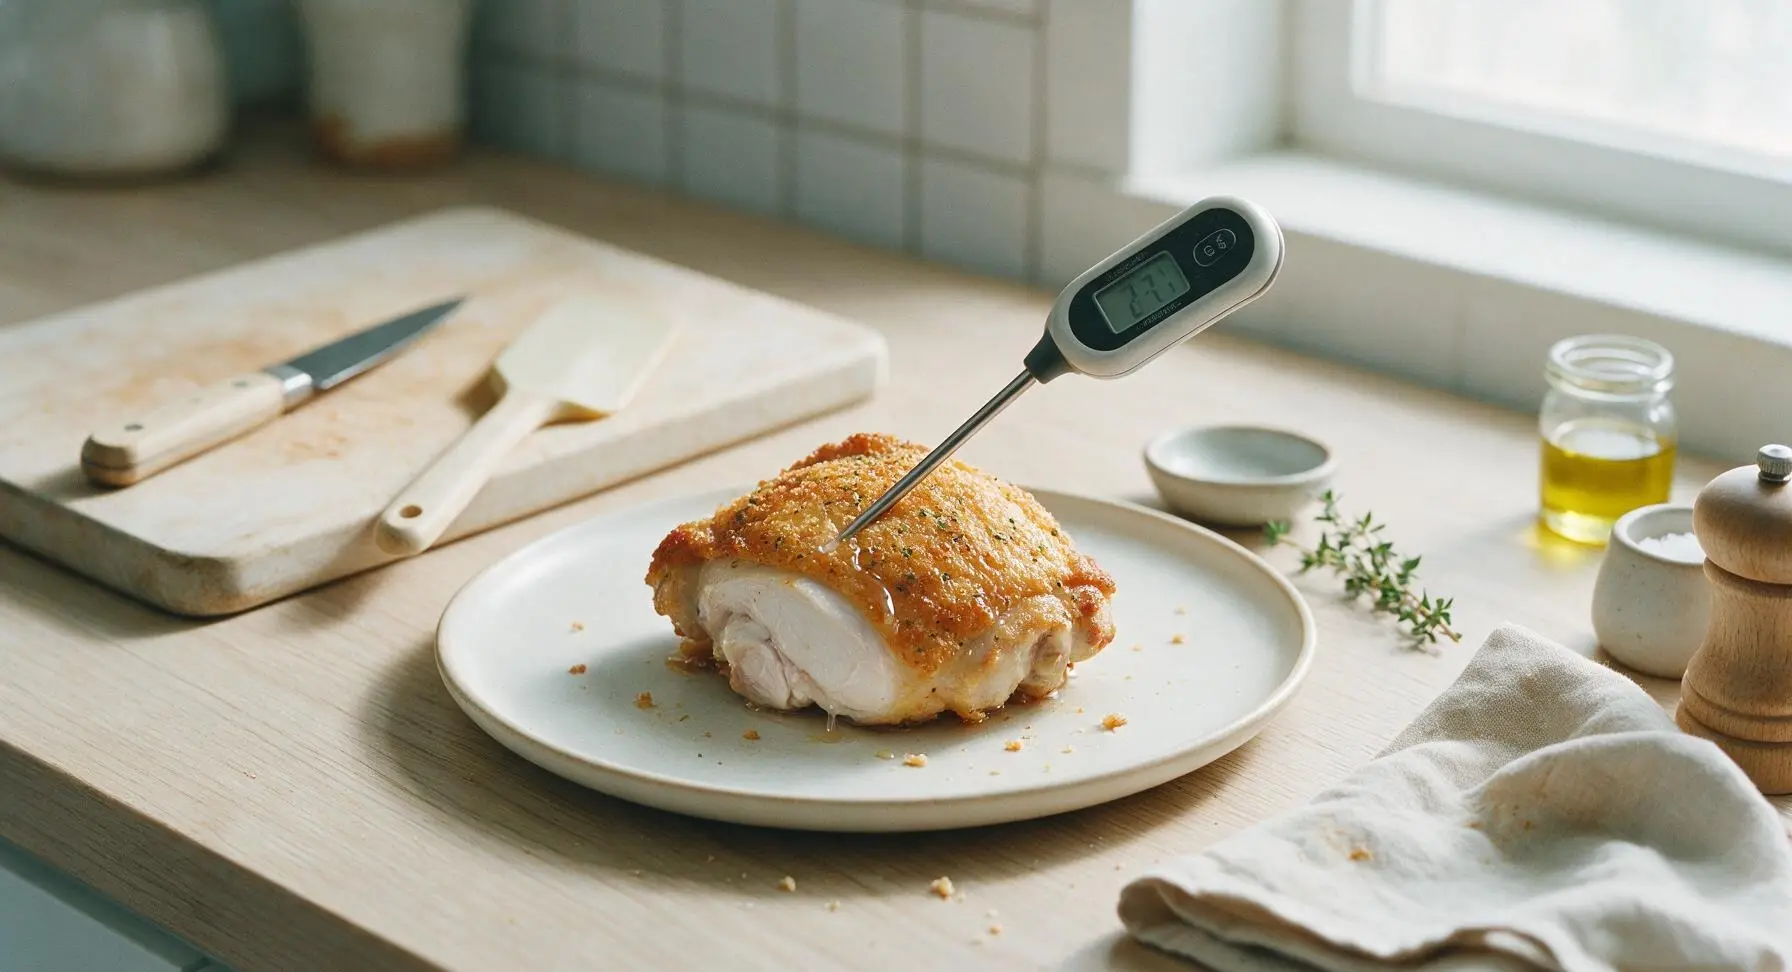
After 45 minutes, carefully pull the roasting pan out of the oven. Use the boar bristle pastry brush to baste the chicken skin with the golden rendered pan juices collected in the bottom of the pan. Insert the digital instant-read meat thermometer into the thickest part of the inner thigh, taking care not to touch bone: the chicken is done when the thermometer reads 74C / 165F. If not yet at temperature, return to the oven for 10 additional minutes before checking again; total cook time is typically 60–70 minutes for a 1.8kg / 4lb chicken.
Rest the Roast Chicken
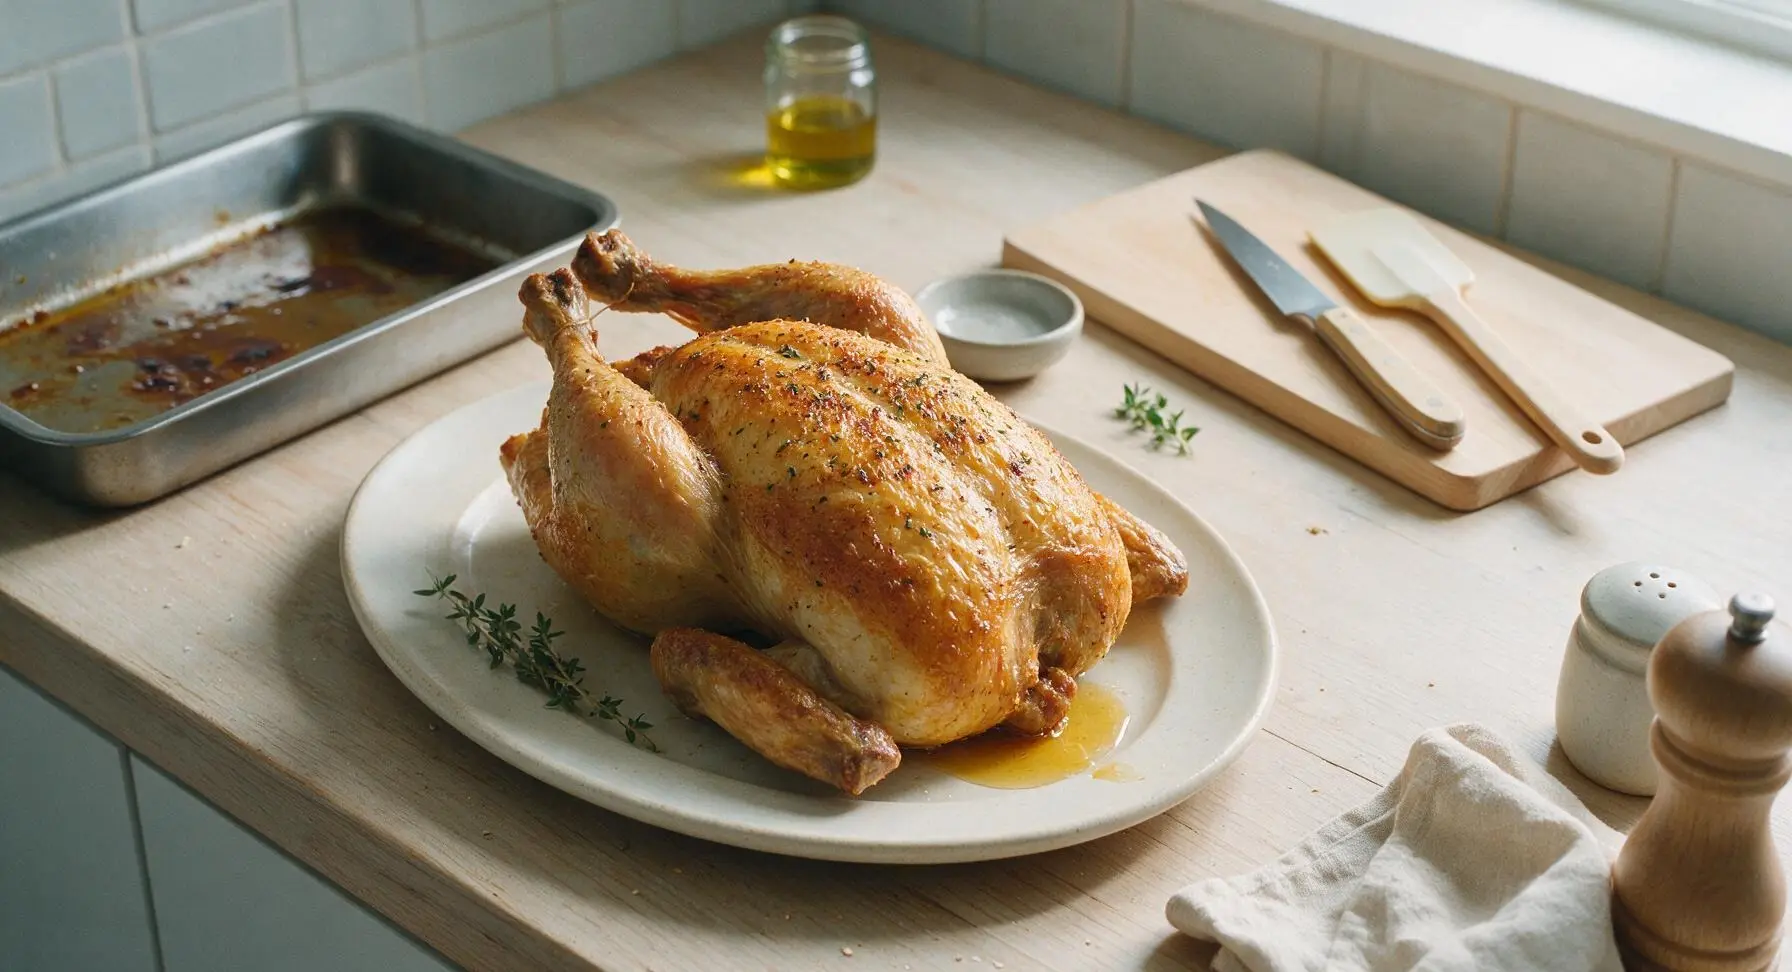
Once the chicken reaches the correct internal temperature, carefully lift it from the V-rack with tongs, tilting it slightly to let any collected juices from the cavity drain into the roasting pan. Transfer the chicken to the matte cream ceramic serving platter, and let it rest uncovered for 15 minutes before carving or serving. Do not cover the chicken with foil while resting, as trapped steam will soften the crisp skin.
Tips
2.Spread herb butter under the skin rather than only on top: butter placed directly against the meat bastes the breast and thighs from the inside as it melts, keeping meat juicy, while helping the skin render evenly without sliding off during roasting.
3.Let the chicken rest for a full 15 minutes after coming out of the oven before carving: cutting into hot chicken immediately causes all the trapped, flavorful juices to run out onto the platter, leaving dry meat. Resting lets muscle fibers relax and reabsorb juices for perfectly moist, tender bites, and skipping foil covering preserves crisp skin.






OMG this roast chicken was a total game changer for our Sunday family dinner! The skin was so perfectly crispy, exactly like the recipe said, and the herb blend smelled incredible while it was cooking. My picky 7 year old asked for seconds, and my husband said it’s better than the rotisserie chicken we get from the grocery store. Total win, will be making this for our next potluck too! Wait, quick question—can I prep the herb rub the night before to save time on weeknights?
Tried this last night for date night, and wow—SO good. I was worried I’d mess up the crispy skin since I usually overcook chicken, but the cook time was spot on for my 4lb bird. The only thing I swapped was adding a little extra garlic because we’re garlic obsessed over here. 10/10, will be adding this to my regular meal prep rotation.
I don’t make roasted chicken super often because I always end up with dry, bland meat, but this recipe was foolproof! The herb mix of rosemary, thyme, and a little paprika gave it so much depth, and letting the chicken rest after cooking? Total game changer, the juice didn’t run all over the plate when I cut into it. I served it with roasted potatoes and roasted broccoli, and my roommate said it tasted like something from a fancy bistro. Definitely worth the effort even if it’s medium difficulty, I promise!
Made this for my meal prep for the week, and it held up so well! The skin stayed crispy even after reheating in the air fryer for a couple minutes, and the meat was still juicy even after 3 days in the fridge. I used a whole chicken I got on sale at the grocery store, so this was such a budget friendly win too. Quick tip for anyone wondering: I skipped the fresh herbs and used dried when I made this because I didn’t have time to run to the store, and it still turned out amazing!