
best way to cook black pudding

title 1
best way to cook black pudding
⏱️ cook time 10 minutes
🍽️ servings 4
⚡ Difficulty easy

intro

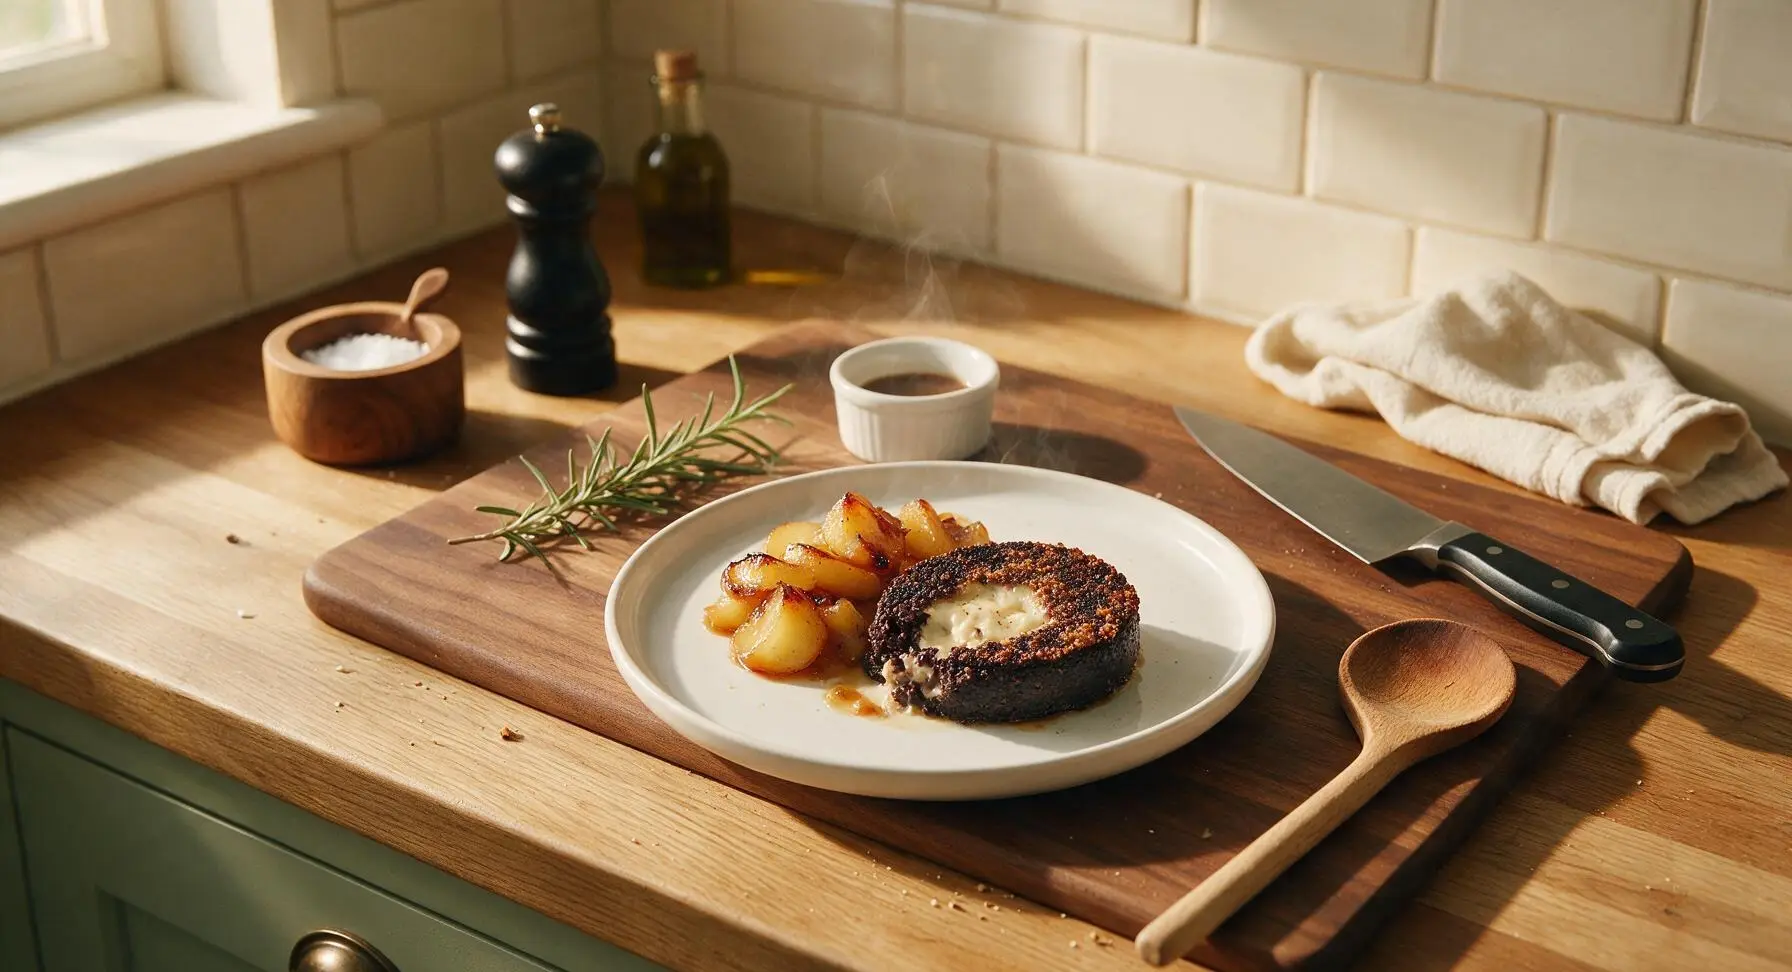
Perfect pan-fried black pudding with a shatteringly crisp crust and soft, creamy, well-seasoned center, paired with tart caramelized apple to cut through richness.

Ingredients
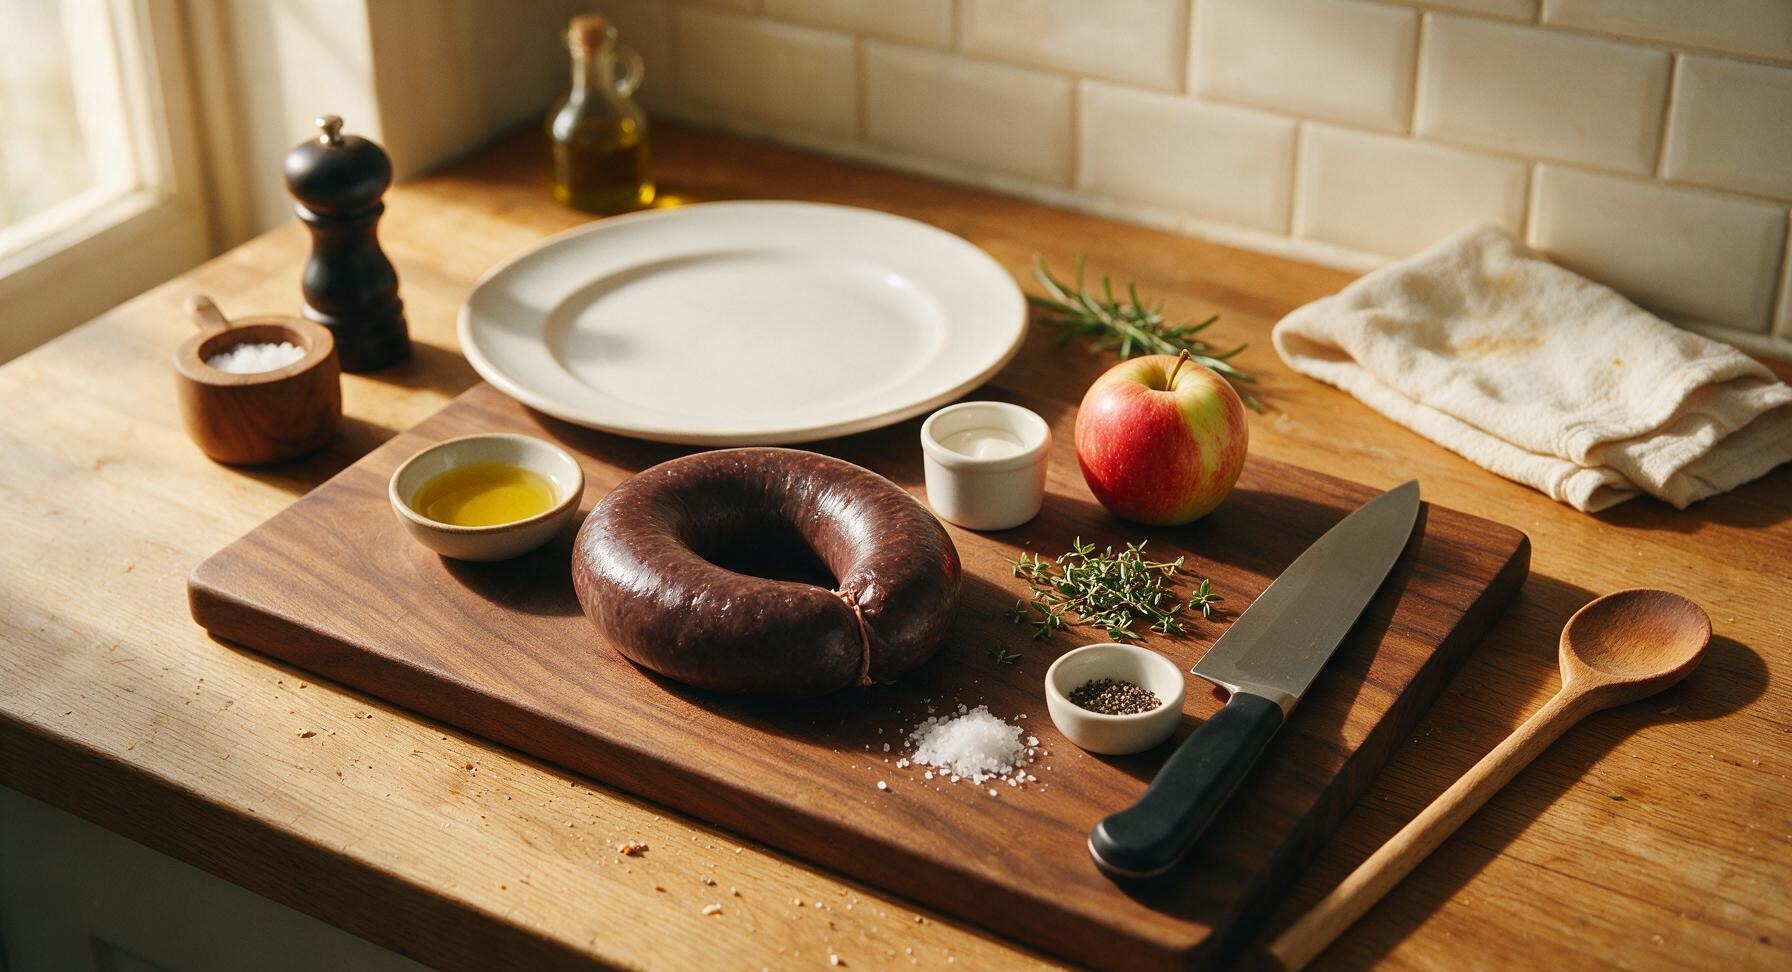
Premium ring black pudding (natural casing) 400g
Sunflower oil (or lard for extra crispness) 1 tbsp
Braeburn apple (crisp, tart-sweet) 1 medium (150g)
Fresh lemon thyme leaves 1 tsp
Flaky sea salt 1/4 tsp
Freshly cracked black pepper 1/8 tsp

Steps

1

Slice Pudding and Apple

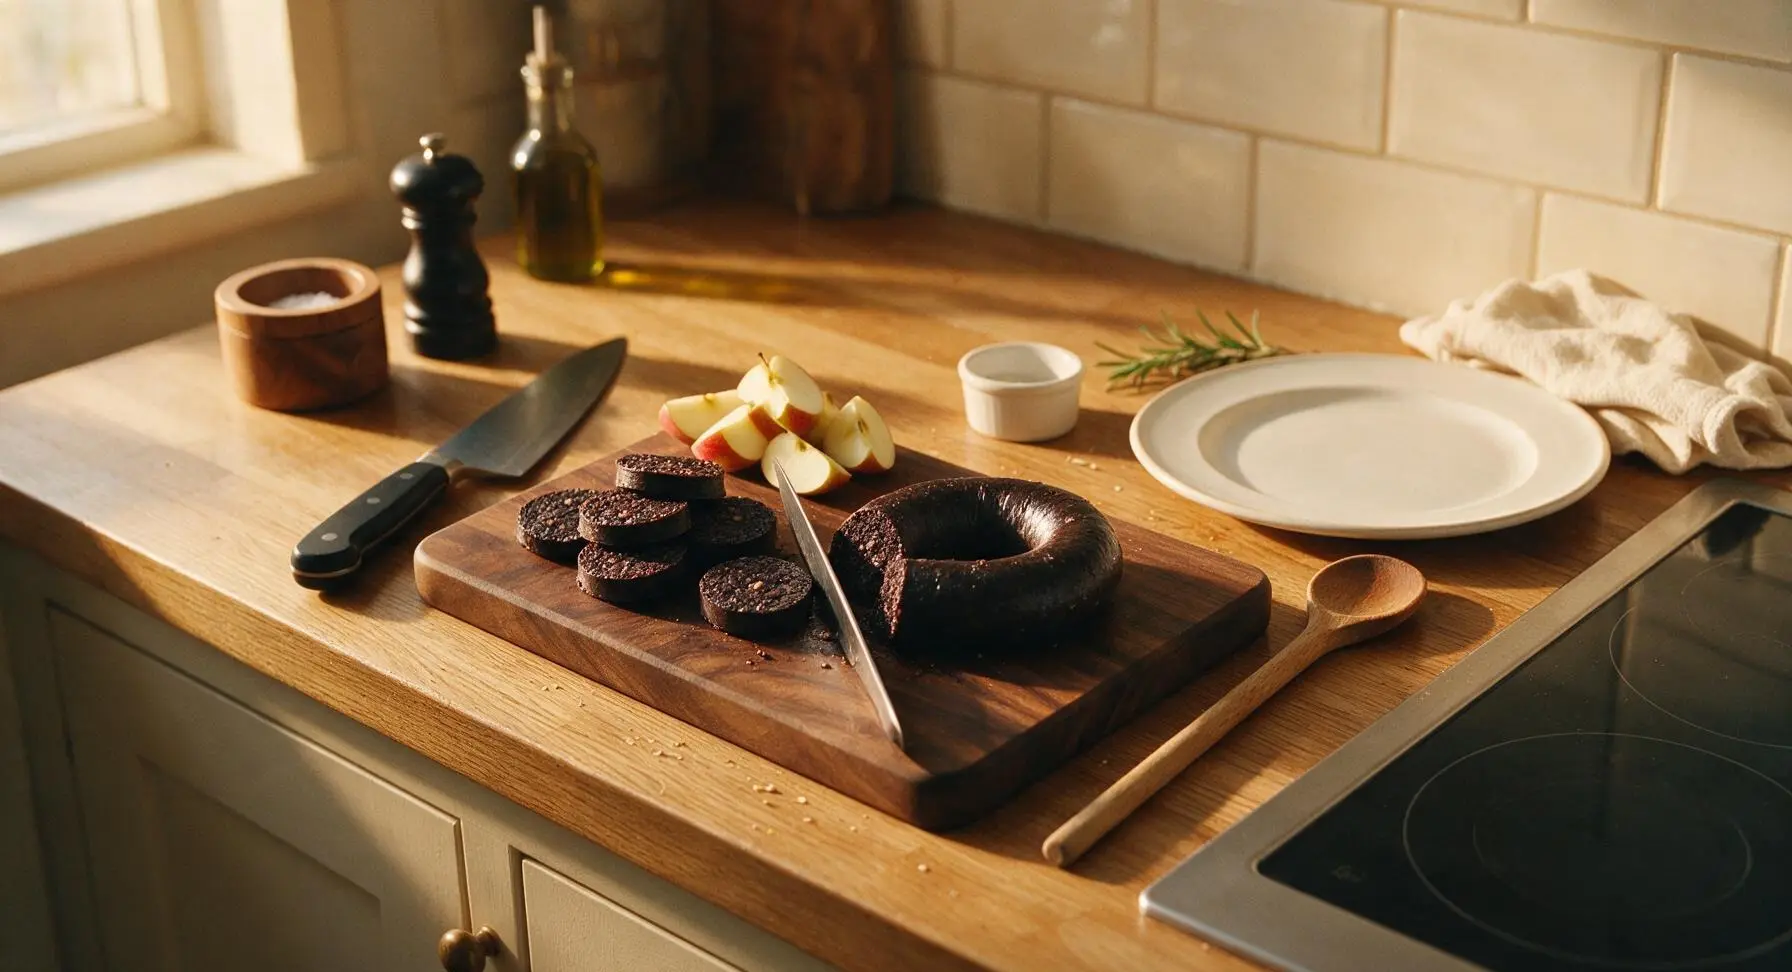
Remove the black pudding from its packaging, pat dry very gently with a paper towel, taking extra care not to tear the delicate natural casing. Using the stainless steel paring knife on the light oak cutting board, cut the pudding ring into even 1.5cm thick slices; never cut slices thinner than 1cm, as they will fall apart during cooking. Core the unpeeled Braeburn apple, cut into 8 equal 1cm thick wedges, and set them on the top right corner of the cutting board. Do not season the pudding at this stage, as salt will draw out surface moisture and prevent a crisp crust from forming.
Step 1
step1:Slice Pudding and Apple
2

Preheat Pan to Medium

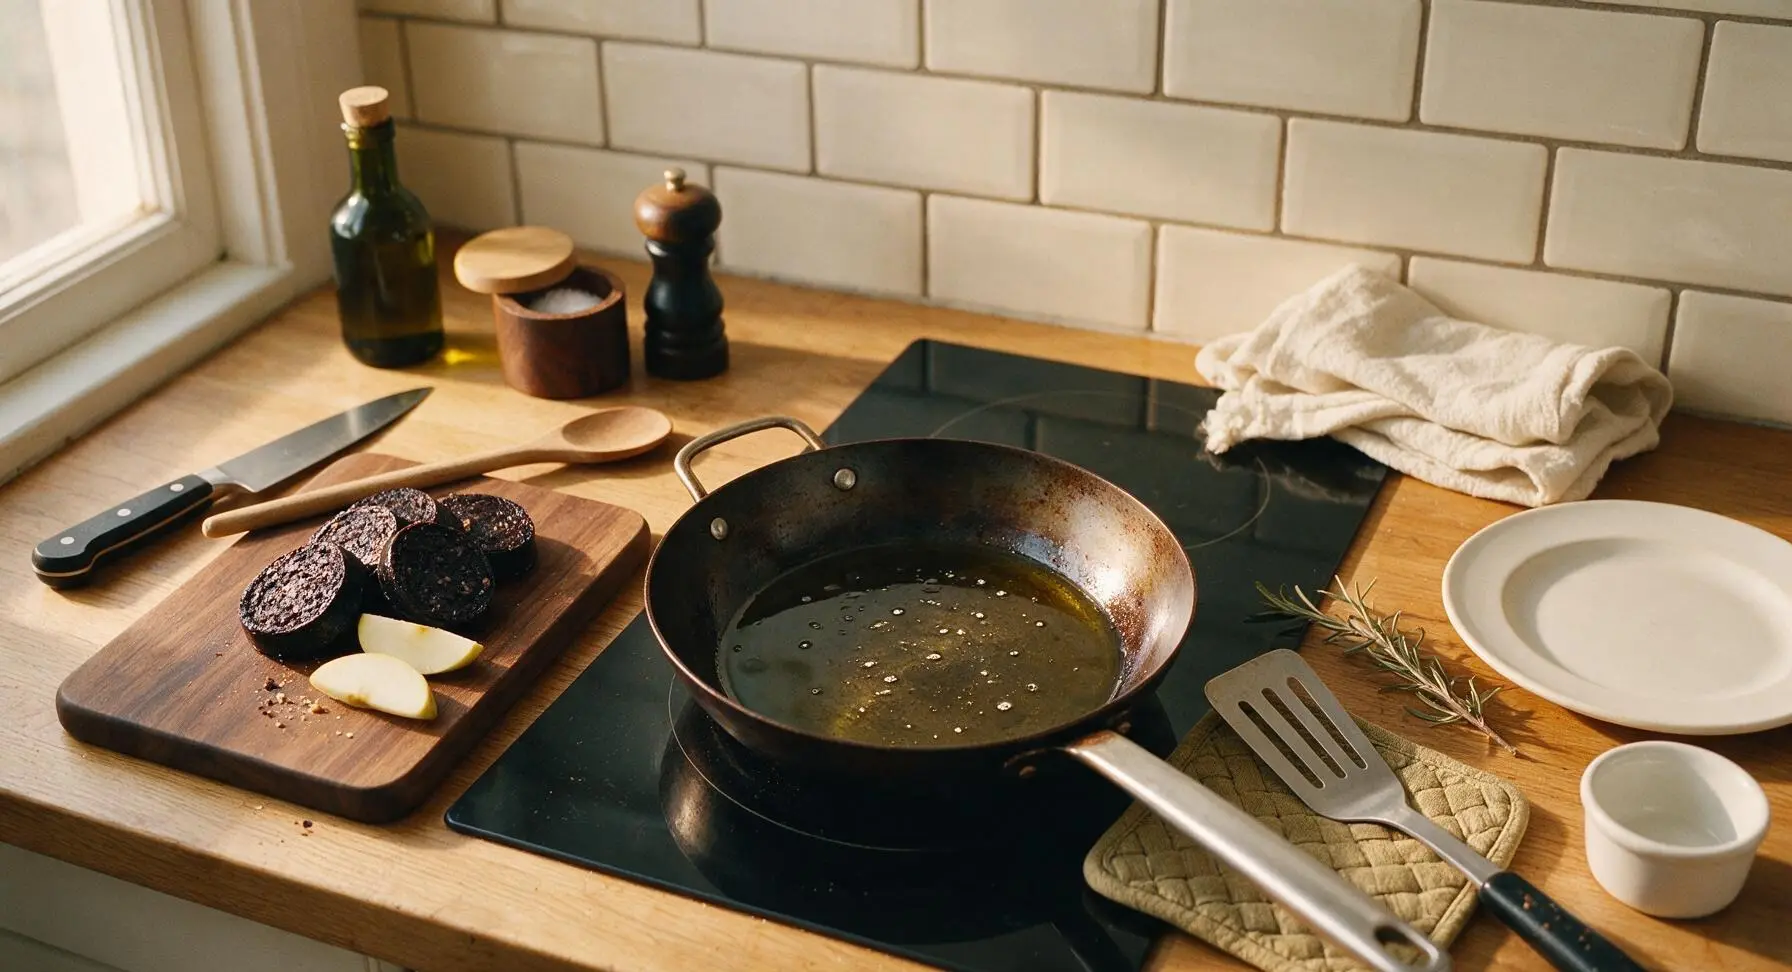
Place the 24cm seasoned carbon steel frying pan on the induction cooktop in its fixed position, set heat to medium (160°C/320°F) and let it preheat for 3 full minutes. Add the 1 tablespoon sunflower oil, tilting the pan to coat the base evenly. Wait until the oil just starts to shimmer — do not let it reach smoking point, as this will burn the outside of the pudding before the center warms through. Set the slotted stainless steel turner on the khaki cotton pot holder in its fixed position beside the pan.
Step 2
step2:Preheat Pan to Medium
3

Add Pudding to Pan

Once the oil is shimmering, lay the black pudding slices in the pan in a single layer, leaving 1cm of space between each slice. Do not overcrowd the pan; cook in 2 batches if your pan is too small to fit all slices with adequate space between them. Do not press down on the slices, and do not move them for the first 3 minutes of cooking — this allows the casing to crisp fully and prevents slices from breaking apart.
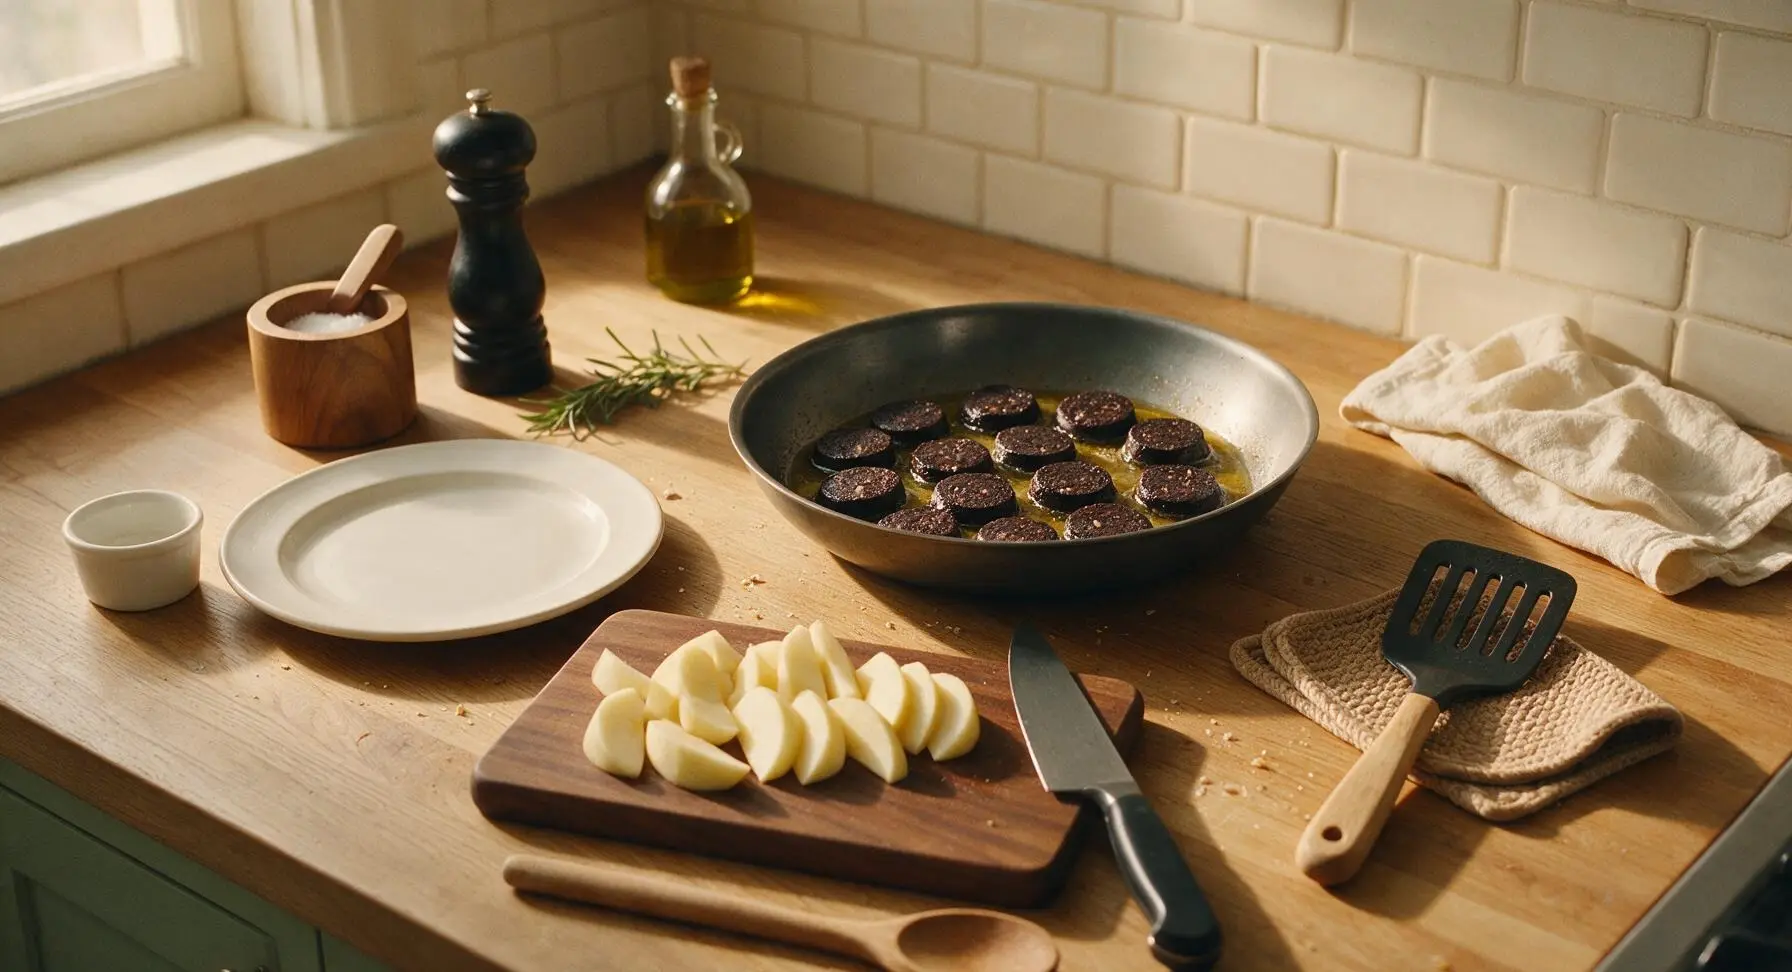
Step 3
step3:Add Pudding to Pan
4

Cook First Side Crisp

Let the pudding cook undisturbed on the first side for exactly 3 minutes at medium heat. You will see the edges touching the pan turn a deep, dark golden brown and crisp up, and the top 1/3 of each slice will look slightly opaque and warmed through. Resist the urge to nudge or flip the slices early, as this will tear the crisping casing and cause the soft interior to leak out.
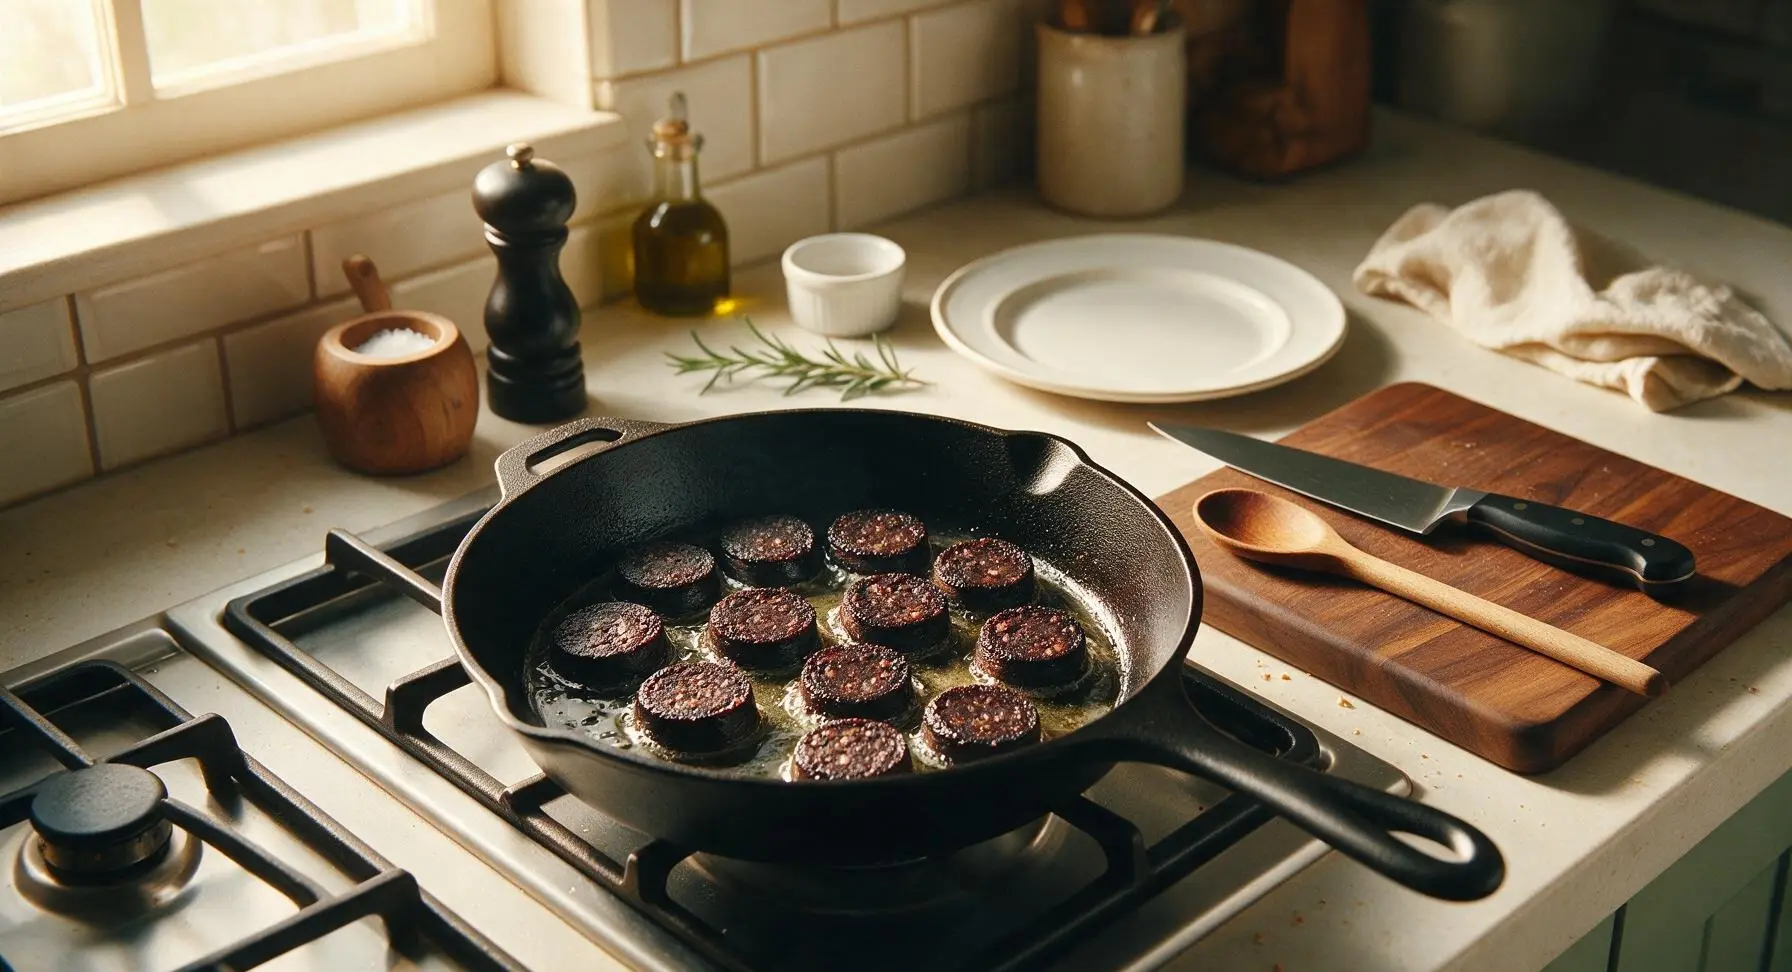
Step 4
step4:Cook First Side Crisp
5

Flip Slices, Add Apple

Using the slotted turner, gently turn each pudding slice over, taking care not to break the crisp outer crust. Tuck the prepared apple wedges into the gaps between the pudding slices in the pan. Cook for a further 2 minutes on the second side, until the second side is equally crisp and the apple wedges are slightly softened and caramelized at the edges. The center of each pudding slice will be soft and heated through to 75°C/167°F when tested with a food thermometer, with no cold raw core.
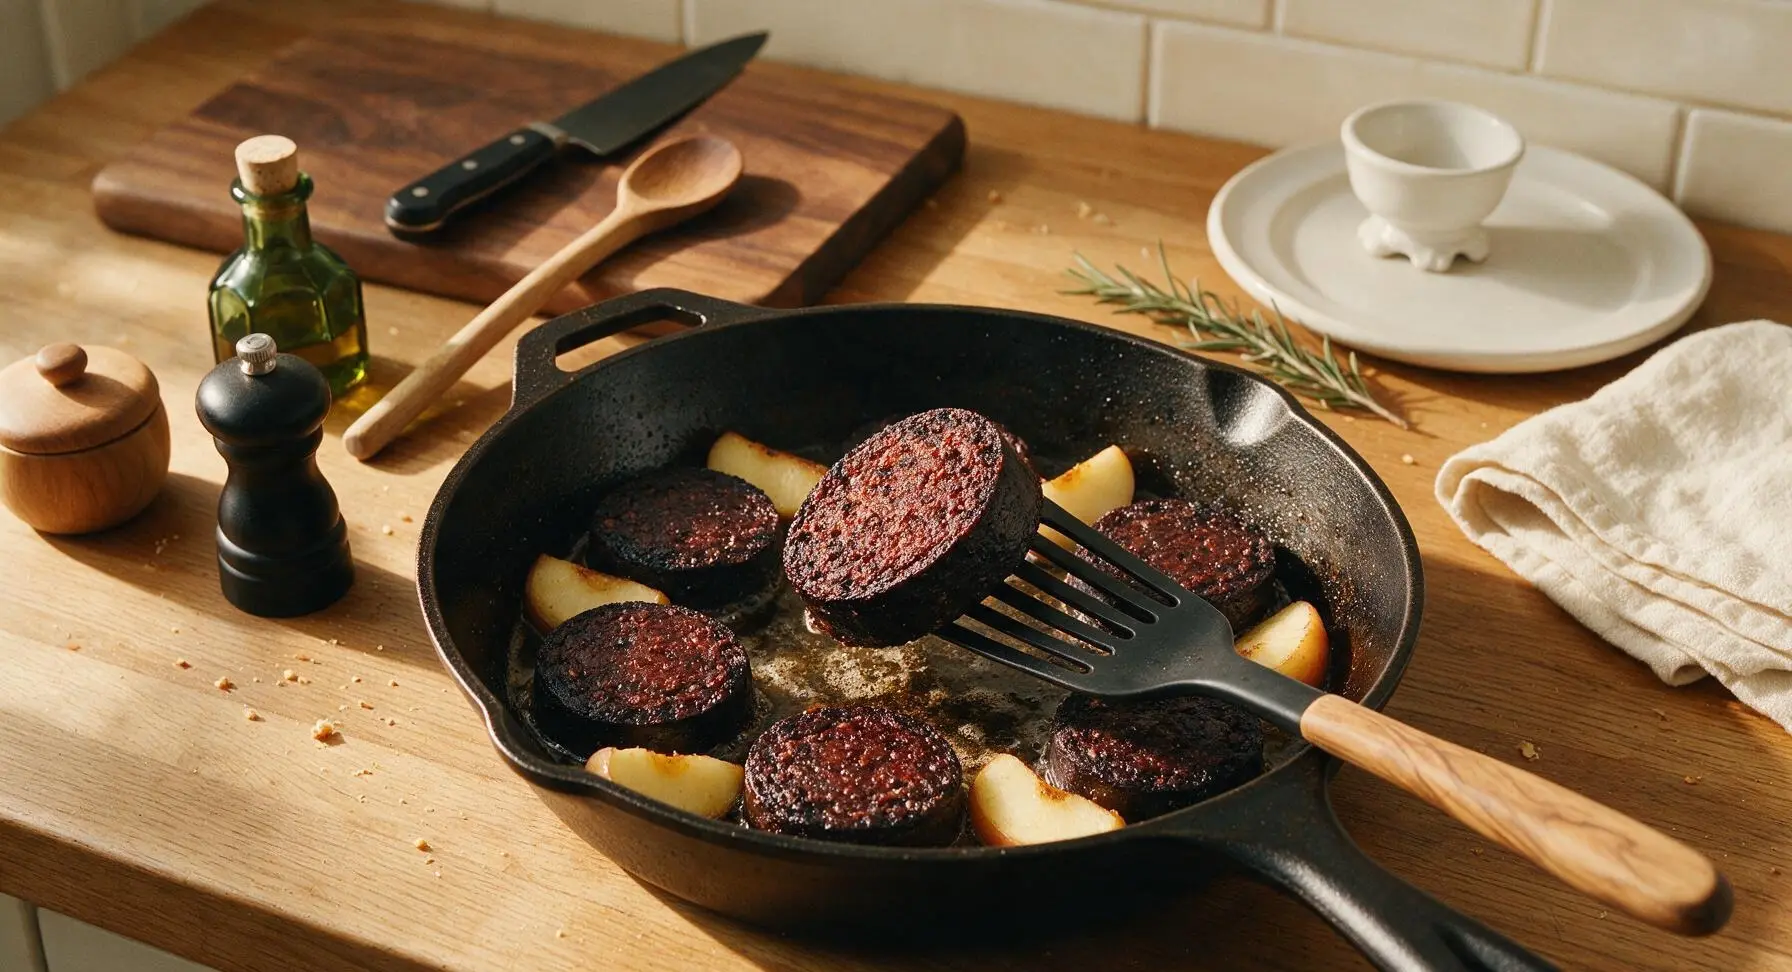
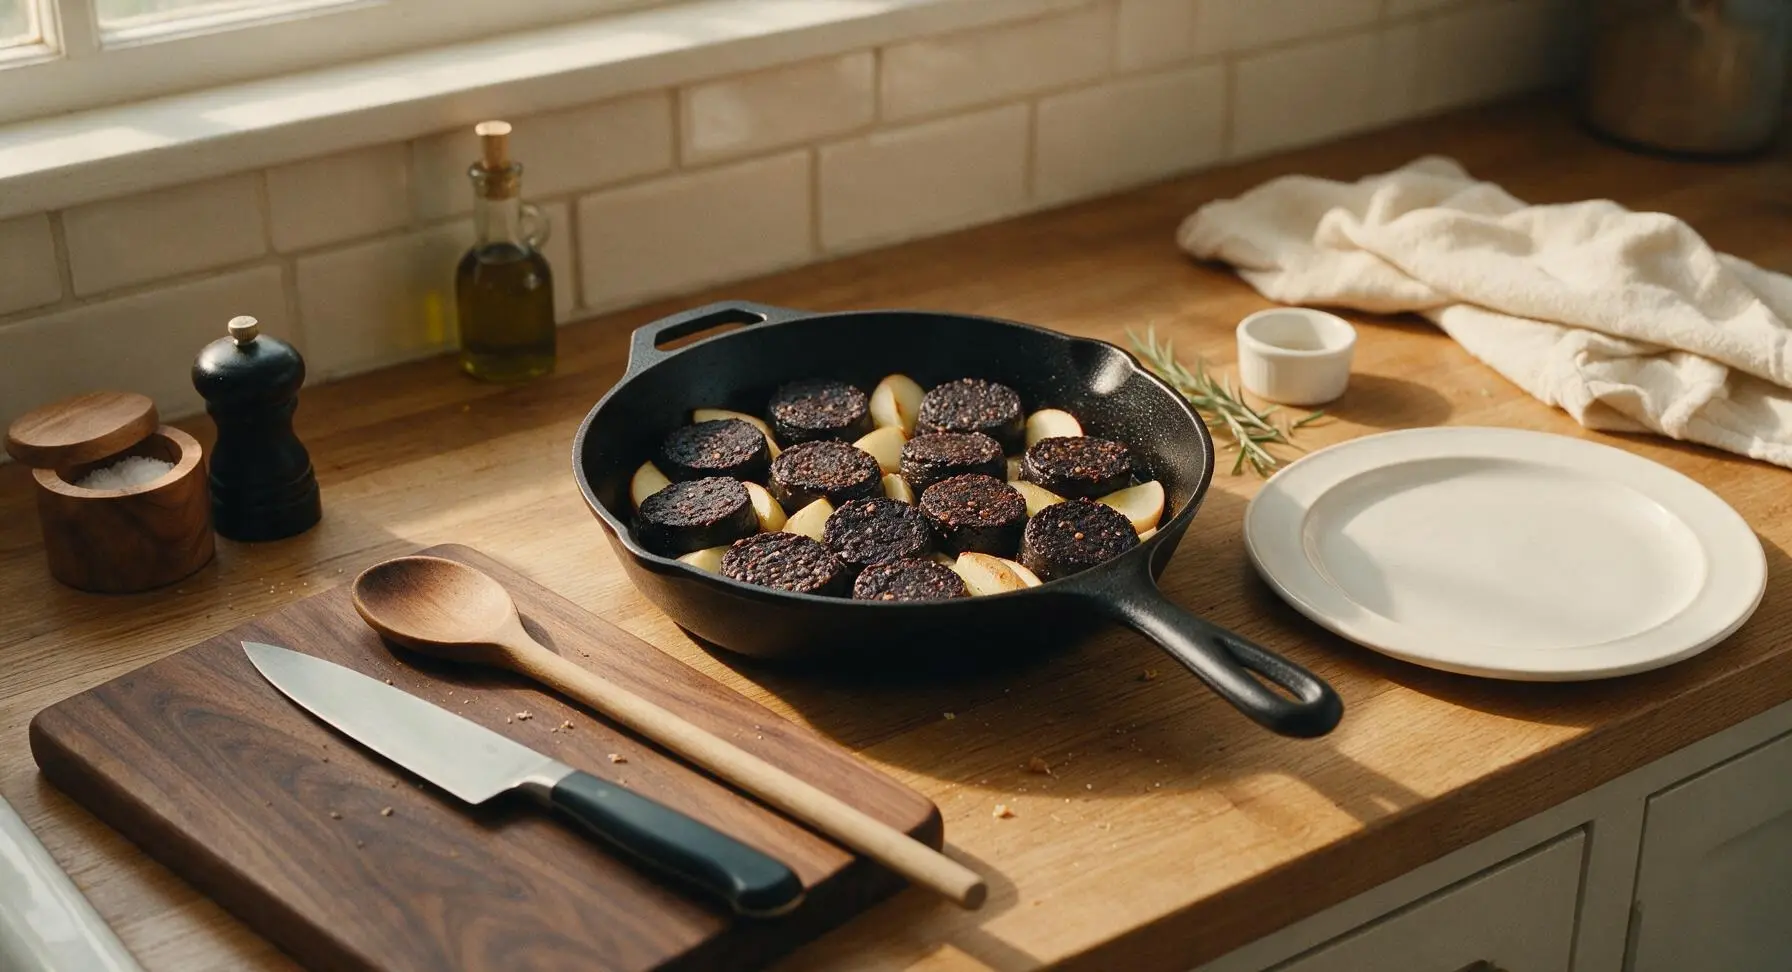
Step 5
step5:Flip Slices, Add Apple
Step 5
step5:Flip Slices, Add Apple
6

Season Lightly, Transfer

Once the second side is crisp (after 2 minutes of cooking), turn off the heat. Sprinkle the pudding and apple with the fresh lemon thyme leaves, a tiny pinch of flaky sea salt, and a light crack of freshly ground black pepper. Use the slotted turner to transfer the slices and apple to the warm off-white stoneware plate, and let them rest for 1 full minute before serving. This short rest allows the rendered fat in the pudding to set slightly, so slices hold their shape instead of oozing when cut.
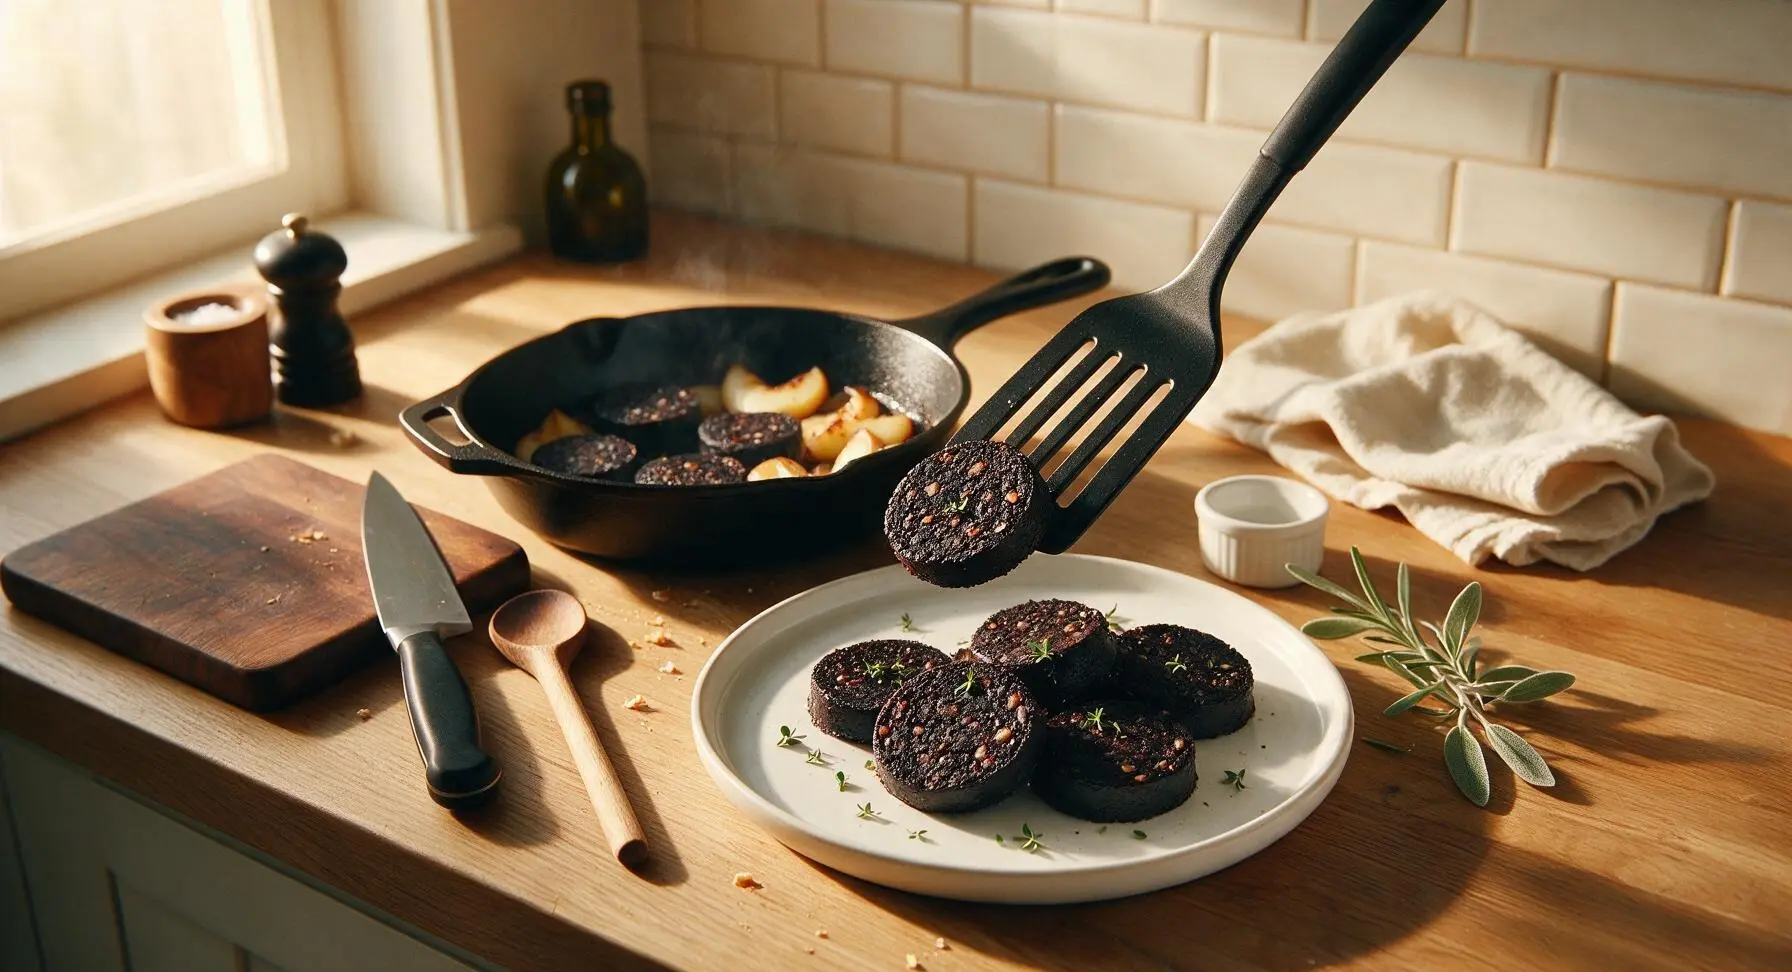
Step 6
step6:Season Lightly, Transfer
7

Rest, Then Serve

After the 1 minute rest, arrange the black pudding slices in a loose fan on the stoneware plate, tucking the caramelized apple wedges between them. Add a light extra sprinkle of fresh thyme for color, and serve immediately while the outer crust is crisp and the center is soft and creamy. Do not cover the pudding while resting, as trapped steam will make the crisp skin turn soggy quickly.
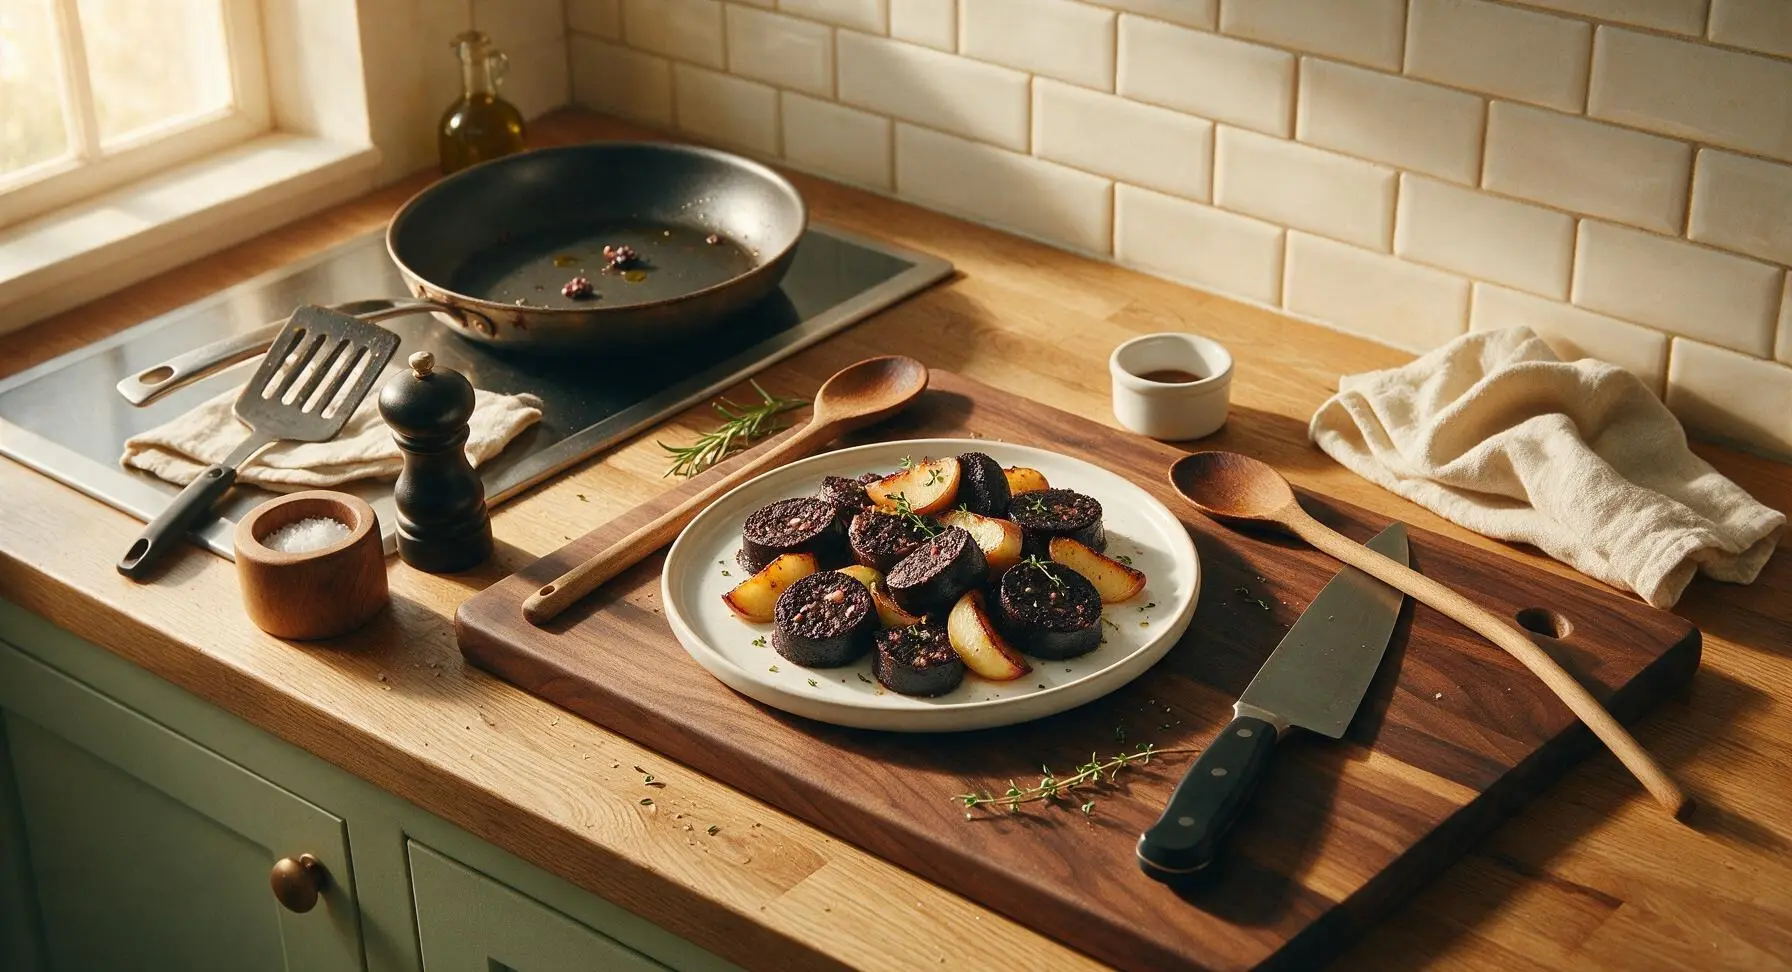
Step 7
step7:Rest, Then Serve

Tips

1.Never cook black pudding over high heat: the natural casing will burst, the outside will burn before the center warms through, and high heat will cause the soft interior fat to render out too quickly, leaving dry, crumbly slices. Medium heat is ideal for building a crisp crust without overcooking the center.
2.Do not peel the natural casing off before cooking: the casing holds the soft pudding together during cooking and creates that signature shatteringly crisp outer layer. Peeling it will cause slices to break apart and turn mushy as they cook.
3.Avoid pressing down on pudding slices with a spatula while cooking: this squeezes out the moist, flavorful fat and soft interior, leaving you with dense, dry slices instead of the ideal creamy, rich center. Let slices cook undisturbed for the best texture.


✨ You May Also Like

Breakfast
🍜 United States

Crisp-edged, fluffy lard griddle cakes are a nostalgic homestyle staple, with rich savoriness from rendered lard, perfect topped with maple syrup or savory gravy.

⏱️ 25 minuteBreakfast ★ 4.8
Breakfast
🍜 United States

Flaky, buttery homemade buttermilk biscuits smothered in creamy, peppery pork sausage gravy: a beloved, hearty Southern American comfort food classic.

⏱️ 35 minuteBreakfast ★ 4.8
Breakfast
🍜 United States

Golden, custardy brioche stuffed with sweet cream cheese and fresh berries, pan-fried to crisp perfection. An indulgent, cozy breakfast perfect for slow weekend mornings.

⏱️ 30 minuteBreakfast ★ 4.7
Breakfast
🍜 United States

Flaky, buttery Southern-style biscuits stuffed with savory salty country ham, a portable, satisfying classic perfect for casual on-the-go meals.

⏱️ 25 minuteBreakfast ★ 4.8
Breakfast
🍜 United States

Iconic puffy baked pancake popularized in Seattle, with crisp golden edges and soft custardy center, served warm with classic sweet toppings.

⏱️ 35 minuteBreakfast ★ 4.6
Breakfast
🍜 United States

Fluffy, golden pancakes studded with juicy peak-summer mixed berries, drizzled with maple syrup for a bright, comforting, crowd-pleasing family breakfast.

⏱️ 25 minuteBreakfast ★ 4.7

best way to cook black pudding:Frequently Asked Questions

1.What type of black pudding holds up best for pan-frying without falling apart? ▾
Always reach for premium ring black pudding in a natural casing for this recipe. The natural casing creates that signature shatteringly crisp crust and keeps the soft, creamy interior intact while it cooks. Avoid sliced, casing-free black pudding, which tends to crumble easily and won’t develop that ideal textural contrast no matter how carefully you cook it.
2.Can I use a different cooking fat if I don’t have sunflower oil or lard? ▾
You can swap sunflower oil for any neutral, high-smoke-point oil like canola or avocado oil if needed, though lard will give you the absolute crispiest crust. Skip extra-virgin olive oil or plain butter here—their low smoke points will burn before the pudding crisps, leaving a bitter, off-flavor that clashes with the rich, savory center.
3.Why is caramelized apple paired with pan-fried black pudding? ▾
The tart-sweet caramelized Braeburn apple is the ideal balance for black pudding’s deep, rich, savory flavor. It cuts through the fatty, dense, well-seasoned center of the pudding so each bite doesn’t feel heavy, and its soft, jammy cooked texture pairs perfectly with both the crisp crust and creamy middle of the fried pudding.
4.Can I use a different apple variety instead of Braeburn? ▾
Braeburn is ideal because it holds its shape well when caramelized and has a balanced tart-sweet profile, but you can swap it for Honeycrisp, Granny Smith, or Pink Lady if that’s what you have. Skip very soft, mealy apples like Red Delicious, which turn mushy instead of developing that nice, lightly caramelized, tender bite.
5.How thick should I slice black pudding to get the perfect texture? ▾
Aim for ½-inch thick slices, cut straight from the ring with the casing left fully intact. Slices that are too thin will overcook and turn dry and crumbly before the crust crisps, while slices thicker than ¾ of an inch won’t heat all the way through to that perfect creamy center before the outside burns.
6.Do I need to peel the casing off black pudding before frying it? ▾
Absolutely do not peel the natural casing off your ring black pudding before frying. That casing is what crisps up to that iconic shatteringly crisp texture, and it acts as a barrier to keep the soft, seasoned interior from oozing out into the pan as it cooks. The cooked casing is totally edible and adds key textural contrast.
7.How hot should my pan be to get a crisp crust without burning the pudding? ▾
Heat your pan over medium heat with your oil or lard until it shimmers, but before it starts to smoke. If the pan is too hot, the outside will char black before the center warms through to that creamy consistency; if it’s too low, the pudding will absorb excess oil, turn greasy, and never crisp properly.
8.How long do I need to cook each side of the black pudding? ▾
Cook each slice for 3 to 4 minutes per side, without moving it around once you set it in the pan. That undisturbed cook time lets the casing crisp up fully, and it’s just long enough to warm the center to that soft, creamy, well-seasoned sweet spot without overcooking the interior into a dry, crumbly mess.
9.Should I press down on the black pudding with a spatula while it cooks? ▾
Resist the urge to press down on the black pudding slices with your spatula as they cook! Pressing squeezes out all the soft, flavorful fat and seasoned interior from the casing, leading to a dry, crumbly final texture instead of that lush, creamy center. Only flip slices once when the first side is fully crisp.
10.What does lemon thyme add, and can I swap it for regular thyme? ▾
Fresh lemon thyme adds a bright, citrusy, herby note that cuts through the richness of the black pudding and complements the sweet-tart caramelized apple perfectly. You can swap it for regular fresh thyme if that’s what you have, just add a tiny pinch of fresh lemon zest to the pan to mimic that bright, zesty edge.
11.How do I tell when the black pudding is perfectly done? ▾
You’ll know it’s perfect when the outside is a deep golden, crisp brown on both sides, and the center gives slightly when you press it gently with a spatula—similar to the give of a perfectly cooked medium burger. If the center feels hard, you’ve overcooked it; if the crust hasn’t browned after 4 minutes, nudge the heat up slightly.
12.Can I cook this black pudding in an air fryer instead of pan-frying? ▾
You can get decent results in an air fryer if you’re short on stovetop space: spritz the slices lightly with oil, cook at 375°F for 6 minutes, flipping halfway through. That said, pan-frying in lard or sunflower oil will give you a far more even, shatteringly crisp crust and richer, creamier center than air frying can deliver.
13.Why does my black pudding turn out greasy instead of crisp? ▾
Greasy black pudding almost always comes from two common mistakes: your pan wasn’t hot enough when you added the slices, so the pudding absorbed oil instead of searing, or you used too much oil in the pan. You only need 1 to 2 tablespoons of oil total—just enough to thinly coat the pan bottom before heating.
14.When should I add the flaky sea salt, and can I use regular table salt? ▾
Sprinkle the flaky sea salt over the hot black pudding and caramelized apples right as you take them out of the pan, so the salt sticks and adds that perfect bright, briny crunch. You can use table salt if that’s all you have, but use half the amount—table salt is much denser, and it will over-salt the dish if you match volumes.
15.Can I make this pan-fried black pudding ahead of time for a brunch spread? ▾
Black pudding is best served immediately after cooking, when the crust is at its crispiest and the center is warm and creamy. If you’re prepping for brunch, you can slice the pudding and cut your apple ahead of time, but wait to cook both until 10 minutes before serving—reheated black pudding gets dry and loses its signature crisp crust fast.
16.What other sides pair well with this dish besides caramelized apple? ▾
Beyond the caramelized Braeburn apple, this black pudding pairs beautifully with runny fried eggs, buttered sourdough toast, sautéed leafy greens, or crispy roasted potatoes for a full, hearty brunch. Keep sides simple and bright to balance the pudding’s richness, and skip heavy, creamy sauces that will overpower its subtle seasoned flavor.

Comments (6)

1 week ago

Tried this for my weekly meal prep this week and wow, it couldn’t have been easier! 10 minutes total cook time? No way I thought good black pudding took way longer. I paired it with sautéed apples and scrambled eggs for quick weekday breakfasts. Quick question though — can I cook these ahead and reheat in the air fryer without them getting tough?

5 days ago

I reheated mine in the air fryer at 350 for 3 minutes earlier this week! Came out almost as crispy as fresh, no rubbery texture at all.

3 days ago

Great question! We actually recommend reheating in the air fryer just like CoffeeAndCrumpets mentioned, or in a dry pan over low heat for 2-3 minutes. Avoid microwaving if you can, that’s what makes them tough!

3 days ago

Brought a platter of this pan-fried black pudding to our neighborhood potluck last weekend and people were hovering over the plate! I was a little nervous because a few folks said they’d never tried black pudding before, but every single slice was gone before I even got to try the potato salad someone brought. Only note is I added a tiny sprinkle of smoked paprika before flipping, chef’s kiss.

2 days ago

Love the smoked paprika add! That’s such a smart touch to amp up the savoriness. So glad it was a hit at the potluck — that’s the best compliment!

5 days ago

Super easy recipe, perfect for quick camp breakfasts too! I made this on my camp stove last weekend while we were out in the Rockies, cooked up perfectly in 10 minutes just like the recipe said. Went great with hash browns and camp coffee. Will definitely be making this on all my future trips.

2 hours ago

Wait, I’ve been cooking black pudding on too high heat this whole time?! Followed the medium heat tip here and didn’t poke the slices while they cooked, and they didn’t fall apart on me at all! Total game changer, I used to lose half the slice to the pan every time. Why didn’t I think of that before?

30 minutes ago

Same! I used to crank the heat to get it crispy faster and it would just crumble to bits. The medium heat trick works so well, right?

5 minutes ago

So glad that tip worked for you! Resisting the urge to poke or flip too early is the secret to keeping those slices intact while getting that perfect crispy crust.

yesterday

OMG, 10 minute cook time is a lifesaver for chaotic school mornings! I threw this together yesterday while the kids were packing their backpacks, served it with toast and fruit, and all three kids loved it so much they asked if we could have it again tomorrow. No fancy ingredients, no complicated steps, exactly what I need for weeknight dinners or quick breakfasts. SO good.

2 weeks ago

First time ever making black pudding at home and I was so nervous I’d mess it up, but this easy recipe made it foolproof! I got perfect crispy edges, no burnt bits, the center was rich and creamy not dry. Served it for brunch with friends and everyone asked for the recipe. Already sent the link to our group chat!

1 week ago

I was also super nervous to try making black pudding for the first time! This recipe was so straightforward, I nailed it on my first try too. My partner said it was better than the pub version we get downtown!



