
british toast
intro
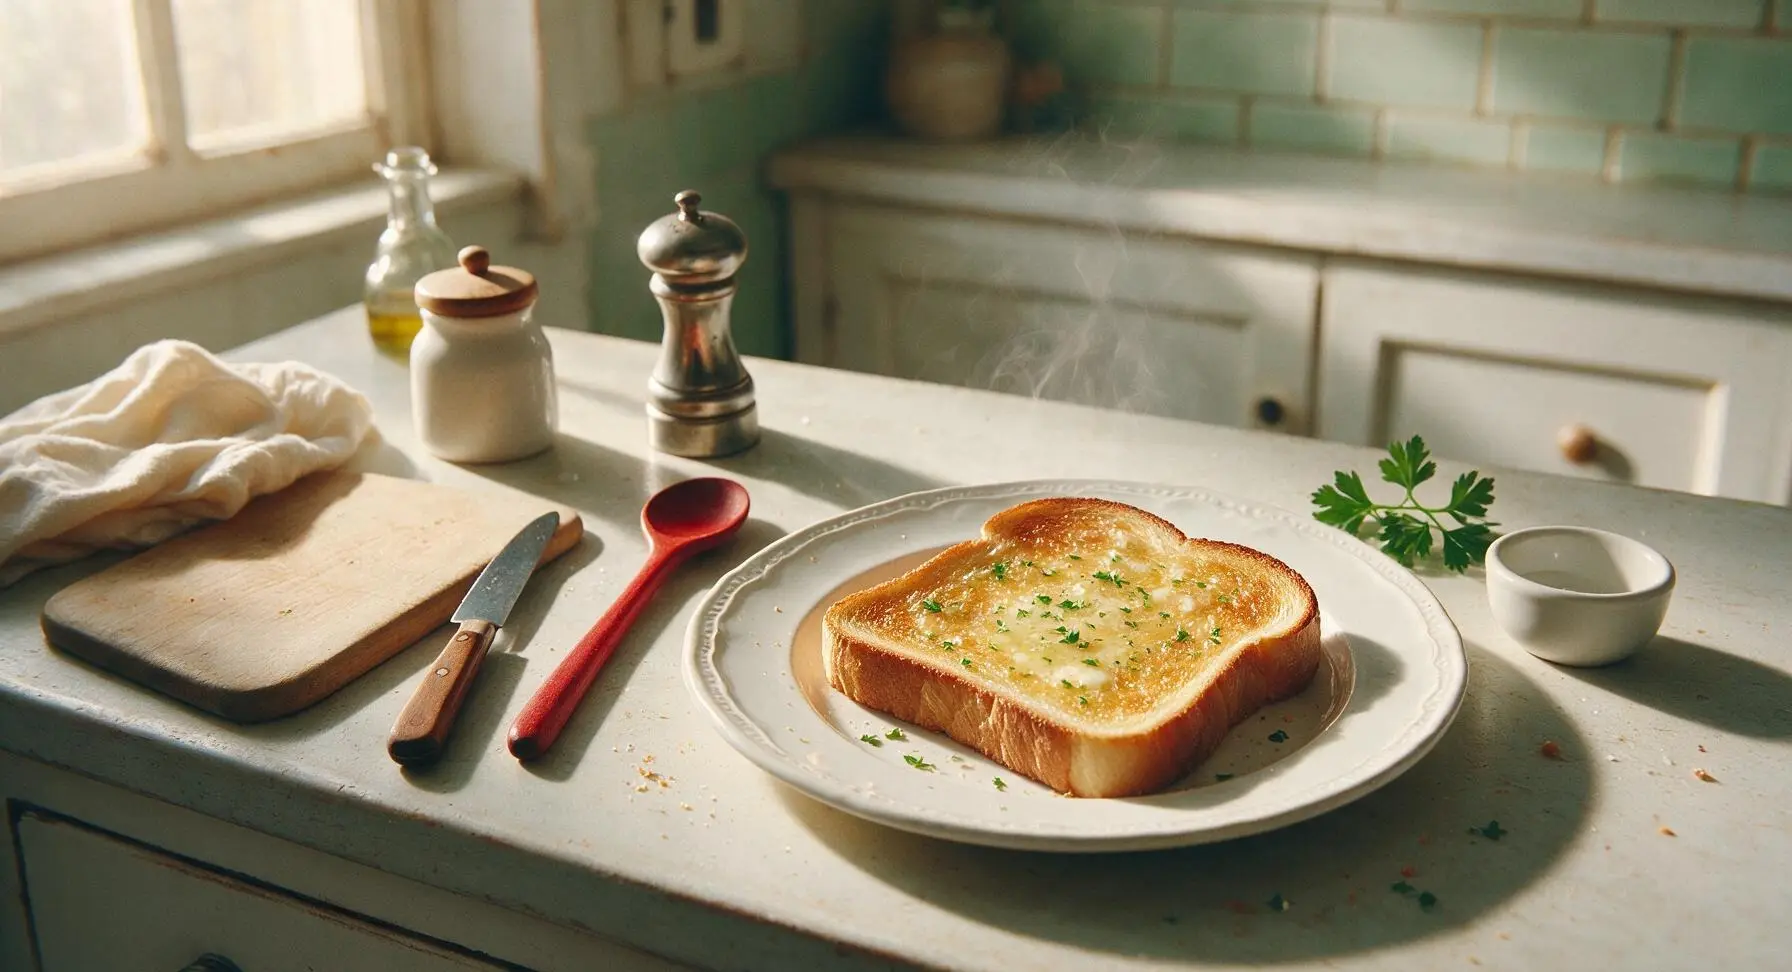
Crisp, golden, buttery classic British toast—thick-sliced, slowly toasted, and soaked with melted butter for a cozy, no-fuss comfort food ready in minutes.
Ingredients
Steps
Slice the farmhouse loaf
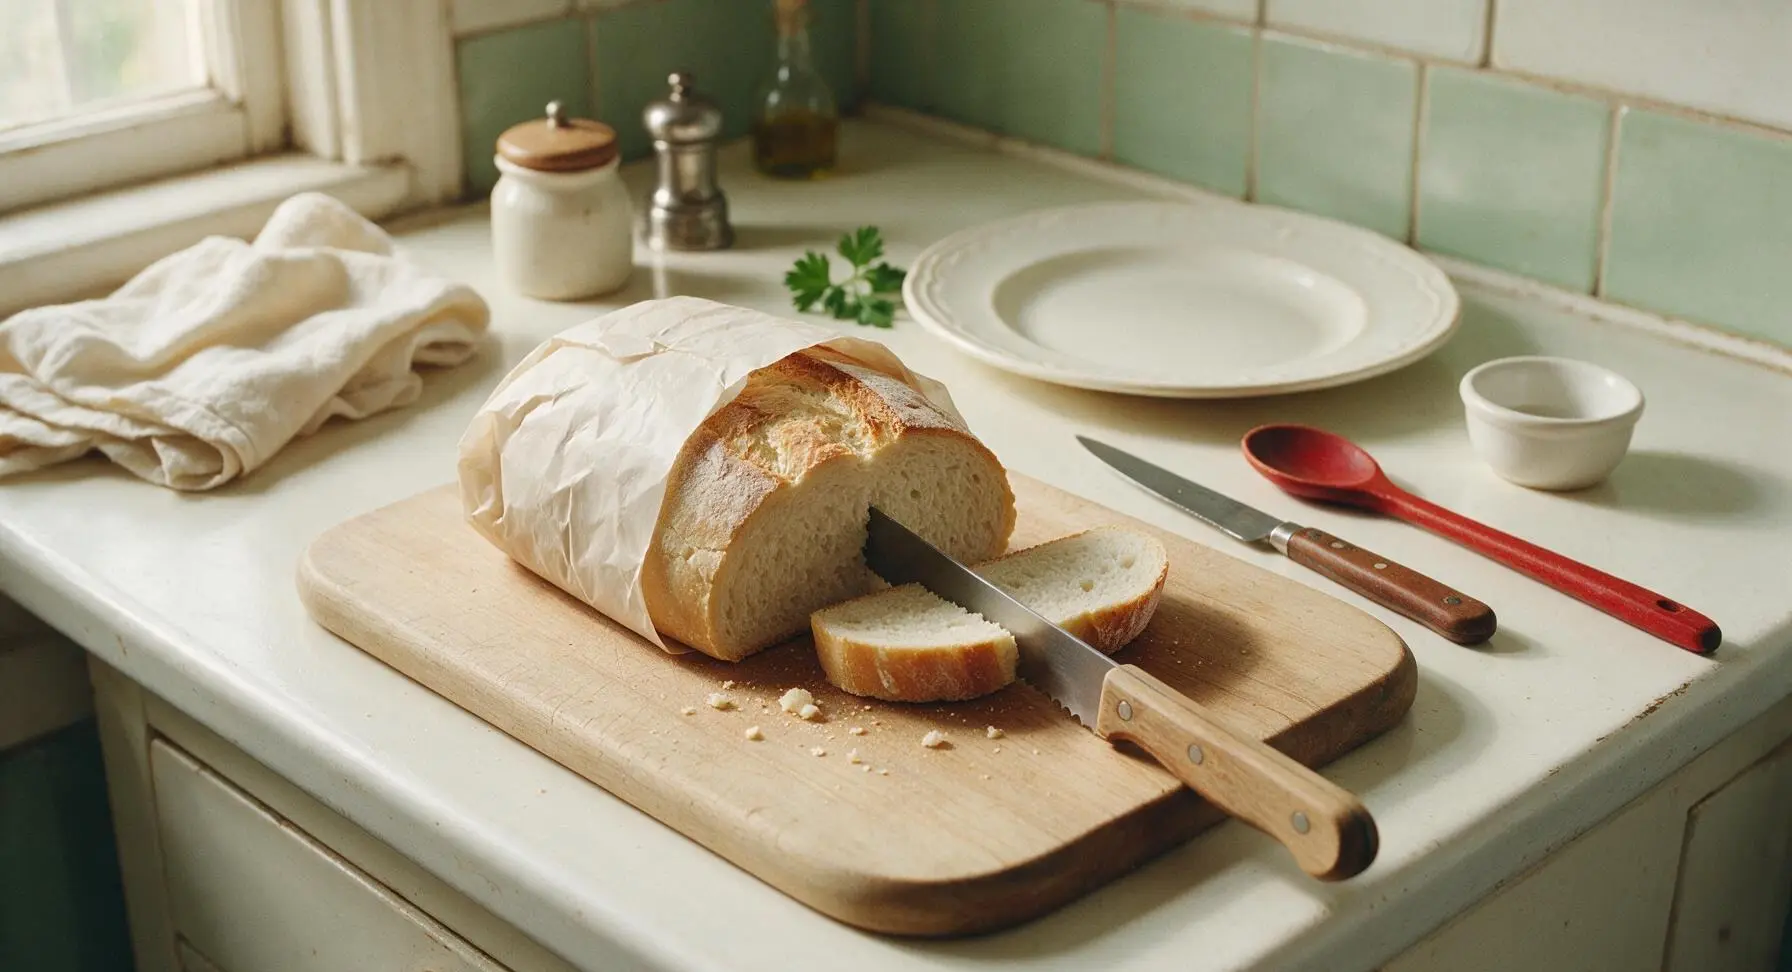
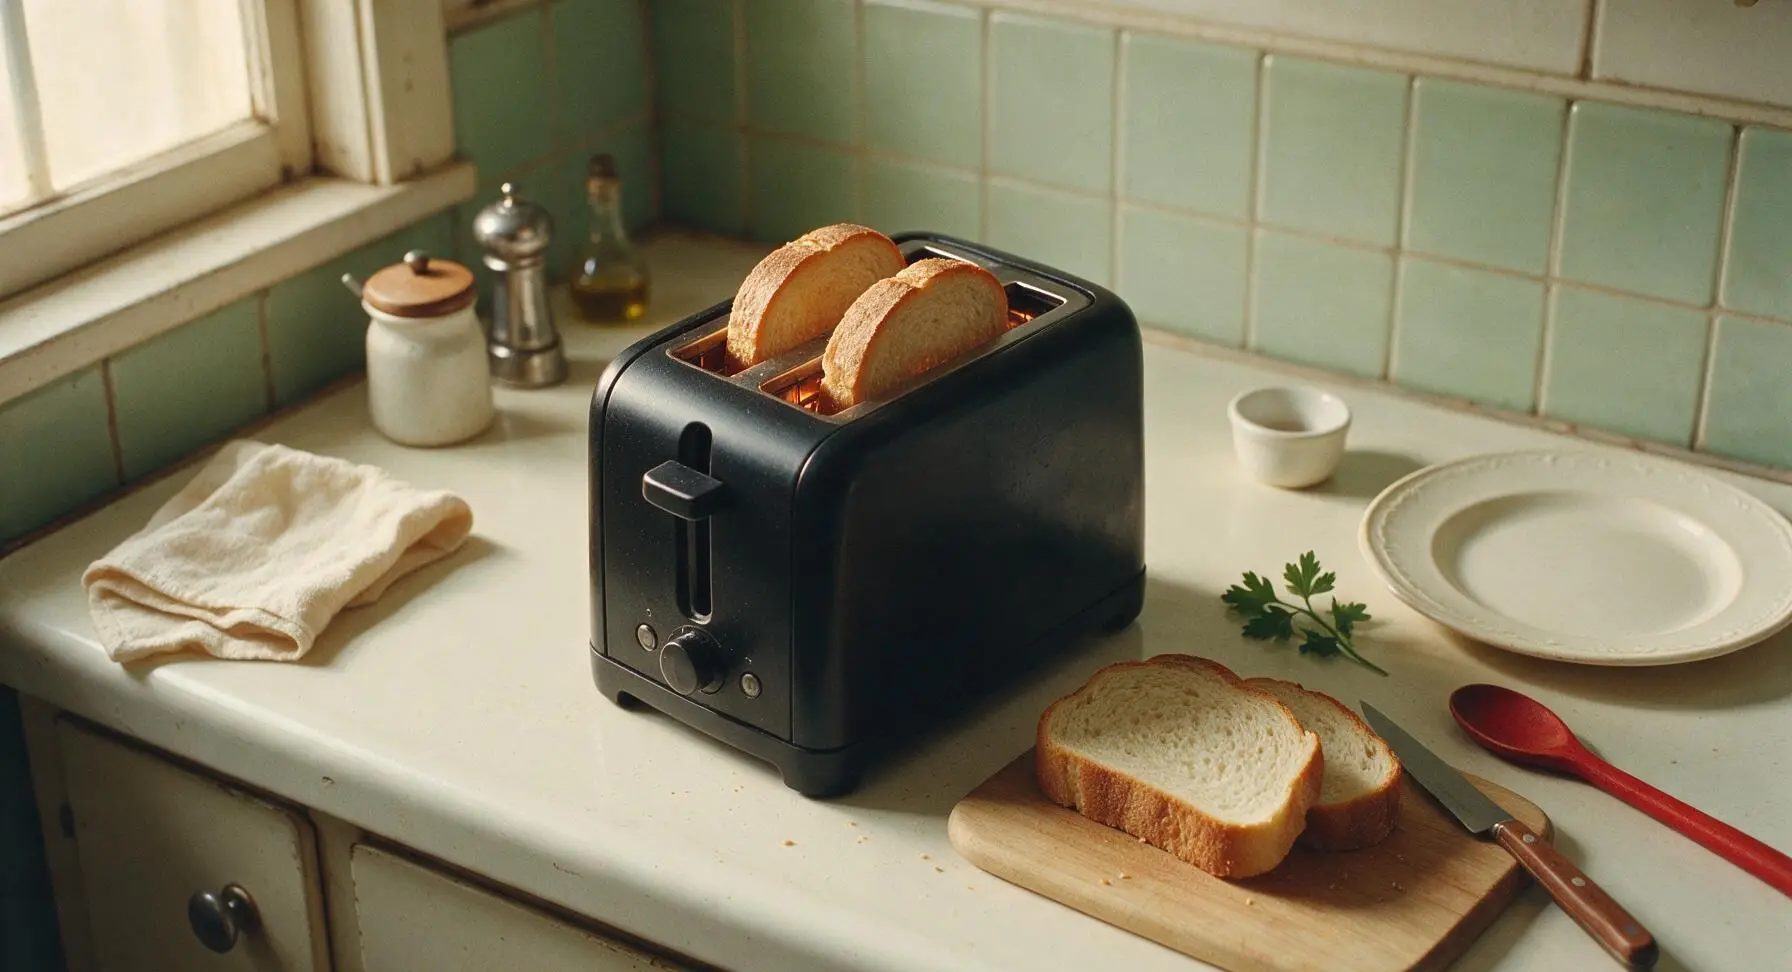
Unwrap the half-loaf of crusty white farmhouse bread, place it cut-side down on the light oak bread board. Using the serrated bread knife, cut 4 even slices each exactly 2.5cm thick, using a gentle sawing motion to avoid compressing the soft inner crumb. Visual cue: Each slice should have an even 5mm thick golden crust around the soft white interior, with no squashed or torn edges. A small number of crumbs will fall onto the board, which is normal.
Adjust toaster settings
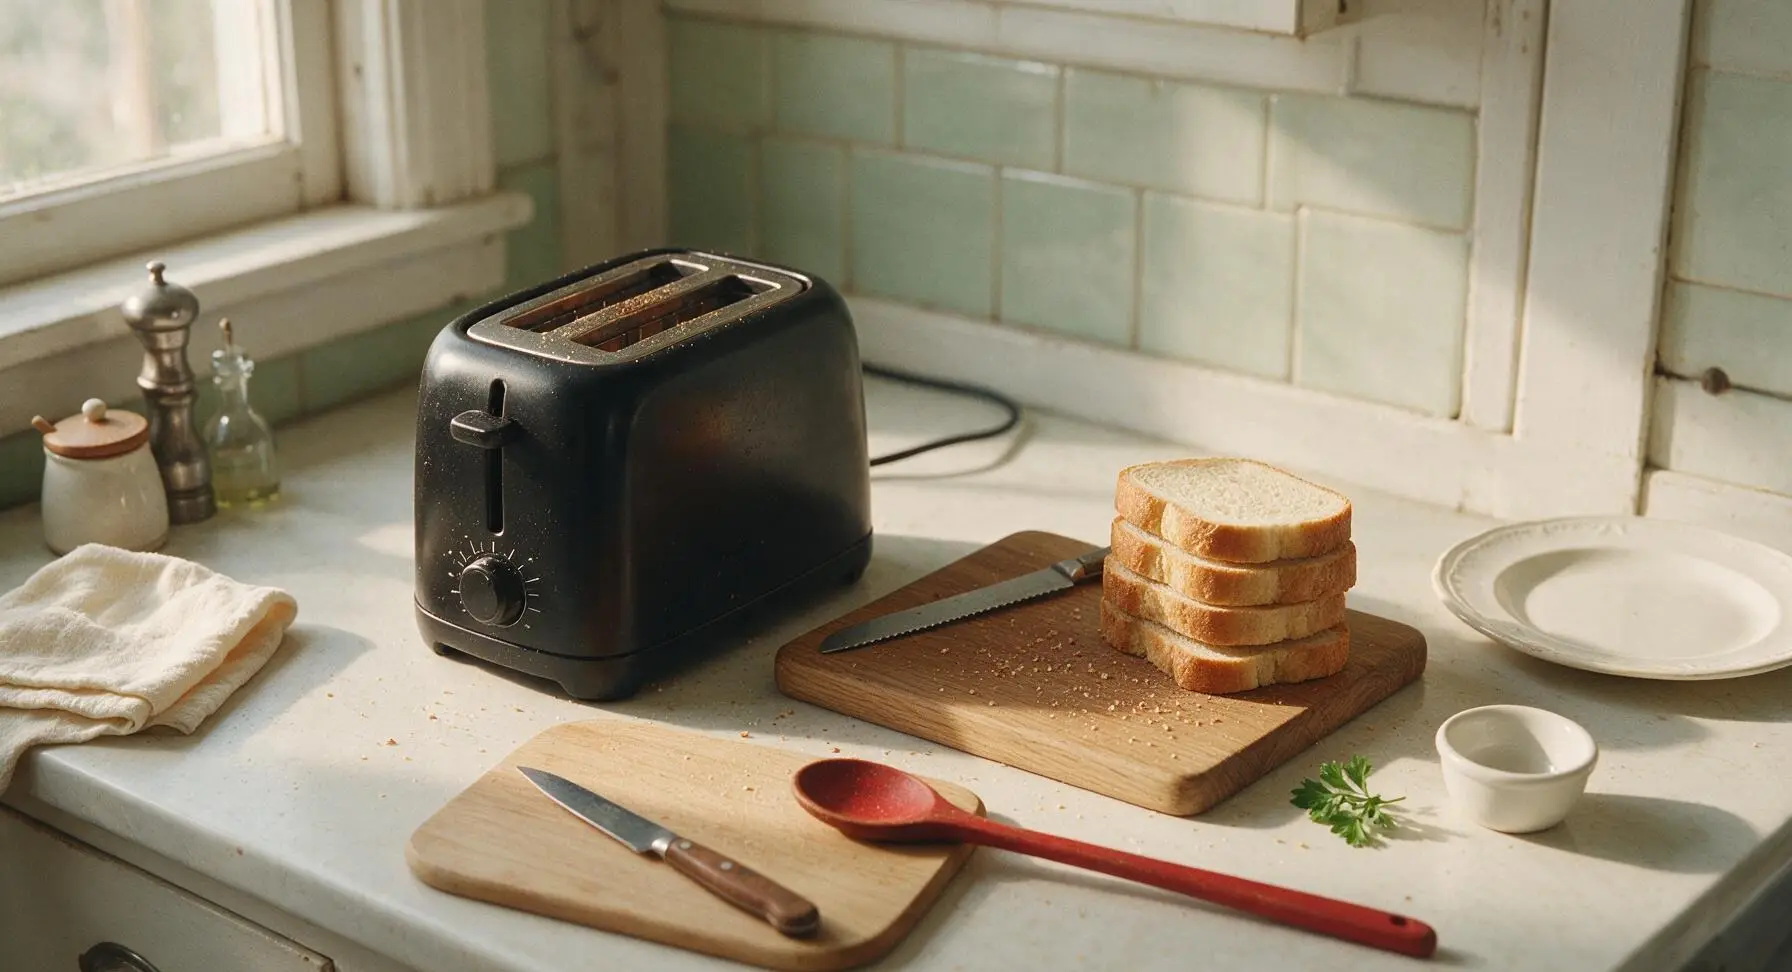
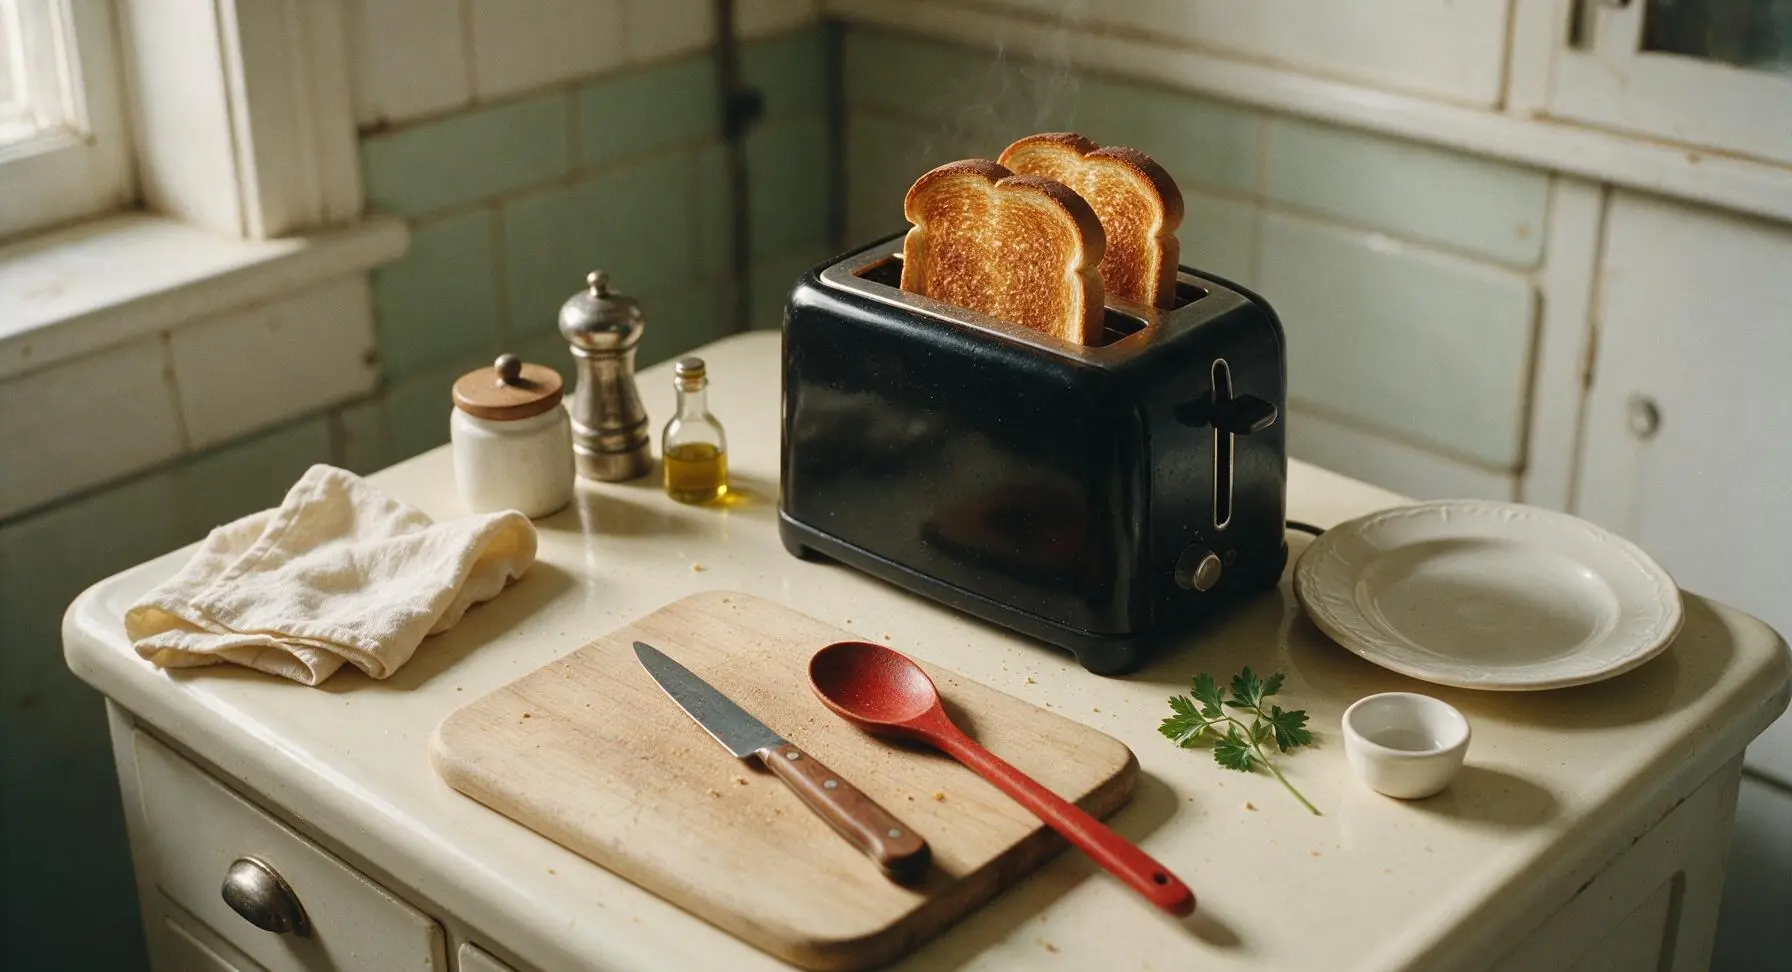
Turn the browning dial on the matte black 2-slice toaster to the medium-high setting (number 4 on a standard 1-6 dial). This setting cooks the bread slowly enough to crisp the center crumb without burning the outer crust, which is key for authentic British toast. Avoid the highest setting, as it will char the surface before the interior dries out, leaving soft, soggy spots.
Toast the bread slices
Place two slices of the cut bread into the toaster slots, press the lever down to start toasting. Cook for 2.5 to 3 minutes, until the slices pop up automatically. Wait 30 seconds to let the toaster heat recover, then toast the remaining two slices using the same setting. Visual cue: Finished toast should be a deep even golden brown across the entire cut surface, with slightly darker, crisp crust edges, no pale soft spots remaining on the crumb.
Butter hot toast slices
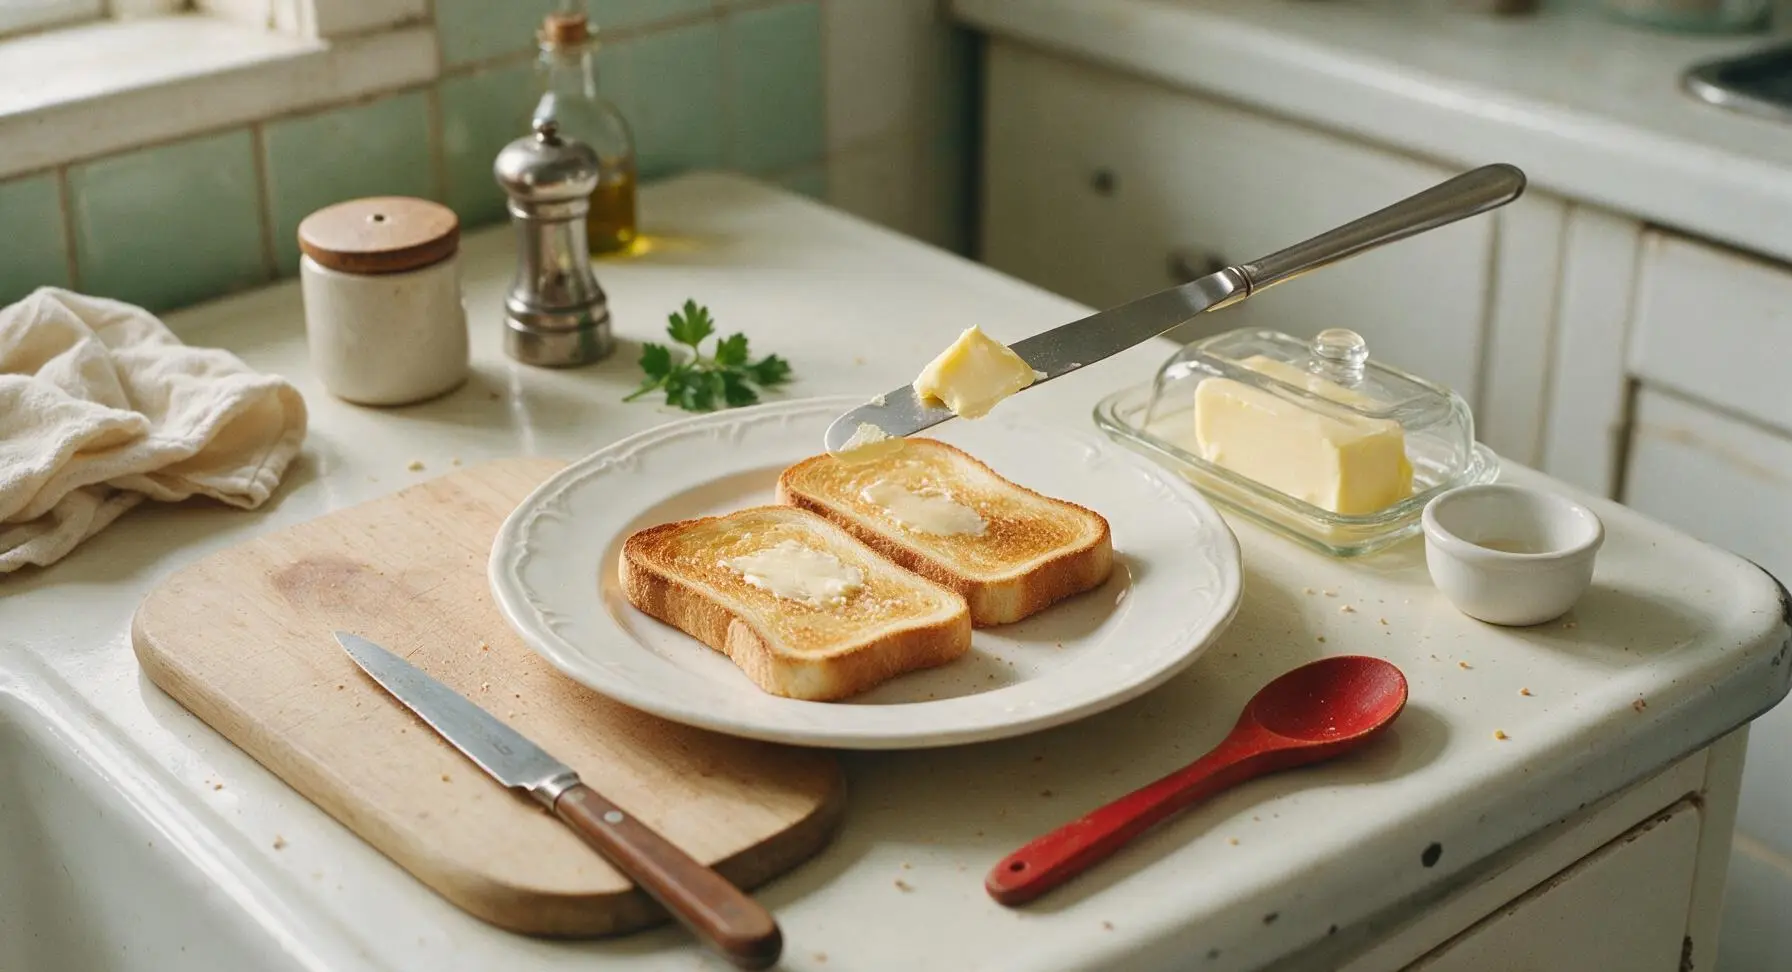
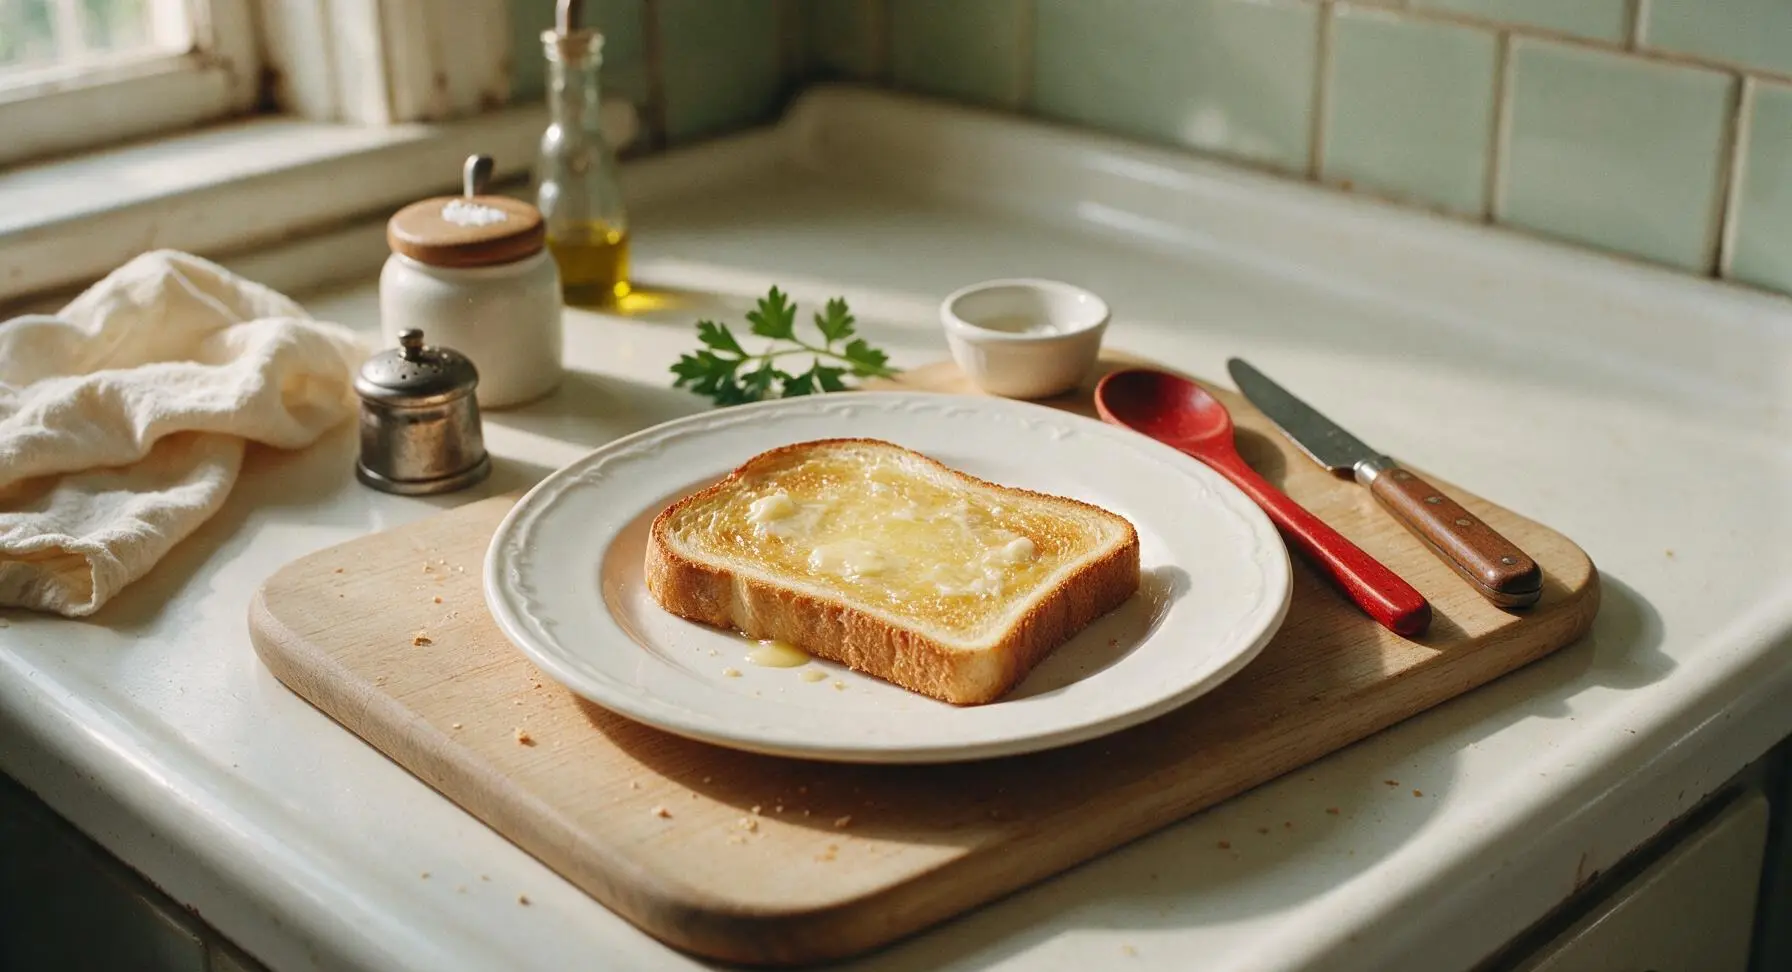
As soon as each batch of toast finishes toasting, transfer the hot slices directly to the top matte cream ceramic side plate. Use the stainless steel butter knife to spread 1/2 tablespoon of salted butter evenly across the entire surface of each hot slice, all the way to the crust edges. The residual heat from the toast will melt the butter completely, so it seeps into the crumb instead of sitting in thick clumps on the surface.
Add flaky sea salt
After buttering all four slices, sprinkle a tiny pinch of flaky sea salt evenly across the surface of each buttered slice. The salt cuts through the richness of the butter and amplifies the nutty, toasty flavor of the bread. Do not over-salt, as the salted butter already contributes a salty base.
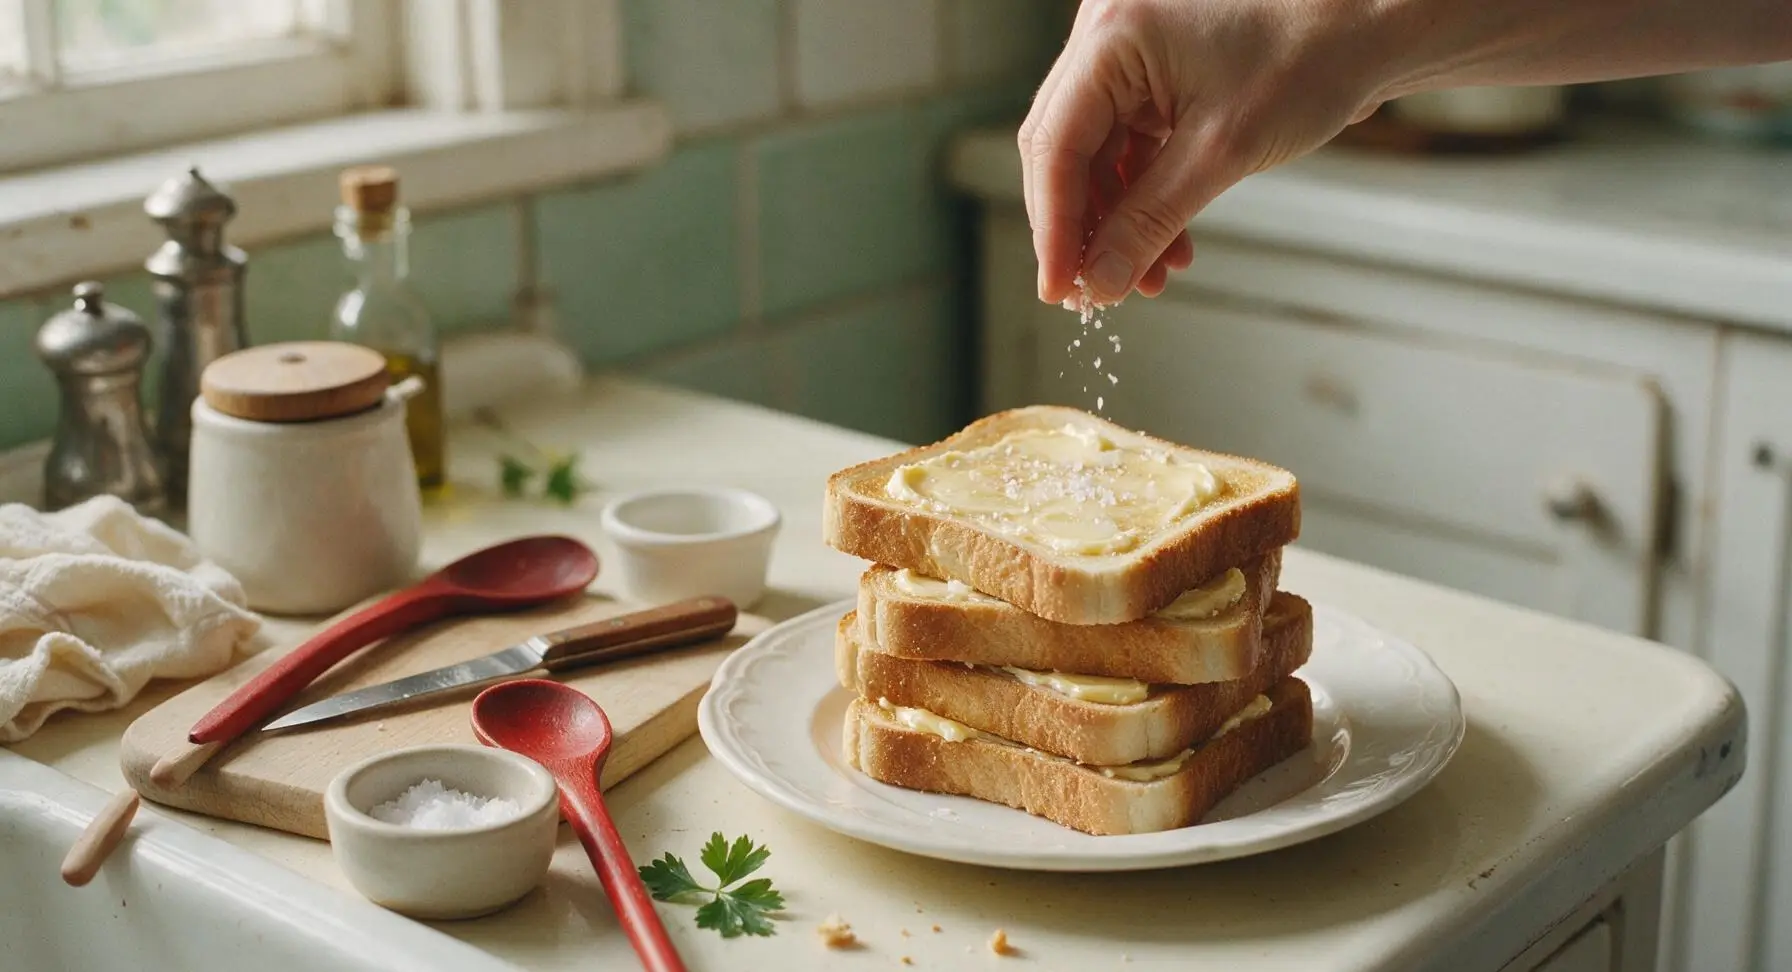
Plate and serve warm
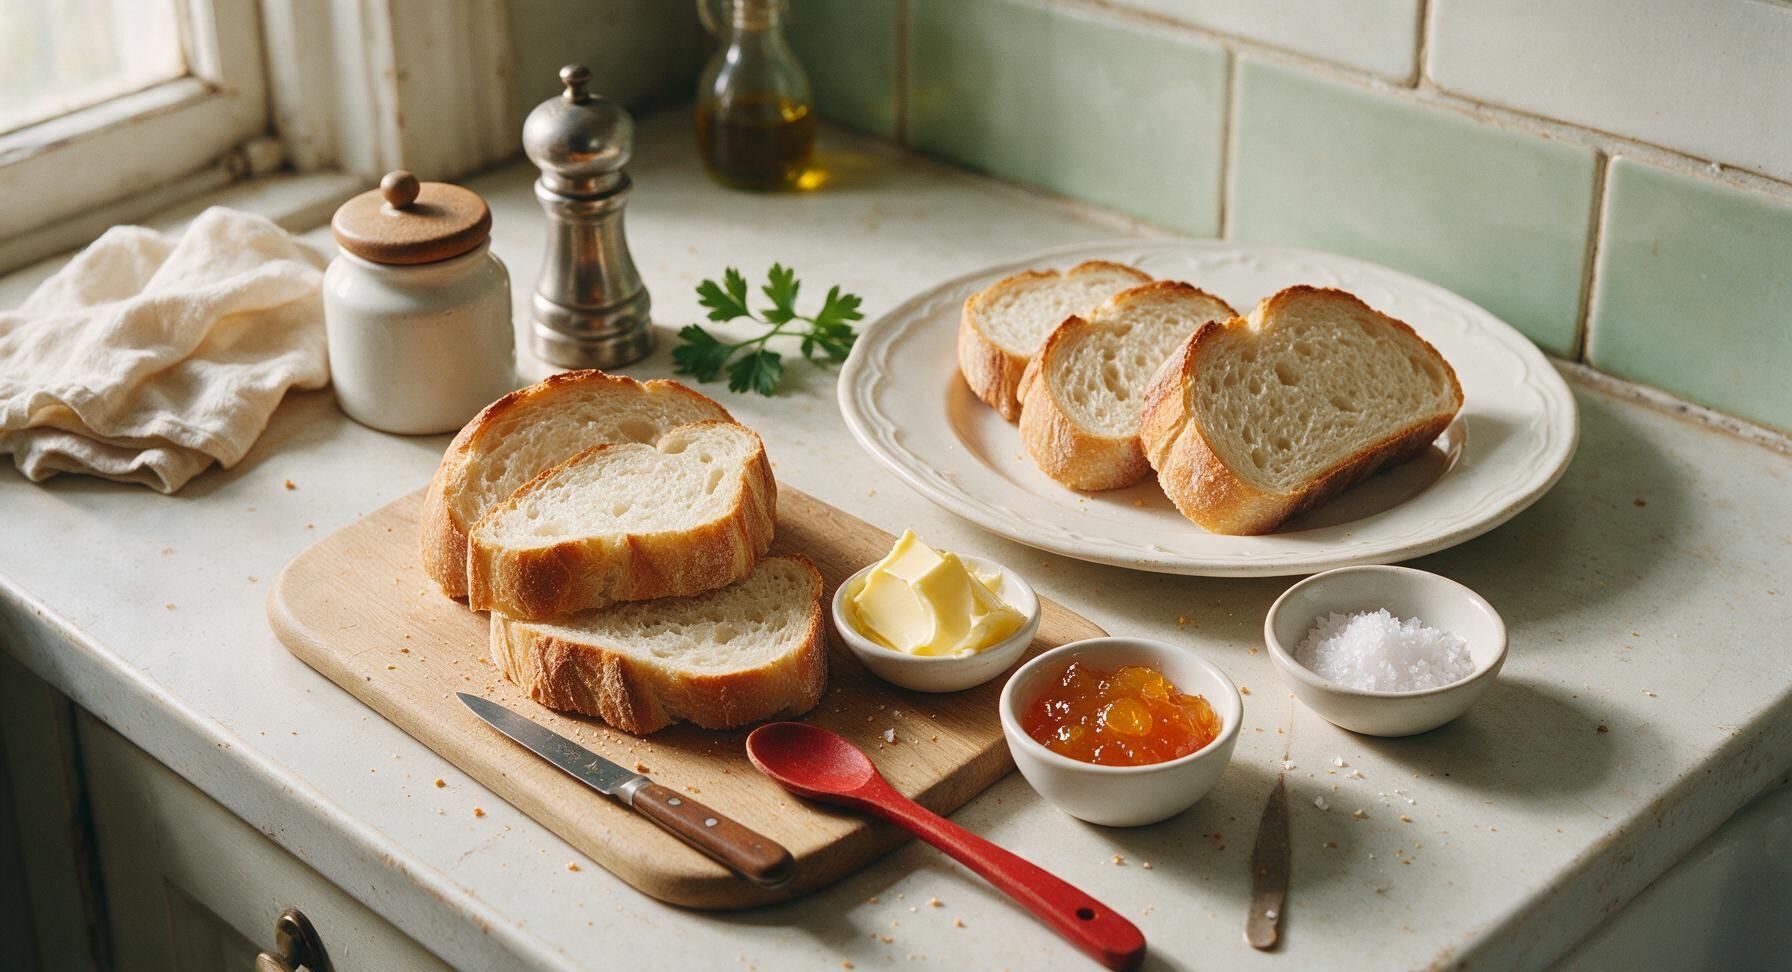
Arrange the four buttered, salted toast slices in a slightly overlapping fan on the matte cream ceramic plate. Add a small dollop of coarse-cut orange marmalade to the corner of the plate for spreading, if desired. Serve immediately while the toast is still hot and crisp, before trapped steam makes the slices soggy as they cool.
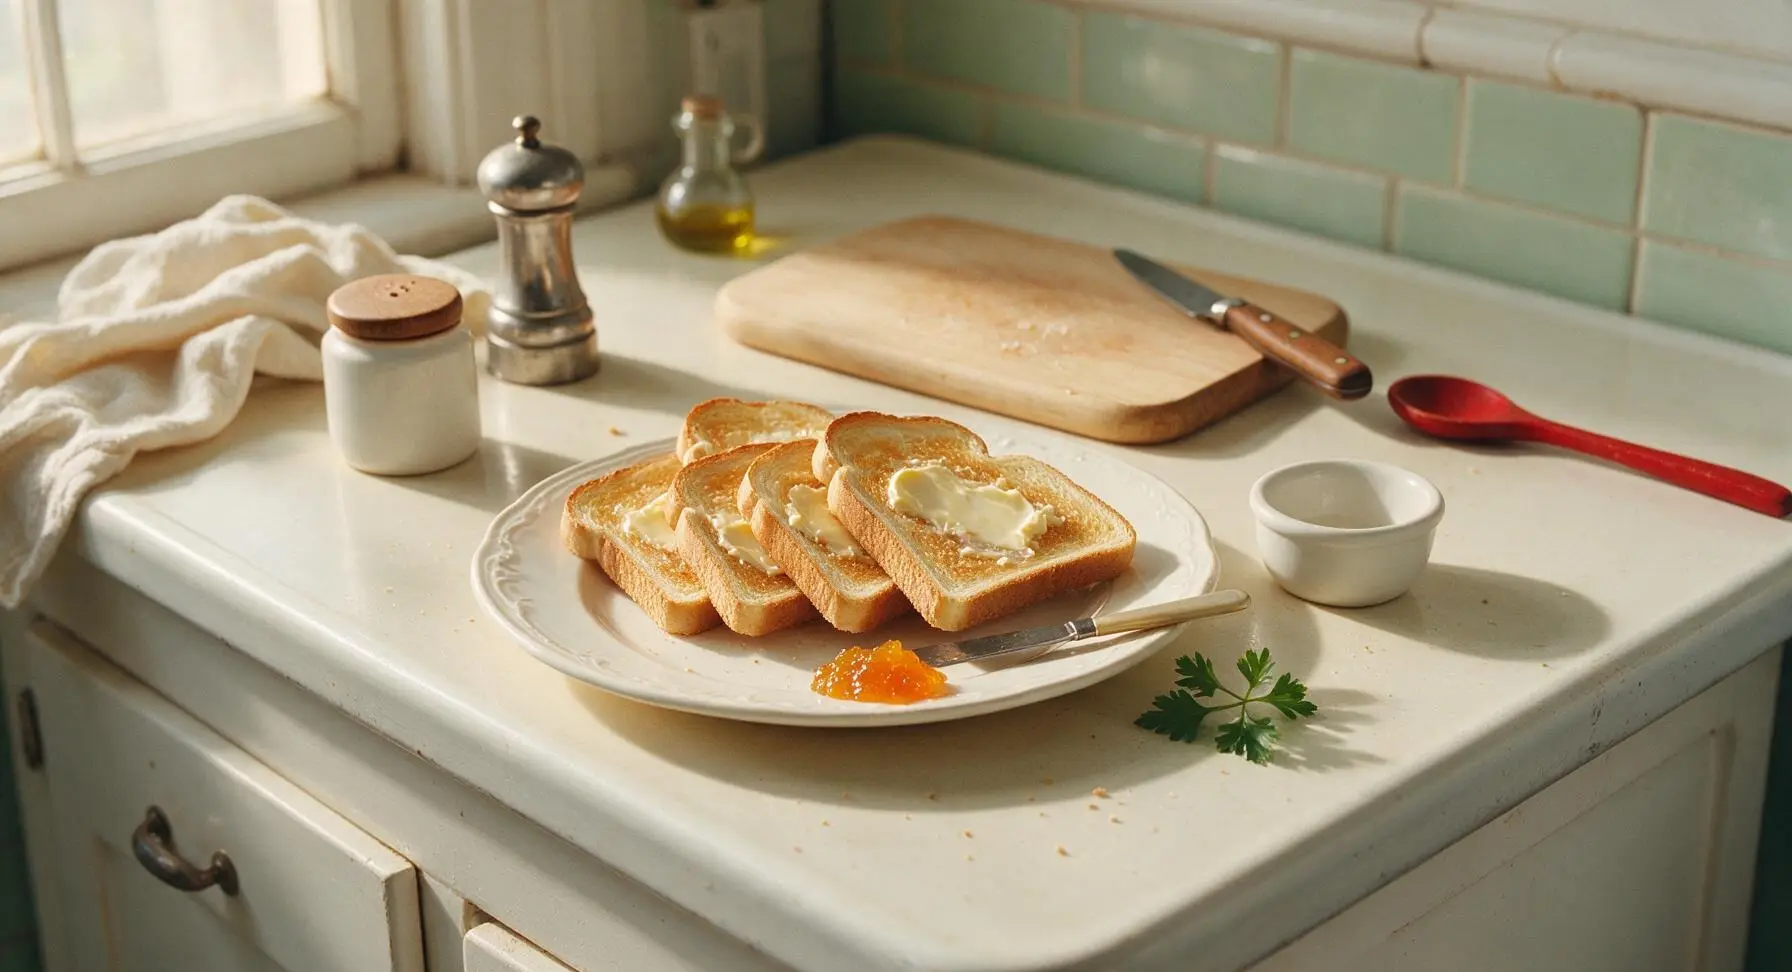
Tips
2.Butter the toast within 10 seconds of it popping out of the toaster: the high surface heat melts the butter fully so it absorbs evenly into the crumb, rather than sitting in cold, clumpy patches that don’t soak in.
3.Stick to the medium-high toaster setting instead of the highest heat: slower toasting cooks moisture out of the entire crumb, eliminating soft, soggy center spots even when the outer surface is perfectly golden.






OMG this is SO good! I’ve been making toast wrong my whole life apparently. The slow melt of the butter so it gets into every little crevice? Game changer. My kids devoured a whole loaf before school yesterday and asked for it again this morning. Total win for busy school mornings!
Super easy 5 minute snack that hits when you don’t feel like cooking anything fancy. I used salted butter like I usually do and it was great, though I think next time I’ll add a tiny sprinkle of cinnamon sugar for a sweet twist. Great base recipe!
Who knew basic toast could feel so fancy? I make a batch of these on Sunday mornings to pair with my scrambled eggs and fruit for weekday breakfasts, and it holds up way better than my usual sad microwaved toast. Perfect for quick meal prep when you don’t have a ton of time.
Just made this to go with my morning latte and I’m blown away. I always used to burn my toast when I tried to get it crispy enough, but the low heat trick? Chef’s kiss. Buttery, crispy on the edges, soft in the middle — exactly what toast should be.
Made this for our neighborhood potluck brunch last weekend and people were asking me for the recipe left and right! I set out little jam jars and honey on the side so people could top their toast however they wanted, and it was such a hit. Way easier than making a fancy casserole.
Super simple, no fancy ingredients needed which is perfect for after a long hike when I’m ravenous and don’t want to mess with a big recipe. Only reason I’m not giving 5 stars is I wish it had a little note about using salted vs unsalted butter — I used unsalted and it was a little bland until I sprinkled a pinch of flaky salt on top.
My toddler is going through a super picky eating phase and this is the only thing he’s asked for seconds of all week! He loves helping me spread the butter once the toast cools a little, it’s become our little morning ritual. SO worth the 5 minutes of effort.
Wait why is this so much better than the toast I make in my dorm toaster? I thought butter was butter and toast was toast but this is next level. I don’t even have a fancy pan, just my cheap little dorm skillet, and it came out perfect. 10/10 for broke college students who don’t have a ton of supplies.
I made this with my favorite gluten free sourdough and it turned out pretty good! I had to cook it a little longer than the recipe said to get it crispy because GF bread is usually denser, but the butter melted perfectly. Wish there was a note for GF bread adjustments!