
crispy buttermilk waffle
intro
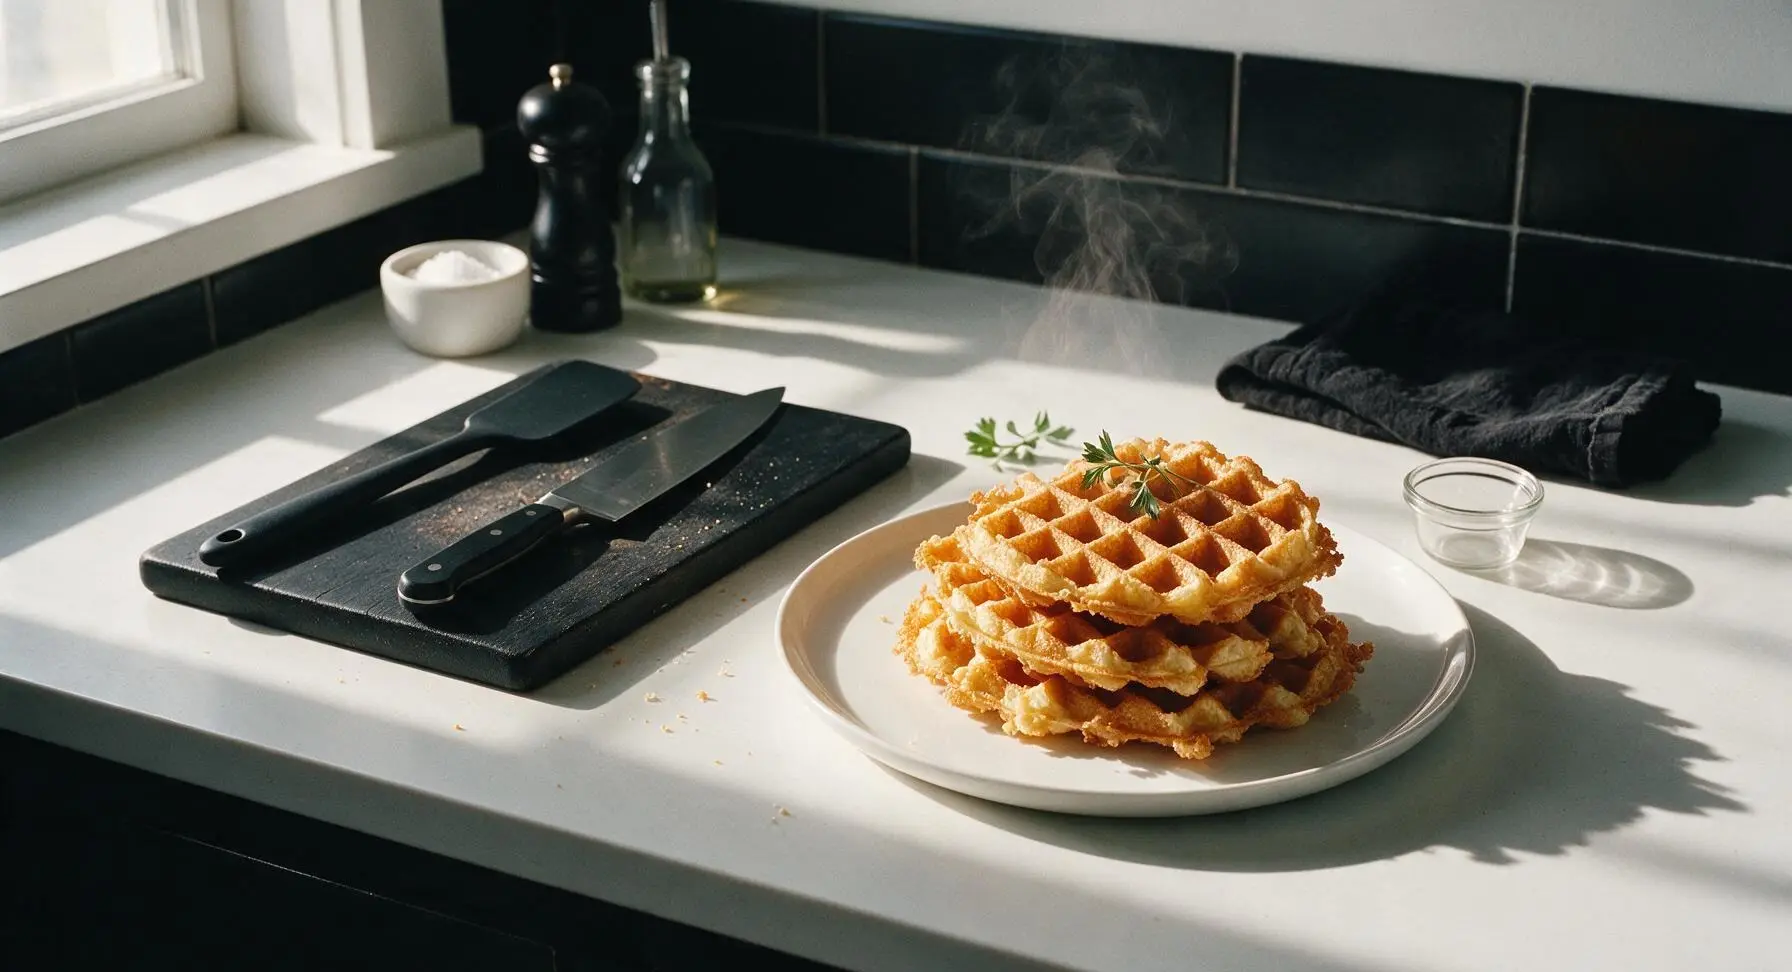
Golden, shatteringly crisp buttermilk waffles with light, tangy, fluffy centers and deep grid pockets made for holding melted butter and maple syrup. A beloved Southern family favorite for slow weekend meals.
Ingredients
Steps
Whisk Dry Ingredients
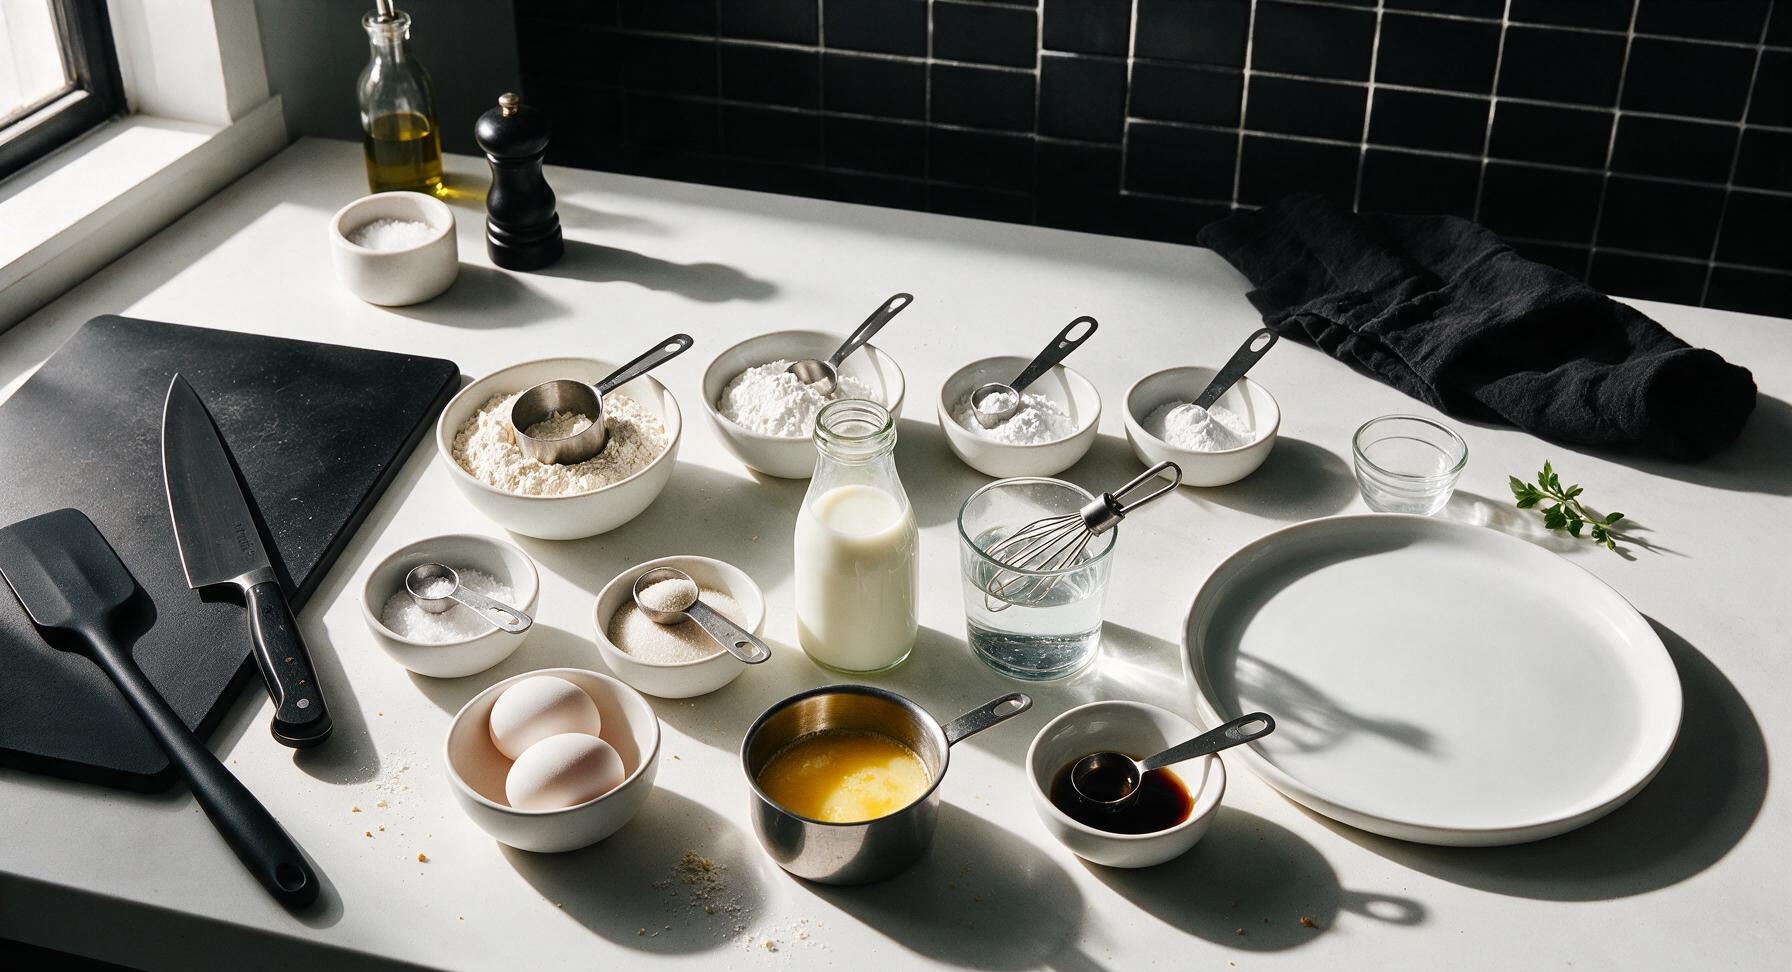
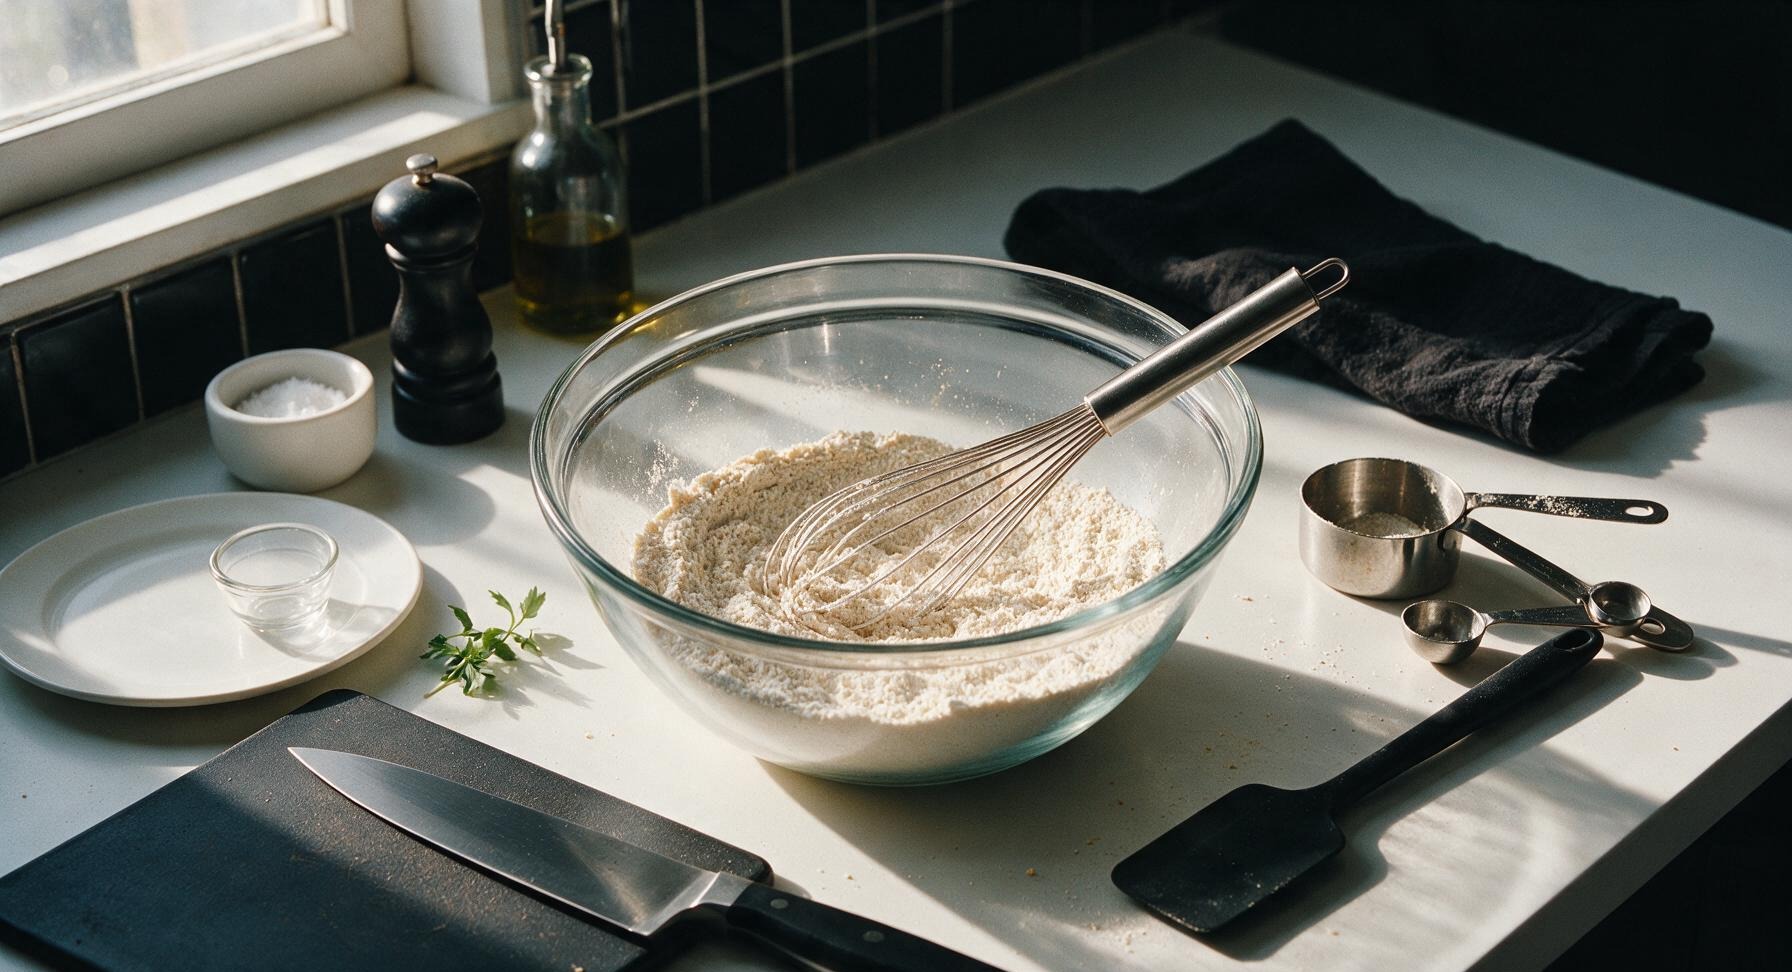
In the 2L clear glass mixing bowl, combine 2 cups all-purpose flour, 1/4 cup cornstarch, 2 tsp baking powder, 1 tsp baking soda, 1 tsp fine sea salt, and 2 tbsp granulated sugar. Use the stainless steel wire whisk to stir for 30 seconds until all dry ingredients are evenly mixed, with no clumps of baking soda or powder visible. The cornstarch addition is the first key to crisp, non-soggy waffles.
Combine Wet Ingredients
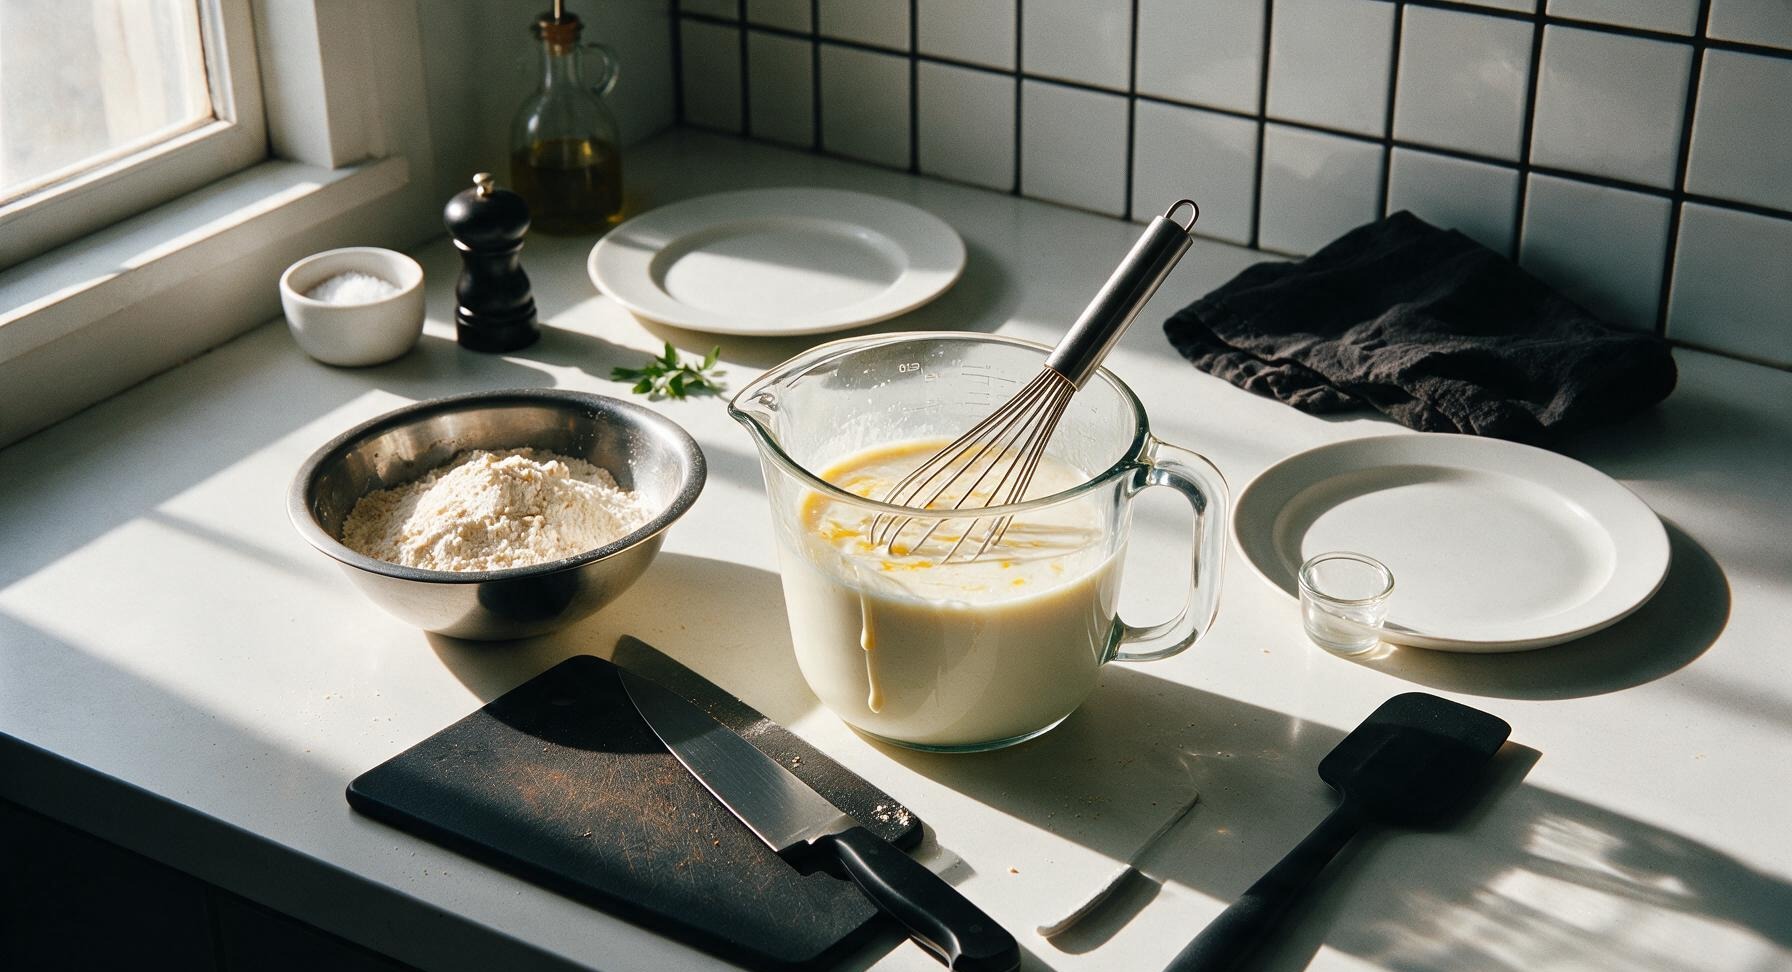
In the 1L clear glass liquid measuring cup, whisk together 2 cups cold full-fat buttermilk, 2 large lightly beaten eggs, 4 tbsp melted and slightly cooled unsalted butter, and 1 tsp pure vanilla extract until fully smooth. Do not warm the buttermilk—cold batter helps slow gluten development for a more tender, crisp final texture.
Gently Combine Batter
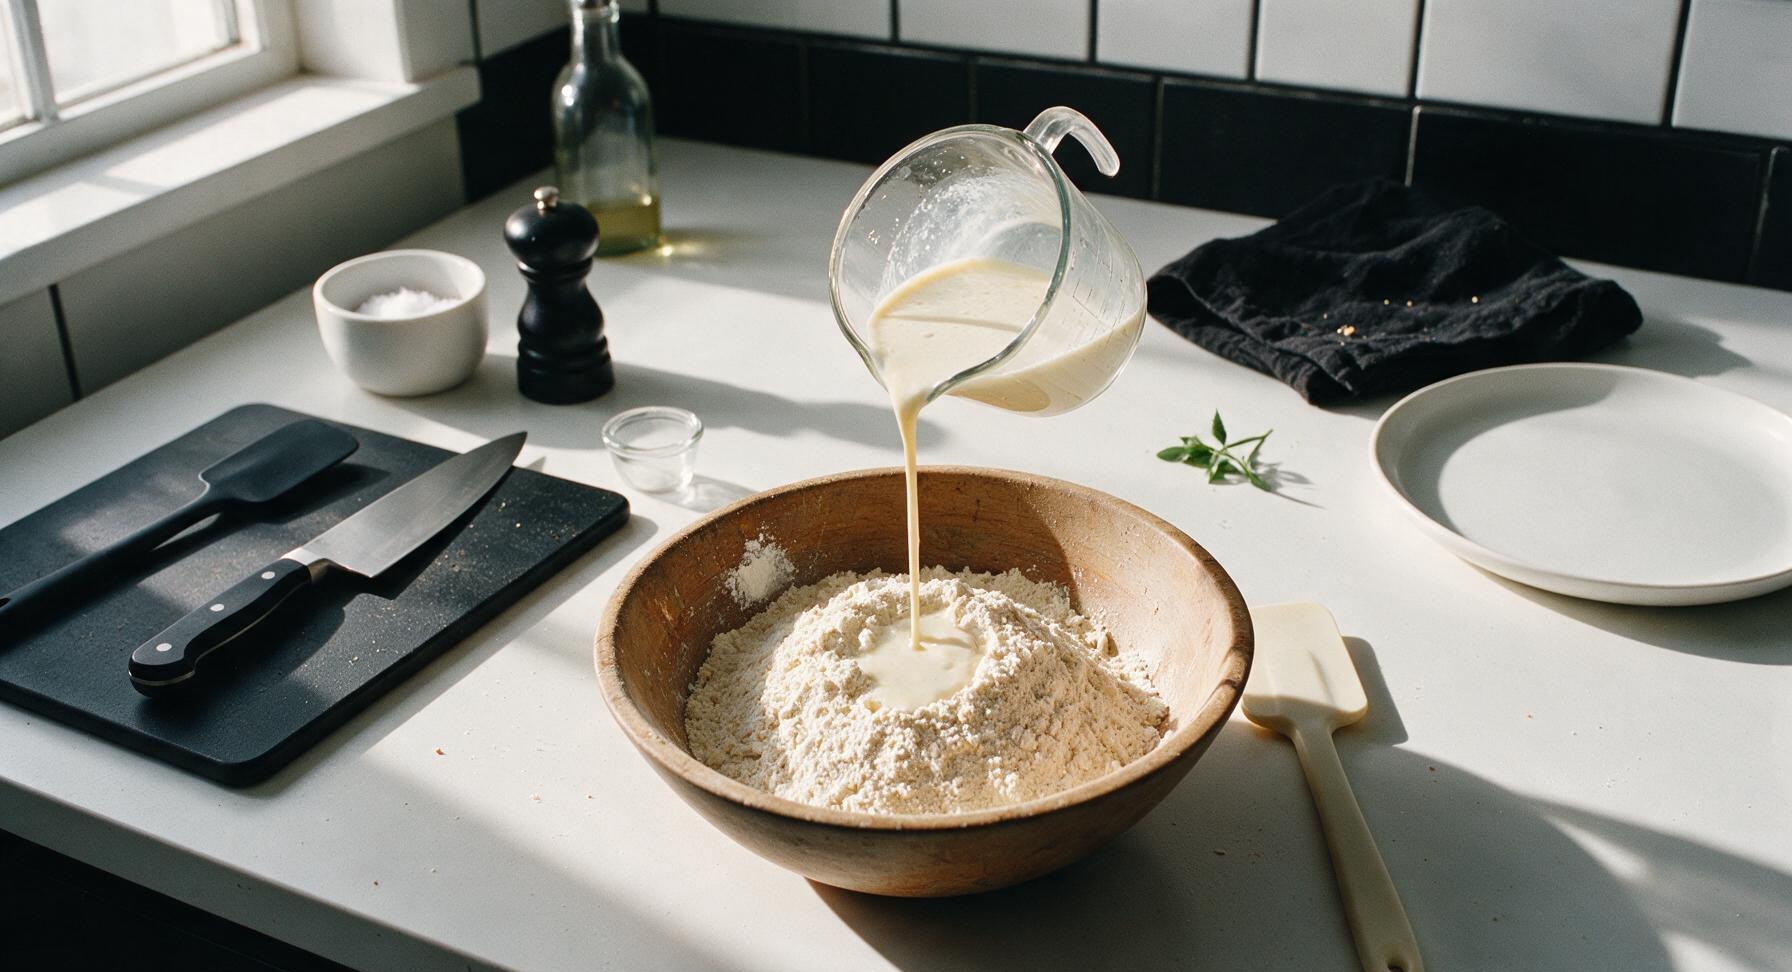
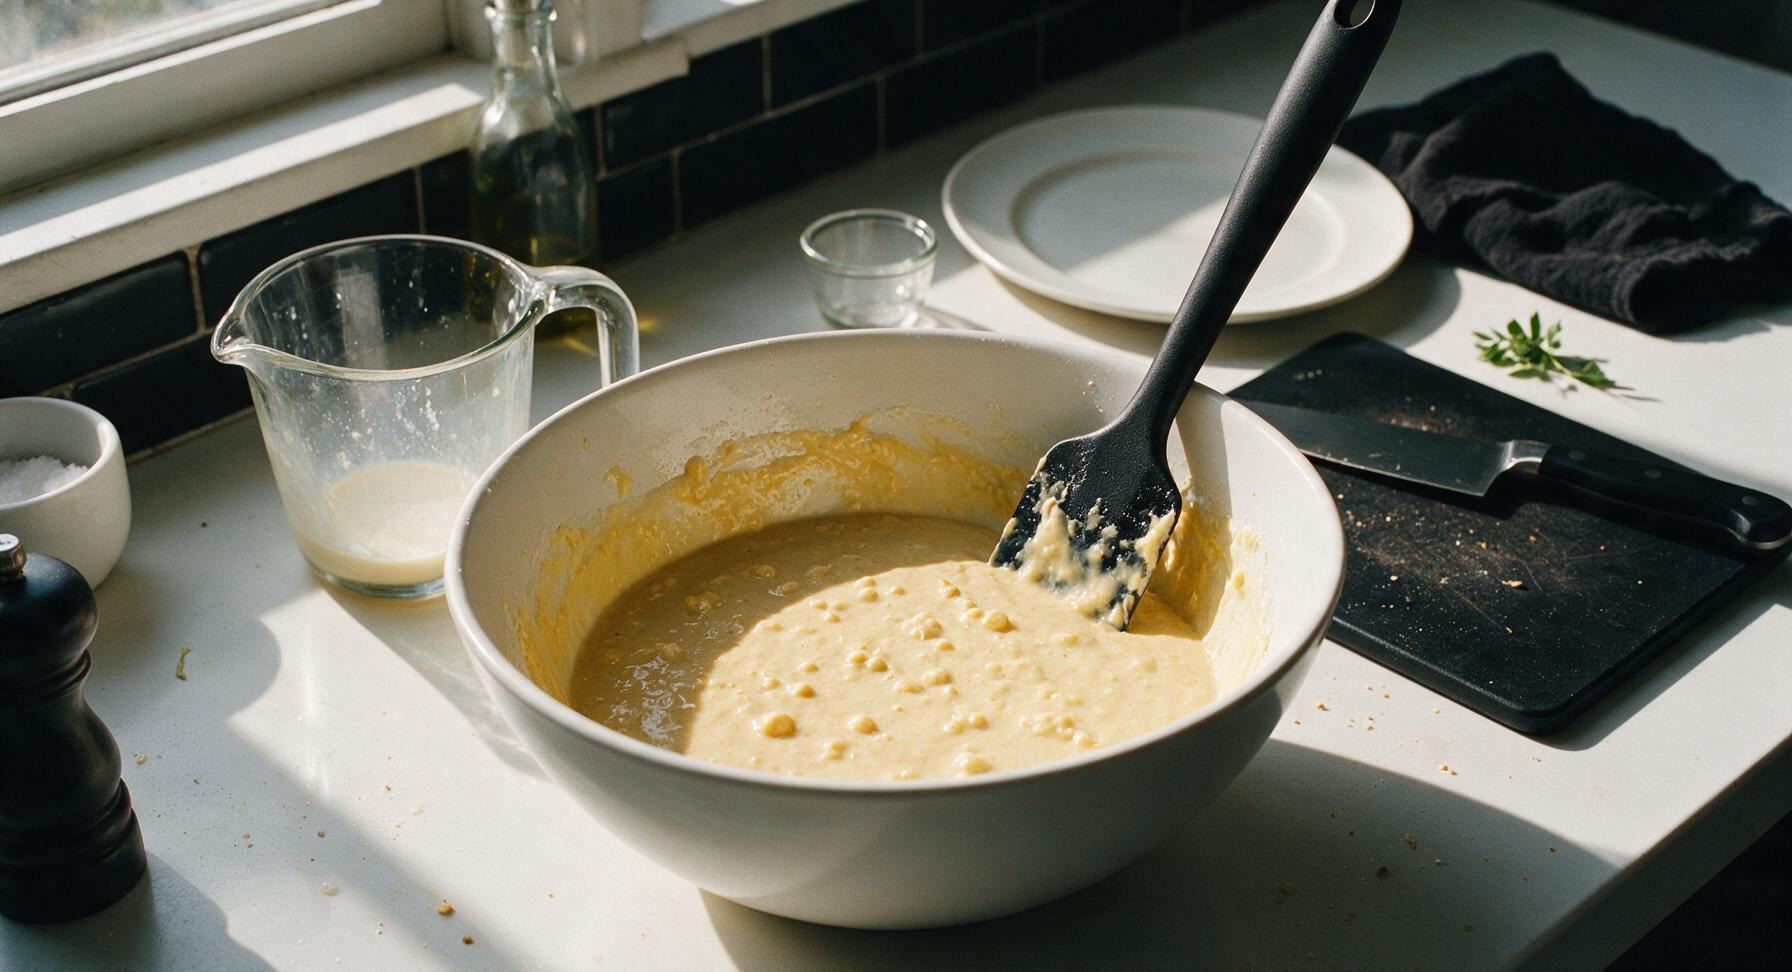
Pour the wet ingredient mixture into the bowl of dry ingredients. Use the off-white silicone spatula to fold the ingredients together just until no large dry flour streaks remain. The batter will be thick, slightly lumpy, and have a few small dry spots visible—do NOT overmix, as overdeveloped gluten will make tough, chewy waffles instead of crisp, light ones. Stop folding as soon as you no longer see large pockets of dry flour.
Rest Batter, Preheat Iron
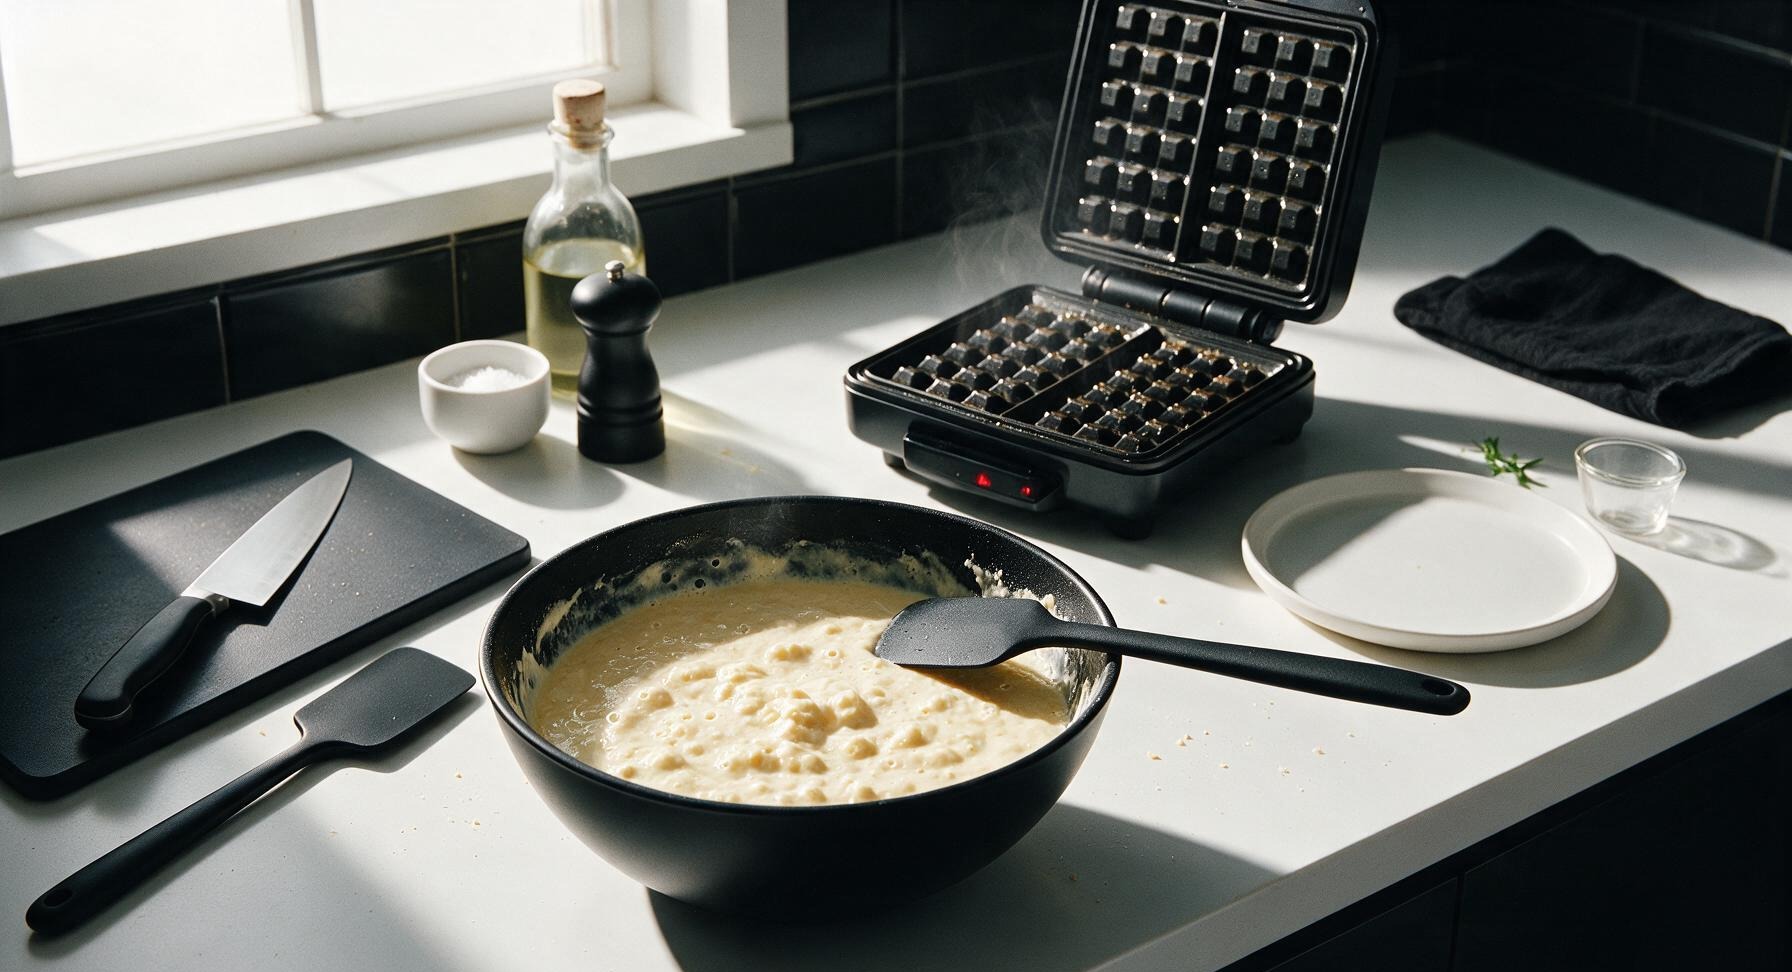
Let the batter rest for 5 minutes at room temperature to allow the leavening to activate and the flour to hydrate, which creates lighter, crispier waffles. While the batter rests, preheat the matte black electric waffle maker to 400°F (200°C, medium-high setting) until the indicator light shows it is fully hot. Lightly coat the top and bottom waffle grids with neutral cooking spray or a thin brush of melted butter to prevent sticking.
Cook Waffles Until Crisp
Ladle 1/2 cup (120ml) of batter onto the center of the preheated waffle iron grid, close the lid, and cook for 4 to 5 minutes per waffle. Do not open the lid for the first 3 minutes of cooking, as this will cause the waffle to split and stick. The waffle is done when it is deep golden brown (not pale golden), crisp to the touch at the edges, and no visible steam escapes from the sides of the waffle maker. Transfer cooked waffles directly to the chrome wire cooling rack in a single layer (do not stack them, and do not place them on a plate directly, as trapped steam will turn crisp crusts soggy in 60 seconds or less) while you cook the remaining 3 waffles.
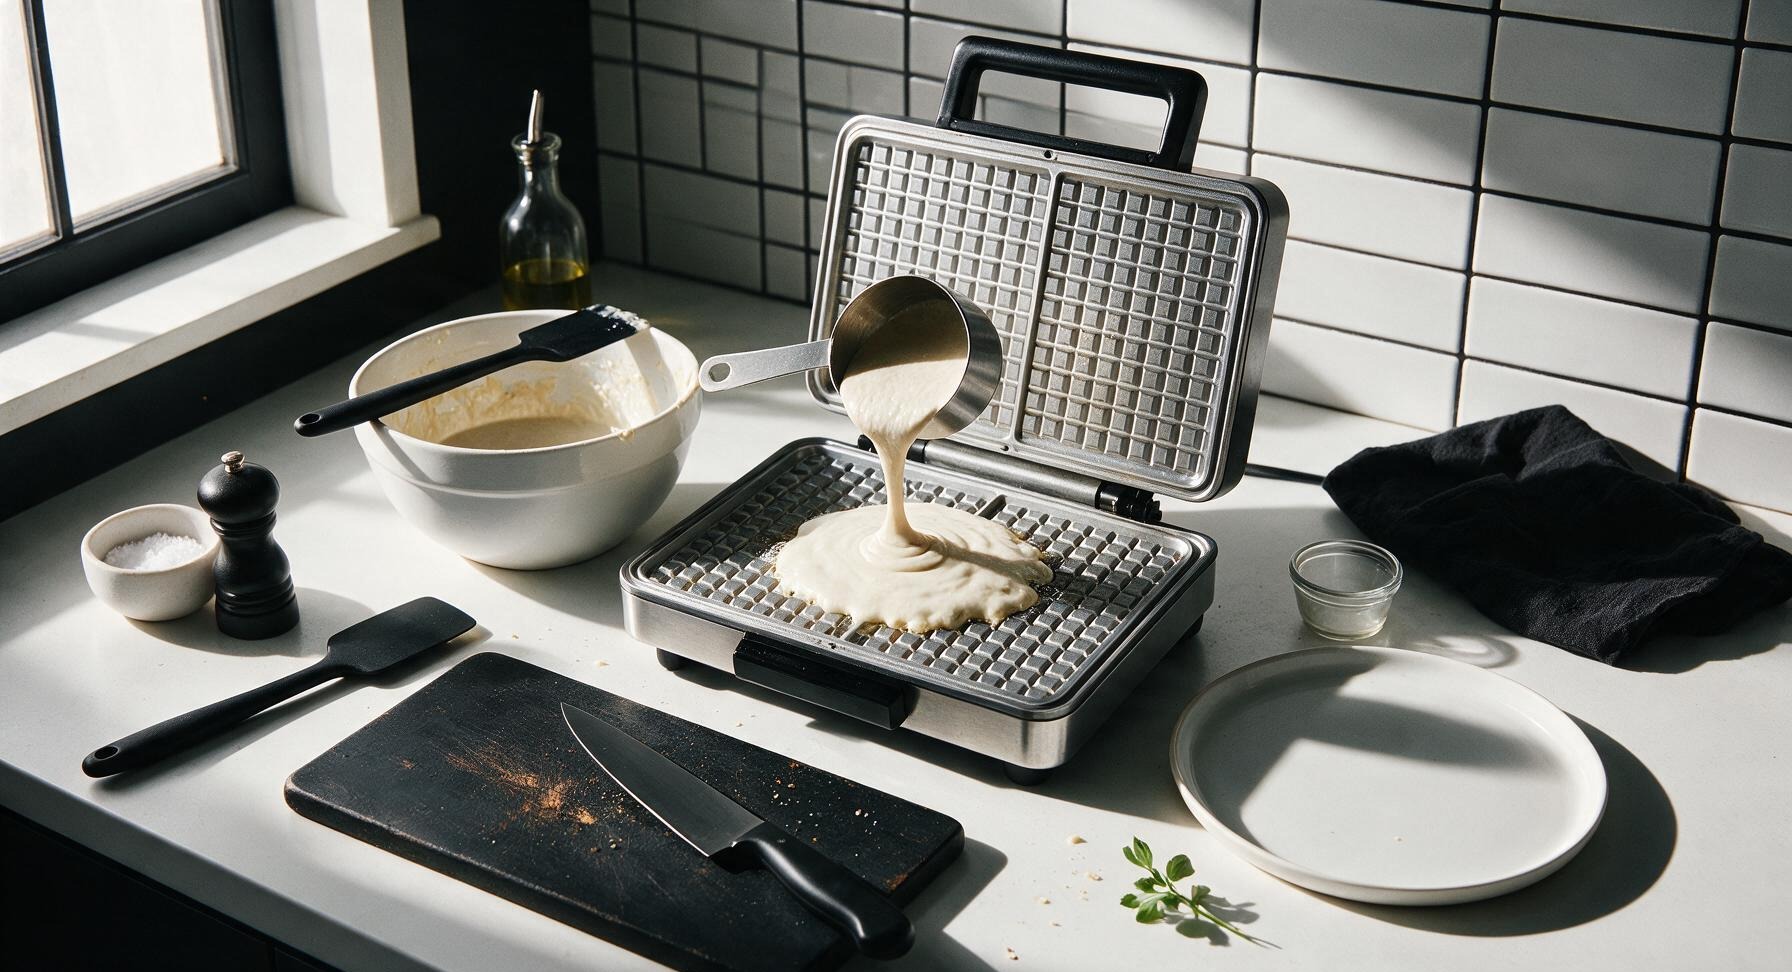
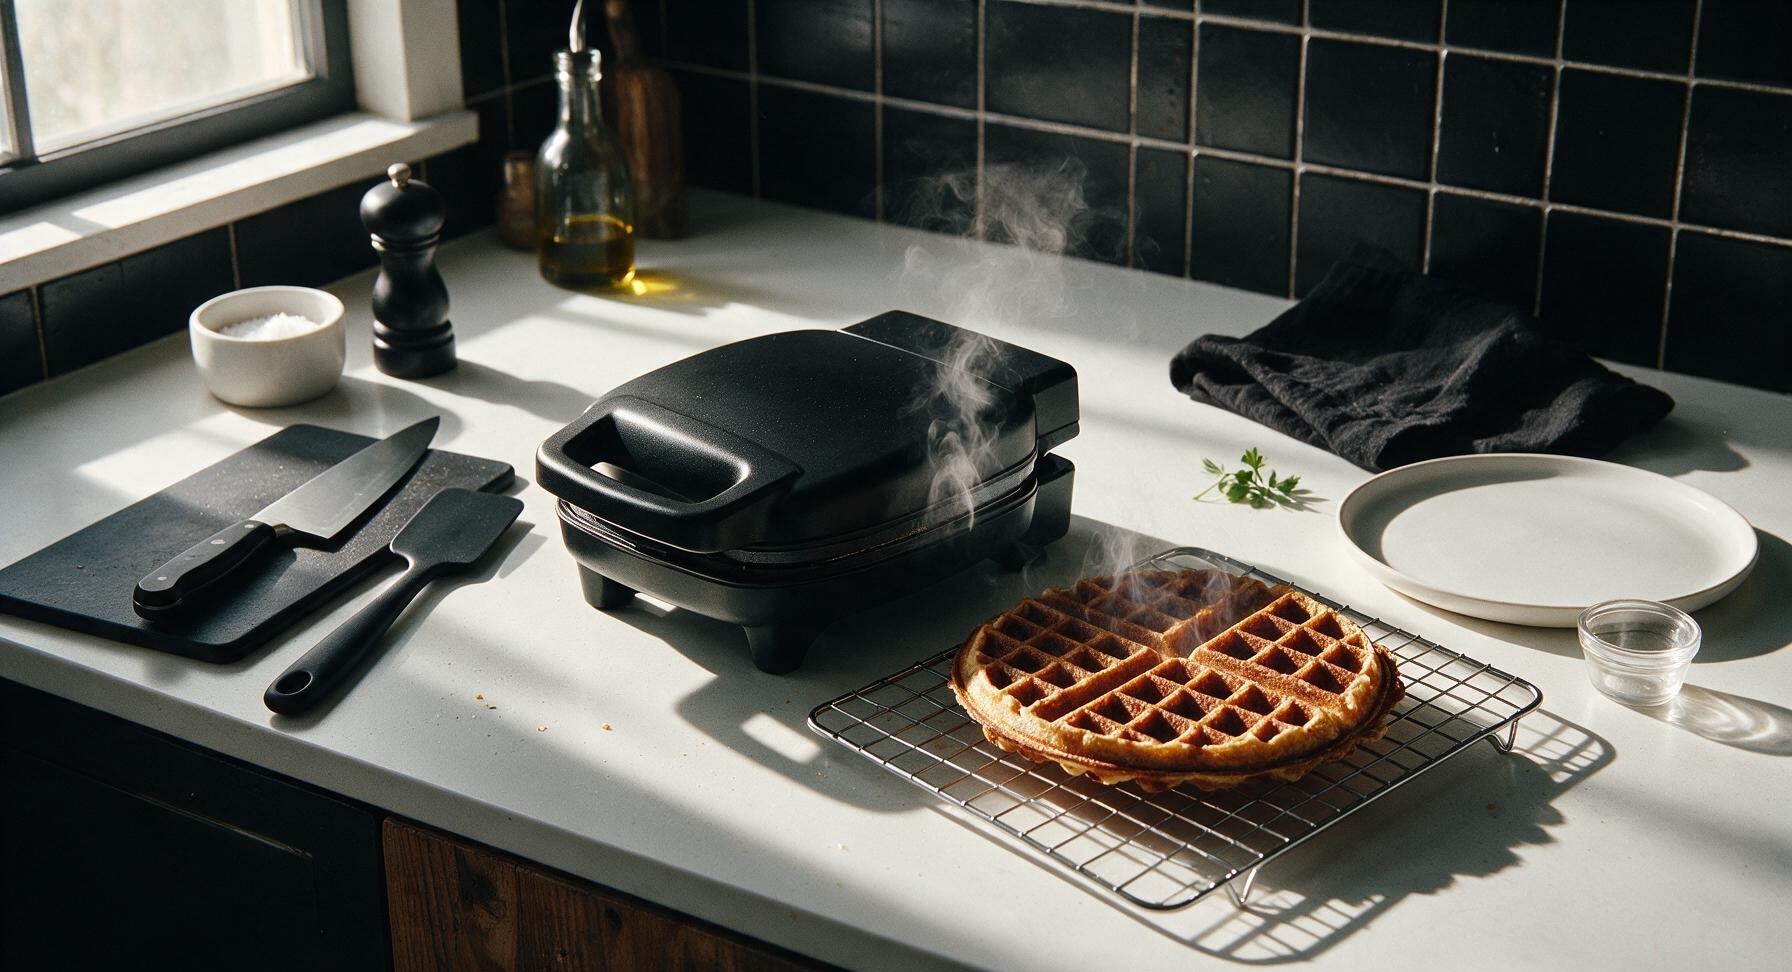
Plate and Serve Warm
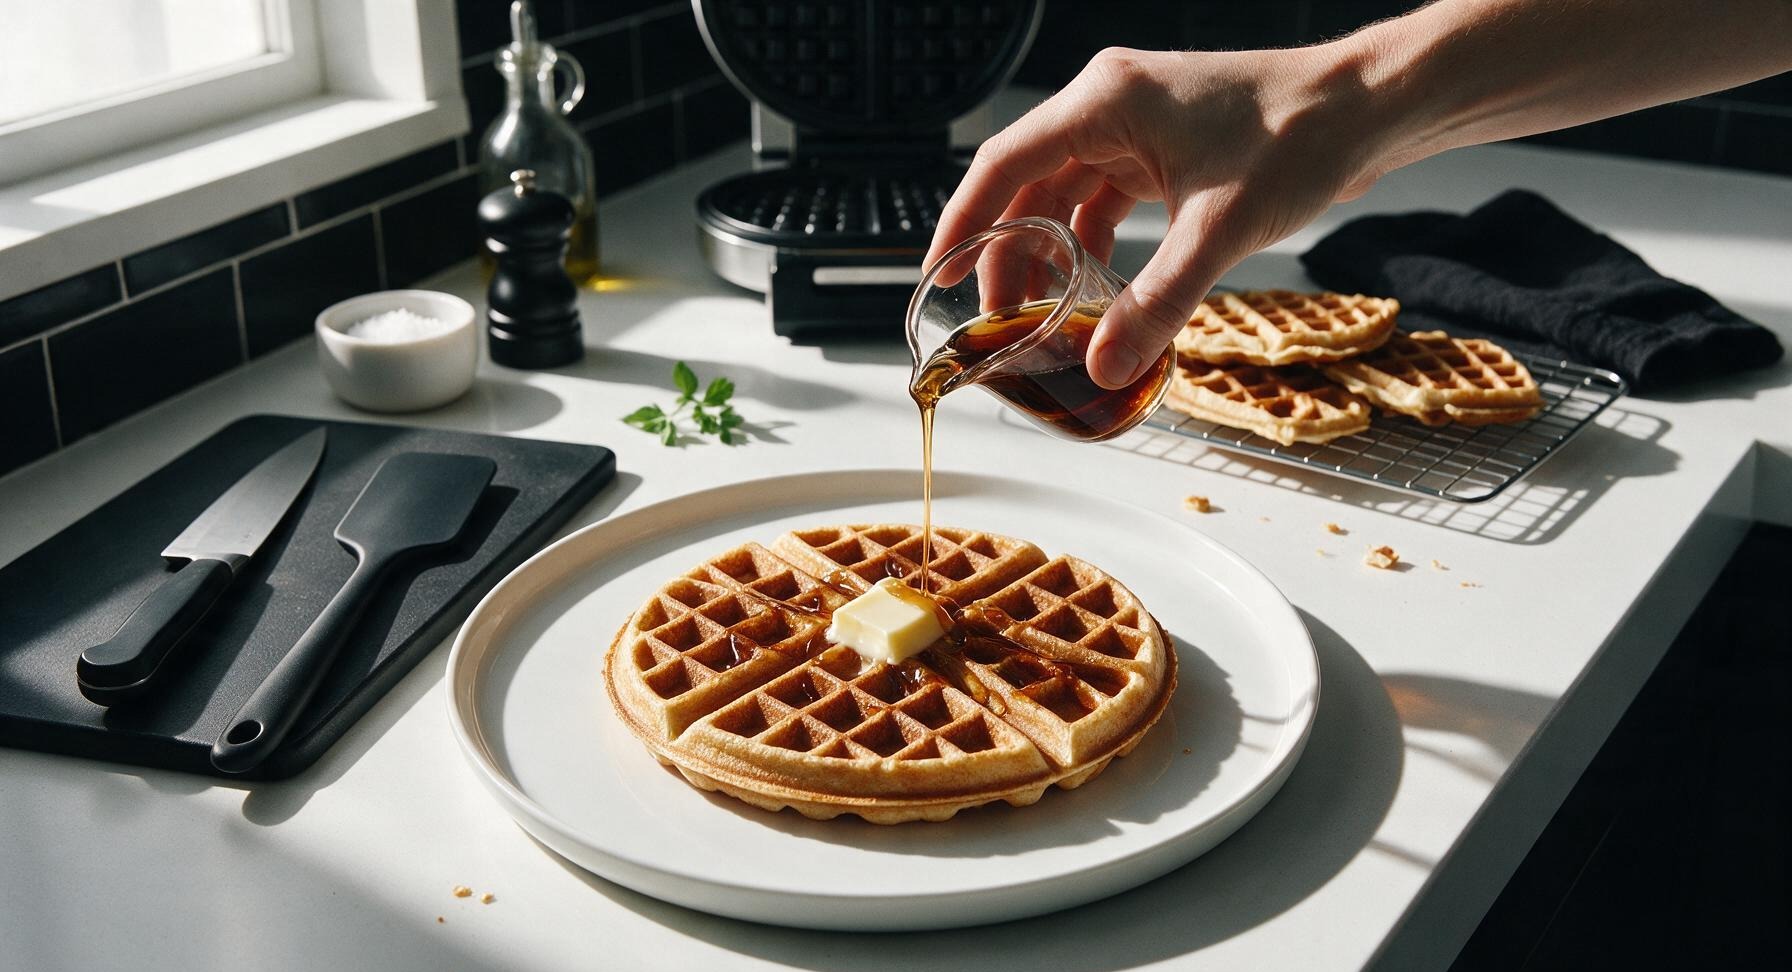
Transfer one fully crisp waffle to the front-center off-white matte ceramic dinner plate. Top the center of the waffle with a 1 tbsp pat of cold unsalted butter (placed in the light grey ramekin before serving), and drizzle 2 tbsp of warm pure maple syrup diagonally across the waffle from the glass syrup pitcher, allowing a small amount to pool in the grid pockets. Serve immediately while the waffle is hot and crisp, as it will soften as it cools.
Tips
2.Never stack hot waffles or place them directly on a solid plate: Trapped steam from freshly cooked waffles will soften the crisp crust in under 60 seconds. Resting waffles on an open wire rack allows air to circulate around all sides, keeping crusts crisp until you are ready to plate.
3.Embrace lumpy batter and avoid overmixing: Overmixing develops strong gluten strands that create dense, bread-like waffles. Stop folding as soon as large dry flour streaks disappear, even if small lumps remain—these lumps will cook out into light, tender crumb pockets.






OMG these are SO good! I made them for Saturday breakfast with my three kids and they gobbled them up before I even got a second waffle off the iron. So crispy on the outside, fluffy in the middle — total game changer. I did add a tiny dash of extra cinnamon because we love that warm, cozy flavor, will absolutely be making these every weekend from now on. 10/10!
Wow, this is such an easy recipe! I whipped up a double batch on Sunday to freeze for quick weekday breakfasts, and they reheat perfectly in the toaster — zero sogginess, which is usually my biggest complaint about frozen homemade waffles. Cook time was exactly as stated too, no weird hidden steps or fancy ingredients required. Brought a plate of these to a neighborhood potluck last week and people kept tracking me down to ask for the recipe!
Okay, I’m literally terrible at baking/cooking breakfast stuff, I always burn pancakes or end up with waffles that are gummy in the middle. These turned out perfect on my first try?? I couldn’t believe it. Didn’t have regular buttermilk on hand so I used the old milk + lemon juice trick, and it still worked like a charm. Only tiny note is my ancient waffle iron runs a little hot so I had to turn the temp down a touch, but that’s 100% on my janky appliance not the recipe.
Made these before an early morning hike last weekend and they kept me full for hours! Topped mine with fresh blackberries and a little drizzle of real maple syrup, no soggy mess even when I ate the second one on the drive to the trailhead. Easy enough to throw together even when I’m half asleep before 6am, will 100% be adding this to my regular pre-adventure meal rotation.