
Canadian Bacon Mac and Cheese

title 1
Canadian Bacon Mac and Cheese
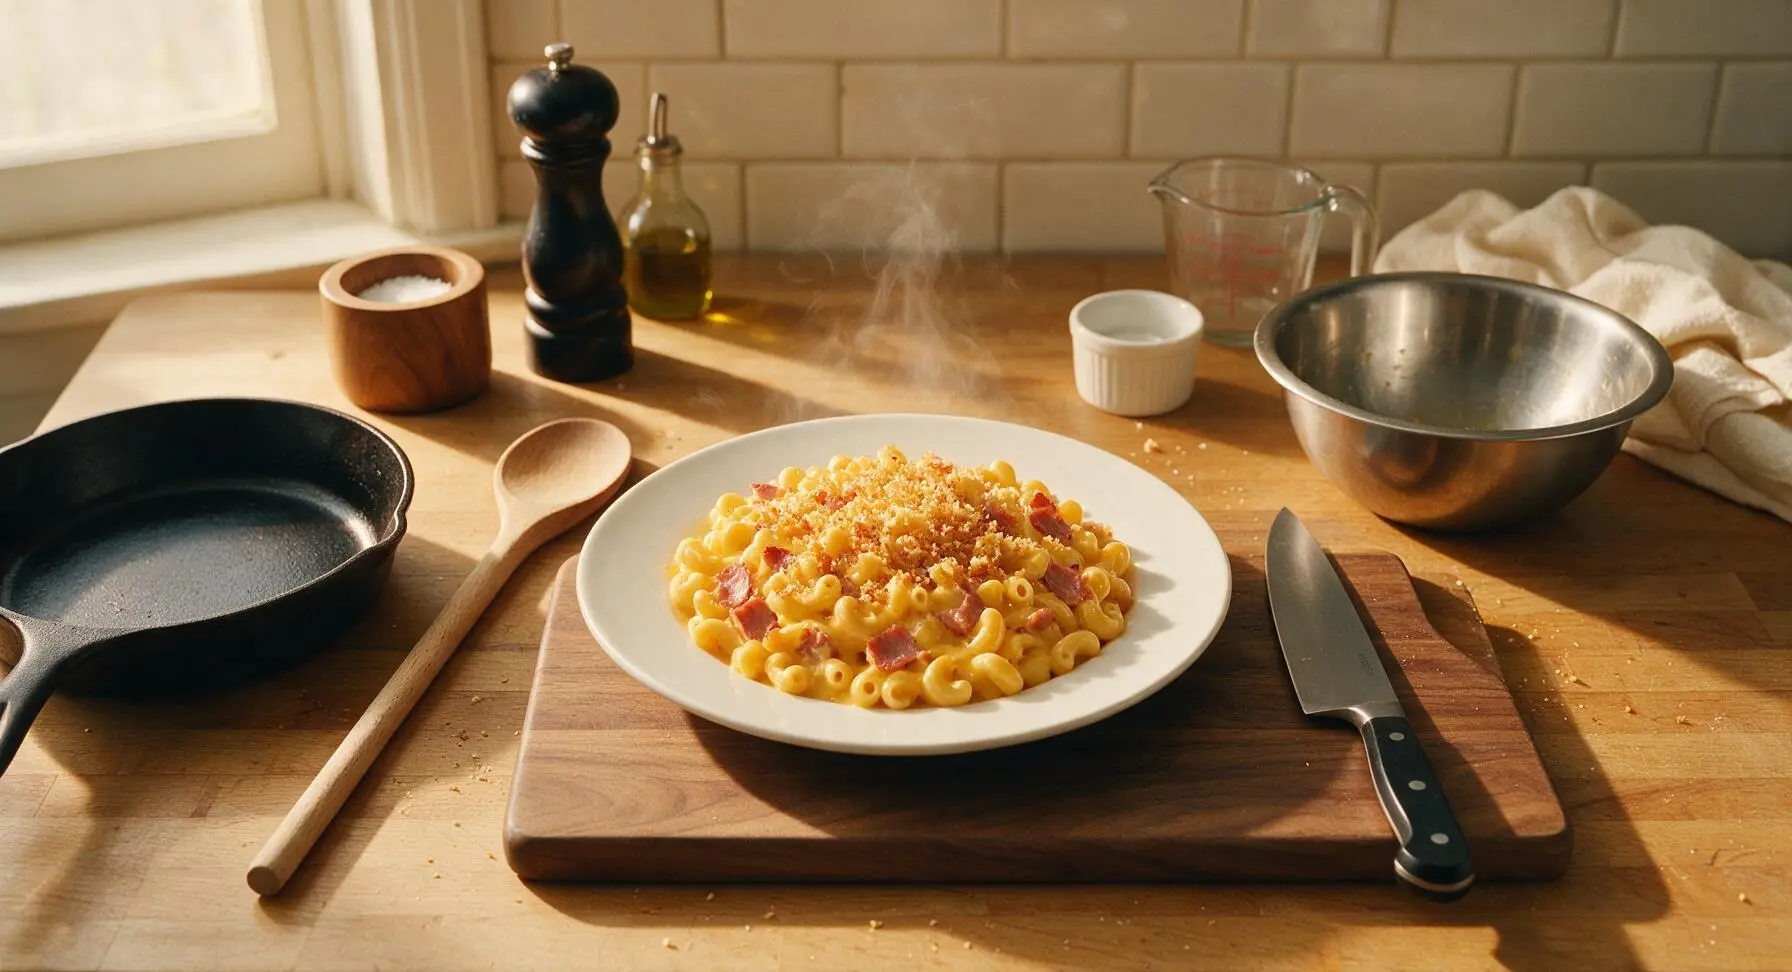
⏱️ cook time 35 minutes
🍽️ servings 6
⚡ Difficulty easy

intro

Velvety sharp cheddar sauce coats tender elbow pasta, studded with smoky Canadian bacon and topped with crispy golden panko for cozy, nostalgic baked comfort food perfect for family gatherings.

Ingredients
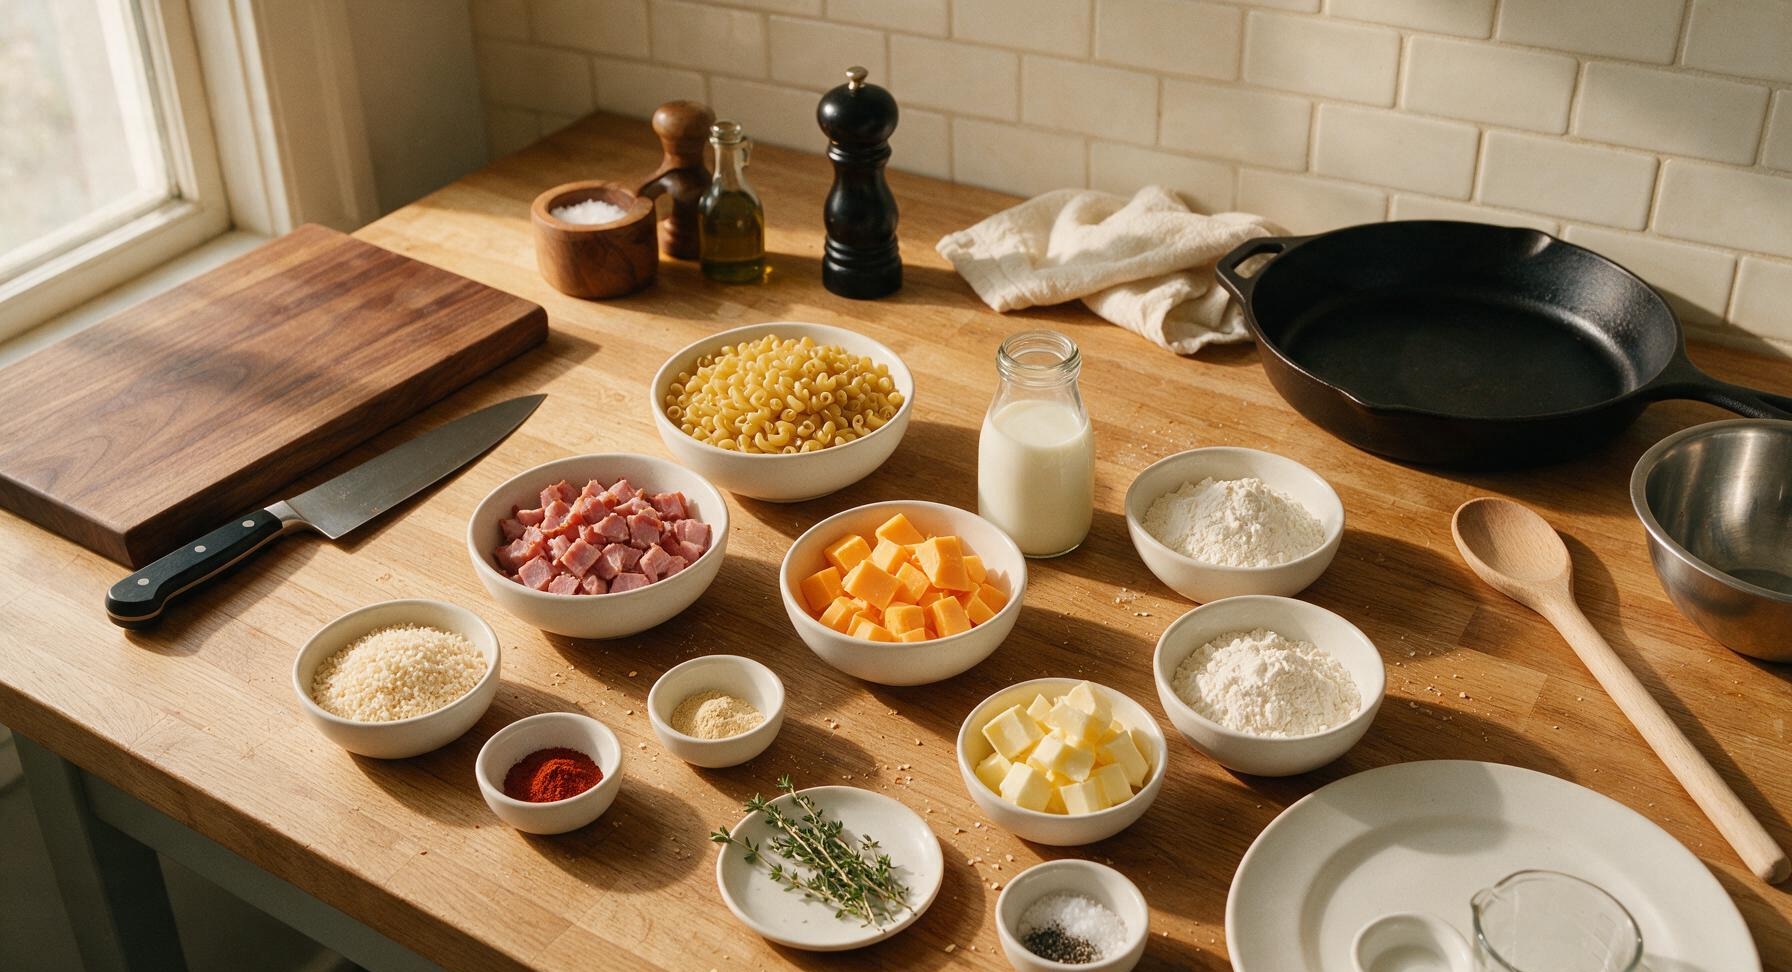
Dry elbow macaroni 300g
Smoked Canadian bacon (back bacon) 200g
Sharp orange cheddar cheese 350g
Whole milk 500ml
Unsalted butter 4 tbsp (56g)
All-purpose flour 3 tbsp (24g)
Panko breadcrumbs 60g
Garlic powder 1 tsp
Smoked paprika 1/2 tsp
Fresh thyme 2 sprigs
Kosher salt 1 tbsp (for pasta water) + 1 tsp (for sauce)
Freshly ground black pepper 1/2 tsp

Steps

1

Grate Cheese and Dice Bacon

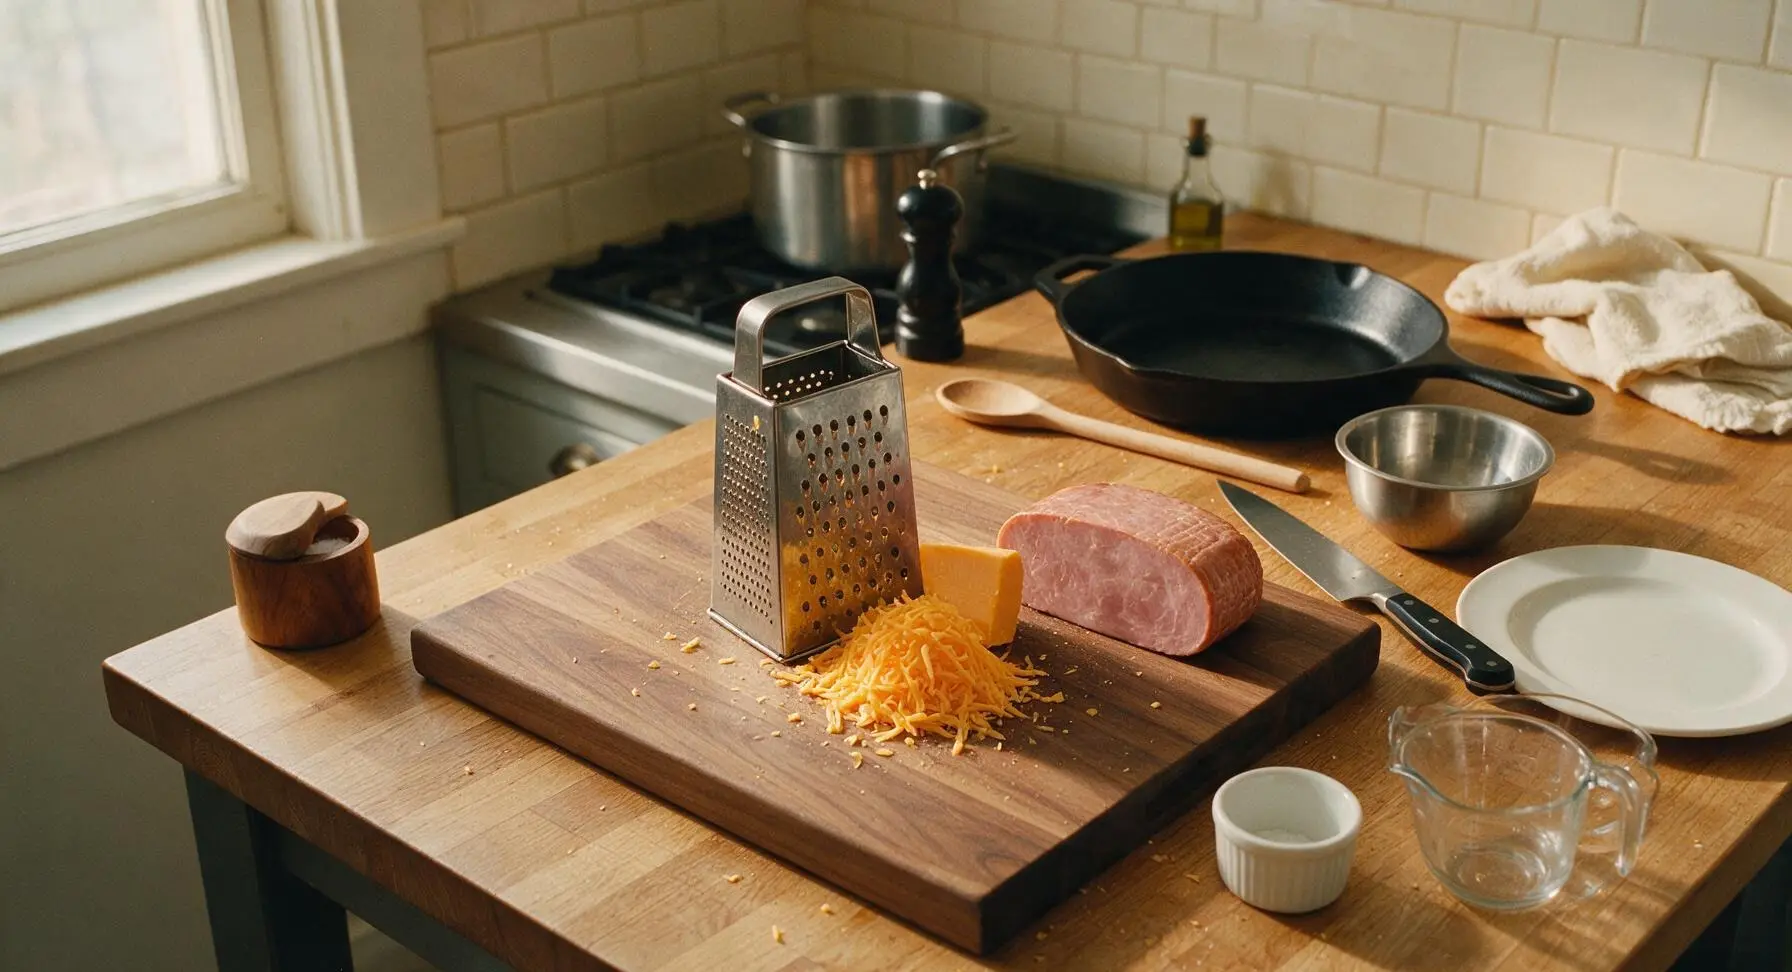
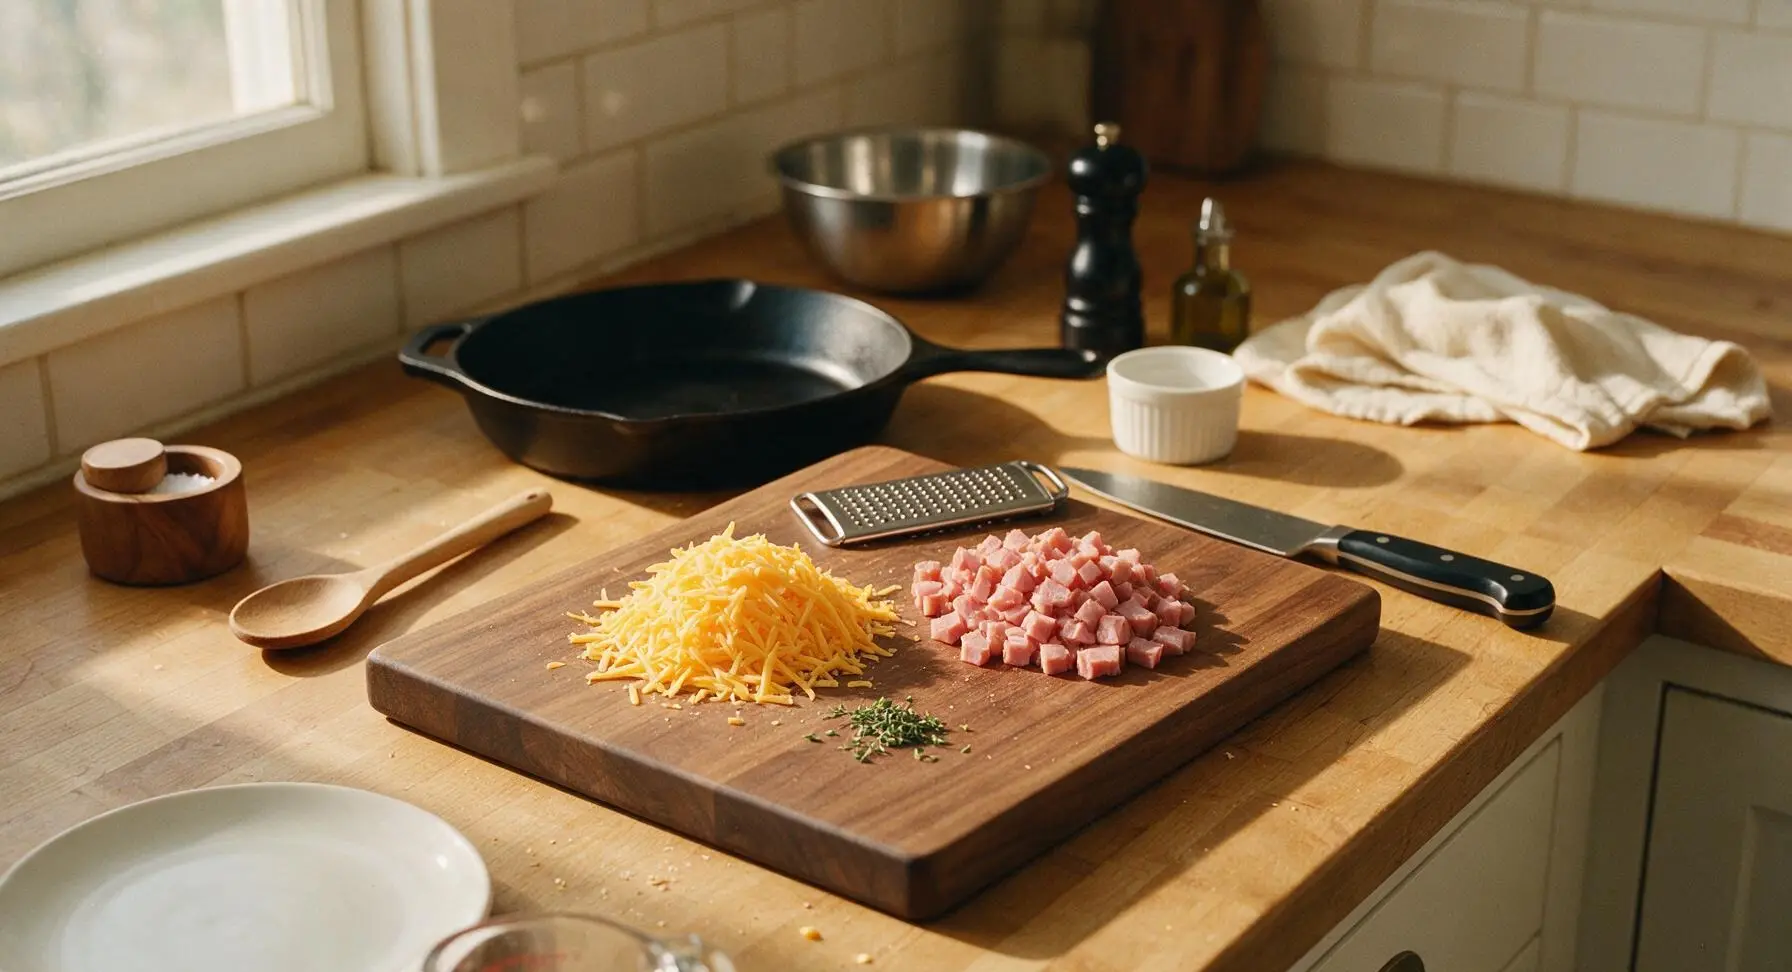
Preheat your oven to 190°C (375°F) and position a rack in the middle. Place the 4-sided stainless steel box grater on the maple cutting board, then grate all 350g of sharp cheddar cheese; set aside 50g of grated cheese for the topping. Use the 8-inch chef knife to cut the 200g smoked Canadian bacon into uniform 1cm (1/2 inch) dice. Pick leaves from 1 fresh thyme sprig, discarding woody stems.
Step 1
step1:Grate Cheese and Dice Bacon
Step 1
step1:Grate Cheese and Dice Bacon
2

Cook Pasta Al Dente

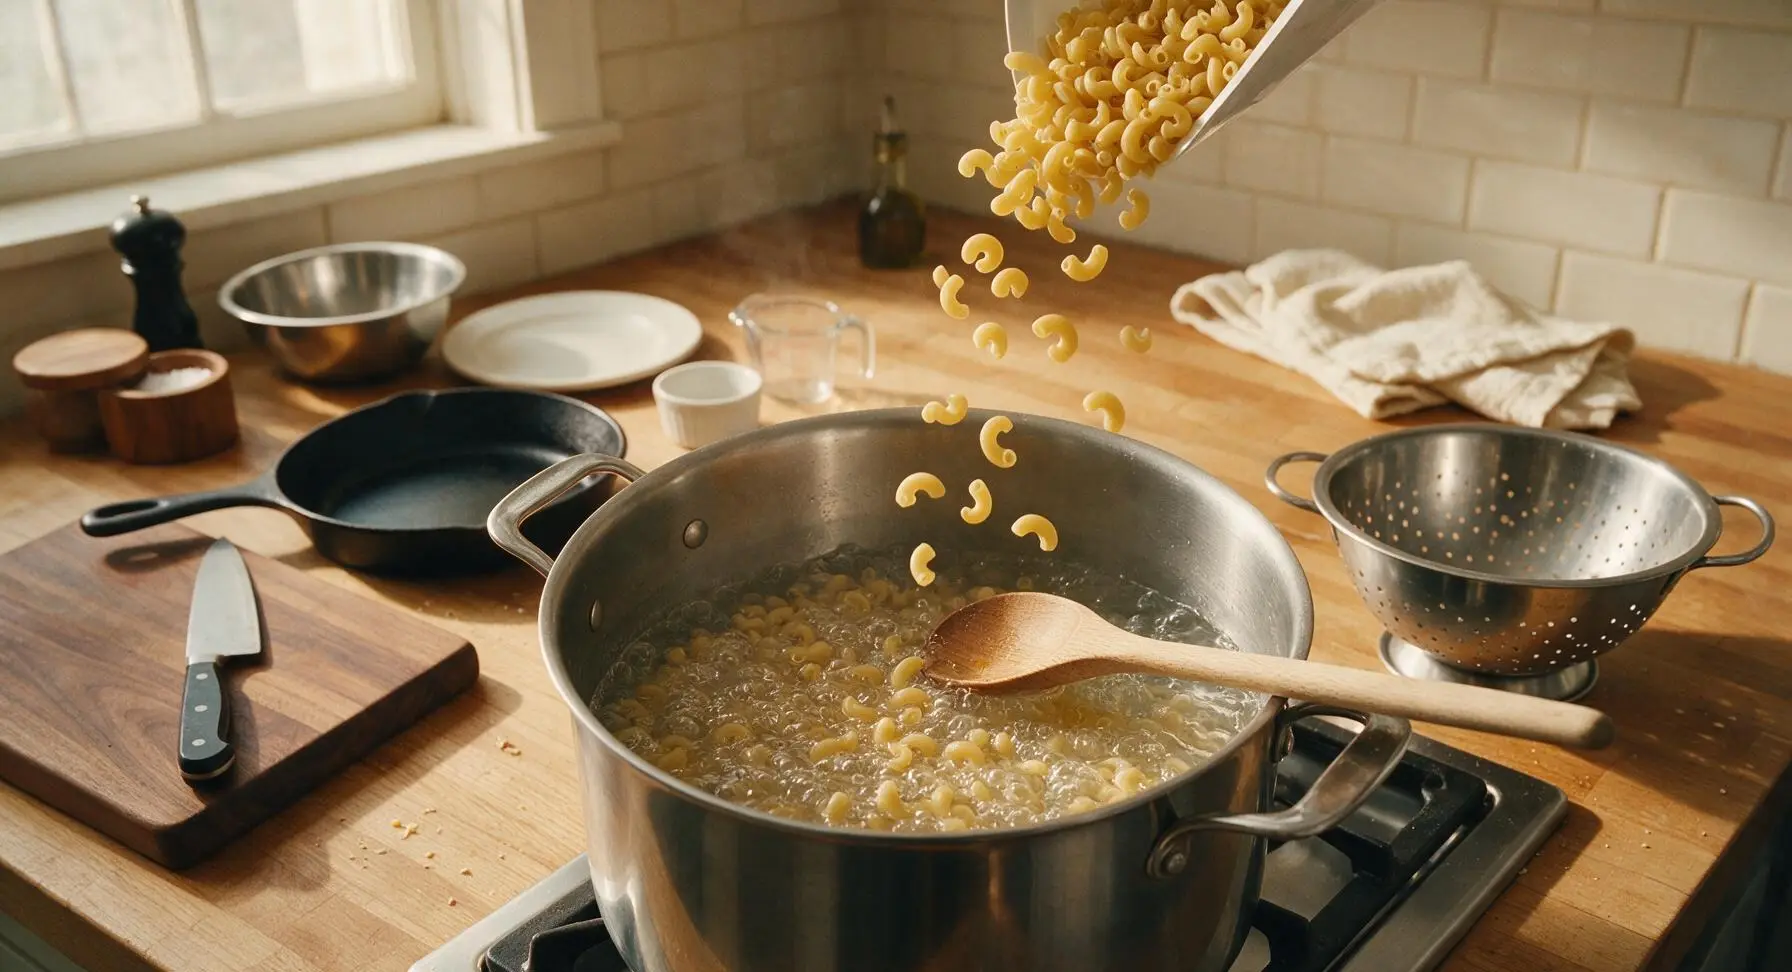
Fill the 6-quart stainless steel stock pot with 4 liters of cold water, add 1 tablespoon of kosher salt, and bring to a rolling boil over high heat. Add 300g dry elbow macaroni, stir once with the beech wood spoon to prevent sticking, and cook for 7 minutes (2 minutes less than the package’s recommended al dente time, as pasta will finish cooking in the oven). The pasta should be firm to the bite with a tiny white core in the center when tested.
Step 2
step2:Cook Pasta Al Dente
3

Drain Cooked Pasta

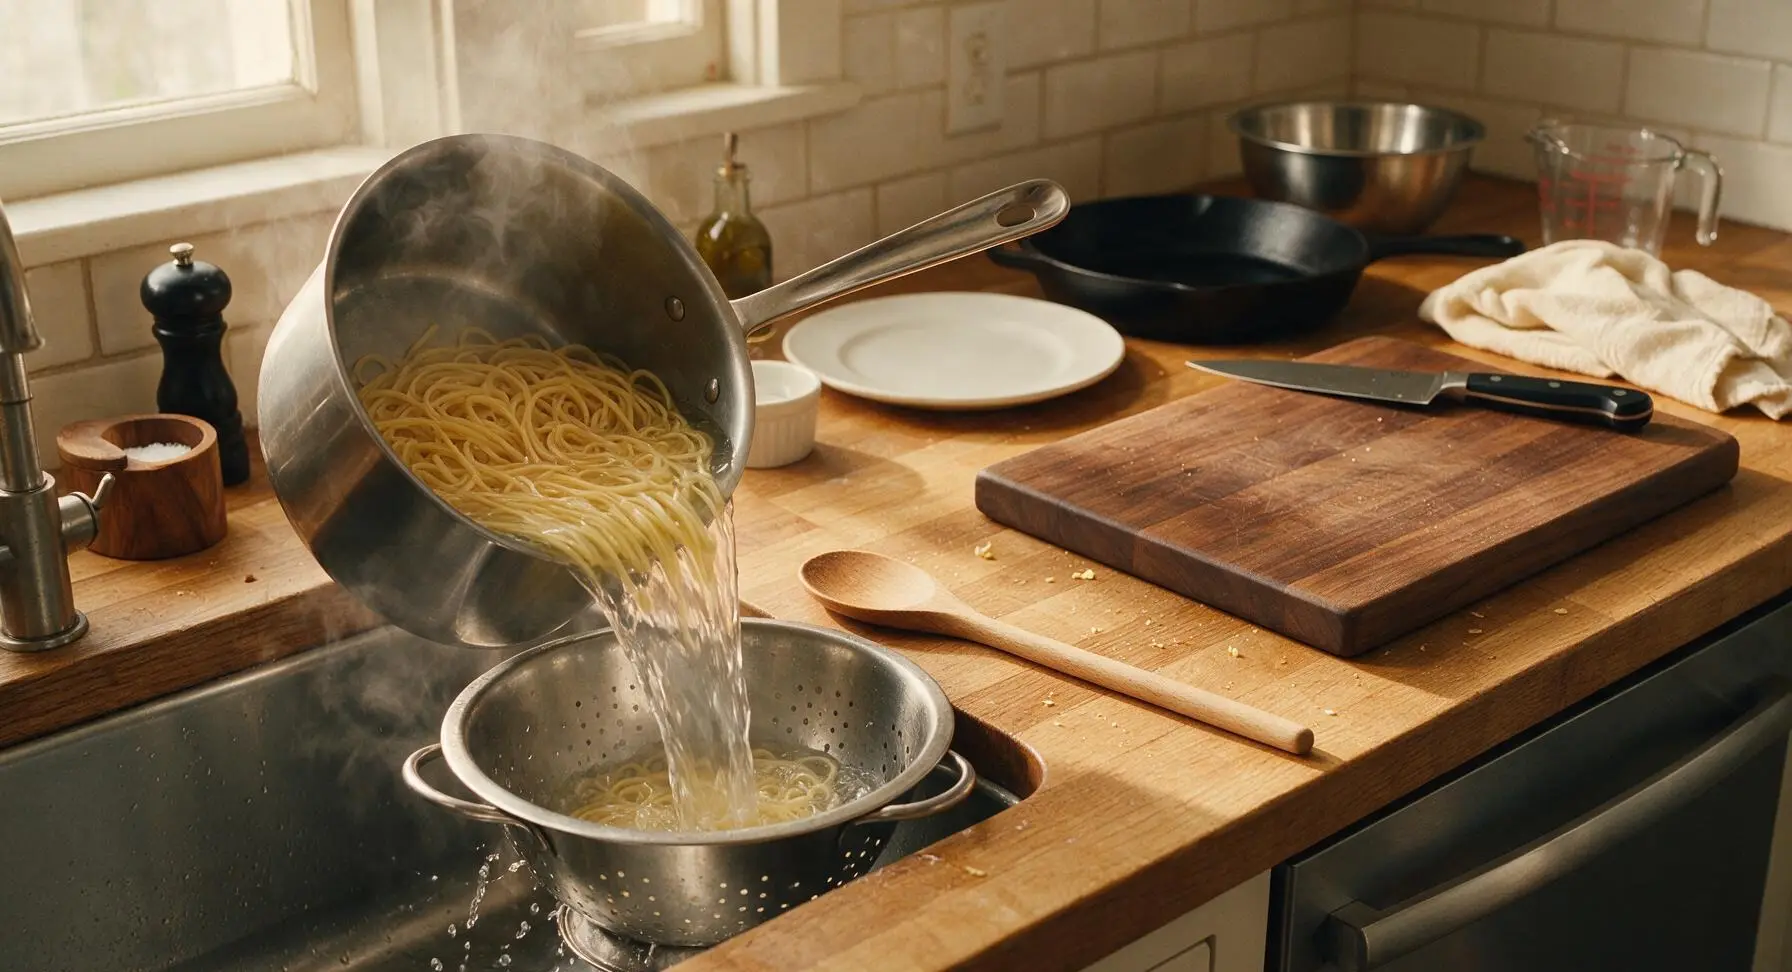
Once pasta reaches the firm, undercooked al dente stage, pour the entire contents of the stock pot into the stainless steel colander set in the sink. Do NOT rinse the pasta, as residual starch helps the cheese sauce cling to the noodles. Set the drained pasta aside briefly while you prepare the sauce.
Step 3
step3:Drain Cooked Pasta
4

Make Butter Roux Base

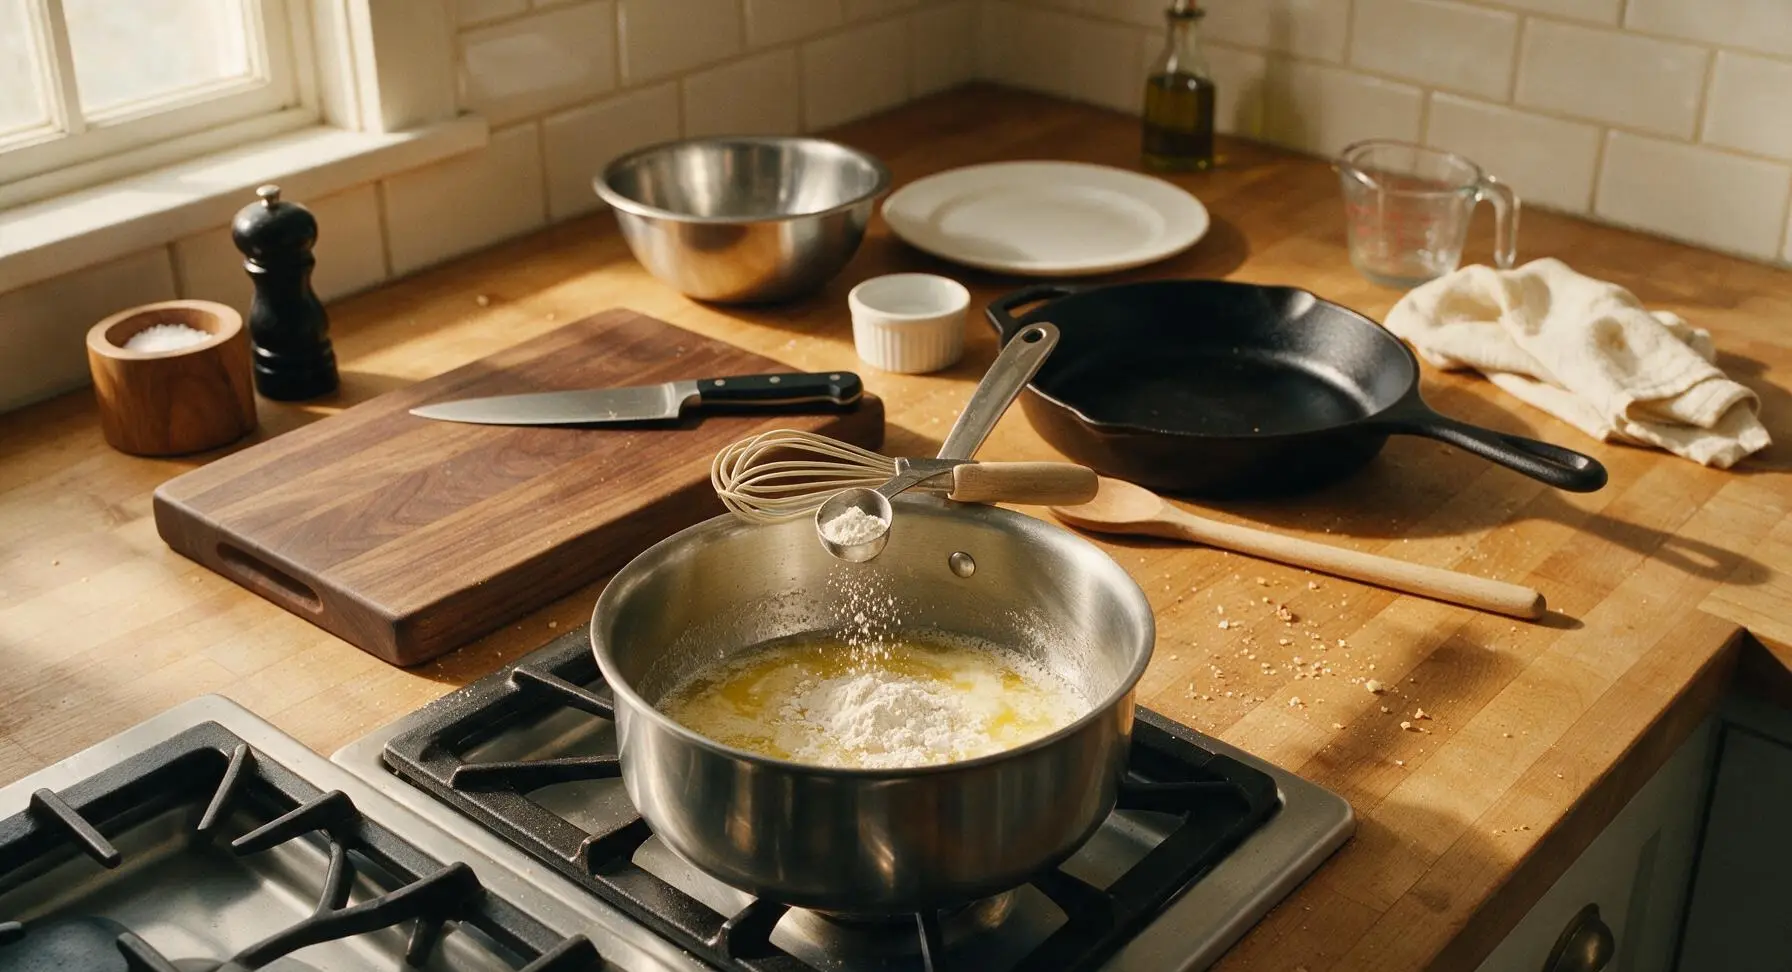
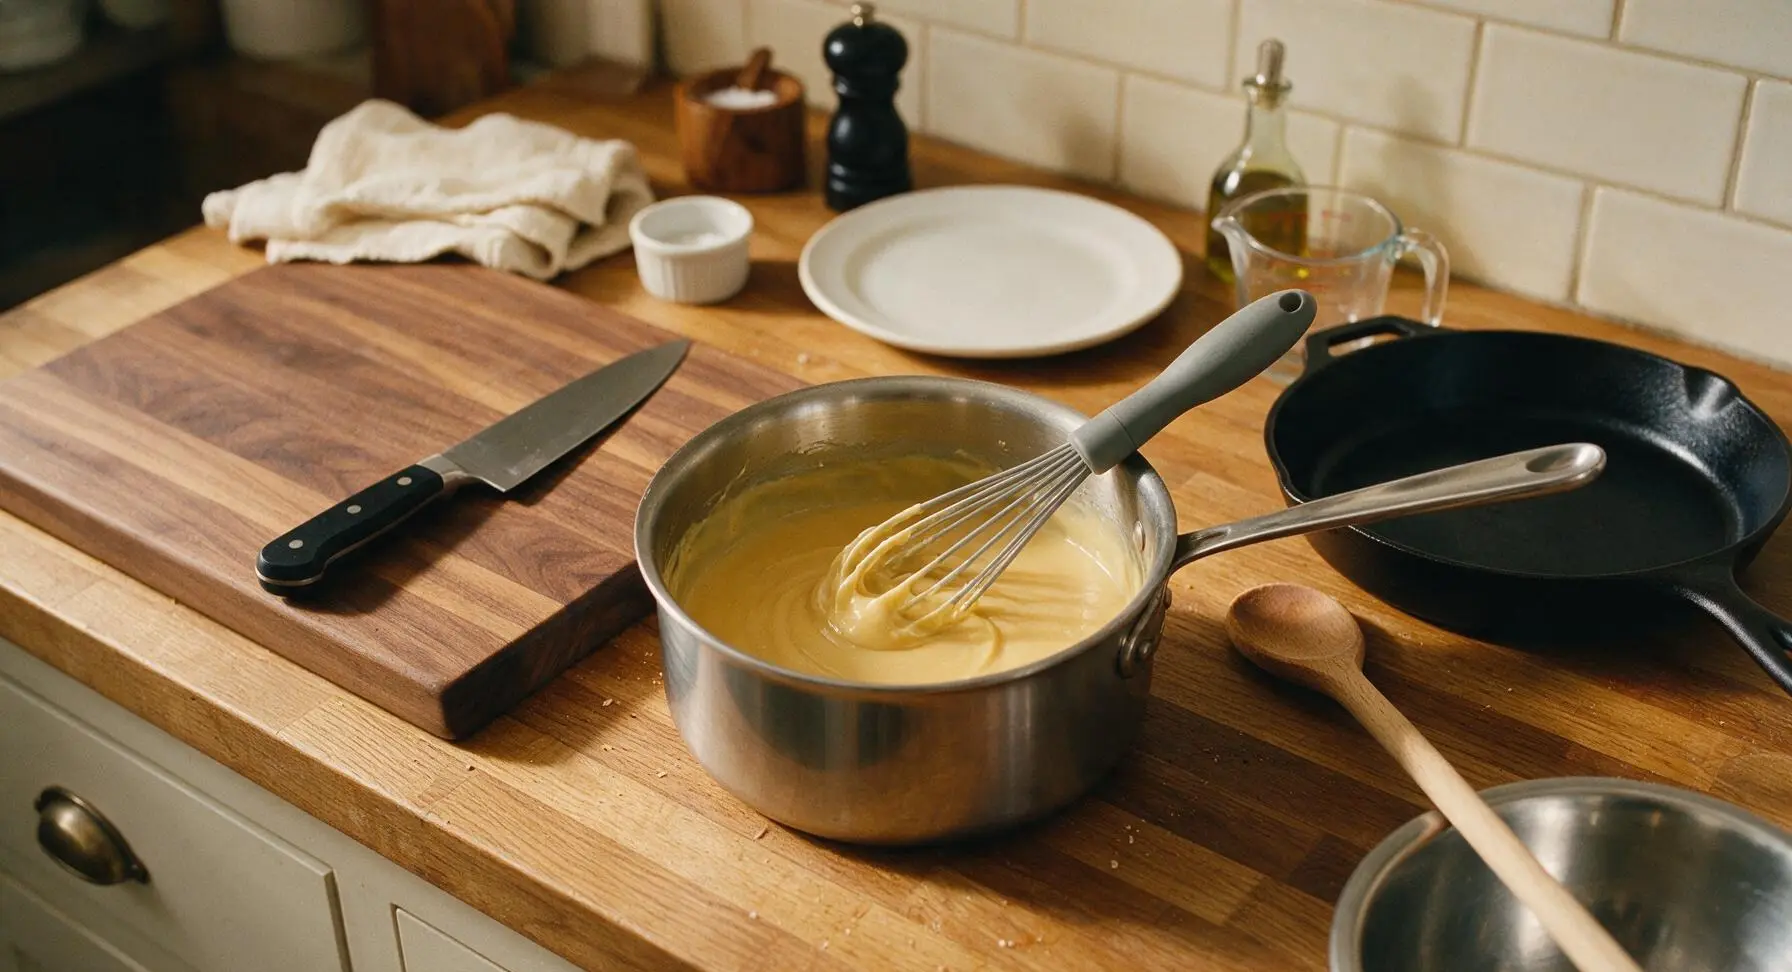
Place the 3-quart stainless steel saucepan on the stovetop over medium heat. Add 3 tablespoons of unsalted butter (reserving 1 tablespoon for the breadcrumb topping), and melt until foamy. Add 3 tablespoons (24g) all-purpose flour, whisking constantly with the silicone whisk for 2 minutes, until the roux turns a pale golden color and smells lightly nutty. Do not let the roux turn dark brown, as this will create a bitter sauce.
Step 4
step4:Make Butter Roux Base
Step 4
step4:Make Butter Roux Base
5

Build Cheese Sauce

Slowly pour 500ml whole milk into the roux, whisking constantly to avoid lumps, until the mixture thickens to a smooth custard consistency (about 3-4 minutes, when the sauce coats the back of a spoon and a line drawn with your finger holds its shape). Remove the pan from heat, stir in 300g of the grated cheddar (the larger pile from the cutting board), 1 tsp garlic powder, 1/2 tsp smoked paprika, picked thyme leaves, 1 tsp kosher salt, and 1/2 tsp freshly ground black pepper. Stir until cheese is fully melted and smooth, with no stringy lumps.
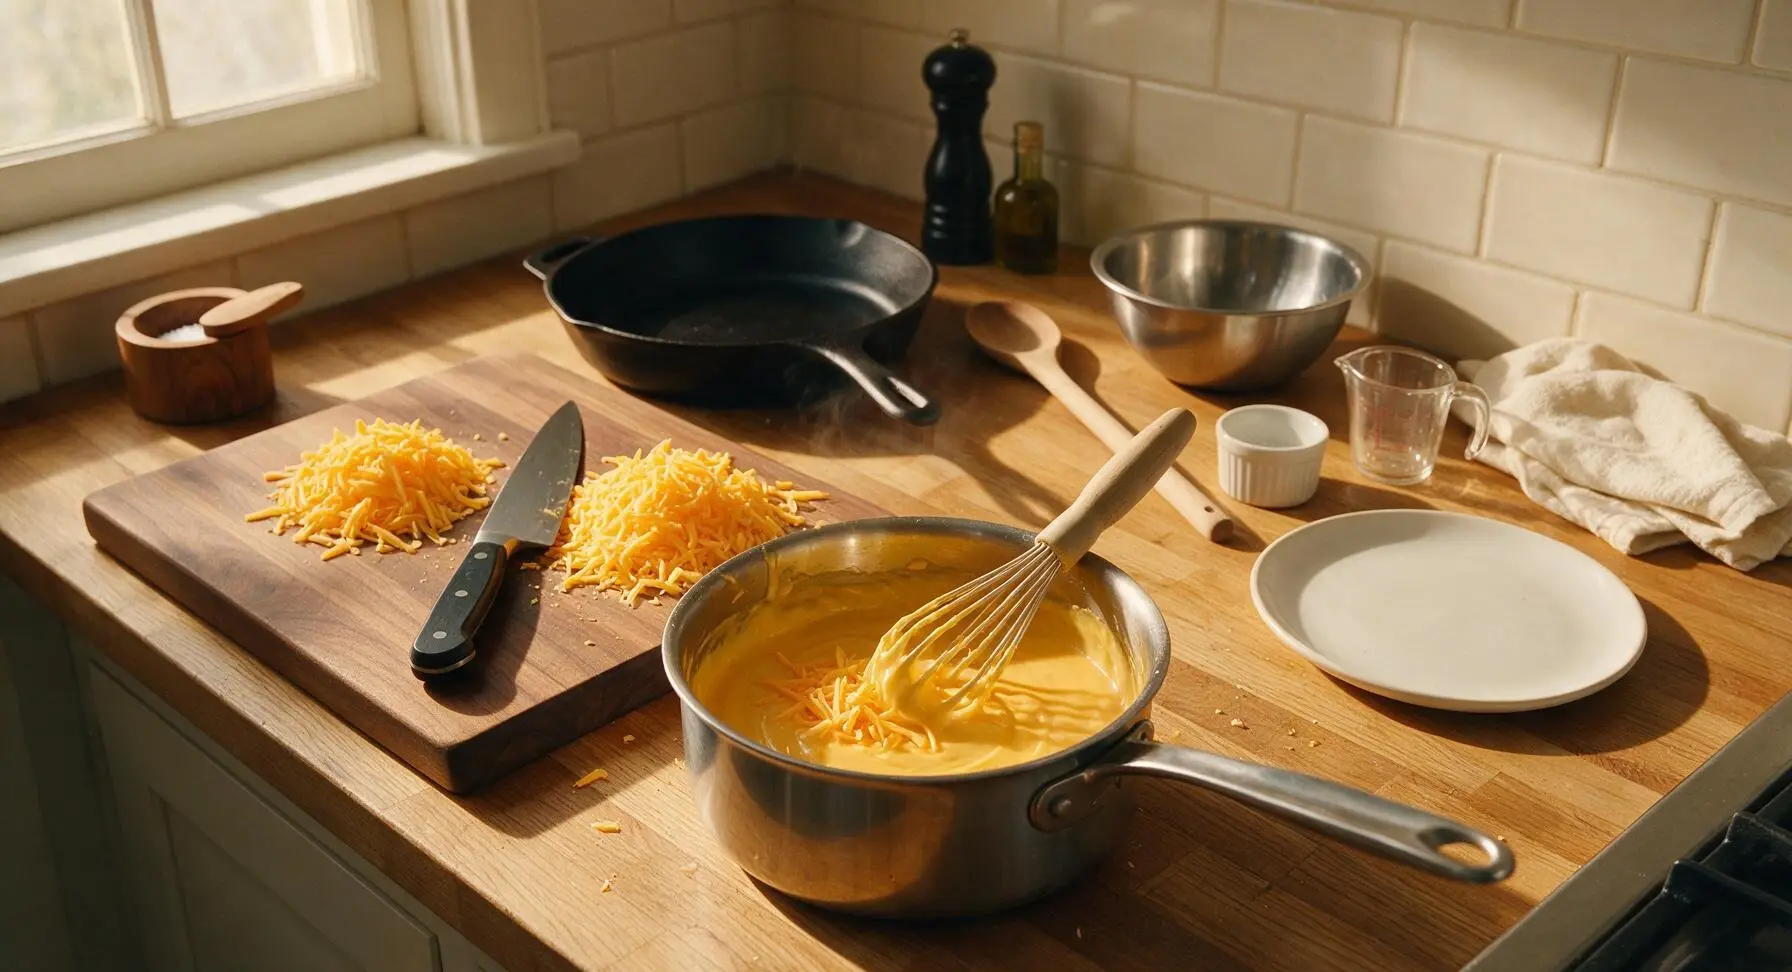
Step 5
step5:Build Cheese Sauce
6

Combine Pasta and Bacon

Add the drained elbow macaroni and diced Canadian bacon directly into the saucepan with the cheese sauce. Stir gently with the beech wood spoon until every pasta noodle is evenly coated in sauce, and bacon pieces are distributed throughout the mixture. Avoid over-stirring, which can break apart the tender pasta noodles.
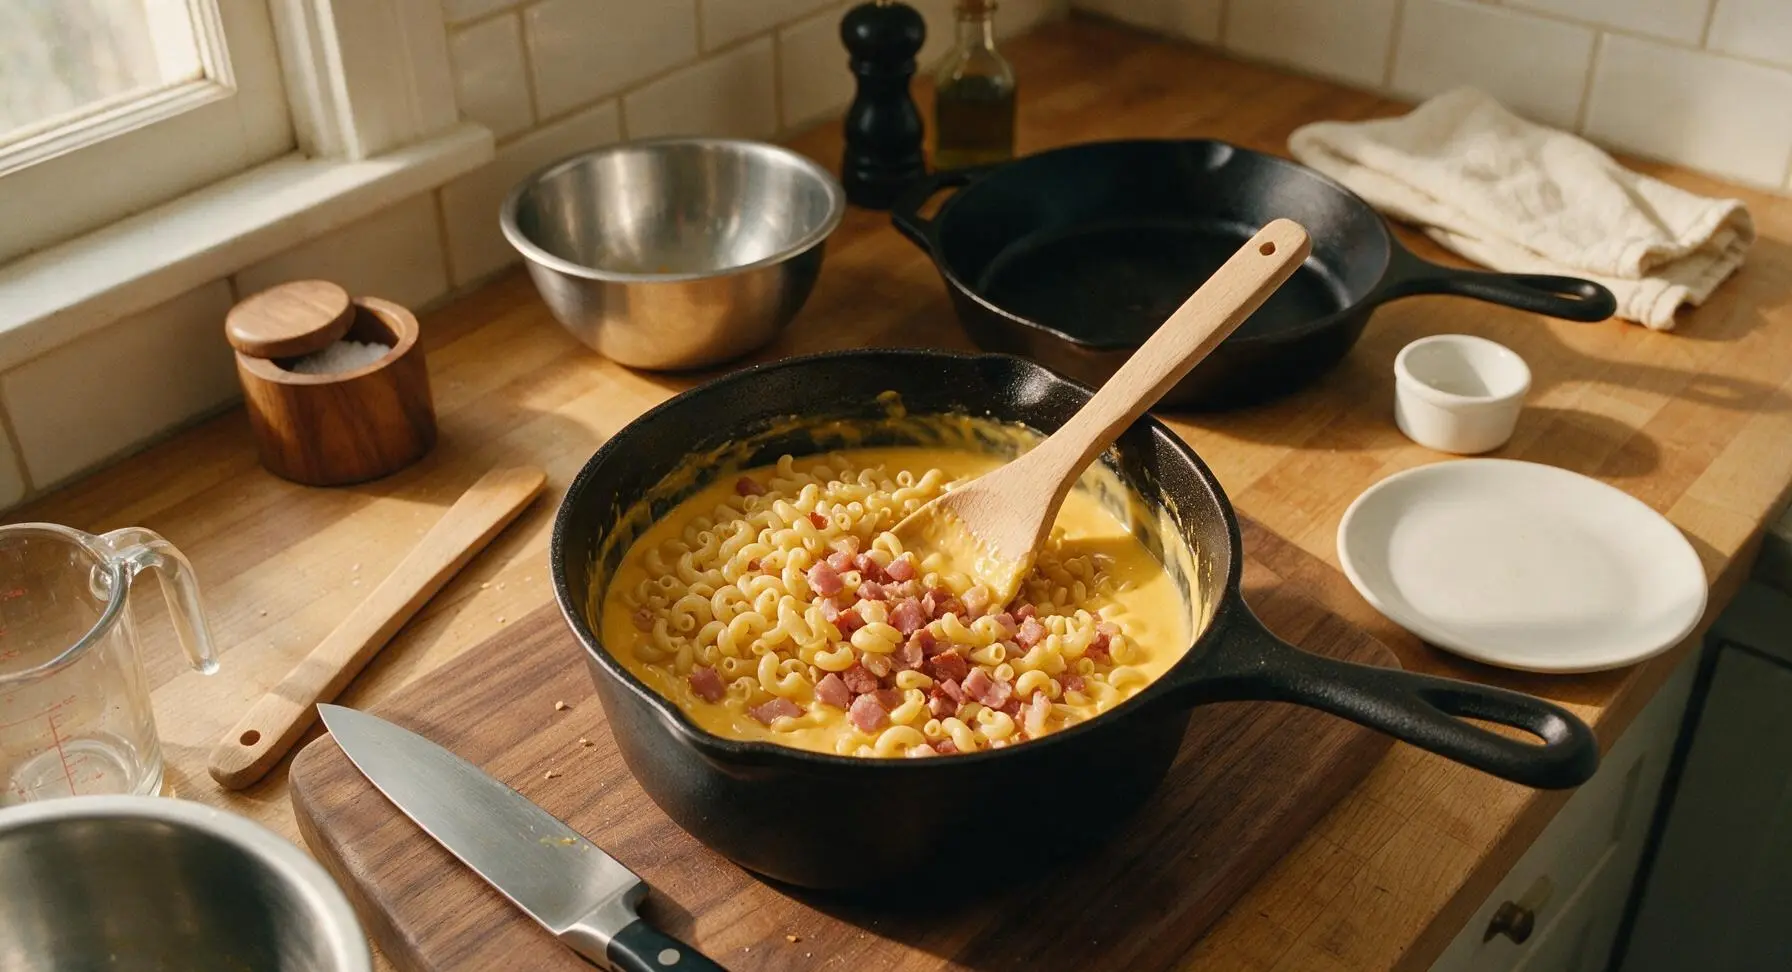
Step 6
step6:Combine Pasta and Bacon
7

Add Crispy Topping

Pour the entire pasta and cheese mixture into the 9x13 inch matte off-white ceramic baking dish, spreading it into an even layer with the back of the beech wood spoon. In the small clear glass mixing bowl, combine the reserved 50g grated cheddar, 60g panko breadcrumbs, and the remaining 1 tablespoon of melted butter, tossing until crumbs are evenly coated in butter. Sprinkle this crumb mixture evenly over the top of the mac and cheese, covering all exposed pasta.
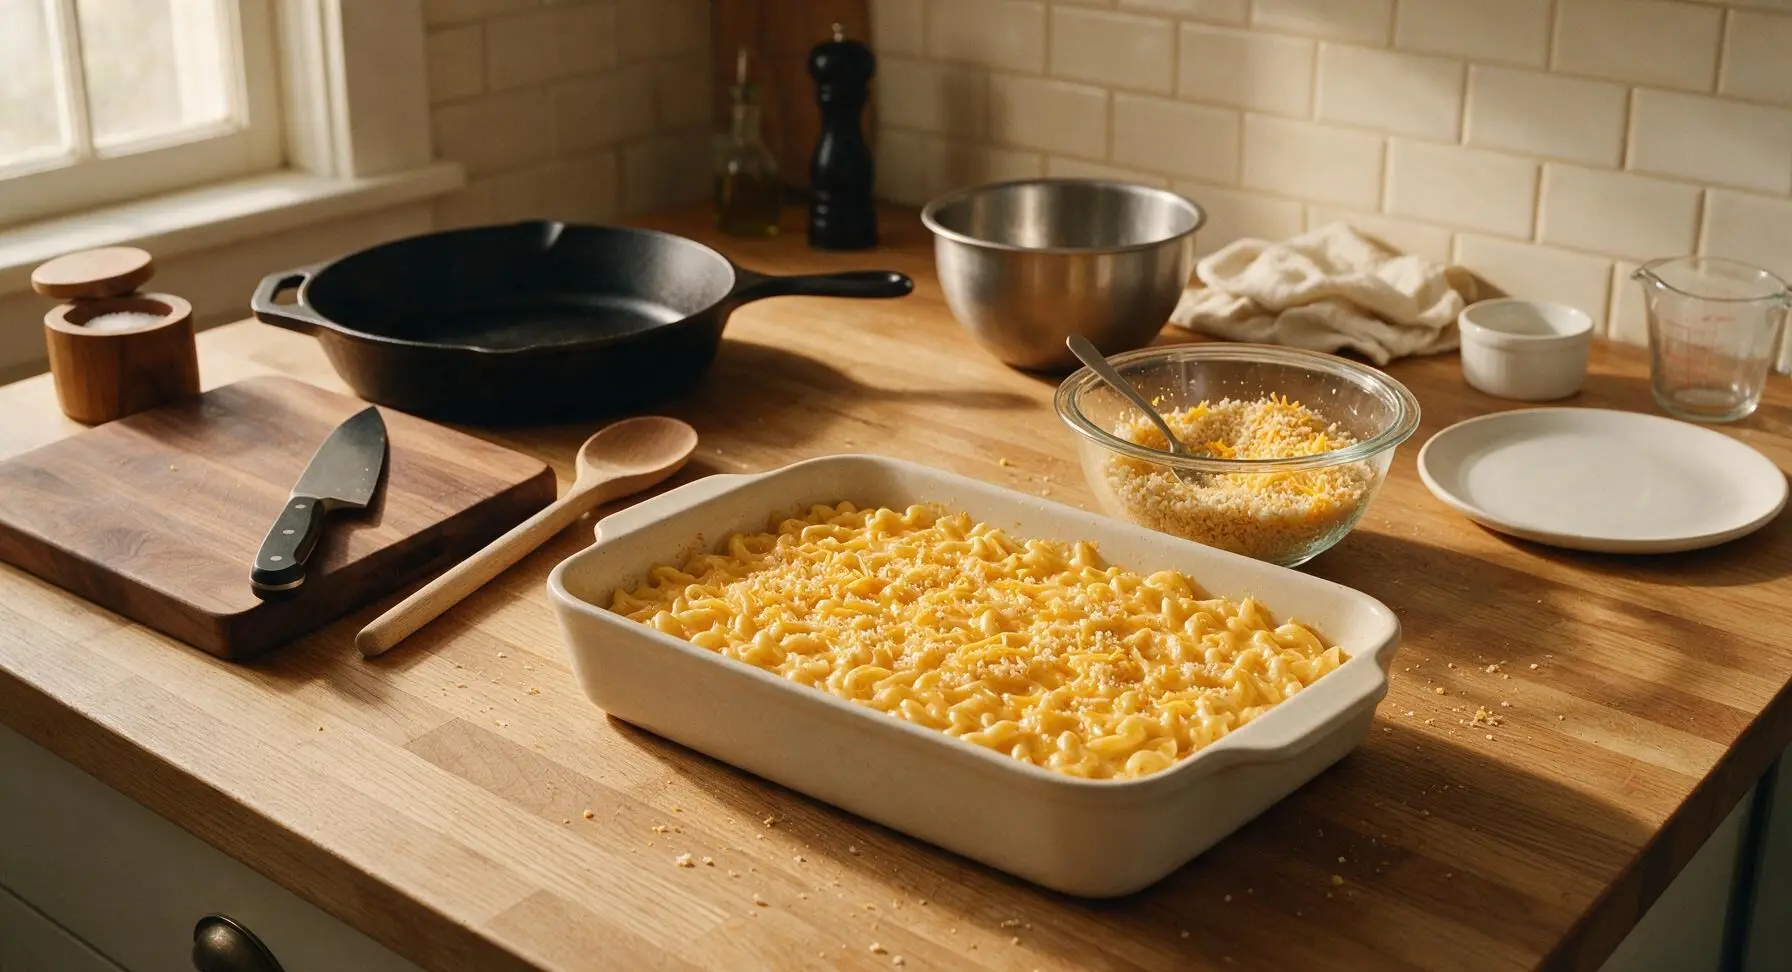
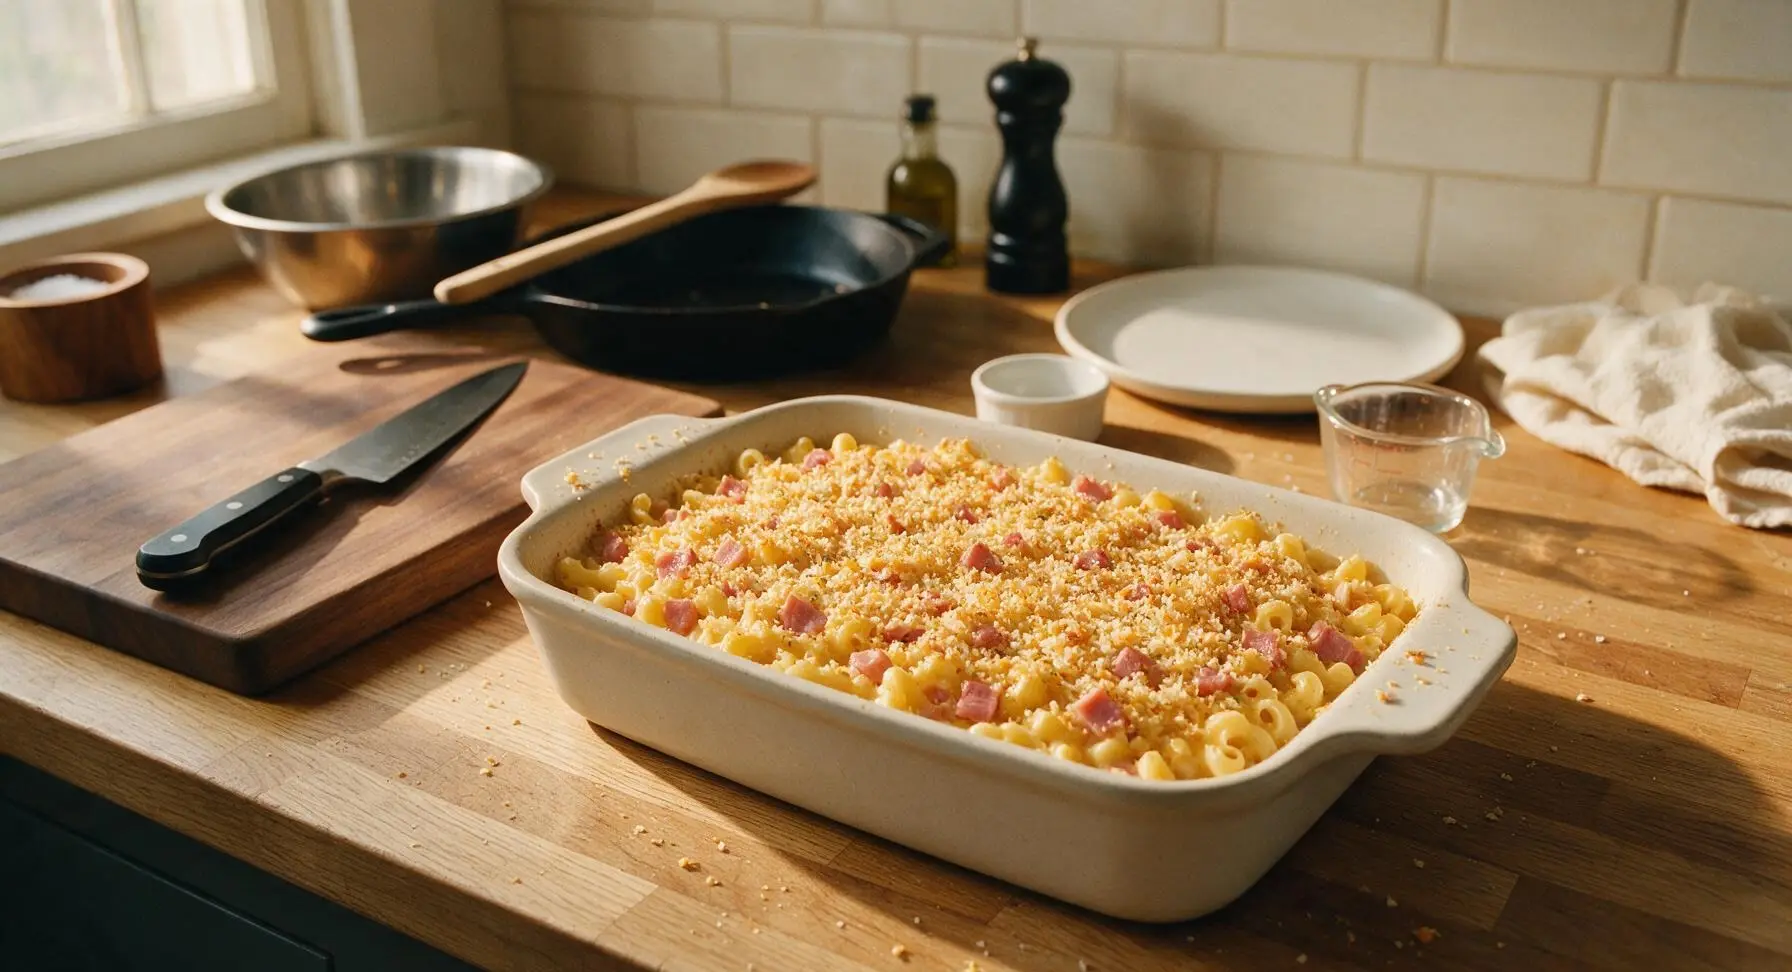
Step 7
step7:Add Crispy Topping
Step 7
step7:Add Crispy Topping
8

Bake and Rest Dish

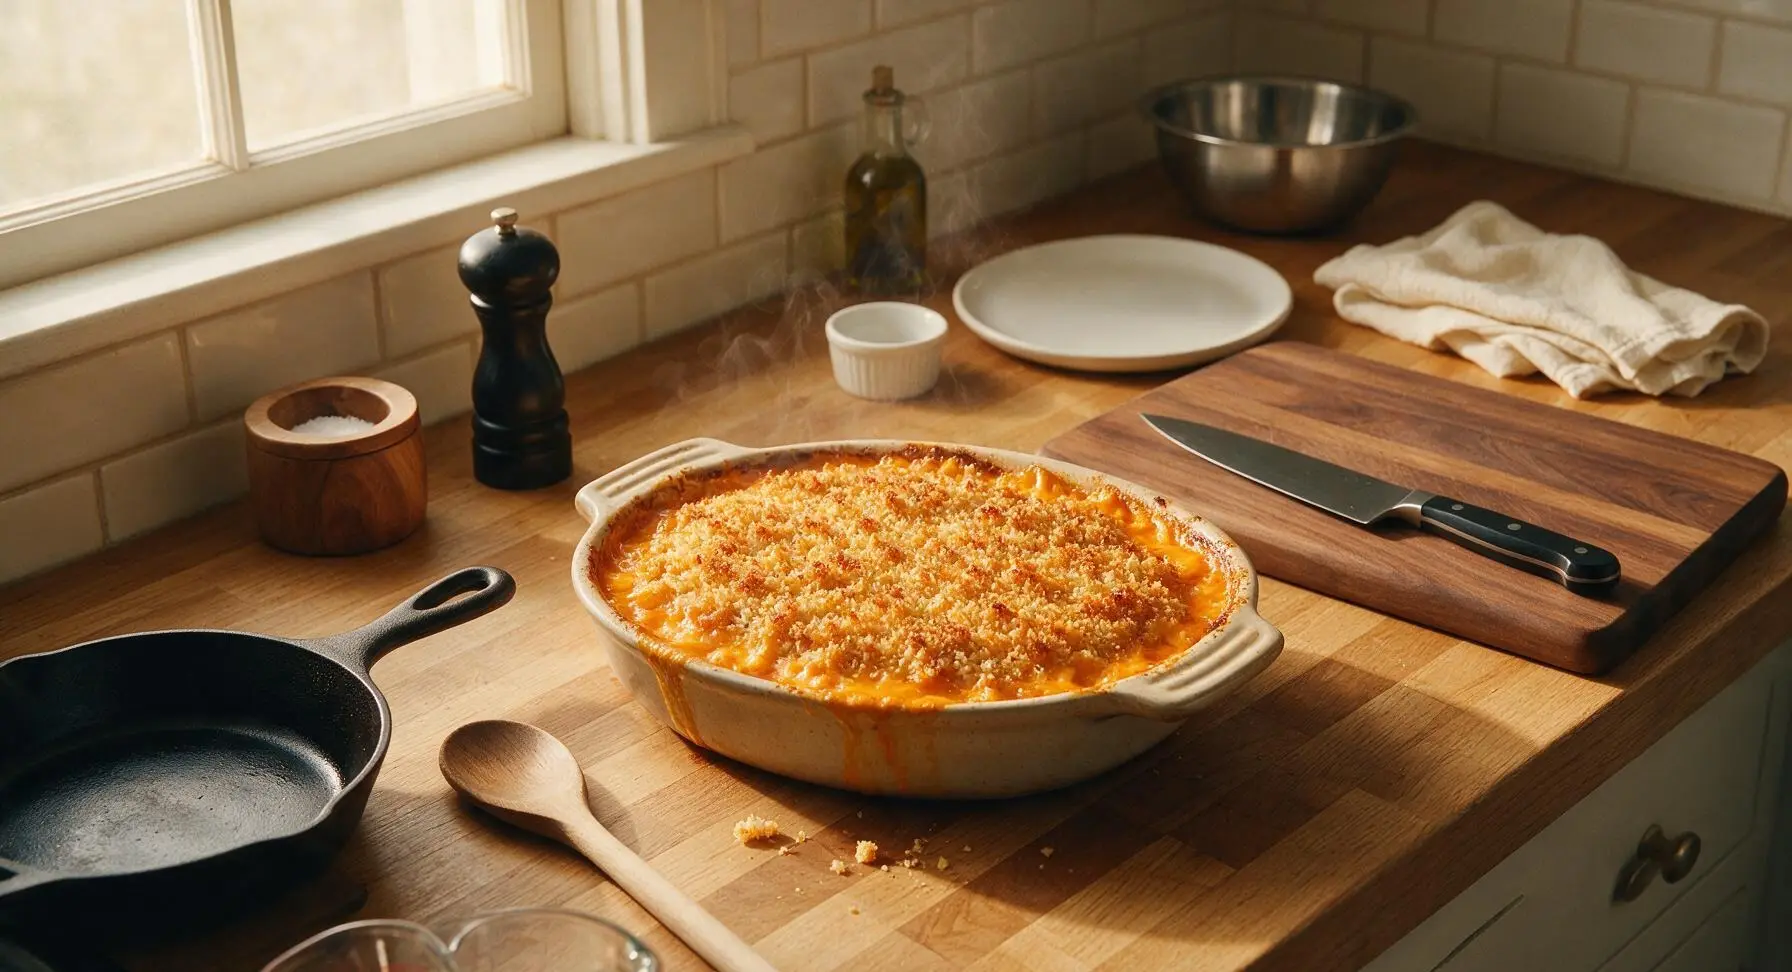
Place the baking dish on the middle oven rack, and bake for 15 minutes at 190°C (375°F), until the sauce is bubbling around the edges and the breadcrumb topping is deep golden and crispy. Remove from the oven, and let rest for 5 minutes before serving—this allows the sauce to set so it does not run when plated. Garnish with leaves from the remaining fresh thyme sprig.
Step 8
step8:Bake and Rest Dish

Tips

1.Grate your own cheese instead of using pre-shredded packaged cheese: pre-shredded cheese is coated in potato starch or natamycin to prevent caking, which stops it from melting into a smooth, velvety sauce and leads to a grainy, separated texture.
2.Never rinse your pasta after draining: the starchy film left on cooked noodles acts as a binder to help the cheese sauce adhere evenly, preventing slippery noodles and sauce that pools at the bottom of the dish.
3.Undercook your pasta by 2 minutes before mixing with sauce: the noodles will continue to absorb liquid and cook in the hot cheese sauce while baking, which prevents mushy, overcooked pasta in the final dish.


✨ You May Also Like

Main Course
🍜 United Kingdom

A showstopping classic of tender seared beef, savory mushroom duxelles, and crisp prosciutto wrapped in flaky golden puff pastry, baked to juicy perfection.

⏱️ 2 hours 1Main Course ★ 4.7
Main Course
🍜 India

Tender charred marinated chicken simmered in a rich, spiced creamy tomato sauce, this iconic Anglo-Indian curry pairs perfectly with basmati rice or warm naan.

⏱️ 50 minuteMain Course ★ 4.6
Main Course
🍜 Thailand

Classic tangy, sweet, and savory Thai stir-fried rice noodles with shrimp, tofu, and crunchy garnishes, balancing all five core Thai flavor profiles.

⏱️ 30 minuteMain Course ★ 4.5
Main Course
🍜 United Kingdom

Crispy golden beer-battered cod and fluffy double-fried chips, served with tangy tartar sauce and malt vinegar: the timeless, beloved British pub comfort classic.

⏱️ 45 minuteMain Course ★ 4.7
Main Course
🍜 Mexico

Smoky, chile-marinated pork tacos with caramelized pineapple, fresh cilantro, and lime: a beloved classic Mexican street food perfect for casual summer gatherings.

⏱️ 1 hour 45Main Course ★ 4.8
Main Course
🍜 United States

Crunchy Fritos corn chips layered with savory beef chili and melted cheddar, topped with cool, zesty fixings for a beloved, cozy Tex-Mex comfort food.

⏱️ 35 minuteMain Course ★ 4.8

Canadian Bacon Mac and Cheese:Frequently Asked Questions

1.Can I use pre-shredded sharp cheddar instead of grating a block fresh? ▾
I don’t recommend it for the silkiest sauce—pre-shredded cheddar is coated in potato starch and anti-caking agents that make the final sauce grainy instead of velvety. Grating your own block of sharp orange cheddar takes 2 minutes with a box grater, and you’ll notice a huge difference in smooth, rich cheese pull.
2.Do I have to bake this mac and cheese, or can I serve it stovetop? ▾
You can absolutely skip baking if you’re short on time! Toss the cooked pasta, cheese sauce, and seared Canadian bacon together, top with toasted panko, and serve right away. Baking for 20 minutes at 375°F just melds the flavors more and gives that classic crispy, golden top perfect for family gatherings.
3.Can I substitute regular streaky bacon for the Canadian bacon in this recipe? ▾
You can, but note that regular streaky bacon is much fattier and saltier than lean, smoky Canadian back bacon. If you swap it, cook the bacon first, drain off all excess grease, and cut back on added salt in the cheese sauce so the final dish doesn’t end up overly salty or greasy.
4.What’s the best way to get the panko topping extra crispy? ▾
Melt 1 tablespoon of unsalted butter in a small pan, toss the panko crumbs in the butter until evenly coated, then toast them for 2-3 minutes over medium heat before sprinkling over the mac and cheese. This pre-toast step keeps panko from getting soggy while baking, for that perfect golden crunch in every bite.
5.Can I use 2% or skim milk instead of whole milk for the cheese sauce? ▾
Whole milk gives the richest, creamiest base for the cheddar sauce, thanks to its higher fat content. You can use 2% in a pinch, but the sauce will be slightly thinner and less luscious. Avoid skim milk entirely—it has too high a water content and will make your sauce watery or prone to separating as it bakes.
6.How al dente should I cook the dry elbow macaroni before baking? ▾
Cook your dry elbow macaroni 2 minutes less than the package’s al dente recommendation, so it’s still firm at the center. The pasta will keep cooking as it bakes in the cheese sauce, and undercooking it slightly keeps it from turning mushy or bloated by the time the dish is hot and bubbly all the way through.
7.Can I make this mac and cheese ahead of time for a family gathering? ▾
Absolutely! Assemble the entire dish (hold off on adding the panko topping) 1-2 days in advance, cover tightly, and store it in the fridge. Add the buttered panko right before baking, and tack on 10-15 minutes to the bake time since it will be cold going into the oven.
8.Why is my cheese sauce coming out grainy instead of smooth? ▾
Grainy sauce almost always comes from overheating the cheese. Once you stir the grated cheddar into the butter and milk roux, turn the heat to low and don’t let the sauce boil. Boiling causes milk proteins to curdle and cheese to separate, leading to that gritty, unpleasantly textured sauce.
9.Do I need to cook the Canadian bacon before adding it to the mac and cheese? ▾
It’s not strictly required, since Canadian bacon is fully cured and smoked, but I recommend searing it in a tiny bit of butter for 2-3 minutes first. Searing caramelizes the edges, amplifies that smoky flavor, and keeps the bacon from getting rubbery as it bakes in the creamy sauce.
10.What can I add if I want to sneak extra veggies into this dish for my kids? ▾
Stir in 1 cup of steamed, finely chopped broccoli, roasted diced cauliflower, or pureed butternut squash right when you mix the pasta and sauce. The sharp cheddar and smoky Canadian bacon flavor masks veggies really well, adding extra nutrition without ruining that classic nostalgic comfort food vibe.
11.Can I freeze leftover baked Canadian bacon mac and cheese? ▾
Yes, portion cooled leftovers into airtight, freezer-safe containers and freeze for up to 3 months. Thaw in the fridge overnight, then reheat in the oven at 350°F covered with foil for 20 minutes, stirring halfway through. Add a splash of milk if the sauce feels too thick after reheating.
12.What other cheeses pair well with sharp orange cheddar for more complex flavor? ▾
You can swap up to 1/3 of the sharp cheddar for smoked gouda, Gruyère, or a tiny bit of cream cheese for extra depth. Stick to mostly sharp orange cheddar though—it has that bold, tangy, nostalgic flavor that pairs perfectly with smoky Canadian bacon, so don’t overpower it.
13.How do I keep the panko top from getting too dark while the center bakes? ▾
If you notice the panko topping turning deep golden before the center of the dish is bubbly, just tent a loose piece of aluminum foil over the top of the baking dish for the rest of the cook time. The foil blocks direct heat so crumbs don’t burn, while the center keeps heating through evenly.
14.Should I salt the pasta water when cooking the elbow macaroni? ▾
Definitely! Salt your pasta water until it tastes as salty as seawater—this is the only chance you have to season the pasta itself, rather than just the sauce. It makes a huge difference in overall flavor, and most of the salt drains out with the water anyway, so it won’t make the dish too salty.
15.Can I use a different pasta shape if I don’t have elbow macaroni on hand? ▾
Elbow macaroni is classic because its ridges and curved shape catch the thick cheddar sauce perfectly, but you can swap in other small, ridged shapes like cavatappi, rotini, or small shells if that’s what you have. Avoid long, smooth pasta like spaghetti, since it won’t hold the thick sauce or bits of Canadian bacon well.

Comments (9)

2 days ago

OMG this Canadian bacon mac and cheese was a total game changer for our weeknight family dinner! I was worried my super picky 7 year old would turn his nose up at anything that wasn’t neon orange boxed mac, but he asked for SECONDS before he even finished his first serving. It was so easy to throw together after my long shift too, the 35 minute cook time is no joke, no fancy steps or weird ingredients. SO good, I already sent the link to my mom and sister!

yesterday

That makes our day to hear, Sarah! So glad your picky eater gave it two thumbs up—this recipe was designed to be quick enough for busy weeknights, so it’s awesome it fit right into your routine. Hope your mom and sister love it too!

5 days ago

Made this for my apartment potluck last weekend and it was the first dish gone! I added a little extra panko breadcrumb on top for crunch because I love that texture contrast, and people were asking me for the recipe before they even left. The Canadian bacon adds such a nice salty, smoky kick that regular mac and cheese is missing, honestly. Will definitely be making this again for our next game night.

3 days ago

The panko top hack is chef’s kiss! I made this earlier this week and kept thinking it needed a little extra crunch, I’m definitely doing that next batch. Did you toast the crumbs in butter first or just sprinkle them straight on before baking?

1 week ago

Perfect easy meal prep recipe! I divided this up into 5 containers for my work lunches this week, and it reheats so much better than I thought it would. The Canadian bacon doesn’t get all rubbery in the microwave like regular ham does, which is a huge win. Only knock is I wish I’d made a double batch, I’m already halfway through the containers and it’s only Wednesday lmao

yesterday

My kids loved this! I was scrambling last night to find something to make for dinner that didn’t require a trip to the grocery store, and I had all the ingredients on hand: pasta, cheese, milk, a pack of Canadian bacon I bought for breakfast sandwiches, even a little paprika in the spice cabinet. It came together so fast, and my two toddlers devoured it without any of the usual mealtime tantrums. Total win in my book!

2 hours ago

Same! I made this on a total whim last week when I realized I forgot to thaw chicken for dinner, and it was such a hit with my roommate too. The Canadian bacon is such a good swap for the usual crumbled sausage I put in mac, way less greasy.

30 minutes ago

Love when a pantry/fridge staple meal turns into a new family favorite! So glad your toddlers enjoyed it—we love how versatile this recipe is, you can toss in whatever veggies or seasonings you have lying around too and it still tastes amazing.

30 minutes ago

Wait, why did I sleep on adding Canadian bacon to mac and cheese for so long??? I’ve made so many mac and cheese recipes over the years that are either too bland or have weird grainy cheese sauce, but this one was perfectly creamy, the salt from the bacon cut through the richness so well. It’s easy enough that even I, a guy who burns toast half the time, didn’t mess it up. 10/10

5 minutes ago

So glad the cheese sauce came out smooth for you, Javi! The trick is adding the cheese off heat a handful at a time to avoid that grainy texture, sounds like you nailed it. Can’t wait for you to try more of our easy weeknight recipes!

2 weeks ago

I’ve been making mac and cheese for my grandkids for over 40 years, and I decided to give this recipe a shot when they visited last weekend. Let me tell you, that Canadian bacon adds such a nice little twist! I used sharp cheddar like the recipe said and added a tiny dash of nutmeg like I always do, and even my oldest grandson who’s a culinary student said it was one of the best batches I’ve ever made. Will absolutely be adding this to my regular rotation.

3 days ago

Solid recipe, super straightforward. I swapped the regular pasta for whole wheat to bump up the fiber a little, and used low-fat cheese because I’m tracking my macros, and it still turned out really tasty. The Canadian bacon adds a good amount of protein so I don’t crash an hour after lunch, which is exactly what I look for in meal prep options. Only thing is I’d add a little hot sauce on top next time for a kick, but that’s just personal preference.

2 days ago

The hot sauce add is non-negotiable for me! I drizzled a little sriracha on my serving last night and it paired so perfectly with the smoky bacon and creamy cheese. You’ve gotta try it!

yesterday

Love the macro-friendly swap, Zach! Whole wheat pasta works so well in this recipe, we’re big fans of adding a little hot sauce too—try a dash of smoked paprika if you want an extra smoky kick without the heat next time!

1 week ago

Brought this to our neighborhood block party last Saturday and I lost count of how many people asked me for the recipe. I was worried it wouldn’t stay warm enough in the crockpot on the walk over, but it held up perfectly for two whole hours while people grazed. The Canadian bacon makes it feel a little fancier than regular mac and cheese without any extra work, which is exactly what I need for potluck dishes. Will 100% be making this for our next tailgate too.

2 hours ago

Wait a second, this was SO good. I was feeling lazy last night and didn’t want to order takeout for the third night in a row, so I pulled this recipe up on my phone while I was at the grocery store. Grabbed the few ingredients I didn’t have, got home, and had it on the table in 35 minutes exactly like the recipe said. My boyfriend said it’s better than the mac and cheese at our favorite BBQ spot down the street, which is the highest possible praise coming from him. Only complaint is we ate almost the whole pan in one sitting so there are zero leftovers for today lmao

30 minutes ago

Omg the BBQ spot comparison is wild—our local spot does a bacon mac that I’m obsessed with, I’m gonna have to test this side by side this weekend to see if it holds up! Fingers crossed it does, because making it at home would save me so much money.

5 minutes ago

That is high praise indeed, Lila! Love that you beat the takeout slump with this recipe—pro tip for next time: make a double batch so you don’t miss out on leftovers, it tastes even better the second day!



