1.What grade of maple syrup do I really need for traditional maple cream, and can I use a lighter grade?
▾
Stick with Grade A Dark Robust (previously labeled Grade B) for the most authentic, deep caramelized maple flavor that defines traditional maple cream. You can use lighter Grade A syrups like Amber Rich if that’s all you have, but your final cream will have a much milder, less complex taste. Never use imitation pancake syrup—it has added corn syrup and artificial flavor that ruins texture and taste.
2.Why does my maple cream turn out grainy instead of smooth and velvety?
▾
Grainy texture almost always comes from sugar crystals forming during cooling, usually from stirring too early, failing to wash down pot sides while boiling, or cooling syrup too fast. Fix grainy batches by re-melting the cream, adding 1 tablespoon of water, reheating to the correct target temperature, and letting it cool undisturbed to 110°F before stirring, brushing pot sides with a wet pastry brush as it boils to catch stray crystals.
3.Do I need any special equipment to make maple cream at home?
▾
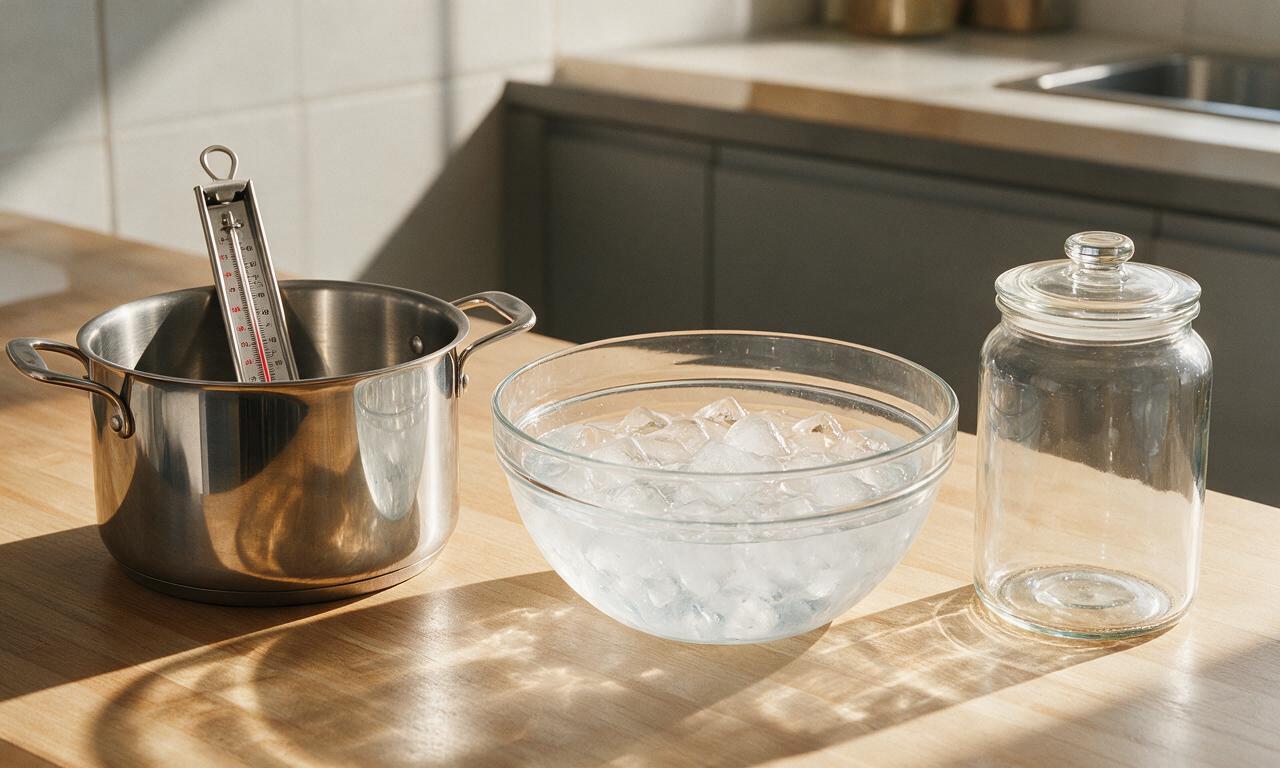
You don’t need fancy professional gear, but a few key tools make success much easier: a heavy-bottomed saucepan to prevent scorching, a reliable candy thermometer to hit exact temperatures, a damp pastry brush to wash sugar crystals off pot sides, and a stand or hand mixer to beat cooled syrup into that signature creamy texture. A small bowl of ice water for temperature tests is a helpful backup.
4.What temperature do I need to heat the maple syrup to for the perfect set?
▾
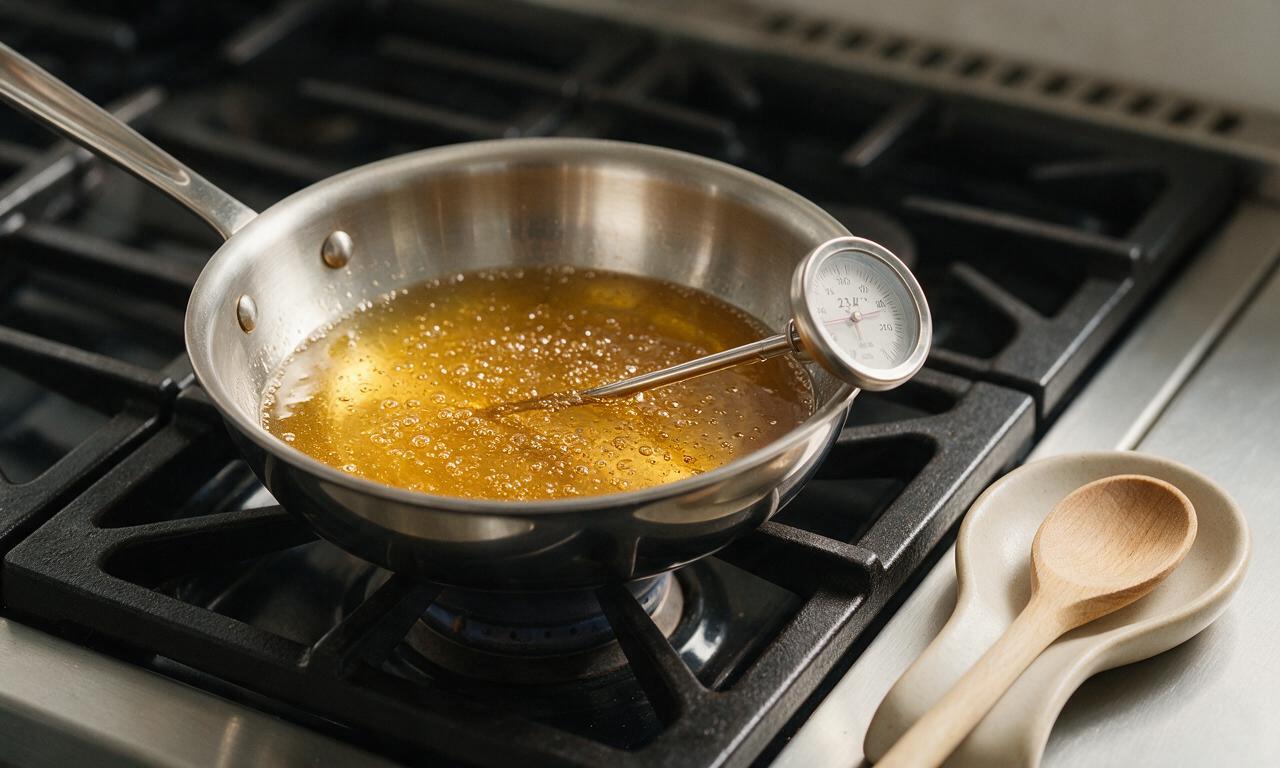
Heat your pure maple syrup to exactly 235°F (113°C), 7°F above water’s sea-level boiling point—this is the soft-ball stage critical for a perfect spreadable texture. If you live above 1,000 feet elevation, subtract 1°F from that target for every 500 feet of elevation gain to account for lower boiling points, so you don’t overcook syrup into stiff maple taffy instead of smooth cream.
5.What role does the butter play in this maple cream recipe?
▾
The small amount of unsalted butter serves two key purposes: first, it cuts the cloying sweetness of concentrated maple syrup to round out flavor, adding a subtle rich, creamy undertone. Second, it helps inhibit large sugar crystal formation during beating, leading to that silky, spreadable texture instead of a gritty, crumbly final product. Don’t skip it, or use salted butter without adjusting added salt.
6.Can I make maple cream without adding any butter for a dairy-free version?
▾
Yes, you can make a dairy-free traditional maple cream by omitting butter entirely—this is actually the oldest, original version of the treat, made with only maple syrup and a tiny pinch of salt. Just note it will be slightly firmer when chilled, have a brighter, more intense maple flavor, and you’ll need to be extra careful preventing sugar crystals as it cooks and cools to keep texture smooth.
7.How much salt should I add, and can I use regular table salt instead of fine sea salt?
▾
Stick with 1/8 to 1/4 teaspoon of fine sea salt per 2 cups of maple syrup—just enough to amp up maple flavor and cut sweetness without making the cream taste salty. If you only have table salt, cut the amount in half, since table salt has smaller, denser grains and a sharper taste than fine sea salt. Avoid flaky sea salt for mixing in, as it won’t dissolve evenly.
8.How long do I need to beat the cooled maple syrup to get that signature creamy texture?
▾
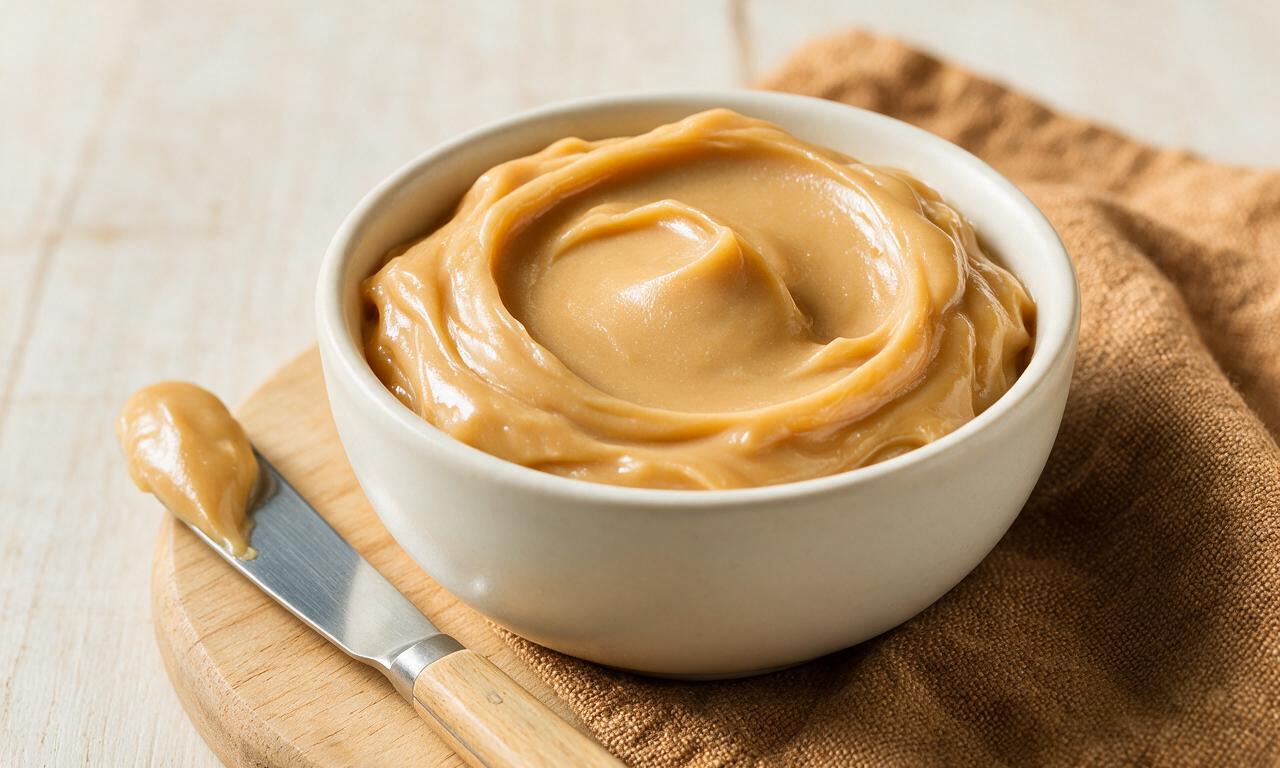
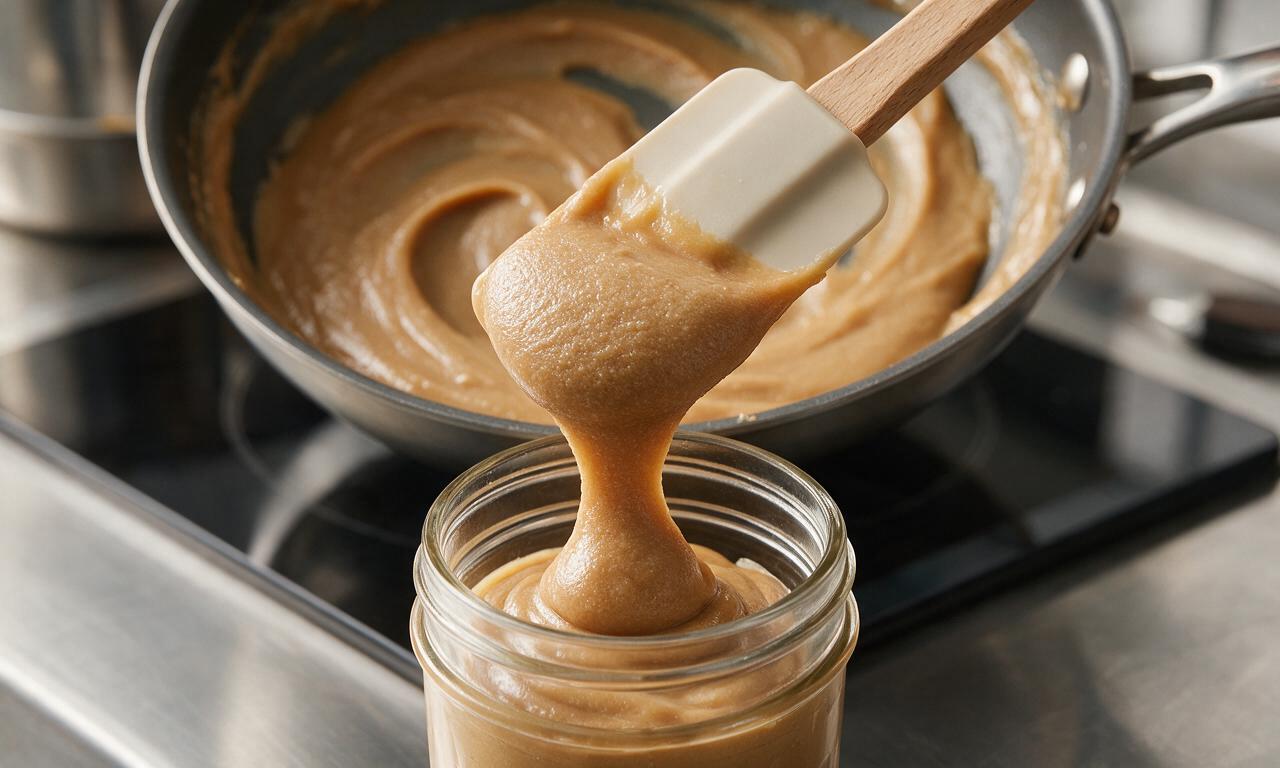
Once your cooked syrup has cooled undisturbed to exactly 110°F (43°C), beat it on medium-low speed for 3 to 6 minutes. You’ll see it shift from a glossy, dark translucent liquid to a lighter, opaque, tan spreadable consistency. Stop beating as soon as it thickens to a soft, peanut butter-like texture—overbeating will make it seize up into a crumbly, hard mass instead of smooth cream.
9.Why did my maple cream turn out too runny, like thick syrup instead of spreadable?
▾
Runny maple cream means you didn’t heat syrup to a high enough temperature, so sugar concentration was too low to set into a spread when beaten. Fix this by scraping the runny mixture back into your pot, reheating to 235°F (adjusted for elevation), letting it cool undisturbed back to 110°F, and beating it again. Calibrate your candy thermometer first to avoid repeated temperature misreads.
10.How should I store homemade maple cream, and how long does it last?
▾
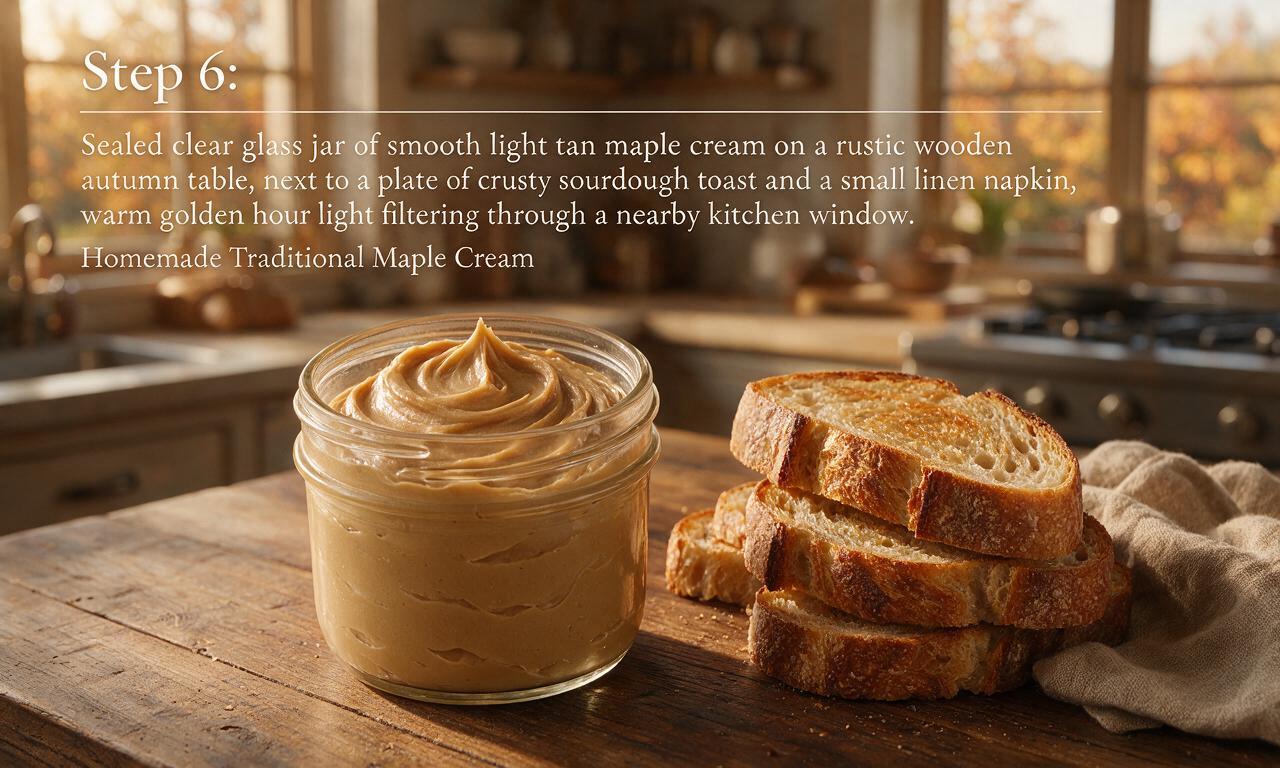
Store finished maple cream in a clean, airtight glass jar in the refrigerator for up to 1 month, or in the freezer for up to 1 year. It will firm up when cold, so let it sit at room temperature for 5 to 10 minutes before using if you want an extra soft, spreadable consistency. The high sugar content prevents spoilage, so pressure canning is not required for storage.
11.Can I add extra flavors, like cinnamon or vanilla, to my maple cream?
▾
Absolutely! Traditional maple cream is unflavored, but you can stir in small amounts of complementary add-ins once it’s finished beating to customize it. Try 1/4 teaspoon of ground cinnamon, a tiny splash of pure vanilla extract, a pinch of nutmeg, or a tablespoon of finely chopped toasted walnuts for extra texture. Avoid adding too much liquid, which can thin the cream and cause separation.
12.Why do I have to let the syrup cool undisturbed before stirring or beating it?
▾
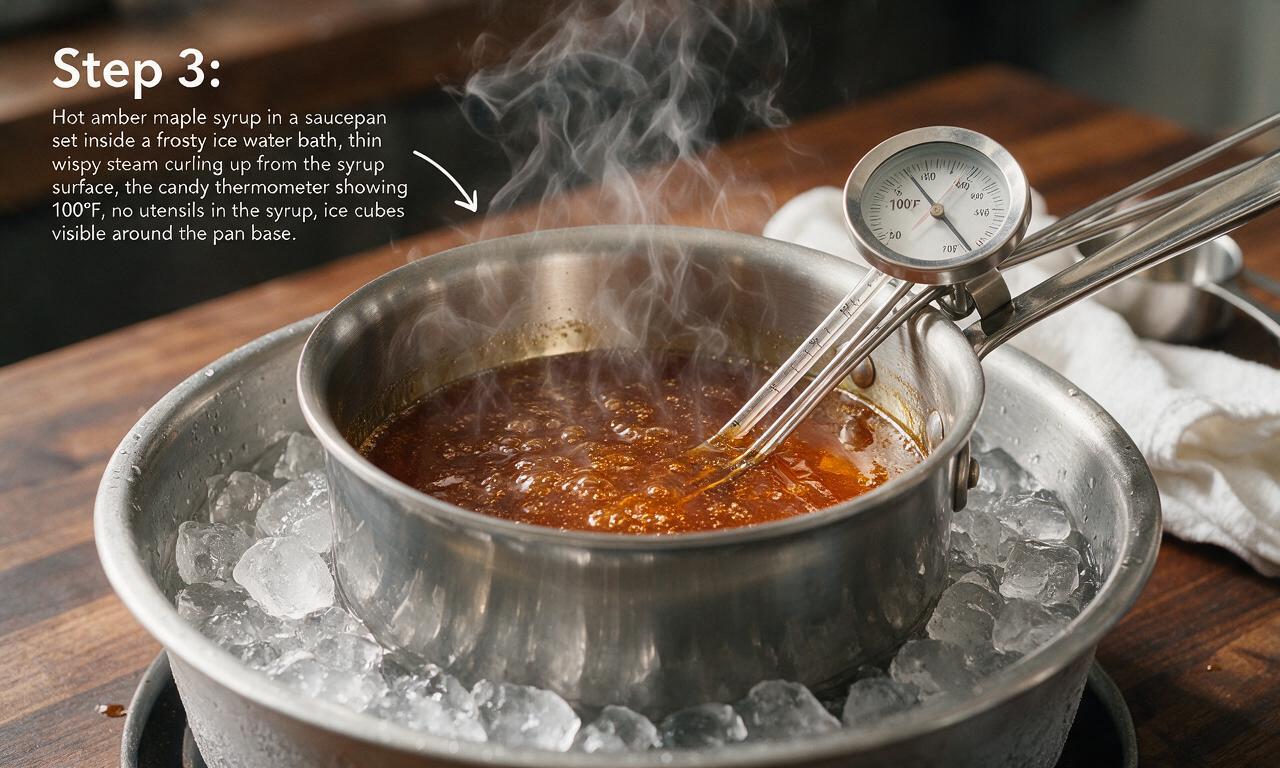
Letting hot syrup cool to 110°F without stirring, jostling the pot, or scraping the sides is critical to prevent large, gritty sugar crystals from forming. Agitating syrup while it’s still hot causes individual sugar molecules to latch onto stray crystals too early, creating a grainy texture instead of the tiny, uniform crystals that make maple cream silky and smooth. Resist the urge to stir at this stage!
13.Is maple cream the same thing as maple butter?
▾
In most of New England and Quebec, the terms maple cream and maple butter are used interchangeably to describe this smooth, spreadable concentrated maple product. Don’t confuse it with maple-flavored dairy butter, which is regular stick butter mixed with maple syrup. True traditional maple cream is almost entirely made from maple syrup, with only tiny amounts of butter and salt added in this version.
14.My maple cream is too hard and crumbly to spread—what went wrong, and can I fix it?
▾
Hard, crumbly maple cream means you overcooked syrup past 235°F, or overbeat it once it cooled. Rescue it by scraping the crumbly mixture back into a saucepan, adding 2 tablespoons of pure maple syrup and 1 teaspoon of water, heating gently until fully melted, then re-cooling to 110°F undisturbed and beating again just until it reaches a smooth, spreadable consistency. Don’t overbeat it this time!
15.Can I double or halve this recipe easily for smaller or larger batches?
▾
You can halve the recipe with no issues, just use a smaller heavy-bottomed pot and keep a close eye on temperature, since smaller batches heat faster. Doubling works too, but use a much larger pot—maple syrup bubbles up aggressively as it boils, and you don’t want it to boil over onto your stovetop. For doubled batches, expect slightly longer cooking and beating times to hit the right texture.
16.Do I really need to wash down the sides of the pot while the syrup boils?
▾
Yes, that quick step with a damp pastry brush makes a huge difference in preventing grainy maple cream. As syrup boils, tiny sugar splatters stick to the cooler pot sides, forming hard seed crystals. If those fall back into hot syrup, they trigger larger crystal growth as the mixture cools, leading to gritty texture. Brush the sides down every couple of minutes as it boils to dissolve those splatters.
17.What are the best ways to use finished homemade maple cream?
▾
This velvety spread is incredibly versatile! Slather it on toast, English muffins, or buttermilk biscuits, dollop it on pancakes, waffles, or French toast, use it as a filling for hand pies or sandwich cookies, swirl it into oatmeal or yogurt, or top warm apple crisp, pumpkin pie, or vanilla ice cream with it. It also makes a fantastic edible gift when jarred for fall and holiday seasons.
18.My candy thermometer is broken—can I make maple cream without it?
▾
You can, using the traditional cold water test to check for soft-ball stage if your thermometer is broken. Once syrup has been boiling a few minutes, drop a tiny pea-sized amount into a glass of very cold water. It should form a soft, malleable ball that flattens easily when picked up between your fingers, not a hard brittle ball or thin stringy drizzle. This method works reliably with a little practice.
19.Why does my maple syrup foam up so much when it boils, and how do I prevent boilovers?
▾
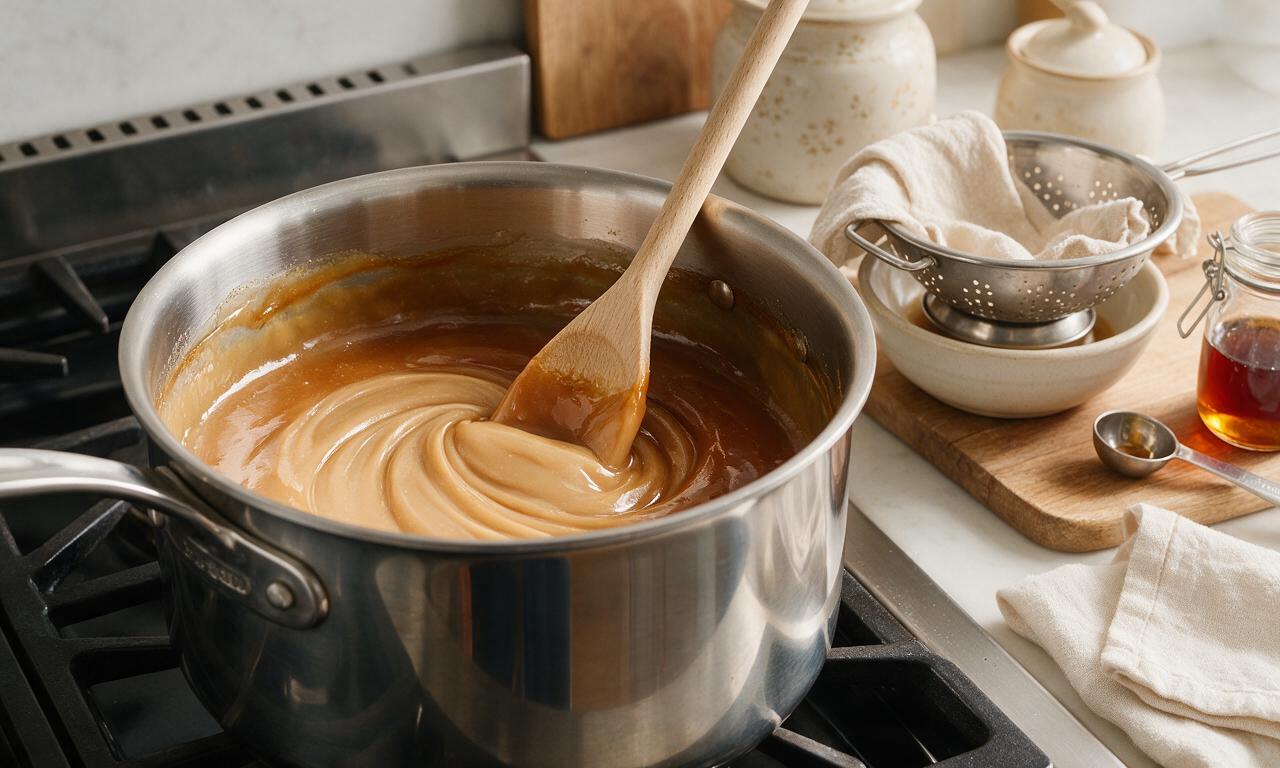
Pure maple syrup has high sugar content that creates lots of bubbly foam as it heats, which is why messy boilovers are so common. Prevent this by using a pot that’s at least 4 times the volume of your starting syrup amount, keep heat at medium rather than high once syrup boils, and if foam rises close to the rim, drop a tiny pat of butter in to quickly break down foam and bring it down.
20.Can I use maple syrup that’s been open in my fridge for a while to make maple cream?
▾
As long as your open refrigerated maple syrup has no fuzzy surface mold, sour off smell, or odd flavor, it works perfectly for making maple cream. Older, slightly concentrated syrup often has a deeper, richer flavor that makes for an even better final product. If you spot small patches of surface mold, strain the syrup through a fine sieve, boil it for 1 full minute, then cool it before using.







OMG this homemade maple cream is a GAME CHANGER! I slathered it on homemade biscuits for Sunday brunch and my whole family went back for seconds. Took me a little longer than I expected because I kept messing with the temperature, but totally worth the effort. 10/10 would make again for our fall potluck next month!
My kids LOVED this! I’ve been buying store-bought maple cream for years for their toast and oatmeal, and they said this homemade version tastes way better. Only issue I had was it crystallized a little on the top after I stored it in the fridge—did I do something wrong?
Made this for our annual apple picking trip snack spread, paired with fresh sliced Honeycrisp and warm cinnamon donuts. SO good, people were asking me for the recipe before we even left the orchard. Word to the wise: don’t walk away from the pot while it’s boiling, I almost let mine boil over when my dog started barking at a squirrel!
I was worried this would be too hard for a medium difficulty recipe, but the steps were super straightforward! I made a double batch to use for meal prep this week—put it on overnight oats, pancakes, even stirred a spoonful into my morning coffee. Absolute game changer for my weekday breakfasts. Wait, how long does this stay good in the fridge for?
Tried this recipe yesterday and my maple cream came out way thinner than I expected? I followed the temp exactly with a candy thermometer, let it cool the right amount of time, but it’s more like a thick syrup instead of that spreadable cream I was hoping for. Bummed because I wanted to use it as a filling for whoopie pies this weekend.
First time making any kind of candy/syrup recipe and I was so intimidated, but this turned out perfectly on the first try! Slathered it on sourdough toast this morning and I’m never buying the store bought stuff again. Worth every minute of the 2.5 hour cook time, no cap.
Brought this to my neighborhood block party last weekend with a platter of warm mini pancakes for dipping, and it was the first dish gone! Everyone kept asking if I bought it from a fancy specialty shop, felt so cool saying I made it from scratch. Only note: next time I’ll make a triple batch, a double wasn’t nearly enough.
So happy this recipe is dairy free! My son has a milk allergy and most of the store-bought maple cream brands add butter or milk derivatives, so this is a total win for our house. We dipped apple slices in it for after school snack today and he asked for seconds immediately.
Grew up eating maple cream my grandpa used to make on his farm in Vermont, and this recipe tastes EXACTLY like what I remember. I was worried I’d never find a recipe that nailed that old-school, no-fuss flavor, but this is spot on. Thank you so much for sharing!
Wait, is there any way to cut down the cook time? 2 and a half hours is a big commitment for a spread, as good as it sounds. I don’t have a ton of free time during the week to stand over the stove for that long.
Added a tiny pinch of flaky sea salt to half my batch right as I finished mixing it, and oh my GOD that sweet-salty combo is unreal. I ate half the jar straight off a spoon last night no shame. If you’re on the fence about adding salt, do it, you won’t regret it.
Full transparency: I burned my first batch so bad the smoke alarm went off and my roommate made fun of me for 20 minutes. Tried again today, paid way closer attention to the thermometer, and it came out perfect! Don’t give up if you mess up the first time, it’s so worth it.
Making little jars of this as Christmas neighbor gifts this year! I tested a small batch last week and it turned out so good, I’m going to tie little cinnamon sticks and gift tags to each jar. Do you think I can add a little cinnamon extract to the batch without ruining the texture?
Slathered this on pumpkin pancakes this morning and I swear I saw my husband do a little happy dance mid-bite. 10/10, this is going to be a staple in our house every fall from now on.
Made this over the camp stove on our last camping trip in the Rockies and it was chef’s kiss with fresh campfire biscuits. Took a little extra patience adjusting the stove temp at altitude but it turned out perfectly. Highly recommend for your next camp breakfast!
Tried making this with sugar free maple syrup as a swap and it totally did not set up, just stayed runny. Bummed, but I guess that’s on me for swapping a core ingredient! Going to pick up real maple syrup this weekend and try again the right way.
Warmed up a little of this to drizzle over vanilla ice cream with pecans and candied bacon for our sundae night last night. It was the star of the whole spread, my teenagers begged me to make another batch before the weekend.
Pro tip from a total newbie: don’t use a cheap candy thermometer for this! Mine was off by 15 degrees and my first batch was grainy. Borrowed my mom’s nice digital thermometer for batch two and it came out silky smooth, no grit at all.
Hosted a big brunch for my book club yesterday and served this alongside a waffle bar with fresh berries and whipped cream. Every single person asked for the recipe, even my friend who swears she hates sweet breakfasts! SO good, can’t recommend enough.