
sukiyaki
intro
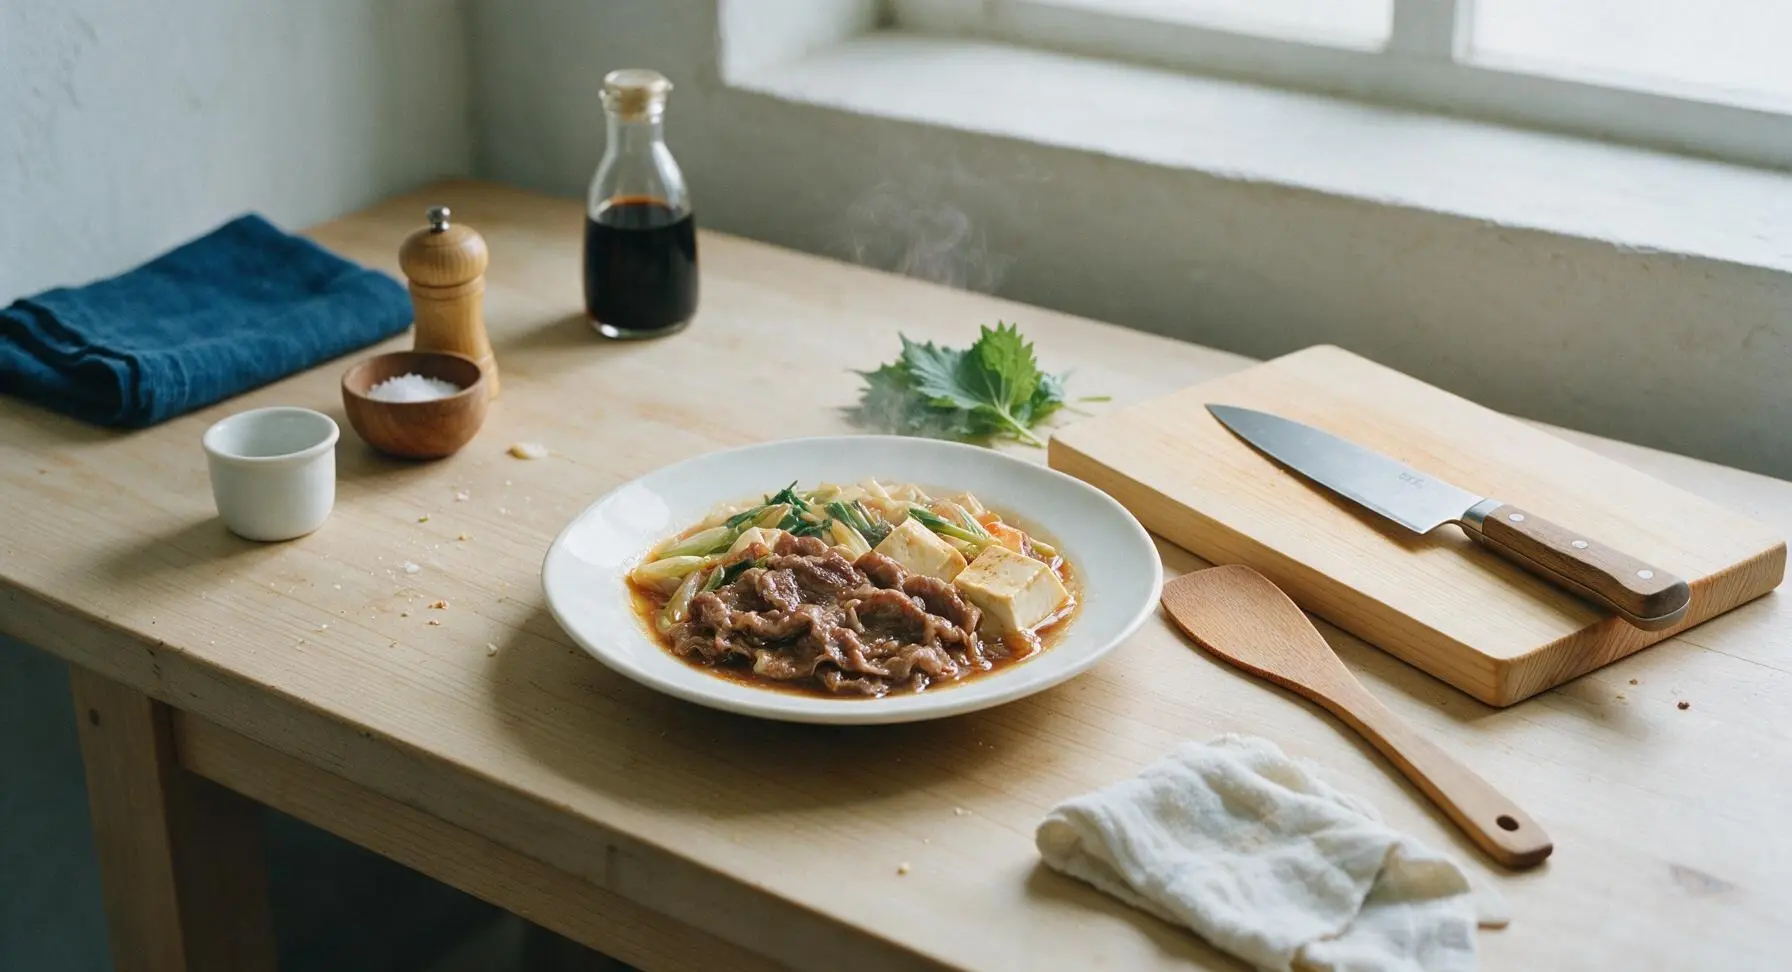
Cozy, savory one-pot sukiyaki with tender seared beef, silky tofu, and crisp vegetables simmered in sweet-savory warishita broth, served with silky raw egg dip for shared winter meals.
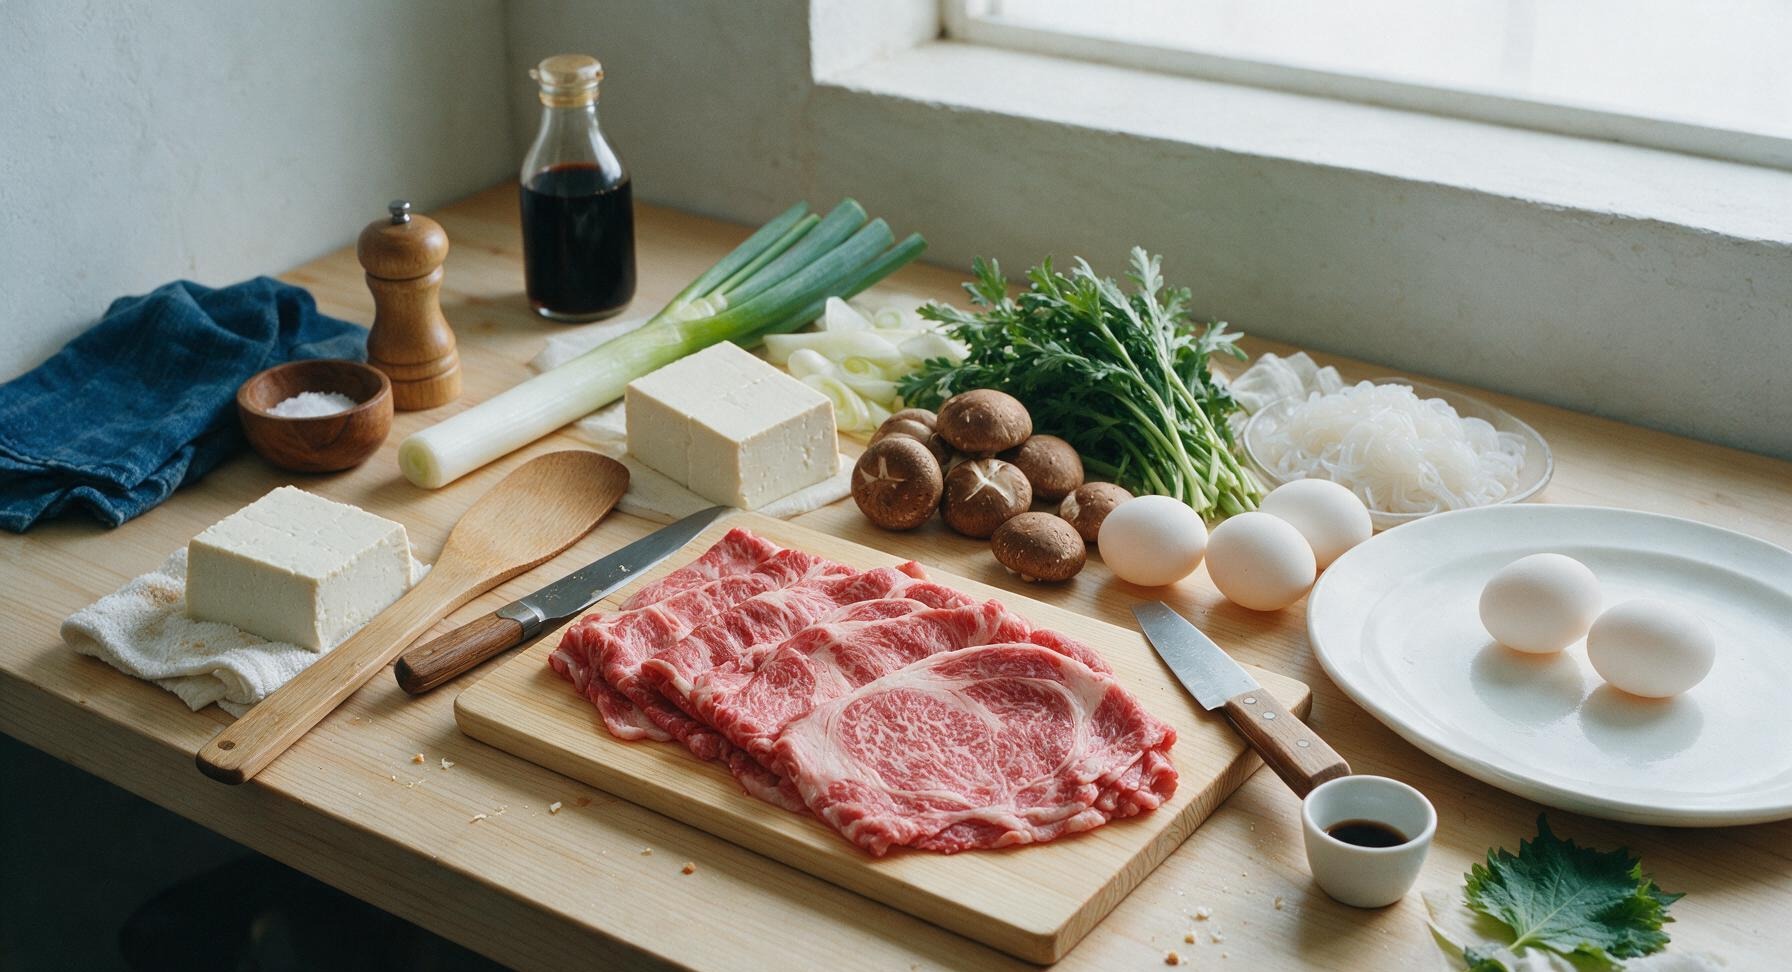
Ingredients
Steps
Prepare Warishita Broth
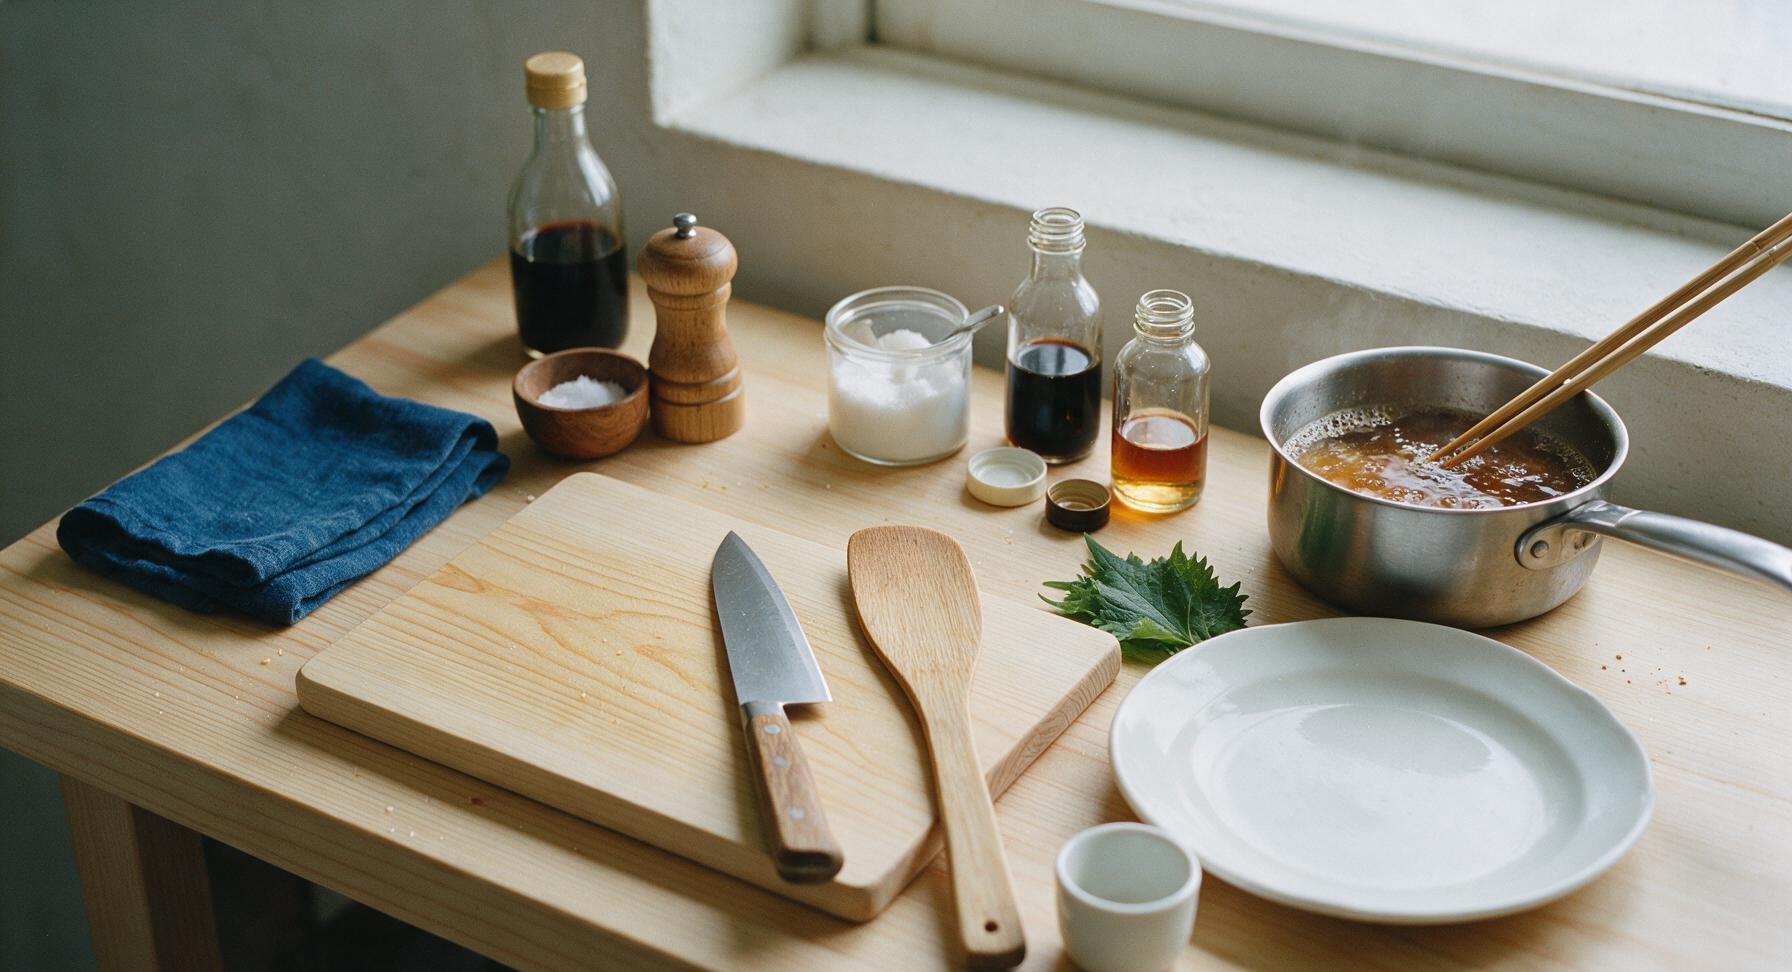
Combine 120ml low-sodium soy sauce, 80ml mirin, 60ml cooking sake, and 2 tablespoons granulated sugar in the 18cm stainless steel saucepan. Place over medium-low heat, stirring gently with the cedar cooking chopsticks until sugar fully dissolves, about 3 minutes. Do not bring to a rolling boil; remove from heat as soon as small bubbles form around the pan edge, then set aside to cool slightly. This balanced sweet-savory broth is the core flavor base for the dish.
Prep All Ingredients
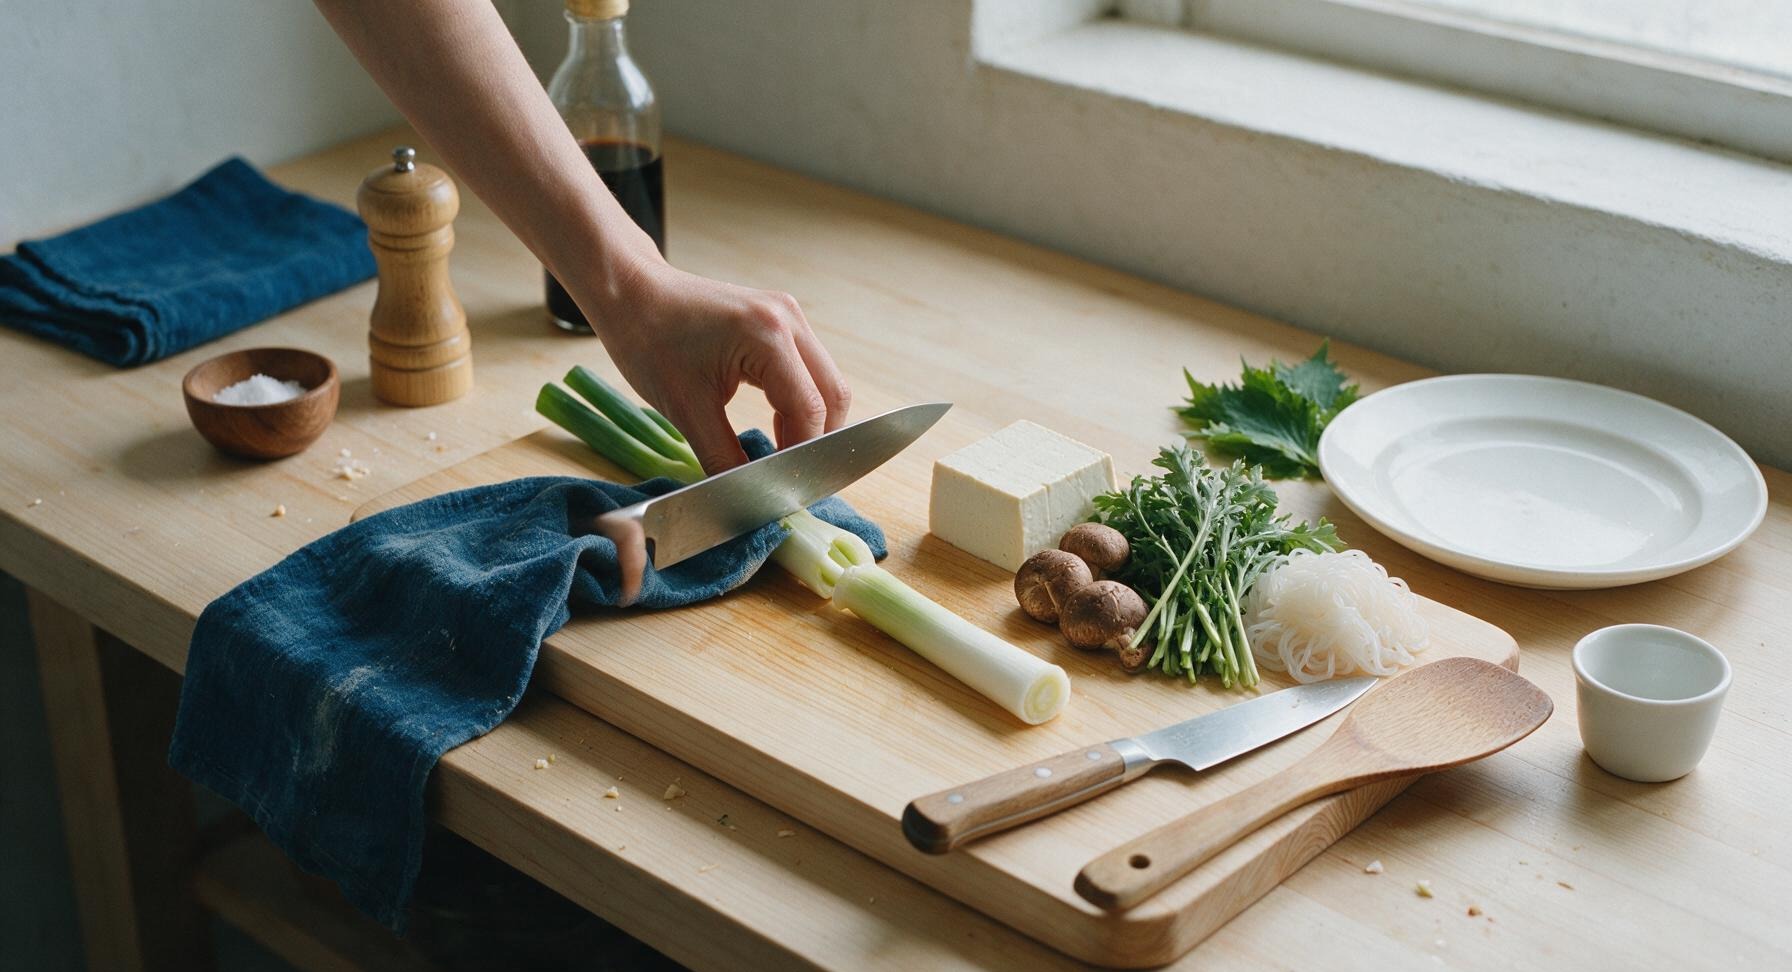
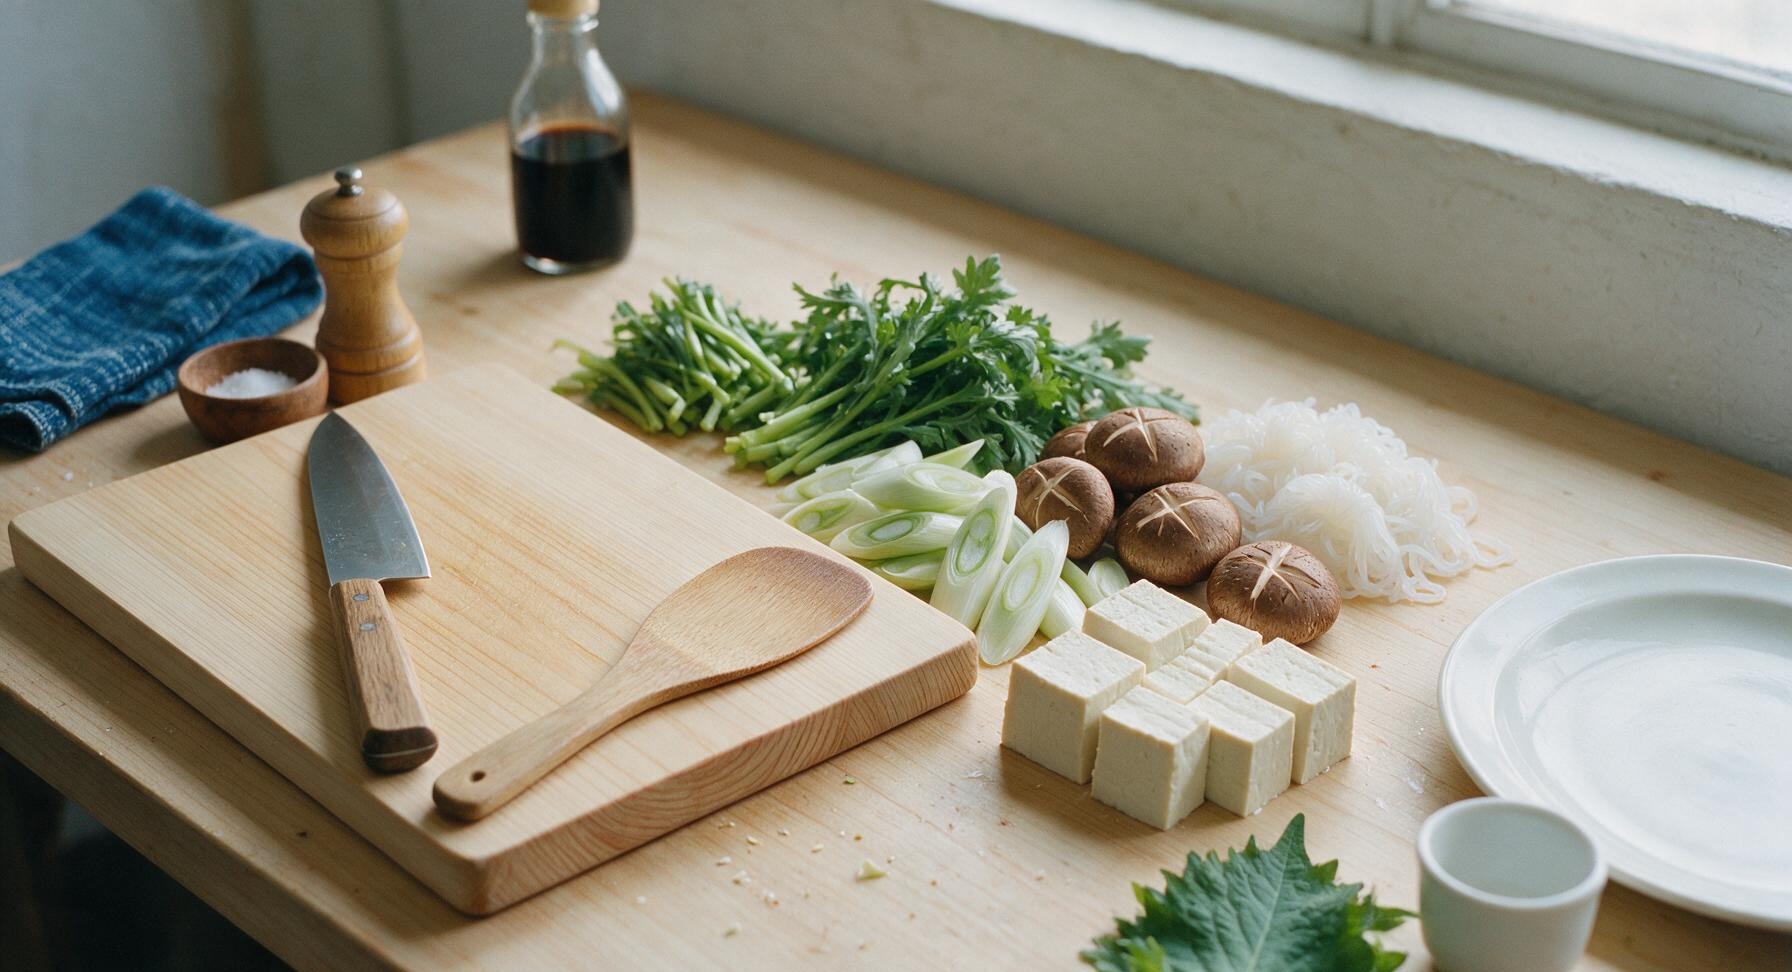
Use the santoku knife on the bamboo cutting board to cut firm silken tofu into 4cm thick blocks, slice naganegi diagonally into 2cm pieces, trim tough lower stems from shungiku, remove shiitake stems and score a shallow crosshatch on the cap of each mushroom, and cut drained shirataki noodles into 10cm bite-sized lengths. Pat vegetable and tofu components lightly with a corner of the indigo cotton towel to remove excess surface water, which would dilute the broth. Keep all prepped ingredients grouped separately for easy addition to the pot.
Heat Cast Iron Nabe
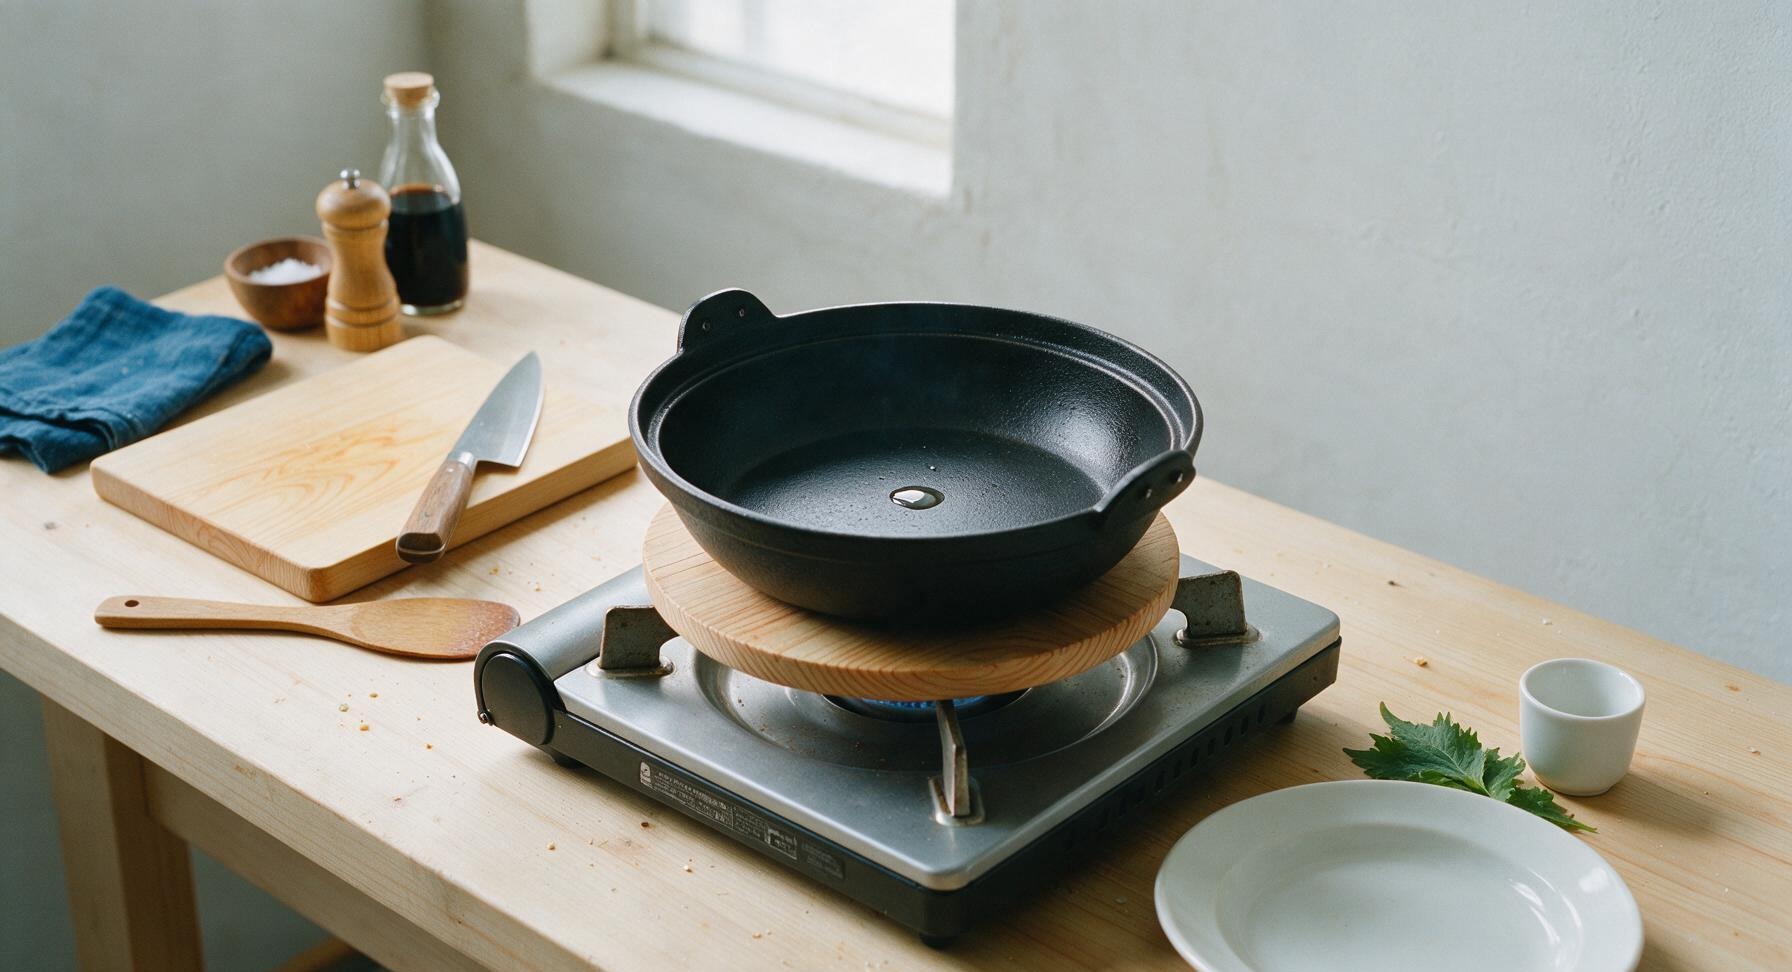
Turn the portable butane stove to medium-low heat, ensure the cast iron sukiyaki nabe is centered on its cedar trivet atop the stove, and let the pot preheat for 2 minutes. Test the heat by sprinkling a single drop of cold water into the pot; it should skitter across the surface and evaporate in 3 seconds, indicating the pot is hot enough to sear beef without sticking.
Sear First Beef Slices
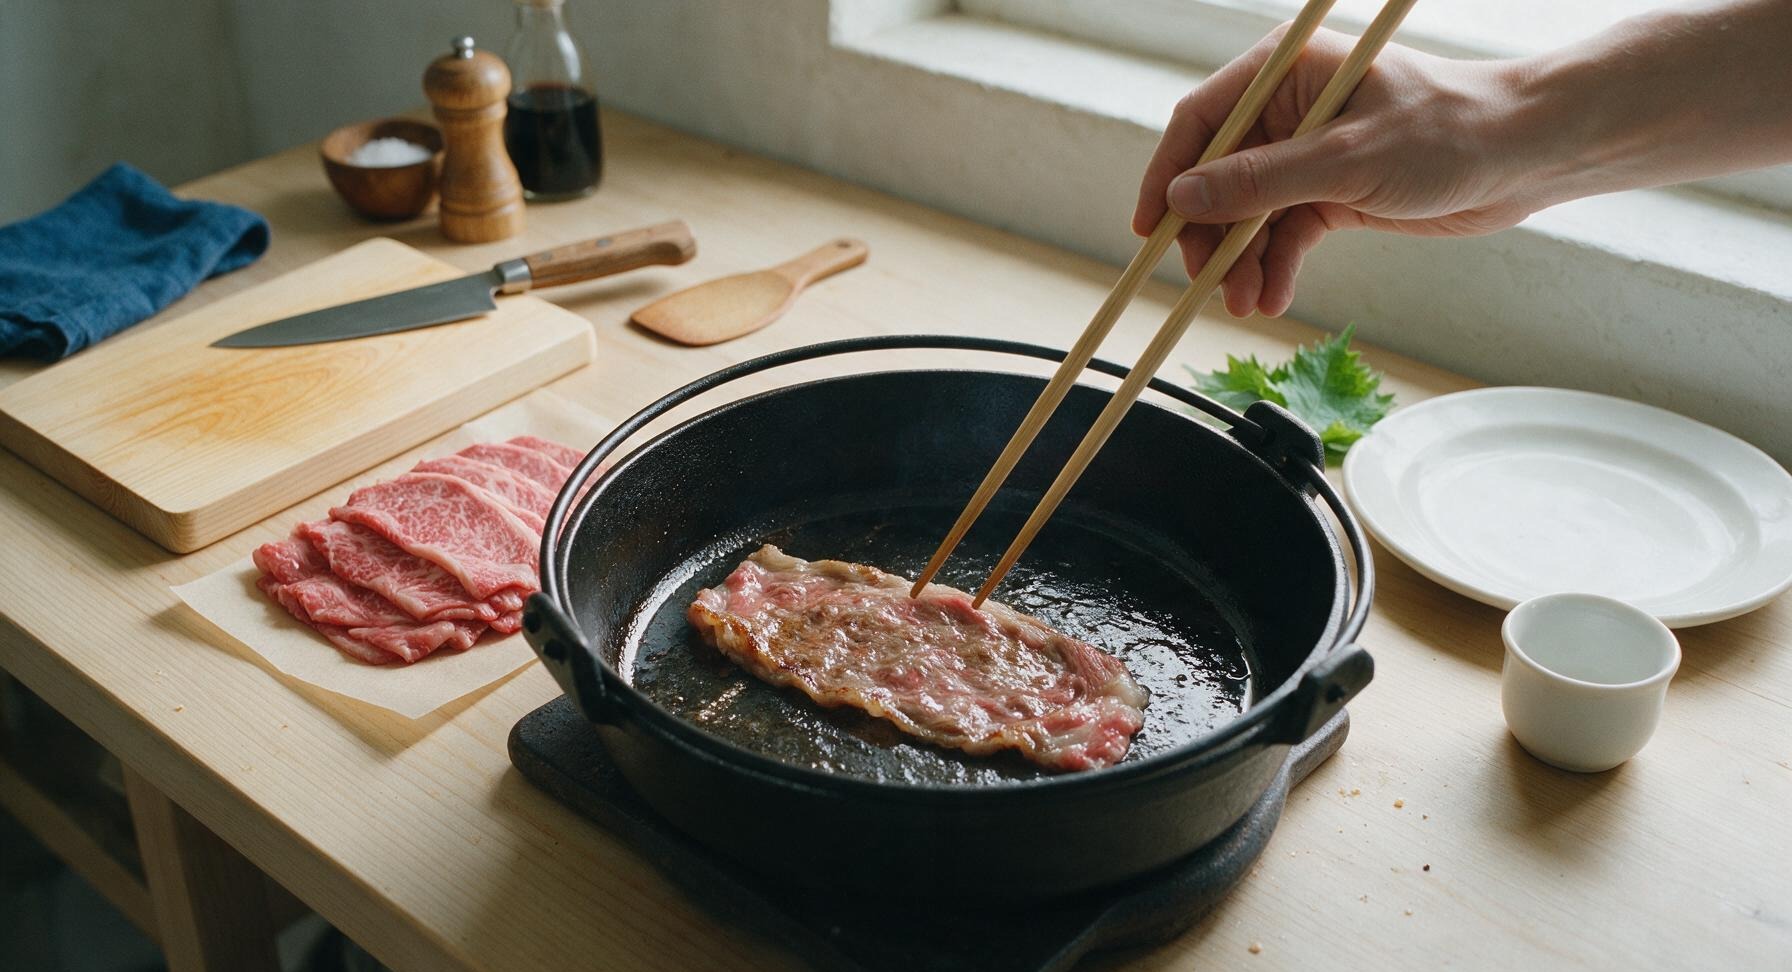
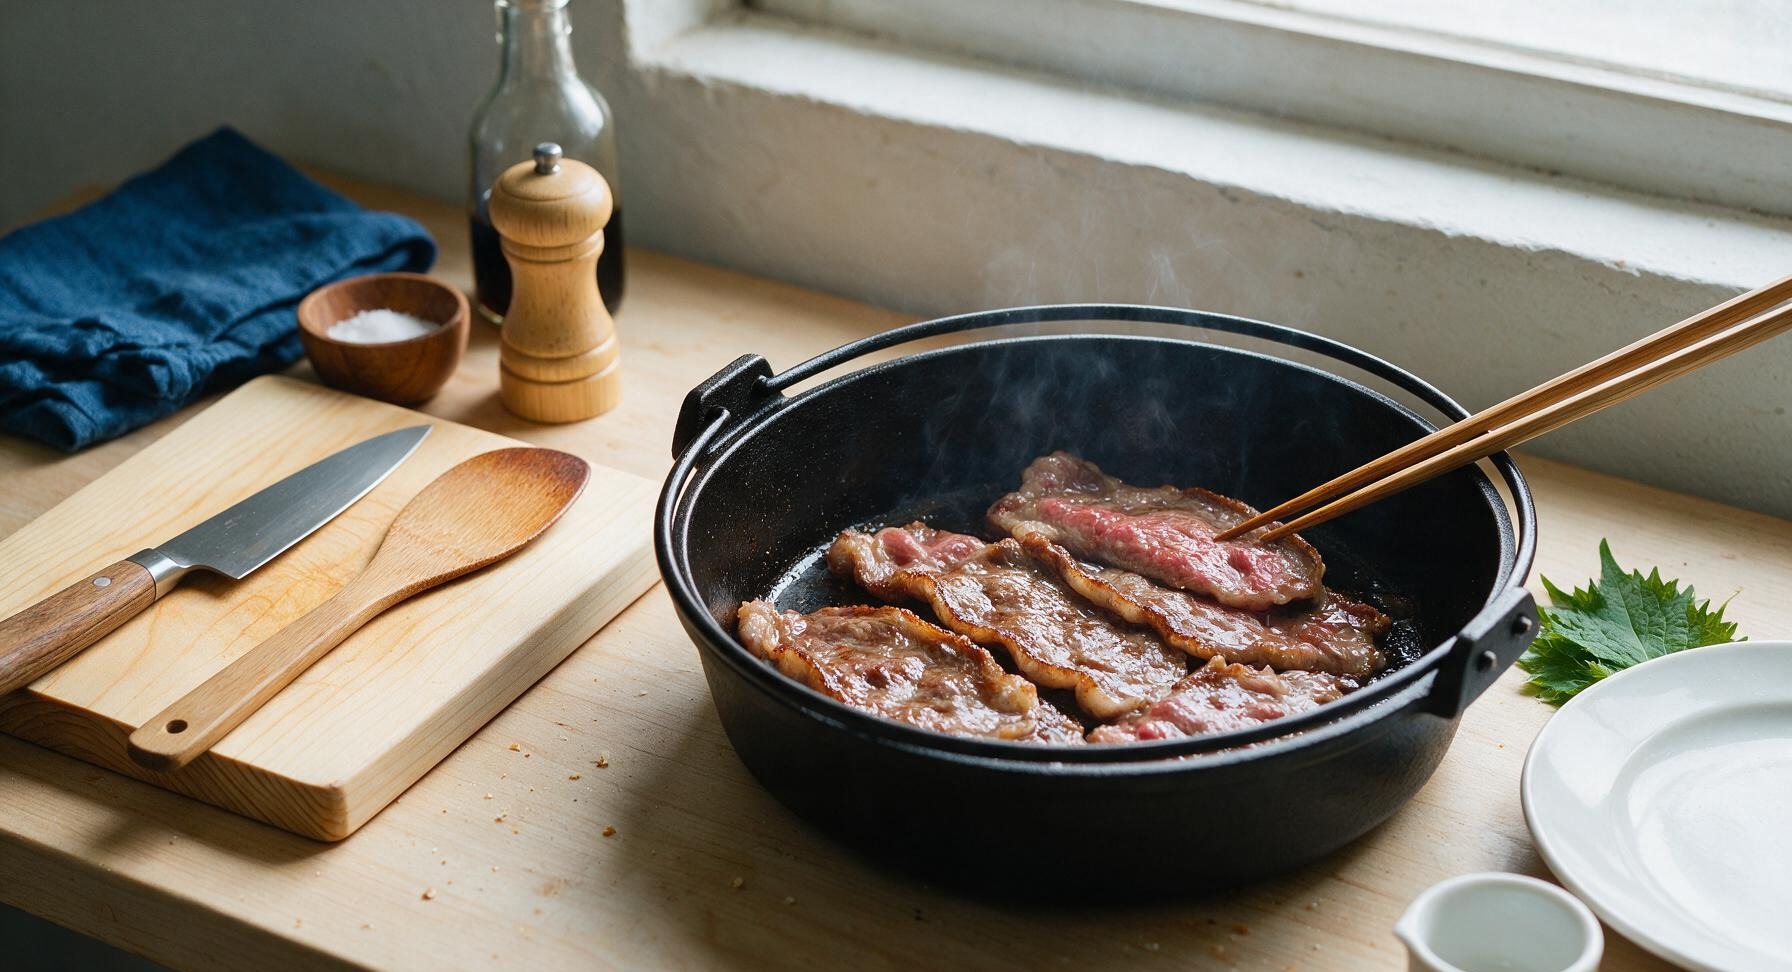
Add a 1 tsp piece of beef fat trimmed from the ribeye slices to the hot nabe, swirling to coat the entire bottom surface as it melts. Lay 4-5 thin slices of ribeye in a single layer across the pot, searing for 30 seconds until the bottom side is deep caramel brown, then flip with the long cedar cooking chopsticks to sear the other side for 15 seconds. Do not overcook; the beef should be lightly browned but still pink in the center at this stage, as it will continue to cook in simmering broth.
Add Broth and Vegetables
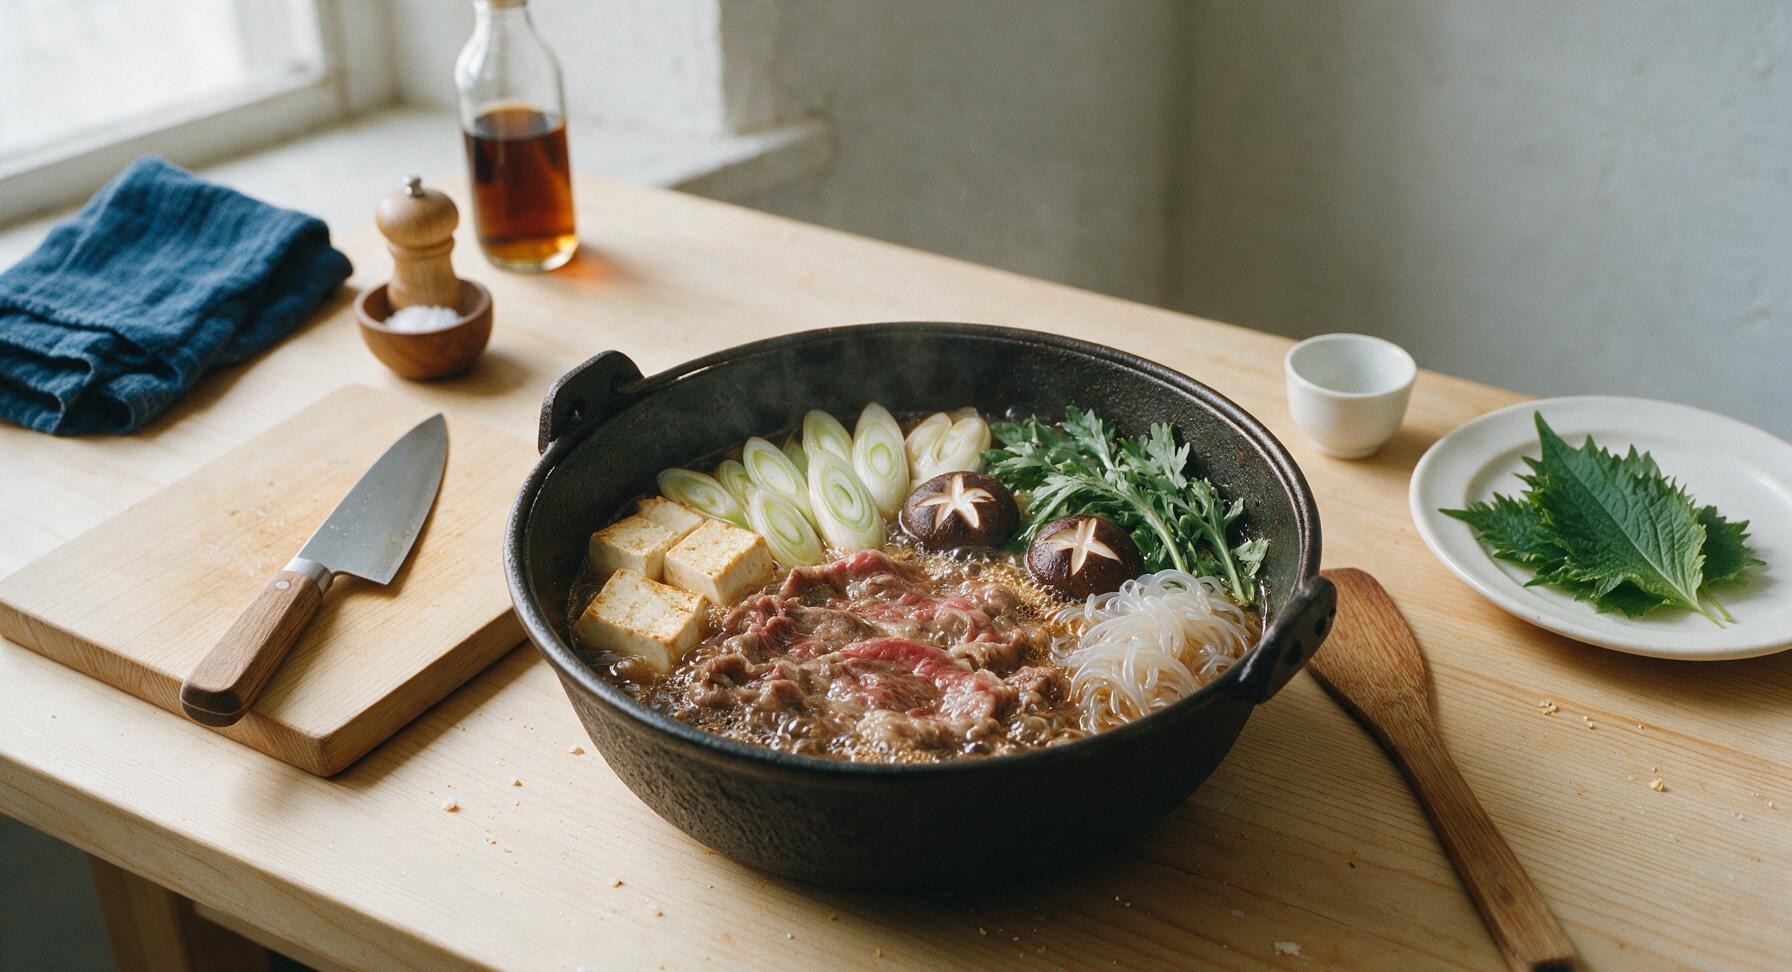
Pour half of the prepared warishita broth over the seared beef, bringing it to a gentle simmer. Arrange prepped ingredients in neat, separate wedge sections around the beef: tofu blocks, negi slices, scored shiitake caps, shirataki noodles, and half of the shungiku. Do not stir the pot; keep ingredients grouped so diners can easily pick their preferred items. Let simmer for 4 minutes, until shiitake are tender and tofu is heated through.
Prep Egg Dip Bowls
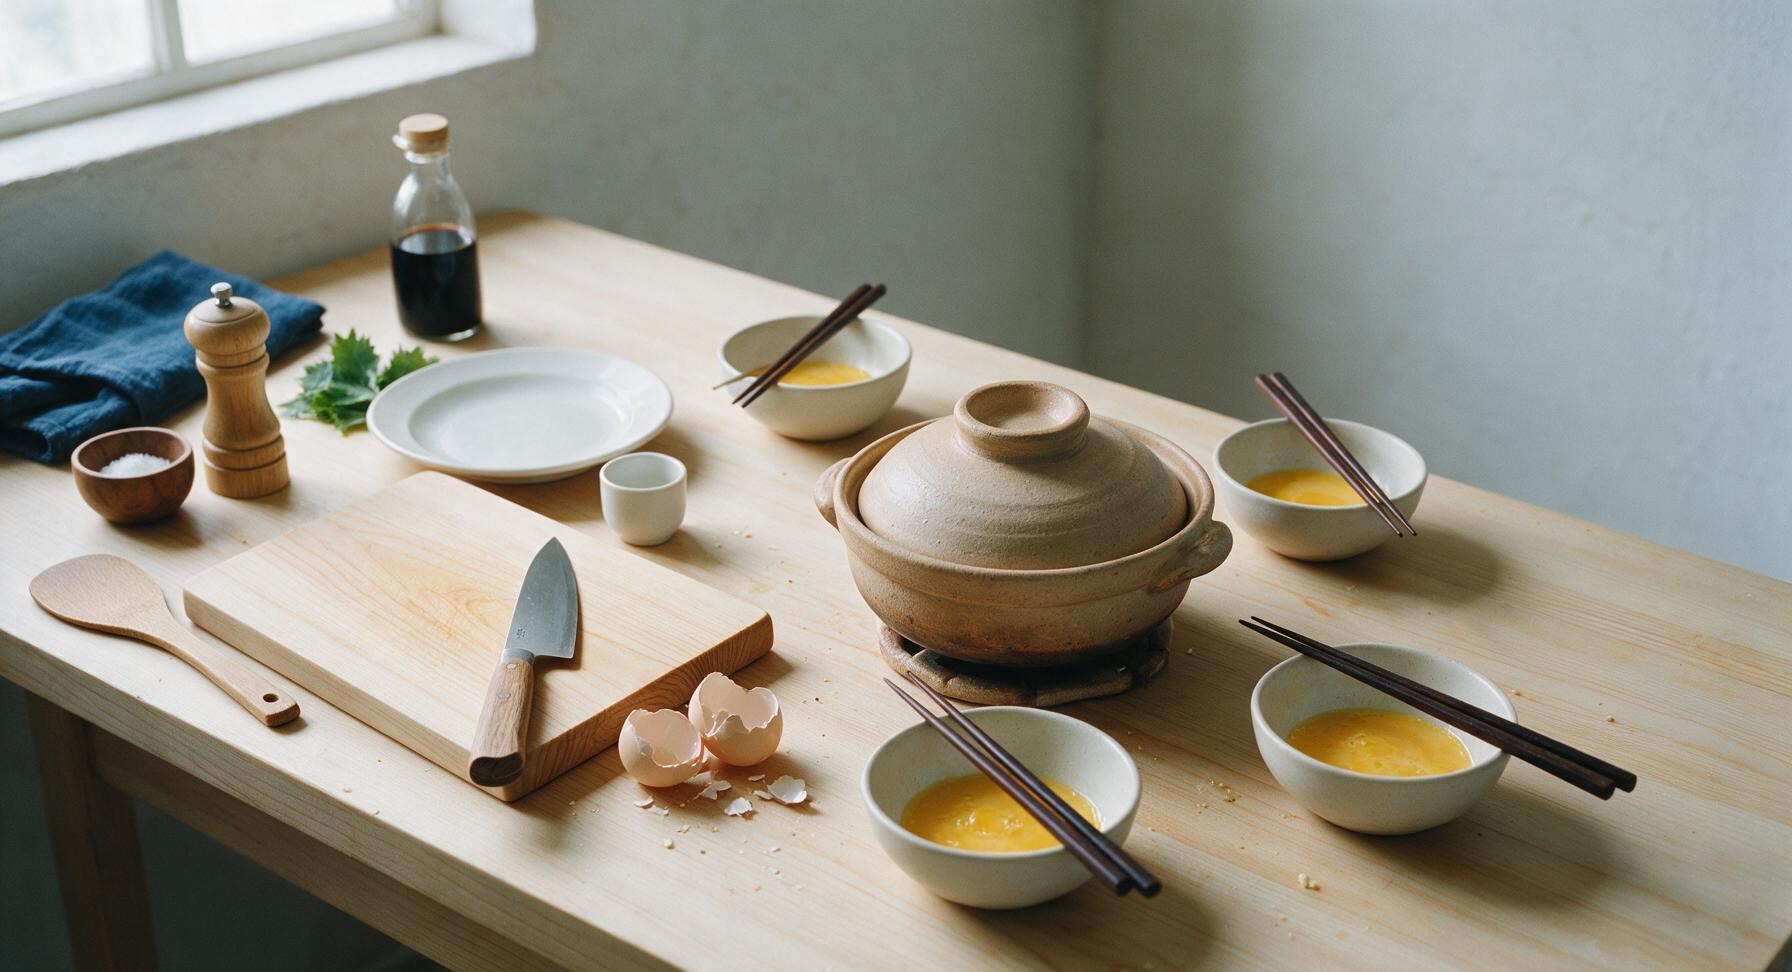
While the sukiyaki simmers, crack one pasteurized large egg into each of the four matte off-white ceramic dip bowls. Beat each egg gently with a pair of eating chopsticks just until yolk and white are fully combined, taking care not to whip in excess air which creates a foamy texture. Arrange the bowls evenly around the nabe trivet, resting a pair of dark lacquered wood eating chopsticks across each bowl rim.
Simmer and Serve
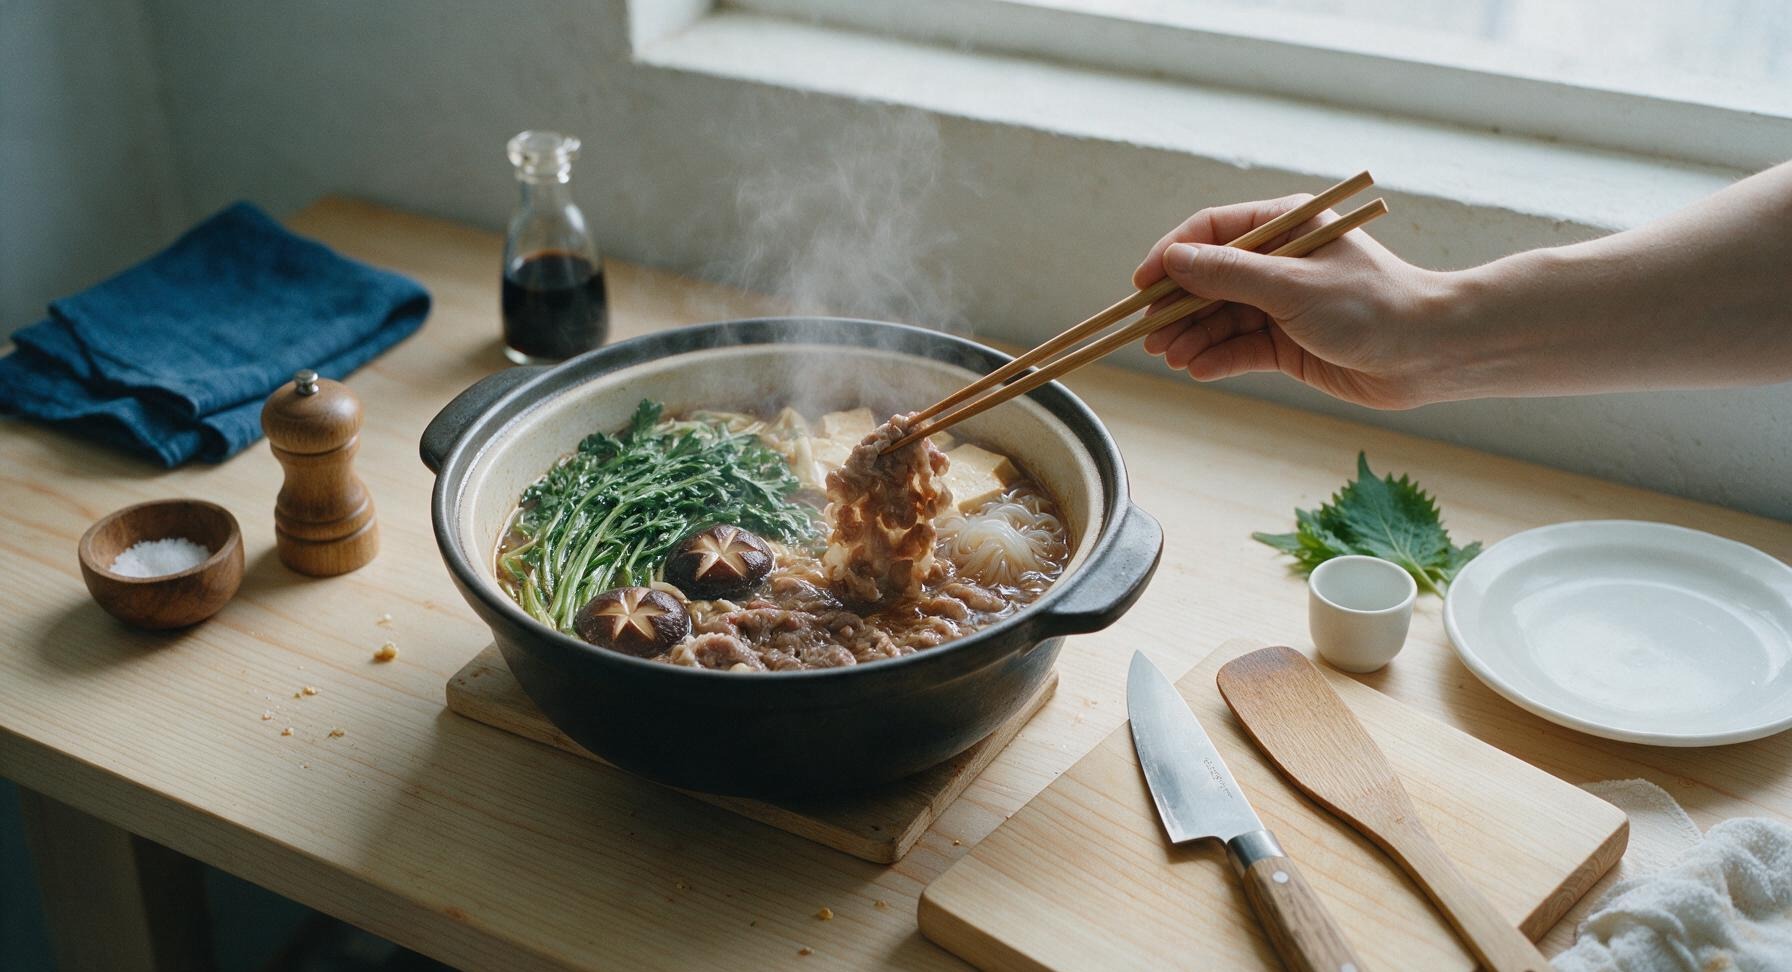
As ingredients cook and diners take portions from the pot, add remaining beef slices, shungiku, and reserved warishita broth as needed to keep 1cm of liquid in the bottom of the pot. Cook new beef slices for 30-45 seconds per side, and leafy greens for 1-2 minutes until just wilted. Maintain a gentle simmer at all times, adjusting the portable stove heat to avoid a hard boil, which will make beef tough and broth overly concentrated. Dip hot cooked bites in the beaten raw egg before eating to cool and mellow the savory flavor.
Tips
2.Always use pasteurized eggs for the dipping sauce: traditional sukiyaki uses raw beaten egg to cool hot bites instantly and cut the rich, salty-sweet broth flavor, and pasteurization eliminates food safety risk without changing the signature silky, creamy texture.
3.Keep ingredients arranged in separate sections in the pot instead of stirring: this prevents konjac compounds in shirataki noodles from making beef tough, keeps vegetable flavors bright and distinct, and makes it easy for guests to serve themselves without fishing through the pot.






OMG this sukiyaki was a total game changer for our weekly family dinner! I was nervous it’d be too tricky since it’s listed as medium difficulty, but the 25 minute cook time was totally spot on. My kids went back for thirds, even my super picky 8 year old who normally turns up his nose at anything with mushrooms! The sweet-savory broth had everyone reaching for extra rice, and we even had enough leftovers for my husband’s lunch the next day. Will absolutely make this for our next block potluck!
Wait, quick question before I make this for my date night tonight—do I have to use sukiyaki beef cut super thin, or will regular thinly sliced deli roast beef work in a pinch? I grabbed the wrong thing at the grocery store earlier and don’t have time to run back. Also, is it weird if I skip the shirataki noodles? I’m not a huge fan of the texture.
Made this last night with my grandma who grew up in Tokyo, and she said it tasted just like the sukiyaki her mom used to make when she was a kid! I was so proud, honestly. We used a little extra warishita because we love that deep, sweet soy flavor, and ate it with raw eggs like we do at the restaurants back home. SO good, already added it to our monthly meal rotation.
Tried this for the first time last weekend and totally messed up the first batch by boiling the broth too hard, oops. The beef got tough and the veggies turned mushy. Turned the heat way down for round two and it was perfect! Next time I’m going to add extra napa cabbage, it was my favorite part.
Anyone else make this for meal prep? I’m wondering how well it holds up in the fridge for 3-4 days, or if it gets soggy? I’m trying to mix up my usual boring chicken and rice meal prep for work lunches.
Y’all, I served this at my girls’ night last night and everyone was begging for the recipe before they left! I set up the little tabletop burner like the recipe suggested so we could cook it family style, and it felt like we were at a fancy Japanese restaurant without paying the crazy markup. 10/10, will be a repeat girls’ night meal for sure.
As someone who’s only ever had sukiyaki at restaurants, I was shocked how easy this was to pull off at home! The flavor was spot on, not too sweet, not too salty. I added extra enoki mushrooms because they’re my absolute favorite, and they absorbed the broth so perfectly. My only regret is not making a double batch, we ate every last bite.
Wait, is there a vegetarian swap for the dashi and beef here? My sister is vegetarian and she’s coming over for dinner next weekend, I’d love to make this for everyone instead of making a separate meal. I don’t want it to taste bland, though!
First time making any kind of Japanese hot pot at home and this was such a win! Cook time was way faster than I expected, even with prepping all the veggies. I did burn the first few pieces of beef because I left them in too long, but once I got the hang of cooking things quick in the shallow pan it was smooth sailing. SO good.
Made this for my partner’s birthday dinner since sukiyaki is his favorite meal, and he said it was better than the version we get at our local spot! I splurged on the high quality marbled beef from the Asian market nearby, and it made such a huge difference. We dipped every bite in beaten raw egg just like the recipe said, and it was so creamy and perfect. Worth every penny.
Pro tip for anyone making this: don’t skip the raw egg dip! I was weirded out by it at first, thought it’d be slimy or gross, but it cools down the hot food and adds this rich, creamy texture that makes the whole dish next level. Just make sure you use pasteurized eggs so you don’t have to worry about food safety, trust me.
I was worried this would be too complicated for a weeknight meal since it’s medium difficulty, but 25 minutes total? No way, I had it on the table faster than I can get takeout delivered. My whole family devoured it, even my teenager who only ever wants fast food. We had just enough left for me to pack a small portion for my lunch tomorrow, can’t wait to dig in. New weeknight staple unlocked.
Tried making this last night and the broth was way too sweet for my taste? I followed the measurements exactly, but it tasted like sugar water with soy sauce. Did I do something wrong? I used regular white sugar instead of the rock sugar the recipe called for, would that make that big of a difference?