
Chicken Biryani
intro
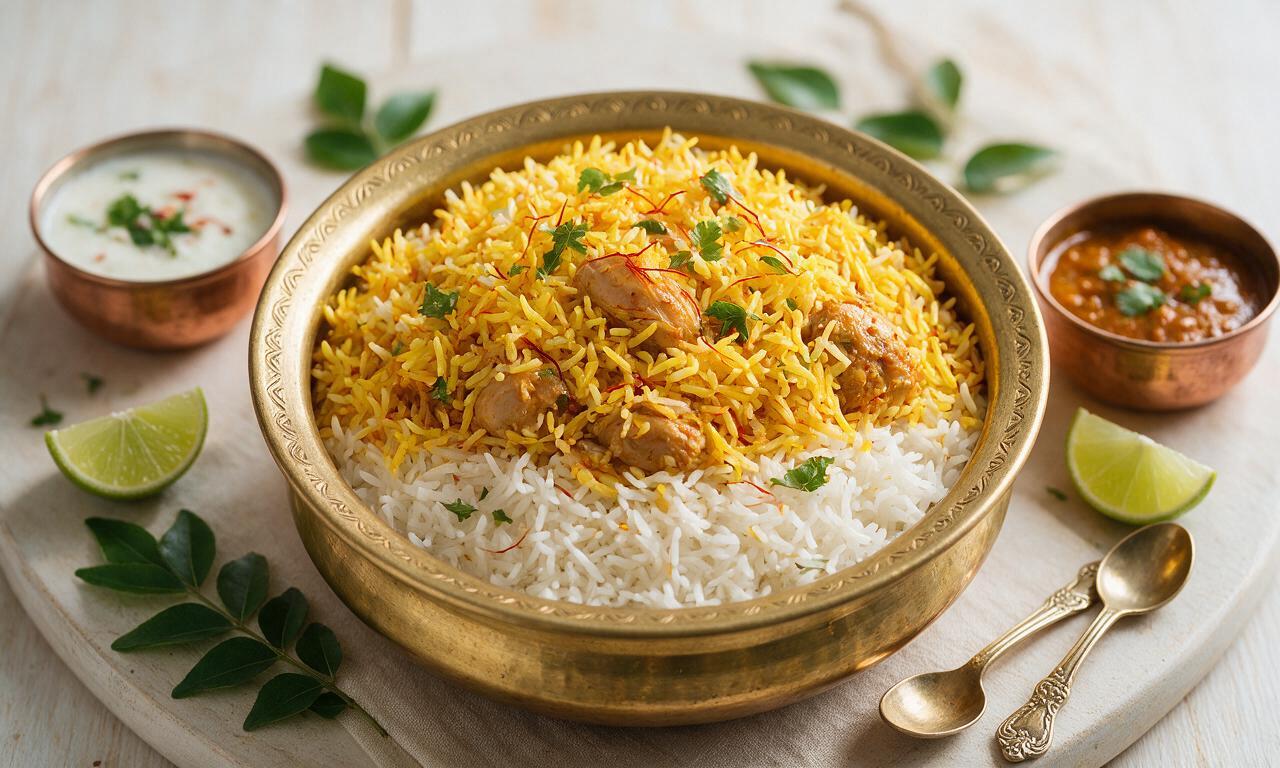
Fragrant layered basmati rice and spiced tender chicken, slow-steamed with warm aromatics, saffron, and fresh herbs for a rich, classic Indian meal.
Ingredients
Steps
Rinse and Soak Rice
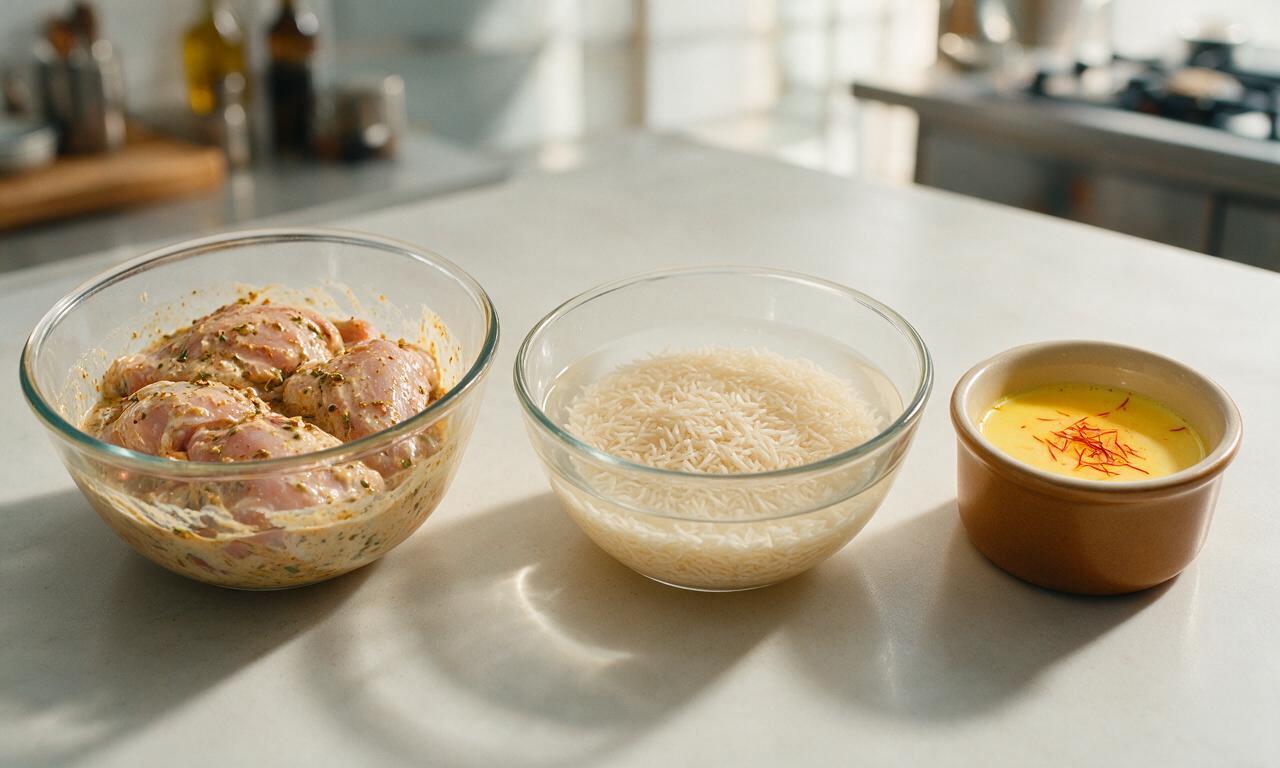
First, rinse the long-grain basmati rice under cold running water until the water runs clear (no cloudy starchy residue), then cover with cold water and set aside to soak for 30 minutes at room temperature. Next, stir the saffron strands into the 60ml of warm whole milk and set aside to infuse for 10 minutes. In a large glass bowl, combine the cut chicken thighs, full-fat yogurt, ginger-garlic paste, turmeric powder, red chili powder, 1 tablespoon of salt, 1 teaspoon of garam masala, and half of the chopped mint and coriander. Toss until every chicken piece is evenly coated, then leave to marinate at room temperature for 30 minutes.
Fry Onions in Ghee
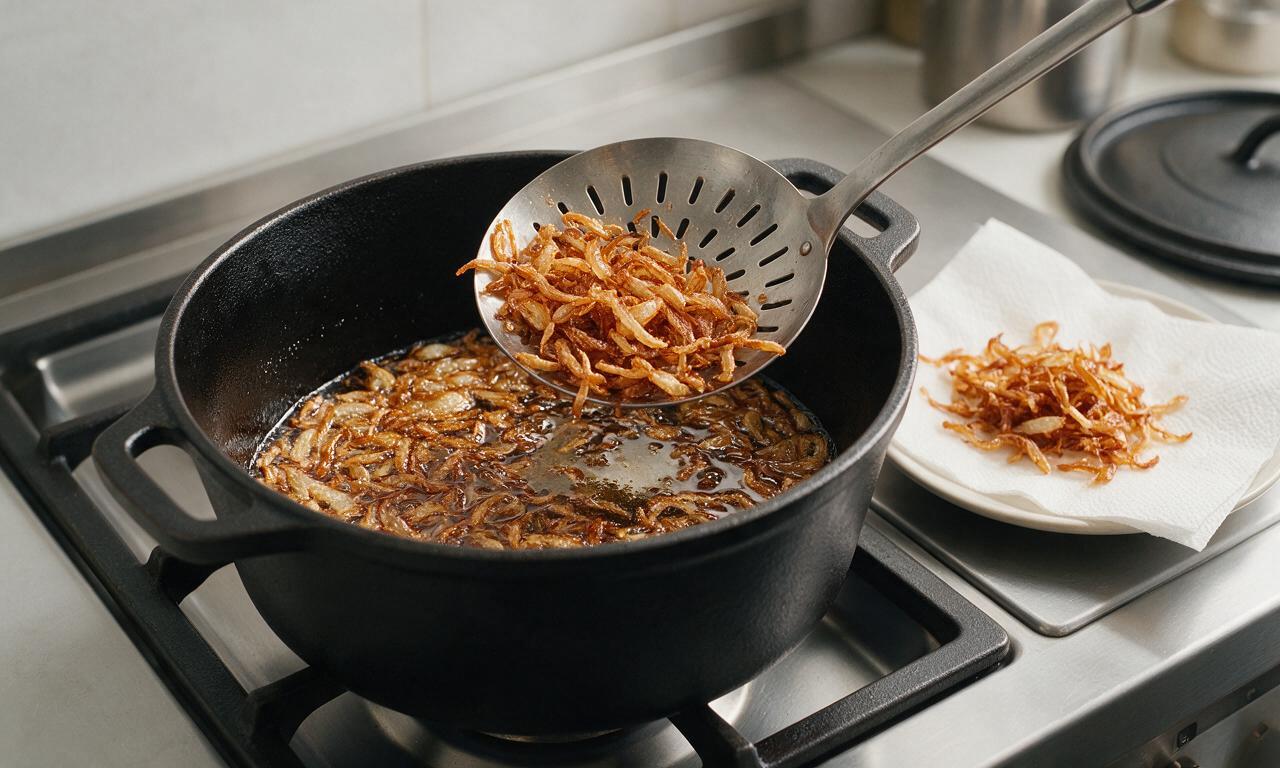
Place a heavy-bottomed 5-liter Dutch oven over medium heat (175°C/350°F), then add 3 tablespoons of ghee. Once the ghee is shimmering and hot, add the thinly sliced onions, and fry for 12-15 minutes, stirring every 2-3 minutes, until the onions are deep golden brown and crispy. Use a slotted spoon to transfer half of the fried onions to a paper-towel lined plate to drain and crisp up further, leaving the remaining half of the onions in the Dutch oven.
Sauté Whole Spices
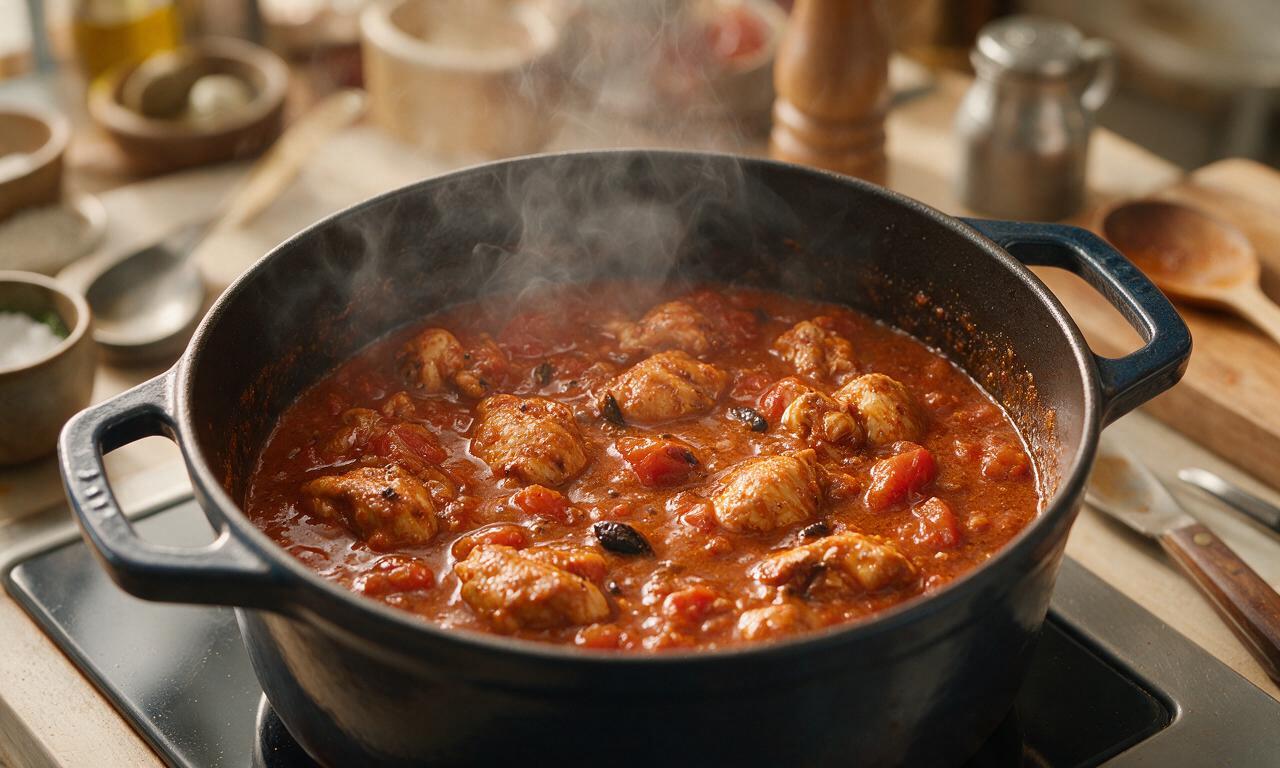
Keep the Dutch oven over medium heat, and add the whole spices (bay leaves, crushed green cardamom, cinnamon stick, cloves, cumin seeds) to the remaining fried onions and ghee. Sauté for 30 seconds until the spices release a warm, nutty aroma, then add the finely chopped tomatoes. Cook the tomatoes for 5 minutes, stirring occasionally, until they break down completely into a thick, smooth paste. Add all the marinated chicken and its yogurt marinade to the pot, stir to combine fully, then bring to a gentle simmer. Reduce heat to medium-low (150°C/300°F), cover the pot, and cook for 15 minutes, stirring once halfway through, until the chicken is 70% cooked (firm but not yet tender all the way through) and the masala is thick with no watery pooling. Stir in the remaining 1 teaspoon of garam masala and all the biryani masala powder, then turn off the heat temporarily.
Parboil Basmati Rice
While the chicken simmers, bring 1.5 liters of water to a rolling boil over high heat in a separate 3-liter pot, then add the remaining 1 tablespoon of salt and 1 remaining tablespoon of ghee. Drain the pre-soaked basmati rice completely, add it to the boiling water, and parboil for 5-6 minutes until the rice is 70% cooked: grains will be slightly translucent on the outside, with a firm, white starchy core when bitten into. Drain the parboiled rice immediately in a colander, taking care not to overcook it to a mushy texture.
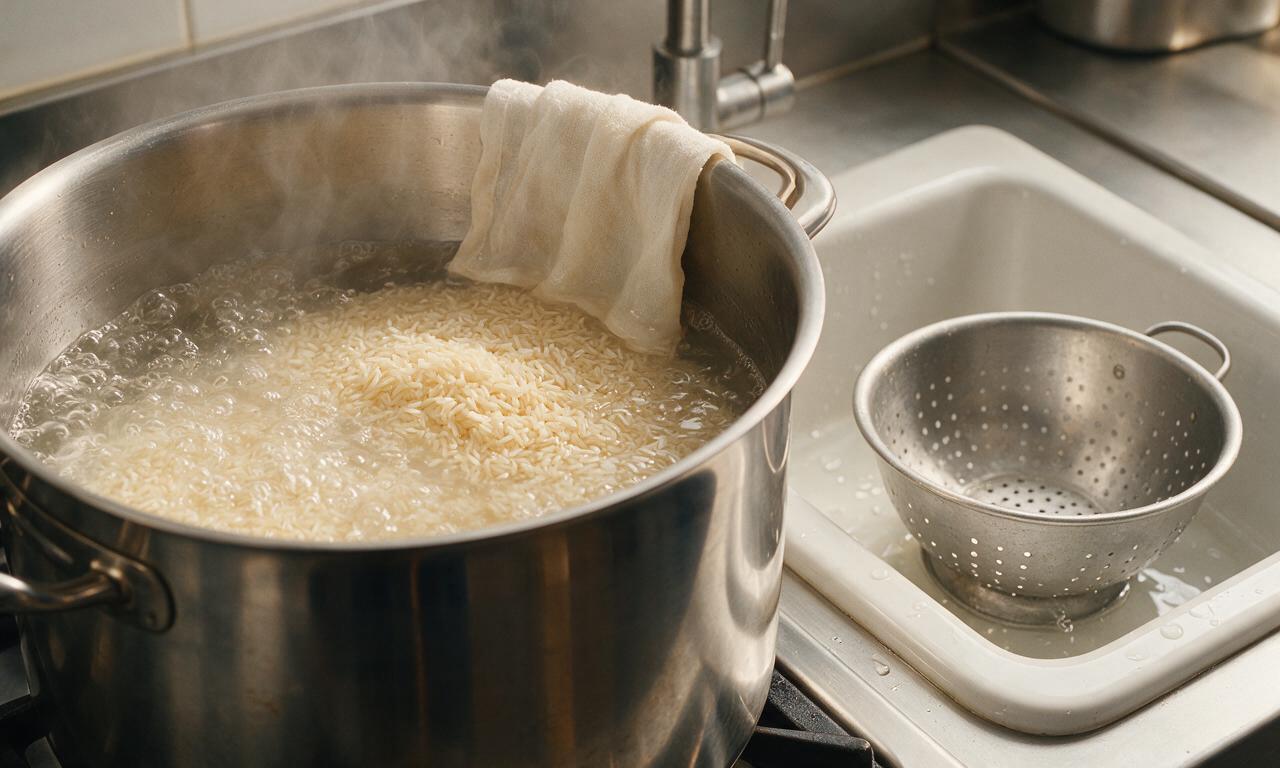
Assemble Biryani Layers
Assemble the biryani layers directly in the Dutch oven over the chicken masala: first, spread half of the drained parboiled rice in a smooth, even layer over the chicken, taking care not to press the rice down. Sprinkle half of the reserved crispy fried onions and a quarter of the remaining chopped mint and coriander over this first rice layer. Add the rest of the parboiled rice as a second even top layer, drizzle the saffron-infused milk evenly across the entire rice surface, then scatter the remaining fried onions, mint, and coriander over the very top. Do not stir the layers together at this stage.
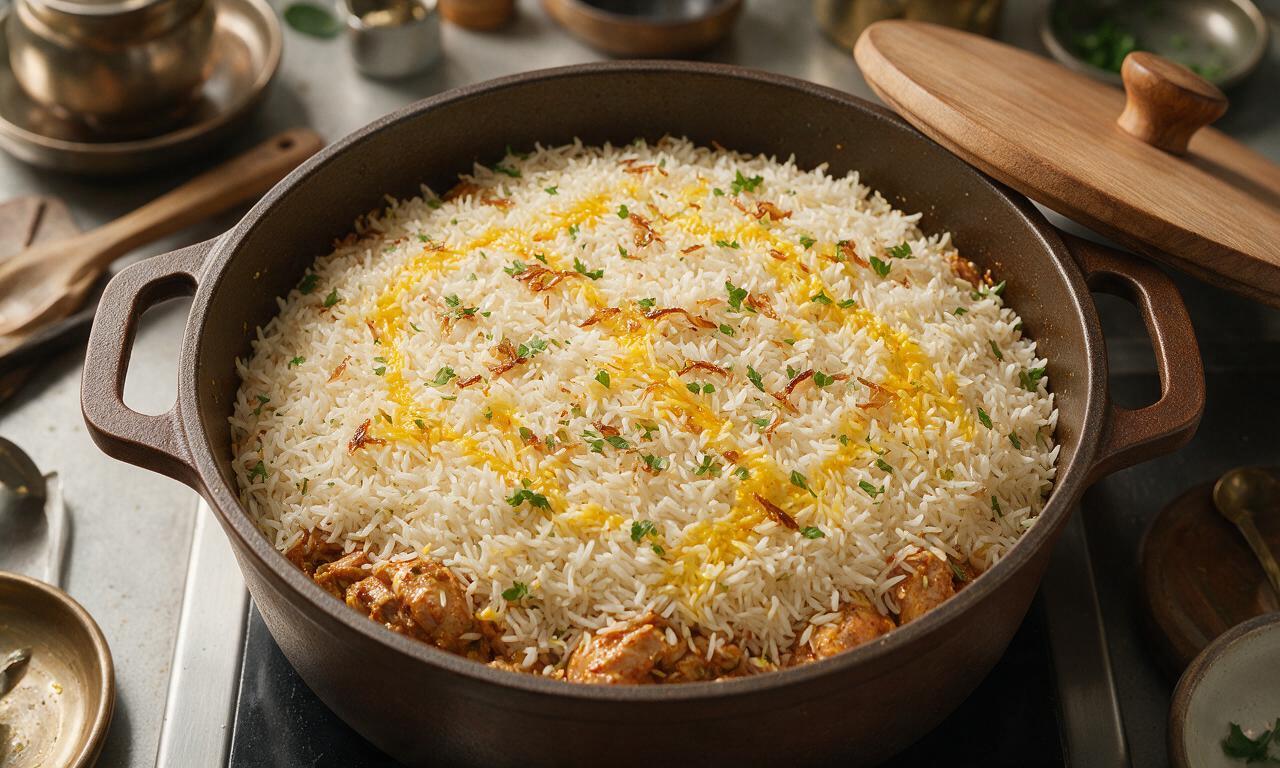
Seal Lid to Trap Steam
Seal the Dutch oven lid tightly to trap all steam inside: wrap the edge of the lid with a clean cotton kitchen towel before placing it on the pot, to block any gaps where steam could escape. Place the sealed pot over the lowest stovetop heat setting (120°C/250°F) and cook, covered, for 25 minutes. Do not lift the lid at any point during this cooking time, as escaping steam will prevent the rice from cooking evenly. After 25 minutes, turn off the heat, and let the biryani rest, still fully sealed, for 10 minutes.
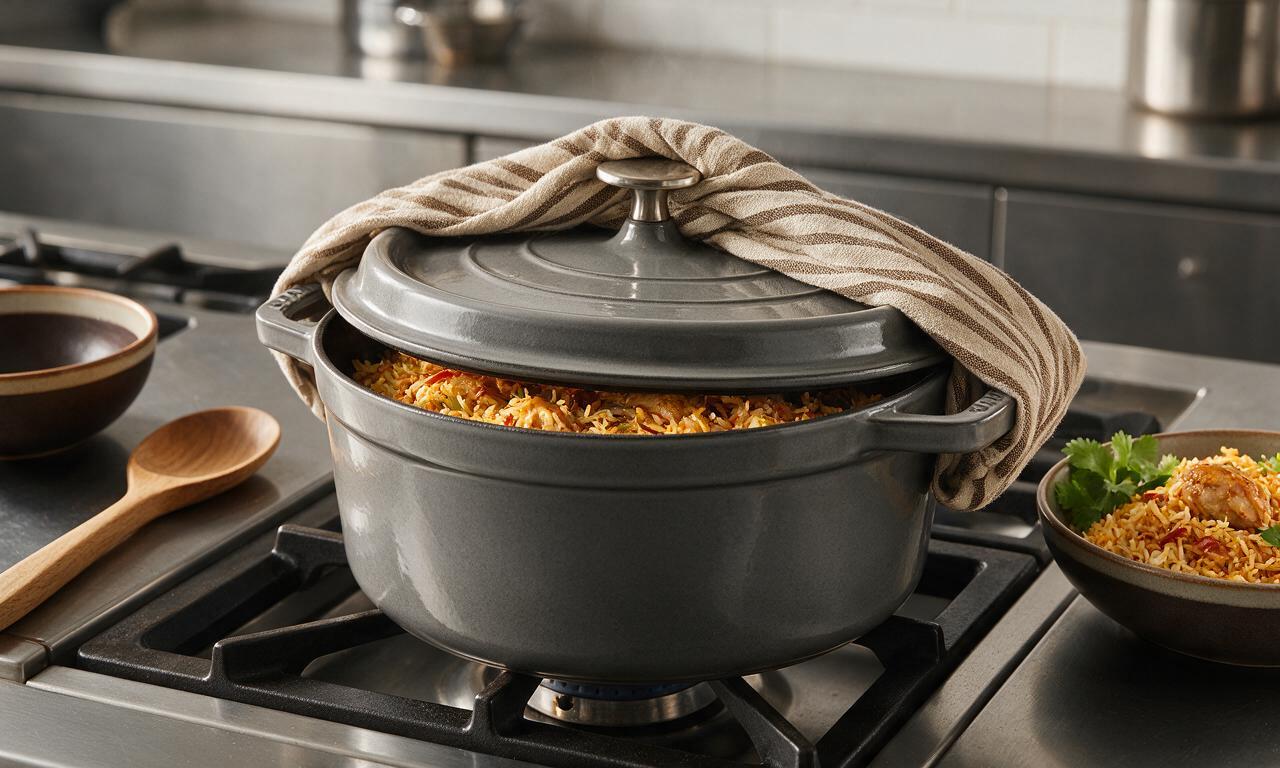
Fluff the Rested Biryani
After the 10-minute resting period, carefully remove the lid (watch for escaping hot steam). Gently fluff the biryani with a long-handled fork, lightly combining the layers just enough to distribute the golden saffron-tinted rice, crispy onions, and tender chicken, taking great care not to mash the soft, cooked rice grains. Serve immediately while hot.
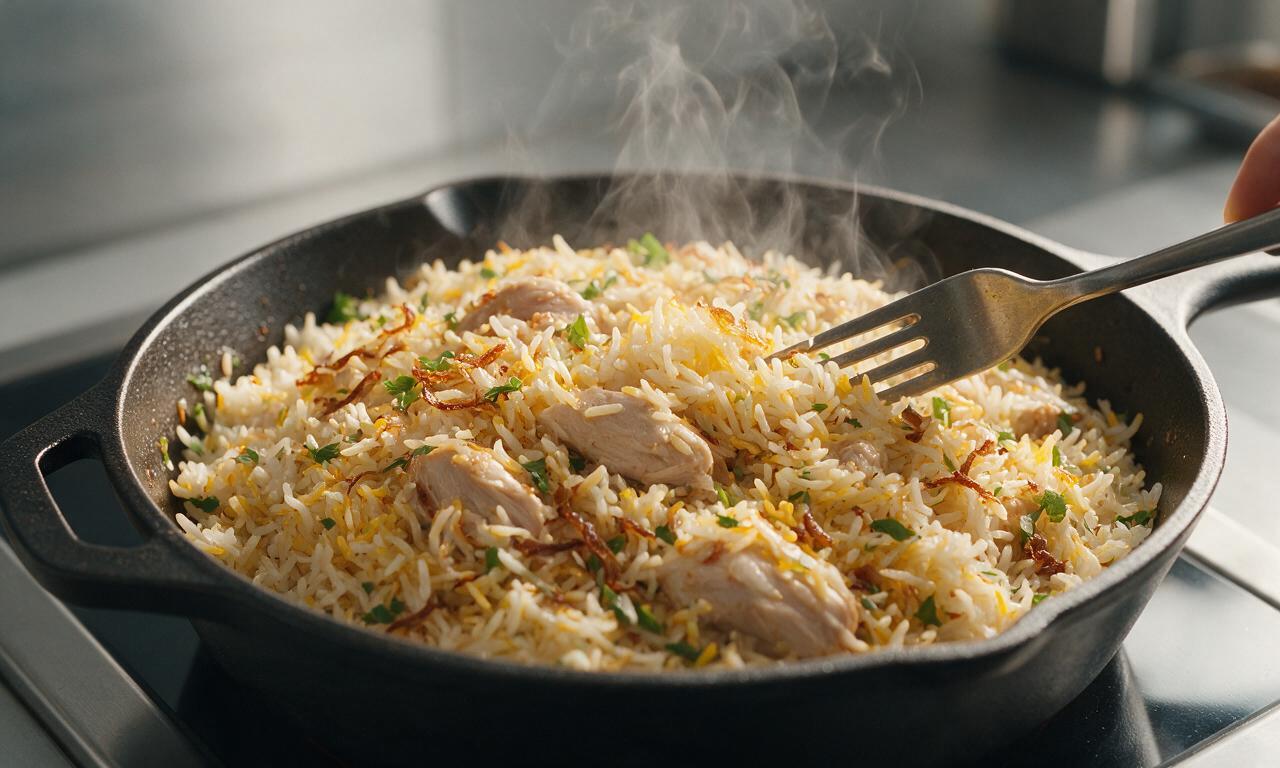
Tips
2.A tight steam seal is non-negotiable for the traditional dum cooking step: if your Dutch oven lid is loose, add a layer of aluminum foil between the pot and the towel-wrapped lid to fully block steam escape.
3.For an extra authentic flavor boost, add 1 teaspoon of kewra (pandanus) water to the top rice layer before sealing the pot, to add a subtle, traditional floral aroma without overpowering the spices.






OMG this biryani is SO good! I was nervous to try a Hyderabadi style because I’ve only had the takeout version near my apartment, but the layered rice and spice mix was spot on. My whole family demolished it at Sunday dinner, even my super picky 7 year old asked for seconds. 10/10 will make again for our next potluck!
Took me a little longer than the listed 1 hour 35 minutes because I prepped all the veggies and marinated the chicken for an extra 20 minutes, but totally worth it. The fried onions on top are a total game changer, I didn’t skip that step like I almost did. Perfect for meal prep too, it tastes even better the next day!
Solid recipe! I messed up the saffron milk ratio the first go around so the rice was a little lighter than I wanted, but the flavor was still incredible. Next time I’m gonna double the mint and cilantro like my mom used to add, but the base recipe is super easy to tweak even for a medium difficulty dish.
Made this for my roommate’s birthday since he’s from Hyderabad and he said it tasted exactly like his grandma’s! I was so stressed I’d mess it up, but the step by step instructions were so clear. We ate the whole pot in one sitting lmao, no leftovers whatsoever.
Quick question! I don’t have a heavy bottomed dutch oven at home, can I use my regular non-stick stock pot with a tight lid for the dum cooking step? I don’t want the rice to burn on the bottom before it’s done steaming.
Bro this recipe went crazy at my Super Bowl watch party last weekend. People kept coming back for thirds and asking me for the recipe left and right. I added a handful of fried cashews and raisins like I saw at my local Indian spot and it was chef’s kiss.
I was intimidated by the medium difficulty rating because I’m a total beginner cook, but this was way more straightforward than I thought! The only thing I struggled with was getting the seal right for the dum step, I used aluminum foil around the lid edge and it worked okay. Any tips for a better seal next time?
Wait is there a way to make this less spicy? My kids can’t handle too much heat but they love chicken and rice dishes, I really wanna make this for our Friday family dinner.
How long would you recommend marinating the chicken if I want to prep this the night before for meal prep? I usually do all my Sunday prep for the week and would love to cut down on weeknight cook time.
I’ve tried so many Hyderabadi biryani recipes online and this is the only one that actually tastes like the ones I had when I visited Hyderabad years ago! The balance of spices is perfect, not too heavy on the garam masala, and the chicken gets so tender. My kids loved it too, which is a miracle because they turn their nose up at most Indian food I make at home.
Made a mistake and used basmati rice that was way too old, so it came out a little mushy, but even then the flavor was insane! I grabbed a fresh bag of long grain basmati on my grocery run today and I’m making it again tomorrow for my book club potluck. Fingers crossed it turns out perfect this time!
Wait can I substitute the chicken for paneer or veggies to make a vegetarian version? My sister is vegetarian and she’s coming over for dinner next week, I’d love to make this for her instead of making a separate main dish.
10/10, no notes. I made this on a random Tuesday night and my neighbor smelled it through the apartment wall and knocked on my door asking for a plate lmao. Ended up sending him home with two big tupperwares and he brought me over a six pack the next day to say thanks. Game changer for neighbor relations tbh.