
sourdough hoagie rolls
intro
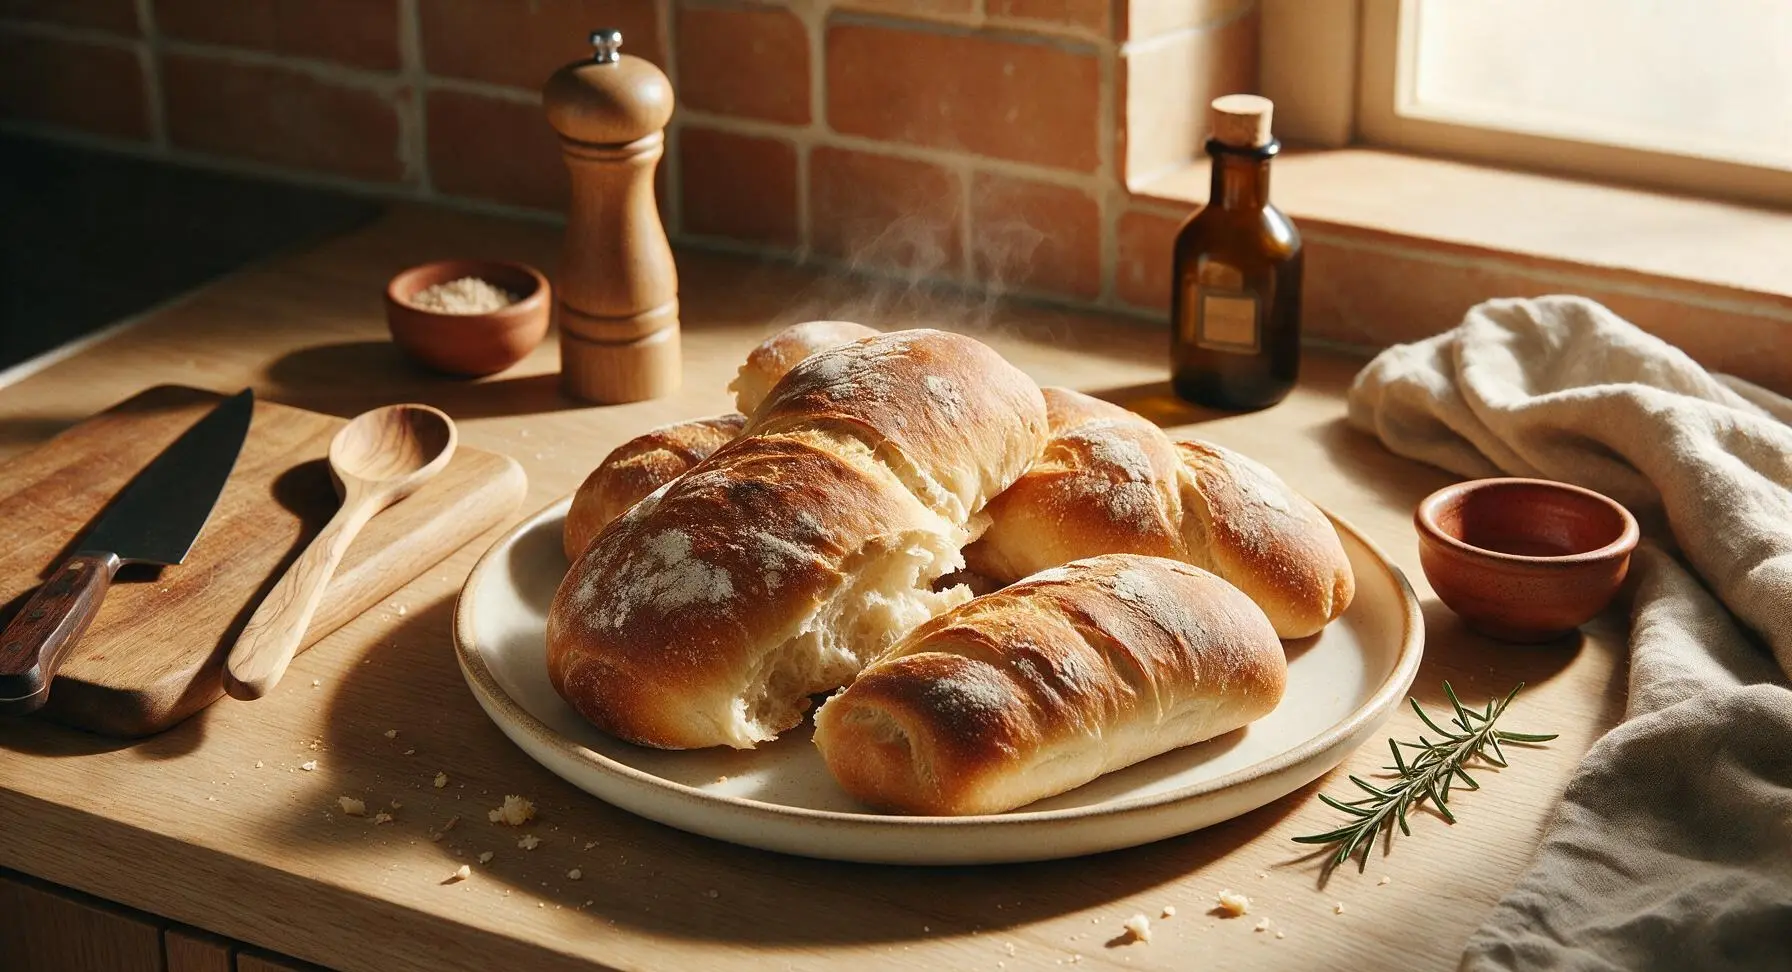
Crusty, chewy sourdough hoagie rolls with a soft, airy crumb and subtle tang, perfect for piling high with grilled fillings at summer cookouts.
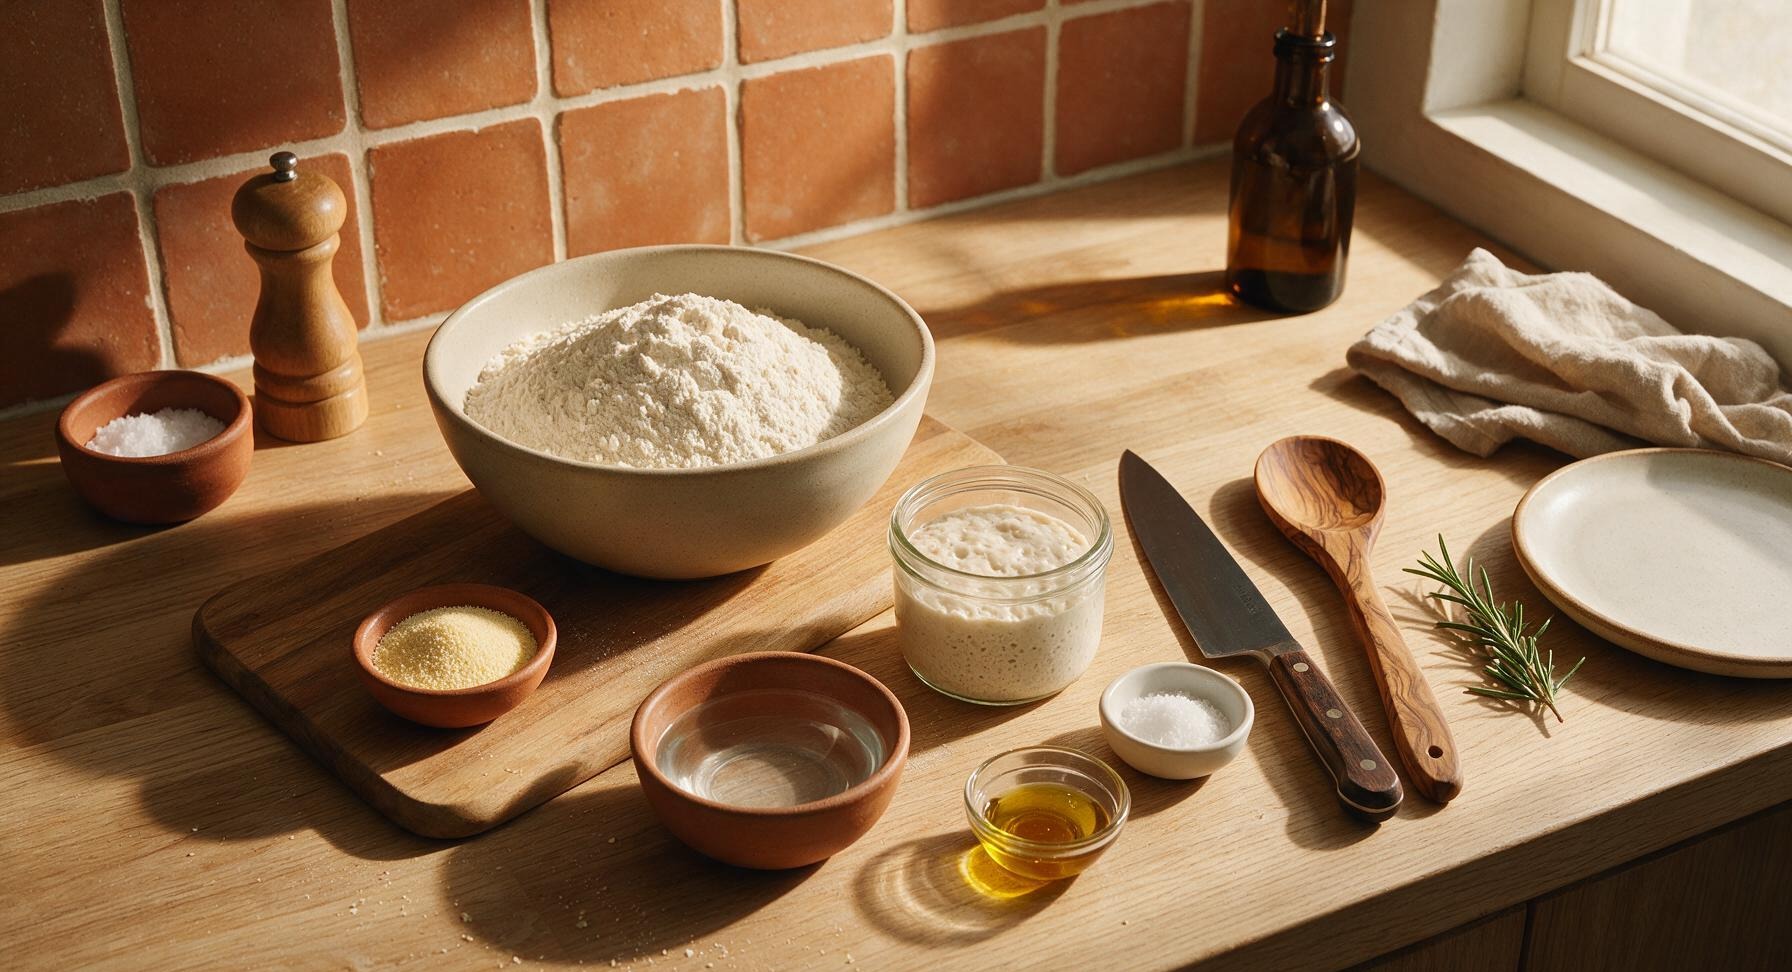
Ingredients
Steps
Mix Initial Dough
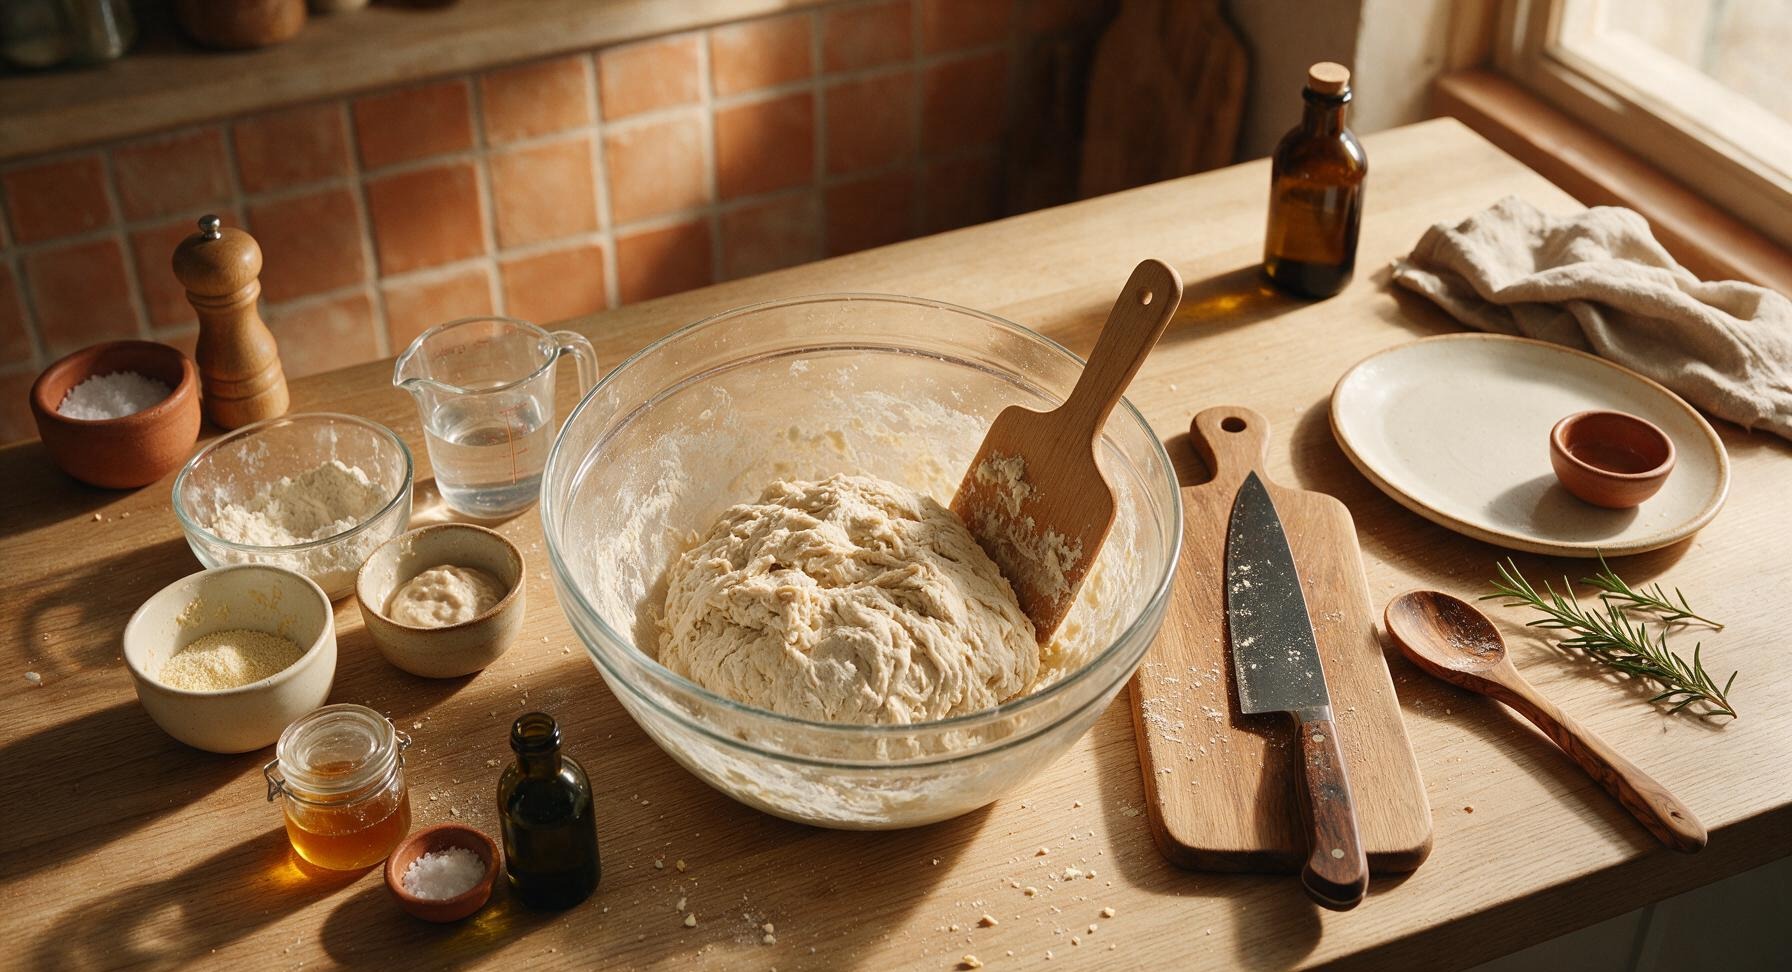
Add 320g lukewarm water, 100g active bubbly sourdough starter, 5g honey, and 15g olive oil to the 6-quart clear glass mixing bowl. Stir with the beech wood dough scraper until starter is fully dispersed, then add 500g bread flour. Mix until no dry flour remains, forming a shaggy, sticky mass. Cover loosely with the oatmeal cotton towel and let rest for 30 minutes (autolyse) at room temperature (21C/70F).
Incorporate Salt and Fold
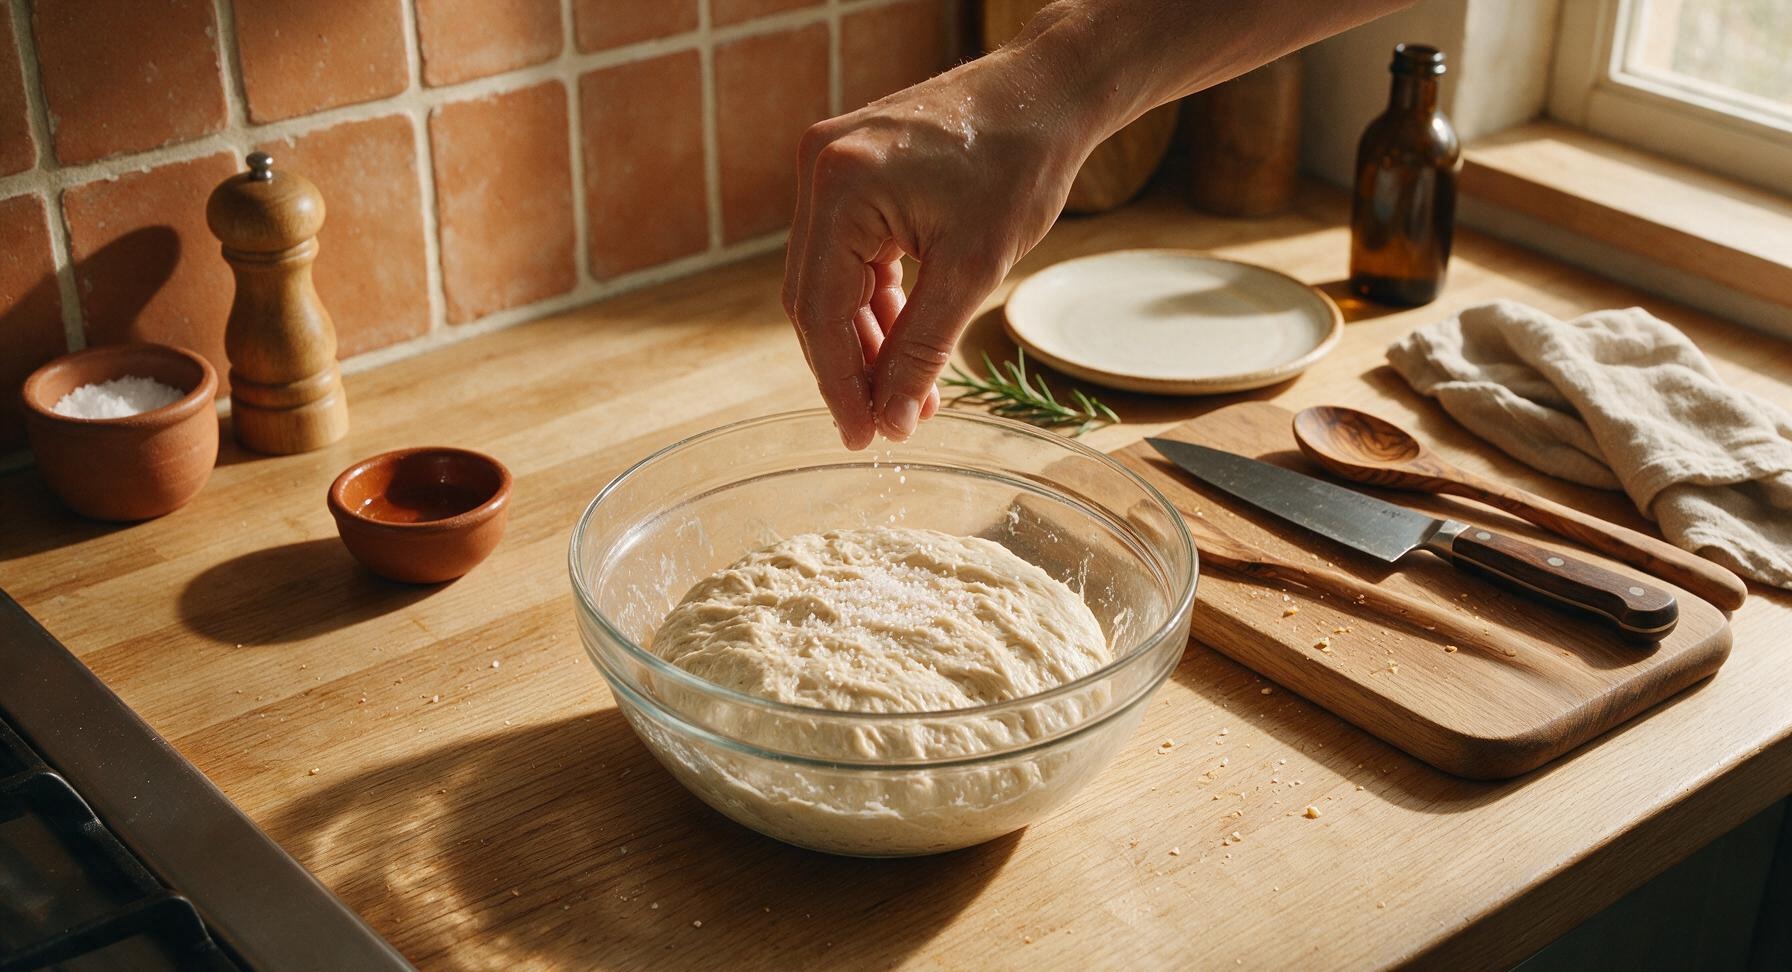
Sprinkle the 10g fine sea salt evenly over the rested dough surface. Use wet hands to pinch the salt into the dough, then perform 4 sets of stretch and folds: grab one edge of the dough, pull it up until it resists, then fold it over the top of the dough mass, rotating the bowl a quarter turn each time. Cover again and let rest for 30 minutes between each of the next 3 fold sets, for a total of 4 fold sets over 2 hours.
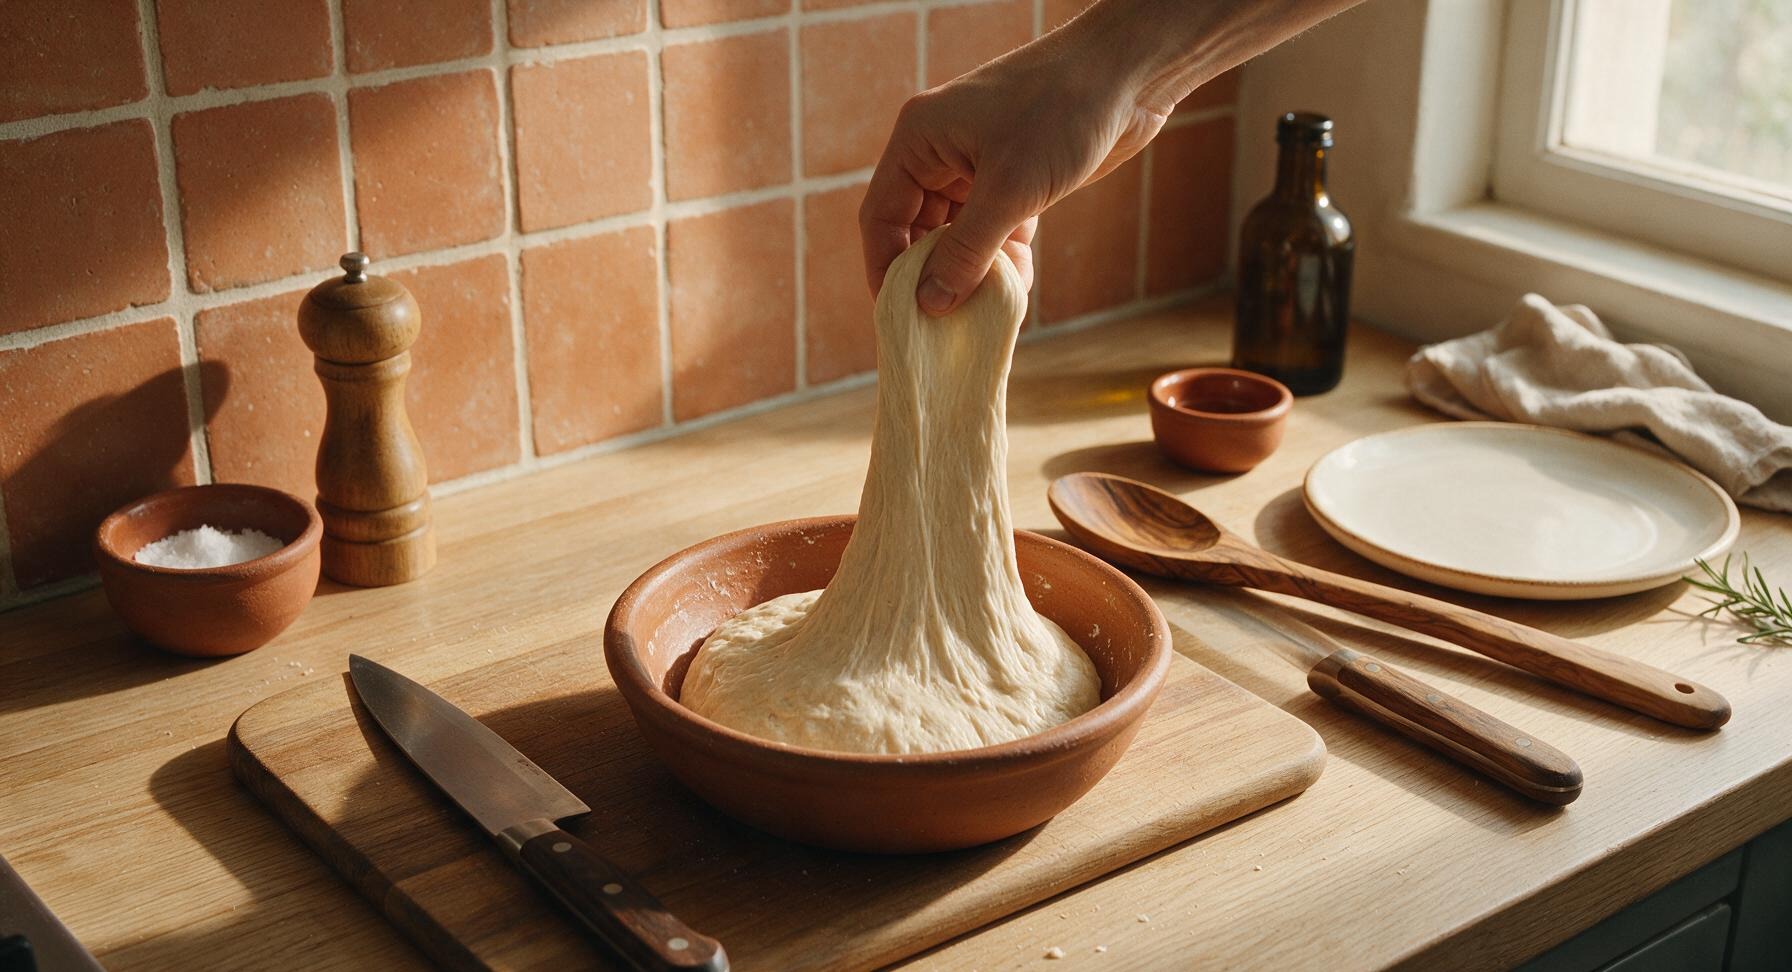
Bulk Ferment Dough
After the final set of folds, cover the bowl tightly with the cotton towel and let the dough bulk ferment at room temperature for 4-5 hours, until it has doubled in size, is jiggly when tapped, and has visible small bubbles across its surface and along the bowl edges. Do not rush this step: dough that is under-fermented will produce dense, flat rolls.
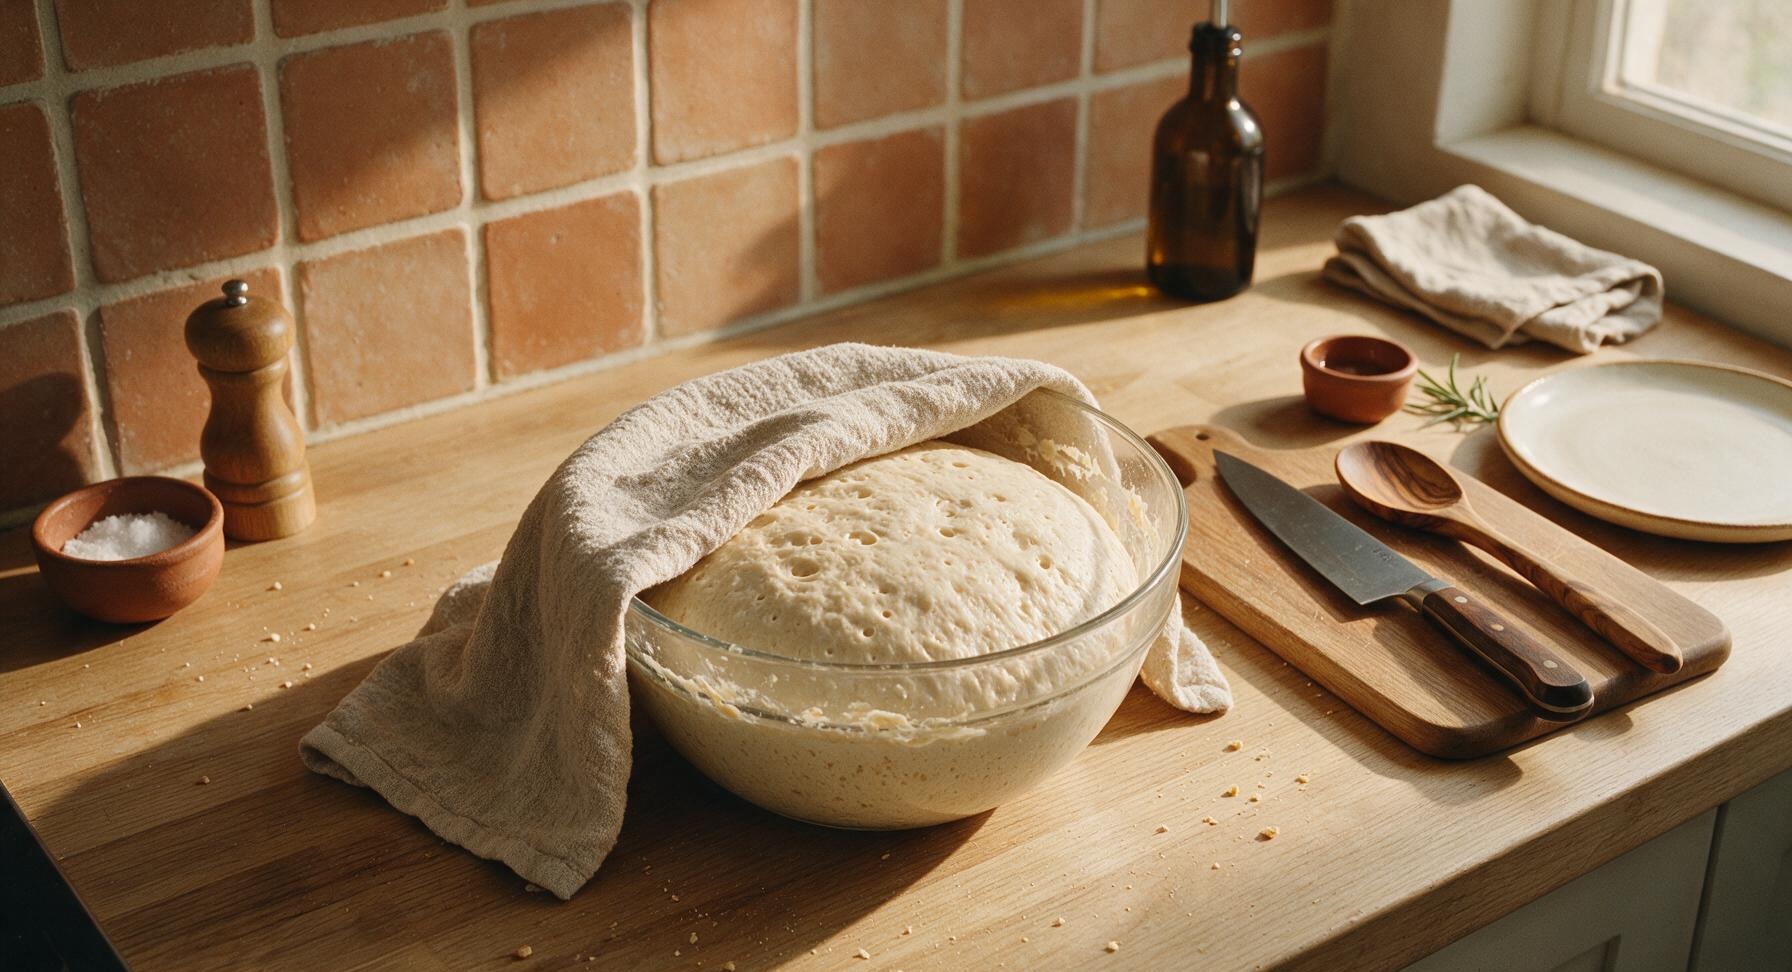
Divide and Preshape Rolls
Lightly flour the counter surface (use no more than 1 tsp flour to avoid tough dough). Tip the fermented dough out gently onto the counter, being careful not to deflate all the air. Use the beech dough scraper to divide the dough into 8 equal 115g pieces. Form each piece into a tight, smooth ball by pulling the edges down to the bottom, creating surface tension. Let the balls rest, covered with the towel, for 20 minutes to relax the gluten.
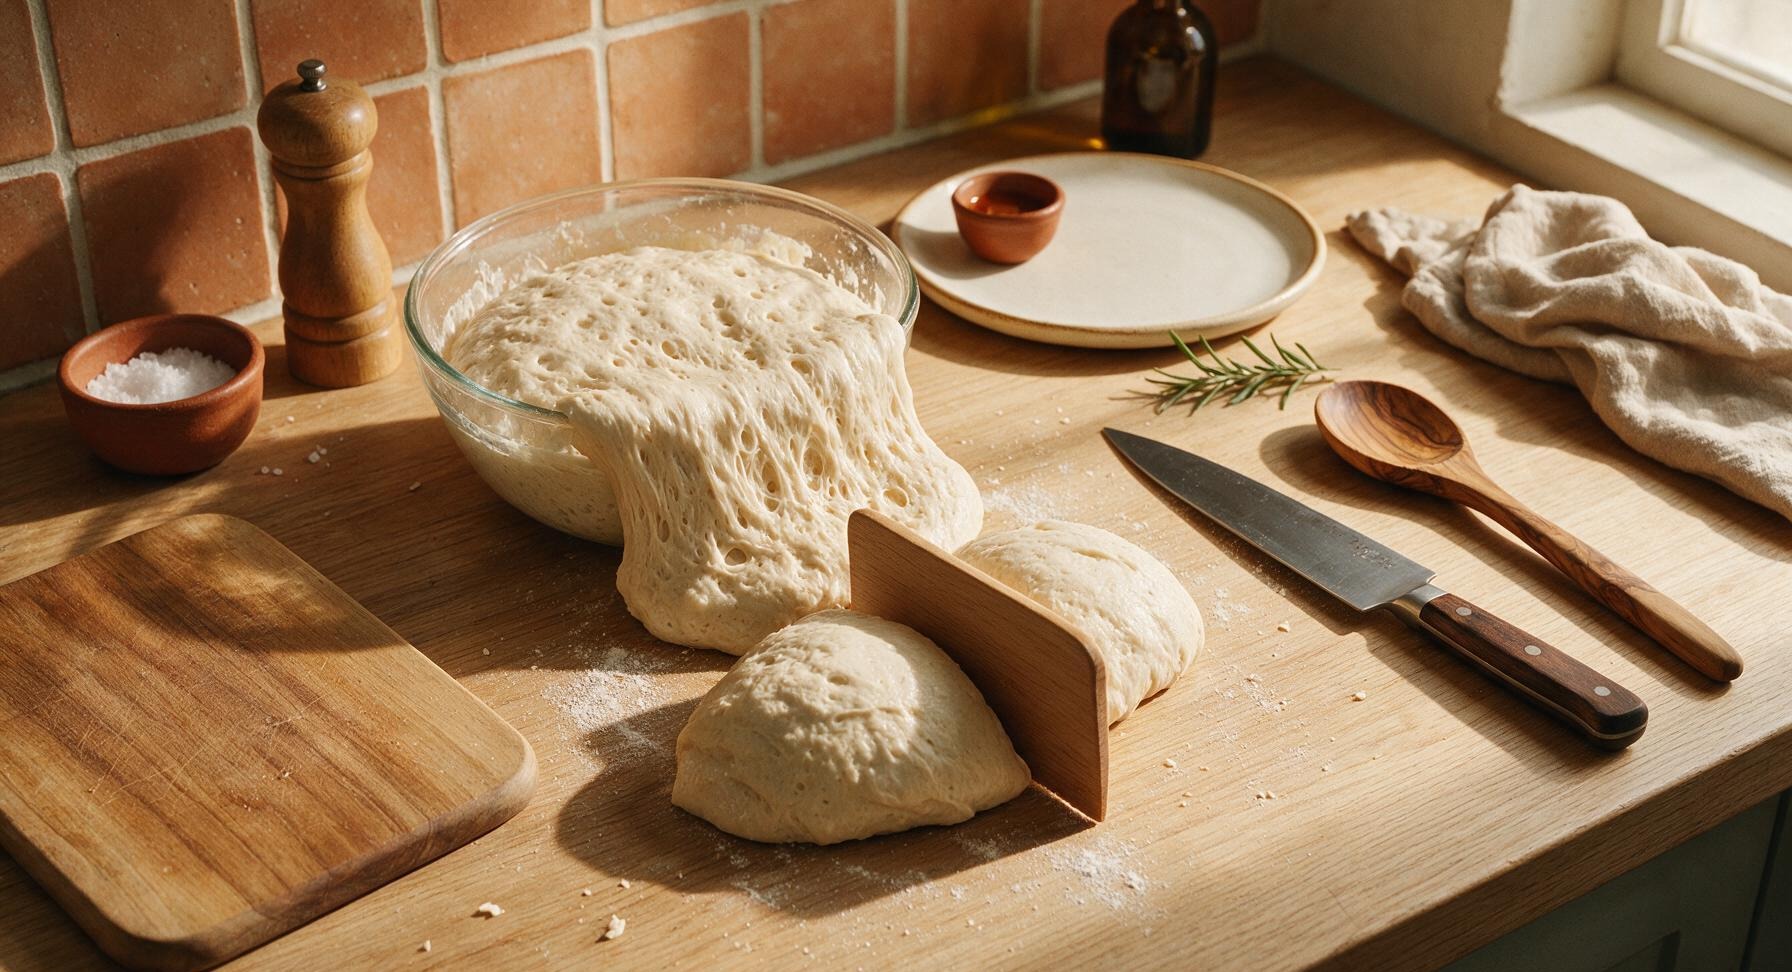
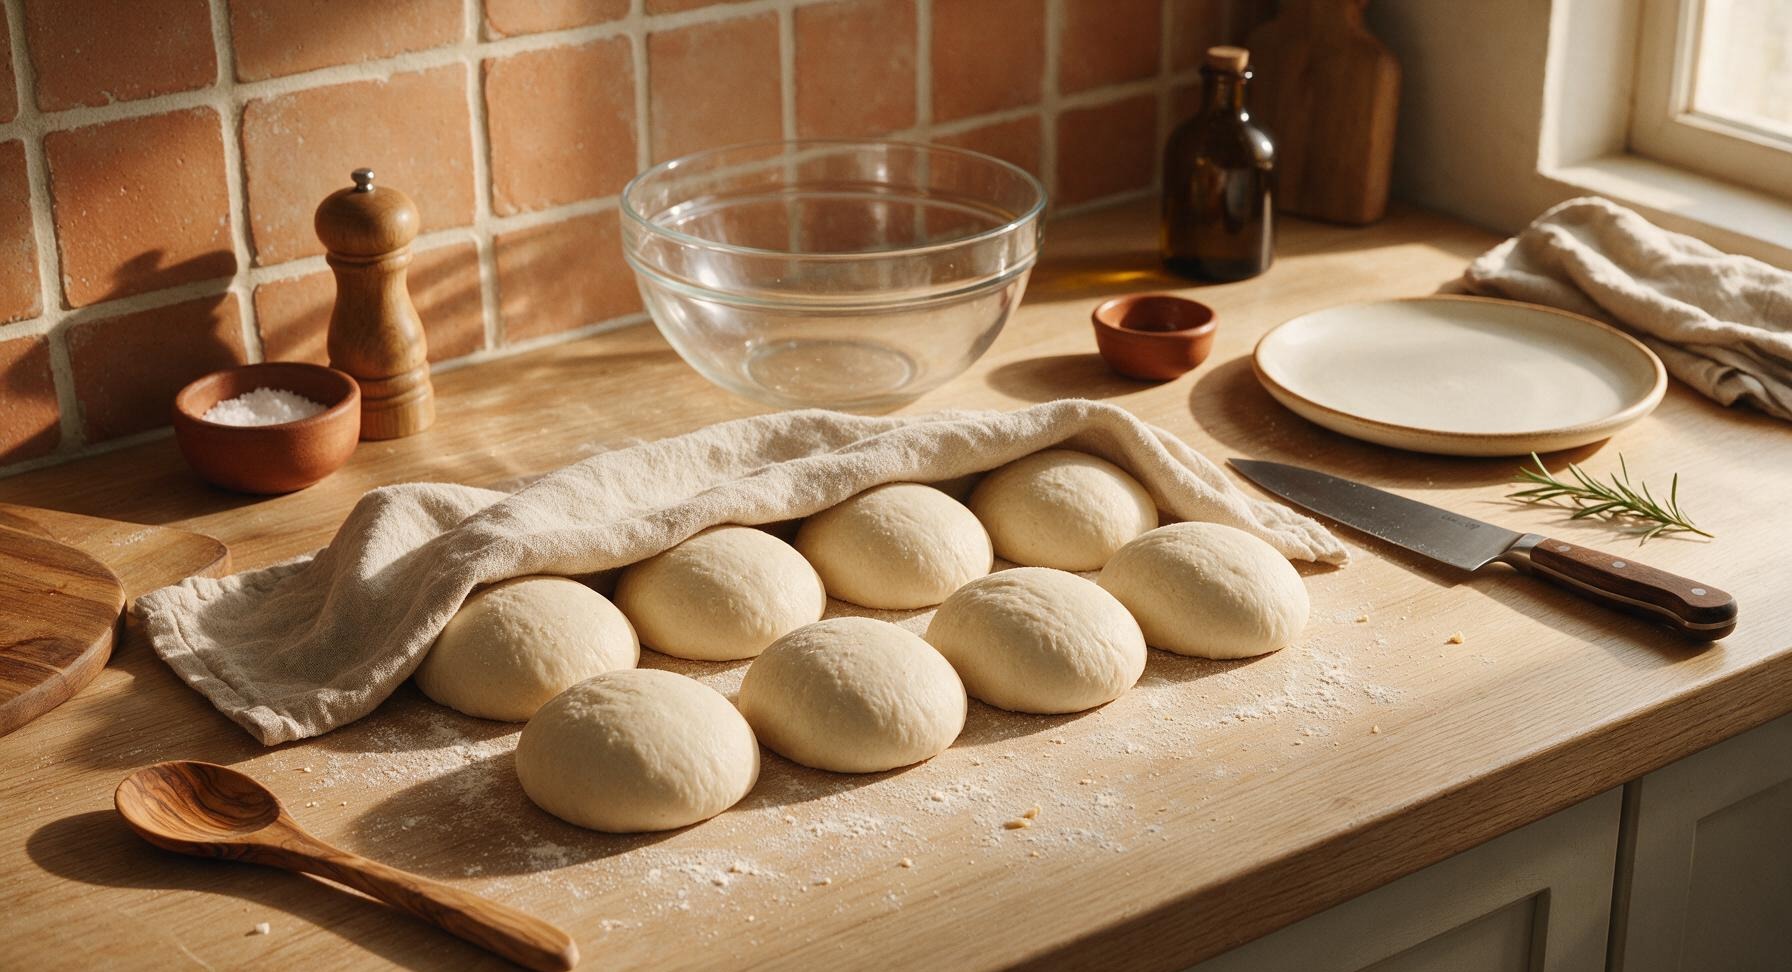
Shape Hoagie Rolls
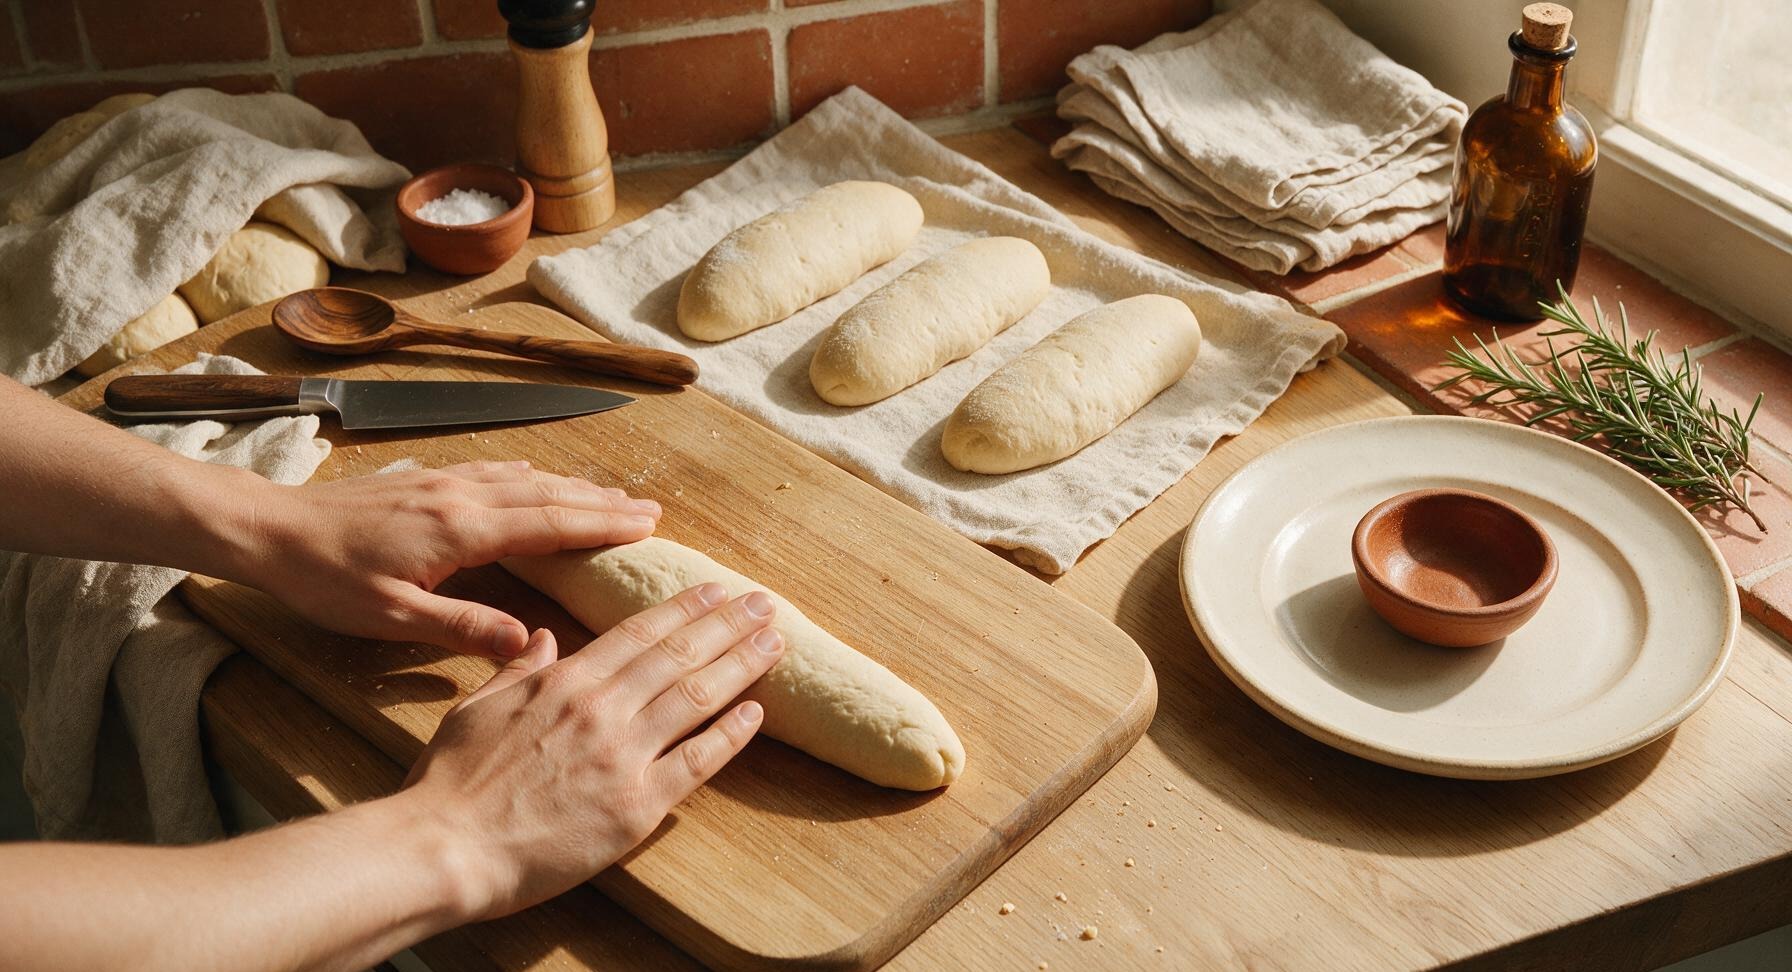
Working with one relaxed dough ball at a time, pat it gently into a 10cm x 12cm oval, being careful not to pop all large air bubbles. Fold the top third of the oval down to the center, pressing gently to seal, then fold the bottom third up to meet the center, pressing to seal. Roll the dough back and forth with your palms to form an 18cm (7 inch) long log with tapered ends, ensuring the seam is pinched tightly closed along the bottom. Arrange the shaped logs seam-side up on the linen-lined banneton couche, pleating the linen between rolls to support them as they rise.
Proof Shaped Rolls
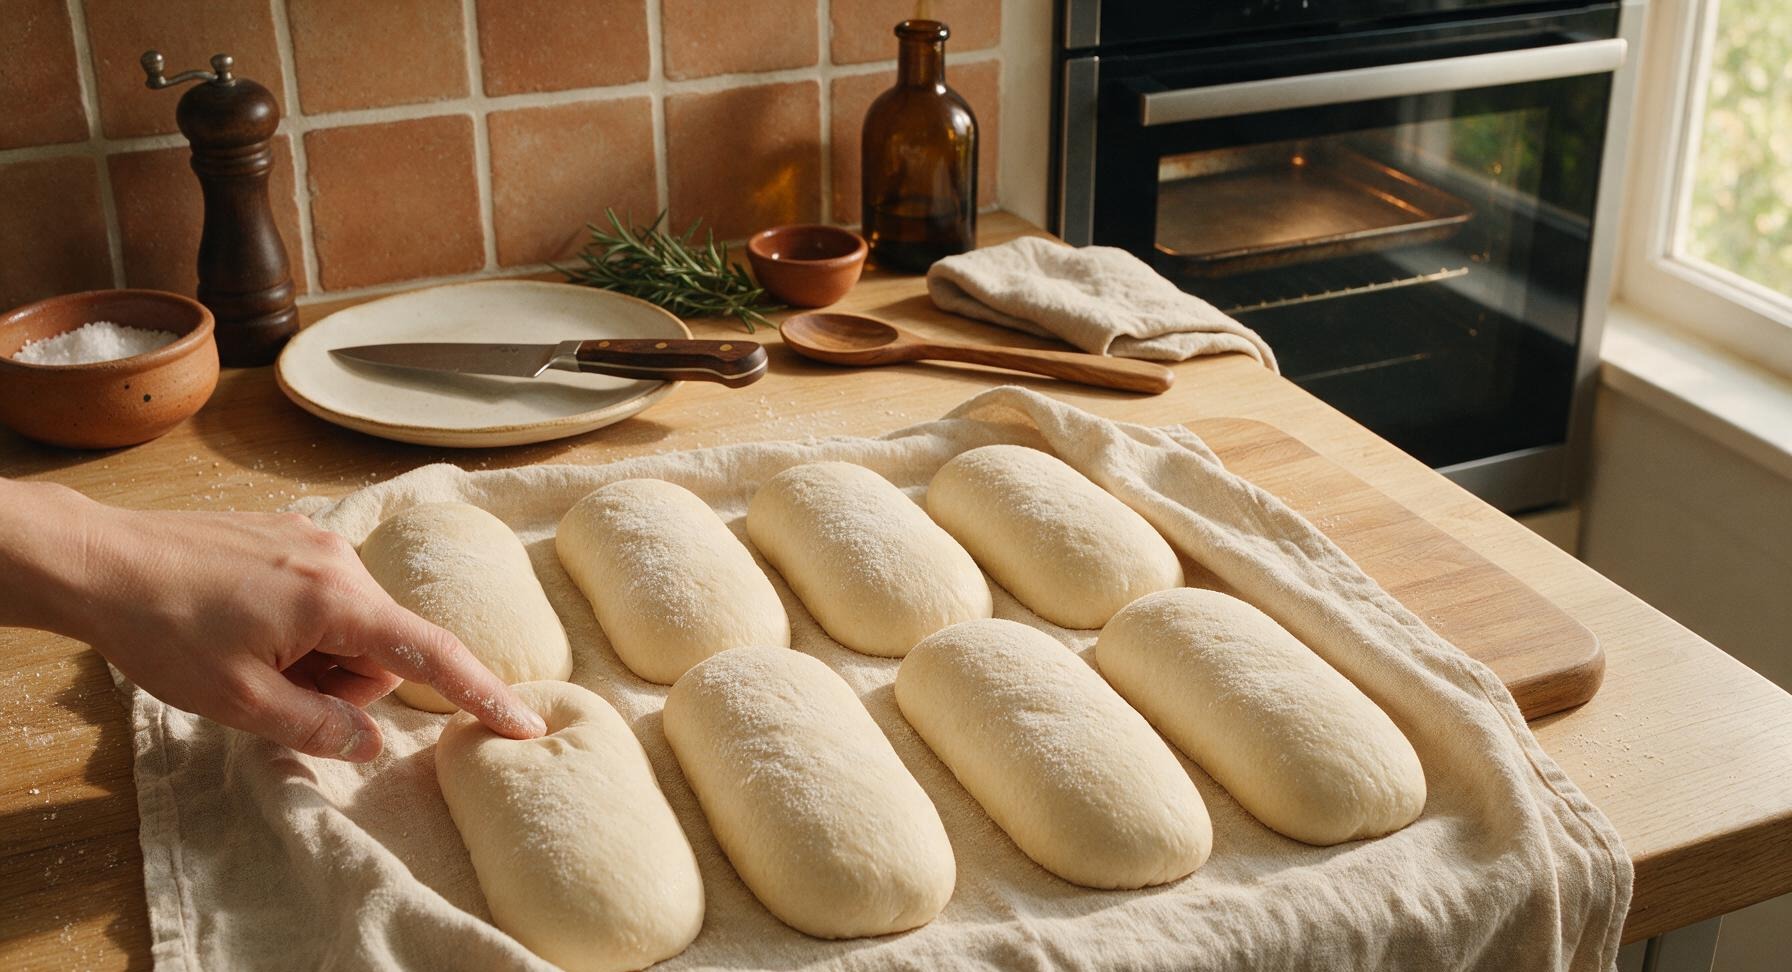
Cover the shaped rolls on the couche loosely with the cotton towel, and let them proof at room temperature for 1.5-2 hours, until they are puffy, spring back slowly when poked with a floured finger (leaving a 5mm indent that fills halfway). 30 minutes before baking, place the heavy gauge carbon steel baking sheet on the middle oven rack and preheat oven to 230C/450F.
Score and Bake Rolls
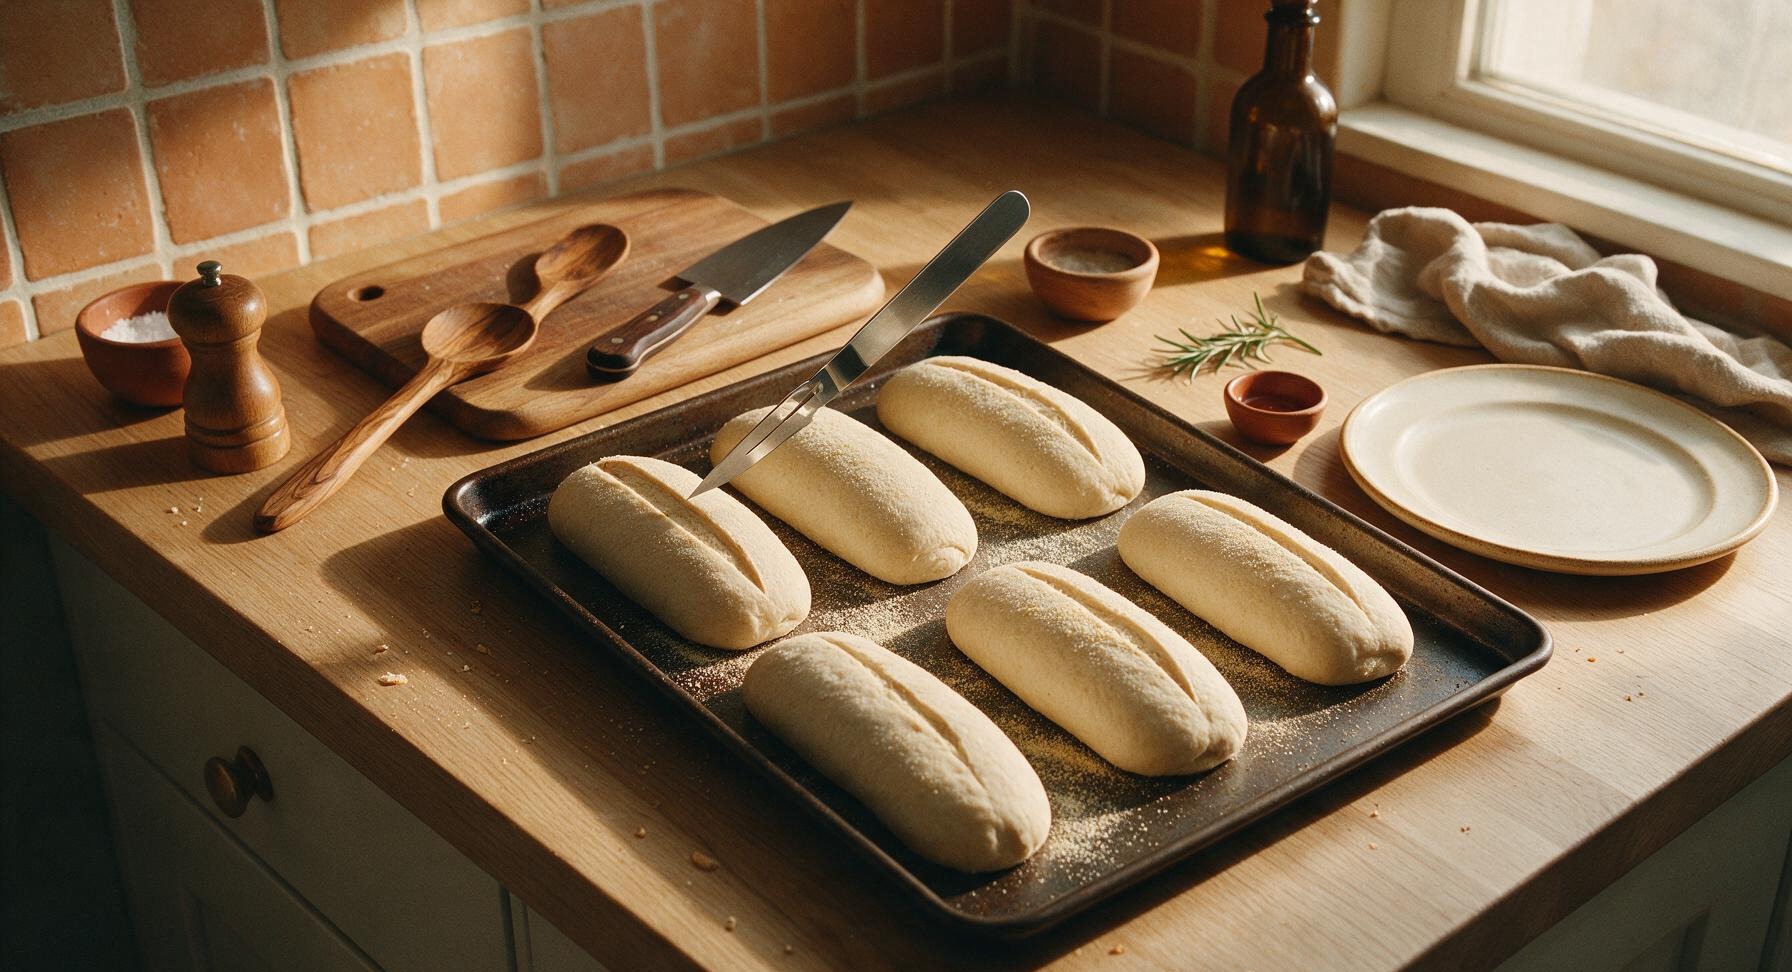
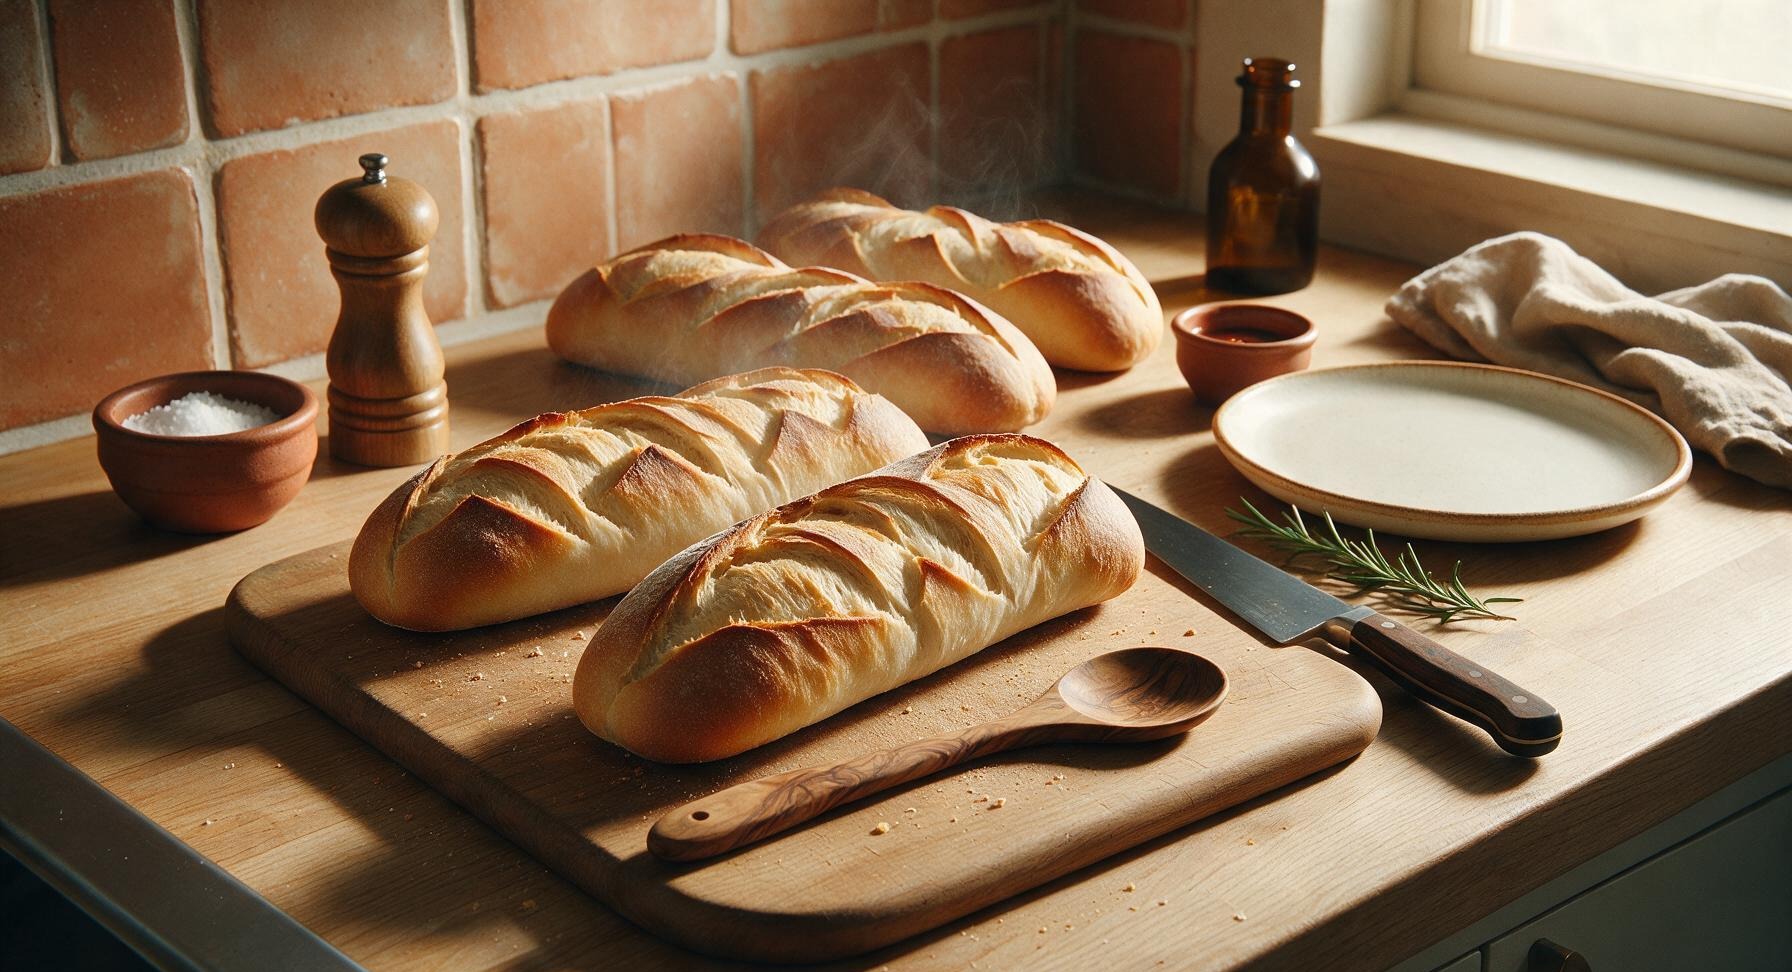
Carefully pull the preheated baking sheet from the oven, sprinkle lightly with 1 tbsp semolina flour to prevent sticking. Transfer the proofed rolls seam-side down to the hot baking sheet, spacing them 5cm apart. Use the sharp stainless steel lame to score one 10cm long, 5mm deep diagonal slash along the top of each roll. Spray the oven walls with 5 sprays of water to create steam (avoid spraying the glass door directly to prevent cracking), then bake for 20-25 minutes, until the rolls are deep golden brown all over, and sound hollow when tapped on the bottom.
Cool Baked Rolls
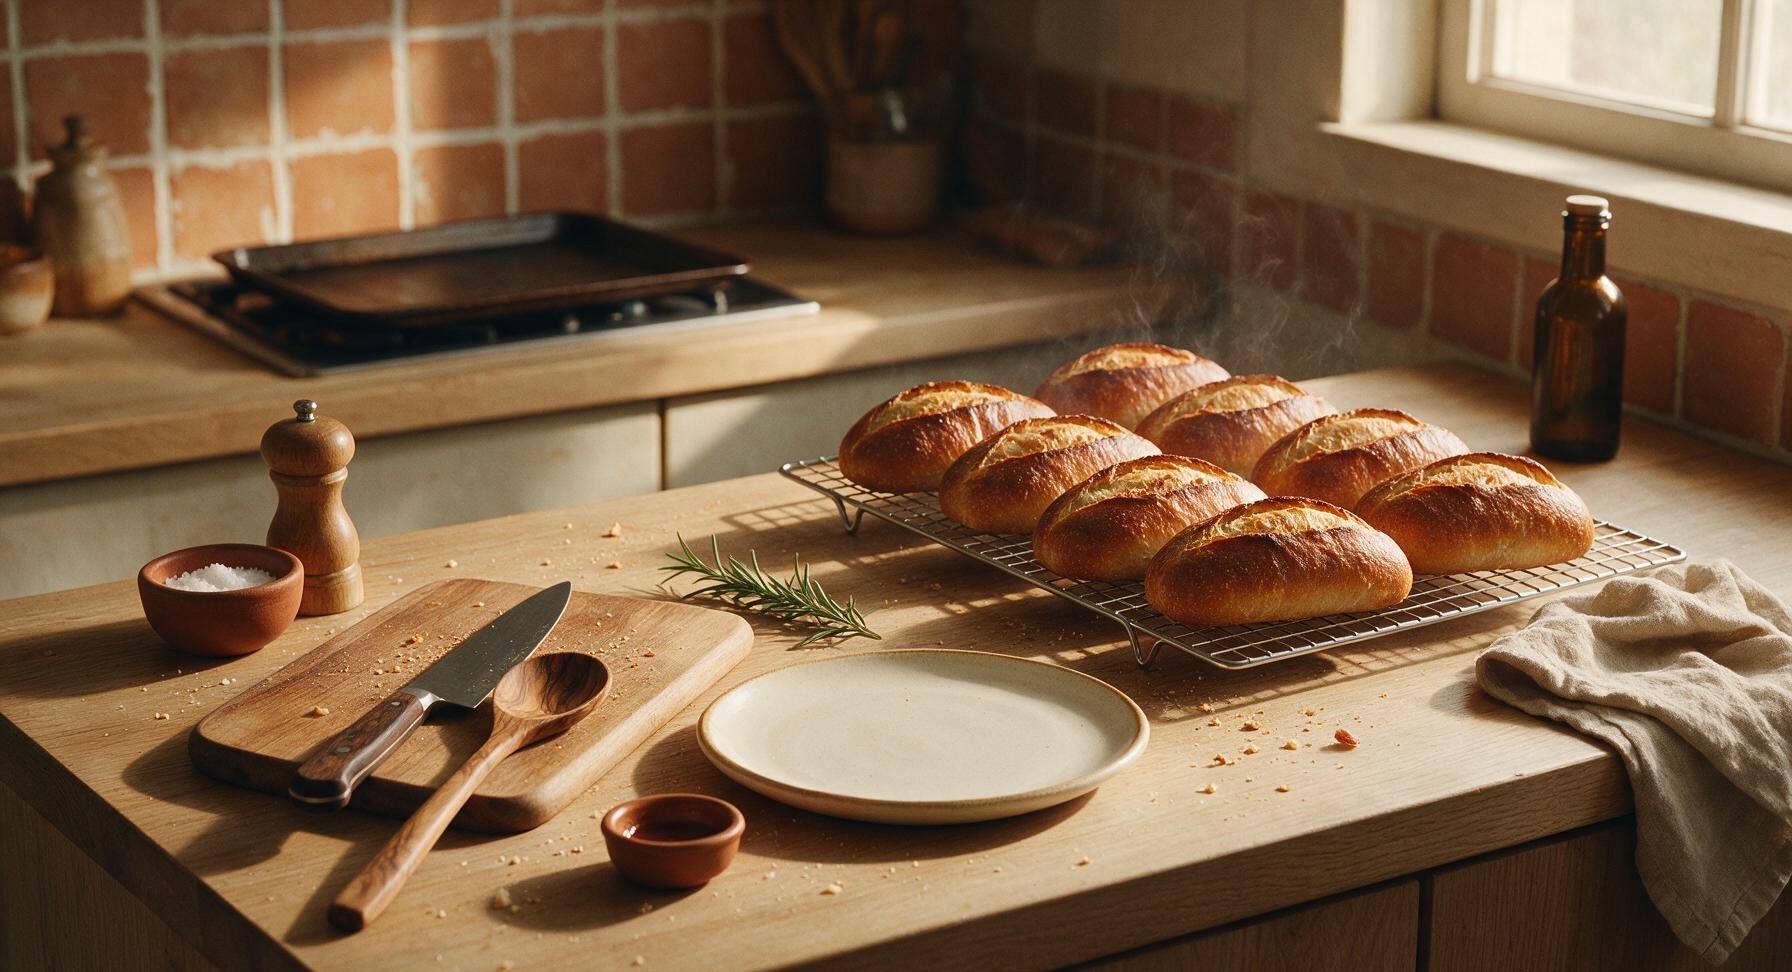
Once baked, use tongs to transfer the golden hoagie rolls from the baking sheet to the matte chrome wire cooling rack. Let them cool completely for at least 45 minutes before slicing or serving—cutting warm rolls will result in a gummy, dense crumb as the interior structure sets as it cools.
Tips
2.Create steam in the oven during the first 10 minutes of baking by spritzing the oven walls with water (avoid spraying the glass door directly to prevent cracking); steam keeps the crust soft during initial oven spring, allowing rolls to rise fully before the crust sets into a crisp, golden layer.
3.Resist the urge to cut into warm rolls straight from the oven: the crumb structure continues to set as rolls cool, and cutting early will release trapped steam, resulting in a gummy, compressed texture instead of the light, airy crumb ideal for holding sandwich fillings.






OMG these sourdough hoagie rolls are a total game changer! I made them for our Sunday family dinner meatball subs last night and everyone went back for seconds. The crust was perfectly chewy and the inside was so soft, way better than the store-bought hoagies we usually grab. I was nervous because sourdough can be fussy (I’ve had so many flat loaves!) but the instructions were super clear even for a medium-difficulty recipe. 10/10 will be making these for our next potluck too!
SO good! I baked a batch of these on Sunday for meal prep and they held up perfectly all week for turkey sandwiches, cheesesteaks, even breakfast egg sandwiches. The 25 minute cook time is so manageable too, I didn’t have to spend half my day in the kitchen. They toast up beautifully too, no sogginess even with lots of fillings. Obsessed!
Okay, full transparency: I’m still pretty new to sourdough baking and I was intimidated by the medium difficulty rating, but I gave these a shot anyway and they turned out… mostly great? My rolls spread a little more than I expected instead of holding that classic hoagie shape, but the flavor was incredible. Did I overproof them maybe?
I brought these to my neighborhood block party potluck last weekend and people were asking me for the recipe before I even set the platter down! I filled half with Italian cold cuts and left half plain so people could make their own, and every single roll was gone in 20 minutes. Will absolutely be my go-to hoagie roll recipe from now on.
These rolls are chef’s kiss. I used them to make cheesesteaks for my kids after their soccer practice last week and they both begged me to make them again this weekend. The crust had that perfect little crunch when you bite into it, and the crumb was light enough that it didn’t feel like you were eating a huge heavy roll with your sandwich. My only note is I sprinkled a little sesame seed on top before baking and it was *chef’s kiss*.
I’ve been baking sourdough for 4 years now and I’m always on the hunt for a good sandwich roll recipe, and this one delivers. The crumb structure is exactly what you want for a hoagie – enough nooks and crannies to hold oil and dressing without getting soggy, but not so open that all your fillings fall out. Cook time was spot on at 25 minutes for my oven, no adjustments needed.
Y’all, I almost skipped this because I thought medium difficulty meant I’d be messing with it all afternoon, but it was so straightforward! The kids helped me shape the rolls before dinner, and we had fresh hoagies for our pulled pork night. The only mishap was I forgot to score the tops before baking so they burst a little on the side, but no one cared because they tasted that good.
I tried making these last weekend and they were so tasty, but they deflated a little right before I put them in the oven! I’m at 6,000 feet in Colorado and usually have to adjust sourdough recipes to account for faster rise times and drier air. Did anyone have to tweak the flour or proof times for high altitude? These are too good to give up on, I want to get them right next time!
Made these to go with my smoked brisket sandwiches last weekend and holy cow, what a difference fresh baked rolls make. I was worried the sourdough tang would overpower the brisket, but it was the perfect complement, not too strong, just enough depth of flavor. Baked them right at 25 minutes like the recipe said and they were golden brown and perfect. Will be a staple at all my summer cookouts from now on.