
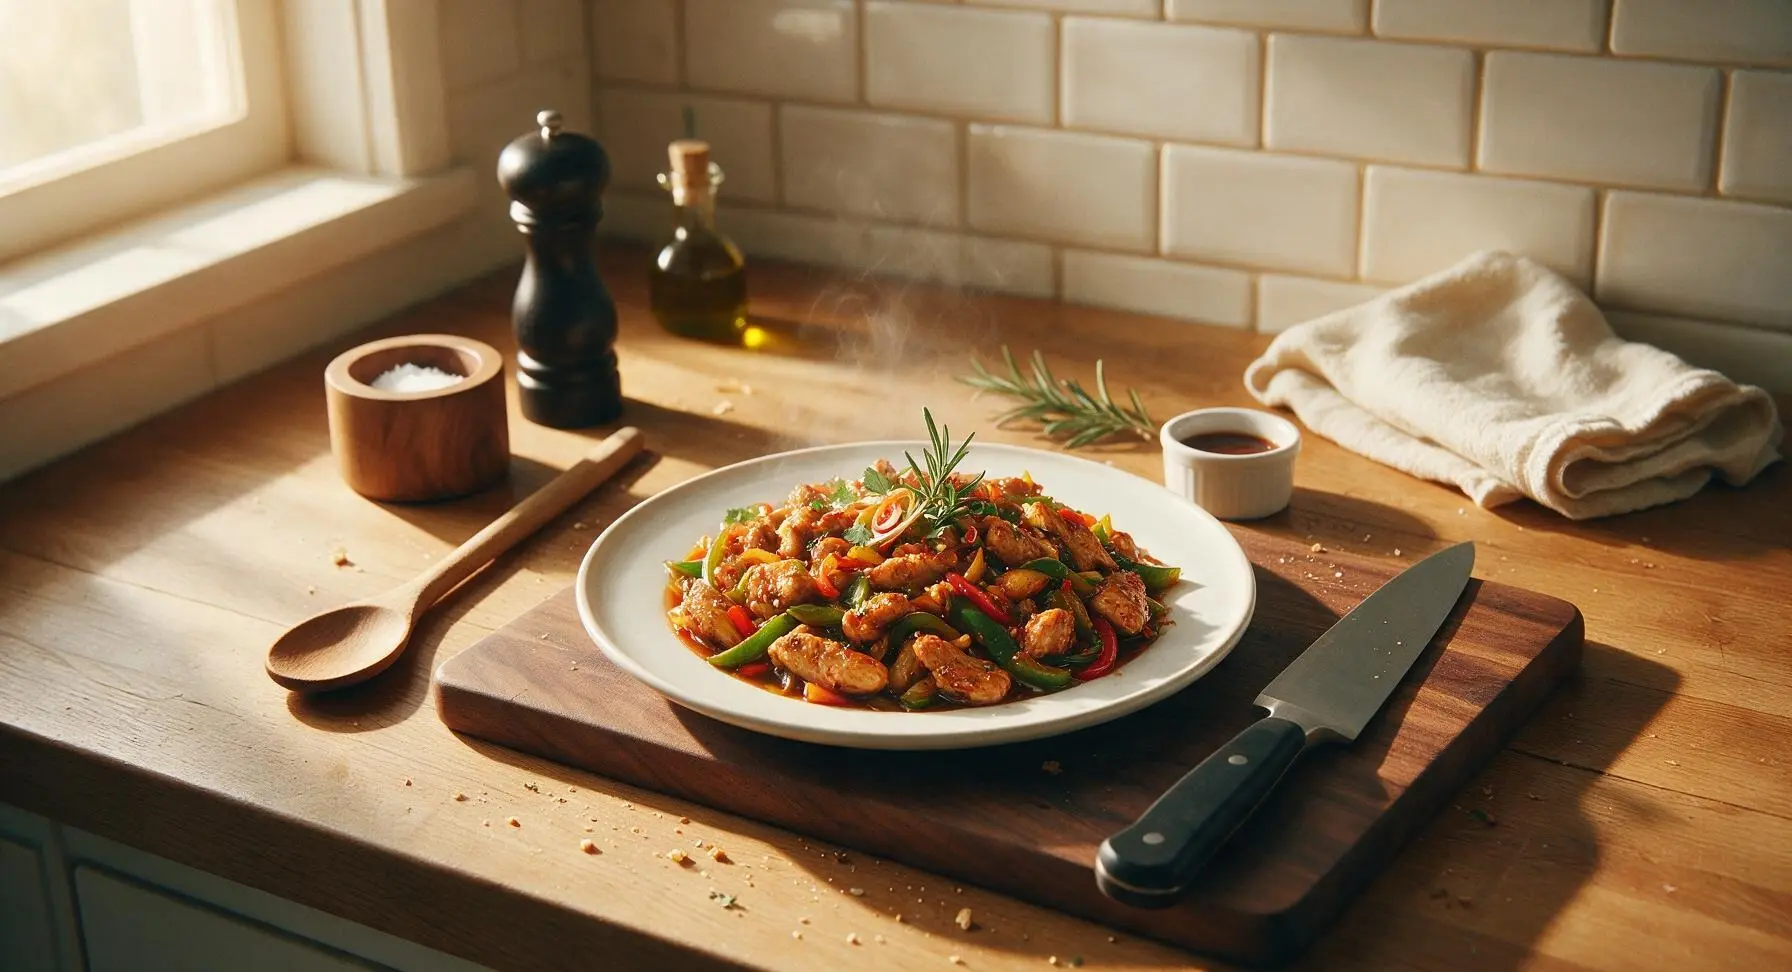
chicken chilli fry

title 1
chicken chilli fry
⏱️ cook time 20 minutes
🍽️ servings 4
⚡ Difficulty easy

intro

Crispy, spicy, glossy Indo-Chinese chicken chilli fry: juicy seared chicken tossed with crisp veggies in a tangy soy-chilli sauce, perfect for fast, flavorful weeknight meals.

Ingredients
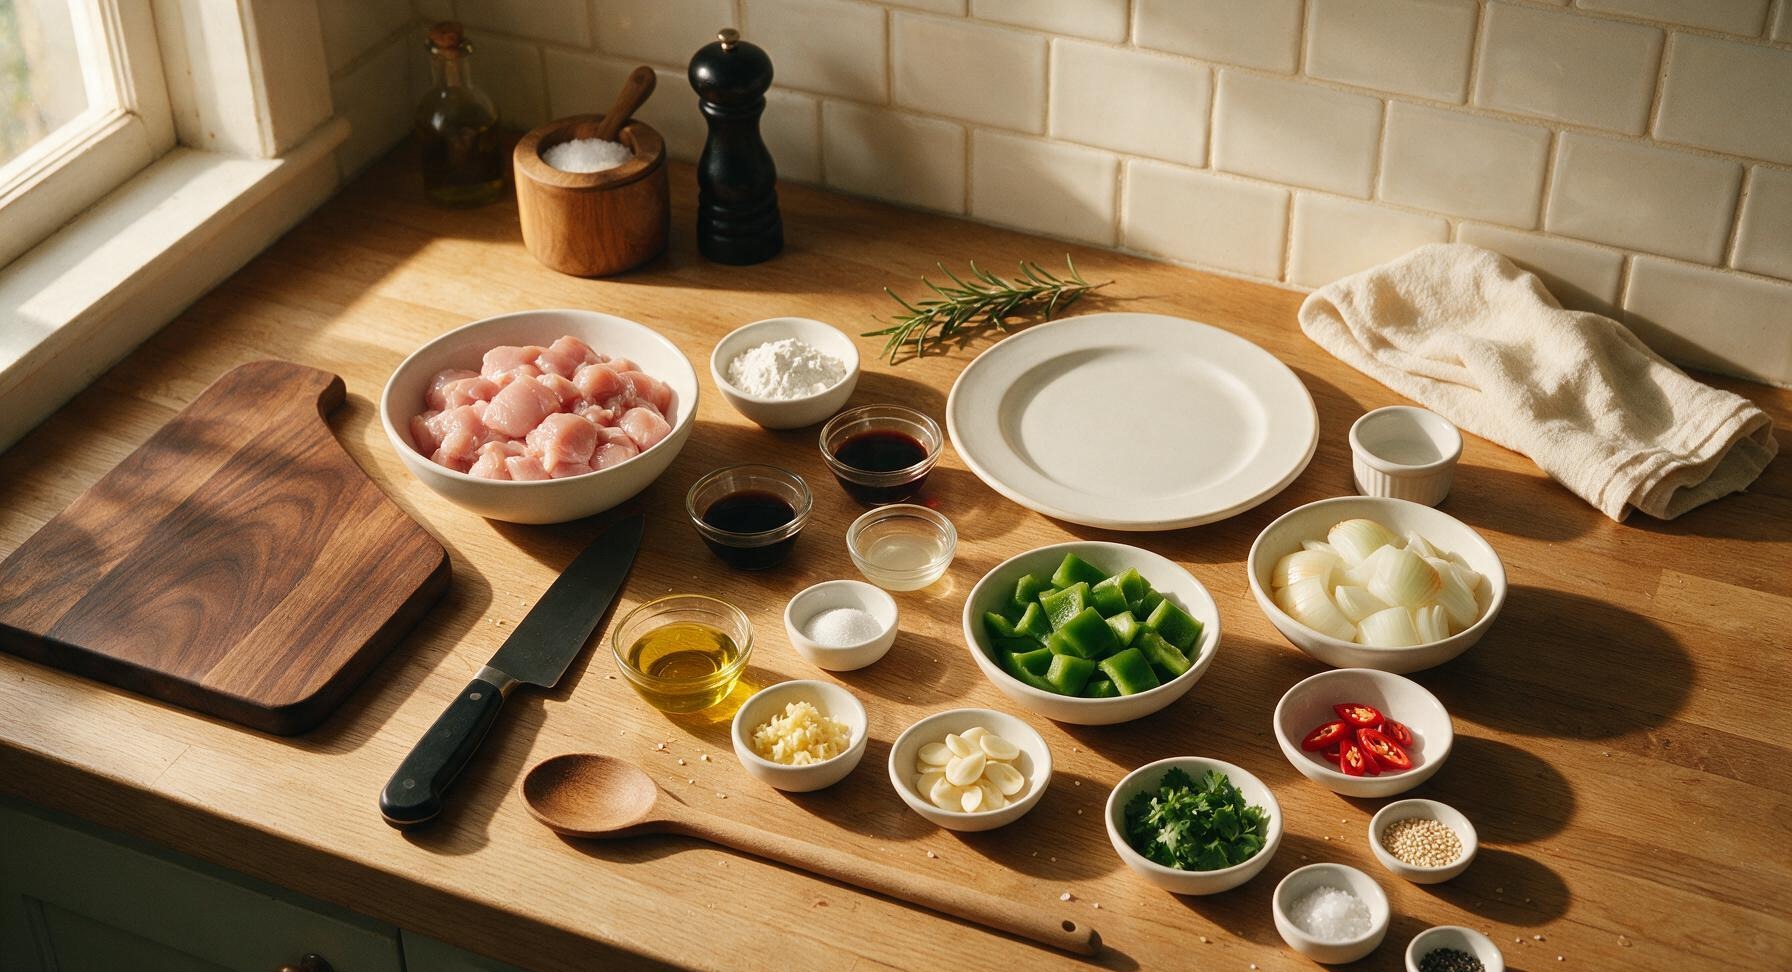
Boneless skinless chicken thighs 500g, cut into 2.5cm cubes
Cornflour (cornstarch) 3 tbsp, divided
Light soy sauce 2 tbsp, divided
Dark soy sauce 1 tsp
Rice vinegar 1 tbsp
White sugar 1/4 tsp
Neutral cooking oil (canola/sunflower) 3 tbsp
Fresh ginger 1 inch (15g), peeled and finely chopped
Garlic cloves 6 (20g), thinly sliced
Green bell pepper 1 medium (120g), cut into 2.5cm squares
Small yellow onion 1 (100g), cut into 2.5cm squares, layers separated
Bird's eye red chillies 4, diagonally sliced
Fresh coriander (cilantro) 2 tbsp chopped, for garnish
Toasted sesame seeds 1 tsp, for garnish
Coarse sea salt 1/2 tsp
Freshly ground black pepper 1/4 tsp

Steps

1

Cube Chicken Thighs

Place 500g boneless, skinless chicken thighs on the acacia wood cutting board. Use the 8-inch chef knife to trim any excess hard fat or silver skin from the thighs, then cut the meat into uniform 2.5cm (1-inch) cubes. Uniform size ensures even cooking and consistent crispness; avoid cutting pieces smaller than 2cm as they will overcook quickly during high-heat searing.
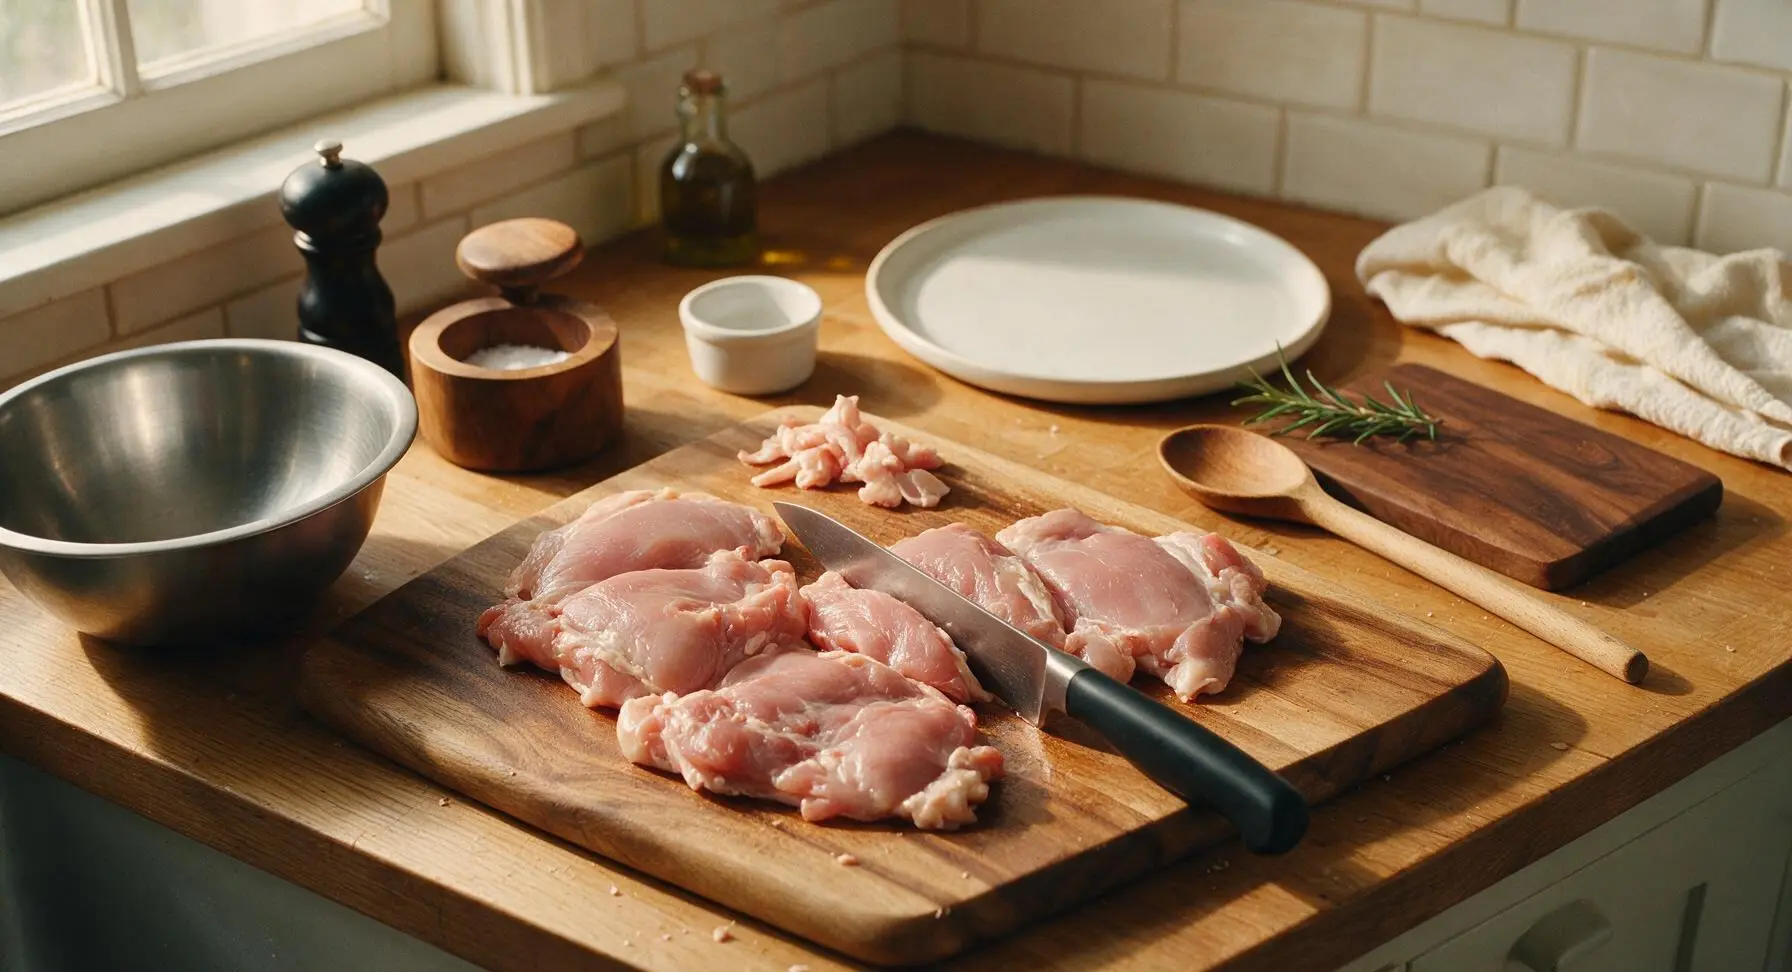
Step 1
step1:Cube Chicken Thighs
2

Marinate Chicken Cubes

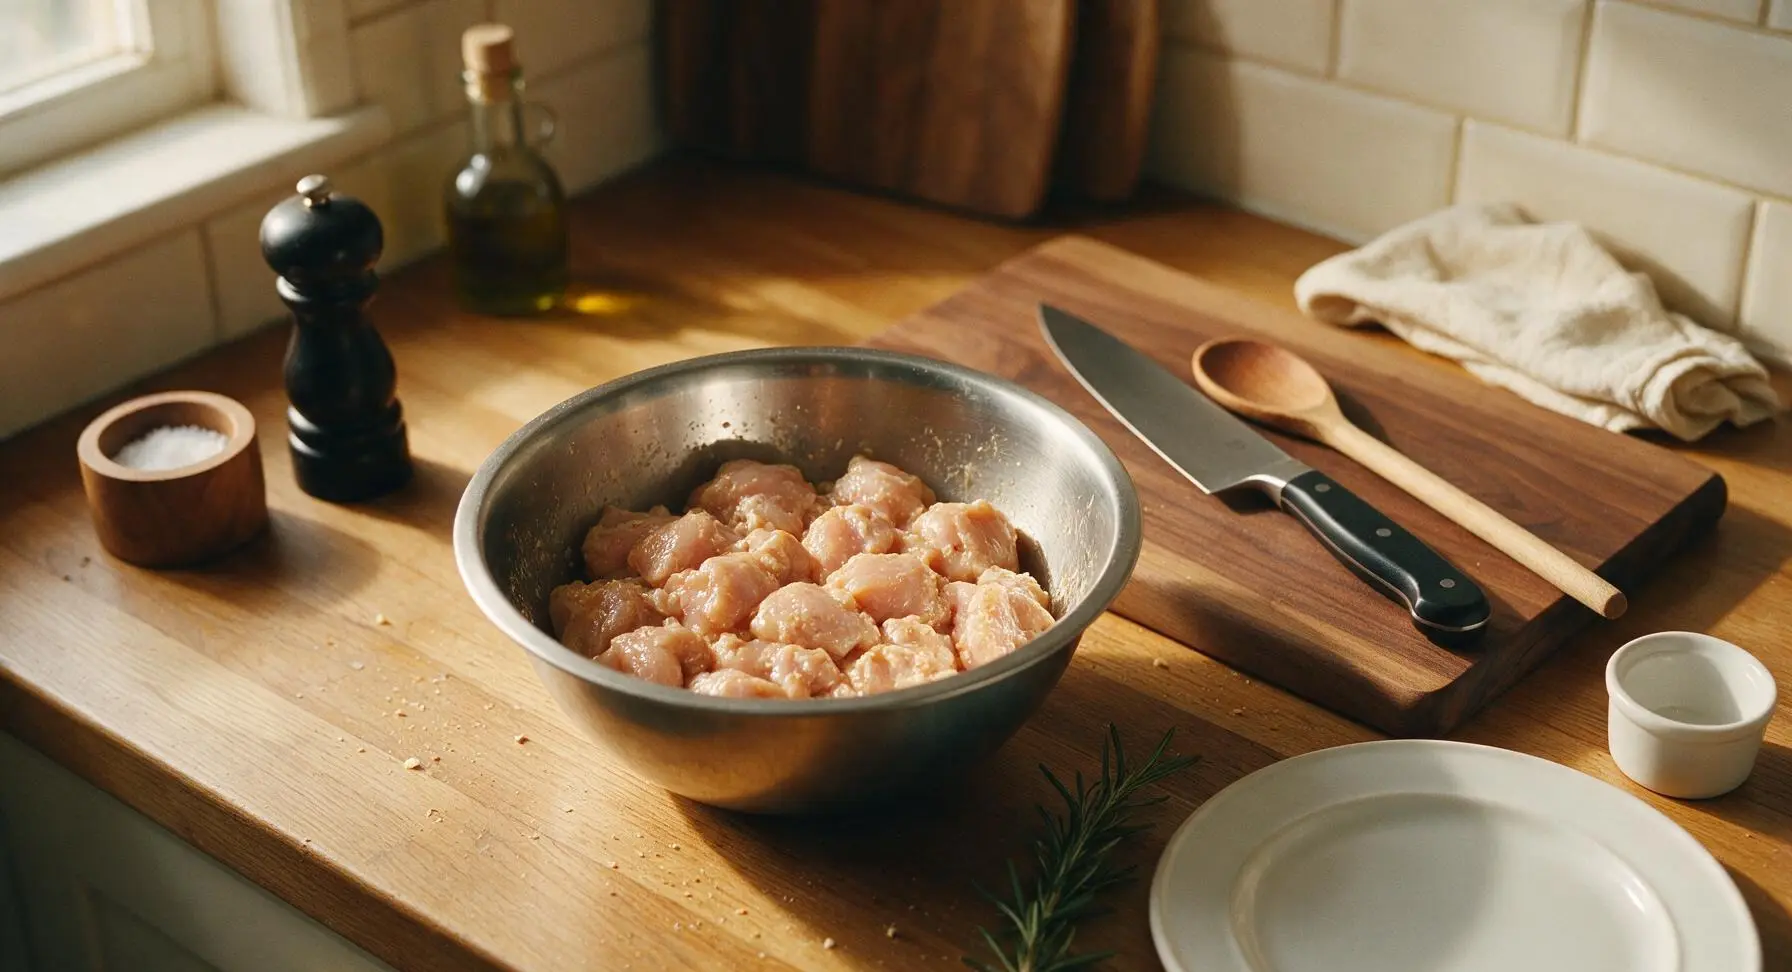
Transfer the cubed chicken to the stainless steel mixing bowl. Add 1 tbsp light soy sauce, 1/4 tsp freshly ground black pepper, 2 tbsp cornflour, and 1/4 tsp coarse sea salt. Use the acacia wood mixing spoon to toss thoroughly until every chicken piece is evenly coated in a thin, starchy layer. Let rest for 10 minutes at room temperature to allow the cornflour to adhere, which creates a light crispy exterior when stir-fried.
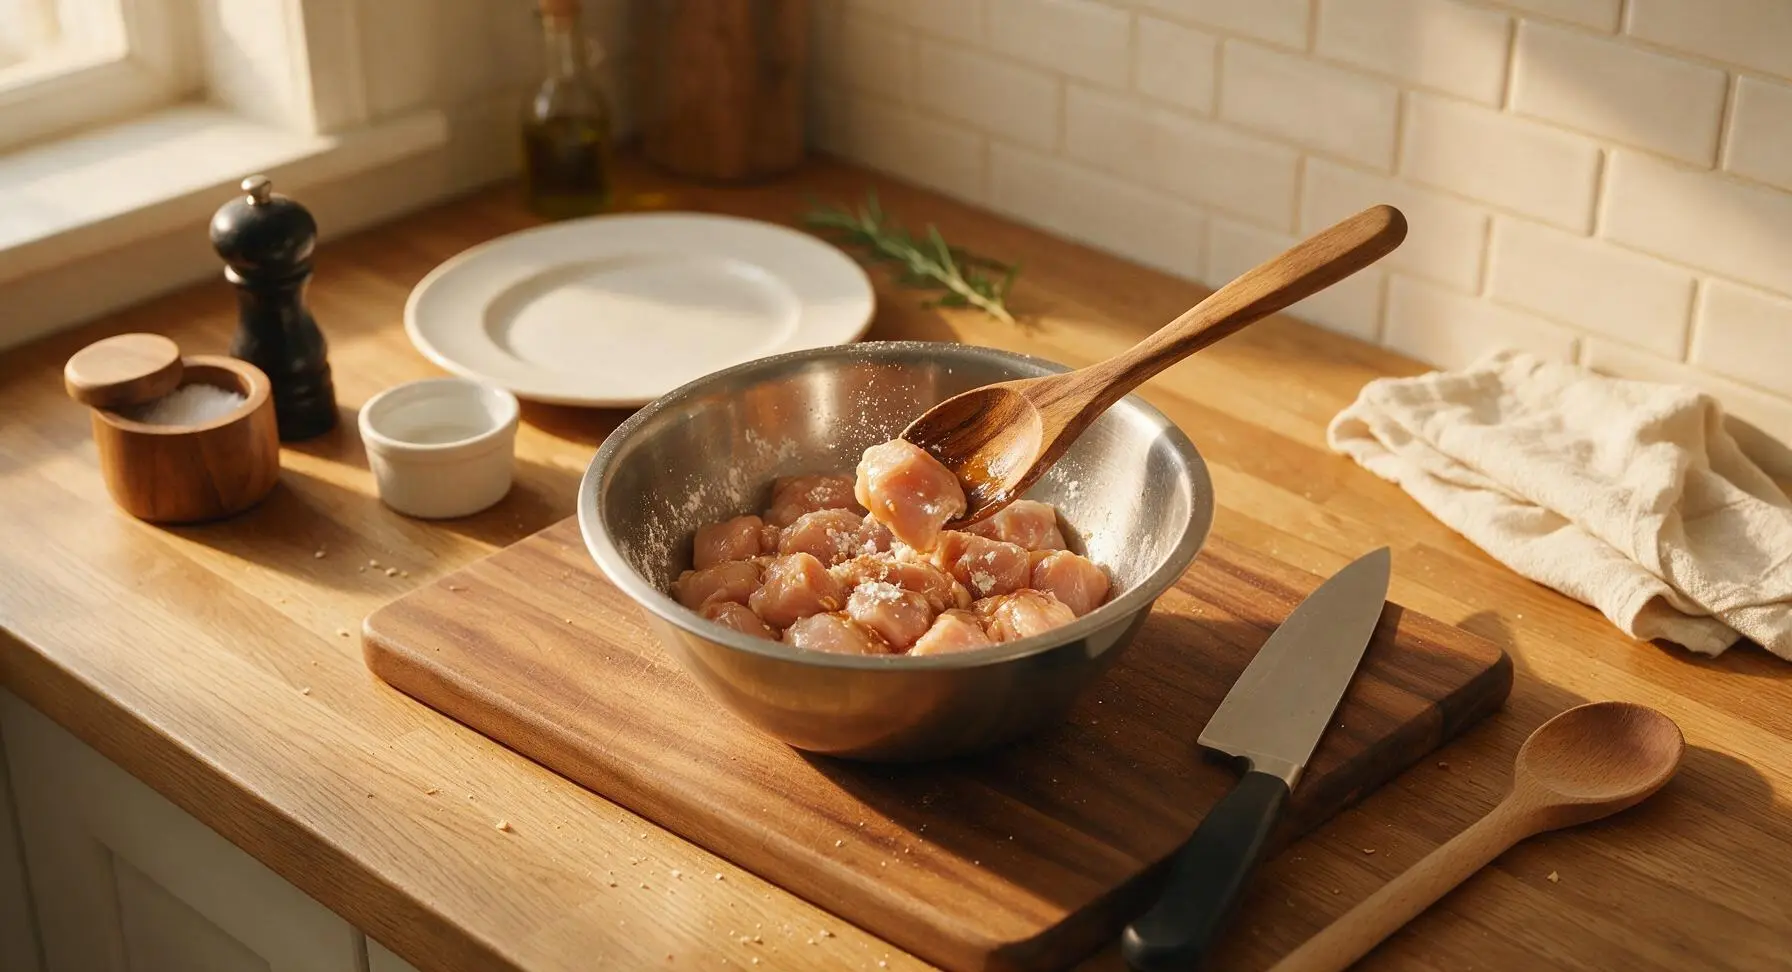
Step 2
step2:Marinate Chicken Cubes
Step 2
step2:Marinate Chicken Cubes
3

Prep Aromatics and Veggies

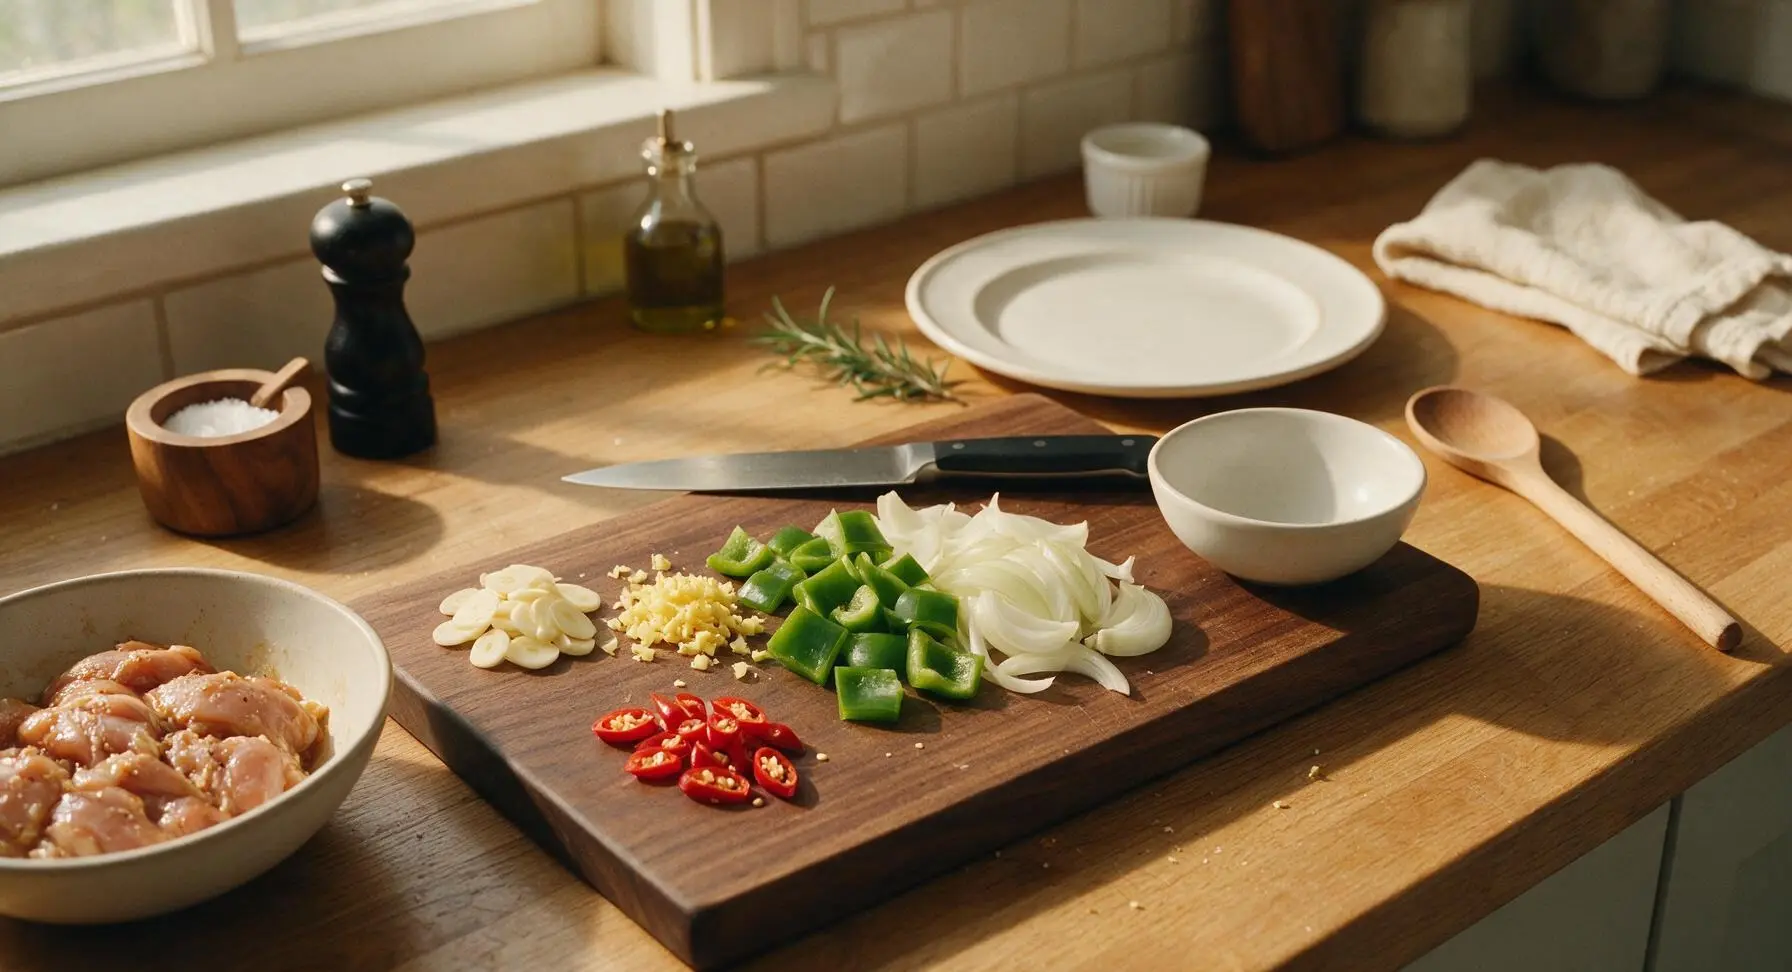
While the chicken marinates, wipe the acacia cutting board clean, then use the chef knife to prep all vegetables: finely chop the 1-inch peeled ginger root, thinly slice the 6 peeled garlic cloves, cut the green bell pepper and small yellow onion into 2.5cm squares (gently separate onion layers), and slice the 4 bird's eye chillies diagonally (remove seeds for less heat if preferred). Transfer all prepped veggies to one of the small matte white prep bowls, grouped together for quick addition during stir-frying.
Step 3
step3:Prep Aromatics and Veggies
4

Sear Marinated Chicken

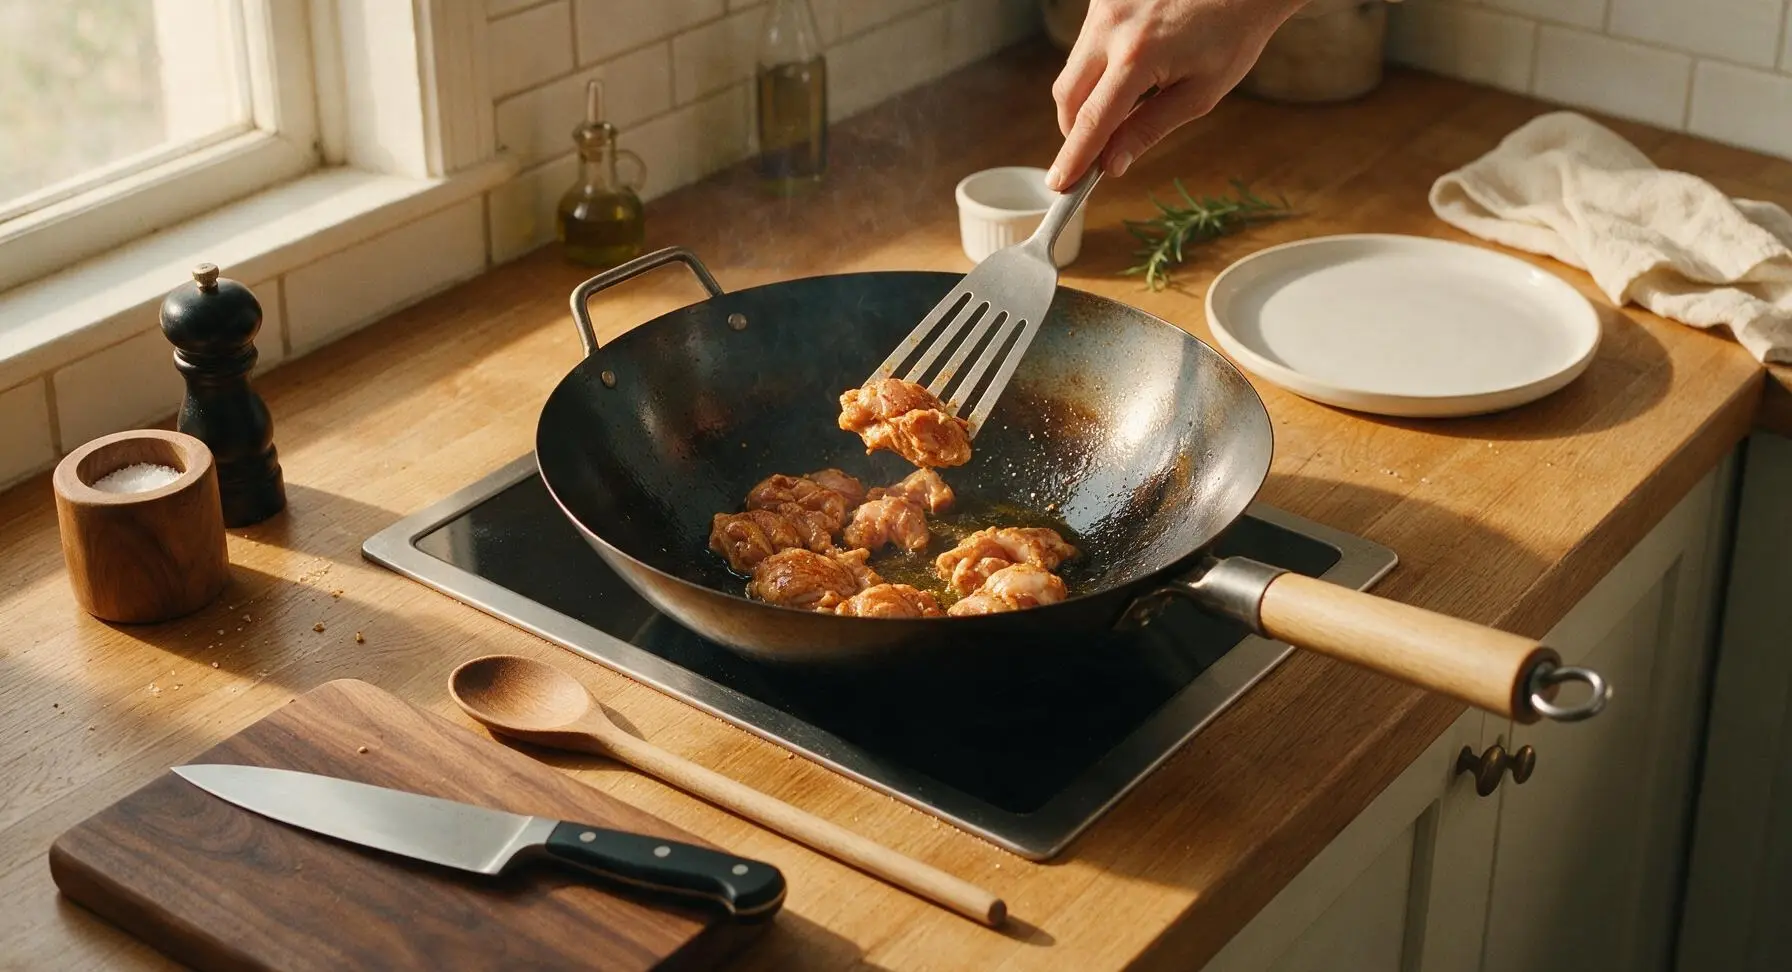
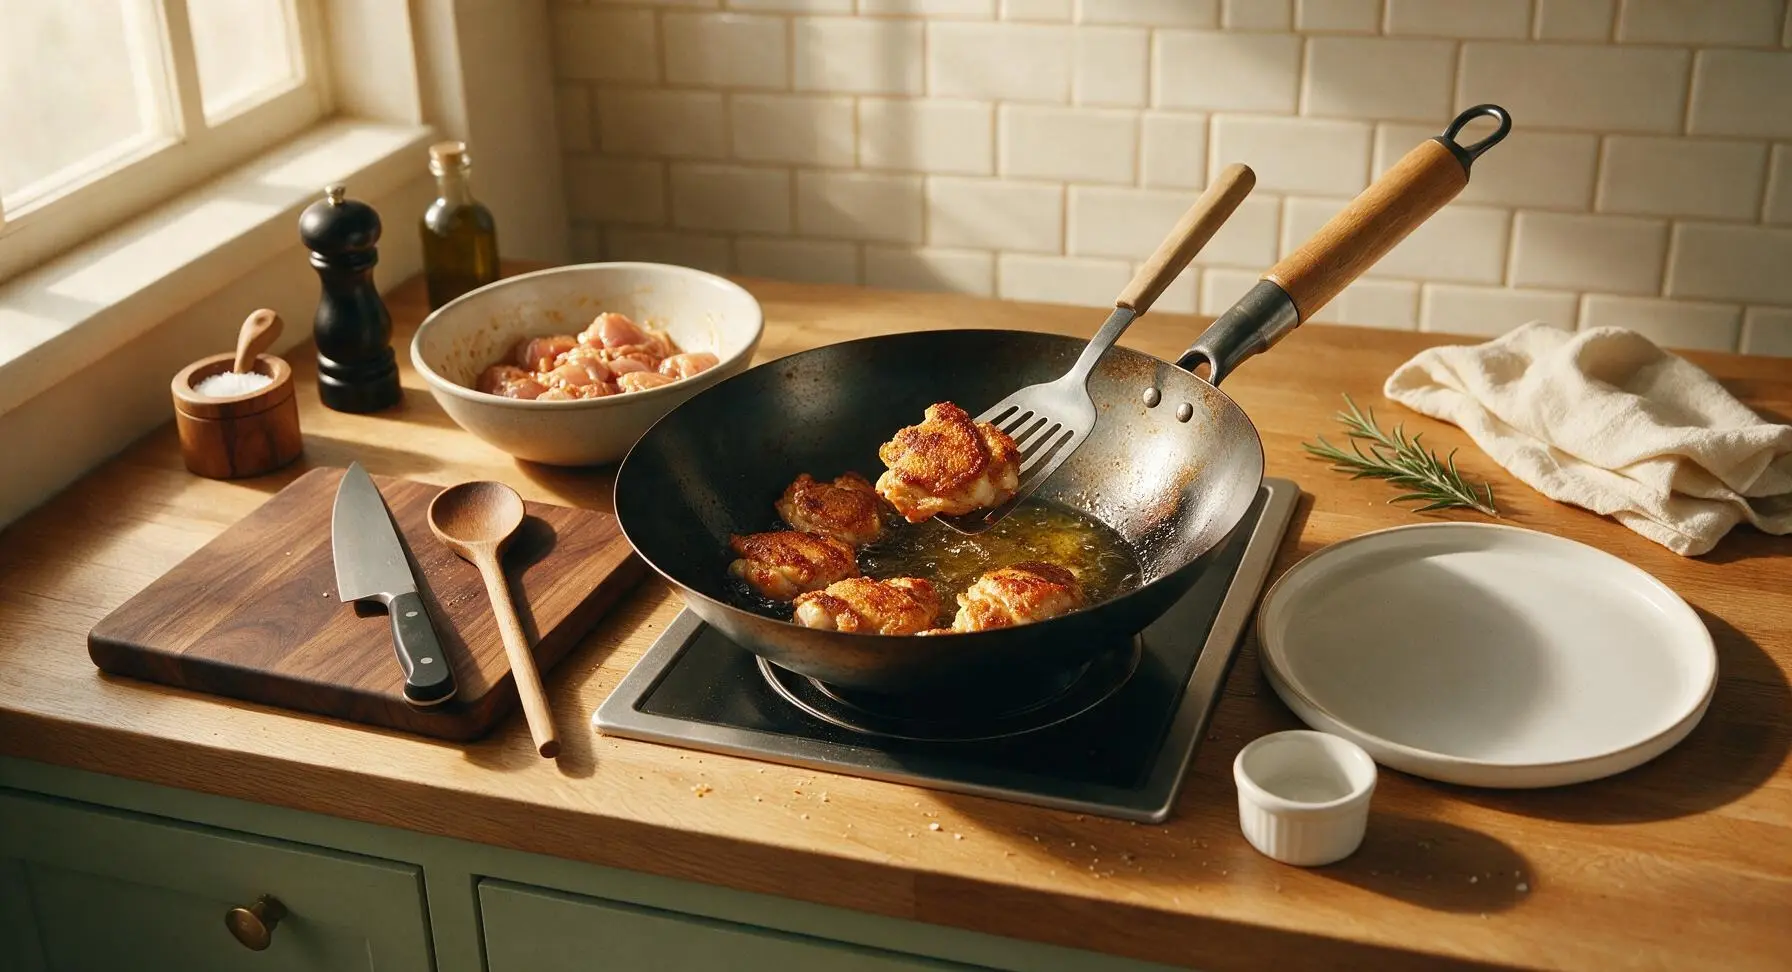
Place the 28cm seasoned carbon steel wok on the center-back stovetop cutout, turn heat to medium-high, and add 2 tbsp neutral cooking oil. Once oil shimmers (reaches approximately 180C/350F), add half the marinated chicken pieces in a single layer, taking care not to crowd the pan. Sear for 3 minutes per side, until golden brown and crispy on the outside, cooked roughly 80% through. Use the slotted stainless steel turner to flip pieces once a deep golden crust forms, then transfer seared chicken to a clean prep bowl, and repeat with the second batch of chicken.
Step 4
step4:Sear Marinated Chicken
Step 4
step4:Sear Marinated Chicken
5

Stir-Fry Aromatic Veggies

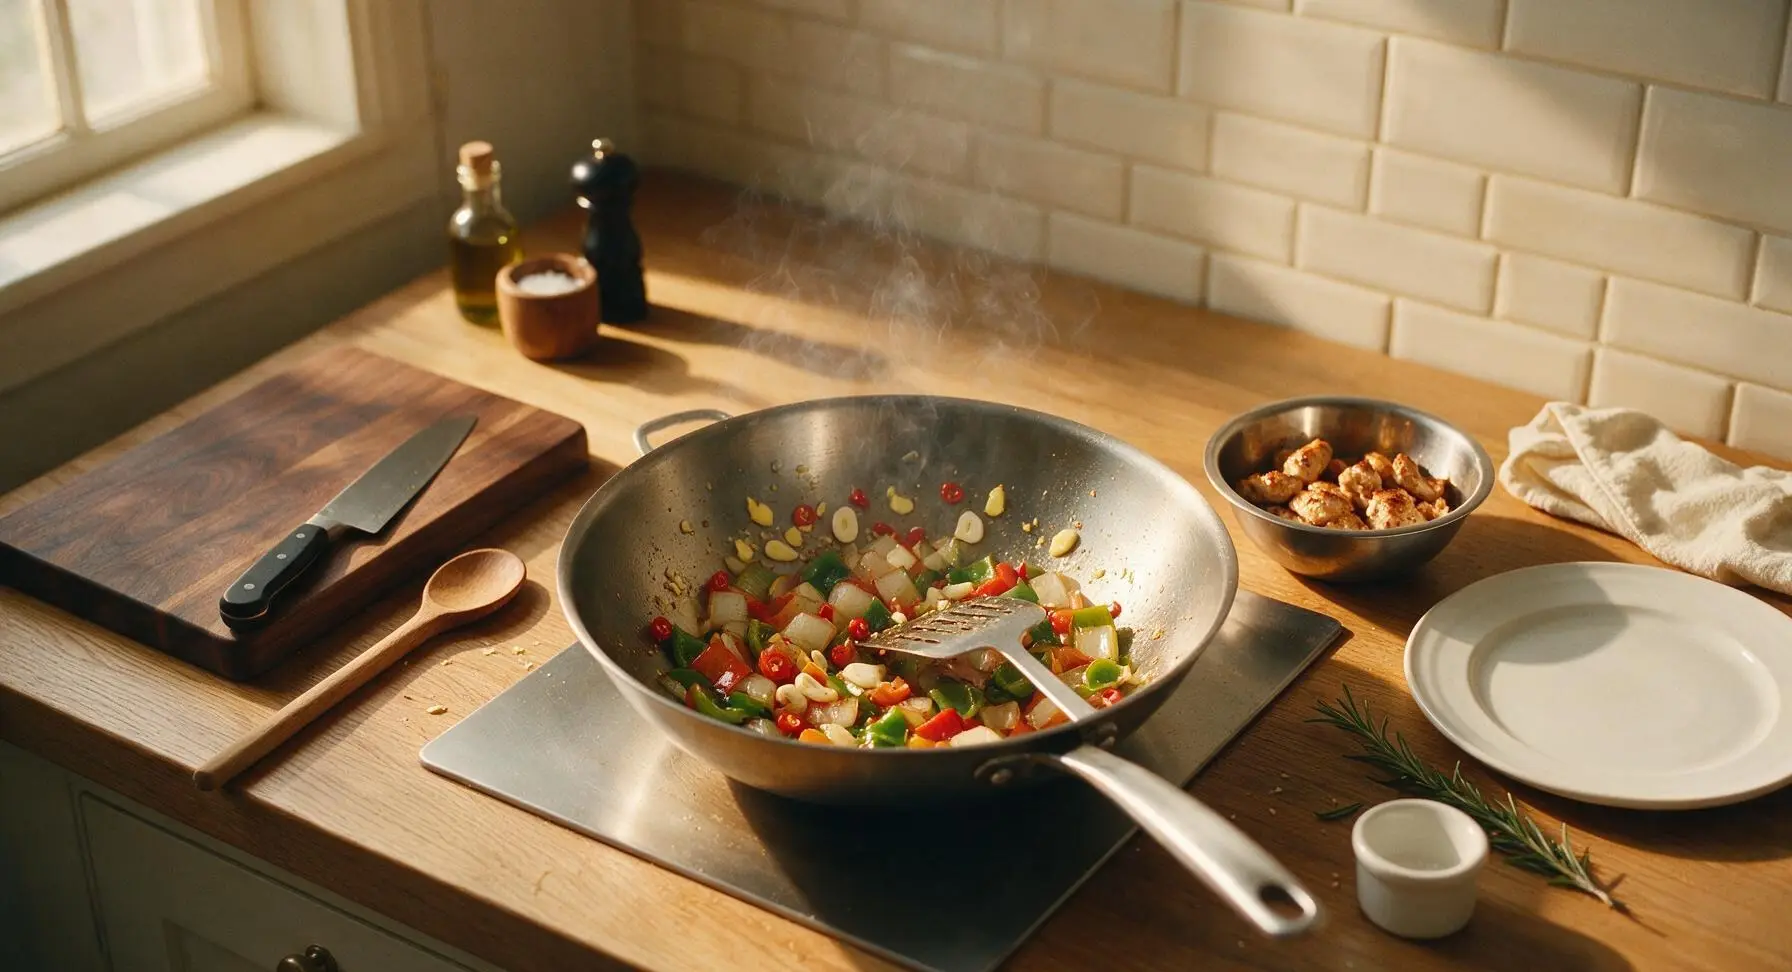
Once all chicken is seared and transferred to the prep bowl, add the remaining 1 tbsp neutral oil to the wok. Toss in chopped ginger, sliced garlic, and sliced bird's eye chillies, stir-frying for 30 seconds until fragrant—take care not to burn the garlic, as it will turn bitter quickly. Add bell pepper and onion squares, stir-frying for 2 minutes until veggies are crisp-tender, with slightly charred edges but still retaining a firm, snappy crunch.
Step 5
step5:Stir-Fry Aromatic Veggies
6

Toss with Glossy Sauce

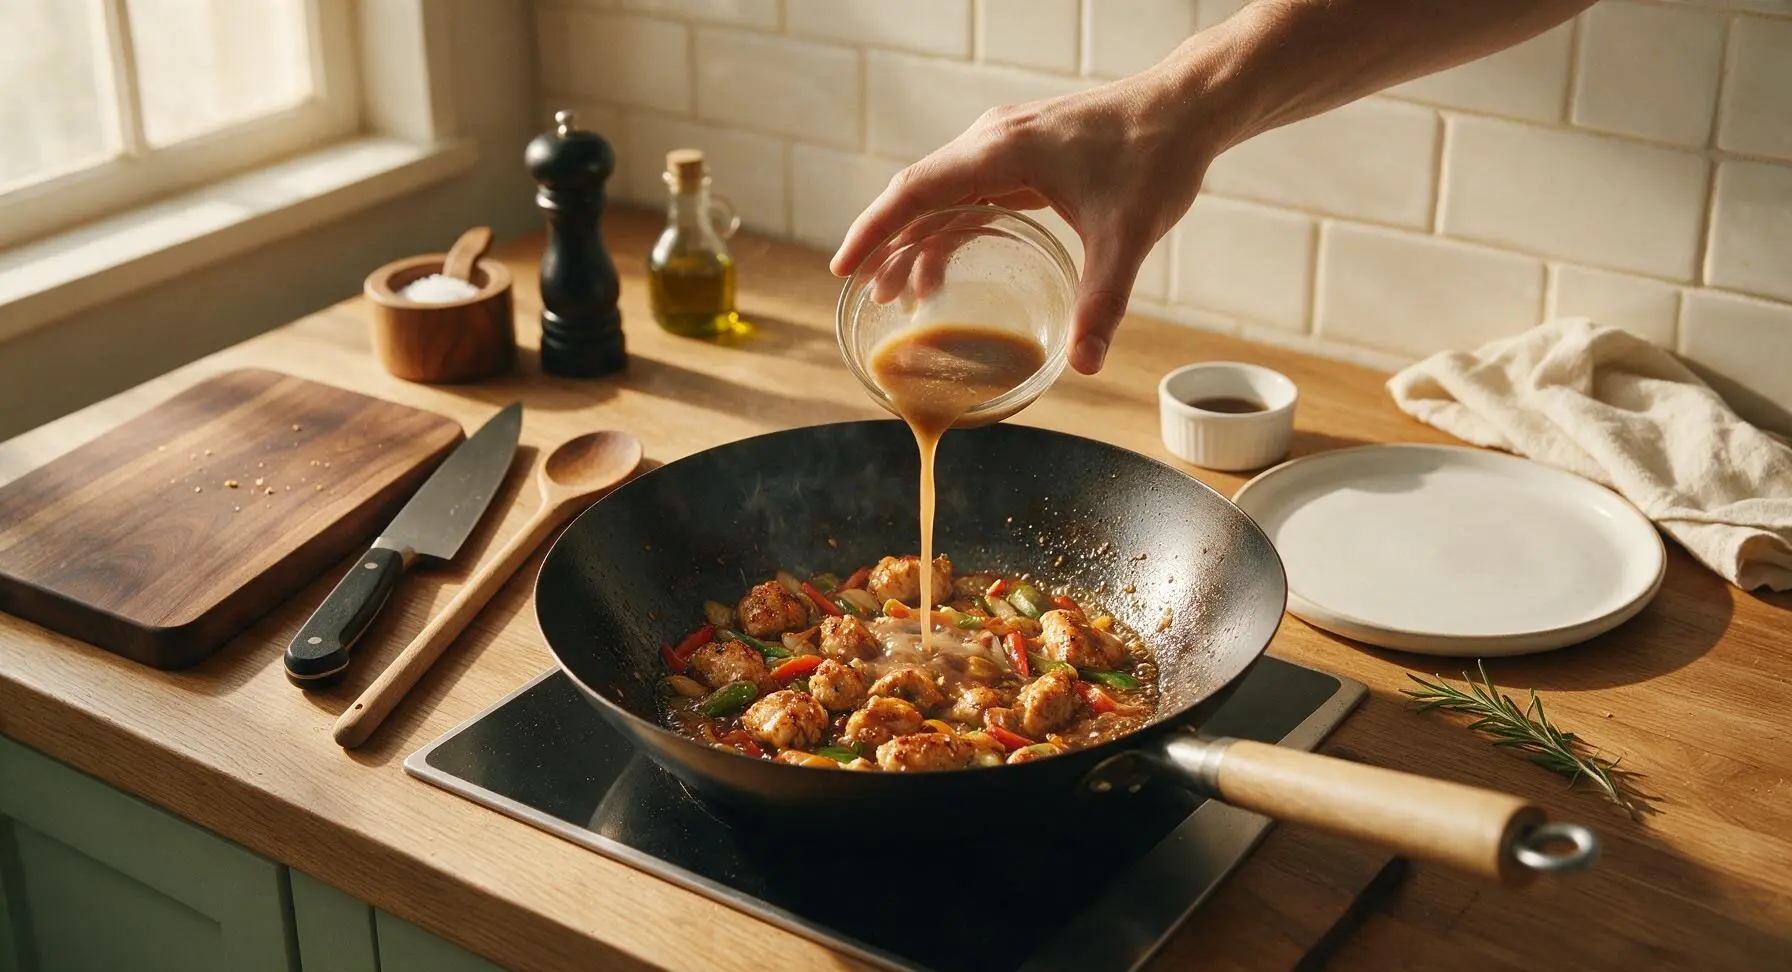
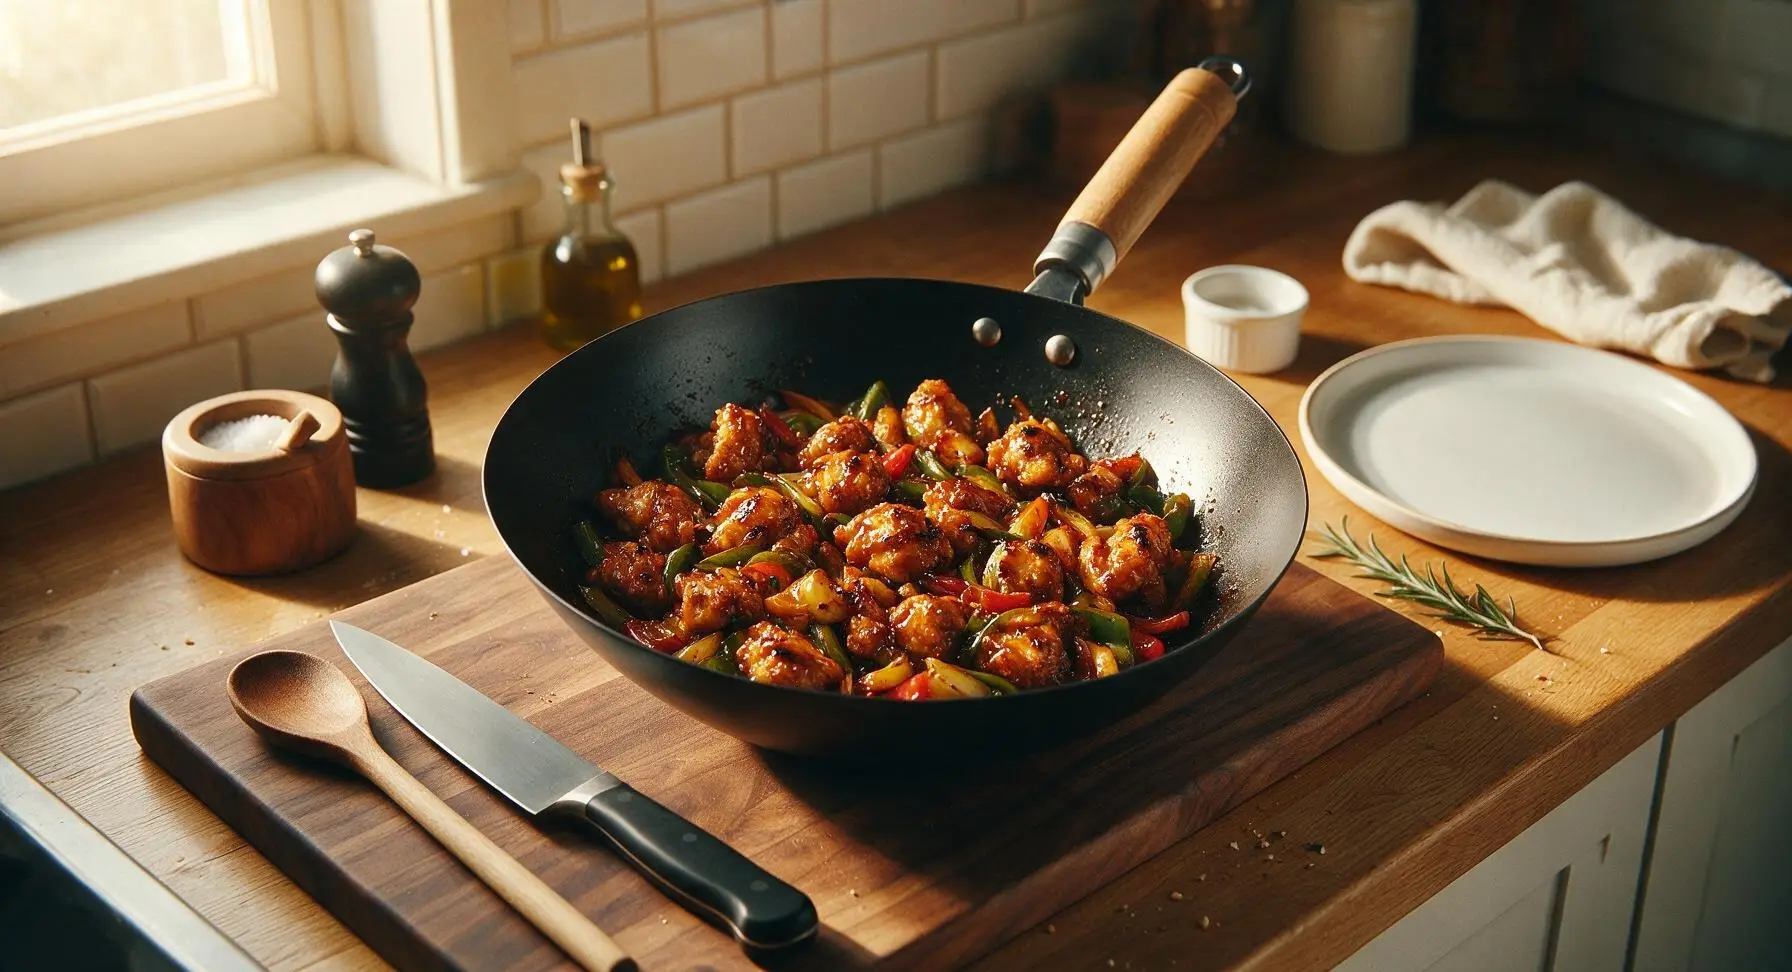
Return all seared chicken to the wok with the veggies. In a small prep bowl, mix the remaining 1 tbsp light soy sauce, 1 tsp dark soy sauce, 1 tbsp rice vinegar, 1/4 tsp white sugar, remaining 1 tbsp cornflour, and 2 tbsp cold water to make a thin, smooth slurry. Pour the sauce mixture over the chicken and veggies, tossing continuously over high heat for 1 minute, until the sauce thickens to a glossy, light coating that clings to every piece, with no runny liquid pooling at the bottom of the wok.
Step 6
step6:Toss with Glossy Sauce
Step 6
step6:Toss with Glossy Sauce
7

Plate and Garnish

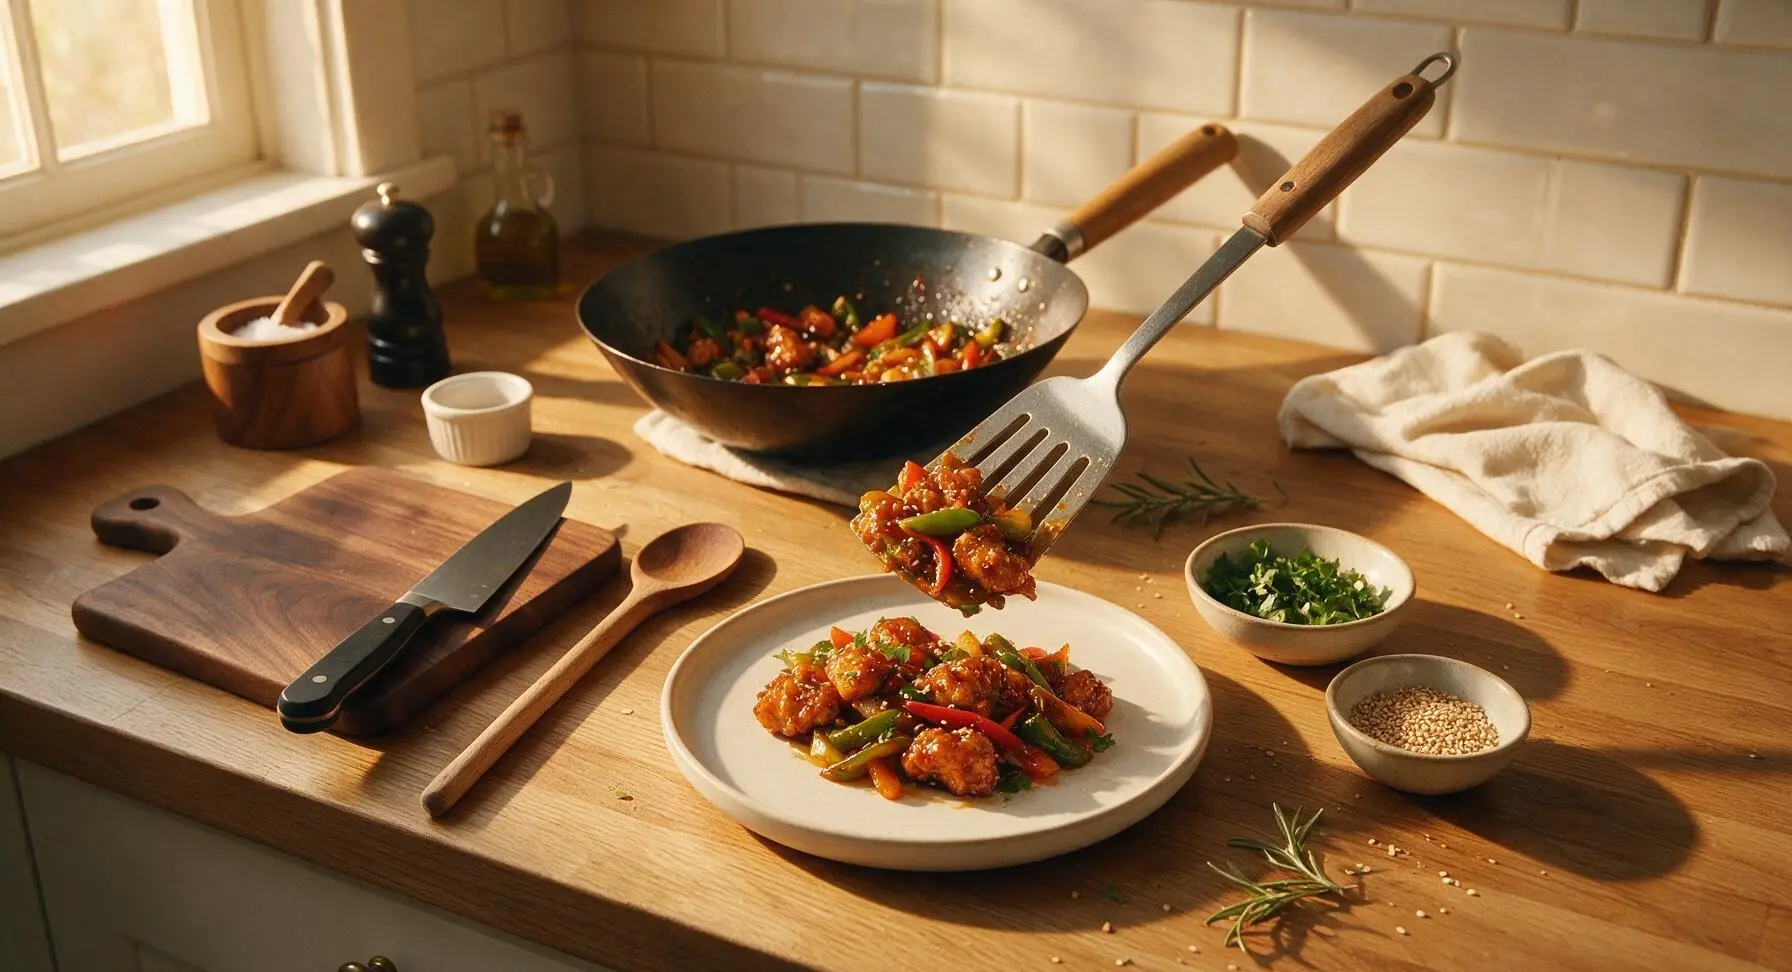
Turn off the stovetop heat. Transfer the finished chicken chilli fry to the matte warm white ceramic dinner plate, piling it loosely in the center. Sprinkle with 1 tsp toasted sesame seeds and 2 tbsp chopped fresh coriander, adding a few extra slices of red chilli for bright color if desired. Serve immediately while the chicken is crispy and hot, alongside steamed rice or hakka noodles if desired.
Step 7
step7:Plate and Garnish

Tips

1.Use boneless, skinless chicken thighs instead of breast: Thighs have a slightly higher fat content that stays juicy during high-heat stir-frying, whereas lean breast meat will easily turn dry and rubbery if overcooked by even 30 seconds.
2.Never crowd the wok when searing chicken: If too many pieces are added at once, the pan temperature drops rapidly, causing the chicken to steam instead of developing a crispy, golden cornflour crust. Cook in two small batches if your wok is smaller than 28cm.
3.Prep all ingredients before turning on the wok: Stir-frying moves extremely quickly once heat is applied, and there is no time to chop veggies or mix sauce mid-cook without risking burnt garlic or overcooked chicken. This 'mise en place' approach is non-negotiable for perfect stir-fry results.


✨ You May Also Like

Main Course
🍜 United Kingdom

A showstopping classic of tender seared beef, savory mushroom duxelles, and crisp prosciutto wrapped in flaky golden puff pastry, baked to juicy perfection.

⏱️ 2 hours 1Main Course ★ 4.7
Main Course
🍜 India

Tender charred marinated chicken simmered in a rich, spiced creamy tomato sauce, this iconic Anglo-Indian curry pairs perfectly with basmati rice or warm naan.

⏱️ 50 minuteMain Course ★ 4.6
Main Course
🍜 Thailand

Classic tangy, sweet, and savory Thai stir-fried rice noodles with shrimp, tofu, and crunchy garnishes, balancing all five core Thai flavor profiles.

⏱️ 30 minuteMain Course ★ 4.5
Main Course
🍜 United Kingdom

Crispy golden beer-battered cod and fluffy double-fried chips, served with tangy tartar sauce and malt vinegar: the timeless, beloved British pub comfort classic.

⏱️ 45 minuteMain Course ★ 4.7
Main Course
🍜 Mexico

Smoky, chile-marinated pork tacos with caramelized pineapple, fresh cilantro, and lime: a beloved classic Mexican street food perfect for casual summer gatherings.

⏱️ 1 hour 45Main Course ★ 4.8
Main Course
🍜 United States

Crunchy Fritos corn chips layered with savory beef chili and melted cheddar, topped with cool, zesty fixings for a beloved, cozy Tex-Mex comfort food.

⏱️ 35 minuteMain Course ★ 4.8

chicken chilli fry:Frequently Asked Questions

1.Why do you recommend boneless skinless chicken thighs instead of chicken breast for this dish? ▾
Boneless skinless chicken thighs have a slightly higher fat content that keeps them juicy and tender even after the high-heat sear needed for crispy edges, unlike lean breast which easily dries out. If you only have breast on hand, cut it into 1-inch pieces, toss with a pinch of baking soda 15 minutes before prepping, and avoid overcooking to lock in moisture.
2.How do I get the chicken extra crispy without deep frying? ▾
Toss your 1-inch chicken pieces evenly in cornstarch right before searing, then let them rest 5 minutes so the starch adheres instead of sliding off. Heat a thin layer of neutral oil in a heavy skillet until it shimmers, then lay chicken in a single layer without crowding the pan, flipping once when the first side is deep golden, about 3 minutes per side.
3.What’s the difference between light and dark soy sauce here, and can I use just one? ▾
Light soy sauce adds the salty, umami base for the sauce without making the dish too dark, while dark soy sauce adds a deep, rich caramel color and slightly milder, sweeter umami note. If you only have one, use all light soy with a tiny pinch of brown sugar and small drop of molasses to mimic dark soy, but skip using only dark soy as it will be overly intense.
4.Can I substitute rice vinegar if I don’t have it on hand? ▾
Rice vinegar has a mild, slightly sweet tang that balances the salty soy and spicy chili notes perfectly, so it’s worth seeking out. If you need a last-minute swap, use unseasoned apple cider vinegar cut with ¼ teaspoon of white sugar per tablespoon of vinegar, and avoid harsh white distilled vinegar which adds an unpleasantly sharp, sour bite.
5.How much cornstarch do I need to coat the chicken properly? ▾
For 1 pound of boneless skinless chicken thighs, you’ll need about 3 tablespoons of cornstarch to get a thin, even, crisp coating. Toss the chicken in small batches to make sure every piece is lightly dusted, and shake off excess starch before searing—too much cornstarch will leave a gummy, powdery texture instead of a shatteringly crisp crust.
6.What veggies work best in this chili fry? ▾
Stick to firm, quick-cooking crisp veggies that hold up to high-heat stir-frying: diced bell peppers, thinly sliced yellow onion, chopped green chilies, and minced garlic or ginger are classic options. Avoid watery veggies like zucchini or fresh tomato, as they will release too much moisture and make your crispy chicken soggy once tossed in sauce.
7.How do I keep the chicken crispy after tossing it in the sauce? ▾
To preserve that crunch, make sure your sauce is thickened slightly with a tiny cornstarch slurry so it coats the chicken in a thin, glossy layer instead of pooling at the pan bottom. Toss the chicken and veggies in the sauce off heat for no more than 30 seconds right before serving, rather than simmering chicken in sauce, which softens the crisp crust.
8.Is this dish supposed to be very spicy? ▾
Traditional Indo-Chinese chili fry has a noticeable warm, zesty heat from fresh green chilies, but you can easily adjust the spice level to your taste. For milder servings, seed your chilies and skip extra chili sauce, or for more heat, add a pinch of red chili flakes or drizzle of chili oil when tossing the final dish.
9.Can I prep components of this dish ahead for fast weeknight meals? ▾
You can cut chicken thighs into 1-inch pieces up to 2 days ahead and store them in an airtight container in the fridge, but wait to toss them in cornstarch until right before searing for the best crisp. You can also pre-mix the soy sauce, rice vinegar, and spice base up to 3 days ahead to cut total weeknight cook time to under 15 minutes.
10.Why is my cornstarch coating falling off the chicken when I sear it? ▾
Your coating will slide off if you toss chicken in cornstarch too early, if your pan isn’t hot enough when you add chicken, or if you crowd the pan so chicken steams instead of sears. Pat chicken dry with paper towels before coating in starch, let oil shimmer before adding pieces, and work in batches if needed to avoid overcrowding.
11.What should I serve with this chicken chili fry? ▾
This glossy, spicy dish pairs perfectly with plain steamed jasmine rice, hakka noodles, or even crispy fried noodles for a classic Indo-Chinese takeout-style meal. For a lighter option, serve it over shredded cabbage or steamed bok choy, and garnish with chopped spring onion greens and toasted sesame seeds for extra texture.
12.Can I make this in an air fryer instead of pan-searing the chicken? ▾
Absolutely! Toss your cornstarch-coated chicken pieces with a light spray of neutral oil, then air fry at 400°F for 12 to 14 minutes, shaking the basket halfway through, until chicken is crisp and cooked to a 165°F internal temp. Toss with stir-fried crisp veggies and tangy soy-chili sauce right before serving for a lower-oil version.
13.How do I get that signature glossy, restaurant-style sauce finish? ▾
That iconic glossy sheen comes from balancing light and dark soy sauce, rice vinegar, and a tiny 1:1 cornstarch and water slurry stirred into simmering sauce right before tossing. The slurry thickens the sauce just enough so it clings to every piece of chicken and veg instead of running off, while dark soy adds that deep, rich amber takeout-style color.
14.How long do leftovers keep, and how do I reheat them without getting soggy chicken? ▾
Leftovers will keep in an airtight container in the fridge for up to 3 days, though the crispy coating will soften as it sits. For the best texture when reheating, spread leftovers in a single layer on a baking sheet and bake at 375°F for 8 to 10 minutes, or reheat in a hot dry skillet, instead of microwaving which makes chicken mushy.
15.Can I adjust this recipe to be gluten-free? ▾
You can easily make this dish gluten-free by swapping regular light and dark soy sauce for certified gluten-free tamari, which has a nearly identical umami flavor profile. Most pure cornstarch is naturally gluten-free, just double check for cross-contamination risks, and use gluten-free chili sauce if adding it, to keep the whole dish safe for gluten-free diets.
16.Is there a good vegetarian swap for the chicken in this recipe? ▾
For a vegetarian version, swap the chicken for 1-inch cubes of pressed extra-firm tofu, patted very dry before tossing in cornstarch and searing until crispy on all sides. You can also use paneer cubes for a richer, creamier bite, and add an extra pinch of sugar to the sauce to balance flavors for these plant-based swaps.

Comments (12)

3 days ago

OMG this was SO good! I threw this together on a busy school night and couldn’t believe it only took 20 minutes total. My two picky kids devoured seconds and asked if I could make it for their weekend sleepover. The crisp on the chicken is perfect, not soggy at all even when I tossed it in the sauce. Total game changer for our weeknight dinner rotation!

2 days ago

Wait did you use cornstarch or potato starch for the coating? I tried a similar recipe last week and mine came out super soggy, I’m determined to get that crisp right!

2 days ago

So happy your family loved it! For maximum crisp, make sure your oil is hot enough (around 375F) before frying, and don’t overcrowd the pan – that’s the #1 reason for soggy chicken! Cornstarch works perfectly here if that’s what you have in your pantry.

yesterday

Brought this to my office potluck yesterday and people were literally scraping the platter clean. Multiple coworkers asked for the recipe before I even left the break room. It’s got the perfect balance of tangy, spicy, and savory, and the chicken stays crispy even after sitting out for an hour during lunch. 10/10 will be making this for every summer cookout this year.

30 minutes ago

Quick question – can I make this gluten free? I have tamari instead of regular soy sauce, and I was wondering if that swap works, plus if I need to adjust anything else for the coating? This looks so good I don’t want to mess it up!

5 minutes ago

Great question! Tamari is a perfect 1:1 swap for soy sauce here, no adjustments needed. Just double check your cornstarch is certified gluten free if you’re avoiding cross-contamination, and you’ll be good to go! It’ll turn out just as crispy and flavorful.

1 week ago

Tried this for my Sunday meal prep this week and it held up way better than I expected! I stored the chicken and sauce separately, then tossed them together with some steamed broccoli when I was ready to eat for lunch. Even after 3 days in the fridge, the crisp didn’t totally disappear which is a huge win for meal prep. Only thing I added was a little extra red chili flakes because I love heat.

5 days ago

Wait storing the sauce separately is such a smart call! I mixed mine all together last time and it was mushy by day 2, I’m definitely trying that trick next batch.

5 days ago

I’m literally brand new to cooking and this was the first “fancy” dish I’ve ever made, and it turned out perfect! The instructions are so straightforward, I didn’t get confused at all even when I was frying the chicken. My roommate thought I ordered takeout from our local Indo-Chinese spot, she couldn’t believe I made it myself. So proud right now!

3 days ago

That’s such a win! I’m also a total beginner and I’ve been nervous to try frying stuff, this makes me feel way more confident to give this recipe a go this weekend.

3 days ago

This makes our day! So stoked you gave this a shot and it worked out for you – this recipe is designed to be super approachable for new cooks, so we love hearing that it delivered. Great job!

2 weeks ago

This hits exactly the same as the chilli chicken I get from my favorite takeout spot in Queens, for a fraction of the price! I upped the amount of green chilis because I like my food mouth-numbingly spicy, and it was chef’s kiss. The crispy chicken bits mixed with the onions and bell peppers are the perfect texture combo. Already planning to make this again on Friday.

2 hours ago

How well does this reheat? I want to make a double batch for my kids’ after school snacks and quick dinners during the week, but I don’t want it to turn into a soggy mess when we warm it up in the microwave or air fryer.

30 minutes ago

Great question! It reheats best in the air fryer at 375F for 3-4 minutes – it’ll crisp right back up like it’s fresh. The microwave will work in a pinch, but the chicken will be a little softer. Storing the sauce on the side as mentioned earlier will also help keep the crisp for longer!

5 days ago

Wait I accidentally used chicken thighs instead of breast because that’s what I had in the fridge, and it was even juicier than I expected? Don’t sleep on thighs for this recipe, y’all. The fat renders a little when frying and adds so much extra flavor, I don’t think I’ll ever use breast for this again. 10/10 no notes.

1 week ago

Made this for my partner for our at-home date night last weekend and they were so impressed they thought I spent hours in the kitchen. Little did they know it only took 20 minutes lmao. We paired it with some garlic noodles and it was better than the restaurant meal we had on our first date.

5 days ago

Garlic noodles with this?! That’s such a perfect pairing, I’m stealing that idea for my own date night next week. Did you make the noodles from scratch or use a store-bought sauce?

3 days ago

I just used a quick store-bought garlic sauce, nothing fancy! It still tasted incredible, you’re gonna love it.

2 weeks ago

I made these as little appetizer bites for my friend’s game night last week, cutting the chicken into smaller 1-inch pieces instead of larger chunks, and they were gone in 10 minutes flat. Everyone kept coming back for more, even the friend who swears he “doesn’t like fusion food”. The tangy sauce is addictive, I had to stop myself from eating half the batch before guests arrived.

1 week ago

The small bite idea is genius! I’ve been looking for easy appetizers for my next game night and this is way more fun than the usual pizza and chips spread. Can’t wait to try it.

5 minutes ago

Is there a good substitute for the onions and bell peppers? I have a texture issue with cooked peppers and onions, but the chicken itself sounds so good I really want to make this work. Would it be weird to leave them out entirely?

just now

No problem at all! You can totally leave out the onions and peppers, or swap them for veggies you do like – diced celery, broccoli florets, or even pineapple chunks work great for a little sweet twist to balance the savory sauce. It’ll still be delicious!

2 days ago

I didn’t feel like dealing with a pot of hot oil so I tested this in my air fryer instead of pan frying, and it still came out perfectly crispy! I sprayed the chicken pieces with a little oil, cooked them at 400F for 12 minutes shaking halfway, then tossed them in the sauce. Less mess, same great taste. 10/10 hack for anyone who hates deep frying.

yesterday

Oh my gosh thank you for testing this! I hate dealing with splattering oil all over my stovetop, I was just about to skip this recipe because I didn’t want to pan fry, now I’m grabbing chicken on my way home tonight.

2 hours ago

I did the air fryer method too last week! Tossed in a little sesame oil before air frying and it was so crispy, I’ll never go back to pan frying for this recipe.



