
chicken pastry
intro
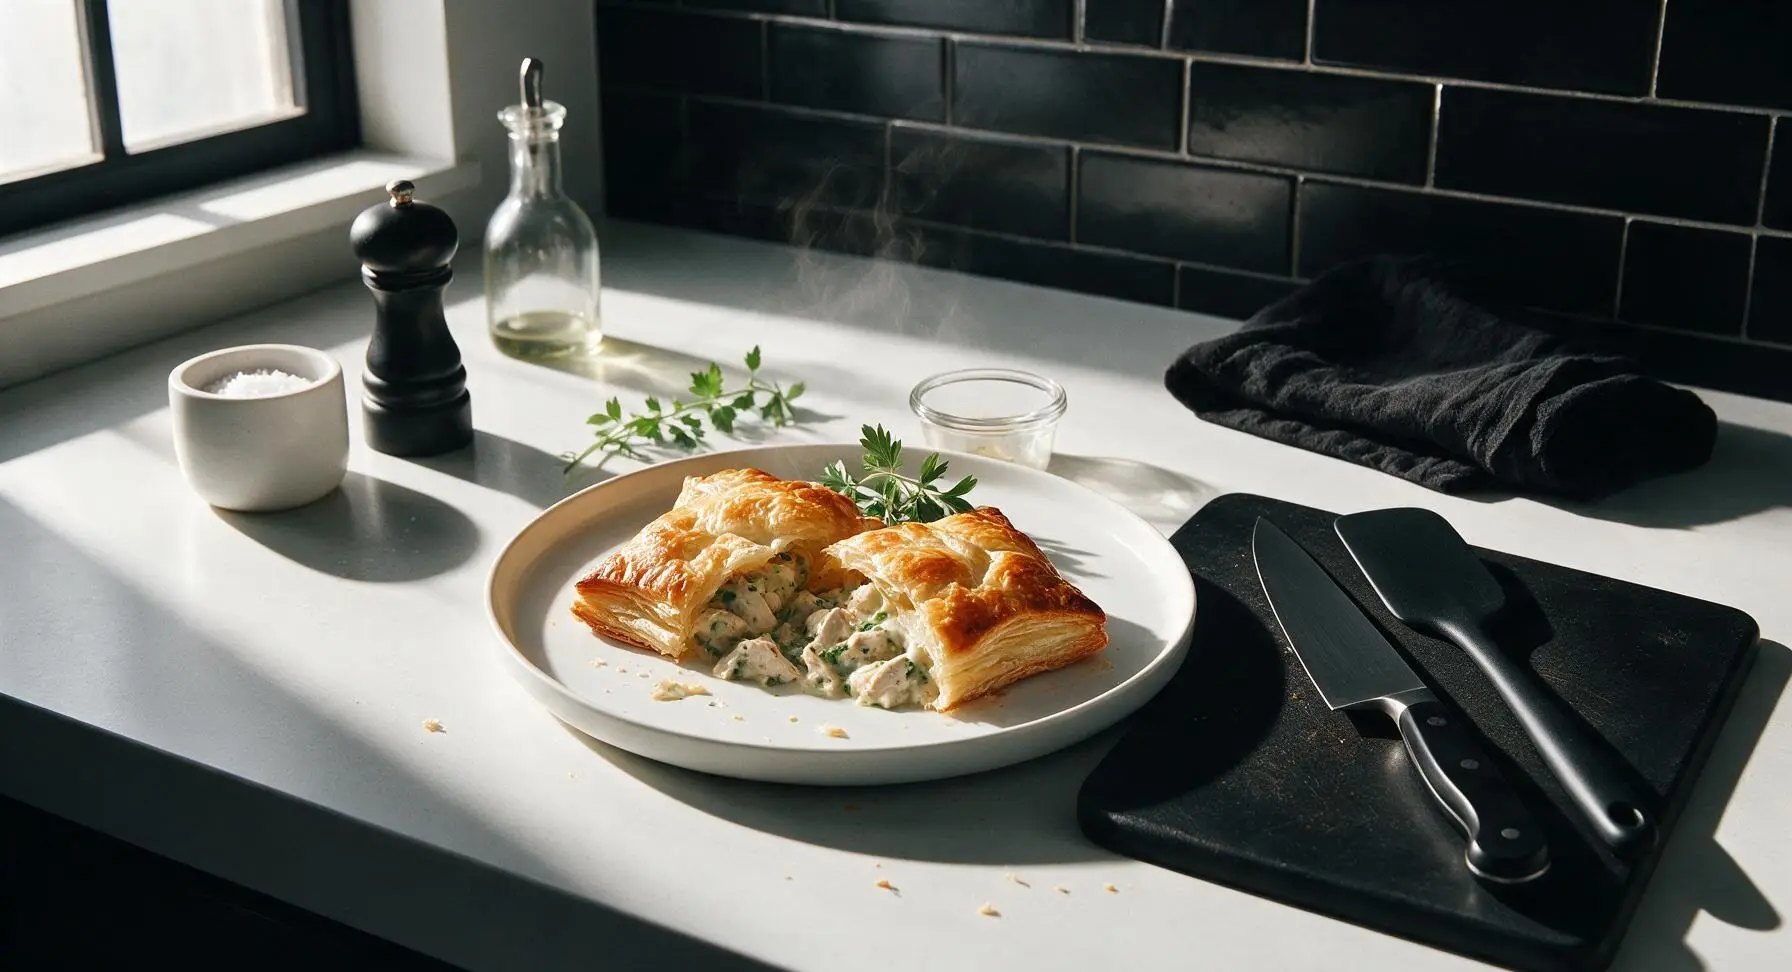
Golden, flaky all-butter puff pastry wrapped around a creamy, herby chicken and vegetable filling, baked to crisp perfection. This cozy savory pastry is ultimate cool-weather comfort food.
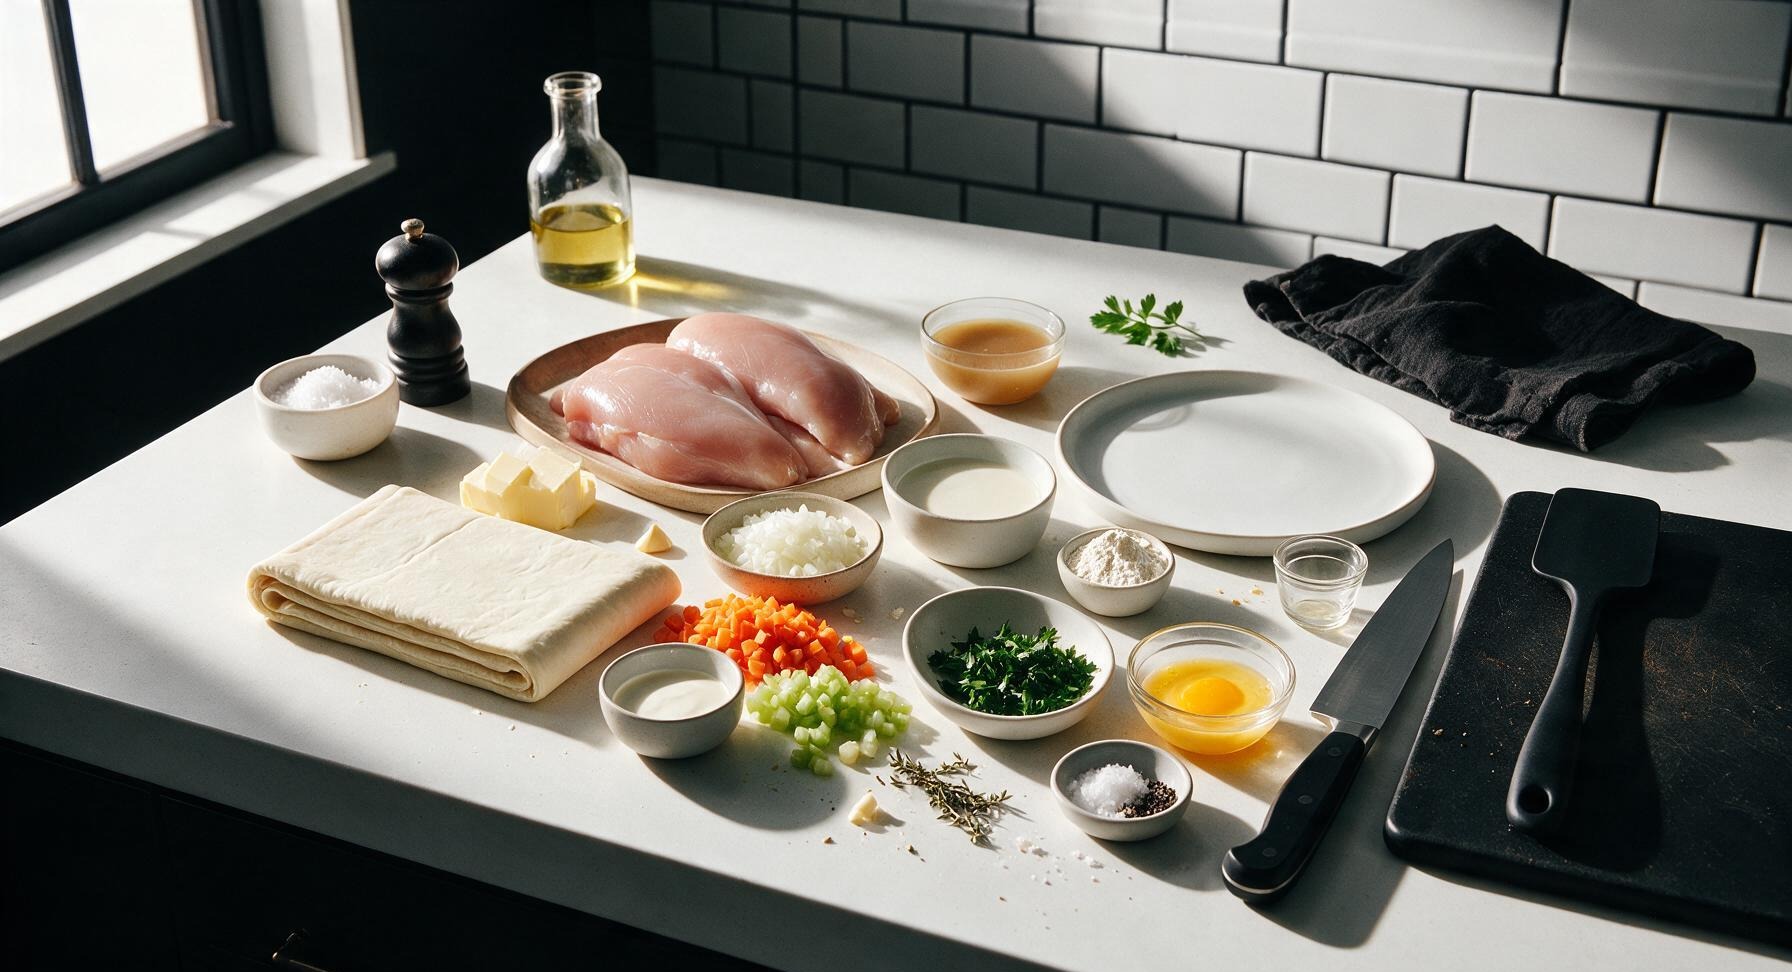
Ingredients
Steps
Cook and shred chicken
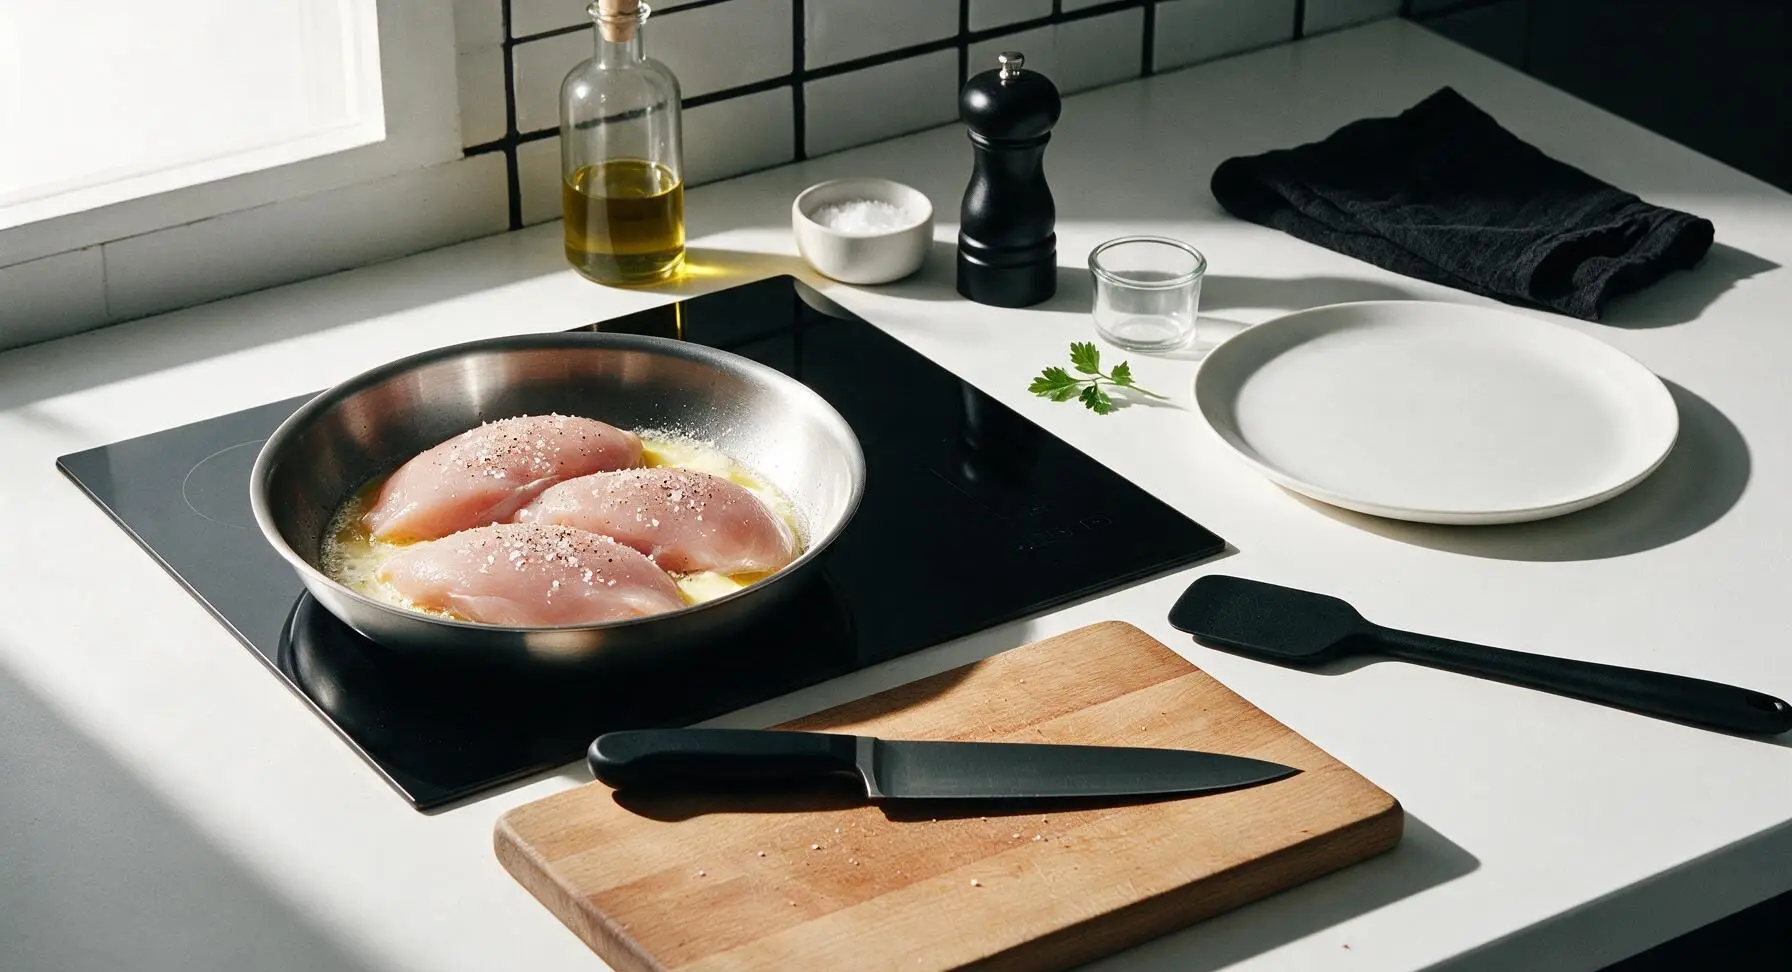
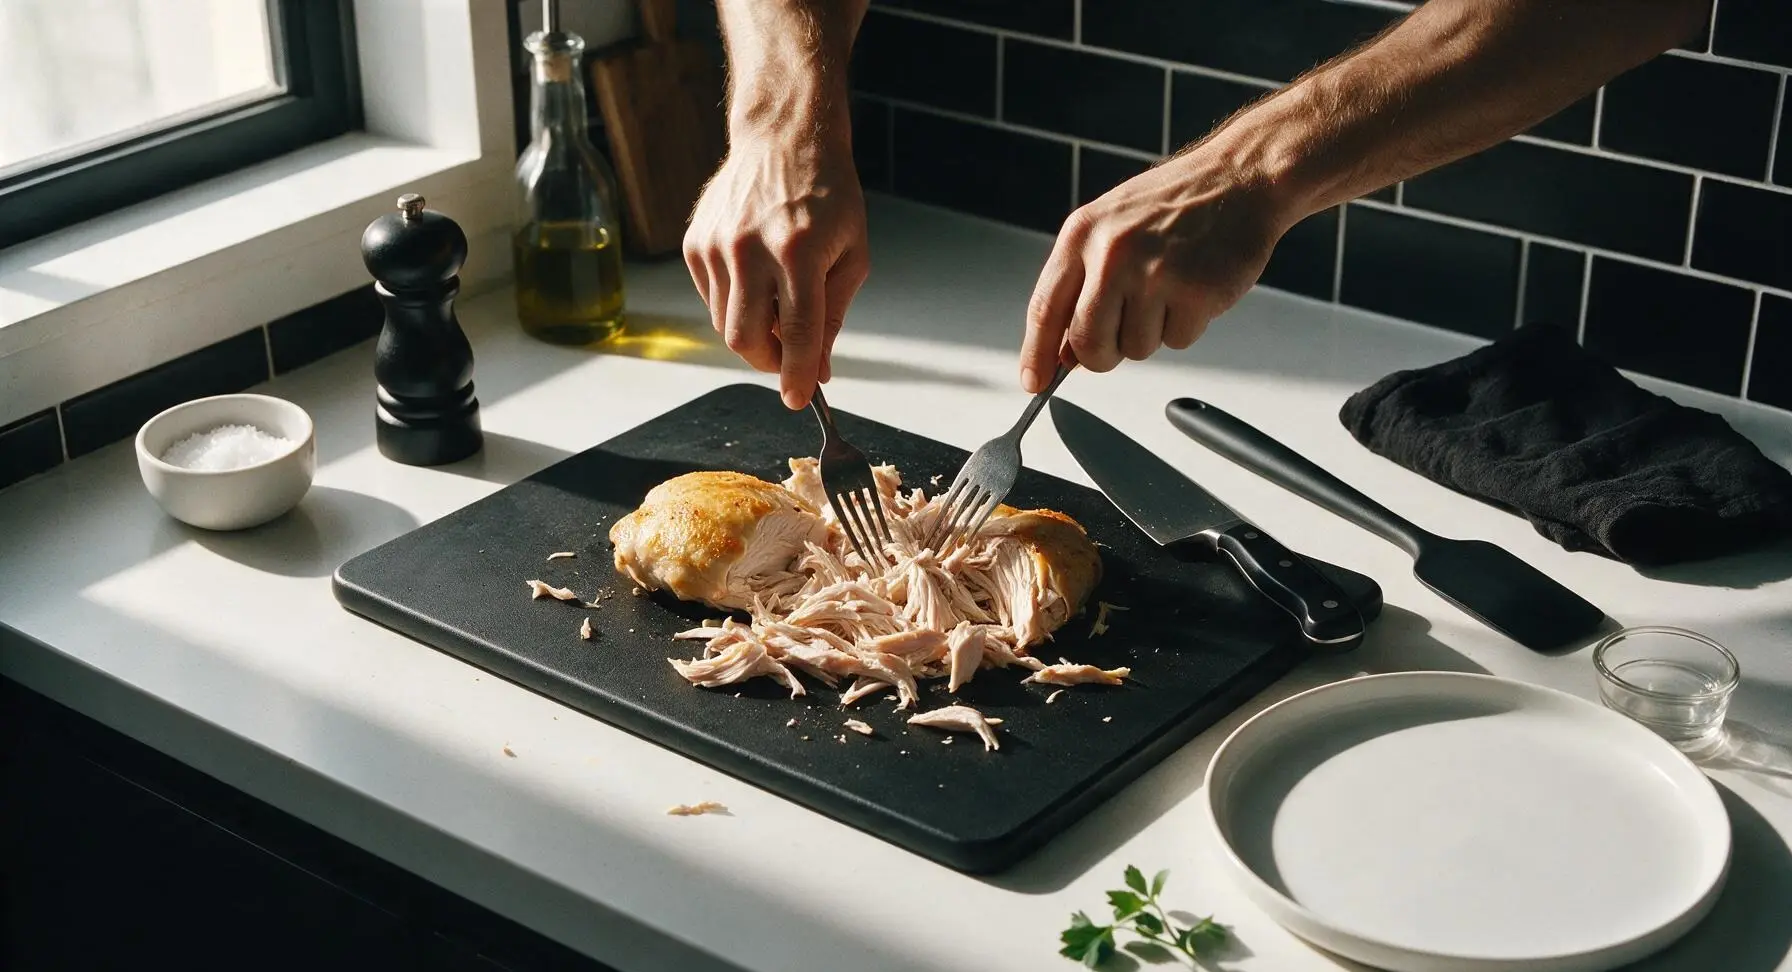
Pat 350g boneless skinless chicken breasts dry with a corner of the striped linen towel, season both sides with 1/2 tsp flaky sea salt and 1/4 tsp freshly ground black pepper. Melt 1 tbsp unsalted butter in the stainless steel skillet over medium heat, add chicken, and cook 6-7 minutes per side until internal temperature reaches 75C/165F, with light golden browning on the exterior. Transfer cooked chicken to the beech cutting board, let rest 5 minutes, then shred into small bite-sized pieces using two forks.
Saute mirepoix base
In the same skillet used to cook the chicken, melt the remaining 1 tbsp unsalted butter over medium heat. Add finely diced onion, carrot, and celery, cook for 5 minutes, stirring occasionally with the grey silicone spatula, until vegetables are soft and translucent with no dark browning. Add minced garlic and dried thyme, cook 30 seconds more until fragrant, taking care not to burn the garlic.
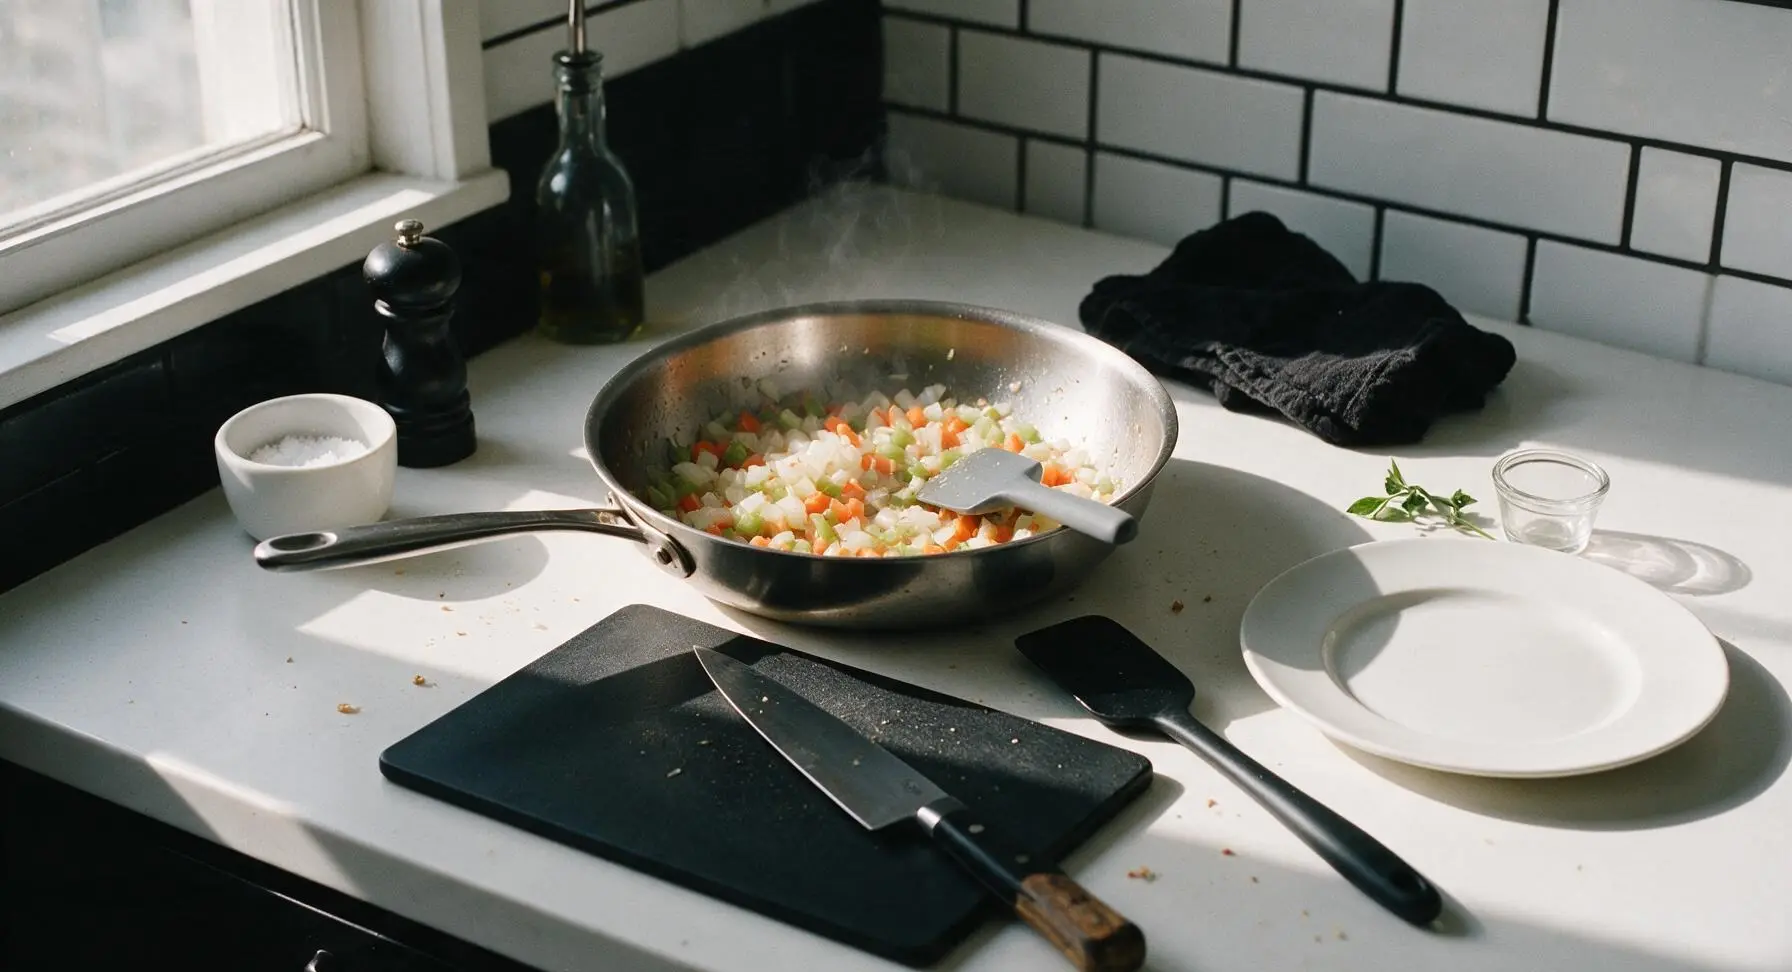
Make creamy filling
Sprinkle 1 tbsp all-purpose flour over the sauteed vegetables, stir constantly for 1 minute to cook out the raw flour taste. Slowly pour in 80ml heavy cream and 60ml low-sodium chicken broth, stirring continuously to avoid lumps. Bring to a gentle simmer, cook 2-3 minutes until the sauce thickens enough to coat the back of the silicone spatula. Stir in the shredded chicken and chopped fresh parsley, season with remaining 1/2 tsp sea salt and 1/4 tsp black pepper, then remove the skillet from heat and let the filling cool completely for 10 minutes to prevent soggy pastry.
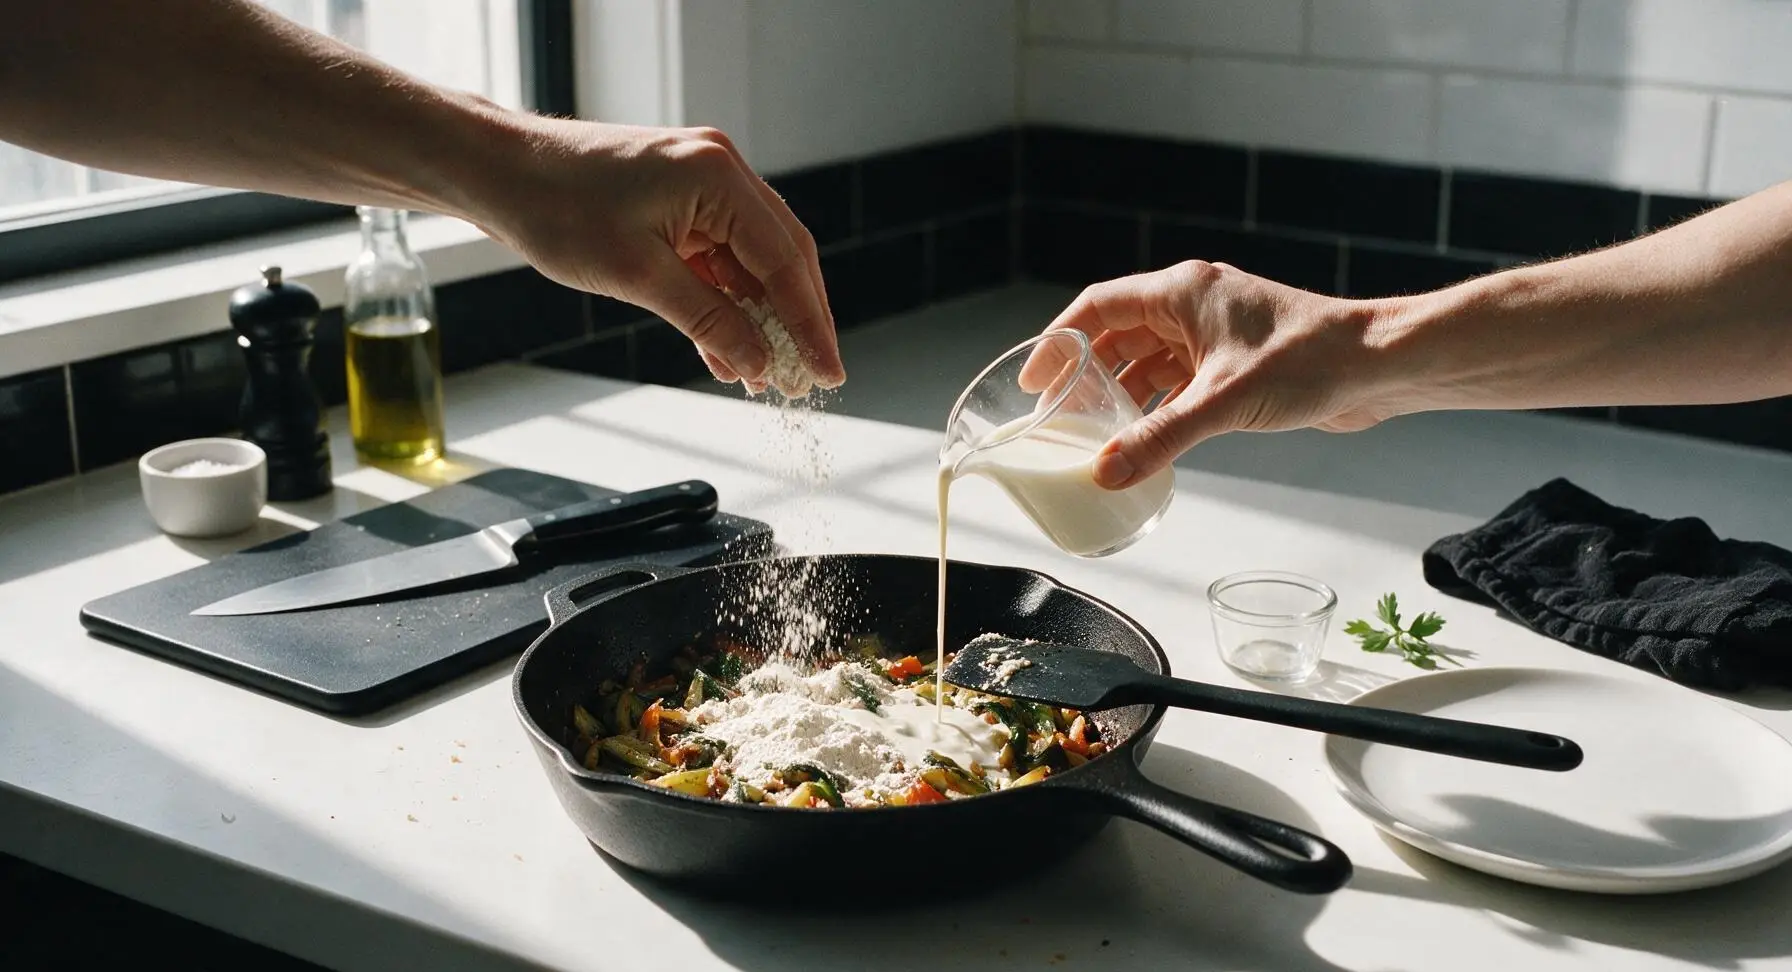
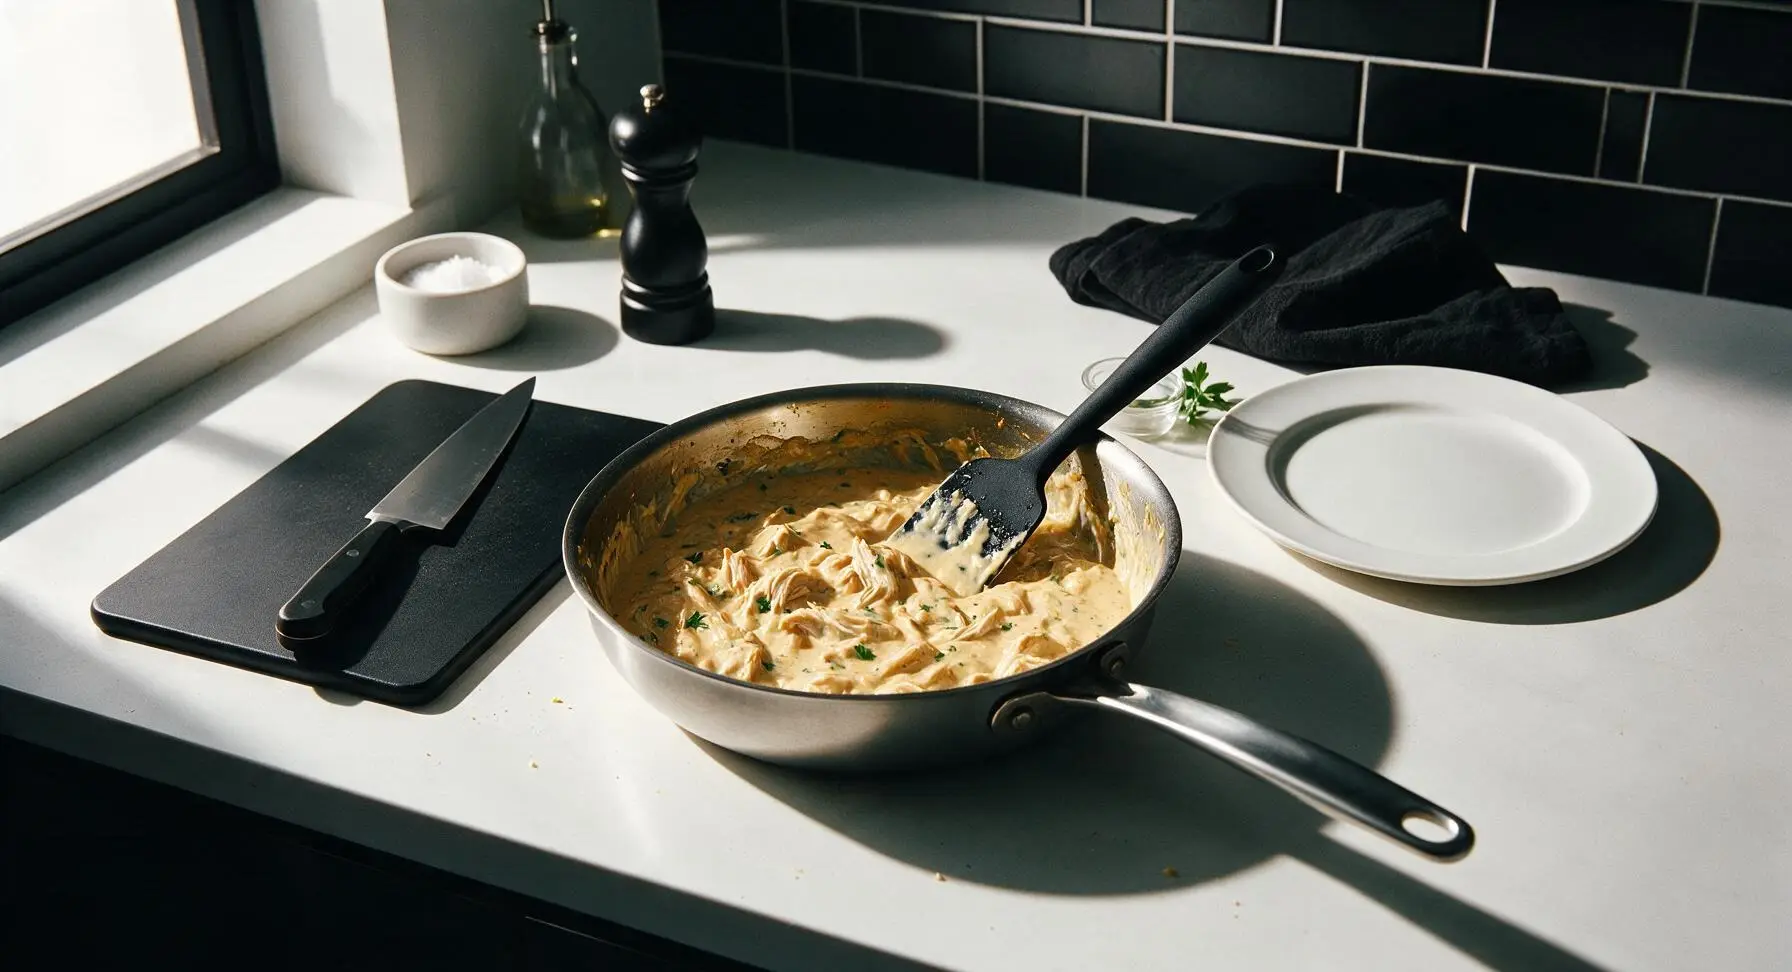
Roll puff pastry sheets
Lightly dust the clean beech cutting board with a pinch of all-purpose flour (wipe away any stray chicken shreds first). Unfold thawed all-butter puff pastry sheets, use the maple rolling pin to roll each sheet to an even 3mm thickness. Cut each rolled sheet into two equal 15cm squares, creating 4 total pastry squares. If pastry becomes soft and sticky at any point, chill it in the fridge for 5 minutes before continuing.
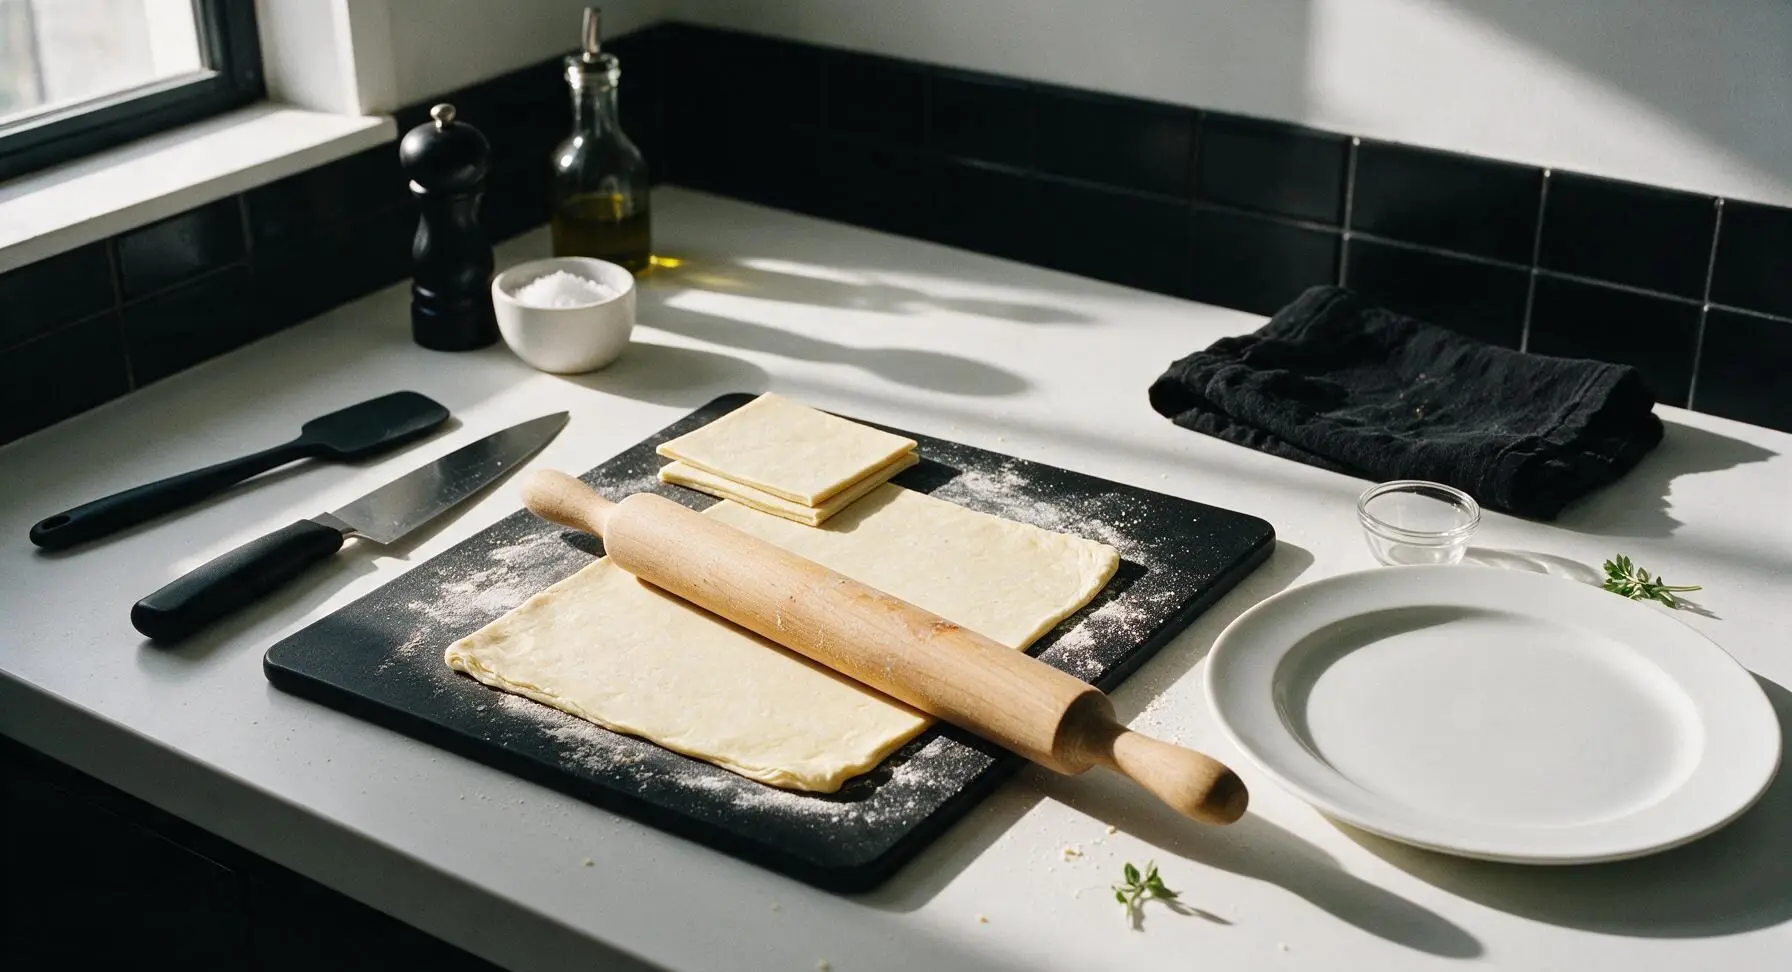
Fill and seal pastries
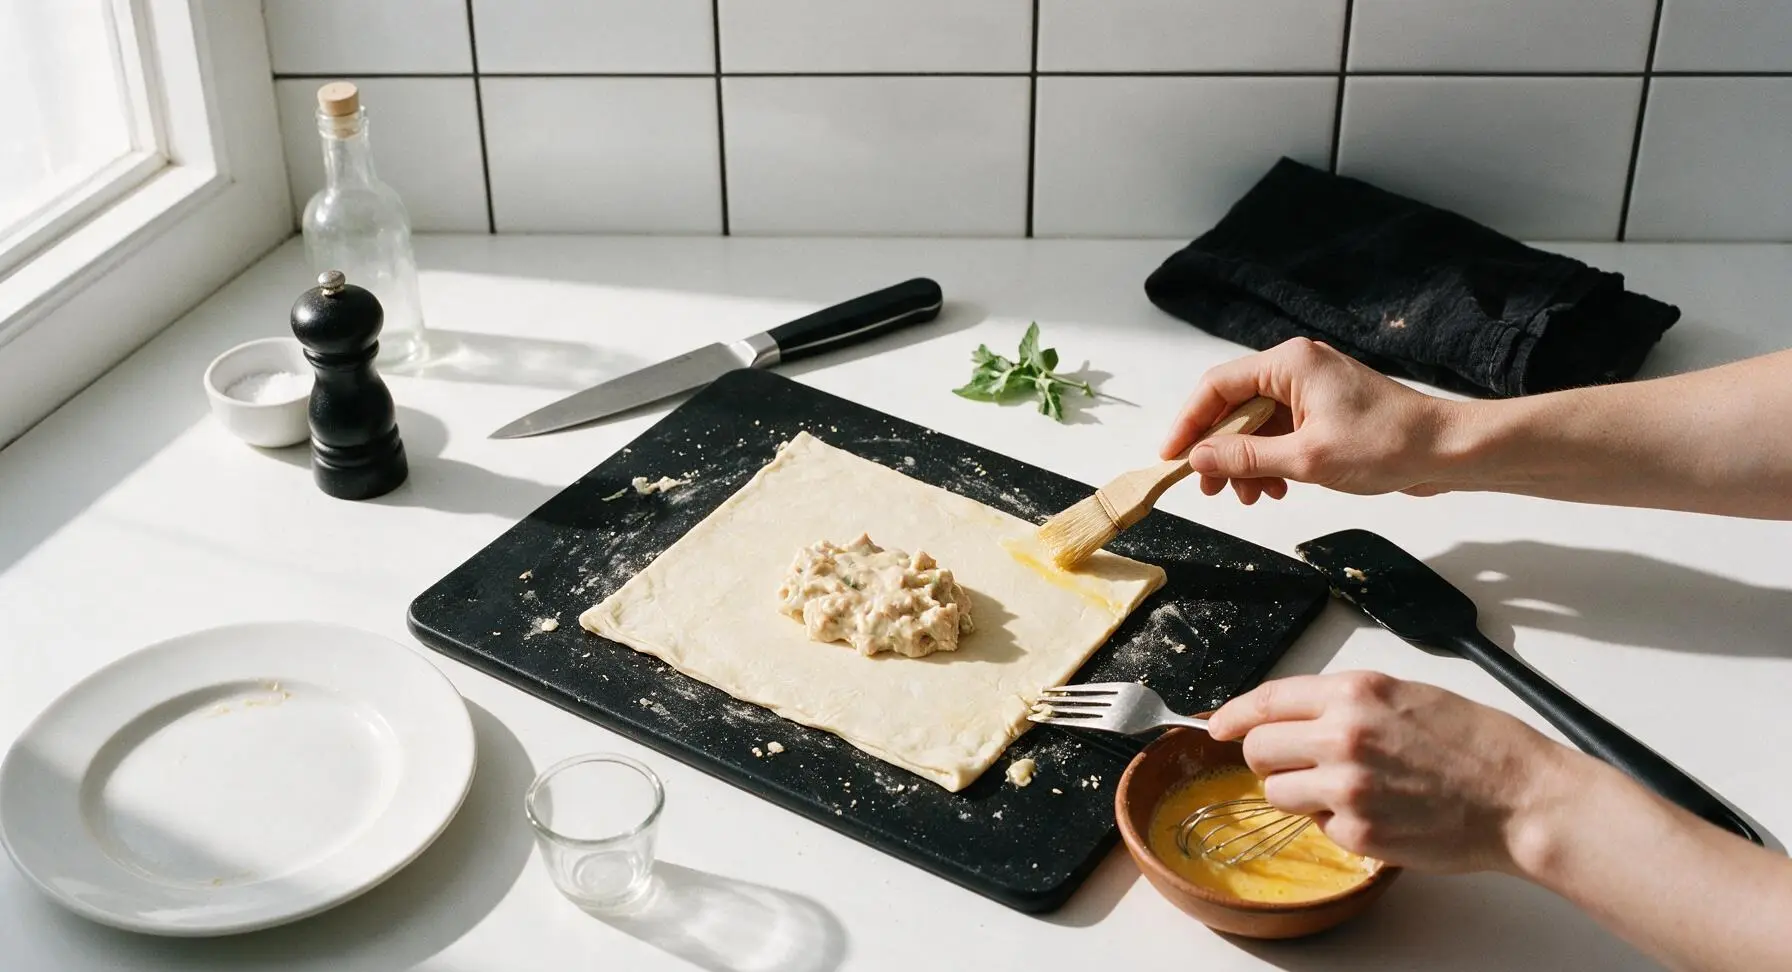
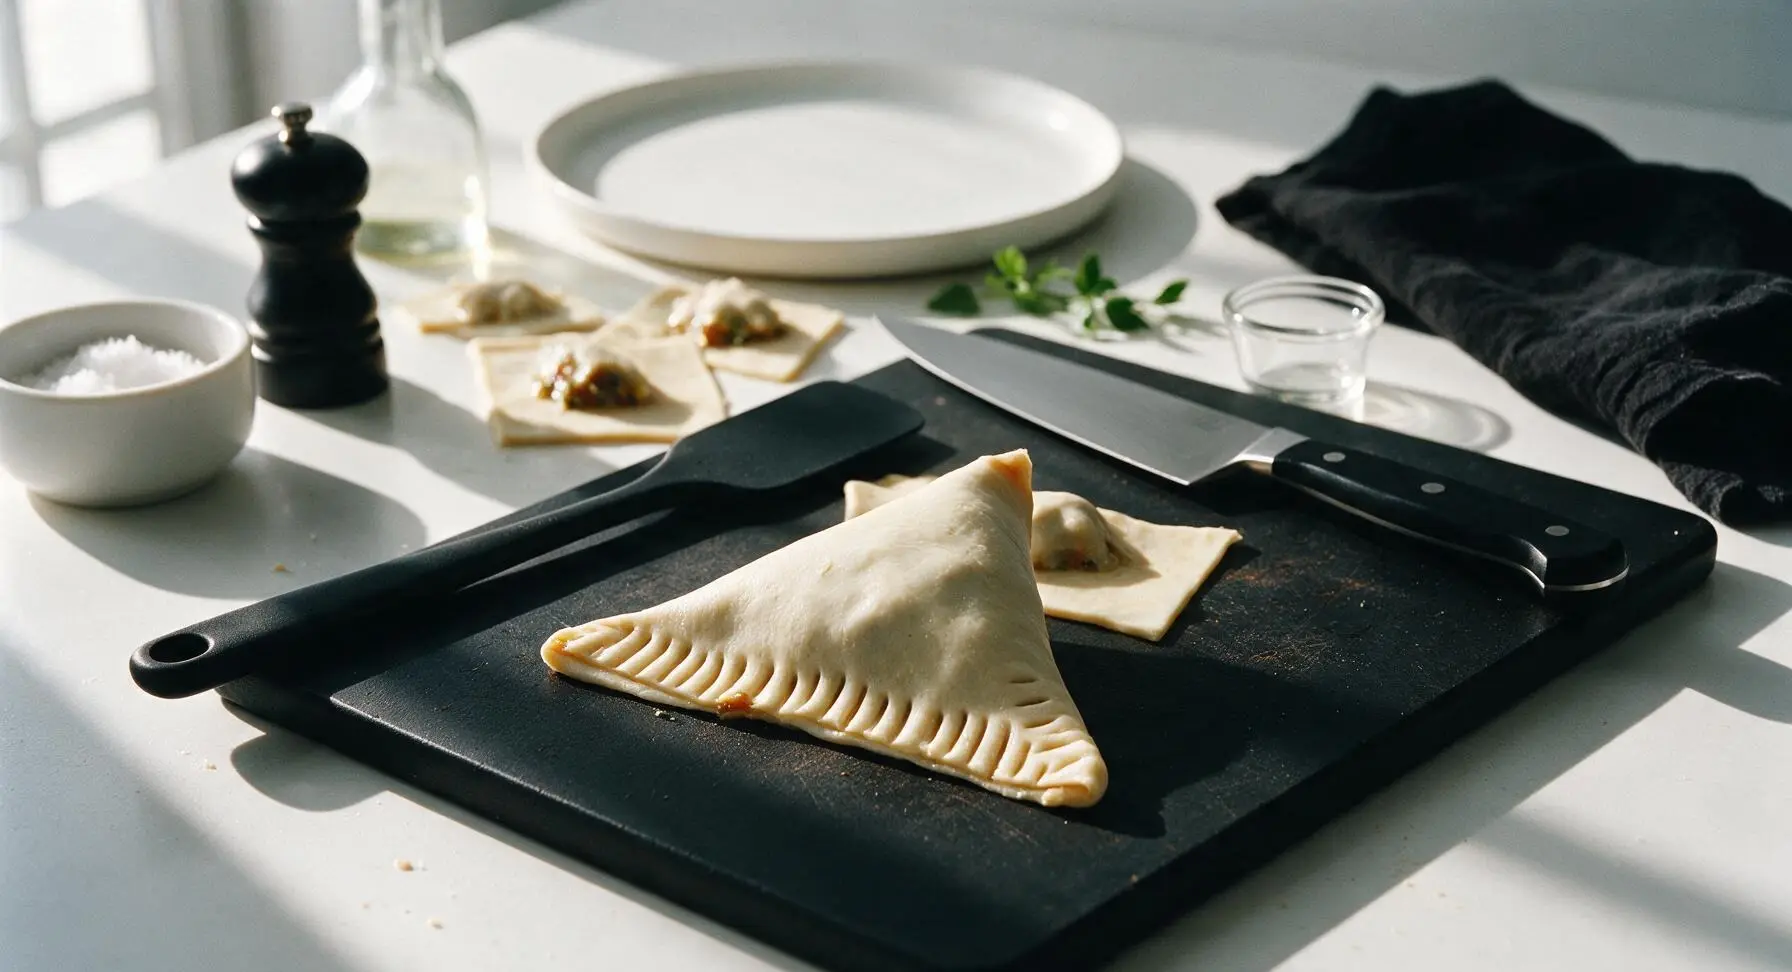
Spoon 1/2 cup of the fully cooled chicken filling onto the center of each pastry square. Use a finger to brush a thin line of beaten egg along the full perimeter of each pastry square, then fold the pastry diagonally over the filling to form a neat triangle shape. Press the edges firmly together, then crimp tightly with the tines of a fork to create a secure seal that will not leak during baking.
Add vents and egg wash
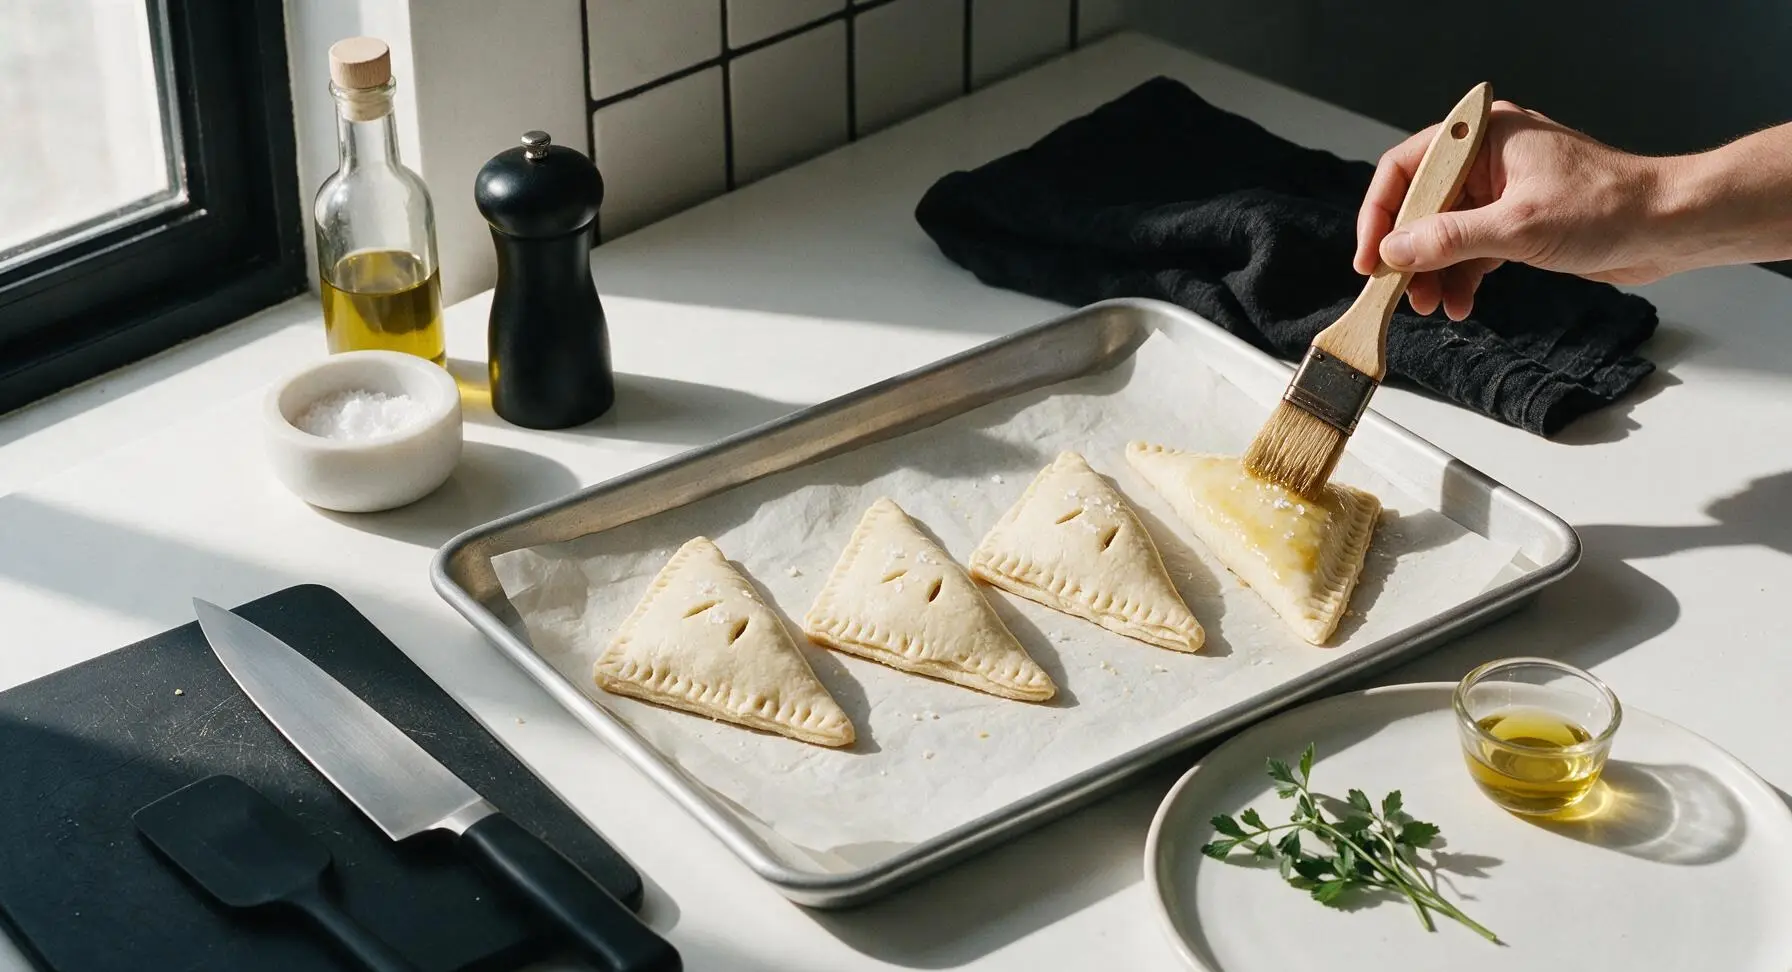
Transfer the sealed pastry triangles to the parchment-lined aluminum baking sheet, spaced 5cm apart to allow for puffing. Use the boar bristle pastry brush to coat the entire top surface of each pastry with a thin, even layer of beaten egg wash. Use the tip of the chef's knife to cut two small 1cm slits in the top of each pastry to allow steam to escape during baking, then sprinkle a tiny pinch of flaky sea salt over each top.
Bake pastries until crisp
Place the baking sheet in a preheated 200C/400F oven, bake for 22-25 minutes until the pastry is deep golden brown, fully puffed, and flaky, with no pale raw dough visible at the seams. Rotate the baking sheet halfway through baking to ensure even browning. Once done, carefully transfer the hot pastries to the chrome wire cooling rack to cool for 5 minutes before serving, as the filling will be extremely hot straight from the oven.
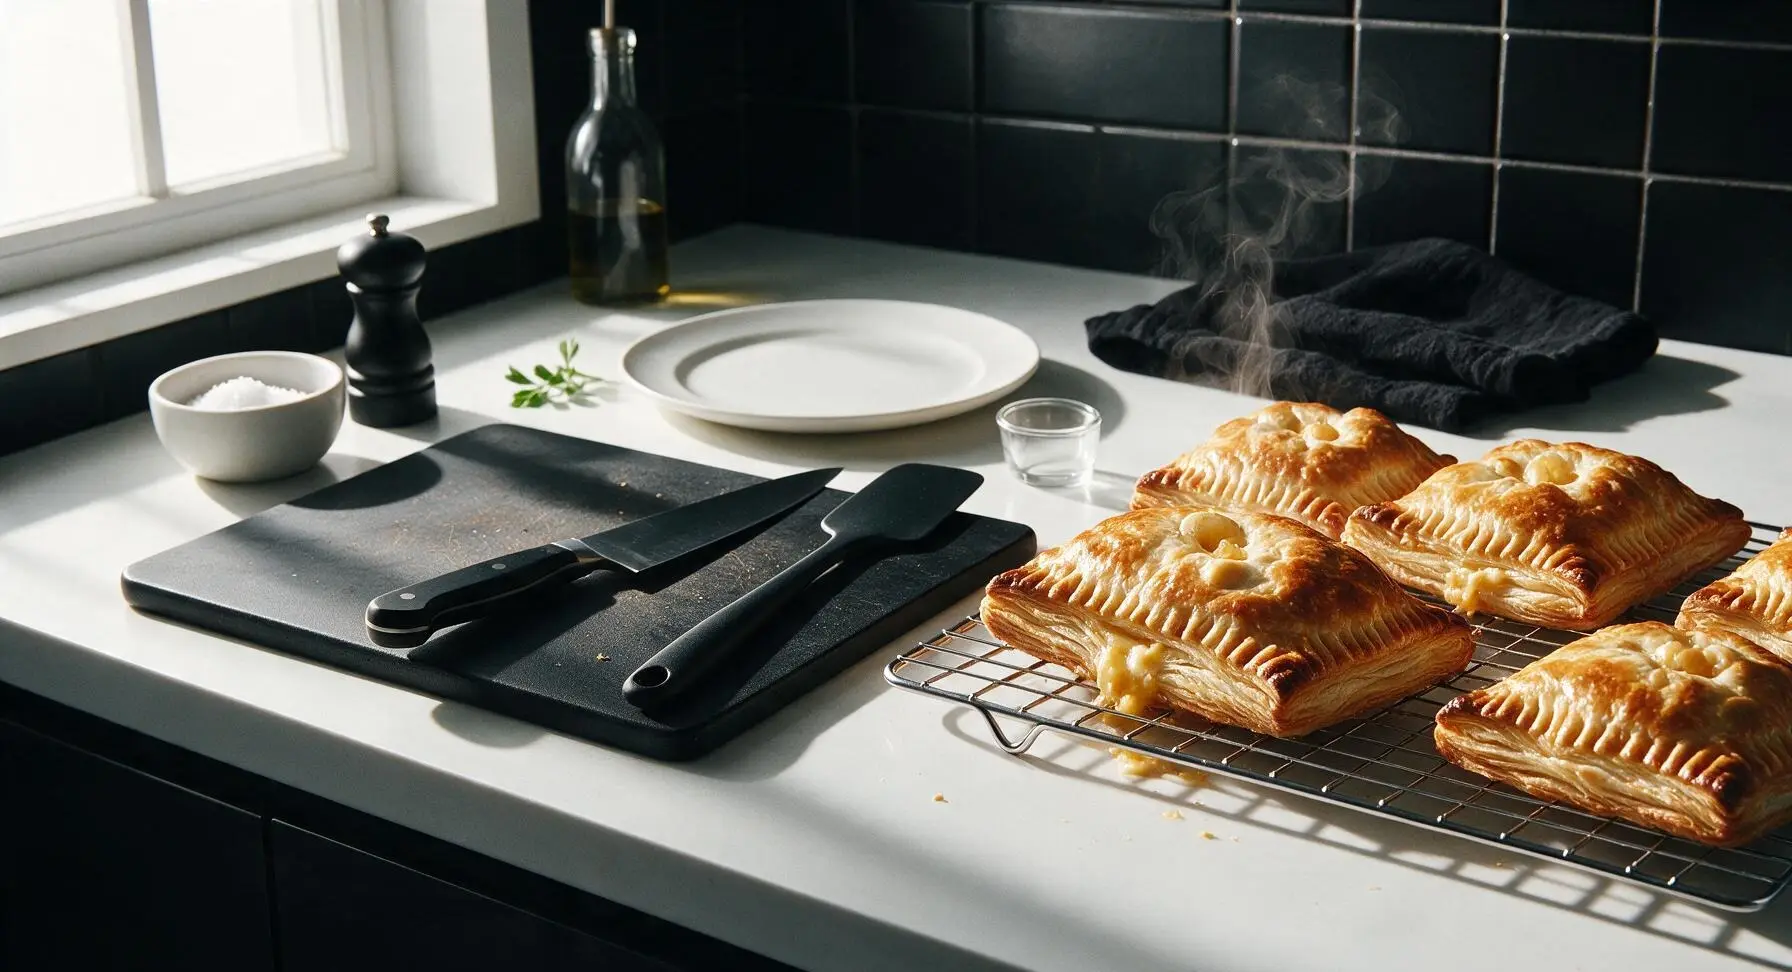
Plate and serve warm
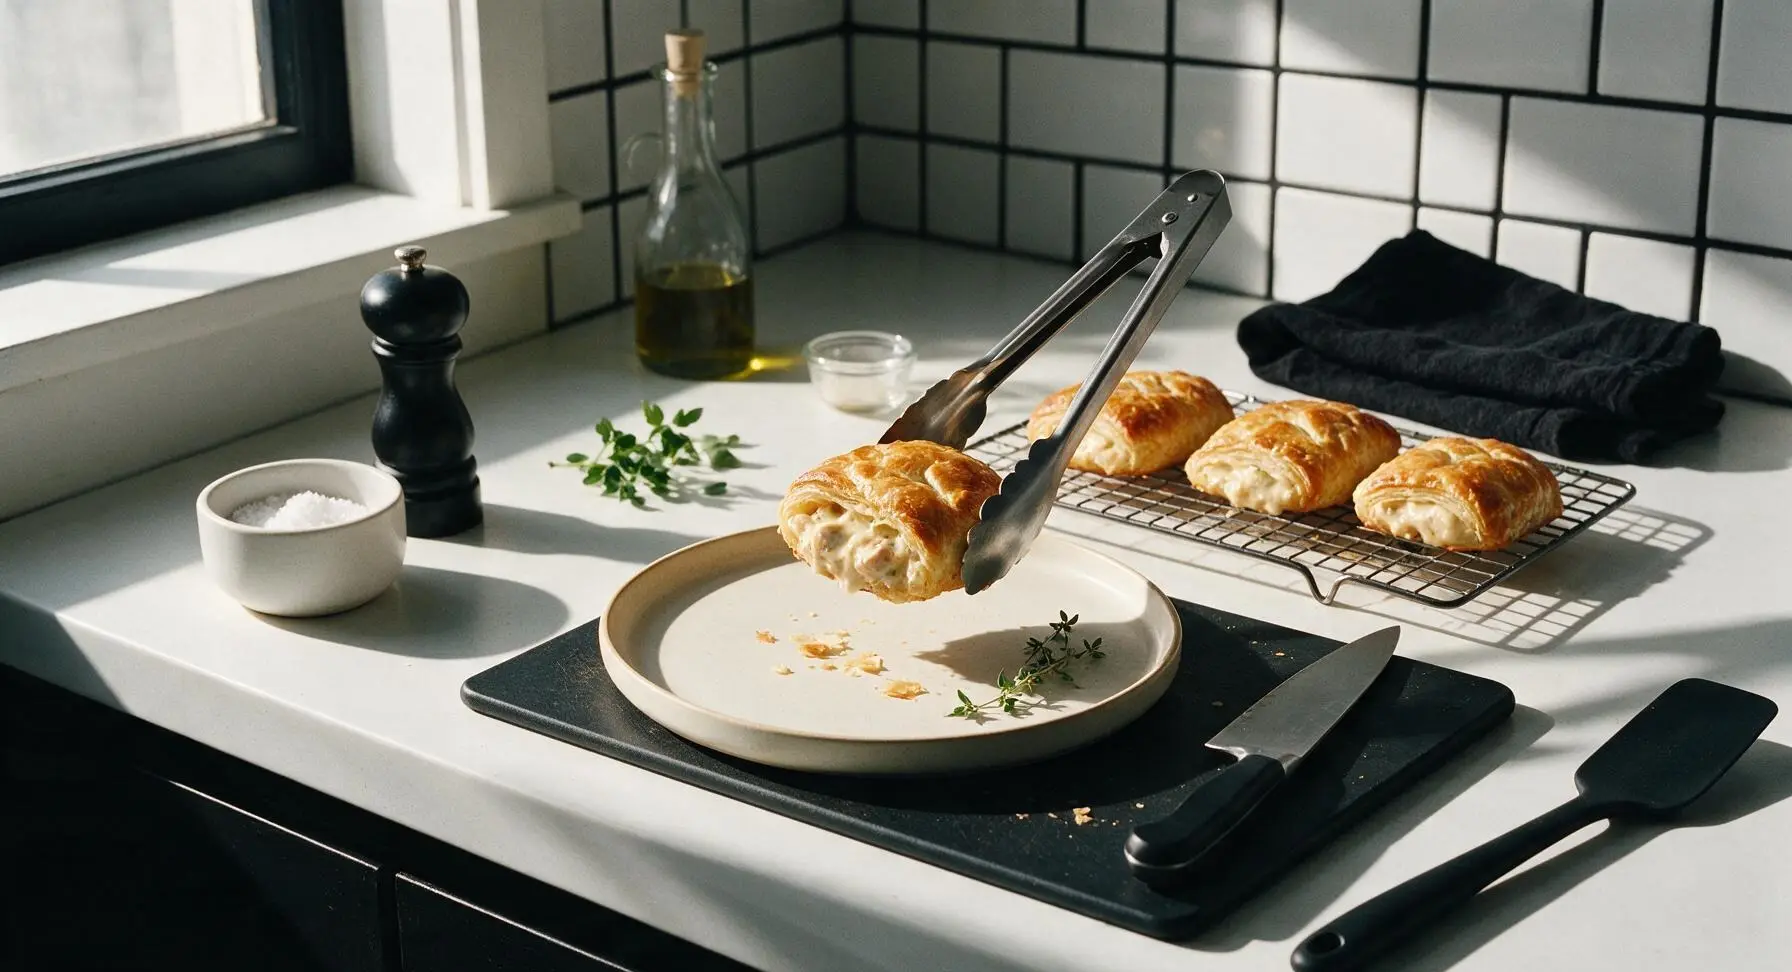
Arrange the slightly cooled chicken pastries on the matte cream ceramic dinner plate, tuck 2-3 small sprigs of fresh thyme between the pastries as a simple garnish. Serve warm, paired with a light green salad if desired.
Tips
2.Resist the urge to overfill the pastries. Using more than 1/2 cup of filling per pastry will make it impossible to crimp the edges tightly, leading to filling leaking out and burning on the baking sheet.
3.For the flakiest possible crust, keep puff pastry cold right up until it goes into the oven. If your kitchen is warm (above 24C/75F), pop the filled, sealed pastries in the fridge for 10 minutes before baking to let the butter re-solidify, which creates those signature light, crisp raised layers.






OMG these were SO good! I made them for Sunday family dinner last night and even my super picky 7 year old asked for seconds. The pastry was perfectly flaky and the creamy chicken filling had just the right amount of seasoning. 10/10 will be making again!
Wait, game changer alert! I brought these to my office potluck yesterday and they were gone in 10 minutes flat. People kept asking me for the recipe! Quick question though—can I make the filling a day ahead to save time?
Solid recipe, though I’d rate difficulty a little higher than medium if you’re making the pastry from scratch like I did. Took me closer to 55 minutes total, but the end result was tasty enough that it was worth the extra effort. Next time I’ll probably use store-bought puff pastry to cut down on time.
My kids loved it! I added a little extra shredded cheddar to the filling because my household is obsessed with cheese, and it was chef’s kiss. These are perfect for quick weeknight dinners when we’re running between soccer practice and piano lessons.
Wait, has anyone tried making these with a dairy-free creamy sauce? I’m dairy intolerant but I’ve been craving hand pies so bad, and this recipe looks too good to pass up.
Bro, these hit DIFFERENT. I made them in my tiny dorm oven for my roommates and we demolished the whole batch in one sitting. Only note: I used canned chicken because I didn’t feel like cooking raw chicken, and it still slapped. 10/10 for broke college students.
These remind me of the chicken hand pies my mom used to make when I was a little girl! The creamy filling is perfectly seasoned, not too salty, and the pastry bakes up so light and buttery. I made a batch and froze half of them unbaked for when my grandkids come to visit next month.
Took these to my neighborhood block party last weekend and I got so many compliments! The hand-held size is perfect for parties, no plates or utensils needed. I did crimp the edges extra tight with a fork so none of the creamy filling leaked out while baking, which I’d definitely recommend.
Obsessed with how well these freeze! I baked a full batch on Sunday, popped them in the freezer, and now I can grab one on my way out the door to work, reheat it for 2 minutes in the air fryer, and it tastes just as fresh as the day I made it. Absolute meal prep game changer.
Made these for a day hike last weekend and they were the perfect trail snack! They stayed good in my cooler for hours, were filling enough to keep me going on a 6 mile trail, and didn’t make a mess while I was eating them on the go. Will definitely be adding these to my regular hiking snack rotation.
Y’all, I messed up the first batch because I overfilled the pies and filling oozed out all over my baking sheet 😂 Don’t be like me! Stick to the 2 tablespoon filling measurement the recipe says, even if it feels like too little. The second batch came out perfect, and my fiancé ate 3 in one sitting.
I made these with store-bought puff pastry because I was short on time, and honestly? Nobody could tell the difference. It cut the cook time down to like 25 minutes total, which is perfect for weeknights. Question for anyone who’s made these—do you brush the tops with egg wash? I forgot that step and mine were a little pale, but still tasty.
SO good! I added a little cajun seasoning to the chicken filling to give it a little kick, and it paired so well with the creamy sauce and flaky pastry. I served them with a side of coleslaw for dinner, and it was the perfect comfort food meal for a random Tuesday night.
Pretty solid hand pie recipe. I used rotisserie chicken from the grocery store to save time, which I’d highly recommend. The only thing I’d change is adding a little more black pepper to the filling, it was a little bland for my taste, but that’s an easy fix. Overall a good recipe that I’ll make again.
Made these for game night with my friends and they were a total hit! We dipped them in a little ranch dressing, which I thought was a weird combo at first but it worked so well. Who else dips their savory hand pies in ranch? No ragrets.
I was a little nervous to make these because I’m not great at working with pastry, but the instructions were super easy to follow! The only thing I messed up was not letting the filling cool enough before putting it on the pastry, so the dough got a little soft, but they still baked up fine and tasted amazing. Great recipe for beginner bakers like me!