
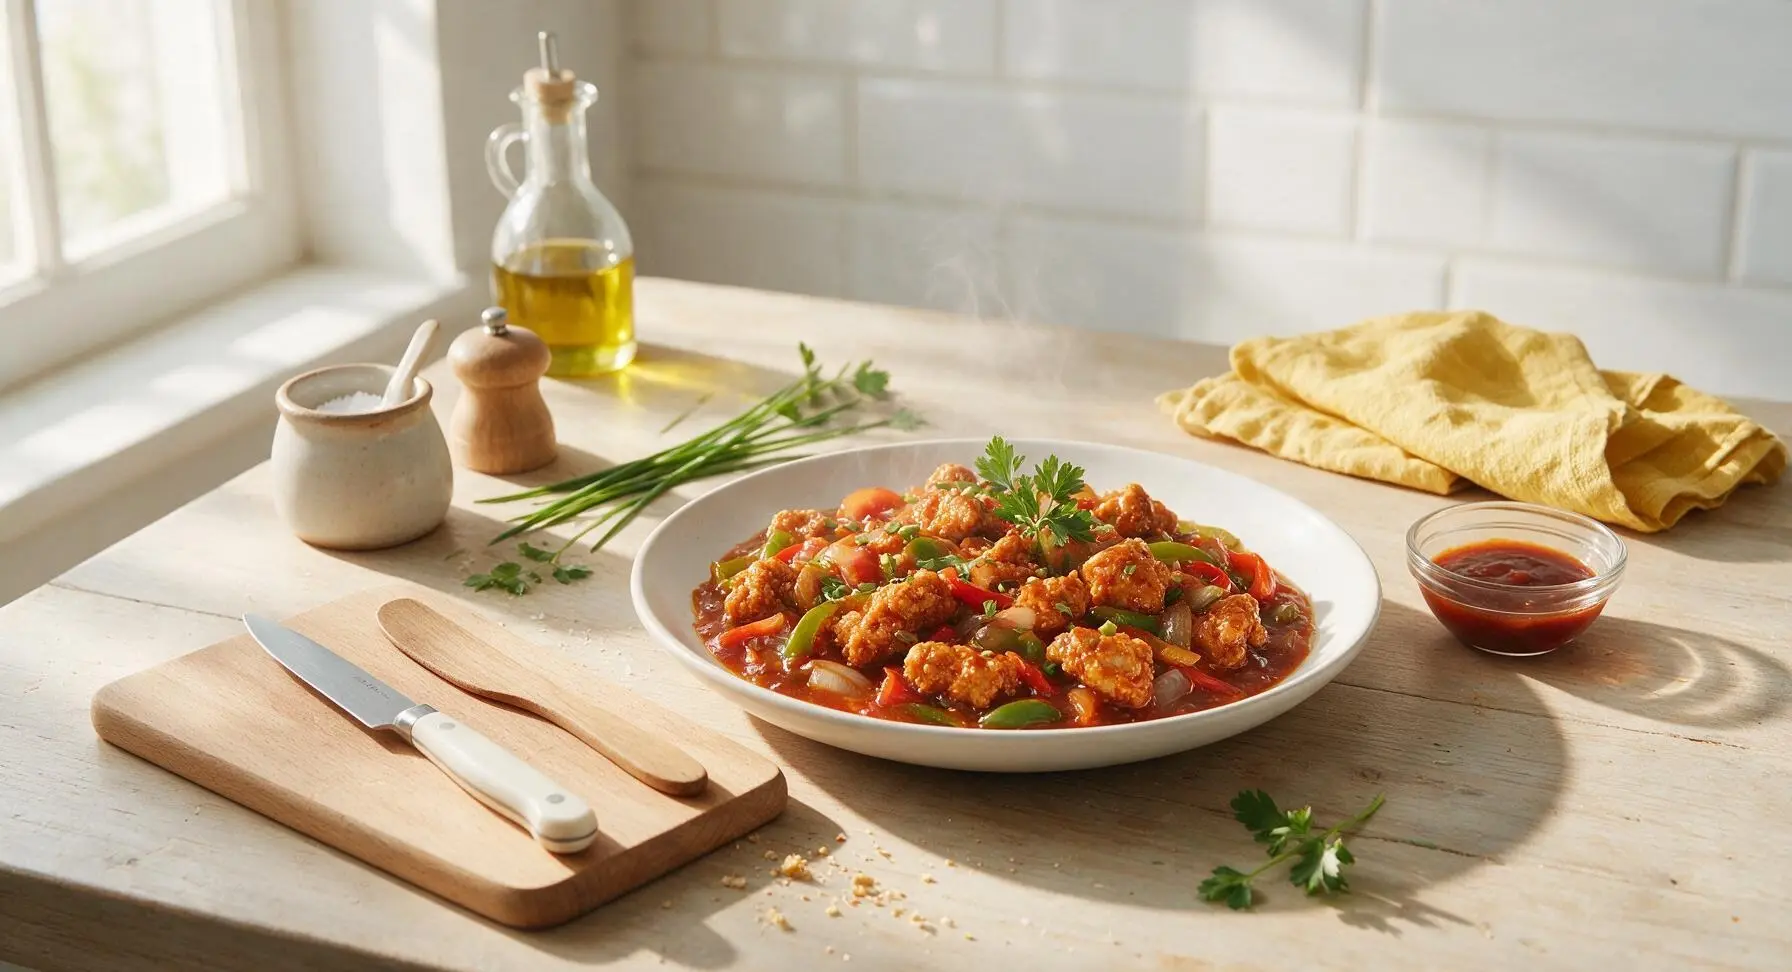
chilli chicken gravy

title 1
chilli chicken gravy
⏱️ cook time 20 minutes
🍽️ servings 4
⚡ Difficulty easy

intro

Tender crispy chicken chunks in a tangy, spicy umami soy-chilli gravy with bell peppers and onions, this beloved Indo-Chinese favorite pairs perfectly with steamed rice or noodles.

Ingredients
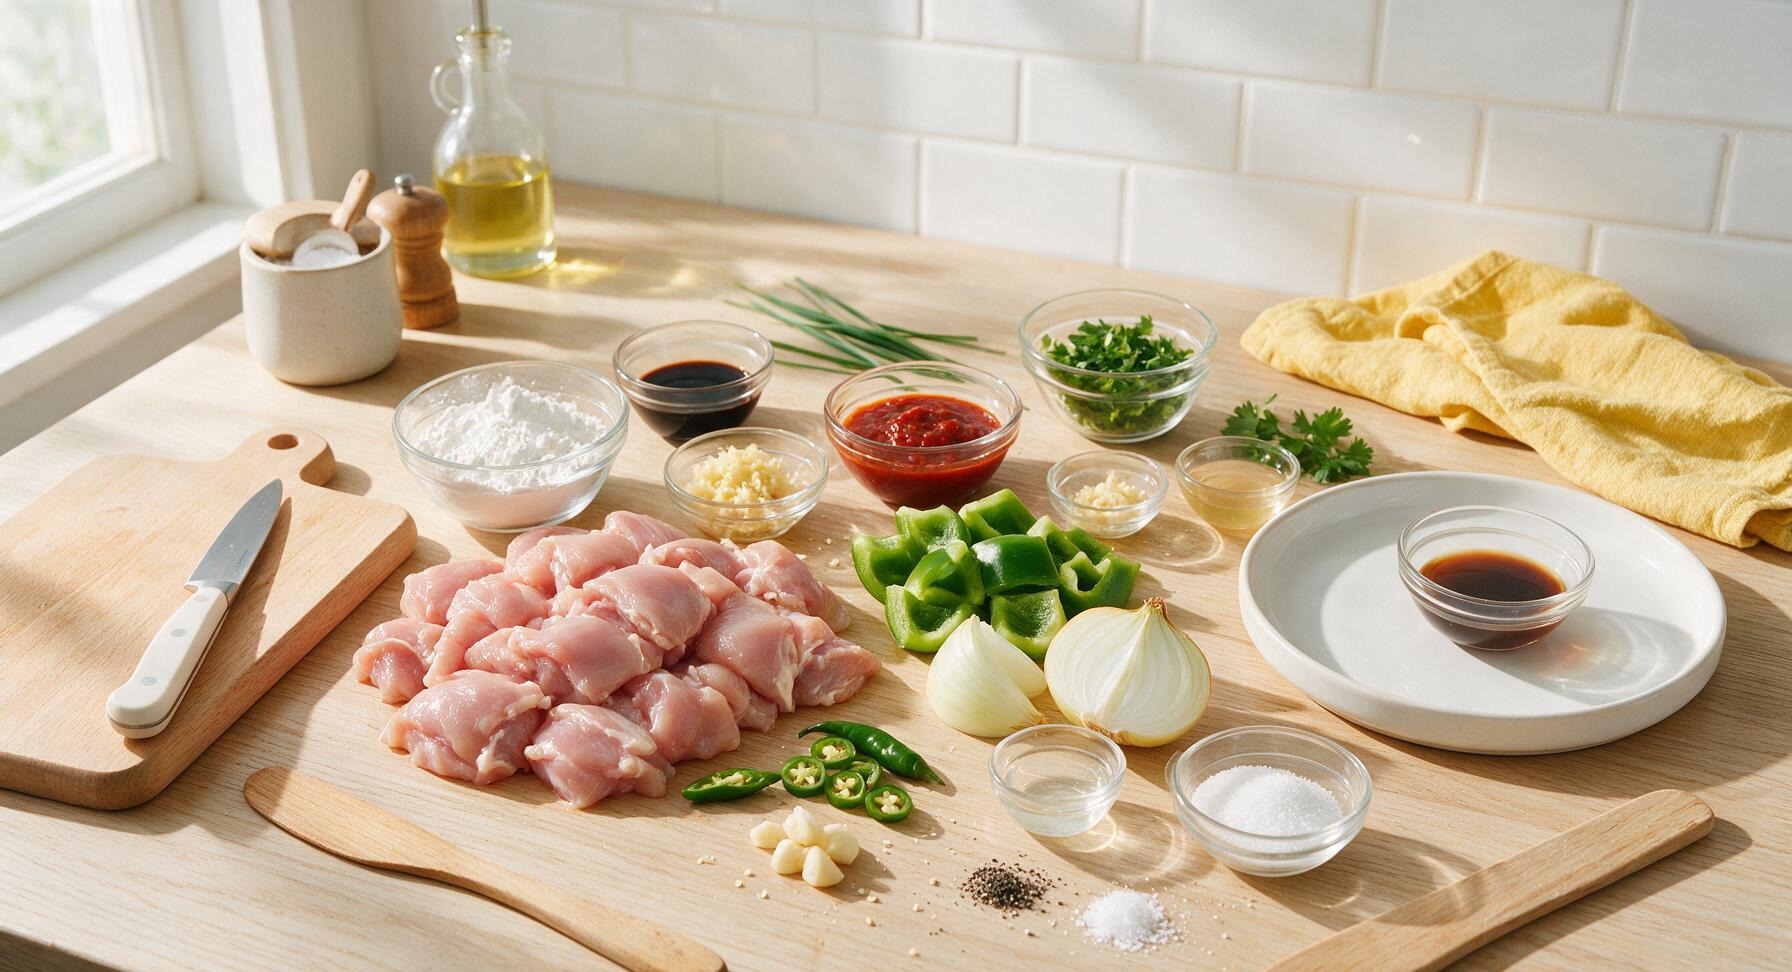
Boneless skinless chicken thighs 500g, cut into 2.5cm chunks
Cornstarch 3 tbsp + 1 tsp, divided
All-purpose flour 2 tbsp
Light soy sauce 3 tbsp, divided
Dark soy sauce 1 tsp
Chilli garlic sauce 2 tbsp
Fresh ginger 1 tbsp, finely minced
Garlic cloves 4, finely minced (~1 tbsp)
Green bell pepper 1 medium, cut into 2.5cm chunks
Yellow onion 1 medium, cut into 2cm wedges, layers separated
Fresh green chillies 2, sliced into thin rings
White vinegar 1 tsp
Granulated sugar 1 tsp
Low-sodium chicken stock 120ml
Neutral cooking oil (canola/sunflower) 4 tbsp, divided
Fresh coriander (cilantro) 2 tbsp, chopped, for garnish
Freshly ground black pepper 1/2 tsp
Fine table salt 1/2 tsp

Steps

1

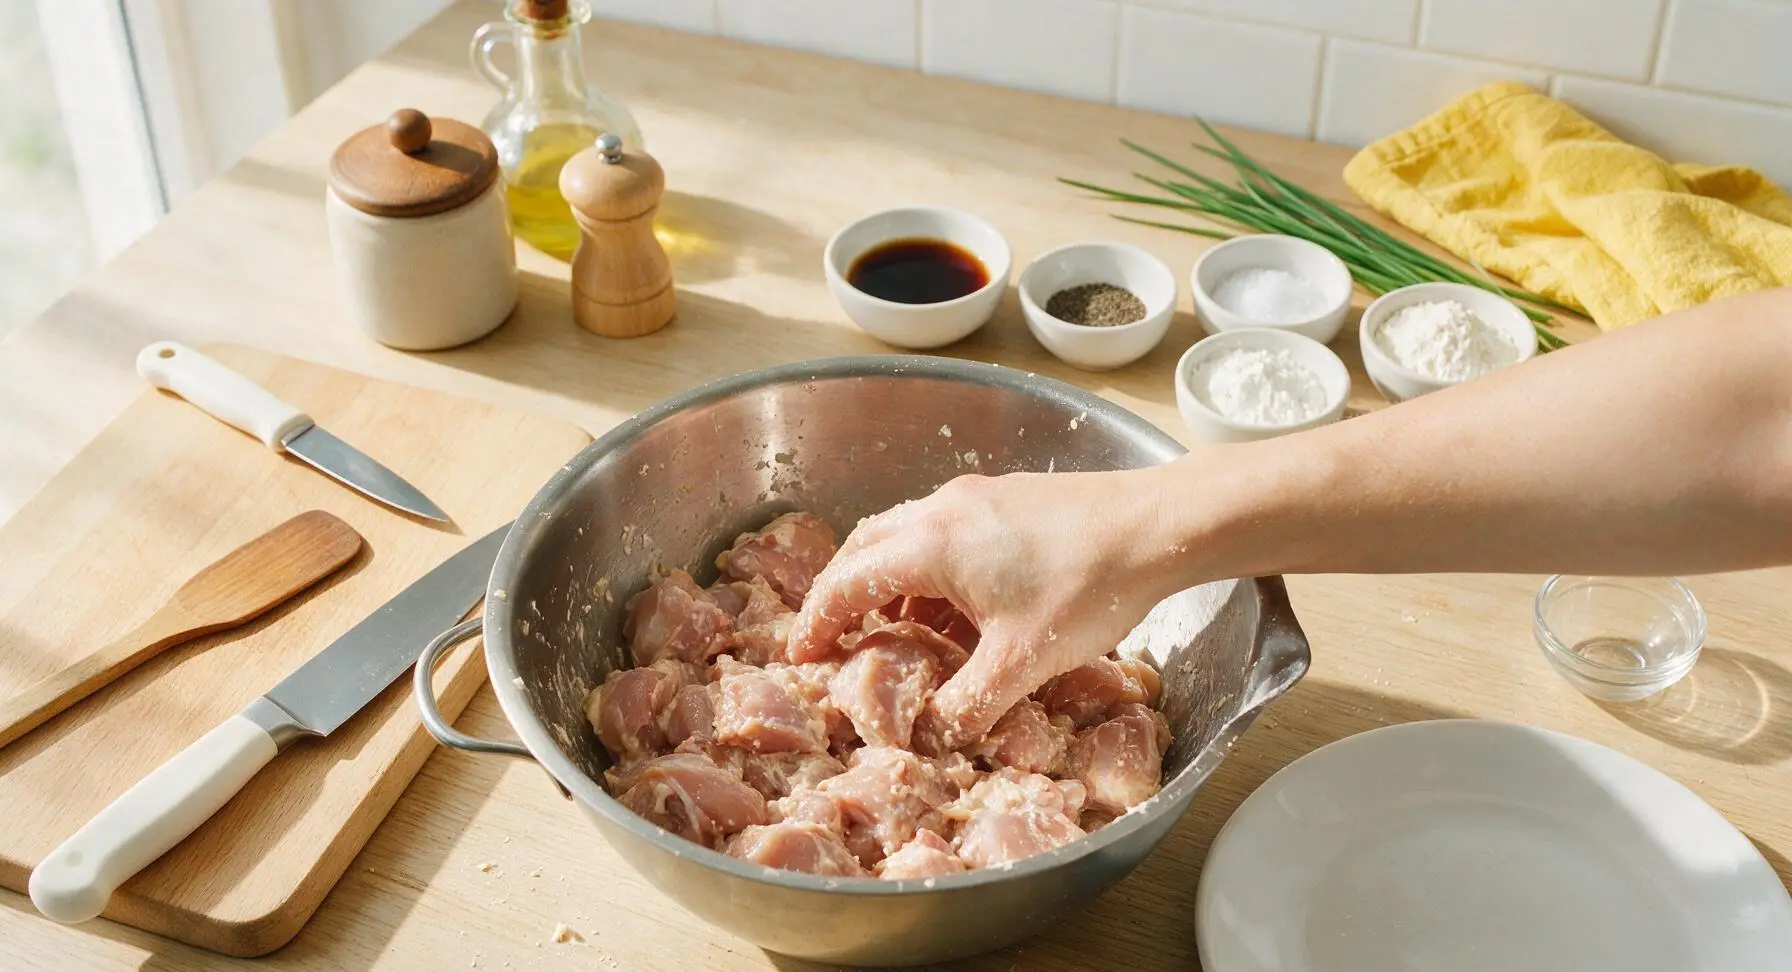
Marinate the Chicken

Place the cut chicken thigh chunks into the stainless steel mixing bowl. Add 1 tbsp light soy sauce, 1/4 tsp black pepper, 1/4 tsp salt, 3 tbsp cornstarch, and 2 tbsp all-purpose flour. Toss thoroughly with clean hands until every chicken chunk is evenly coated in a thin, sticky batter. Let rest for 10 minutes at room temperature to allow the coating to adhere firmly to the chicken.
Step 1
step1:Marinate the Chicken
2

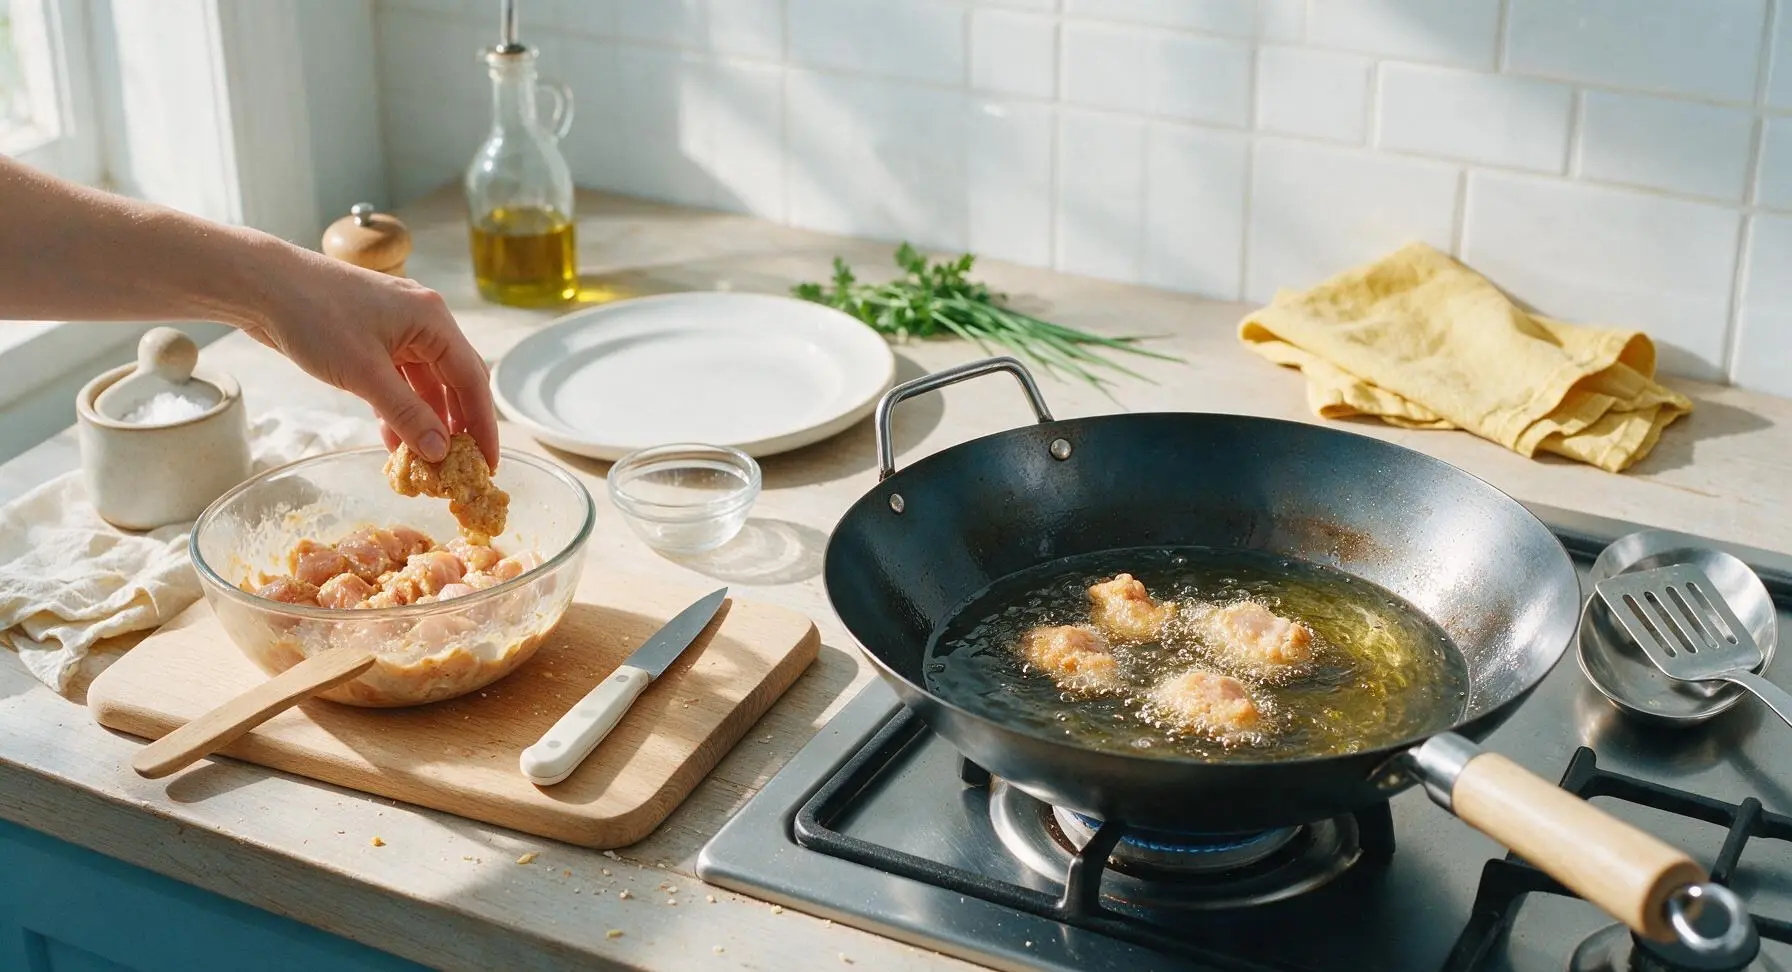
Sear the Chicken

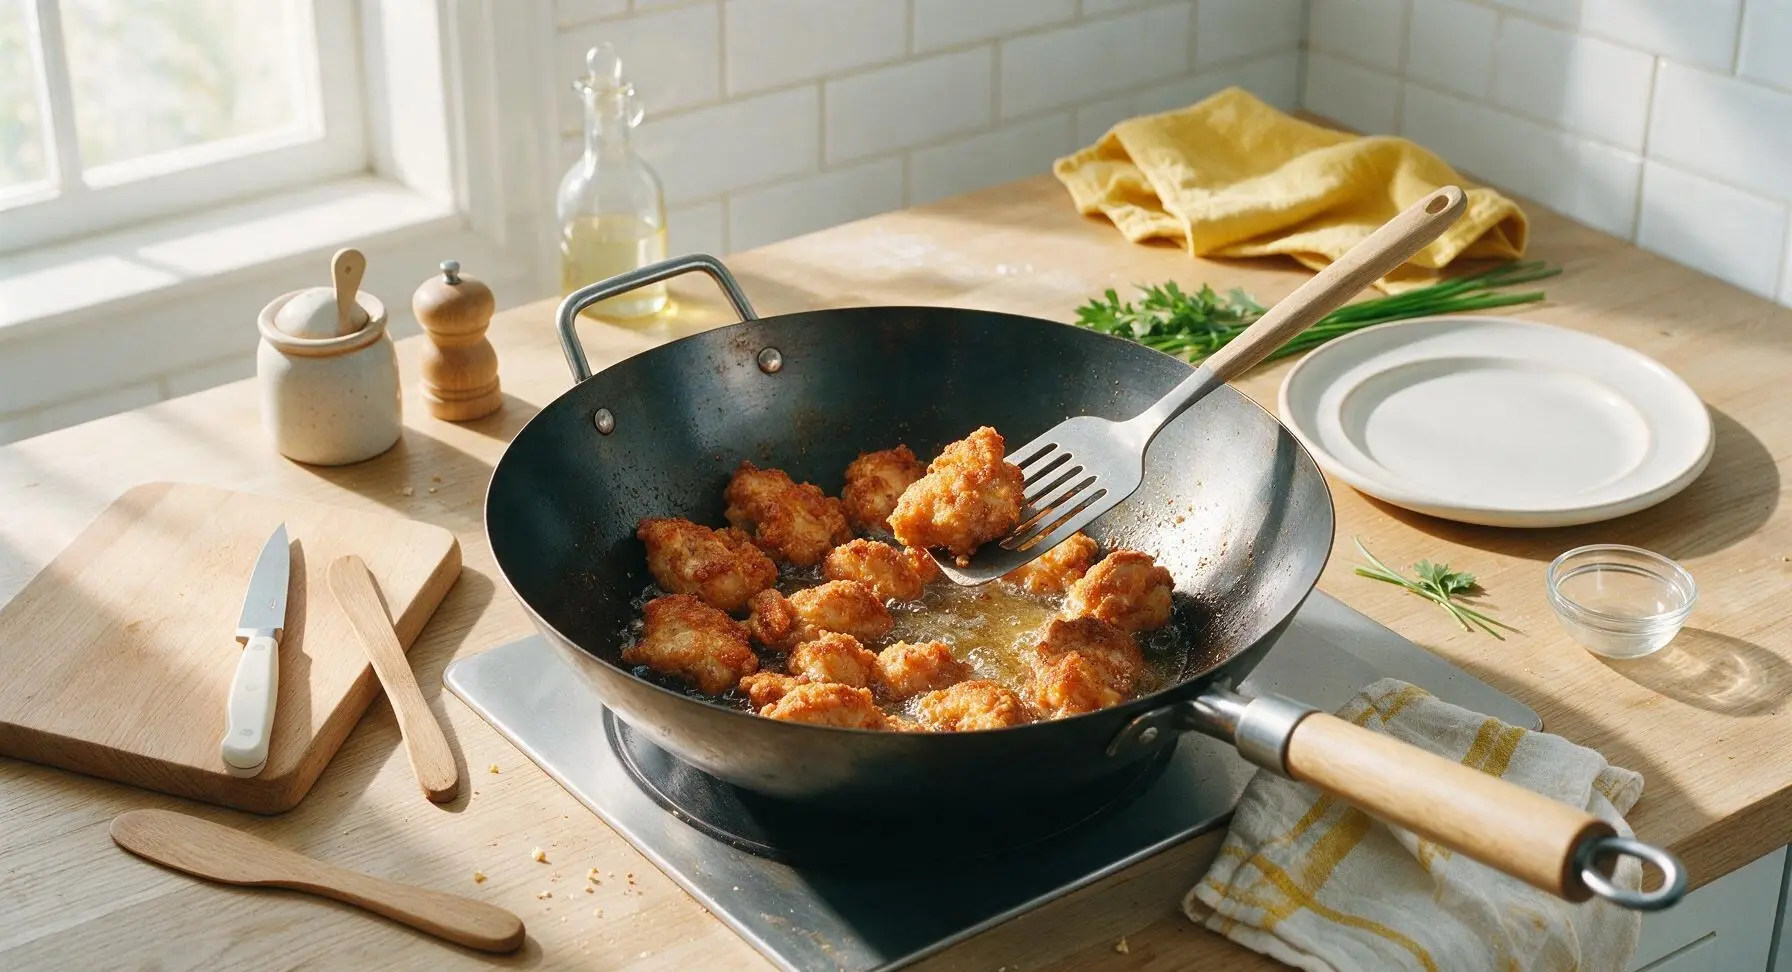
Heat 3 tbsp neutral cooking oil in the carbon steel wok over medium-high heat (180C/350F). Once oil shimmers, add marinated chicken chunks in a single layer, working in 2 batches if needed to avoid crowding the pan. Sear for 3-4 minutes per side, until golden brown and crispy on the outside, cooked 90% through (internal temp ~70C/160F). Use the slotted spatula to transfer seared chicken to a clean prep bowl, set aside.
Step 2
step2:Sear the Chicken
Step 2
step2:Sear the Chicken
3

Sauté Aromatic Base

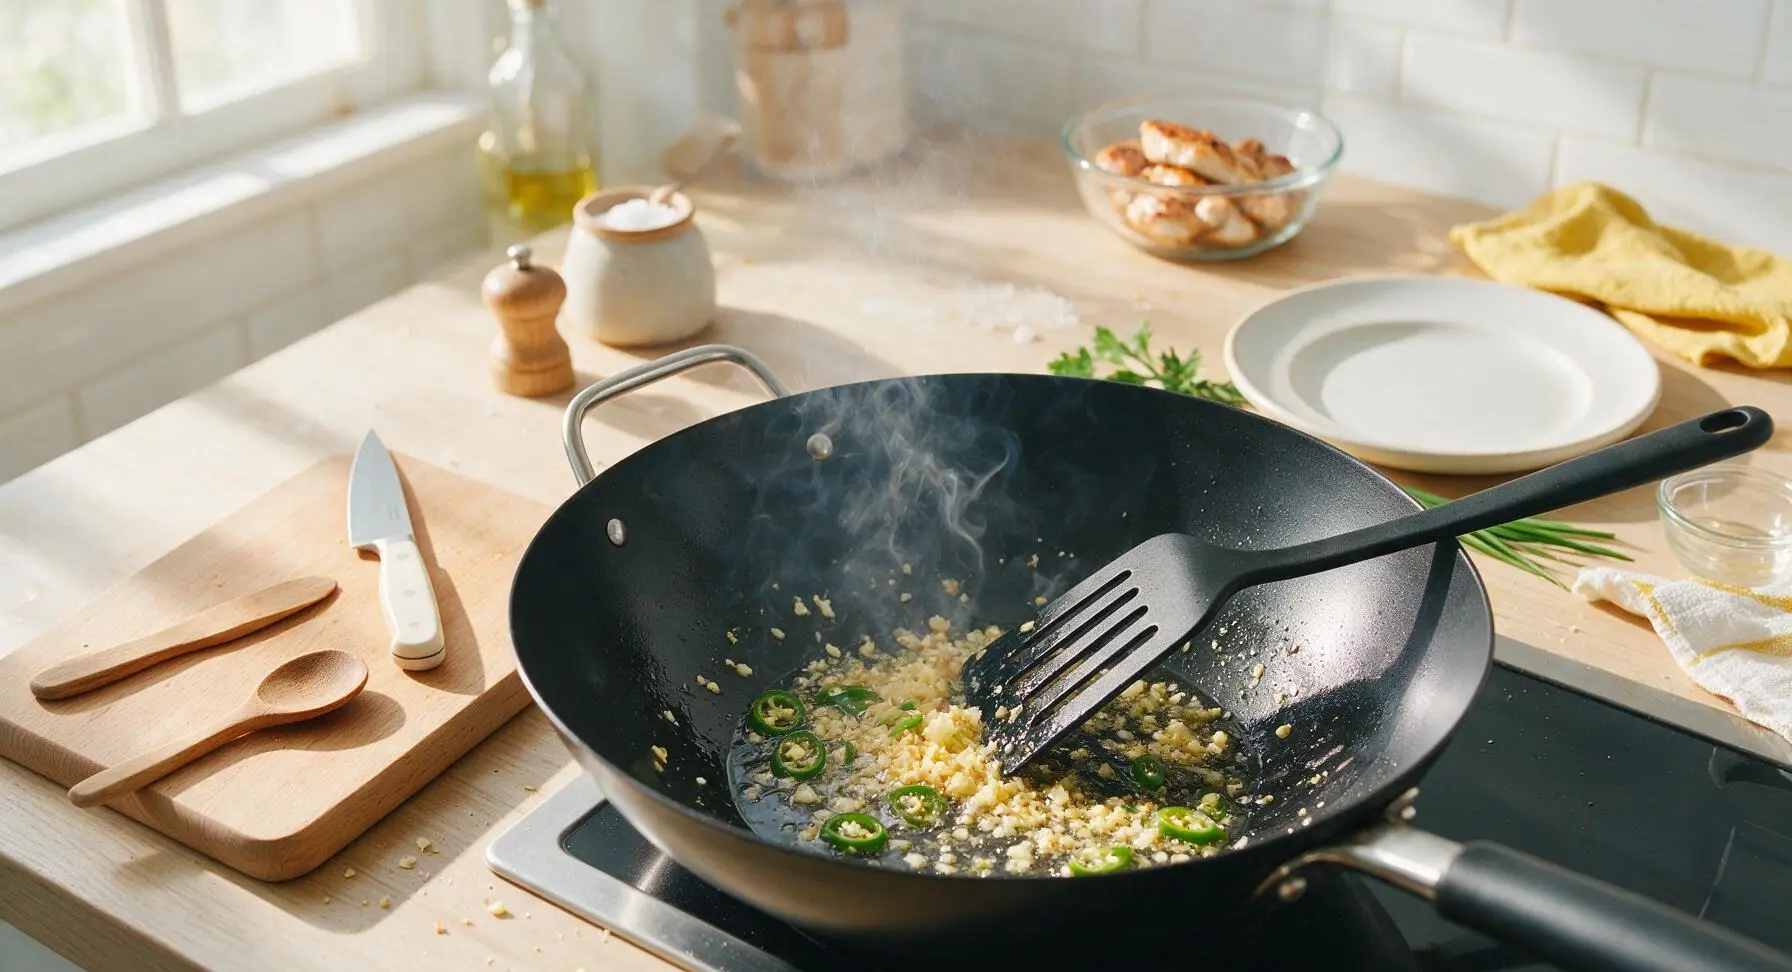
Leave 1 tbsp of remaining oil in the wok, reduce heat to medium (160C/320F). Add minced ginger, minced garlic, and sliced green chilli rings. Sauté for 30 seconds, stirring constantly with the slotted spatula, until fragrant — do not let the garlic burn, as it will turn bitter and ruin the gravy flavor.
Step 3
step3:Sauté Aromatic Base
4

Cook Tender Veggies

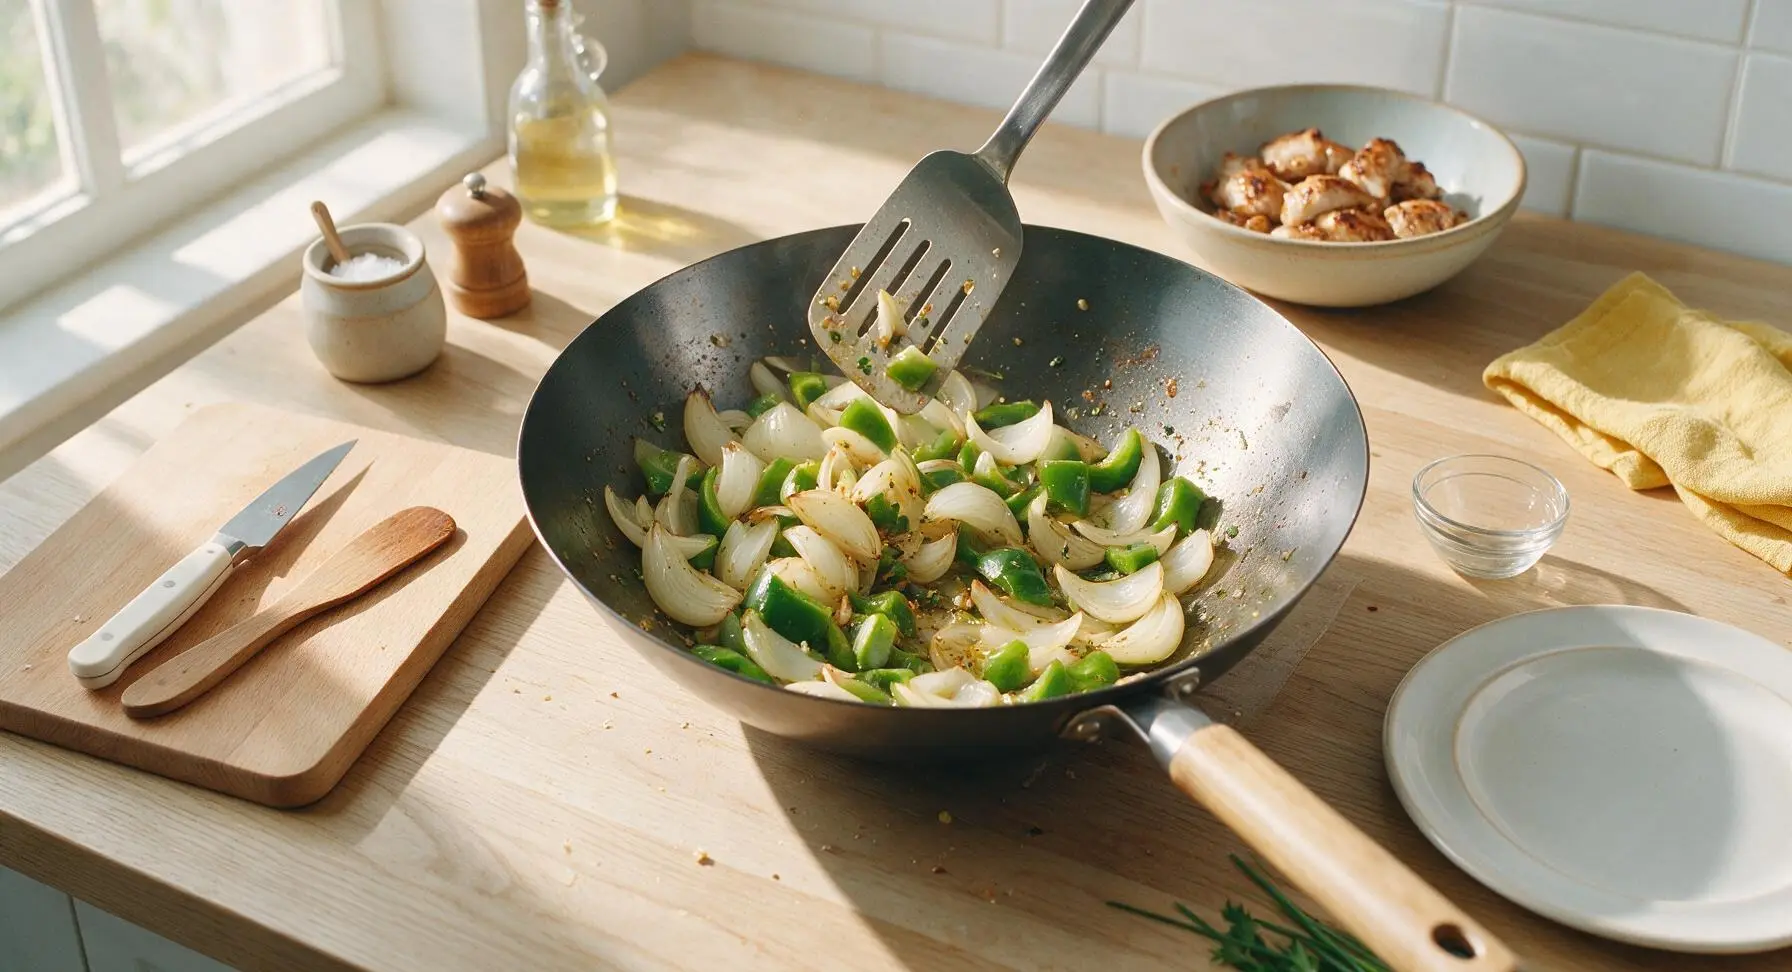
Add the onion wedges and green bell pepper chunks to the wok with the aromatics. Stir-fry for 2 minutes, until vegetables are slightly softened but still crisp-tender, with bright, vivid color — do not overcook to a mushy texture, as the crunch balances the rich gravy.
Step 4
step4:Cook Tender Veggies
5

Prepare Gravy Base

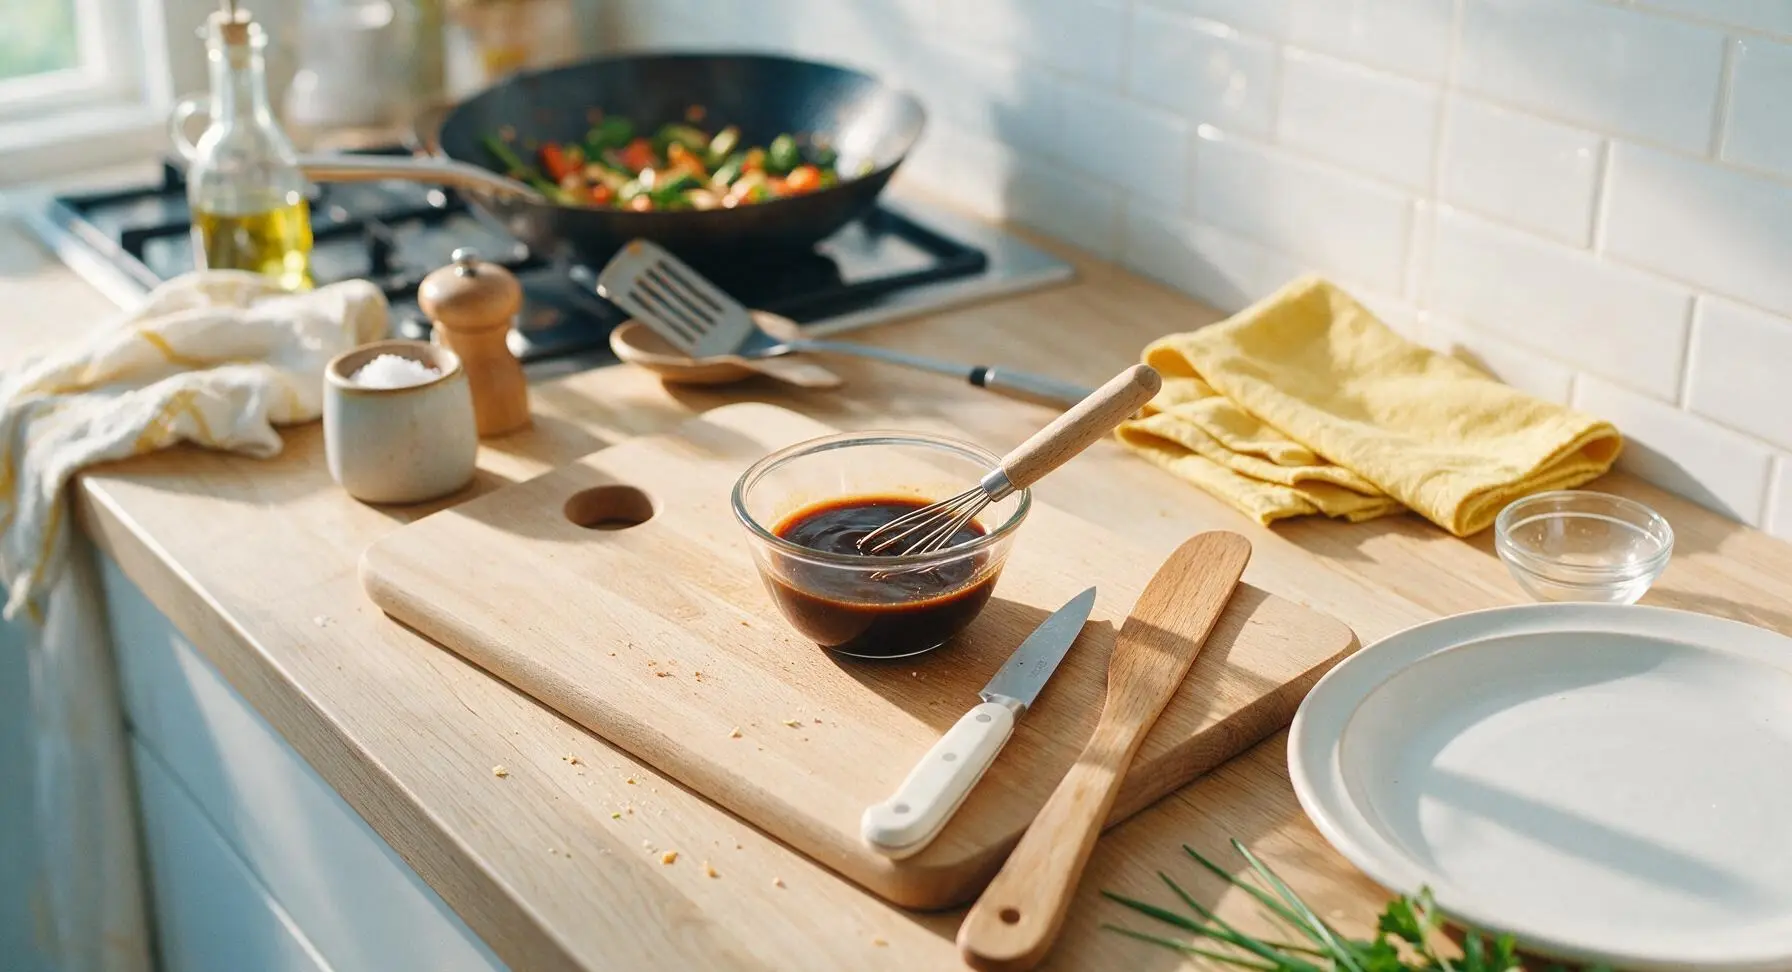
In a small glass prep bowl, whisk together the remaining 2 tbsp light soy sauce, 1 tsp dark soy sauce, 2 tbsp chilli garlic sauce, 1 tsp white vinegar, 1 tsp sugar, 120ml chicken stock, remaining 1 tsp cornstarch, 1/4 tsp black pepper, and 1/4 tsp salt until completely smooth, with no cornstarch lumps remaining.
Step 5
step5:Prepare Gravy Base
6

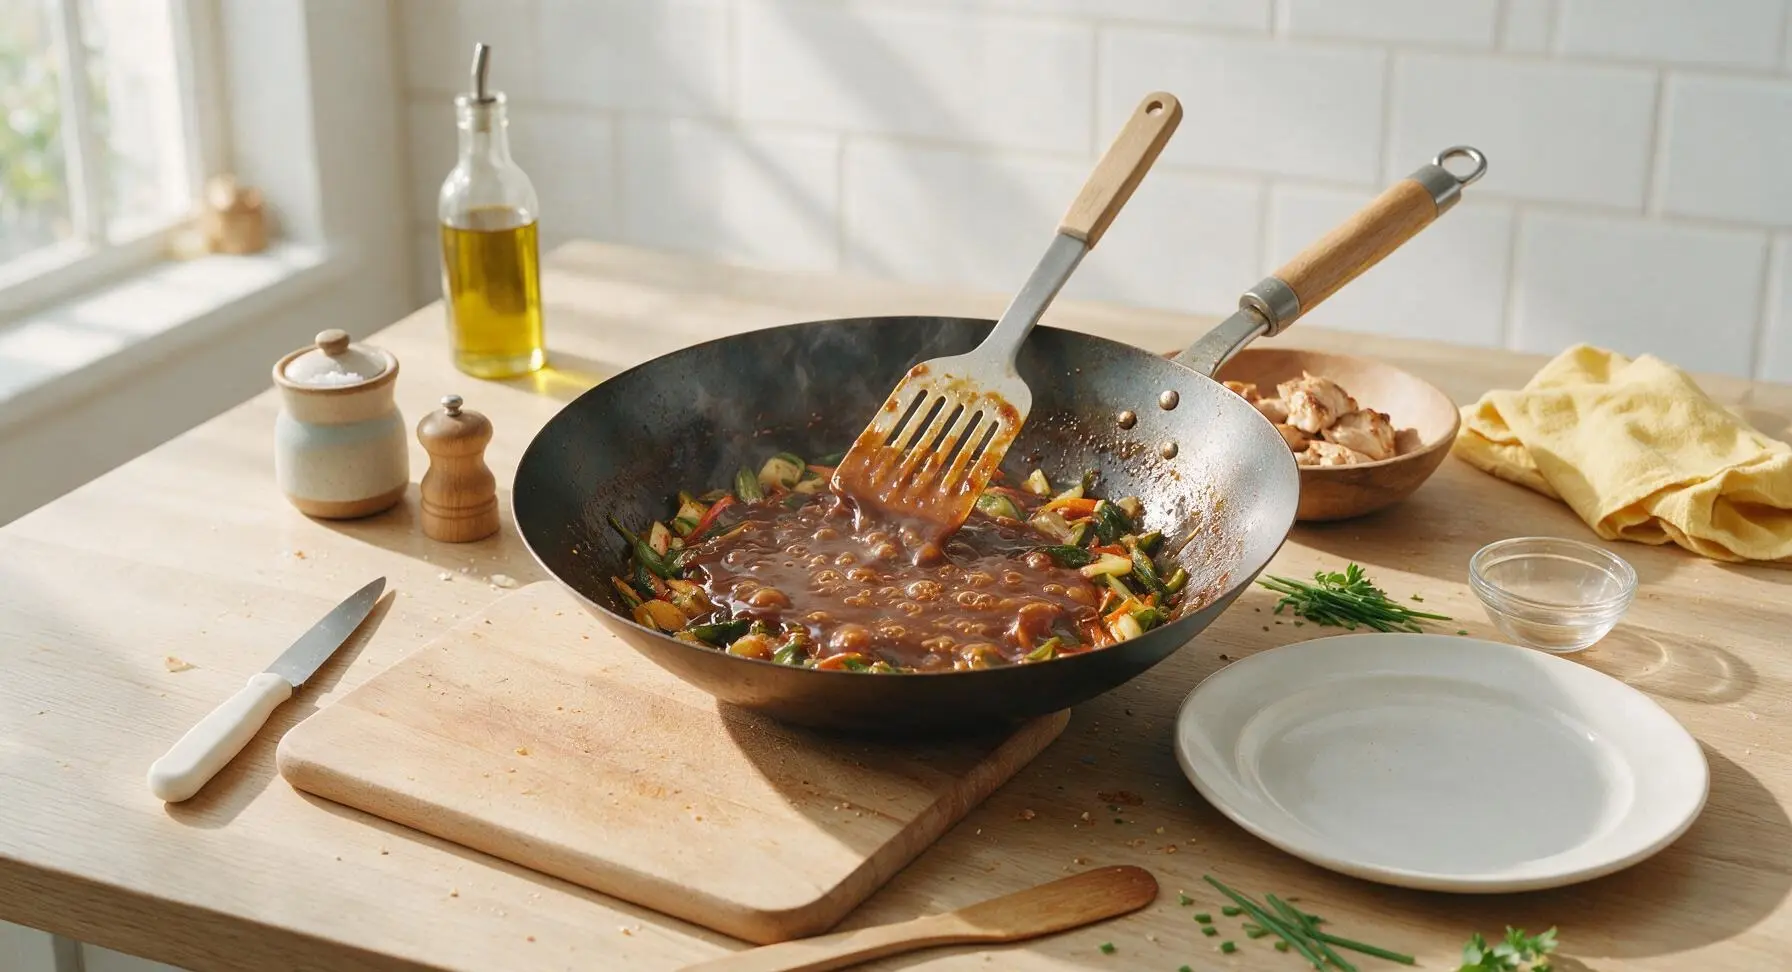
Simmer Thick Gravy

Pour the mixed gravy sauce into the wok with the sautéed vegetables. Bring to a gentle simmer, stirring constantly, for 1-2 minutes, until the sauce thickens to a smooth, coating consistency that lightly coats the back of the spatula.
Step 6
step6:Simmer Thick Gravy
7

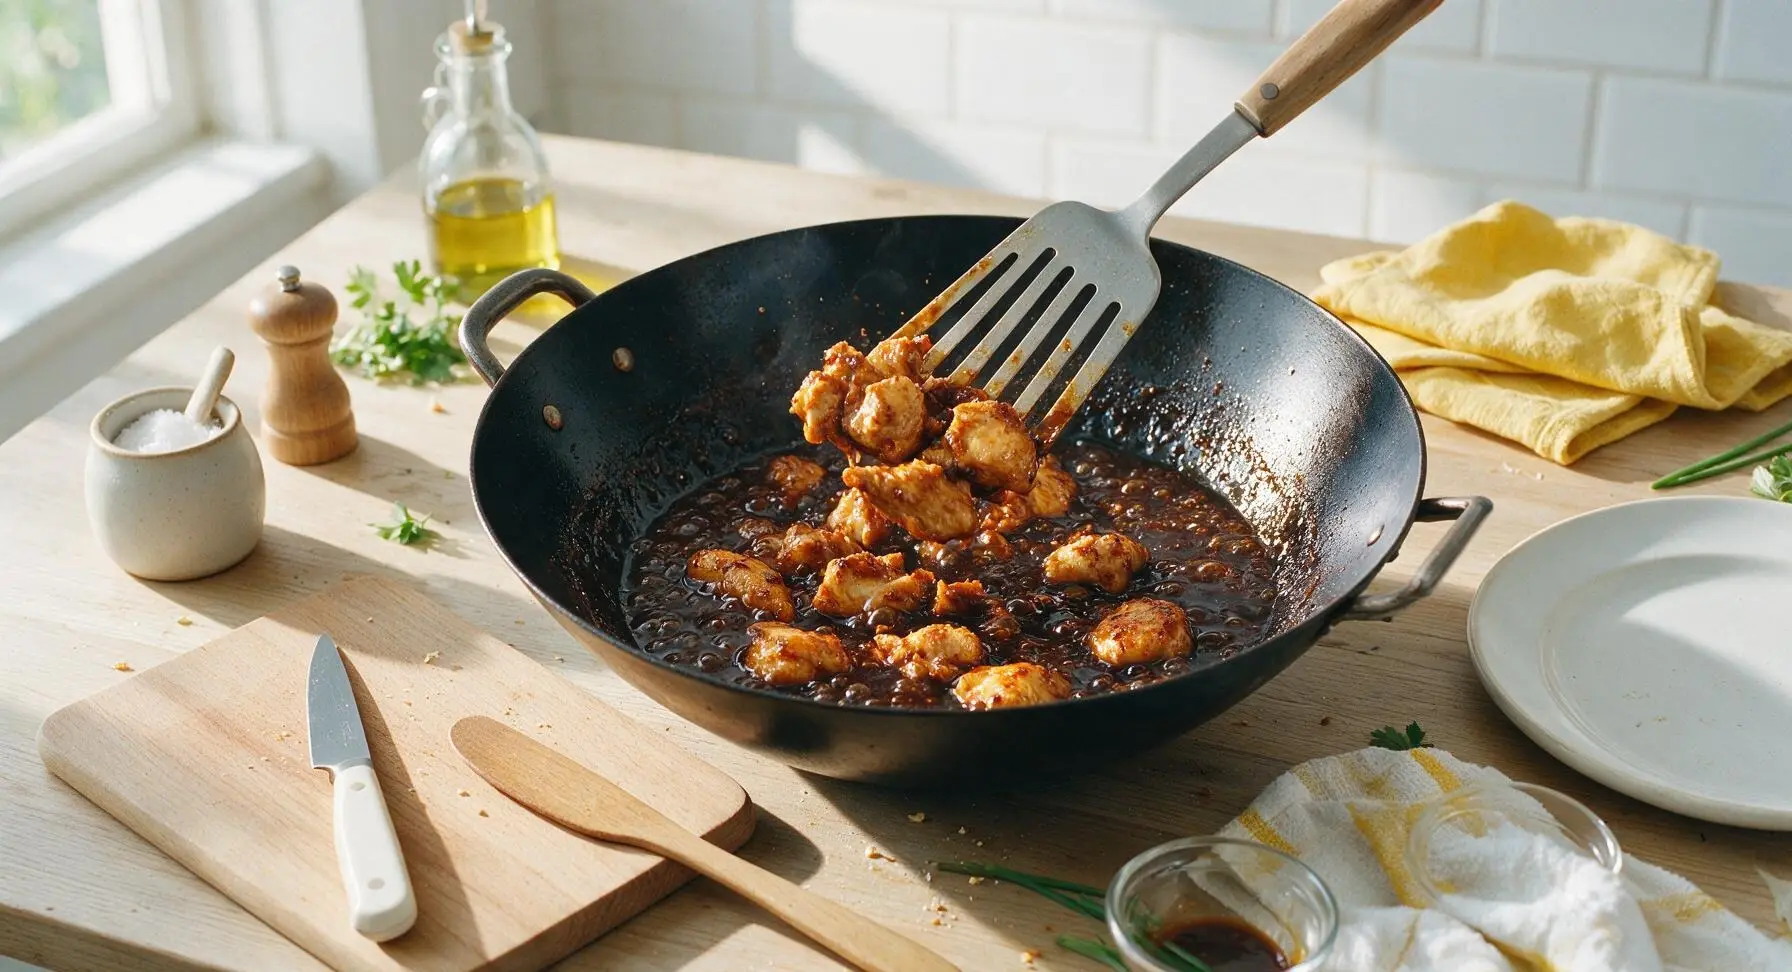
Toss Chicken in Gravy

Add the previously seared chicken chunks back into the wok with the thickened gravy. Toss continuously for 1-2 minutes, until every chicken piece is evenly coated in the glossy gravy, and the chicken is fully cooked through (internal temp 75C/165F).
Step 7
step7:Toss Chicken in Gravy
8

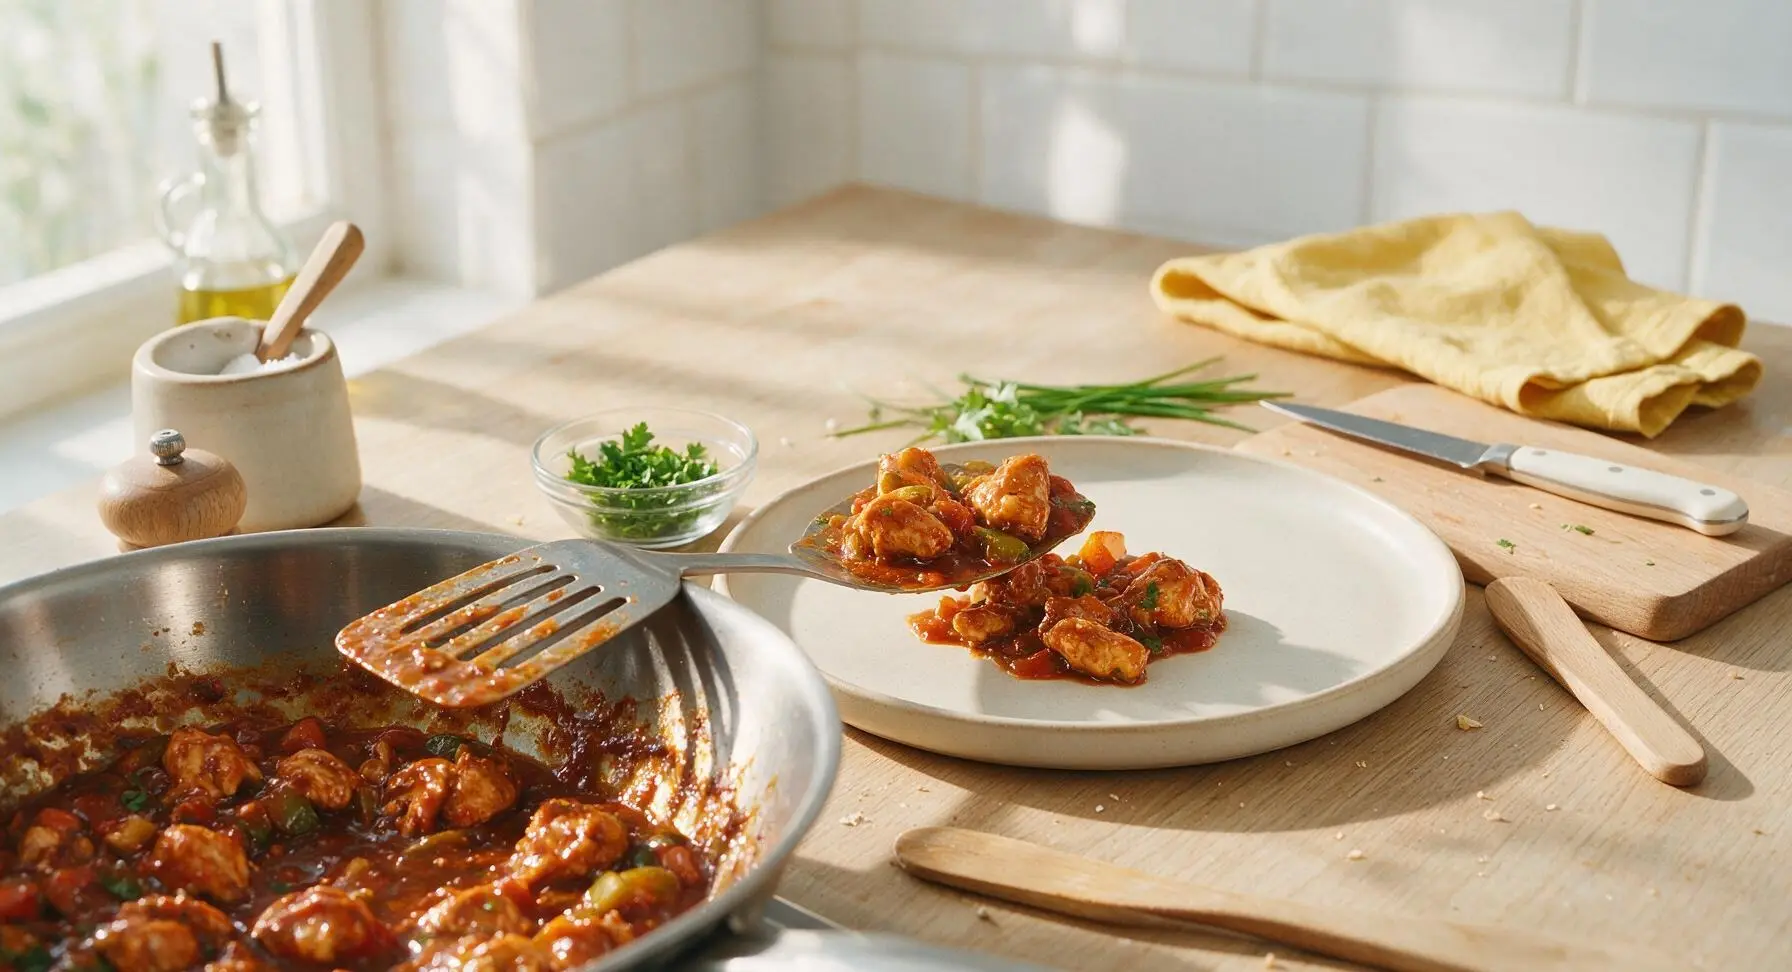
Garnish and Plate

Turn off the heat. Transfer the chilli chicken gravy to the waiting matte off-white ceramic dinner plate. Sprinkle the top with freshly chopped coriander for a bright, fresh garnish. Serve hot alongside steamed rice or hakka noodles.
Step 8
step8:Garnish and Plate

Tips

1.Use boneless skinless chicken thighs instead of breast for this recipe: thighs stay juicy and tender even after high-heat searing and simmering in gravy, whereas breast meat easily dries out and becomes tough with this cooking method.
2.Avoid crowding the wok when searing chicken: overcrowding drops the oil temperature rapidly, causing the cornstarch coating to turn soggy instead of crisp. Cook in two small batches if needed to maintain crispy chicken edges.
3.Keep vegetables crisp-tender: only stir-fry onions and bell peppers for 2 minutes before adding gravy, as overcooked veggies turn mushy and lose their bright, fresh crunch that balances the rich, savory sauce.


✨ You May Also Like

Main Course
🍜 United Kingdom

A showstopping classic of tender seared beef, savory mushroom duxelles, and crisp prosciutto wrapped in flaky golden puff pastry, baked to juicy perfection.

⏱️ 2 hours 1Main Course ★ 4.7
Main Course
🍜 India

Tender charred marinated chicken simmered in a rich, spiced creamy tomato sauce, this iconic Anglo-Indian curry pairs perfectly with basmati rice or warm naan.

⏱️ 50 minuteMain Course ★ 4.6
Main Course
🍜 Thailand

Classic tangy, sweet, and savory Thai stir-fried rice noodles with shrimp, tofu, and crunchy garnishes, balancing all five core Thai flavor profiles.

⏱️ 30 minuteMain Course ★ 4.5
Main Course
🍜 United Kingdom

Crispy golden beer-battered cod and fluffy double-fried chips, served with tangy tartar sauce and malt vinegar: the timeless, beloved British pub comfort classic.

⏱️ 45 minuteMain Course ★ 4.7
Main Course
🍜 Mexico

Smoky, chile-marinated pork tacos with caramelized pineapple, fresh cilantro, and lime: a beloved classic Mexican street food perfect for casual summer gatherings.

⏱️ 1 hour 45Main Course ★ 4.8
Main Course
🍜 United States

Crunchy Fritos corn chips layered with savory beef chili and melted cheddar, topped with cool, zesty fixings for a beloved, cozy Tex-Mex comfort food.

⏱️ 35 minuteMain Course ★ 4.8

chilli chicken gravy:Frequently Asked Questions

1.Why do you recommend boneless skinless chicken thighs instead of chicken breast for this recipe? ▾
Boneless, skinless chicken thighs are ideal here because they stay juicy and tender even after the initial crisp-fry step and quick toss in hot gravy, unlike lean chicken breast which easily turns rubbery. Their subtle, rich savory flavor also pairs perfectly with bold soy-chili notes, and they hold the cornstarch-flour coating really well for that signature crisp exterior that doesn’t turn mushy fast.
2.Can I skip the all-purpose flour and only use cornstarch to coat the chicken? ▾
I don’t recommend it. A 2:1 mix of cornstarch to all-purpose flour creates a lighter, shatteringly crisp crust that holds up way better when tossed in hot gravy, rather than getting soggy within minutes. Using only cornstarch creates a harder, more brittle coating that tends to slide off the chicken once it hits sauce, so that small amount of flour makes a huge difference in final texture.
3.What’s the difference between light and dark soy sauce here, and can I just use one? ▾
They serve totally separate purposes! Light soy sauce adds the salty, umami base for the gravy without making it murky, while dark soy sauce adds a deep, warm caramel note and that signature rich brown color the dish is known for. If you only have one, use light soy and add a tiny pinch of brown sugar and drop of molasses to mimic dark soy’s depth, though the flavor won’t be quite as authentic.
4.How do I keep the chicken crispy even after adding it to the gravy? ▾
Two simple tricks make all the difference: First, double-fry your coated chicken chunks—fry once at 325°F to cook through, then a 30-second second fry at 375°F right before making the gravy to lock in crispness. Second, toss the crispy chicken into the hot gravy right before serving instead of letting it simmer for minutes, so the crust doesn’t have time to absorb too much liquid and turn mushy.
5.My chilli chicken gravy turned out too thin—how do I fix that quickly? ▾
If your gravy is runny, make a quick slurry by mixing 1 teaspoon of cornstarch with 2 teaspoons of cold water, then stir it into the simmering gravy a little at a time until it reaches a glossy, thick consistency that coats the back of a spoon. Never dump dry cornstarch straight into hot gravy, though—it will clump up immediately and leave you with lumpy, uneven sauce.
6.Can I make this chilli chicken less spicy for kids or people who don’t tolerate heat well? ▾
Absolutely! To dial back the heat, seed and devein any fresh chili peppers you use, cut the amount of chili sauce in half, and skip dried chili flakes entirely. You can add a tiny extra splash of unseasoned rice vinegar and a pinch of white sugar to keep that signature tangy-savory balance, and it will still taste like classic chilli chicken without the harsh burn that’s too much for sensitive palates.
7.Do I have to deep-fry the chicken, or can I make this with less oil? ▾
You don’t have to deep-fry at all! For a lighter version, toss your cornstarch and flour-coated chicken chunks with 1 tablespoon of neutral oil, then air-fry them at 380°F for 12 to 15 minutes, flipping halfway, until golden and crisp. You can also pan-fry them in ¼ inch of oil in a heavy skillet, turning to crisp all sides—just don’t overcrowd the pan, which will make the chicken steam instead of crisp.
8.Why are bell peppers and onions the standard veggies for this dish, instead of other options? ▾
Bell peppers and onions are classic for this Indo-Chinese favorite for two key reasons: First, they hold their texture beautifully when stir-fried over high heat, staying crisp-tender instead of turning soft and mushy. Second, their bright, sweet, slightly sharp flavor cuts through the rich, salty soy gravy and balances chili heat, so every bite feels balanced instead of heavy. You can add broccoli or snap peas for extra veg, but those two are core to the traditional profile.
9.Why does my chicken coating fall off when I fry it, instead of sticking? ▾
This almost always happens for one of two reasons: Either your chicken chunks were too wet when you tossed them in the cornstarch-flour mix, or your oil wasn’t hot enough when you added the chicken. Pat chicken completely dry with paper towels before coating, and make sure your oil holds a steady 325°F before adding batches, so the coating sets immediately instead of sliding off.
10.How should I store leftovers, and how do I reheat them without soggy chicken? ▾
Store fully cooled leftovers in an airtight container in the fridge for up to 3 days. When reheating, skip the microwave, which will turn the crispy coating mushy—instead, spread the chicken and veggies on a baking sheet and warm in a 375°F oven for 8 to 10 minutes until the chicken crisps back up, heat extra gravy separately on the stovetop, and toss together right before eating for the best texture.
11.Can I adjust this recipe to be gluten-free? ▾
Absolutely, with a couple simple swaps. Replace the all-purpose flour in the chicken coating with an equal amount of fine white rice flour, and swap both light and dark soy sauce for gluten-free tamari, which has the same rich umami depth without any wheat. Double check that any chili sauce or vinegar you add is also certified gluten-free, and the final dish will be nearly identical to the traditional version.

Comments (20)

2 hours ago

OMG this chilli chicken gravy is SO good! Threw it together last minute for weeknight dinner and my whole family devoured it. Even my super picky 7 year old asked for seconds! The 20 minute cook time is no joke, I had it on the table faster than takeout would’ve arrived.

30 minutes ago

That makes us so happy to hear, Mia! So glad your picky eater approved—nothing beats a quick weeknight win that the whole family loves 😊

3 days ago

Really solid recipe! I added a little extra soy sauce and a pinch of Sichuan peppercorns for an extra kick, turned out amazing. Only note is I wish it was a little thicker out the gate, but a quick cornstarch slurry fixed that right up. Brought it to a neighborhood potluck and people were asking for the recipe all night.

2 days ago

Wait the Sichuan peppercorn add is genius! I’m making this for our next block party, definitely stealing that tweak.

2 days ago

Love that customization, Jake! The cornstarch slurry tip is spot on for folks who prefer a thicker gravy—thanks for sharing that with the community, and so glad it was a potluck hit!

1 week ago

Game changer for my Sunday meal prep! This makes 4 perfect portions, reheats like an absolute dream in the microwave. I pair it with steamed rice and roasted broccoli for my work lunches all week, and I’m not even sick of it by Friday. So easy even a guy who burns toast half the time can pull it off.

yesterday

I’ve tried so many chilli chicken gravy recipes and this one is by far the easiest and tastiest! The balance of sweet, savory, and spicy is perfect, no weird random hard-to-find ingredients needed. I used boneless skinless thighs like I always do for stir fries and it was so juicy.

2 hours ago

Seconding the boneless thigh swap! I did that too and the chicken didn’t get tough at all, way better than breast for this dish.

5 days ago

Tasted great overall but I messed up the chilli amount the first time I made it and it was way too spicy for my kids! I think next time I’ll cut back on the red chilli flakes and add a little extra honey to mellow it out. Cook time was definitely accurate though, super fast to throw together.

3 days ago

I did the exact same thing my first go! 1 tsp of chilli flakes instead of the 2 listed is perfect for little kid taste buds, still has great flavor without the burn.

3 days ago

So glad you enjoyed the flavor even with the extra heat, Jenna! The spice level is totally adjustable—cutting back on chilli flakes and adding a touch more honey is such a great tip for families with young kids, thanks for sharing!

30 minutes ago

Just made this for dinner tonight and wow, it’s restaurant quality! I cannot believe how quick it was, I was convinced I’d need a whole list of special ingredients but I already had everything in my pantry. My roommate is already begging me to make it again next week.

5 minutes ago

That’s the best kind of compliment, Ryan! Love that you didn’t need a special grocery run to make it—pantry staple recipes are our absolute favorite for busy nights.

2 weeks ago

Made this for my office potluck last week and every single bite was gone! People kept coming up to me asking if I ordered it from our local Chinese takeout spot, they couldn’t believe I made it from scratch in 20 minutes. Will absolutely be adding this to my regular rotation.

1 week ago

Made this last night with regular soy sauce at a friend’s house and it was amazing! Has anyone tried making it with gluten free soy sauce? I have a gluten sensitivity and I’m dying to make it at home, I’m worried tamari might change the flavor too much but I’ll give it a shot if it works.

5 days ago

I made it with low sodium tamari last week and you literally cannot tell the difference! Just make sure to adjust the salt a little if you use regular tamari, that’s all.

5 days ago

Great question, Gabe! Tamari works perfectly as a 1:1 swap for regular soy sauce here, it won’t throw off the flavor at all. I’ve tested it with gluten free soy sauce too for family members with celiac and it turns out fantastic!

2 days ago

My kids loved it!!! I served it over crispy chow mein noodles instead of rice for a fun twist and they thought it was the coolest dinner ever. Even got them to eat a side of steamed edamame with it without complaining, total mom win.

yesterday

The crispy chow mein noodle idea is genius! My kids get so bored of plain rice, I’m definitely trying that next time I make this.

2 weeks ago

I swapped the chicken for paneer to make this vegetarian and it was INCREDIBLE. The gravy coats every bite so perfectly, even my meat-loving husband didn’t miss the chicken at all. Such a versatile base recipe!

1 week ago

Oh thank you for sharing this swap! I’ve been looking for a veg version of chilli paneer gravy, I can’t wait to try this with your tweak.

1 week ago

That paneer swap is such a fantastic call, Val! I’m so glad it turned out delicious for you—this gravy really does pair beautifully with all kinds of proteins, from tofu to shrimp too!

just now

Wait a 20 minute cook time? I was skeptical but I timed it and it was actually 18 minutes from when I pulled the chicken out of the fridge to when it was on my plate. Insane. Tastes better than the takeout I wait 45 minutes for, hands down.

just now

We love a time-saving win, Randy! No more waiting around for delivery when the craving hits—so glad you loved it as much as we do.

3 days ago

SO good. The gravy gets even better the next day after the flavors meld together in the fridge, I swear. I had leftovers for lunch today and it was even tastier than it was last night for dinner. 10/10, no notes.

5 days ago

Almost burned the garlic when I was sautéing because I got distracted by my dog barking at the mailman, but even with a slightly toasty garlic edge this was still amazing. Pro tip: don’t walk away from the pan when the garlic is cooking, ha! Will absolutely make again and pay better attention next time.

3 days ago

Literally did the exact same thing last week! My golden retriever started chasing a squirrel past the kitchen window and I totally zoned out, still turned out bomb though.

3 days ago

We’ve all been there, Cara! A slightly toasty garlic note honestly adds a nice little depth of flavor, so I’m glad it still turned out delicious for you. Hope your pup gave you a good review too 😉

1 week ago

If you love extra heat like I do, throw in a couple of chopped fresh Thai chilis with the dried chilli flakes. It gives it that perfect bright, fiery kick that takes this from great to absolutely addictive. I ate two whole servings in one sitting no shame.

5 days ago

Just tried this with the Thai chilis per your recommendation and my mouth is burning (in the best way possible). Thank you for the pro tip, this is now my go-to spicy weeknight meal.

yesterday

Made this for a casual date night in with my partner and they were so impressed they thought I spent hours cooking. Little do they know it took less than half an hour and minimal cleanup. Win win for everyone, especially me because I didn’t have to do a mountain of dishes after.

2 days ago

What do you all usually serve this with? I did plain white rice the first time but I want to mix it up next time I make it, this is too good to only eat with rice!

yesterday

I serve mine over cauliflower rice for a lower carb option and it’s chef’s kiss! The gravy soaks into the cauli rice so well you don’t even miss the white rice.

yesterday

Great question, Sammie! It’s delicious over all kinds of bases—try it with fried rice, noodles, roasted veggies, or even stuffed into warm bao buns if you’re feeling fancy! The options are endless.

2 weeks ago

I used to order chilli chicken gravy from my local takeout spot at least once a week, but now I can make it better at home for a fraction of the cost. I’m never ordering takeout again, this recipe is foolproof.

1 week ago

That’s what we love to hear, Tyler! Restaurant quality at home for less money and less wait time is the ultimate goal. So glad this is now a staple for you!

1 week ago

I made a double batch and froze half of it for those crazy busy weeknights when I don’t have time to cook at all. Thawed and reheated perfectly, the gravy didn’t separate or get weird at all. This recipe is a meal prep dream come true.

3 days ago

This was my first time ever cooking anything in a wok and it turned out so much better than I thought it would! I was worried I’d mess it up but the steps are so straightforward, even a total wok newbie like me nailed it on the first try. Only thing I’d change is adding a little more vinegar next time for extra tang.

2 days ago

Same! I just got a wok for my birthday and this was the first recipe I tested out too, total success. The extra vinegar tip sounds amazing, I’m going to try that next time too.

30 minutes ago

Why did I wait so long to make this??? I saw this recipe pop up last week and kept putting it off, now I’m kicking myself for not making it sooner. The flavor is out of this world, I’m already planning to make it again this weekend for my friend who’s coming to visit. 10/10 no notes.



