
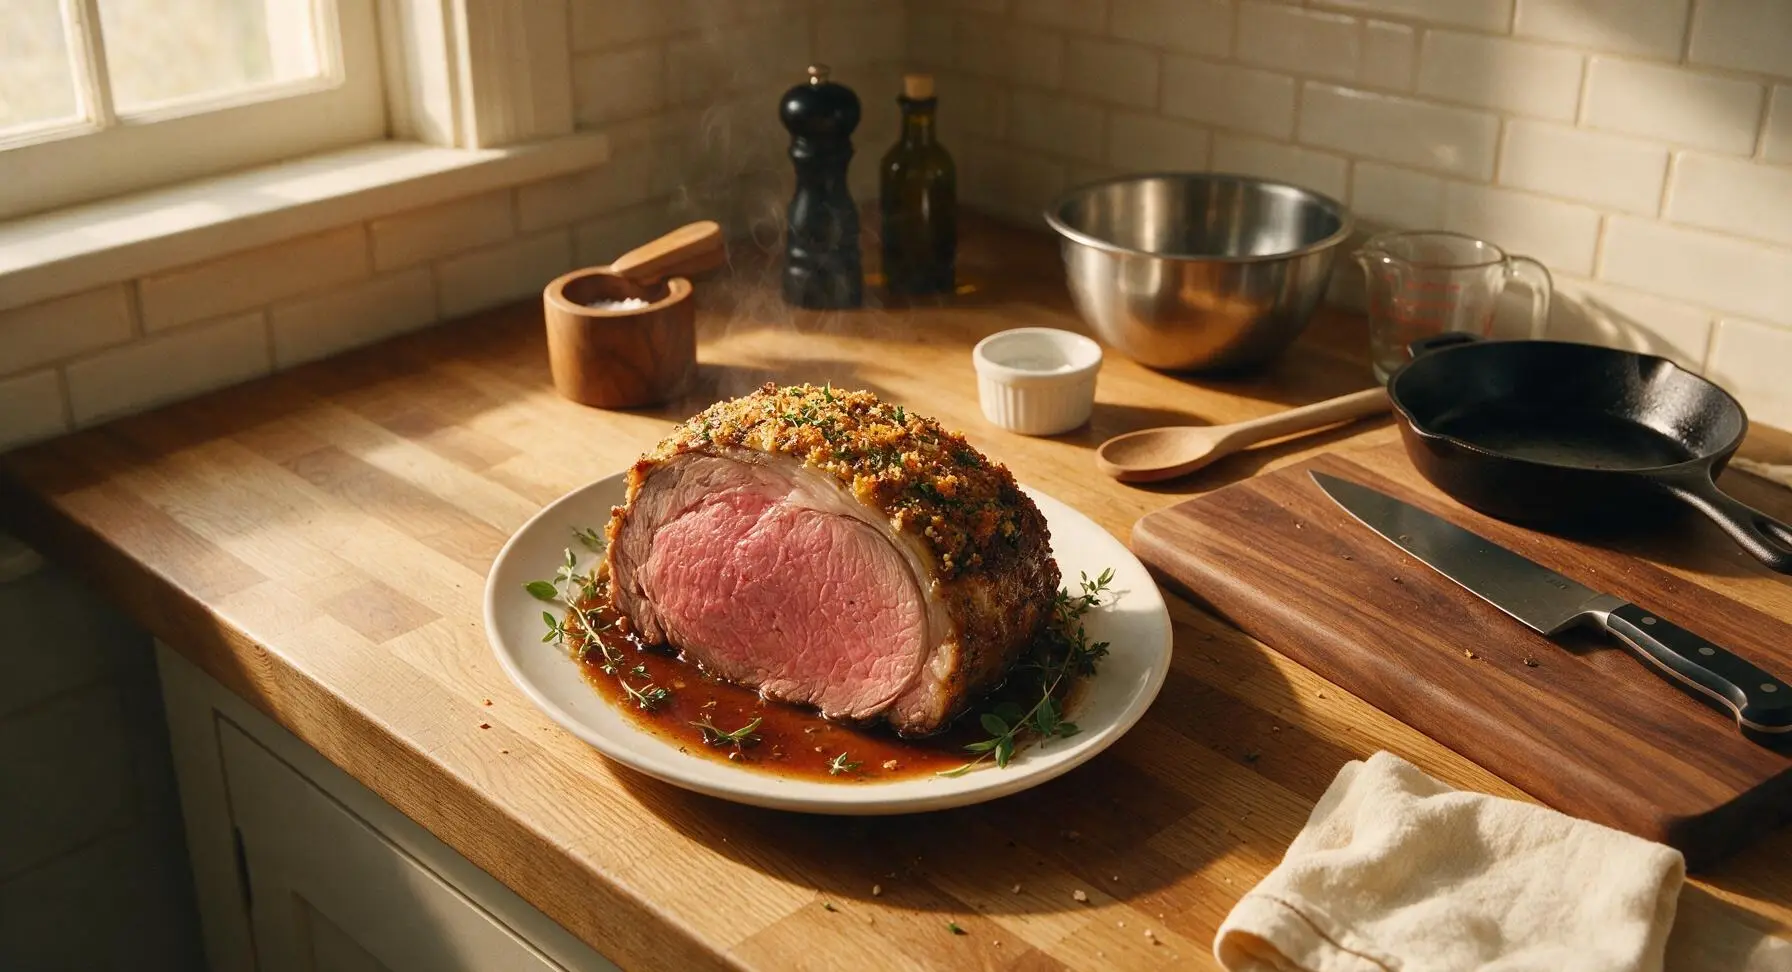
Classic Roast Beef

title 1
Classic Roast Beef
⏱️ cook time 1 hour 15 minutes
🍽️ servings 6
⚡ Difficulty medium

intro

Tender, juicy medium-rare roast beef with a crisp herb crust and rich pan jus, the iconic centerpiece of a cozy Sunday family dinner.

Ingredients
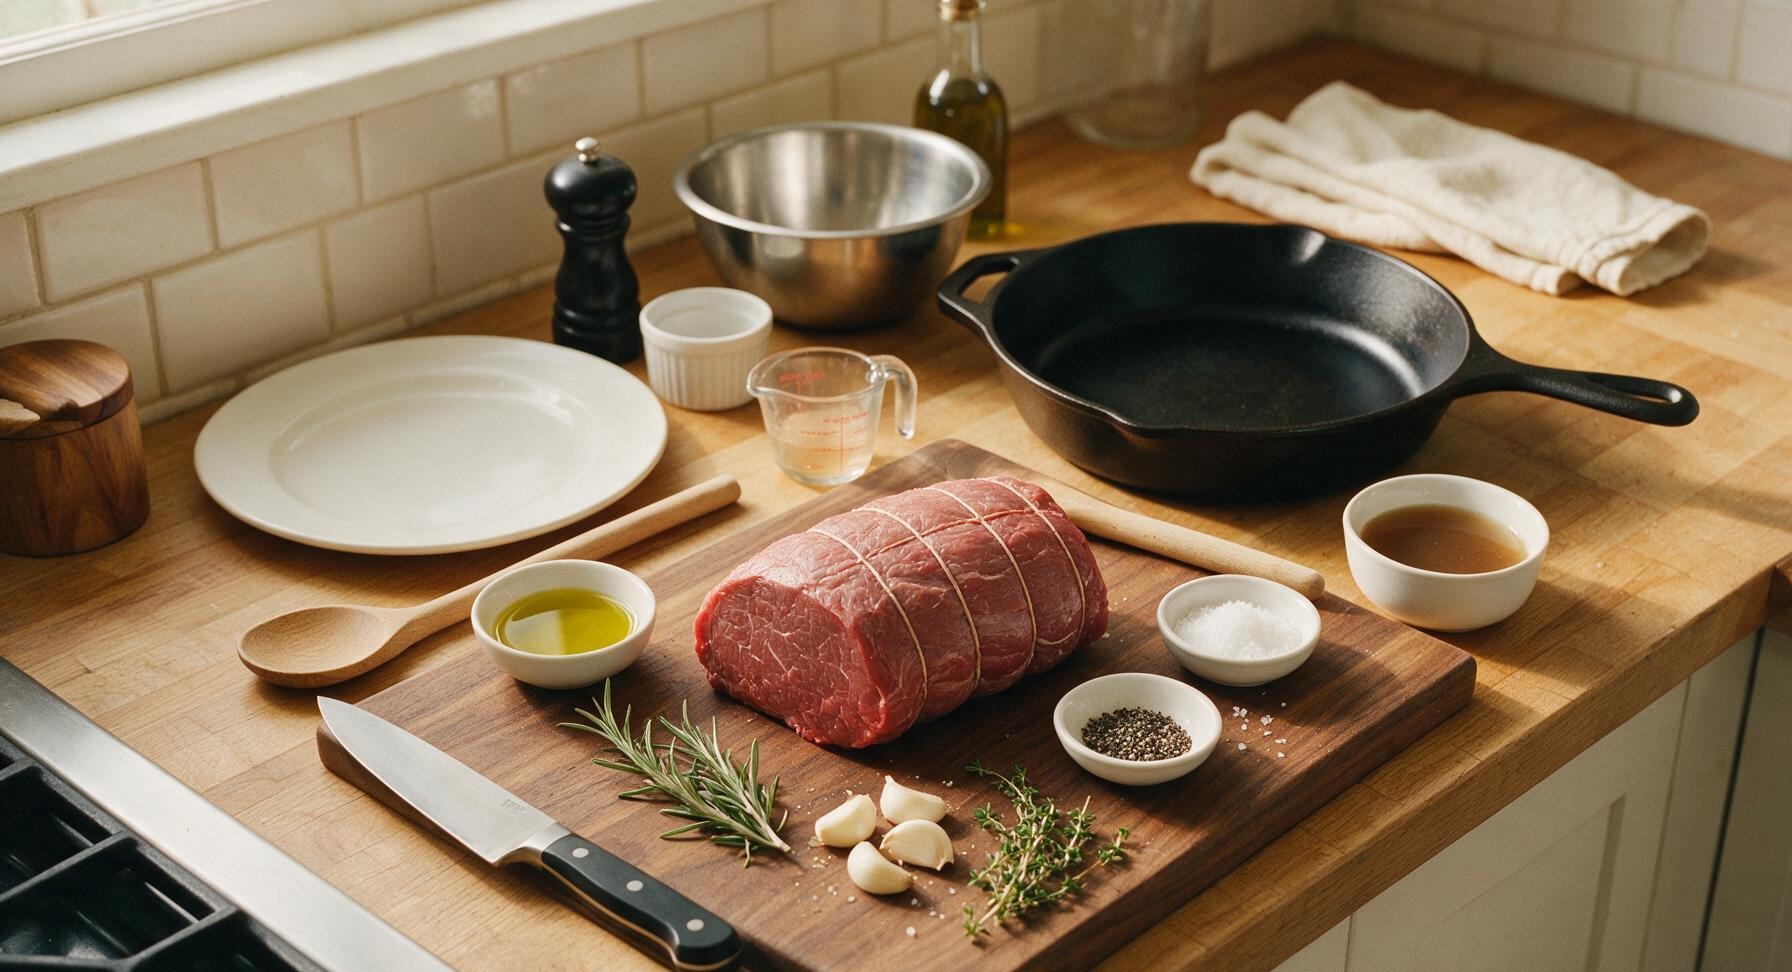
Boneless tied beef top round roast 1.5kg (3.3lb)
Extra virgin olive oil 2 tablespoons
Coarse kosher salt 2 tablespoons
Freshly cracked black pepper 1 tablespoon
Garlic cloves, crushed 4 whole
Fresh rosemary 3 sprigs
Fresh thyme 4 sprigs
Low-sodium beef broth 120ml (1/2 cup)

Steps

1

Bring Beef to Room Temp

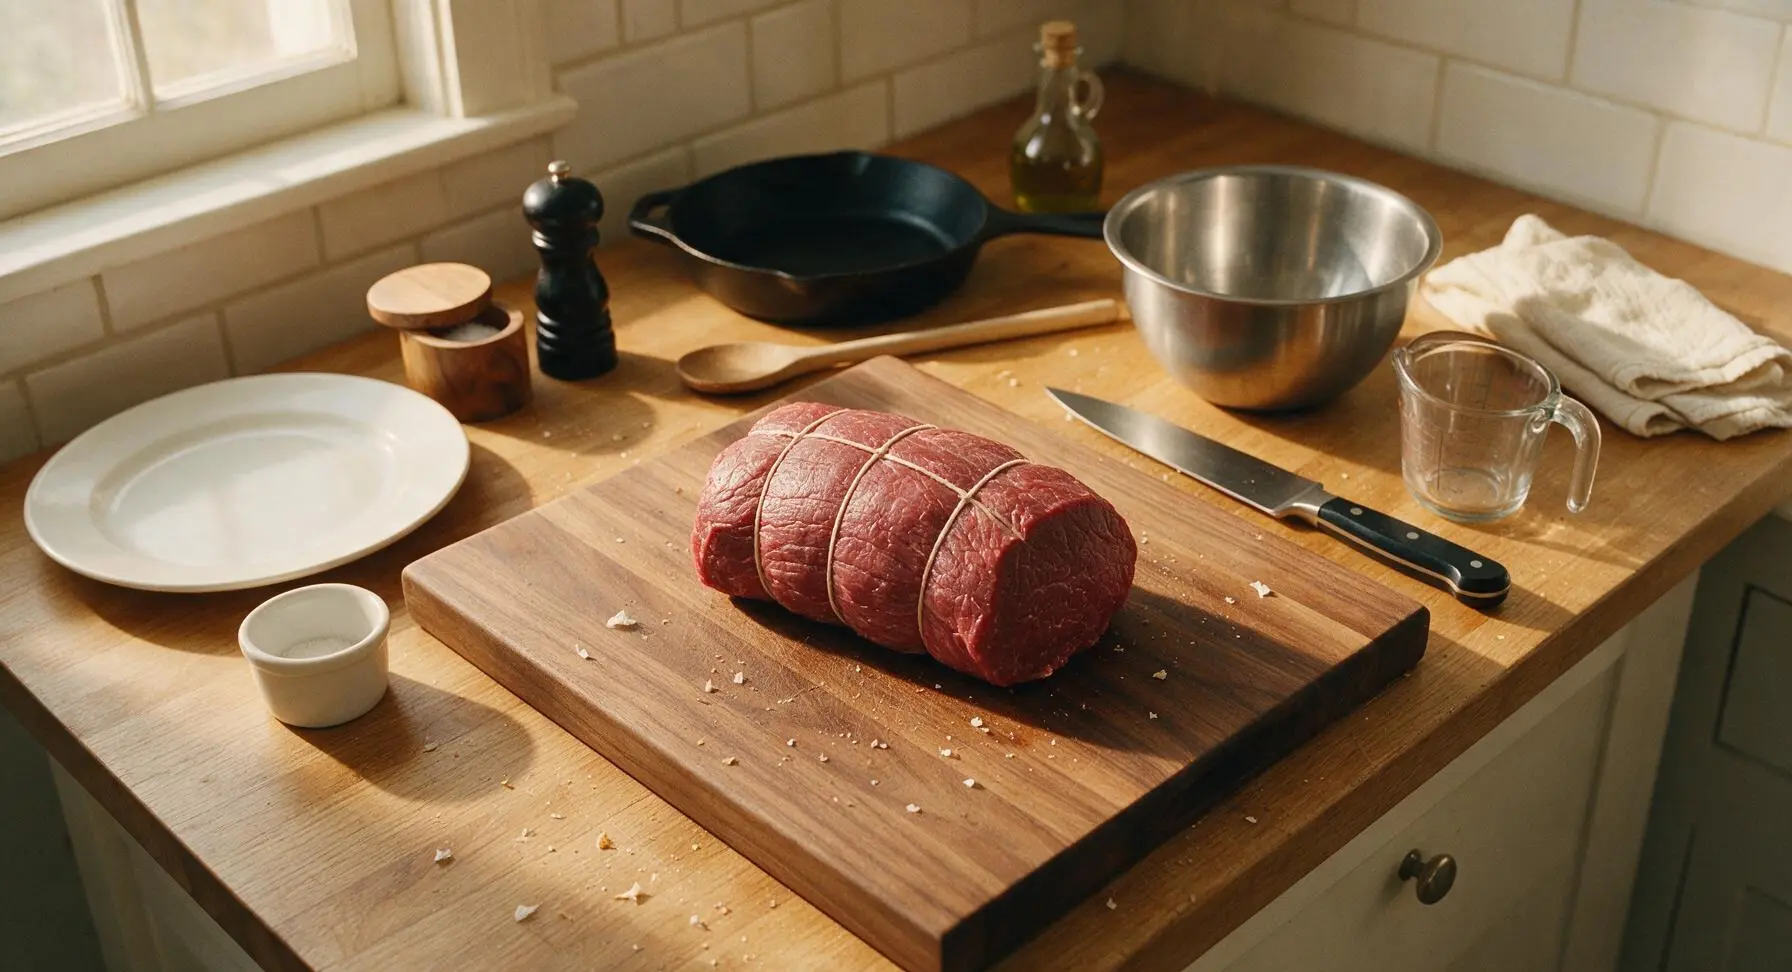
Remove the tied 1.5kg beef top round roast from the refrigerator 1 hour before cooking, placing it on the walnut cutting board. Allowing the meat to reach 20°C (68°F) room temperature ensures even cooking, preventing a thick overcooked outer layer while the center remains cold. Pat the entire surface of the roast completely dry with paper towels, until no surface moisture transfers to your finger when you touch the meat.
Step 1
step1:Bring Beef to Room Temp
2

Season Roast Generously

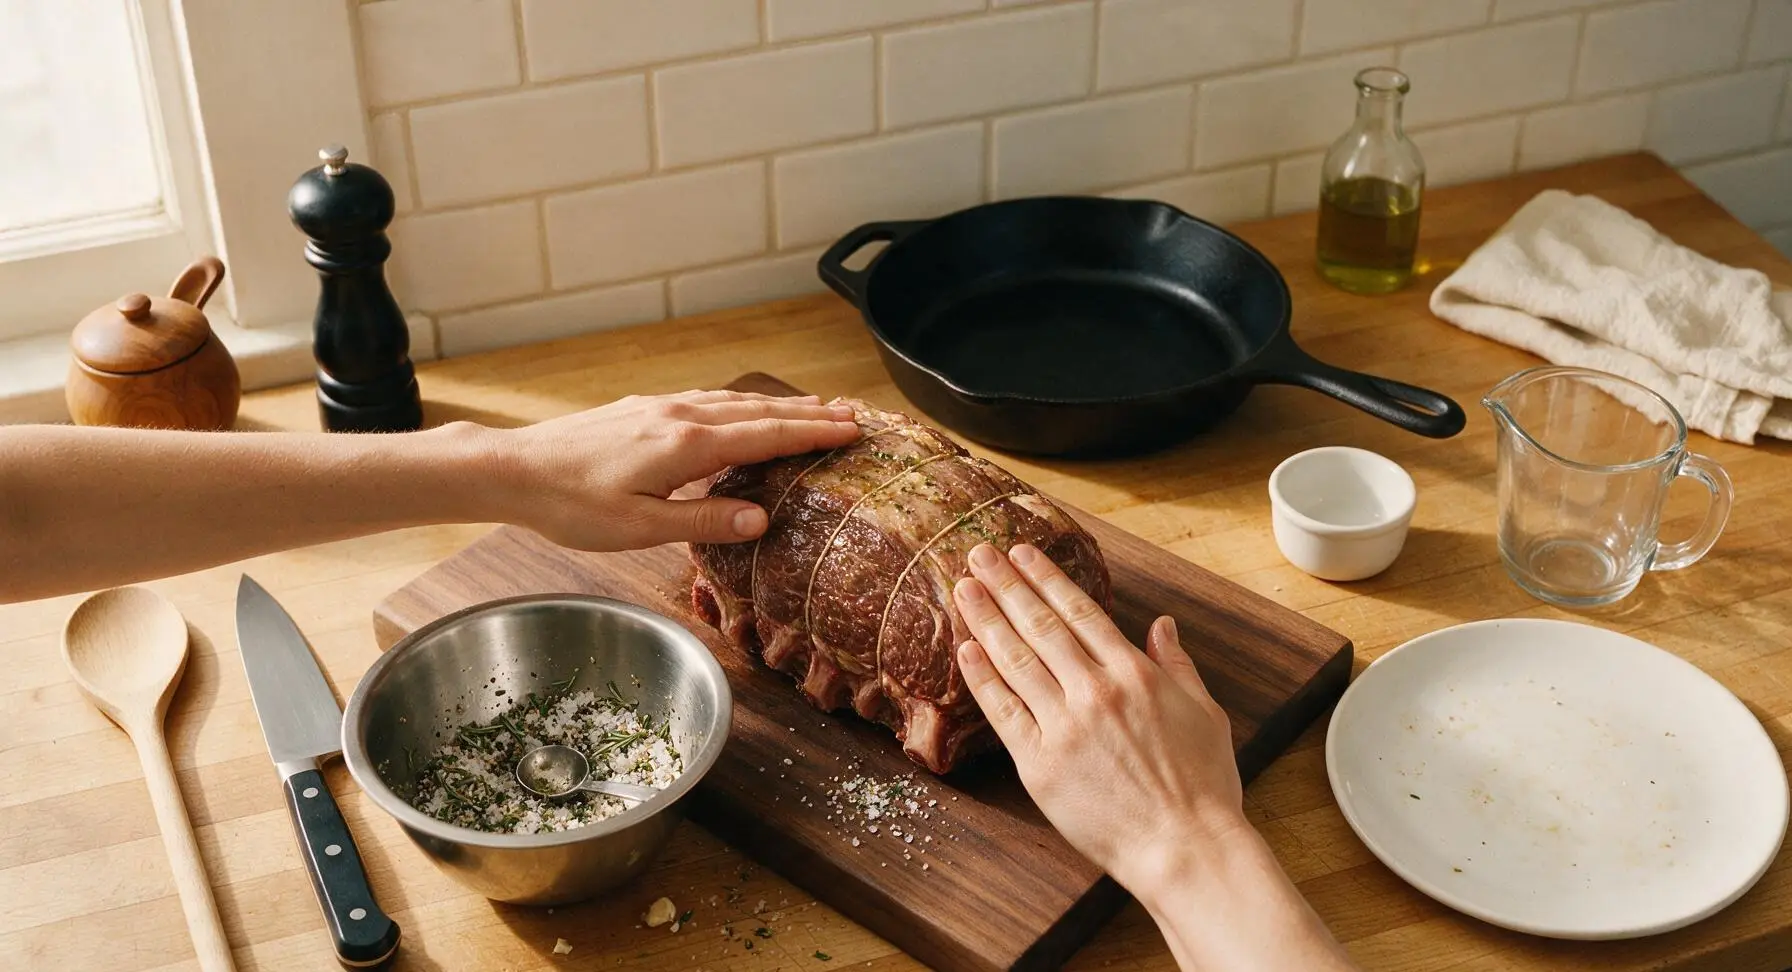
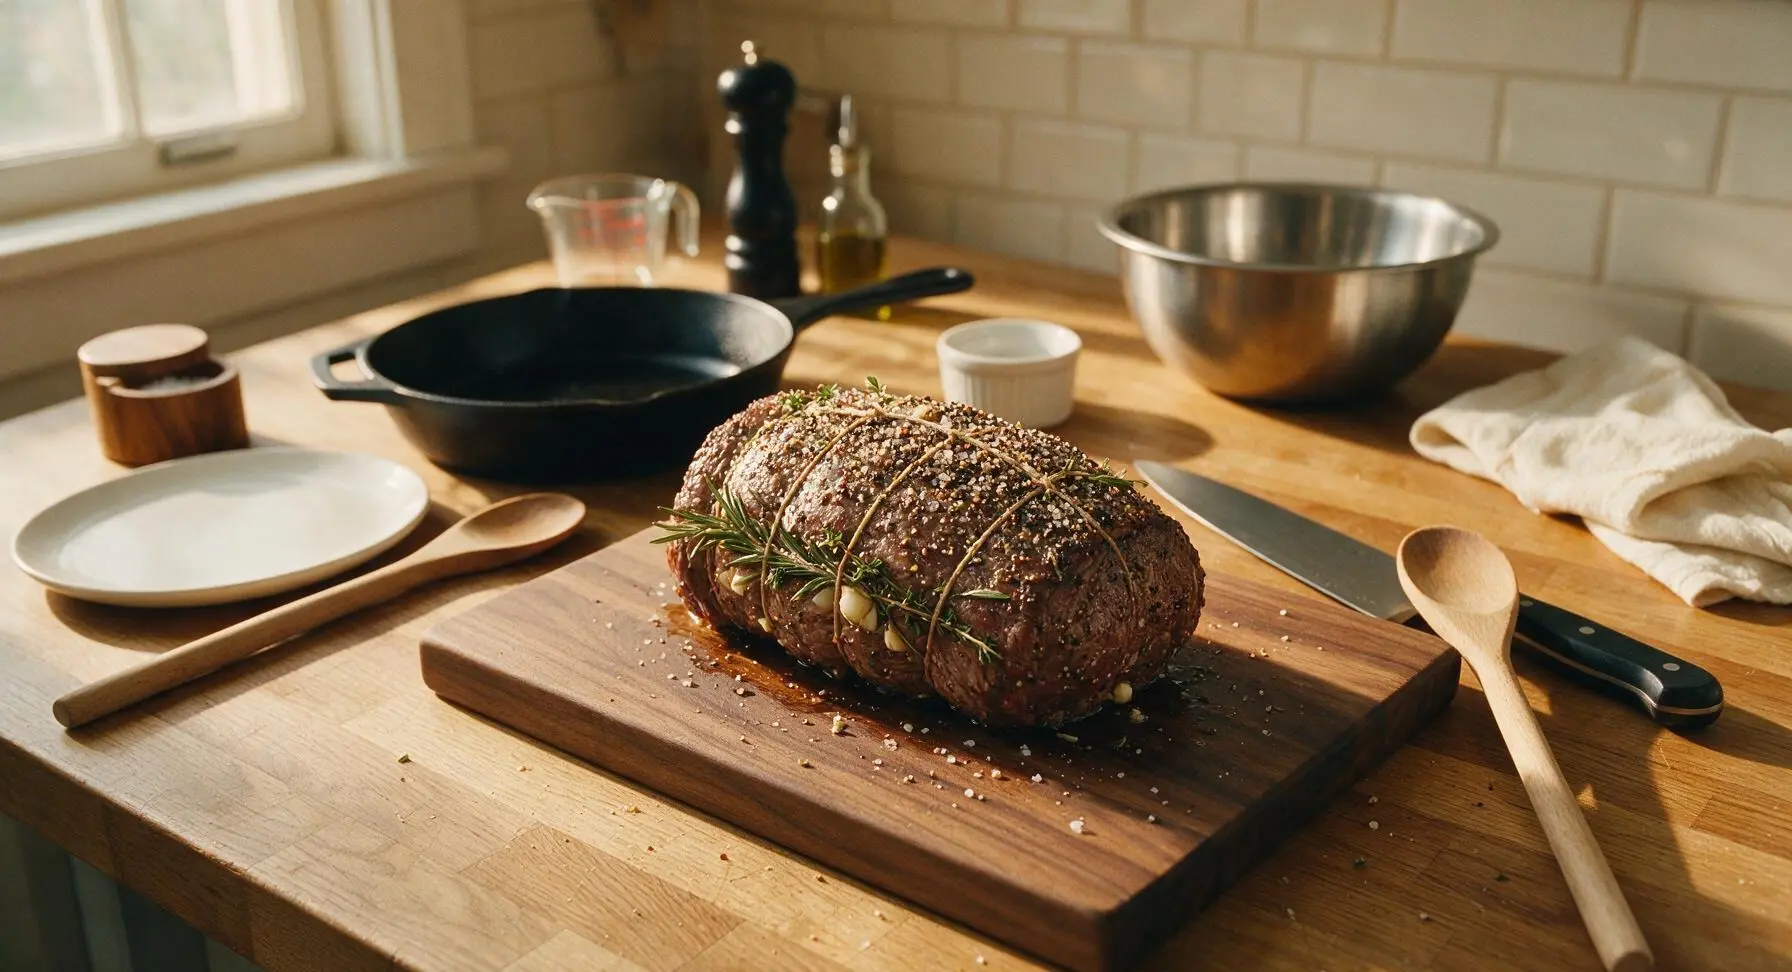
Drizzle 2 tablespoons of extra virgin olive oil over the entire roast, rubbing it into every surface with clean hands to create an adhesive base for seasoning. In the medium stainless steel mixing bowl, combine 2 tablespoons coarse kosher salt, 1 tablespoon freshly cracked black pepper, and leaves stripped from 1 rosemary sprig and 2 thyme sprigs. Press the seasoning mix firmly into all sides of the beef (including the cut ends) to create a thick, even coating. Tuck the remaining whole herb sprigs and crushed garlic cloves under the twine holding the roast together.
Step 2
step2:Season Roast Generously
Step 2
step2:Season Roast Generously
3

Sear All Roast Sides

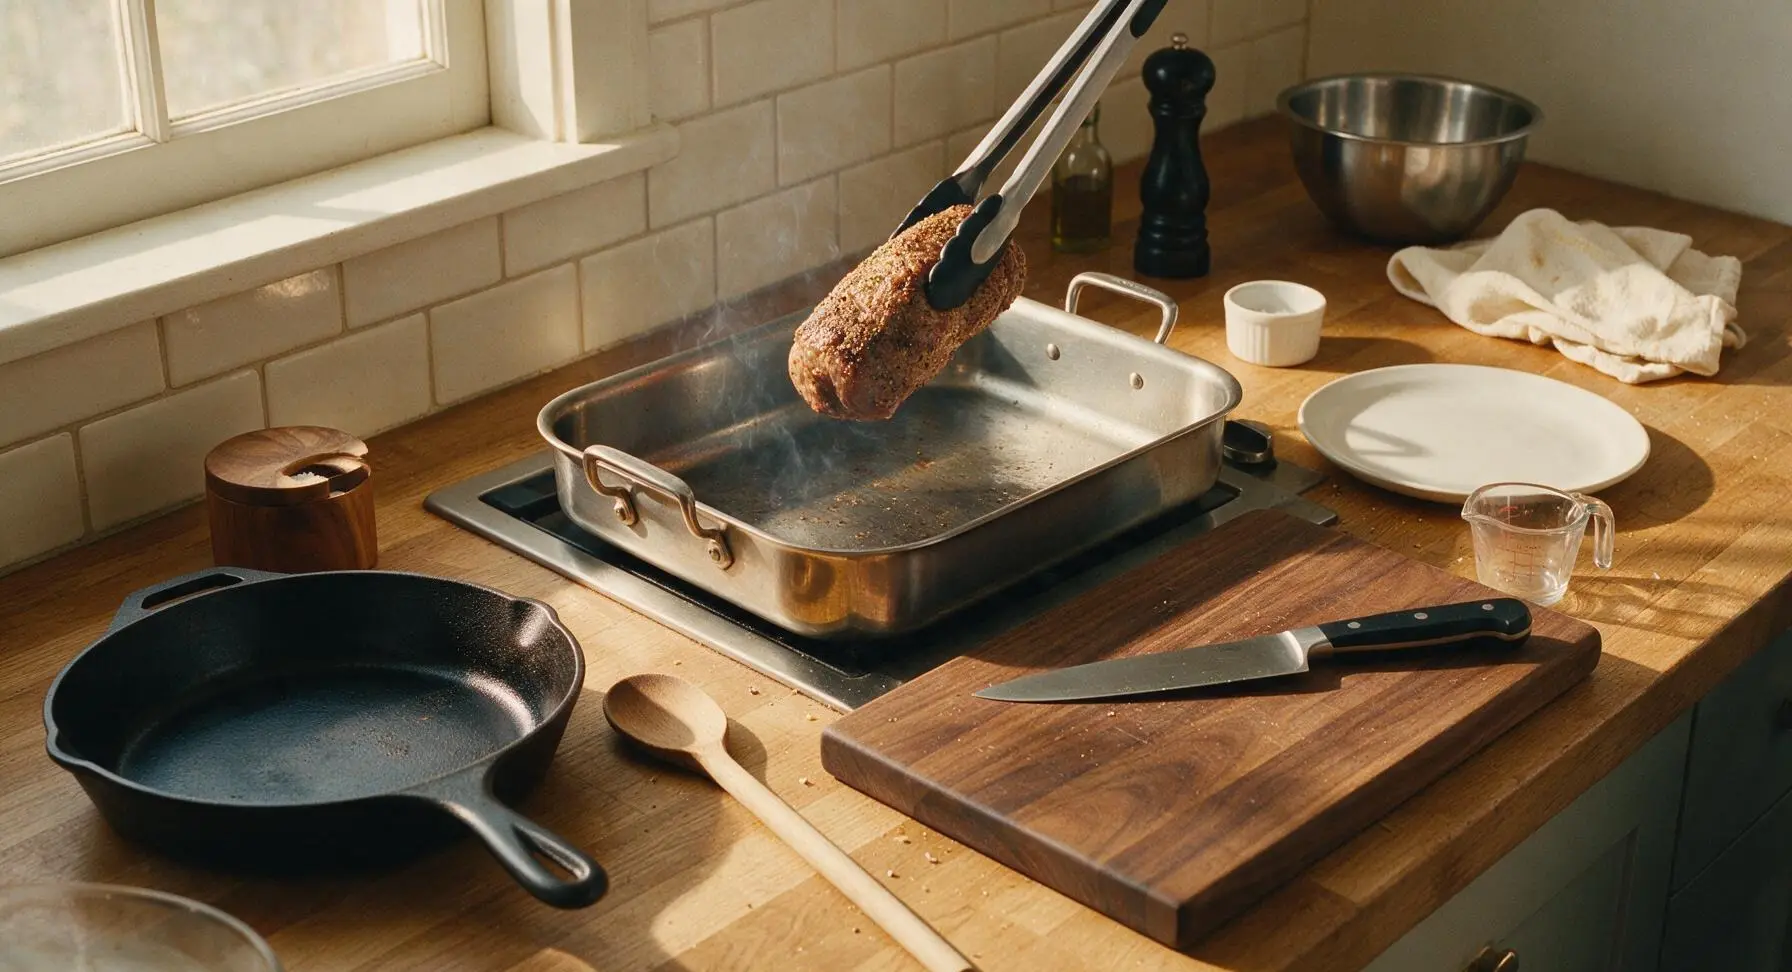
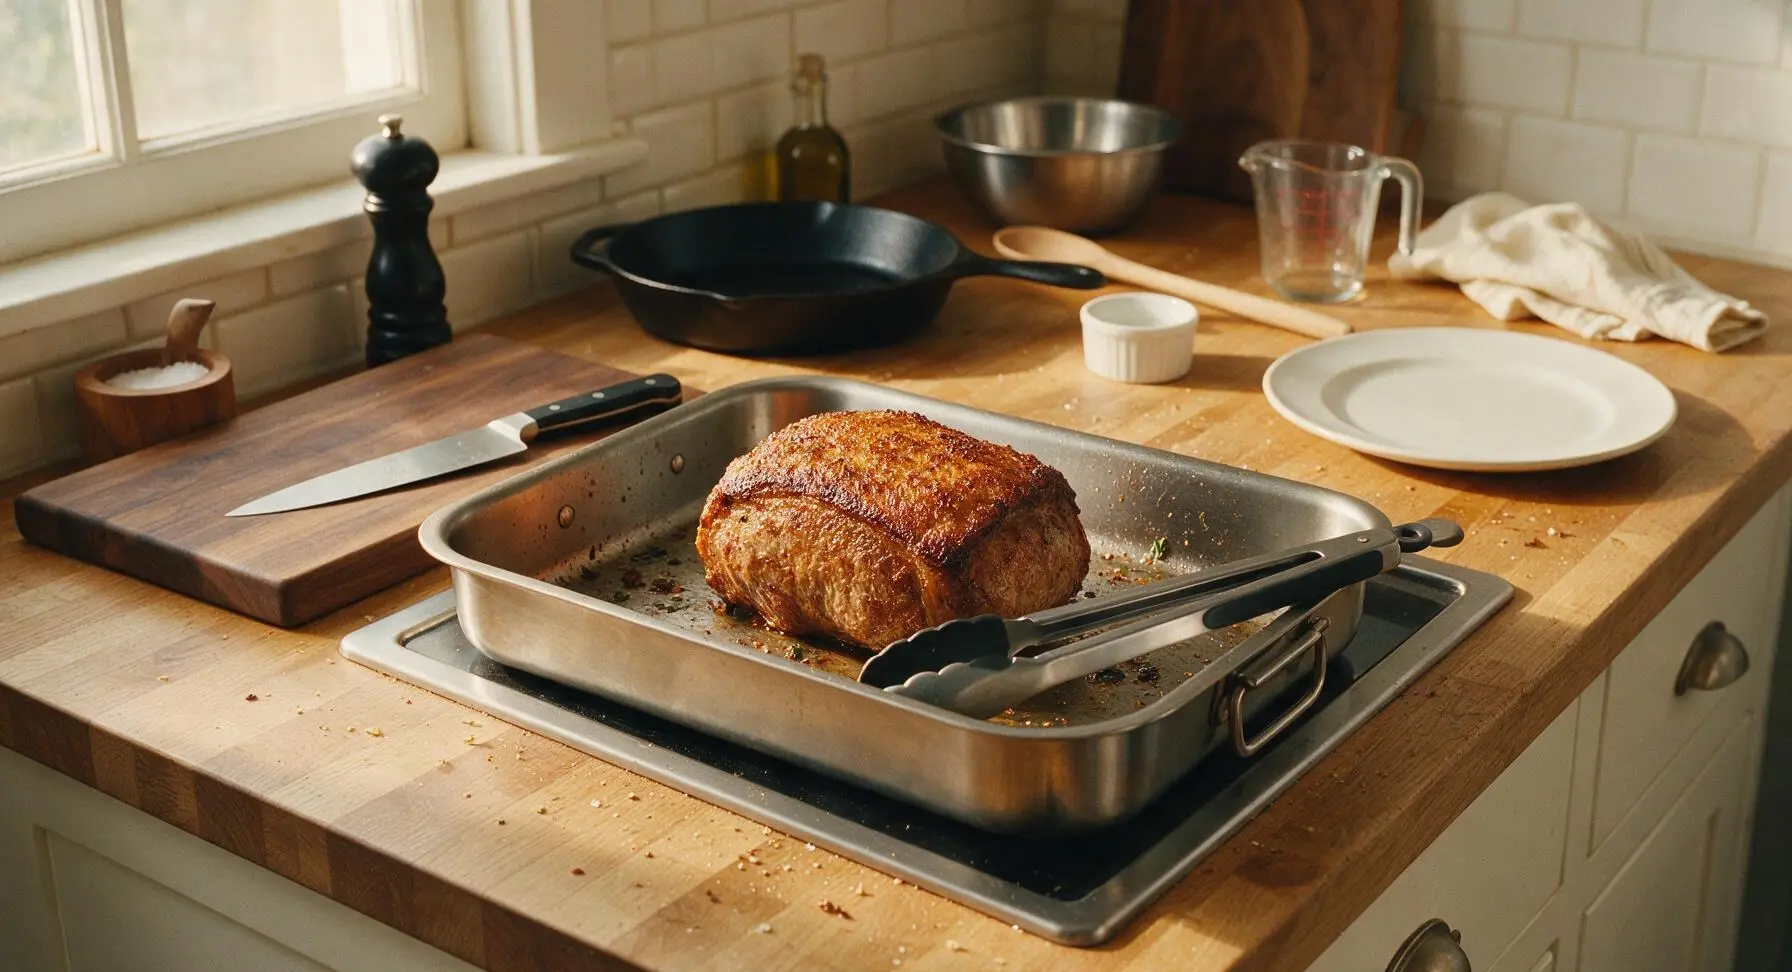
Place the heavy-gauge stainless steel roasting pan on the inset stovetop over medium-high heat, and preheat your oven to 220°C (425°F). Once the pan is very hot (a drop of water will bead, skitter, and evaporate in 1 second when dropped on the surface), use the silicone-tipped tongs to set the seasoned roast in the pan. Sear for 2-3 minutes per side, including both cut ends, until a deep golden-brown, crisp crust forms on every surface, with no pale un-seared patches remaining.
Step 3
step3:Sear All Roast Sides
Step 3
step3:Sear All Roast Sides
4

Roast to Target Temp

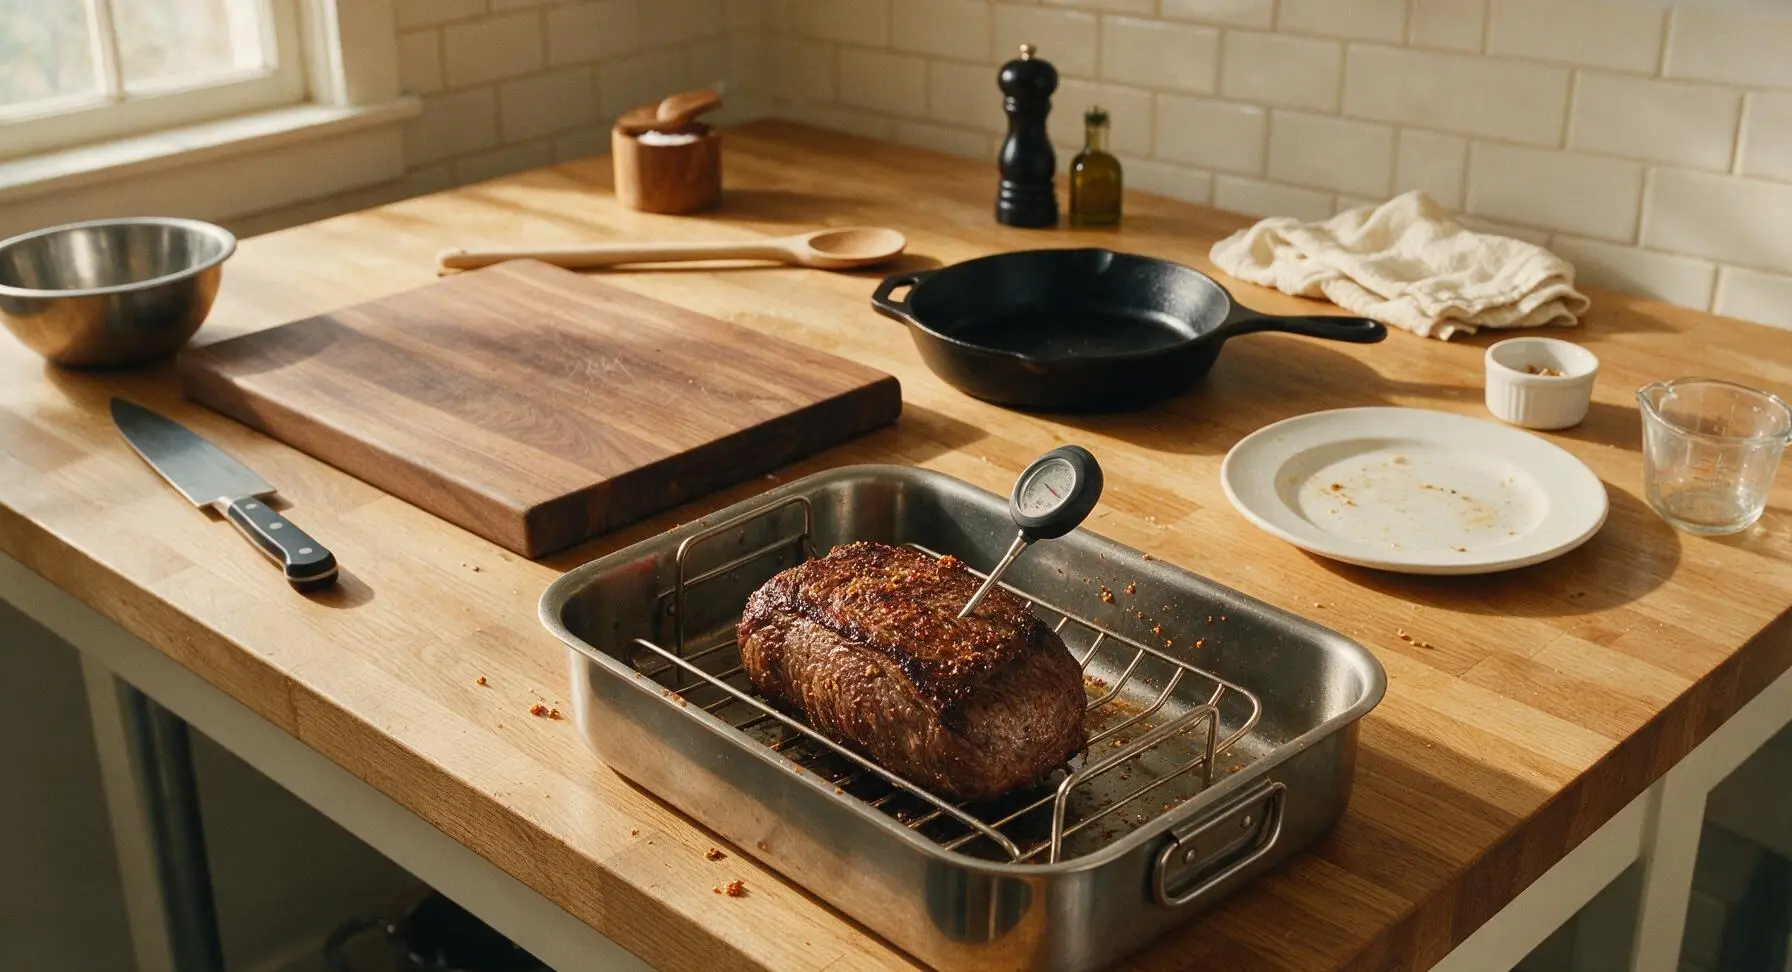
Once seared, set the roast on the raised rack insert inside the roasting pan. Insert the instant-read meat thermometer into the thickest part of the roast, taking care not to let the probe touch fat or the metal pan. Place the pan in the preheated 220°C (425°F) oven and roast for 15 minutes to set the crust, then reduce the oven temperature to 175°C (350°F). Continue roasting for 45-55 minutes, until the thermometer reads 57°C (135°F) for medium-rare; the temperature will rise 5-7°C during resting to reach a perfect 63°C (145°F) medium-rare final doneness. Avoid opening the oven door for the first 30 minutes of cooking to maintain consistent heat.
Step 4
step4:Roast to Target Temp
5

Rest Roast Loosely Tented

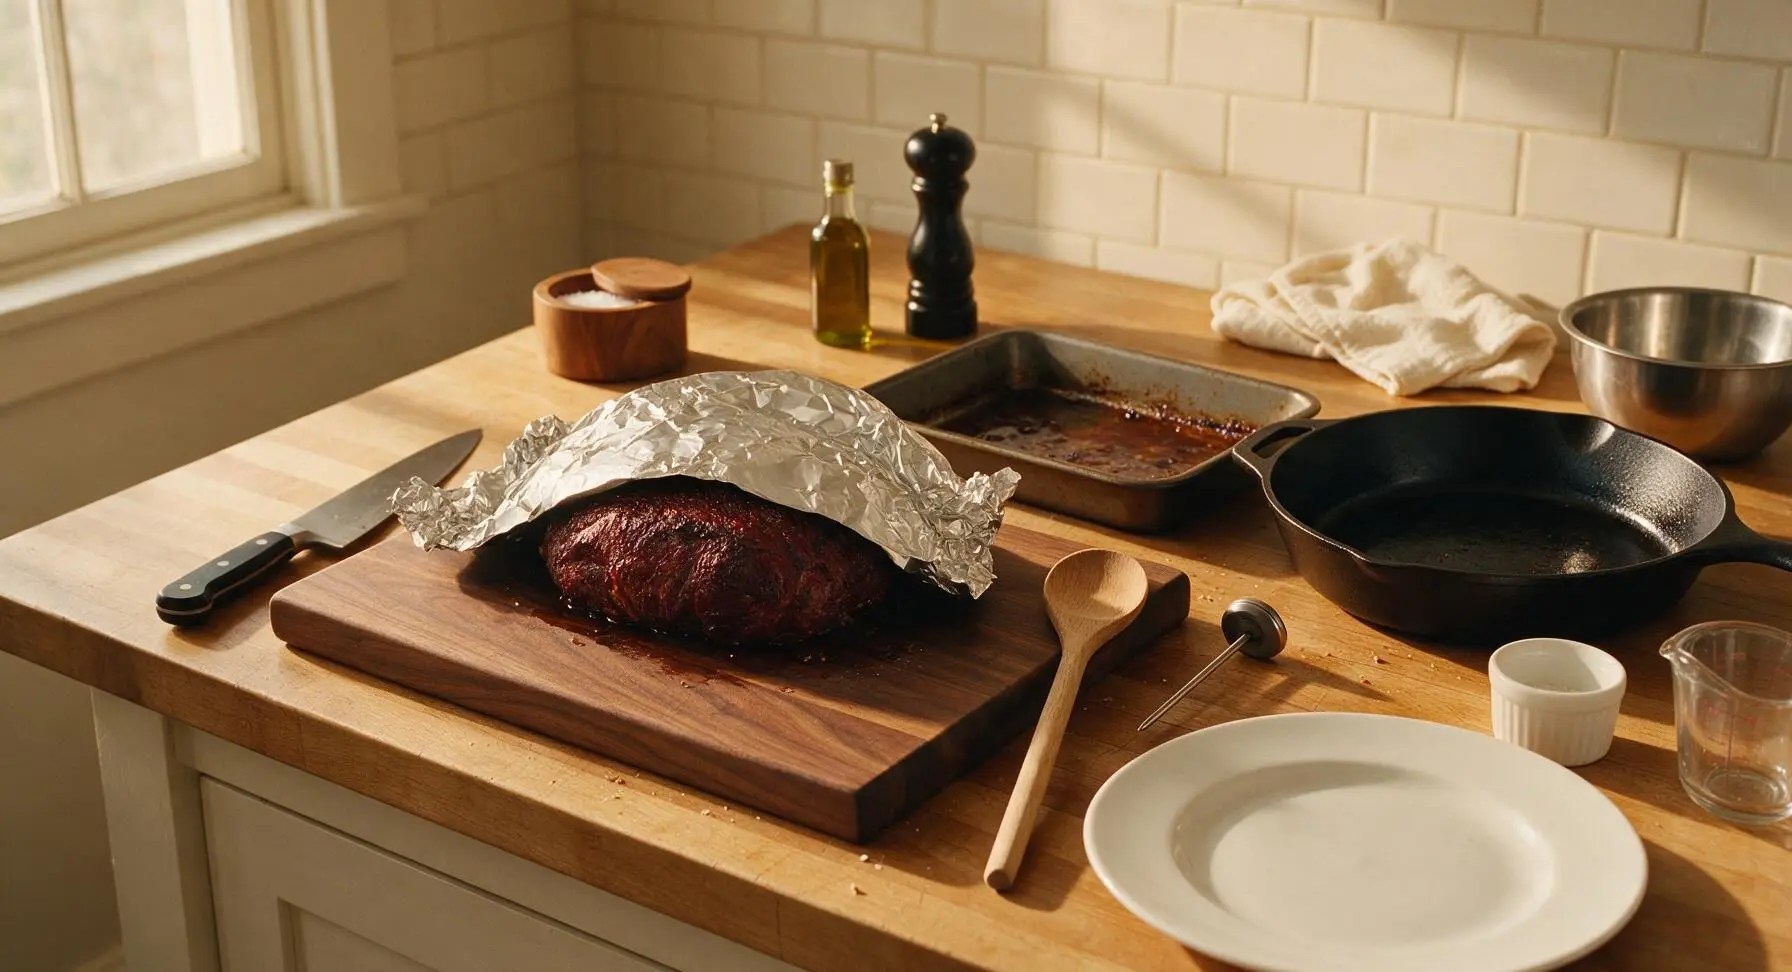
When the roast reaches the target internal temperature, use the tongs to carefully lift it from the roasting pan and transfer it back to the walnut cutting board. Loosely tent the roast with a sheet of heavy-duty aluminum foil (do not wrap it tightly, as this will steam the crust and make it soggy), and let it rest for a full 25-30 minutes before slicing. Resting allows the tight, hot muscle fibers to relax and reabsorb juices, ensuring every slice is juicy rather than having all liquid run out onto the cutting board.
Step 5
step5:Rest Roast Loosely Tented
6

Make Simple Pan Jus

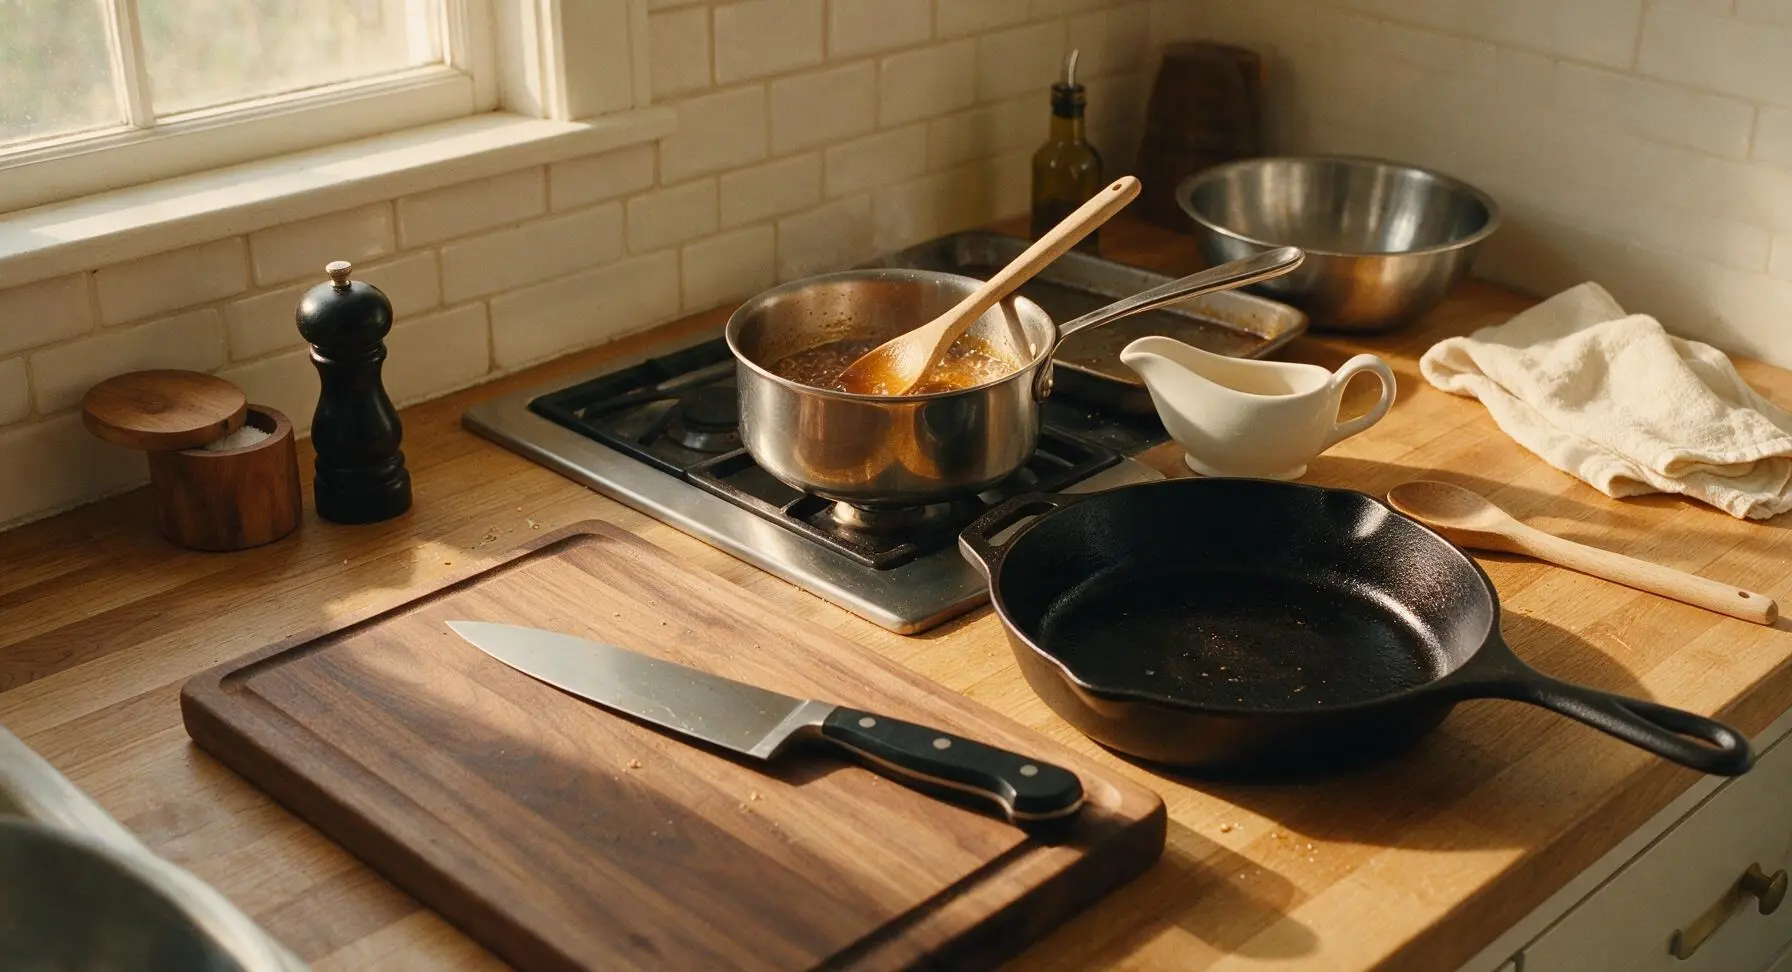
While the roast rests, place the small stainless steel saucepan on the inset stovetop over medium heat. Scrape all browned fond bits and drippings from the roasting pan into the saucepan, add 120ml (1/2 cup) low-sodium beef broth, and bring to a gentle simmer. Cook for 5 minutes, stirring constantly with the beech wood spoon to scrape up all browned bits, until the liquid reduces by one third to a deep amber, flavorful jus. Season lightly with a pinch of salt and pepper if needed, then pour into the matte white ceramic gravy boat.
Step 6
step6:Make Simple Pan Jus
7

Slice Thinly and Serve

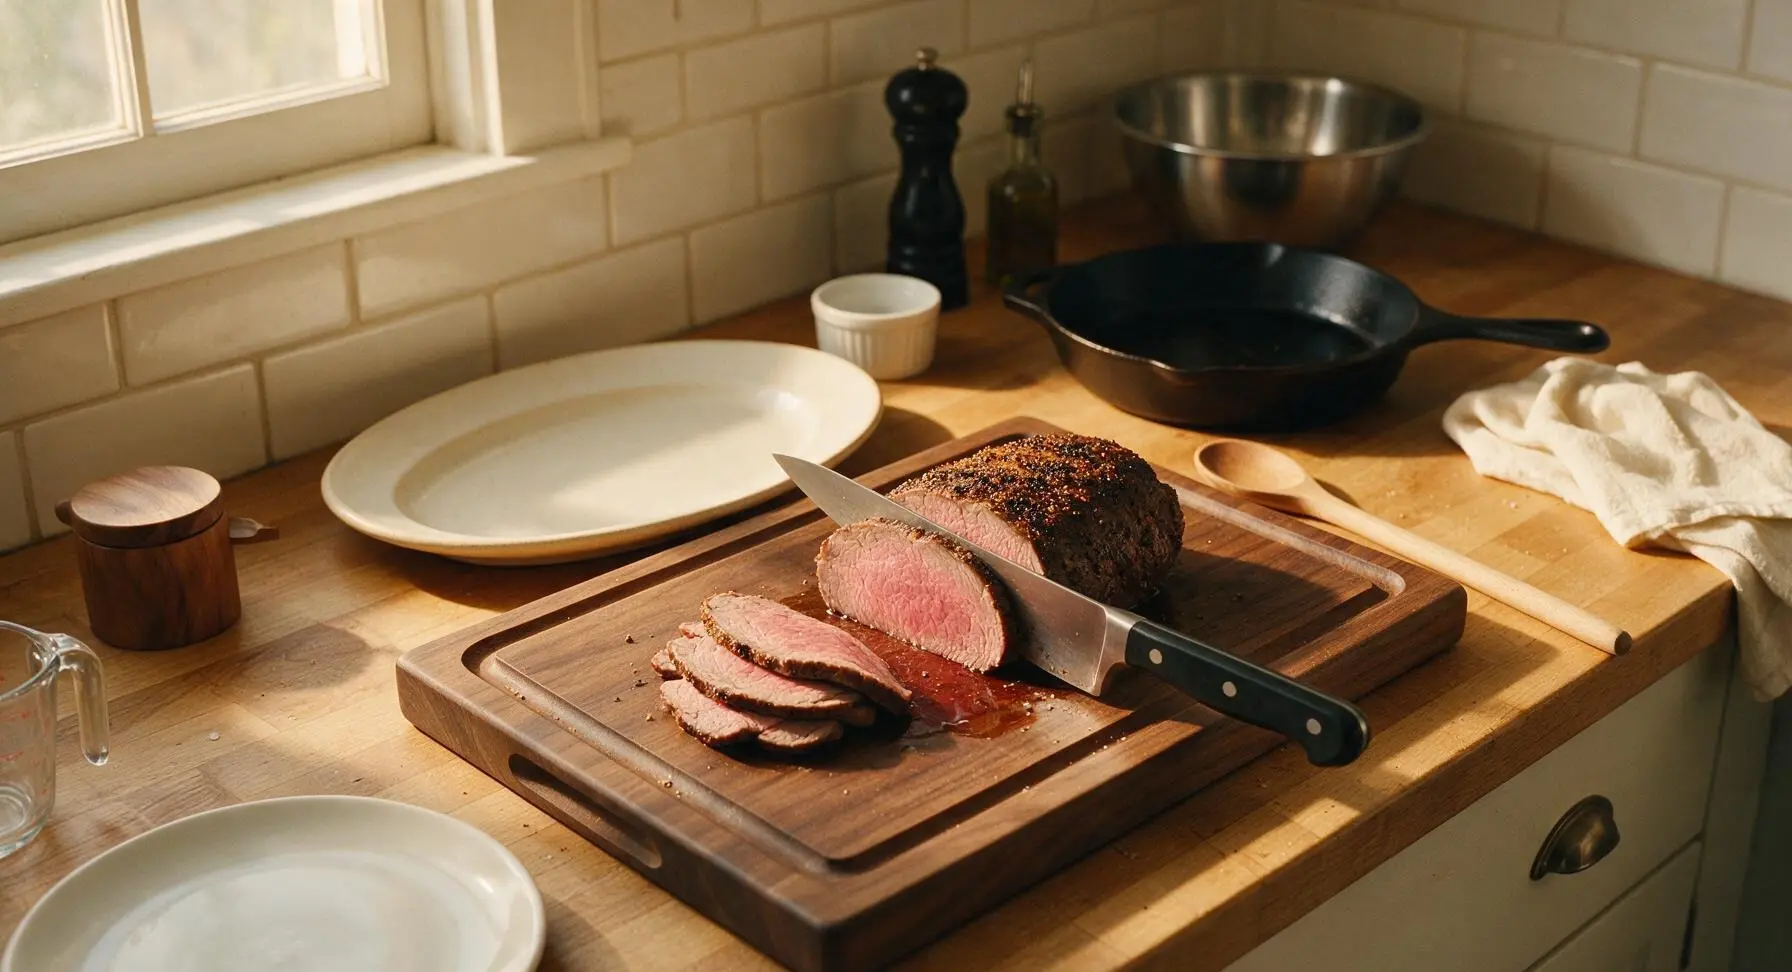
After the full 25-30 minute rest, remove the foil tent from the roast. Use the 8-inch chef knife to slice the roast against the grain into uniform 6mm (1/4 inch) thick slices. Fan the slices in an overlapping arc across the large oval off-white ceramic serving platter, drizzle 2 tablespoons of pan jus over the top, garnish with a fresh rosemary sprig, and serve alongside the remaining jus in the gravy boat.
Step 7
step7:Slice Thinly and Serve

Tips

1.Always pat the beef completely dry before seasoning and searing: surface moisture will cause the meat to steam rather than sear, preventing the formation of the deep, crisp, flavorful crust that is the hallmark of great roast beef.
2.Do not wrap the resting roast tightly in foil: a tight wrap traps steam, which will soften the crisp seared crust and make it soggy; a loose tent allows air circulation while keeping the meat warm during resting.
3.Invest in an instant-read meat thermometer rather than relying on cooking time estimates: oven temperature variations, roast shape, and starting meat temperature can all change cook time, and a thermometer is the only foolproof way to guarantee perfectly cooked, juicy roast beef without overcooking.


✨ You May Also Like

Main Course
🍜 United Kingdom

A showstopping classic of tender seared beef, savory mushroom duxelles, and crisp prosciutto wrapped in flaky golden puff pastry, baked to juicy perfection.

⏱️ 2 hours 1Main Course ★ 4.7
Main Course
🍜 India

Tender charred marinated chicken simmered in a rich, spiced creamy tomato sauce, this iconic Anglo-Indian curry pairs perfectly with basmati rice or warm naan.

⏱️ 50 minuteMain Course ★ 4.6
Main Course
🍜 Thailand

Classic tangy, sweet, and savory Thai stir-fried rice noodles with shrimp, tofu, and crunchy garnishes, balancing all five core Thai flavor profiles.

⏱️ 30 minuteMain Course ★ 4.5
Main Course
🍜 United Kingdom

Crispy golden beer-battered cod and fluffy double-fried chips, served with tangy tartar sauce and malt vinegar: the timeless, beloved British pub comfort classic.

⏱️ 45 minuteMain Course ★ 4.7
Main Course
🍜 Mexico

Smoky, chile-marinated pork tacos with caramelized pineapple, fresh cilantro, and lime: a beloved classic Mexican street food perfect for casual summer gatherings.

⏱️ 1 hour 45Main Course ★ 4.8
Main Course
🍜 United States

Crunchy Fritos corn chips layered with savory beef chili and melted cheddar, topped with cool, zesty fixings for a beloved, cozy Tex-Mex comfort food.

⏱️ 35 minuteMain Course ★ 4.8

Classic Roast Beef:Frequently Asked Questions

1.What cut of beef is used for this classic roast beef, and why is it tied before cooking? ▾
This recipe uses boneless beef top round, a lean, deeply flavorful cut from the cow’s hind leg that roasts evenly for consistent, tender results. Tying the roast with kitchen twine holds it in a uniform, compact shape so it cooks evenly edge to edge, preventing lopsided overcooked sections and helping it hold its texture as it rests.
2.How far in advance should I salt the roast to get a crisp crust and juicy interior? ▾
For the best texture and flavor, salt the tied top round roast with coarse kosher salt 12 to 24 hours before roasting, leaving it uncovered on a wire rack in the fridge. This draws out surface moisture that evaporates for a shatteringly crisp crust, and the salt penetrates deep to season every bite instead of just sitting on the surface.
3.What internal temperature should I cook the roast to for perfect medium-rare doneness? ▾
For that tender, juicy medium-rare center the recipe promises, pull your roast from the oven when an instant-read thermometer inserted into the thickest part reads 125°F. It will keep cooking as it rests (this is called carryover cooking), so pulling it early prevents overcooking and keeps the center rosy, not gray and dry.
4.How do I get that crisp, flavorful crust using only the simple listed seasonings? ▾
First, pat the roast completely dry with paper towels before rubbing it all over with extra virgin olive oil, crushed garlic, coarse kosher salt, and freshly cracked black pepper. The dry surface and coarse salt create a craggy, crisp outer layer as the roast hits the hot oven, while the garlic toasts gently for deep savoriness without fancy add-ins.
5.What’s the easiest way to make the rich pan jus mentioned in the recipe intro? ▾
After you pull the finished roast out to rest, set your roasting pan directly on the stovetop over medium heat. Scrape up all the browned, crispy bits (called fond) from the pan bottom, stir in a splash of low-sodium beef broth or water, simmer 3 to 4 minutes, and strain lightly for a rich, deeply flavored jus that needs no extra thickeners.
6.How long do I need to let the roast rest after cooking, and why is that step so important? ▾
Let your cooked roast rest for 15 to 20 minutes, tented loosely with foil, before slicing. Resting lets the muscle fibers relax and reabsorb all the hot, juicy juices pushed to the surface during cooking. If you slice it right away, all those delicious juices will run out onto your cutting board, leaving you with dry, bland roast beef.
7.My roast always gets overcooked, tough edges before the center is done—what am I doing wrong? ▾
This almost always happens if your roast goes into the oven straight from the fridge, or if your oven runs hotter than its dial says. Let the tied roast sit at room temperature for 45 to 60 minutes before roasting to take the chill off, and use an oven thermometer to confirm it holds a steady 375°F for even cooking.
8.How thick should I slice the finished roast beef for the best tender texture? ▾
For classic tender roast beef, slice against the grain into ¼-inch thick slices once it’s done resting. Slicing against the grain shortens the long, tough muscle fibers of the top round cut so every bite is tender, not chewy, and that thickness is perfect for serving with pan jus at a family Sunday dinner.

Comments (10)

1 week ago

Game changer! I’ve been messing up roast beef for years for our weekly Sunday family dinners—always coming out too tough or way too done in the middle. Followed this recipe exactly, cooked it for 1 hour 15 minutes like it said, let it rest the full 15 mins? Fell apart perfectly, juicy all the way through. My husband said it’s better than the steakhouse we went to for our anniversary. SO good, wild.

5 days ago

So glad this worked out for your family! That resting step is so easy to skip but makes such a huge difference for juicy meat, right? Hope it becomes a regular at your dinner table!

3 days ago

Tried this for meal prep this week, seasoned the roast the night before like the tip said and threw it in the oven after my morning run. Only issue? I overcooked the edge a tiny bit because my oven runs hot, but even the well done bits were tasty. Would recommend using a meat thermometer if you’ve got a janky oven like mine.

2 days ago

Oh same! My oven is 25 degrees off so I turned the temp down a touch and it came out perfect. Thermometer is non-negotiable for me now with roasts.

1 day ago

Great tip about checking your oven calibration! A leave-in meat thermometer takes all the guesswork out, especially if your oven runs hot or cold. So glad you still enjoyed the roast even with the slightly crisp edges!

5 days ago

Made this for a casual dinner party with my roommates last weekend, served it with horseradish cream and roasted potatoes. Everyone asked for the recipe before they left! The cook time was totally manageable even after a full work day, I didn’t feel stuck in the kitchen for hours. 10/10.

30 minutes ago

Wait, has anyone tried this with a cheaper cut of roast? I usually grab the bottom round when it’s on sale at the grocery store, wondering if the seasoning and cook time works for that too? Don’t wanna waste a good cut on my first try lol.

10 minutes ago

I used a bottom round last week with this exact recipe! Just seared it a little longer on each side before putting it in the oven and it came out great. Didn’t dry out at all as long as you don’t skip resting it.

2 weeks ago

OMG, my kids loved it! I was worried the seasoning would be too much for them (they complain about everything having “too much pepper”) but it was just right. We had leftovers for French dip sandwiches the next day and that might’ve been even better than the roast dinner itself. Pro tip: save the pan drippings for au jus, it’s chef’s kiss.

1 week ago

The French dip leftover hack is genius! I never thought to save the drippings for au jus, definitely doing that next time I make this. Last time I just used store bought au jus and it was fine but I bet the homemade stuff is way better.

6 days ago

Love the leftover French dip idea! Those pan drippings are liquid gold—no need to buy store bought au jus when you’ve got that, just a little beef broth and seasoning to thin it out and it’s perfect. So glad your kids enjoyed it!

yesterday

Solid classic roast beef recipe, no fancy weird ingredients which I appreciate. I’ve tried so many fancy roast recipes with weird herb rubs and glazes and nothing hits like a simple, well seasoned classic. Cooked perfectly in 1 hour 15 minutes like the recipe said, no guesswork. Great for beginner roast makers even though it says medium difficulty.

2 hours ago

Okay so I messed up the first time because I forgot to let the roast come to room temp before putting it in the oven, so the center was still cold when the outside was done. Second try I let it sit out for 45 minutes first? Absolute perfection. Worth the extra wait, don’t skip that step y’all.

1 hour ago

That’s such a great reminder! Letting the meat come up to room temp helps it cook evenly so you don’t end up with overcooked edges and a raw center—so happy you gave it a second shot and it worked out!

5 minutes ago

Made this for our neighborhood potluck last weekend, brought a 5lb roast and it was gone in 15 minutes. Got a dozen people asking for the recipe, I told ‘em I found it online and didn’t even make the recipe up haha. Only complaint is I should’ve made two roasts because there were zero leftovers for my lunch the next day!

2 minutes ago

Happens every time I bring this to potlucks! I started making a 7lb roast just so I can sneak a few slices for myself before I leave the house, otherwise I don’t get any either.

just now

That’s the best problem to have! Nothing beats a dish that’s so popular it disappears before you can even grab a second serving. Next time definitely size up the roast so you get those leftovers!

just now

I was intimidated because this says medium difficulty, but it was way easier than I thought! The directions were super clear, no confusing steps, I didn’t have to look up any weird techniques. Served it with roasted carrots and mashed potatoes, total comfort food Sunday win. Will be in my regular rotation for sure.

2 days ago

Wait, how do y’all get the crust so crispy? Mine came out tasting great but the outside was a little softer than I wanted, I think I didn’t sear it long enough on the stovetop before roasting? Gonna try again next weekend with a longer sear, see if that fixes it.

1 day ago

Great question! Make sure your pan is screaming hot before you put the roast down for searing, and don’t move it around too much while it sears—3-4 minutes per side without flipping will give you that deep, crispy crust everyone loves. Can’t wait to hear how your next batch turns out!



