
waffle recipe almond milk

title 1
waffle recipe almond milk
⏱️ cook time 15 minutes
🍽️ servings 4
⚡ Difficulty easy

intro

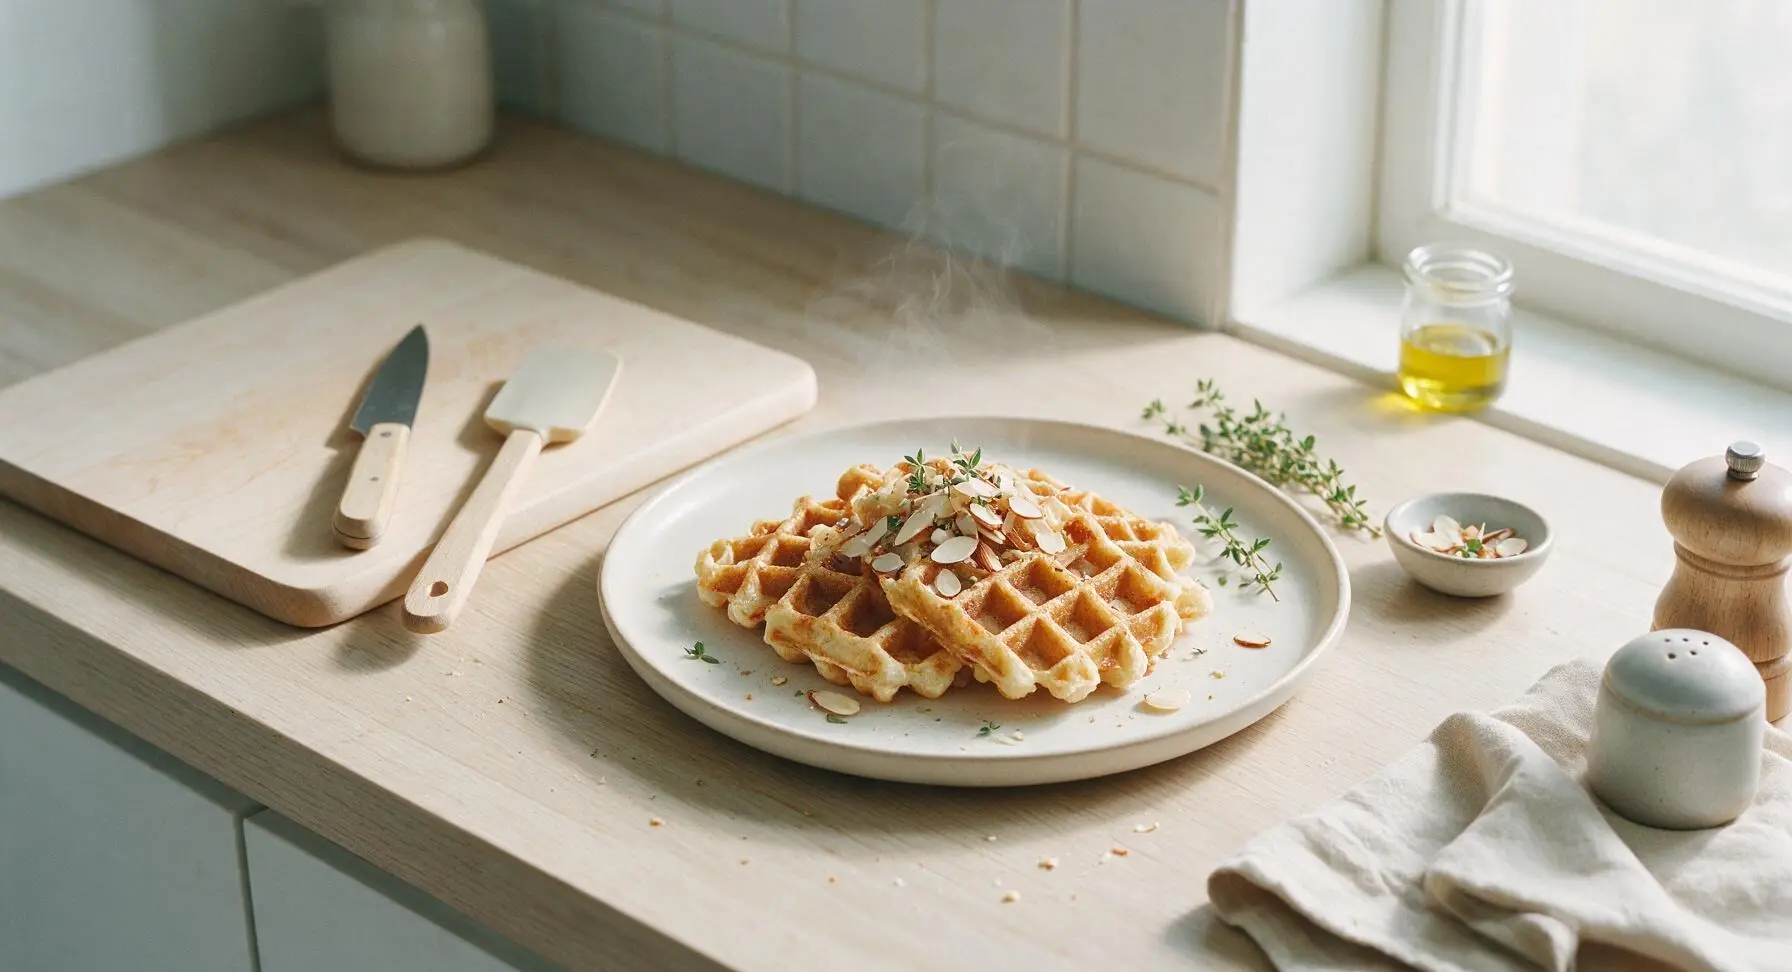
Crisp golden edges give way to light, fluffy centers in these dairy-free almond milk waffles—lightly spiced, perfectly sweet, and ready in 25 minutes for a cozy, satisfying meal.

Ingredients
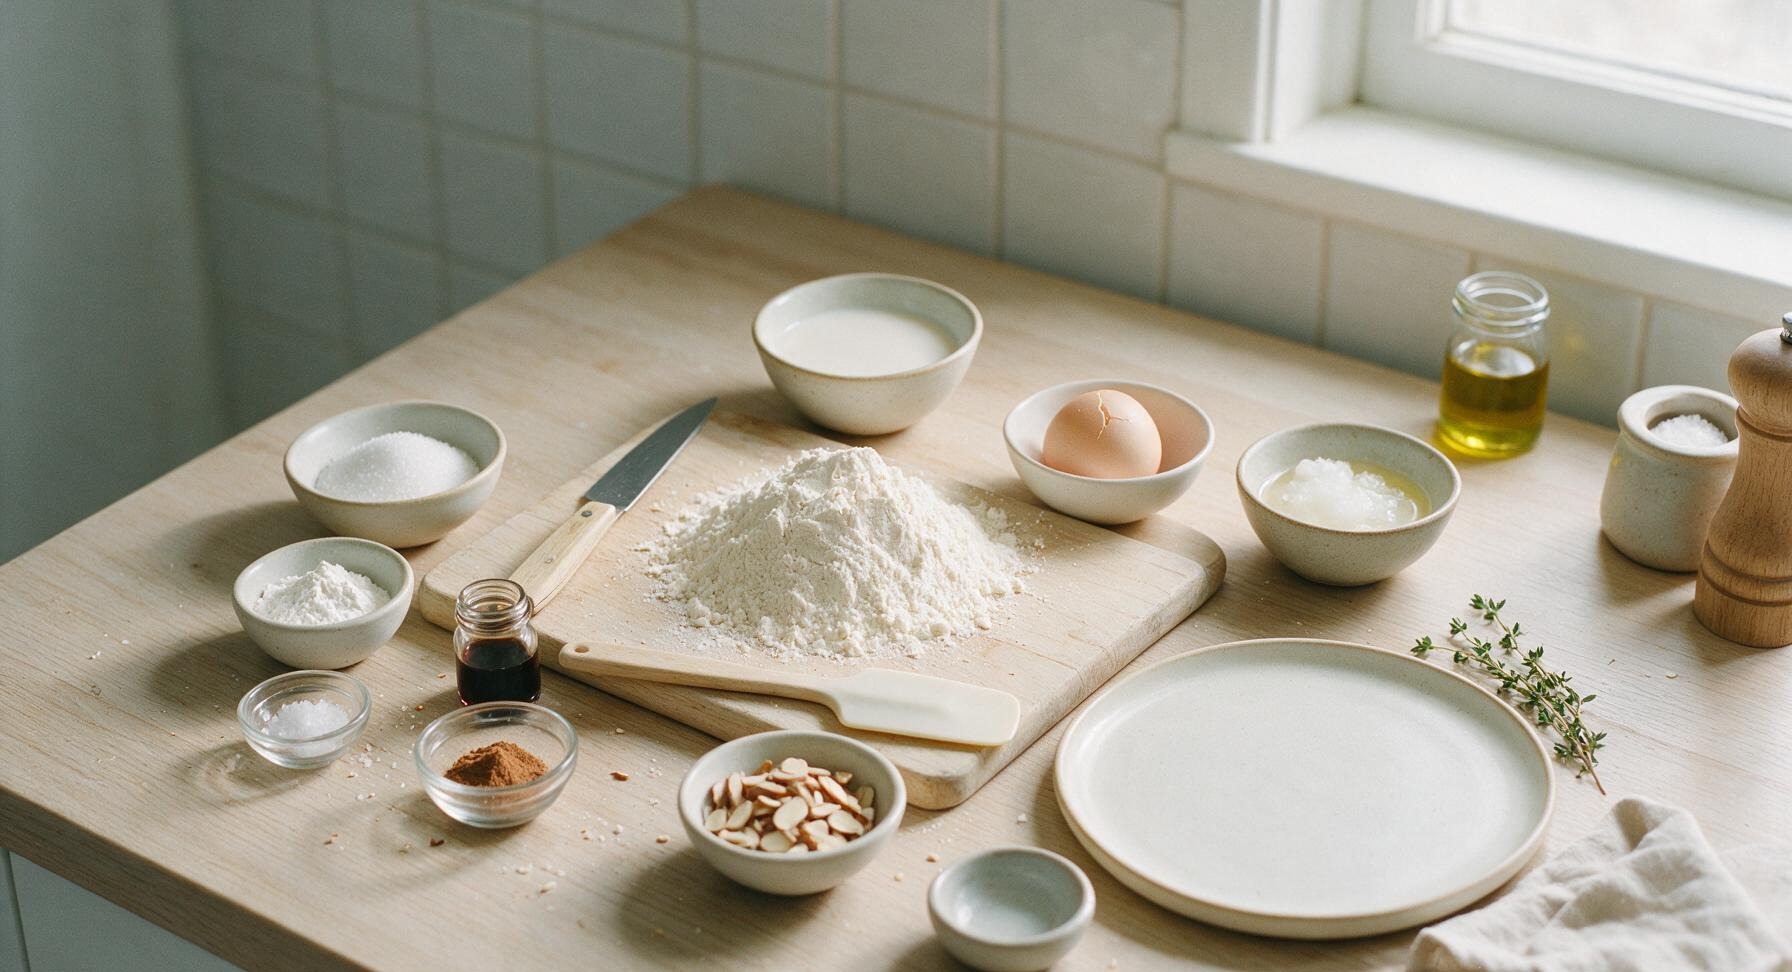
All-purpose flour 2 cups (240g)
Unsweetened plain almond milk 1.5 cups (360ml)
Large egg 1 count
Unrefined coconut oil, melted and cooled 3 tbsp (42g)
Granulated sugar 2 tbsp (25g)
Baking powder 2 tsp (8g)
Fine sea salt 1/4 tsp (1.5g)
Pure vanilla extract 1 tsp (5ml)
Ground cinnamon 1/2 tsp (1.2g)

Steps

1

Preheat Waffle Iron

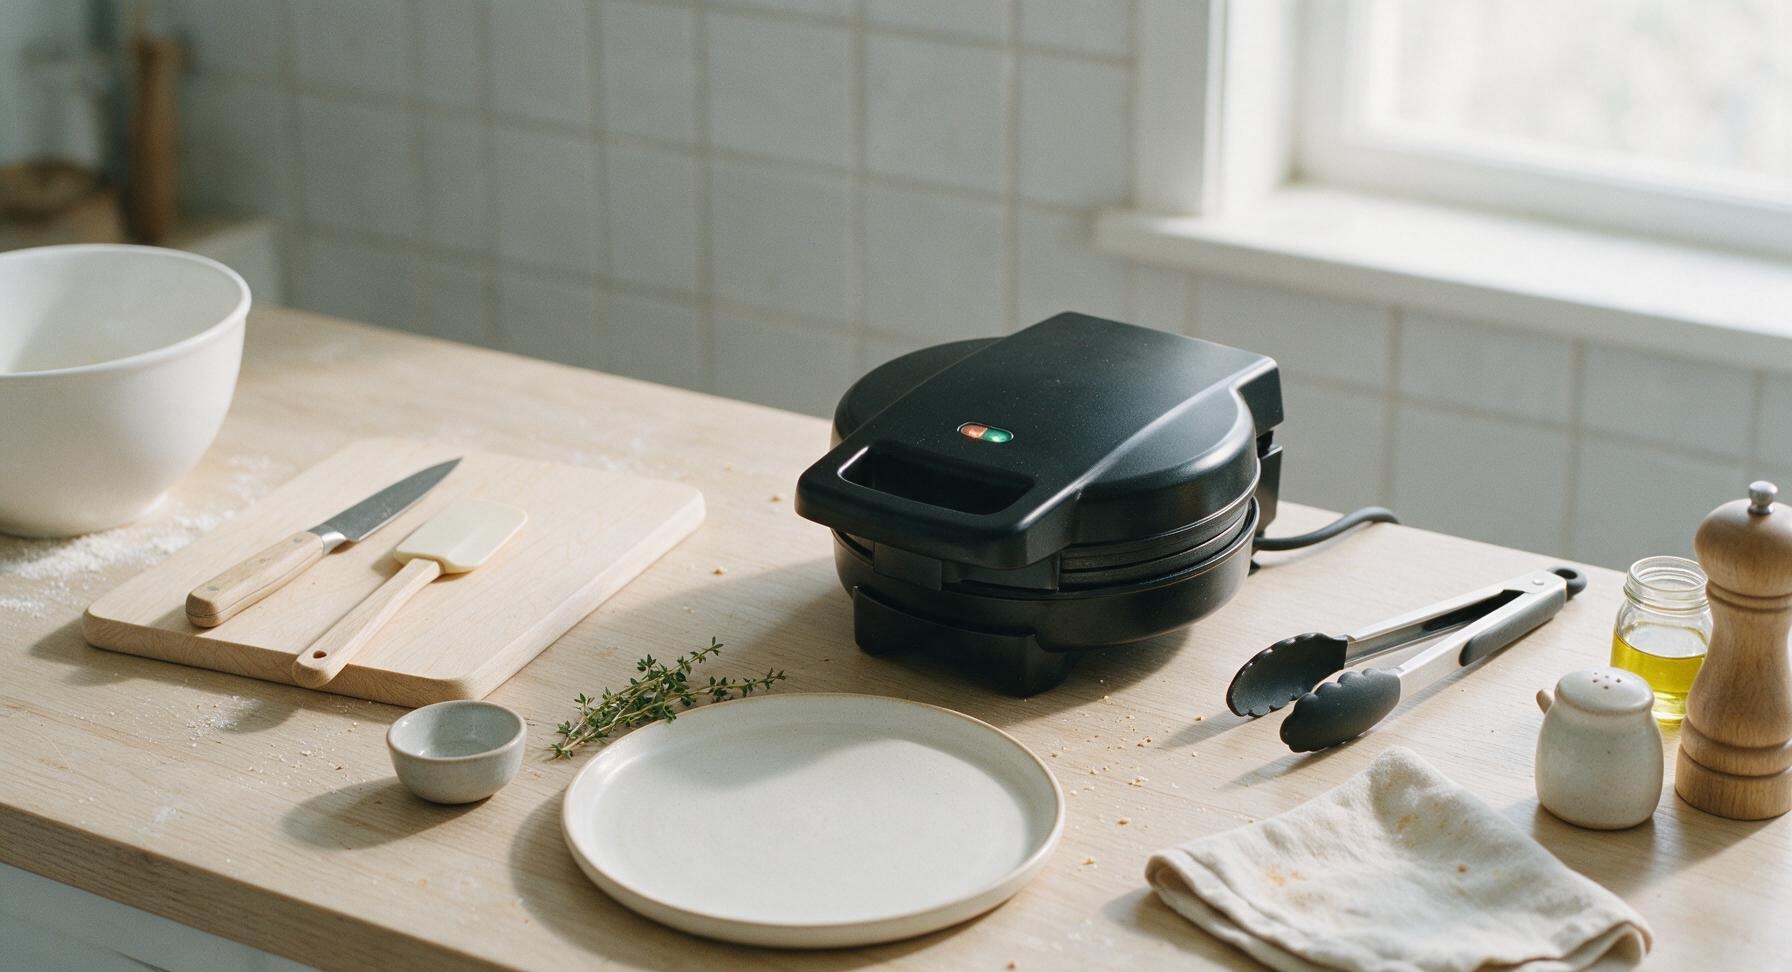
Retrieve the matte black stainless steel waffle maker from under-counter storage, set it in its fixed center-right position on the counter along with the black-tipped silicone tongs, and preheat to medium-high (375°F / 190°C) while you prepare the batter. Close the lid and allow it to heat for 5 full minutes; the built-in ready indicator light will illuminate when it reaches temperature, and a drop of water flicked onto the plates will sizzle and evaporate in 2 seconds to confirm proper heat.
Step 1
step1:Preheat Waffle Iron
2

Mix Dry Ingredients

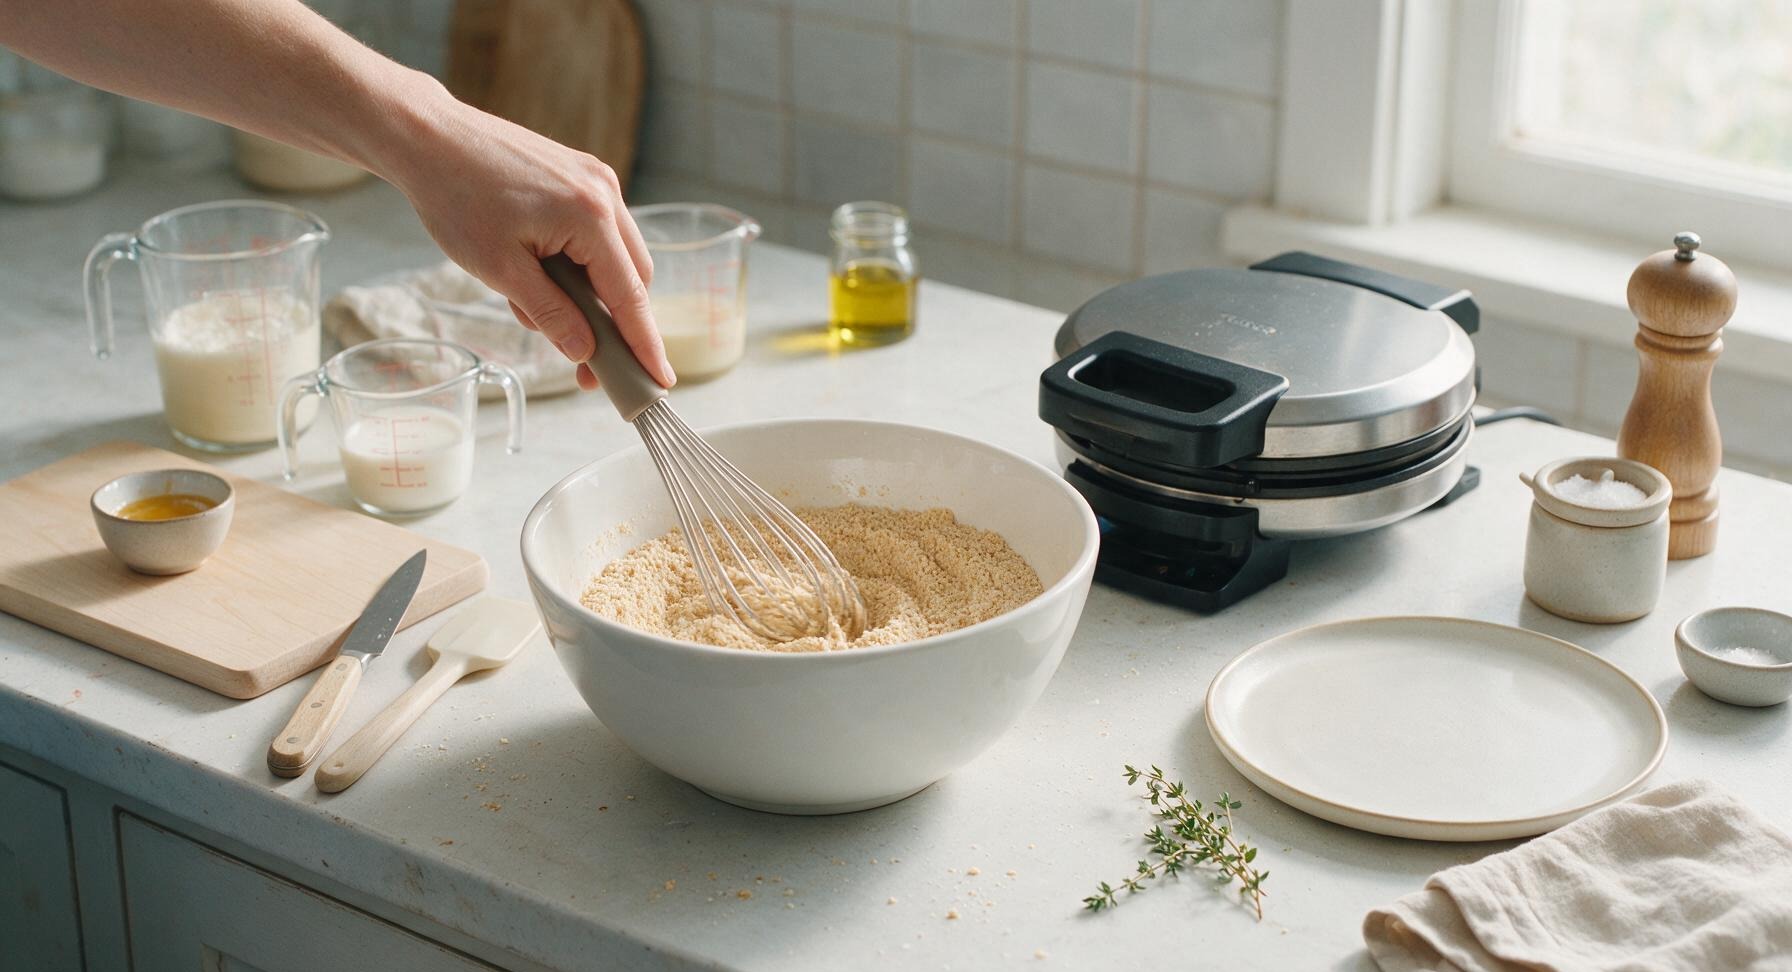
Add the measured all-purpose flour, granulated sugar, baking powder, fine sea salt, and ground cinnamon to the large white ceramic mixing bowl. Use the taupe-handled stainless steel whisk to stir the dry ingredients for 30 seconds until fully combined, with no visible clumps of baking powder or streaks of cinnamon remaining, creating a uniform pale tan mixture.
Step 2
step2:Mix Dry Ingredients
3

Whisk Wet Ingredients

Crack the large egg into the small light gray ceramic prep bowl, then add the unsweetened almond milk, cooled melted coconut oil, and pure vanilla extract. Whisk gently with the same stainless steel whisk for 20 seconds until the egg is fully beaten, creating a smooth, pale creamy golden mixture with no visible streaks of separated egg white on the surface. Ensure the coconut oil is cooled to below 120°F to avoid cooking the egg when mixed.
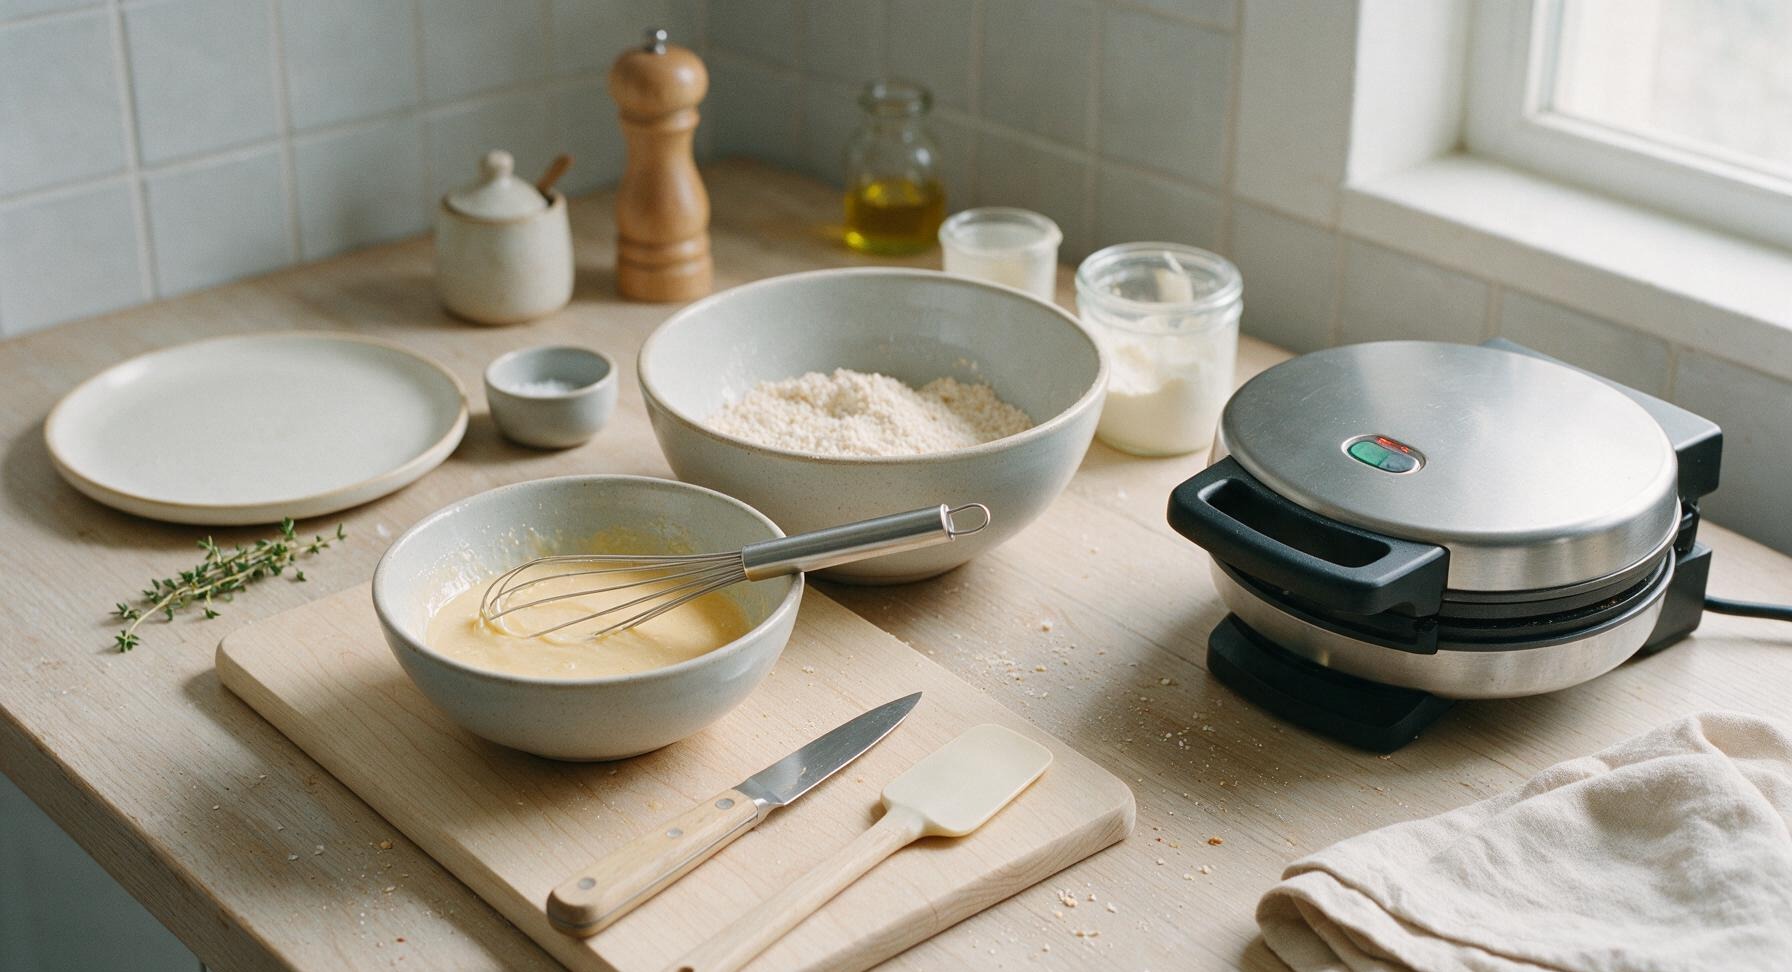
Step 3
step3:Whisk Wet Ingredients
4

Fold Waffle Batter

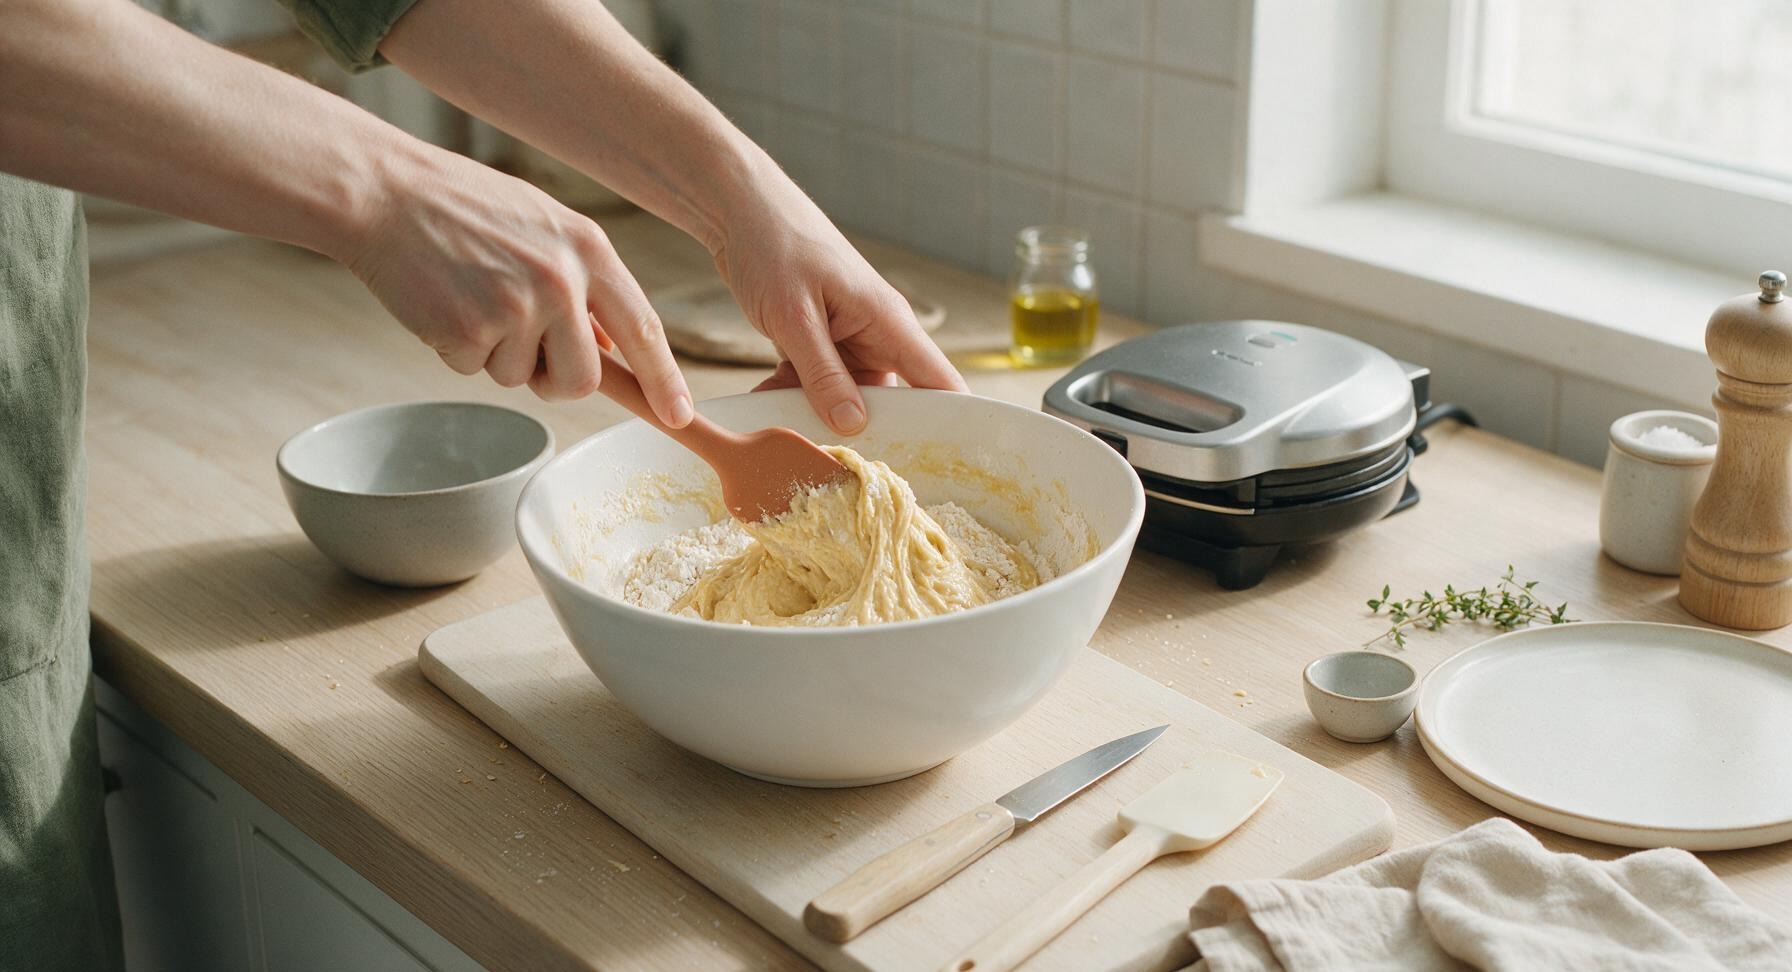
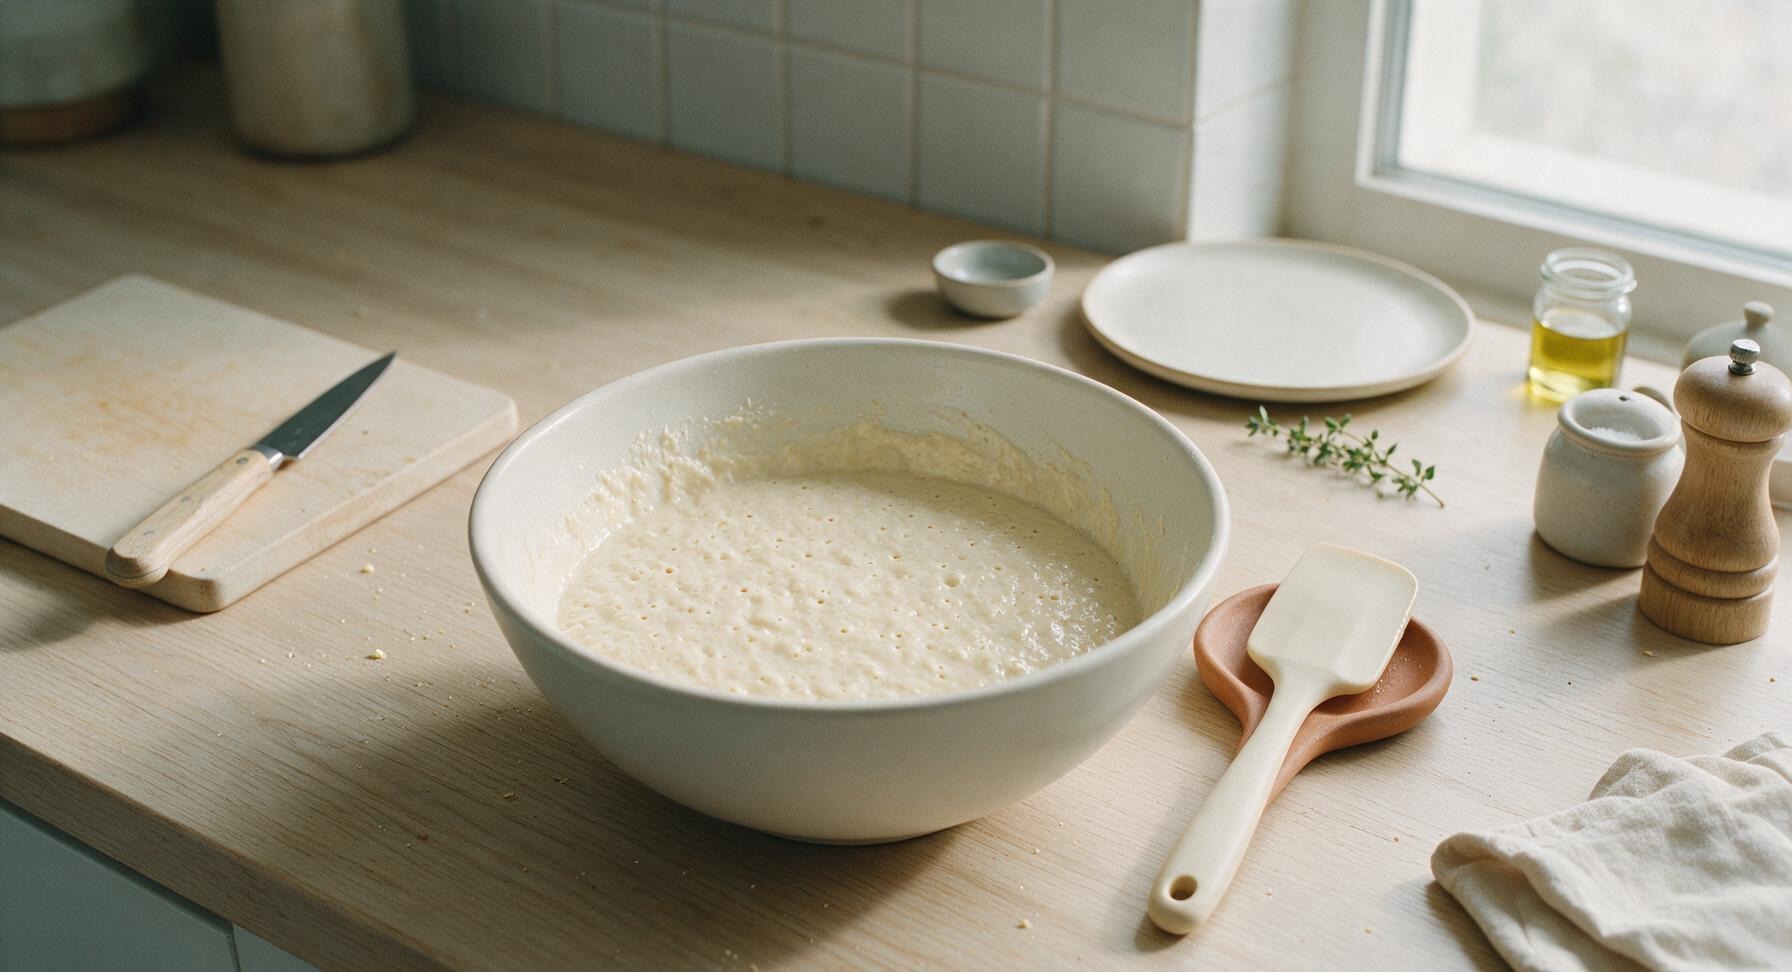
Pour the entire wet ingredient mixture into the large mixing bowl with the dry ingredients. Use the matte terracotta silicone spatula to fold the ingredients together gently, stirring only just until no large streaks of dry flour remain. The batter will be thick and slightly lumpy—do not overmix, as overstirring develops gluten and creates tough, dense waffles. Let the batter rest for 3 minutes to allow the baking powder to activate; small pinprick air bubbles will appear across the batter surface when it is ready to cook.
Step 4
step4:Fold Waffle Batter
Step 4
step4:Fold Waffle Batter
5

Pour and Cook Waffles

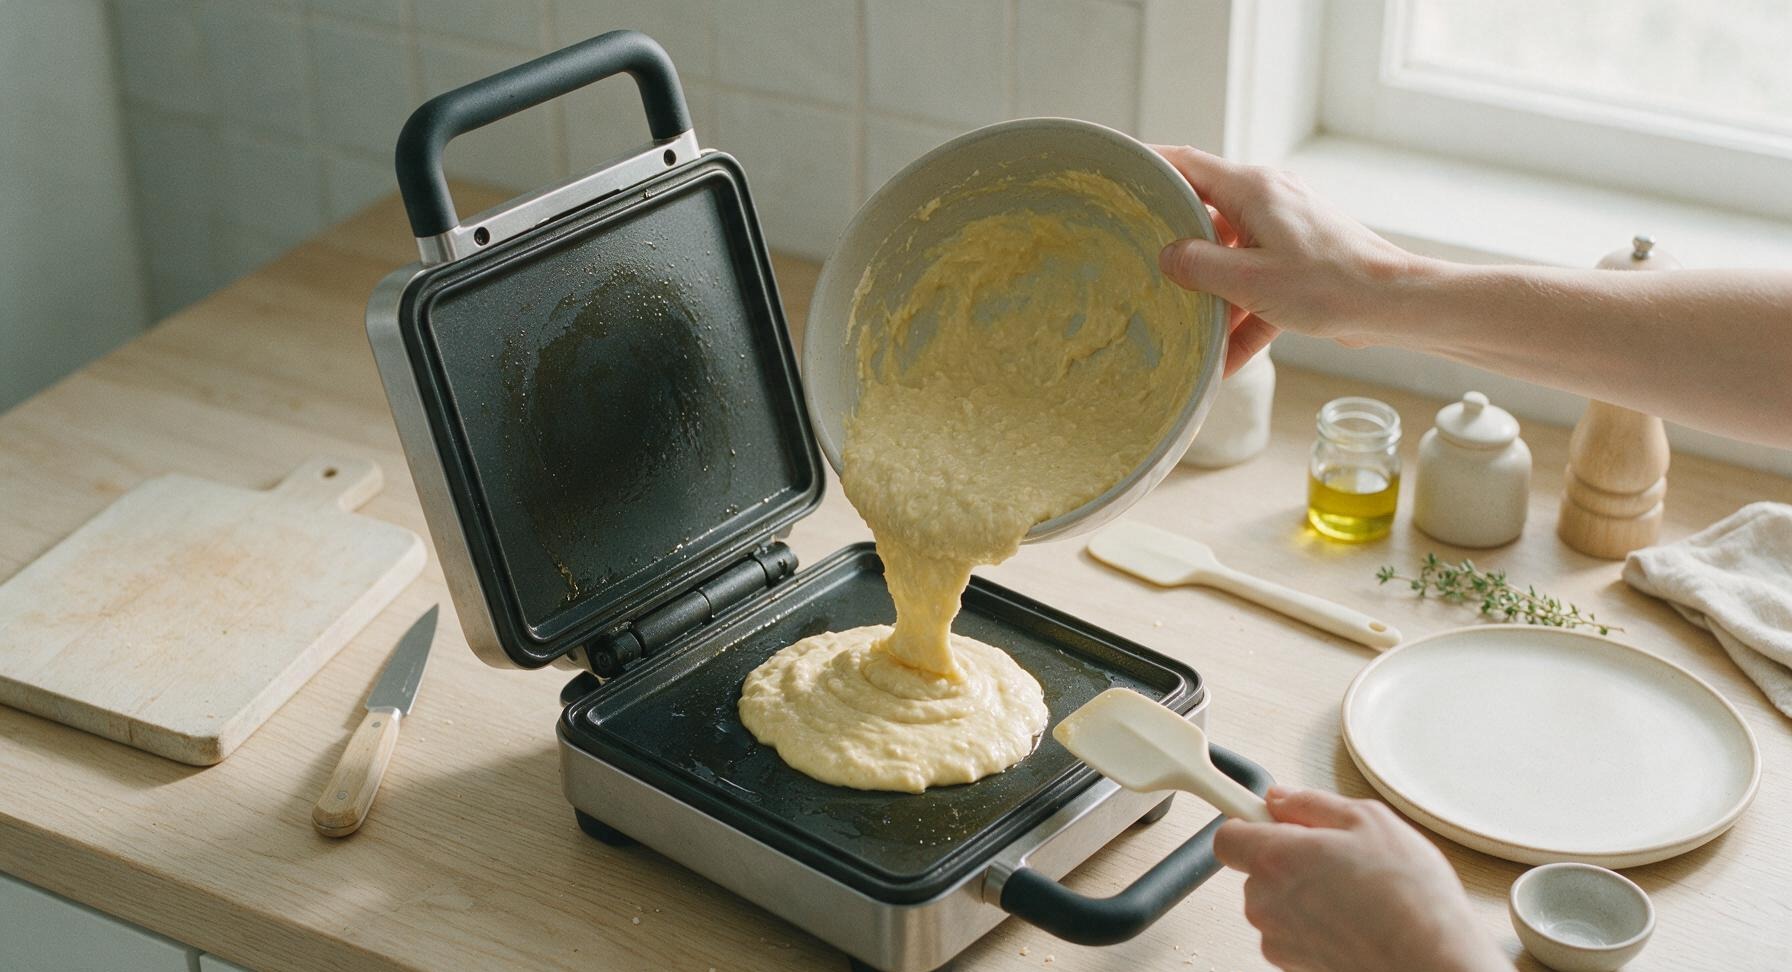
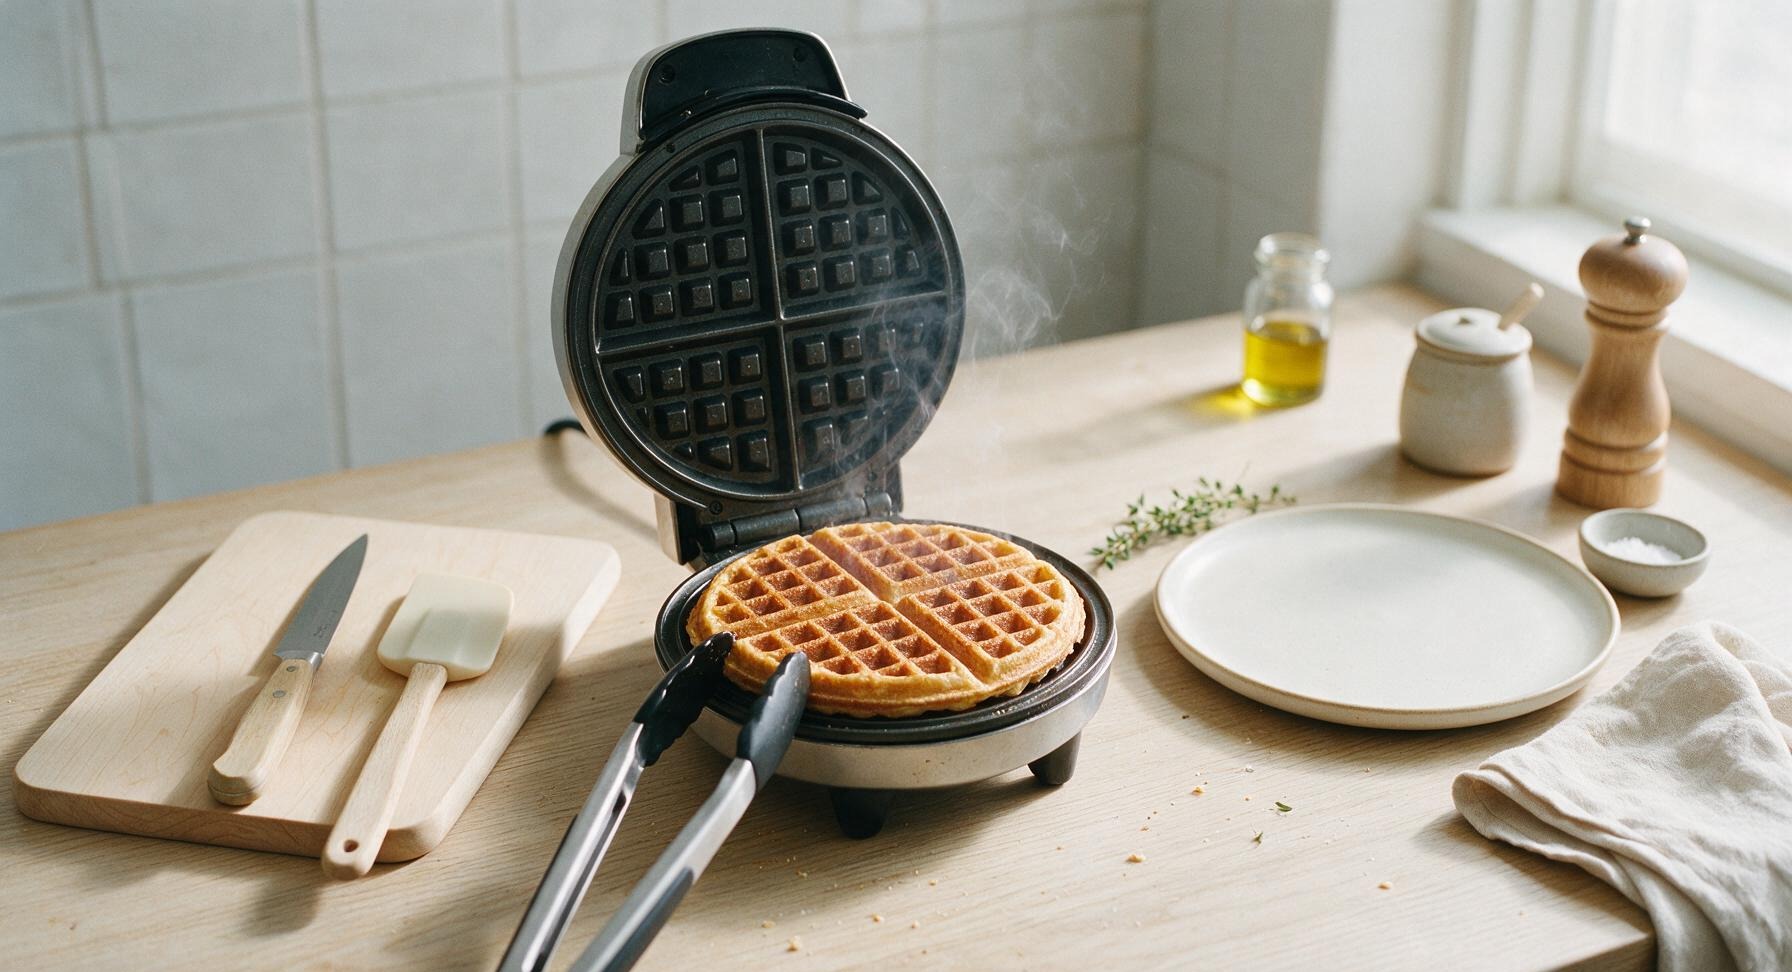
Once the waffle maker is fully preheated, lightly coat the cooking plates with a thin brush of coconut oil to prevent sticking. Pour 3/4 cup of batter directly onto the center of the lower waffle plate, spreading it gently almost to the edges with the silicone spatula. Close the lid and cook for 3.5 to 4 minutes, until the waffle is deep golden brown, crisp on the edges, and no visible steam escapes from the sides of the waffle maker. Do not lift the lid before the 3-minute mark, as this will cause the waffle to split and stick to the plates.
Step 5
step5:Pour and Cook Waffles
Step 5
step5:Pour and Cook Waffles
6

Keep Waffles Crisp

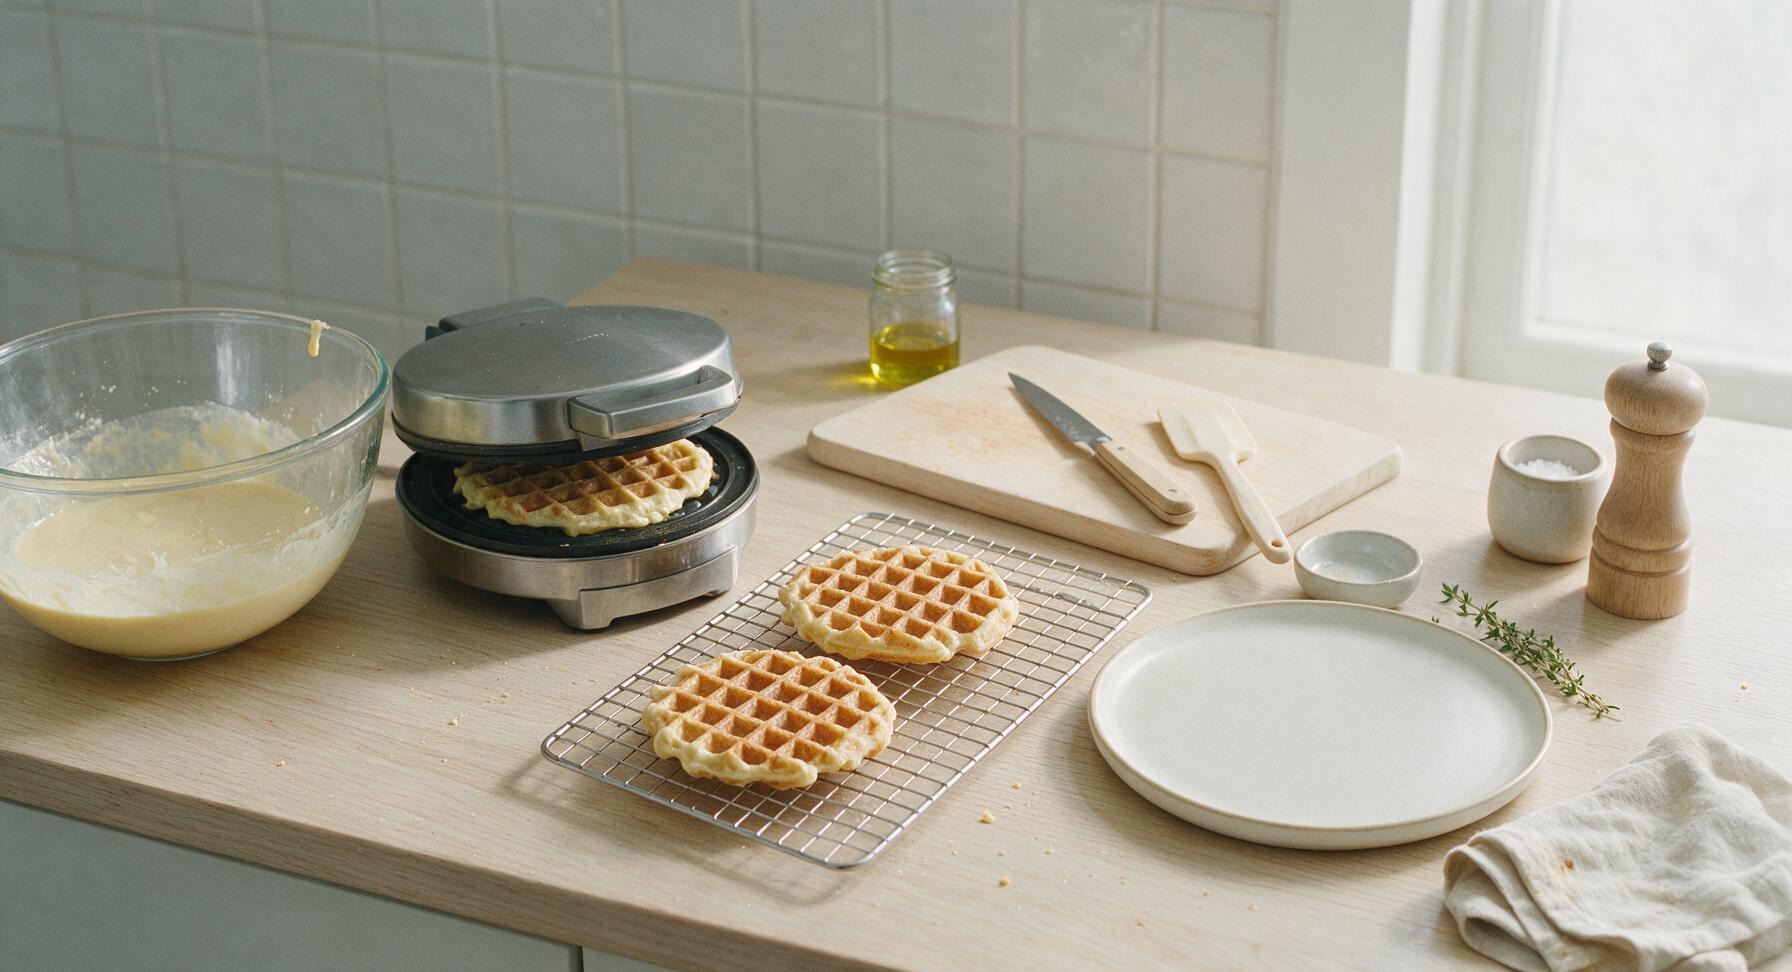
Set the stainless steel wire cooling rack in its fixed position between the waffle maker and the dinner plate. As each waffle finishes cooking, use the tongs to transfer it directly to the rack in a single layer, not stacked. Trapped steam from stacked hot waffles will soften crisp edges quickly. Repeat the pouring and cooking process with the remaining batter, making 4 total waffles, holding cooked waffles on the rack while the rest cook.
Step 6
step6:Keep Waffles Crisp
7

Plate and Serve

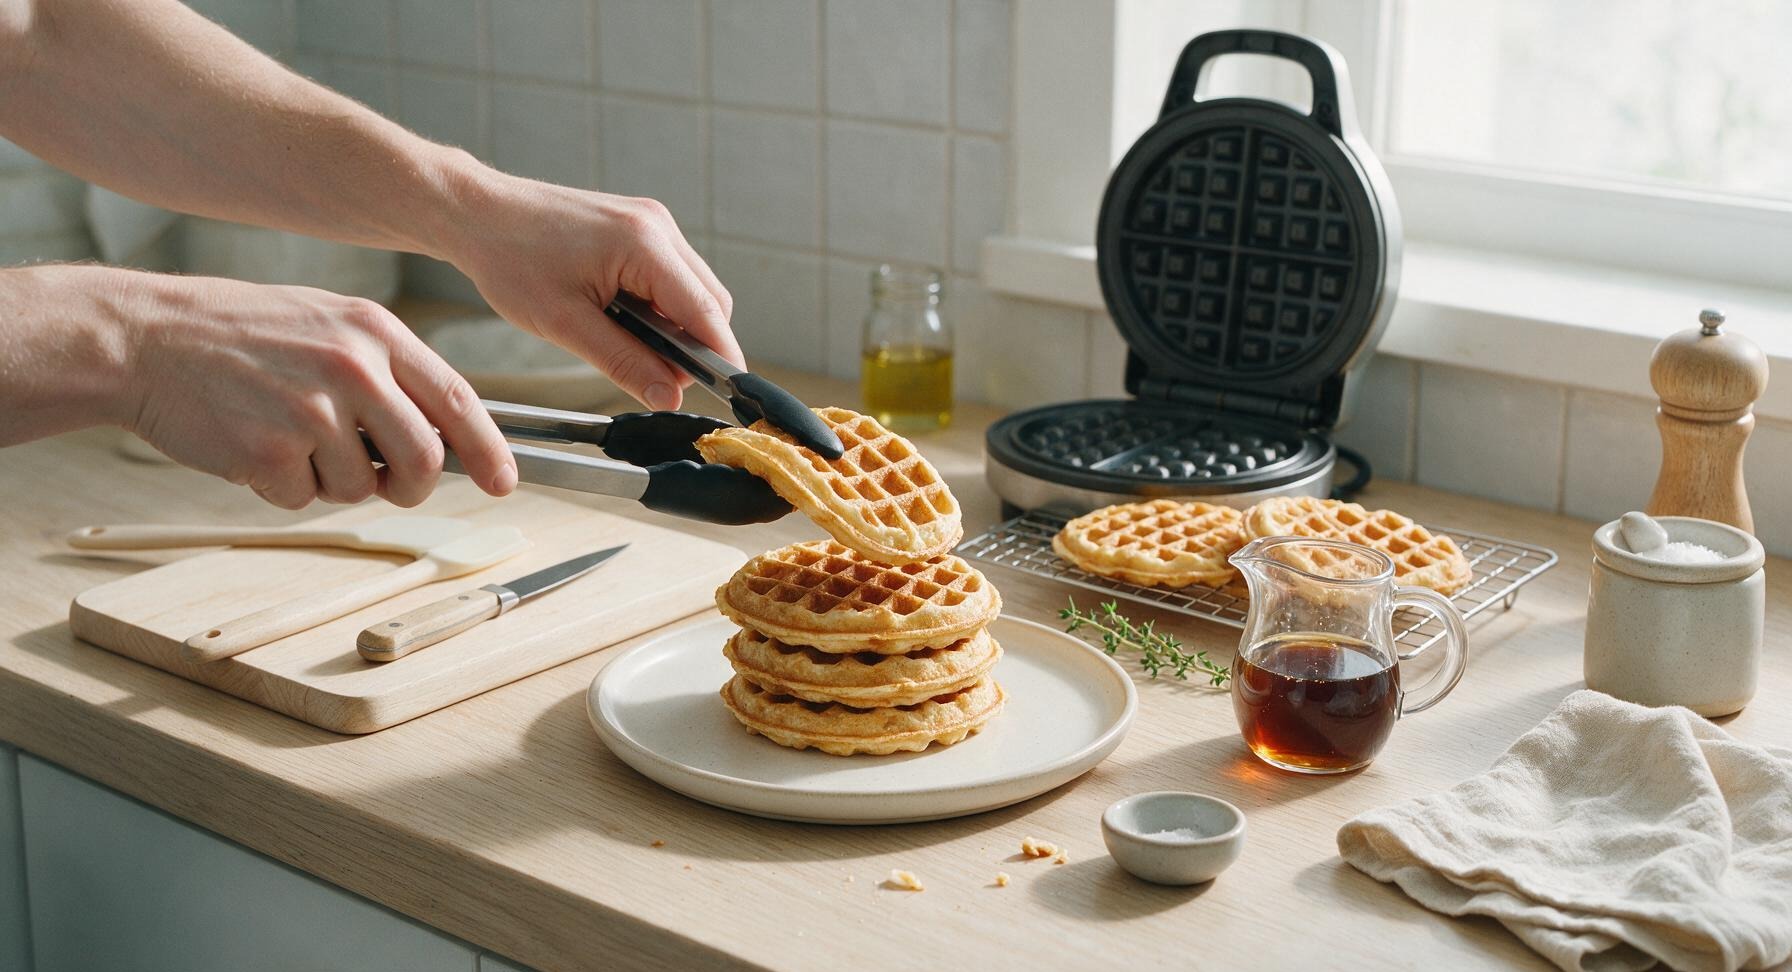
Once all waffles are cooked, stack the four waffles centered on the matte cream ceramic dinner plate. Top with a light drizzle of pure maple syrup, a light dusting of extra ground cinnamon, and fresh berries if desired. Serve immediately while the waffles are hot and edges are crisp.
Step 7
step7:Plate and Serve

Tips

1.Opt for unsweetened plain almond milk instead of vanilla-flavored varieties to avoid overly sweet waffles and artificial vanilla aftertaste; if you only have vanilla almond milk on hand, reduce the added granulated sugar by 1 tablespoon to keep sweetness balanced.
2.Resist the urge to overmix the waffle batter—small lumps are not only normal, they are desirable. Overmixing develops gluten in the flour, which results in tough, chewy waffles instead of light, fluffy centers with shatteringly crisp edges.
3.Skip stacking waffles directly on a plate right out of the waffle maker. Resting them on a wire rack for 60 seconds allows excess steam to escape, keeping edges crisp instead of turning soft and soggy before you serve them.


✨ You May Also Like

Breakfast
🍜 United States

Crisp-edged, fluffy lard griddle cakes are a nostalgic homestyle staple, with rich savoriness from rendered lard, perfect topped with maple syrup or savory gravy.

⏱️ 25 minuteBreakfast ★ 4.8
Breakfast
🍜 United States

Flaky, buttery homemade buttermilk biscuits smothered in creamy, peppery pork sausage gravy: a beloved, hearty Southern American comfort food classic.

⏱️ 35 minuteBreakfast ★ 4.8
Breakfast
🍜 United States

Golden, custardy brioche stuffed with sweet cream cheese and fresh berries, pan-fried to crisp perfection. An indulgent, cozy breakfast perfect for slow weekend mornings.

⏱️ 30 minuteBreakfast ★ 4.7
Breakfast
🍜 United States

Flaky, buttery Southern-style biscuits stuffed with savory salty country ham, a portable, satisfying classic perfect for casual on-the-go meals.

⏱️ 25 minuteBreakfast ★ 4.8
Breakfast
🍜 United States

Iconic puffy baked pancake popularized in Seattle, with crisp golden edges and soft custardy center, served warm with classic sweet toppings.

⏱️ 35 minuteBreakfast ★ 4.6
Breakfast
🍜 United States

Fluffy, golden pancakes studded with juicy peak-summer mixed berries, drizzled with maple syrup for a bright, comforting, crowd-pleasing family breakfast.

⏱️ 25 minuteBreakfast ★ 4.7

waffle recipe almond milk:Frequently Asked Questions

1.Can I use sweetened vanilla almond milk instead of unsweetened plain for these waffles? ▾
You absolutely can, but cut the added granulated sugar by 1 to 1.5 tablespoons to avoid overly sweet waffles. Skip any extra vanilla extract if you use vanilla-flavored almond milk, since it will already add that warm, sweet note that complements the waffles’ light spicing.
2.Why do my waffles turn out soggy instead of crisp on the edges? ▾
Soggy waffles usually stem from two easy-to-fix missteps: pouring batter before your waffle iron is fully preheated, or piling cooked waffles directly on a plate right out of the iron. Rest cooked waffles on a wire rack set over a baking sheet in a 200°F oven to keep edges crisp while you cook the rest of the batch.
3.Can I make this batter ahead of time for busy weekday mornings? ▾
You can prep the dry ingredient mix (flour, sugar, spices, baking powder, salt) in an airtight container up to 3 days ahead for quick assembly, but wait to stir in wet ingredients until right before cooking. Pre-mixed full batter loses leavening power quickly, leading to dense, flat waffles instead of light, fluffy centers.
4.Is there a substitute for unrefined coconut oil if I don’t like coconut flavor? ▾
Absolutely. Swap the melted unrefined coconut oil for an equal amount of refined coconut oil (which has no coconut taste), melted vegan butter, or neutral canola oil. Melted regular dairy butter works too if you don’t need to keep the recipe dairy-free, and it will still deliver that signature crisp, golden edge.
5.How do I get those fluffy, light centers without using dairy milk? ▾
The key to light, fluffy centers without dairy is two-fold: don’t overmix your batter (small lumps are totally fine—overmixing develops gluten that makes waffles tough and dense), and confirm your baking powder is fresh by dropping a pinch in hot water; it should fizz immediately. The large egg also adds structure and lift.
6.Can I make these waffles gluten-free? ▾
Yes, you can swap the all-purpose flour for a 1:1 gluten-free all-purpose baking blend that contains xanthan gum for best results. Avoid using single gluten-free flours like almond flour or coconut flour alone, as they will throw off the batter’s moisture balance and lead to crumbly, dense waffles that don’t hold their shape.
7.How long do I cook these waffles for the perfect crisp-fluffy texture? ▾
Cook time varies slightly by waffle iron model, but a reliable rule of thumb is 3.5 to 4.5 minutes per batch. Wait until steam stops billowing out from the iron edges before checking; opening too early causes split, stuck waffles. Finished waffles should be deep golden brown all over with fully set, crisp edges.
8.Can I make these waffles egg-free for a vegan version? ▾
You can easily make these vegan by swapping the large egg for one flax egg (1 tablespoon ground flaxseed mixed with 3 tablespoons water, left to thicken for 5 minutes). Double check that your sugar is vegan (some brands use bone char for processing) to keep the recipe fully plant-based; expect a very slightly denser but still crisp final texture.
9.What’s the best way to reheat leftover waffles so they stay crispy? ▾
Skip the microwave, which turns waffles soft and chewy. For best results, reheat leftover waffles directly on the rack of a 350°F oven for 5 to 7 minutes, or pop them in a toaster on the medium setting until heated through and crisp on the edges. You can reheat frozen waffles the exact same way without thawing first.
10.Can I freeze these waffles for quick grab-and-go breakfasts? ▾
Absolutely. Let cooked waffles cool completely on a wire rack, then arrange them in a single layer on a baking sheet and freeze for 2 hours until solid. Transfer frozen waffles to a labeled zip-top freezer bag, pressing out excess air, and store for up to 3 months for easy weekday meals.
11.Why does the recipe call for melted and cooled coconut oil instead of hot melted oil? ▾
Hot melted coconut oil can partially cook the raw egg when you stir it into the batter, creating tiny, lumpy scrambled egg bits that ruin the smooth, light waffle texture. Cooling the oil for 2 to 3 minutes after melting brings it to a temperature that mixes smoothly without curdling or cooking the egg.
12.How much batter should I pour per waffle to avoid messy overflow? ▾
Most standard 7-inch round waffle irons need ½ to ¾ cup of batter per batch, poured directly in the center of the preheated grid. Resist the urge to spread batter with a spatula; closing the iron will evenly distribute it across plates, and leaving a small border prevents overflow as the batter rises while cooking.
13.The intro says these are lightly spiced—what spices work best here? ▾
This base recipe works beautifully with ½ teaspoon of ground cinnamon and a tiny pinch of freshly grated nutmeg for warm, cozy flavor that doesn’t overpower the subtle nuttiness from the almond milk. You can also add a pinch of cardamom or ¼ teaspoon of pumpkin pie spice if you want a warmer, more aromatic twist.
14.Can I add mix-ins like chocolate chips or nuts to the batter? ▾
Absolutely! Fold up to ½ cup of mix-ins into the batter right before cooking—great options include mini chocolate chips, toasted slivered almonds, fresh blueberries, or shredded coconut. Toss fruit or dry add-ins in a tiny pinch of flour first to keep them from sinking to the bottom of the waffle as it cooks.
15.Do I need to grease my waffle iron even if it has a non-stick coating? ▾
It’s always a smart idea to lightly grease the preheated waffle iron plates, even on non-stick models, to prevent sticking and help build that extra-crisp edge. Use a pastry brush to dab a tiny bit of melted coconut oil or neutral oil on the plates, or give them a quick spritz with non-stick spray before your first batch.

Comments (3)

3 days ago

OMG these were such a hit with my family! Made these for my kids’ Saturday morning breakfast and they devoured them! I was worried almond milk would make them soggy but they stayed SO crispy even after I loaded them with strawberries and maple syrup. Only tweak was I added a tiny extra dash of cinnamon because we love that warm flavor here. Will 100% add these to our weekly meal prep rotation!

2 days ago

Wait how do you store them for meal prep? I’ve tried freezing homemade waffles before and they get all mushy when I reheat them in the toaster, would love any tips!

yesterday

So glad your family loved the waffles, Lizzy! For meal prep storage, let them cool completely on a wire rack before popping them in a freezer bag with parchment paper between each waffle to prevent sticking. Reheat directly in the toaster on medium heat and they’ll crisp right back up, no sogginess! That extra dash of cinnamon sounds absolutely delicious, too.

2 hours ago

Super easy recipe even for someone who burns toast 90% of the time! Took me barely 15 minutes to whip up the batter too, which is perfect for my chaotic mornings. I didn’t have a fancy waffle maker, just the cheap $20 one I got at Target, and they still came out perfectly crispy. Only reason I’m not giving 5 stars is I wish the recipe noted how much batter to pour per waffle – I overfilled the first one and made a huge mess lmao.

30 minutes ago

Thanks so much for the honest feedback, I really appreciate it! I’m updating the recipe notes right now to clarify: for a standard 7-inch waffle maker, ½ cup of batter per waffle is the sweet spot to avoid messy overflow. So glad they still turned out tasty even after the first-waffle mishap!

1 week ago

Brought a double batch of these to my office potluck last week and everyone was hounding me for the recipe! I topped them with a little almond butter drizzle and sliced bananas for a fancy touch, and even the coworkers who turn their nose up at dairy-free food went back for seconds. 10/10, so easy to throw together, totally crowd-pleasing, and a total game changer for dairy-free potluck options!



