
cooking sausages in pan

title 1
cooking sausages in pan
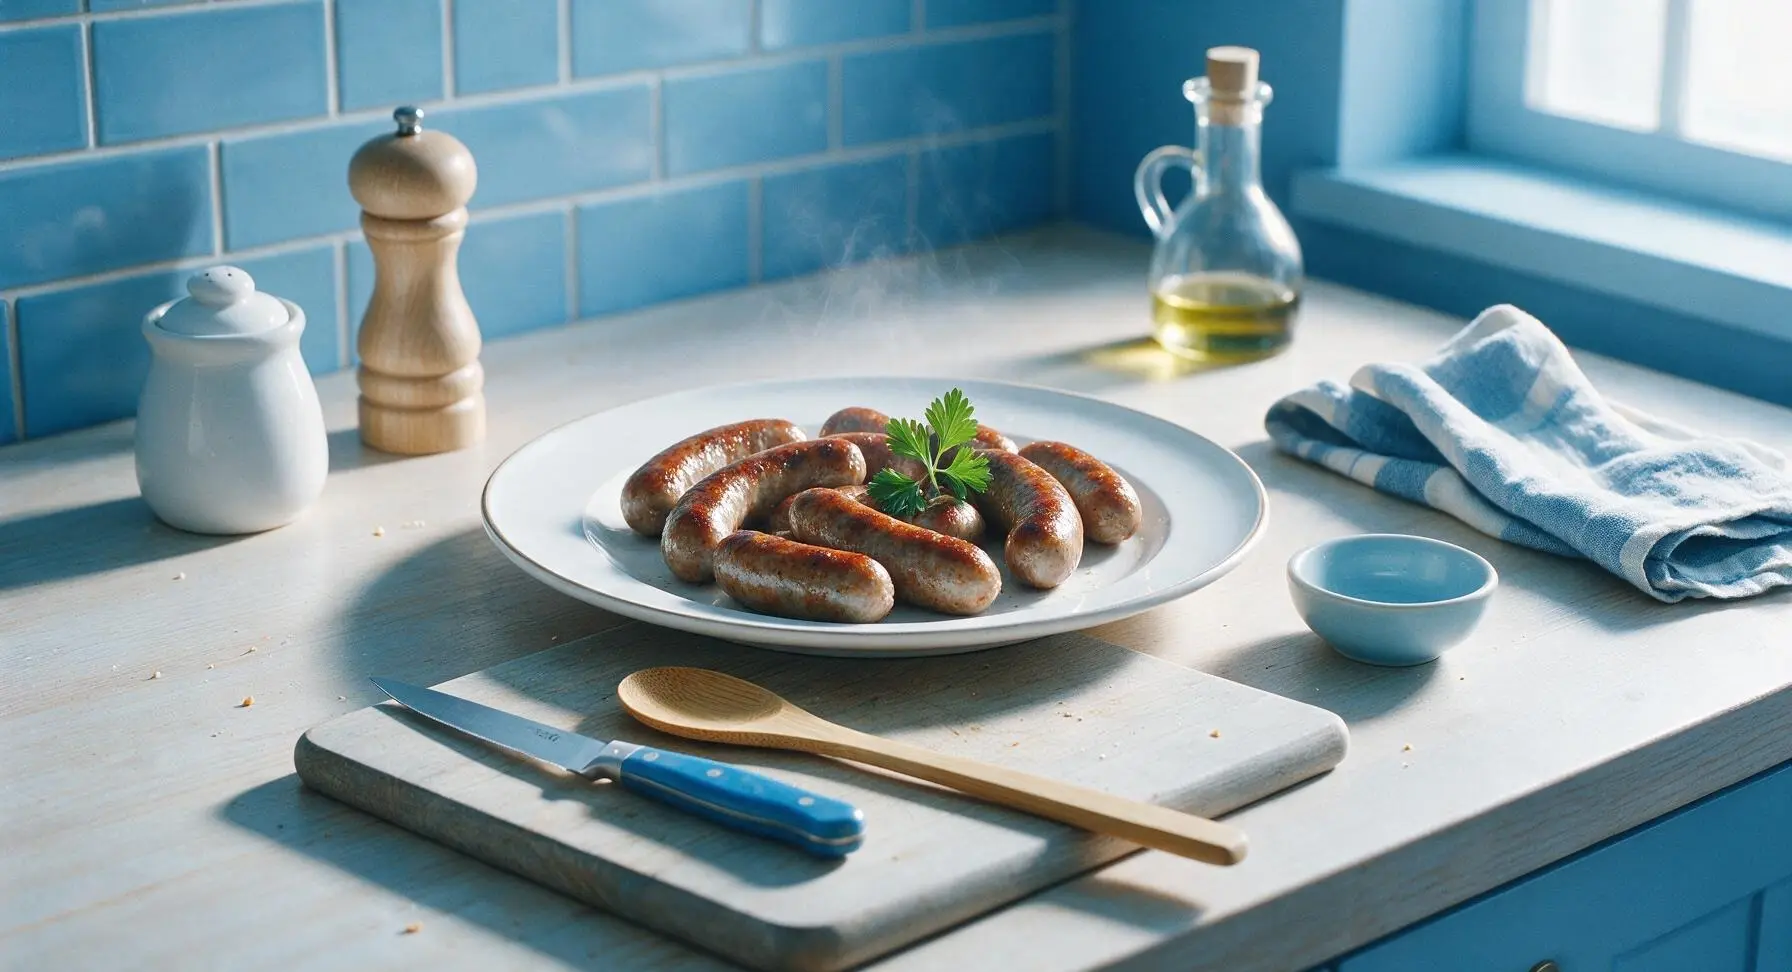
⏱️ cook time 15 minutes
🍽️ servings 4
⚡ Difficulty easy

intro

Juicy, evenly browned pan-cooked sausages with crisp, snappy casings and no burnt spots—perfect for quick weeknight autumn meals, ready in under 20 minutes with minimal cleanup.

Ingredients
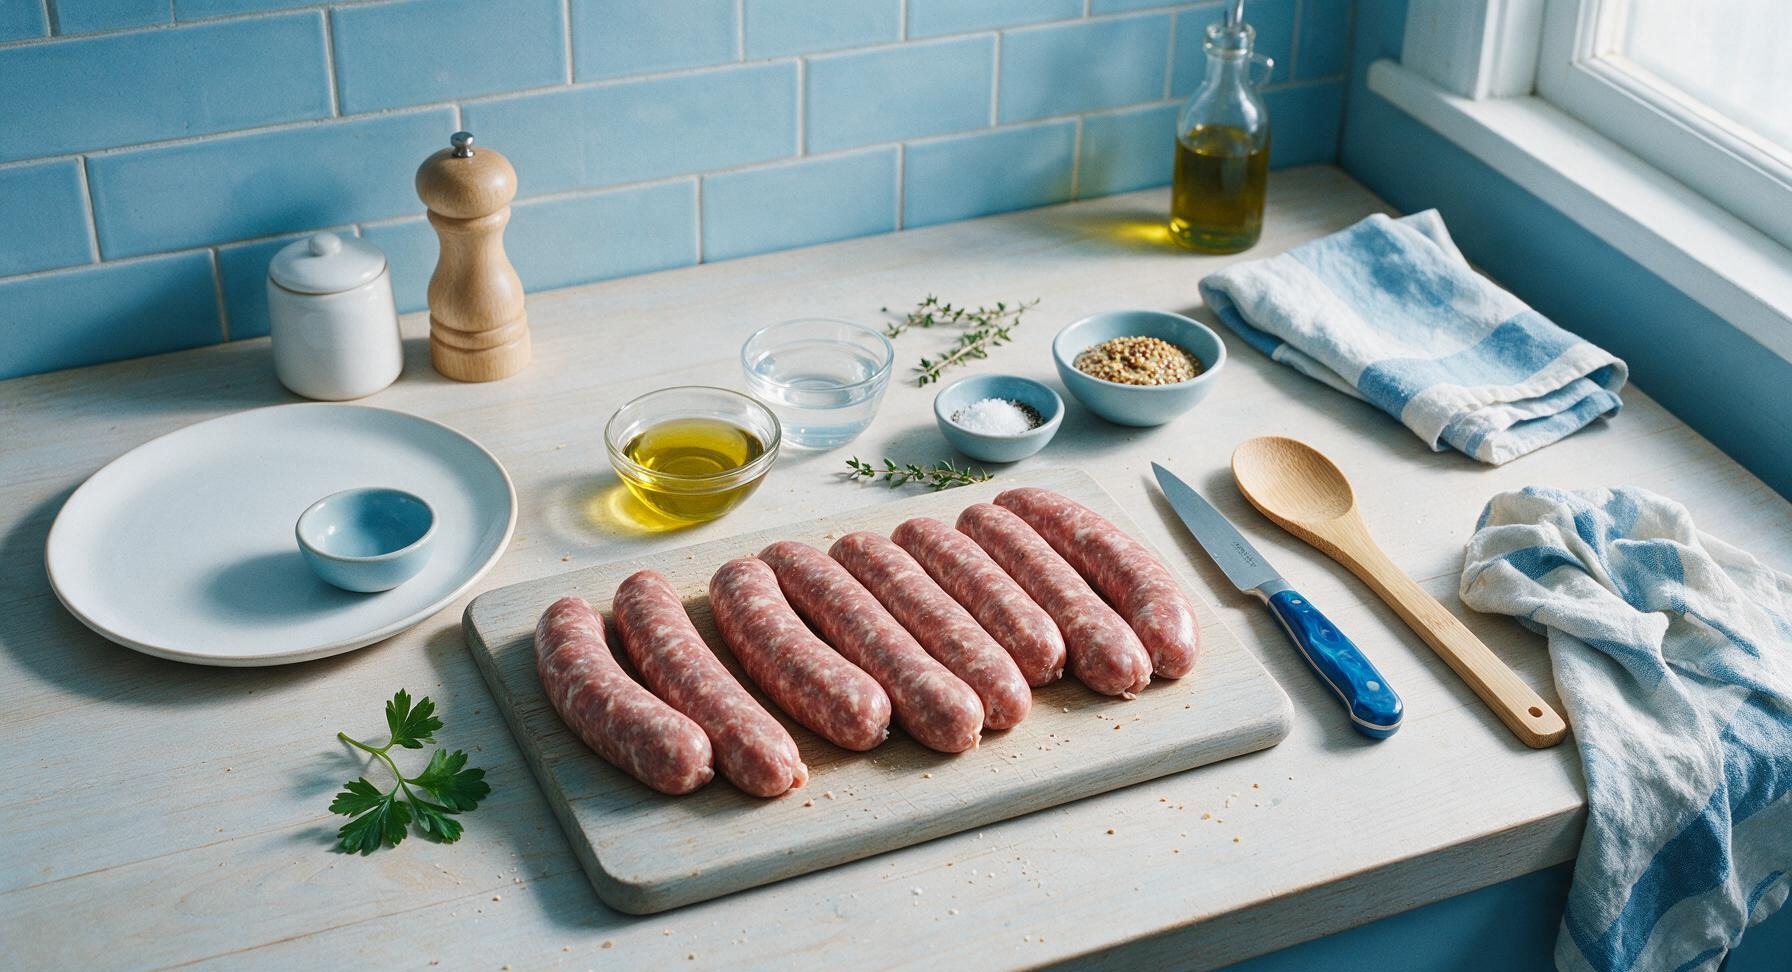
Raw pork link sausages (natural casing) 8 links (approx 800g total)
Extra-virgin olive oil 1 tablespoon
Cold water 1/4 cup
Coarse kosher salt 1/2 teaspoon
Freshly ground black pepper 1/4 teaspoon
Fresh thyme sprigs 3 sprigs
Whole grain mustard (for serving) 2 tablespoons

Steps

1

Prep the Sausages

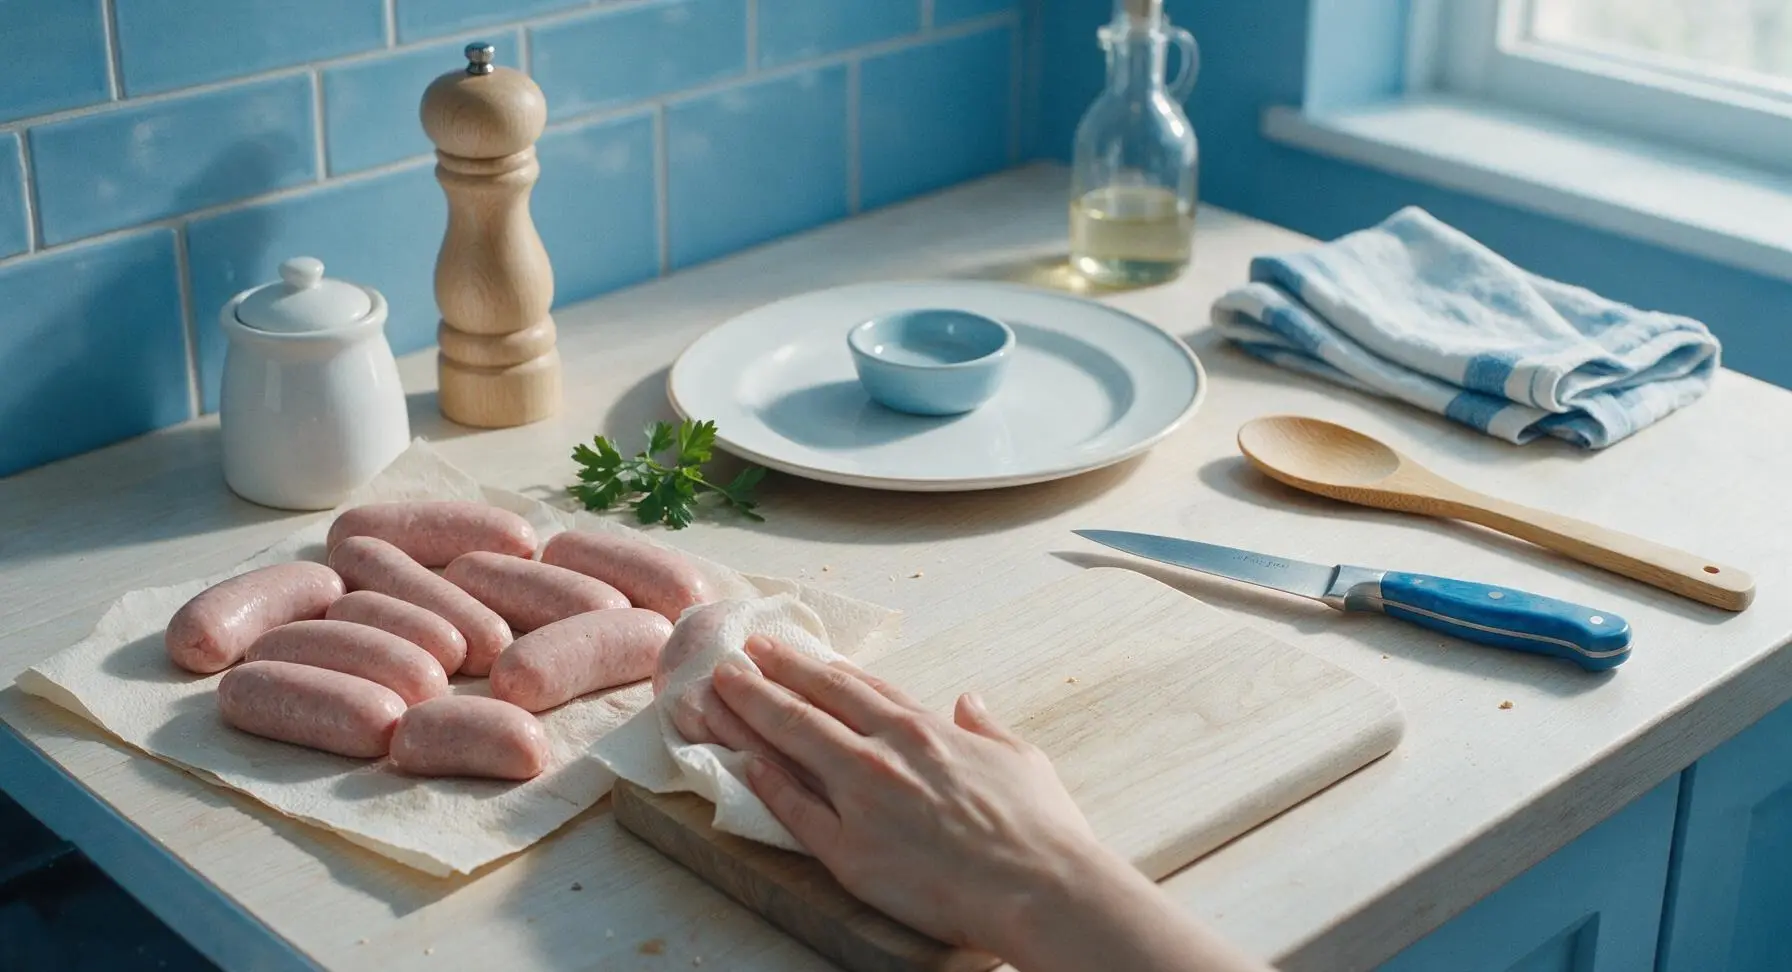
Remove sausages from the refrigerator 10 minutes before cooking to take the chill off (this prevents casings from bursting from sudden temperature change). Pat all sides of the sausages completely dry with unbleached paper towels—do NOT prick the casings, as this lets flavorful fat escape and leads to dry sausages. Sprinkle lightly with 1/2 teaspoon kosher salt and 1/4 teaspoon black pepper.
Step 1
step1:Prep the Sausages
2

Heat Pan and Oil

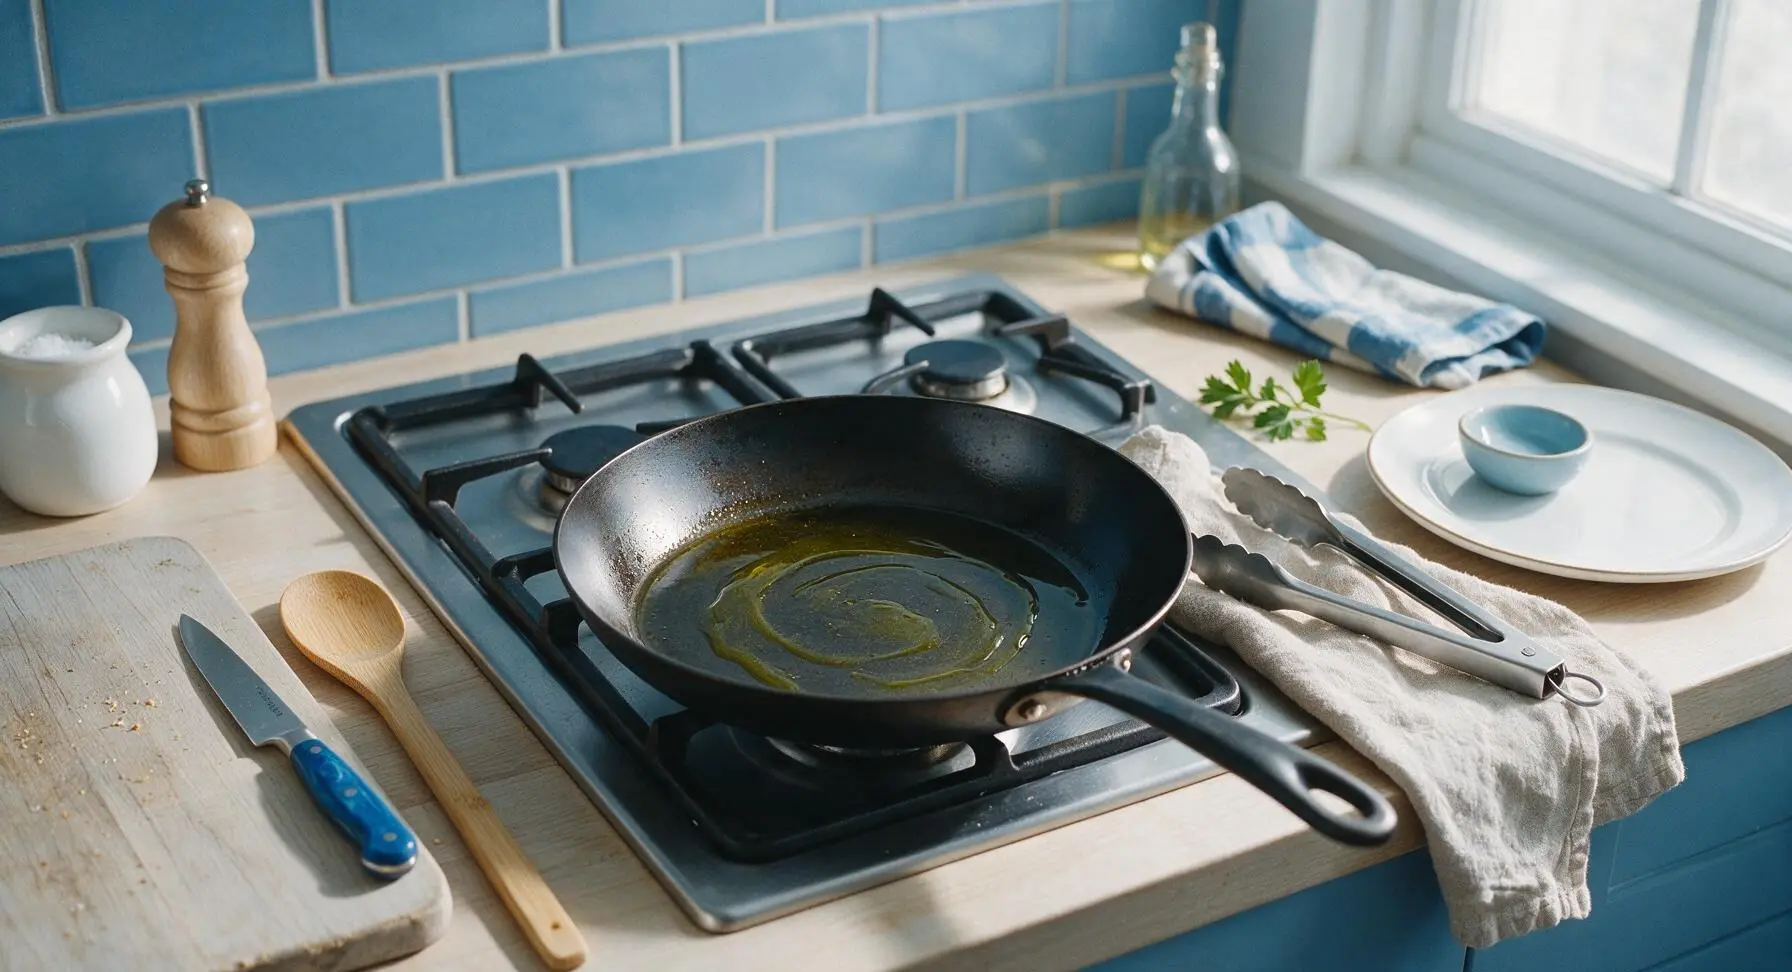
Place the 12-inch carbon steel frying pan on the center stovetop burner, turn heat to medium-low (325°F/160°C pan surface temperature). Add 1 tablespoon olive oil, and swirl to coat the pan bottom evenly. Heat the oil until it shimmers slightly but does not smoke—this takes about 1 minute.
Step 2
step2:Heat Pan and Oil
3

Arrange Sausages in Pan

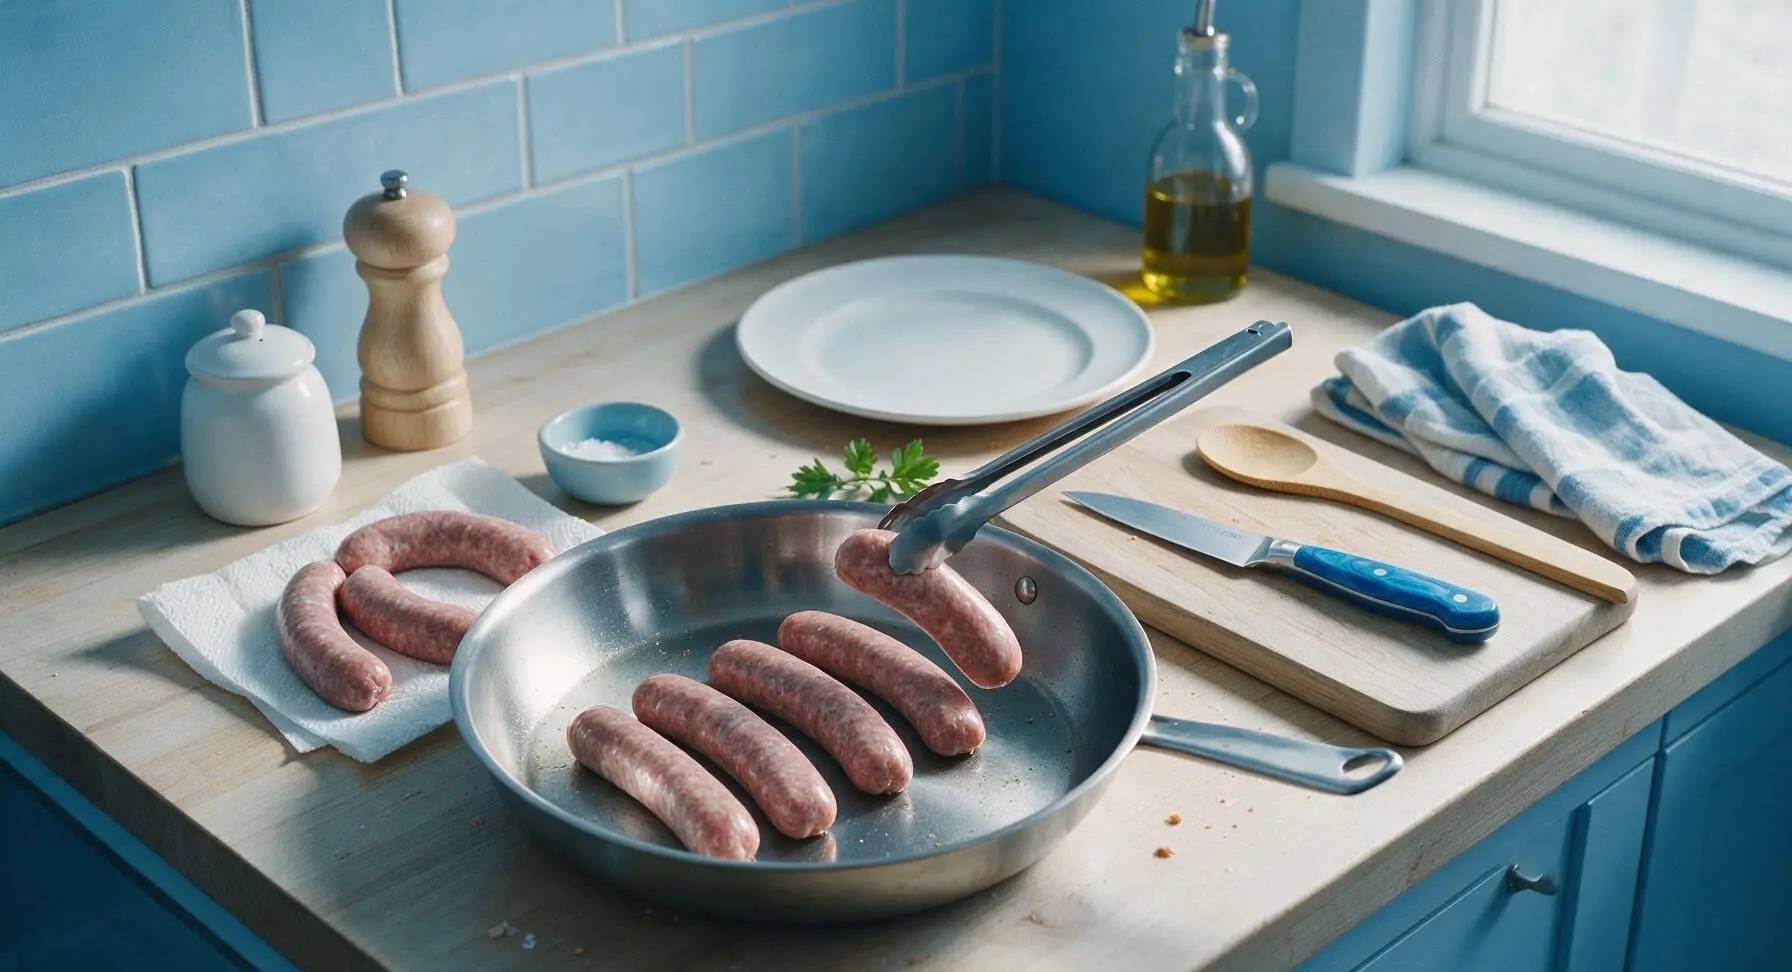
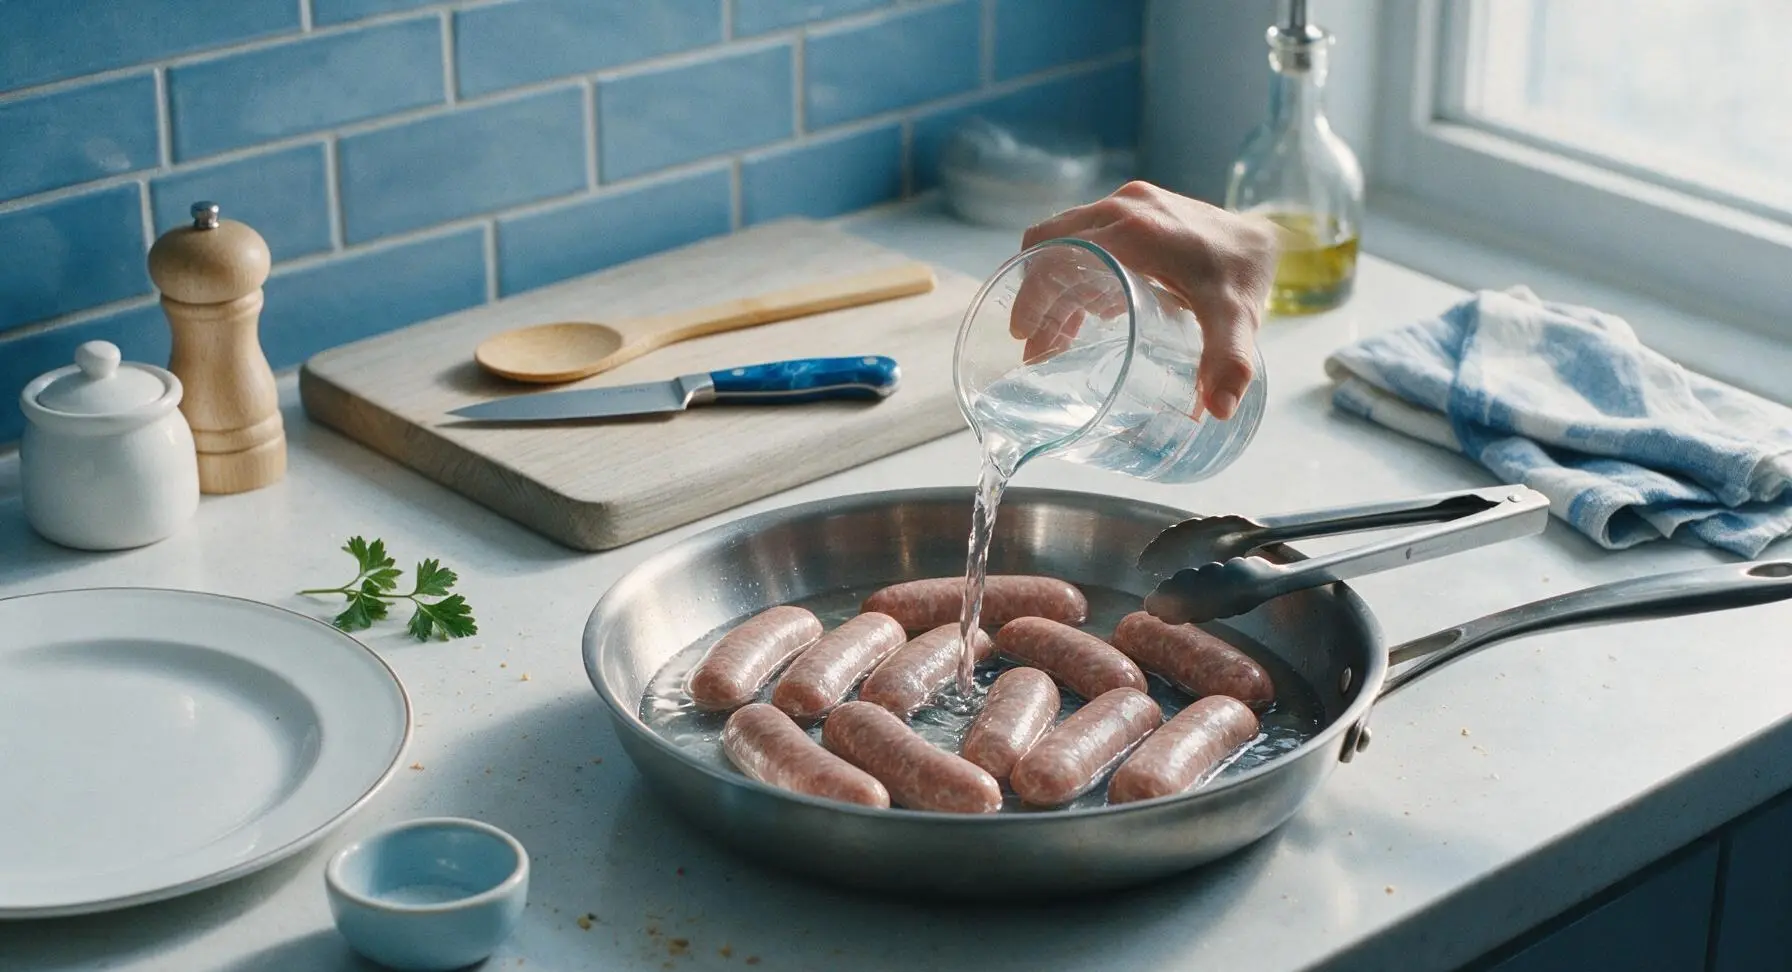
Using the stainless steel tongs, place the dried, seasoned sausages in the pan in a single layer, leaving 1/2 inch of space between each link to ensure even browning. Do not overcrowd the pan—if your pan is smaller, cook sausages in two batches. Immediately pour the 1/4 cup cold water into the pan around the sausages, taking care not to pour directly on the sausage casings.
Step 3
step3:Arrange Sausages in Pan
Step 3
step3:Arrange Sausages in Pan
4

Cover and Steam Sausages

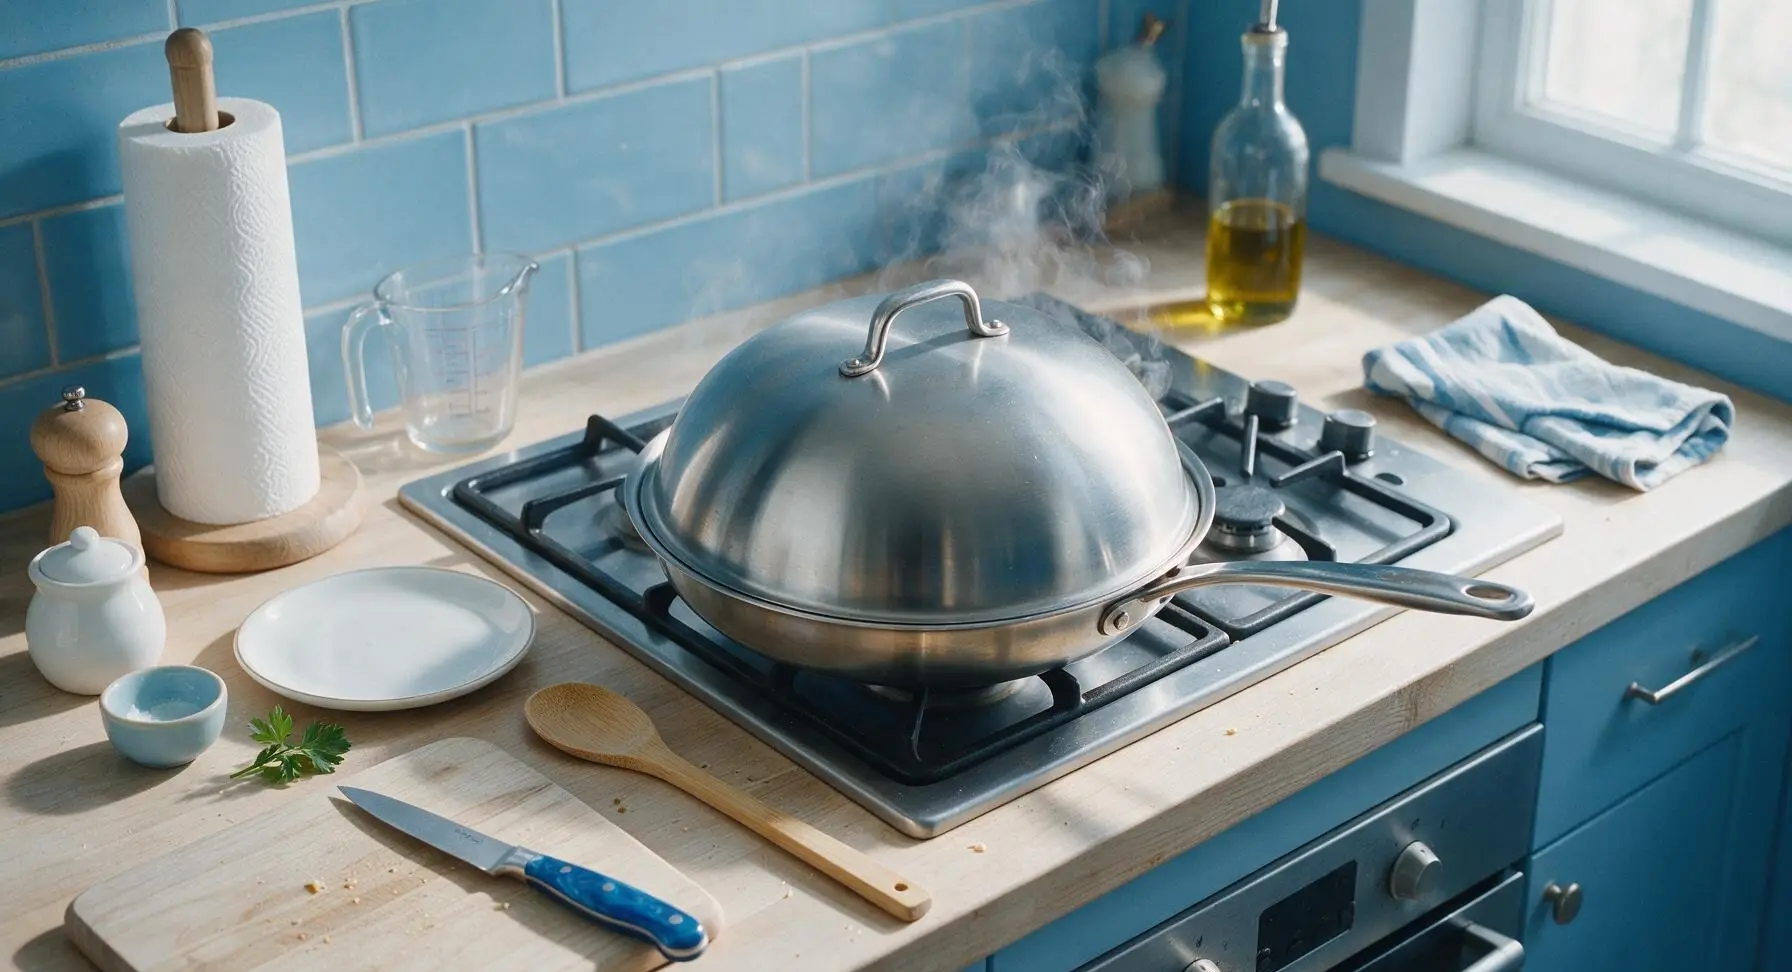
Cover the pan tightly with the matching stainless steel lid, reduce heat to low, and let the sausages steam for 8 minutes. The trapped steam will gently cook the sausages all the way through without burning the outsides, and keep casings tender.
Step 4
step4:Cover and Steam Sausages
5

Brown All Sausage Sides

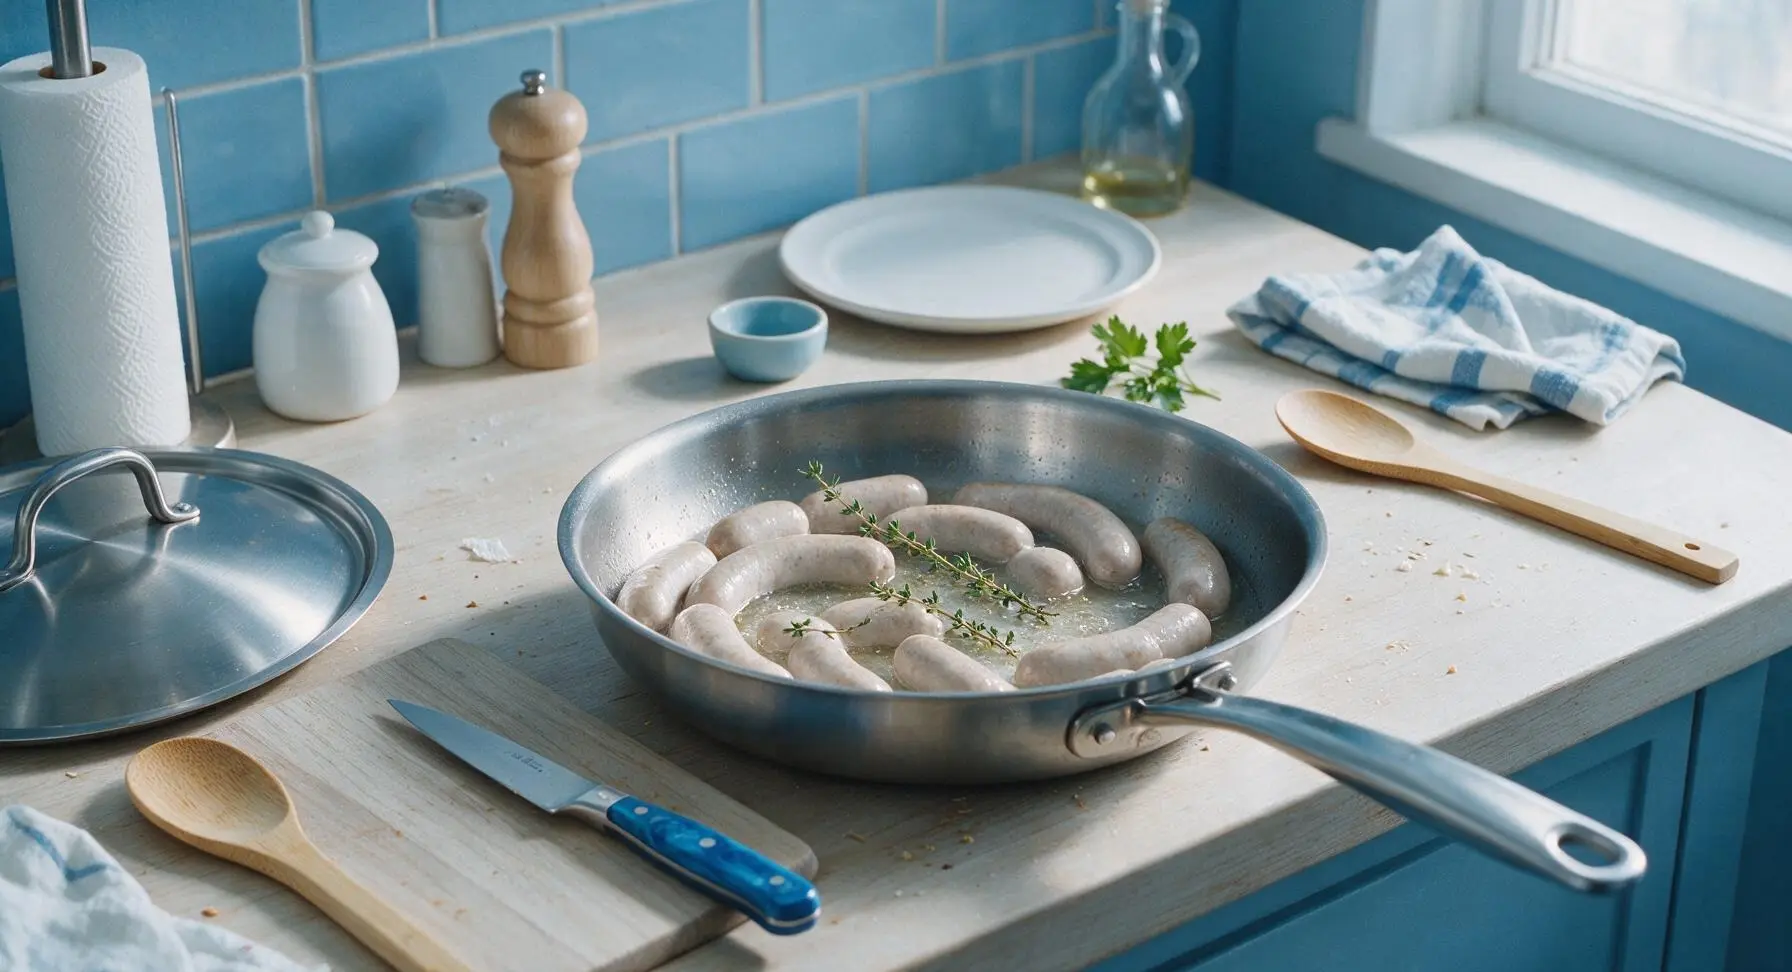
After 8 minutes of steaming, remove the lid—most of the water will have evaporated, leaving the sausages pale and partially cooked. Turn the heat back up to medium, add the 3 fresh thyme sprigs to the pan. Use the tongs to turn the sausages every 2 minutes, browning all 4 sides evenly for a total of 6-7 minutes, until casings are deep golden brown with crisp, slightly blistered spots.
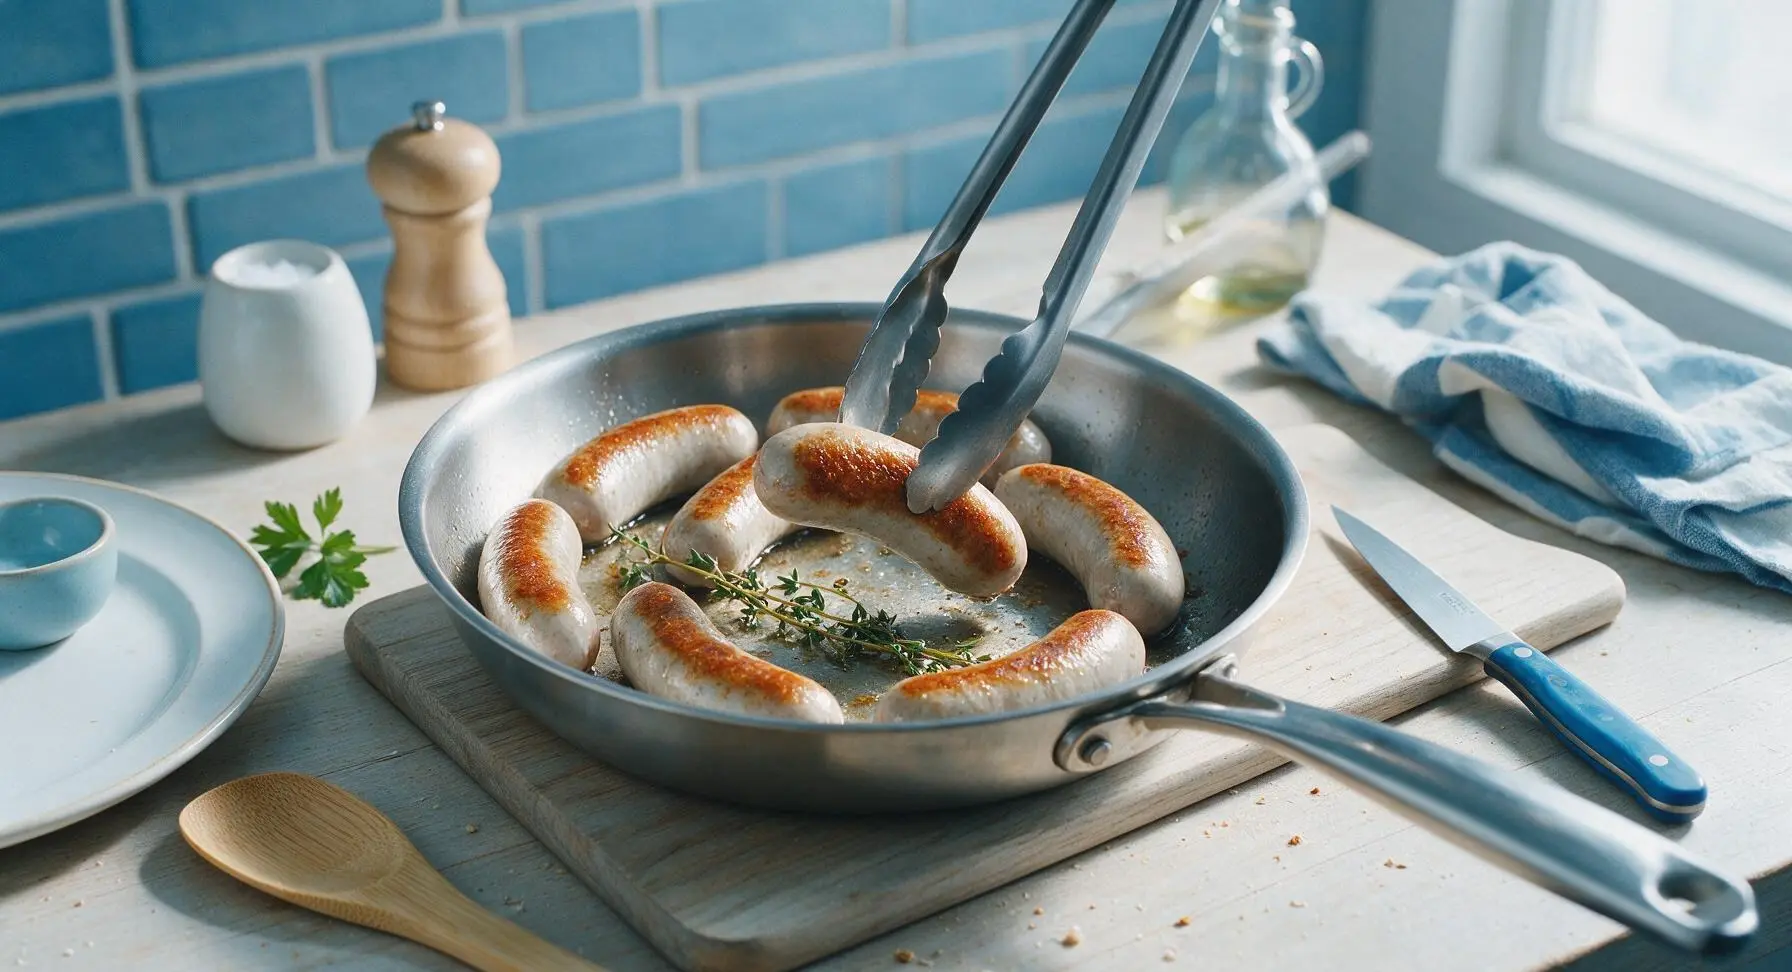
Step 5
step5:Brown All Sausage Sides
Step 5
step5:Brown All Sausage Sides
6

Check Internal Temperature

Once all sides are browned, insert the instant-read meat thermometer into the center of the thickest sausage, avoiding contact with the pan. Sausages are fully cooked when they reach an internal temperature of 160°F/71°C, with no pink remaining in the center, and juices run clear.
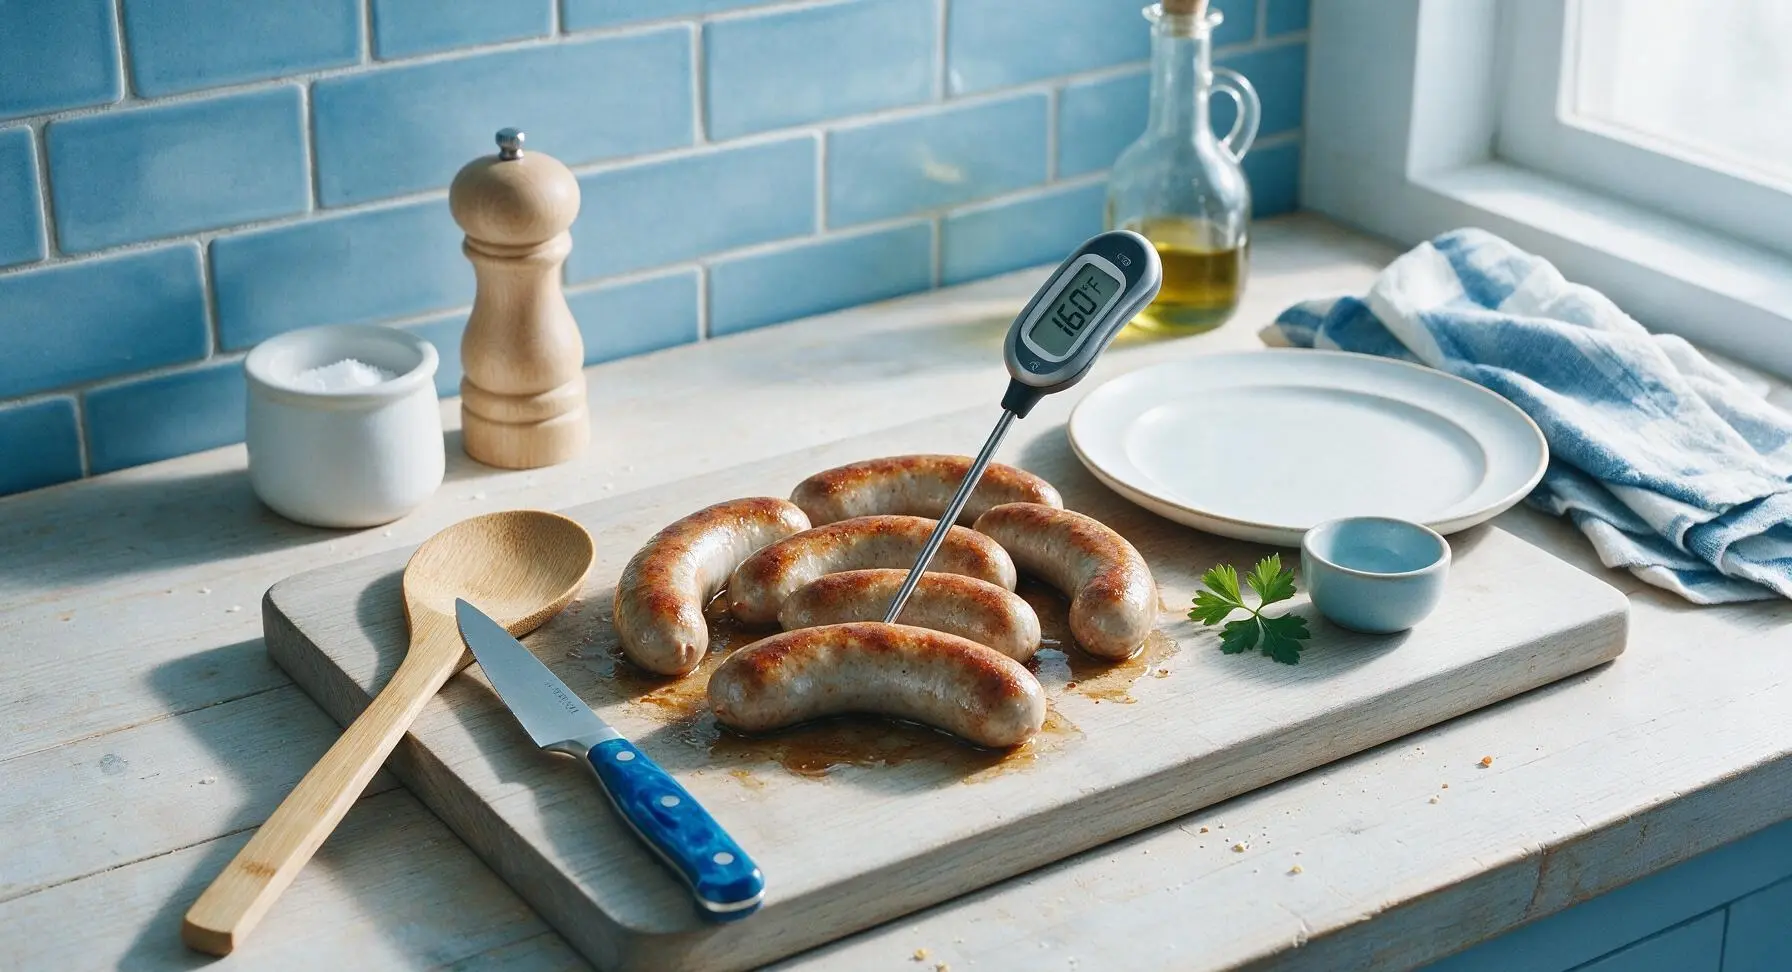
Step 6
step6:Check Internal Temperature
7

Rest and Plate Sausages

Turn off the heat, use tongs to transfer the sausages to the cream white stoneware dinner plate. Let the sausages rest for 2 minutes to allow juices to redistribute, then tuck a fresh thyme sprig between the links, and serve with the small terracotta ramekin of whole grain mustard on the side.
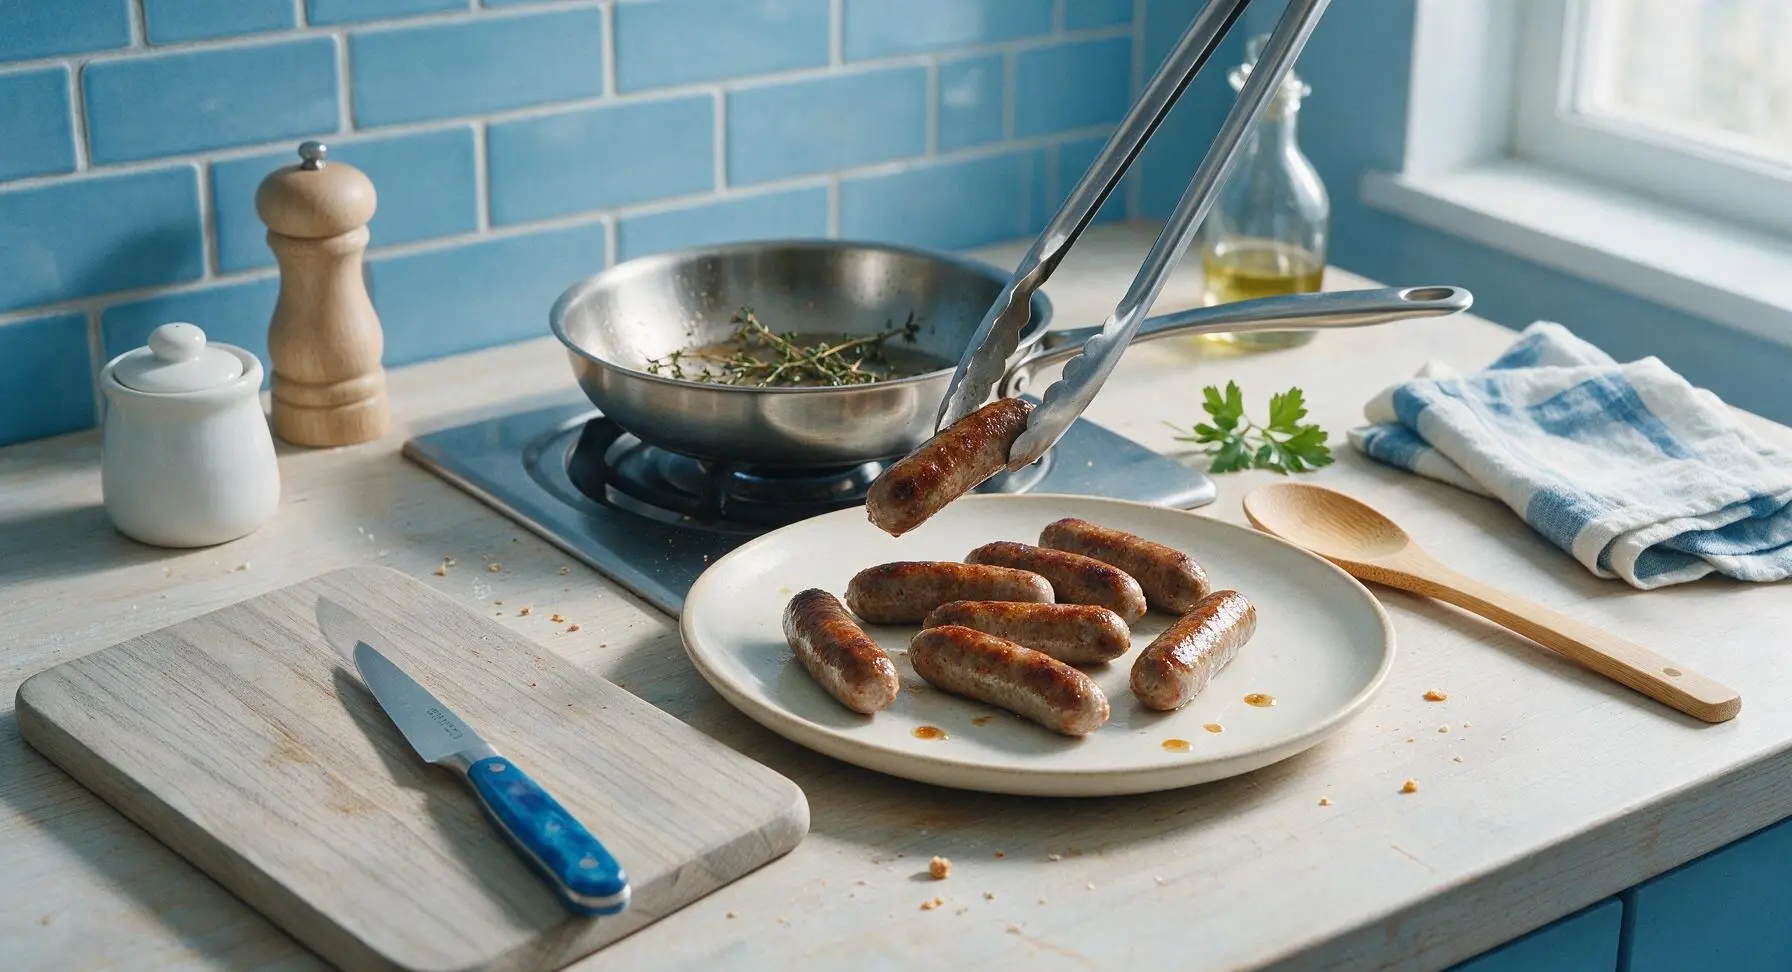
Step 7
step7:Rest and Plate Sausages

Tips

1.Never prick sausage casings before cooking: Piercing creates holes that let delicious rendered fat leak out, leading to dry, less flavorful sausages and increased hot oil splatter during browning. The covered steam method used in this recipe prevents casings from bursting without needing to prick them.
2.Avoid cooking sausages over high heat: High temperatures will burn and char casings quickly before the sausage center cooks through, and can cause casings to split from rapid heat shock. Sticking to medium-low for steaming and medium for browning ensures even cooking and crisp, golden (not blackened) skins.
3.Always let sausages rest for 2 minutes after cooking: Just like larger cuts of meat, this short rest lets internal juices redistribute through the sausage instead of running out onto the plate when you take the first bite, resulting in juicier, more evenly textured sausages.


✨ You May Also Like

Main Course
🍜 United Kingdom

A showstopping classic of tender seared beef, savory mushroom duxelles, and crisp prosciutto wrapped in flaky golden puff pastry, baked to juicy perfection.

⏱️ 2 hours 1Main Course ★ 4.7
Main Course
🍜 India

Tender charred marinated chicken simmered in a rich, spiced creamy tomato sauce, this iconic Anglo-Indian curry pairs perfectly with basmati rice or warm naan.

⏱️ 50 minuteMain Course ★ 4.6
Main Course
🍜 Thailand

Classic tangy, sweet, and savory Thai stir-fried rice noodles with shrimp, tofu, and crunchy garnishes, balancing all five core Thai flavor profiles.

⏱️ 30 minuteMain Course ★ 4.5
Main Course
🍜 United Kingdom

Crispy golden beer-battered cod and fluffy double-fried chips, served with tangy tartar sauce and malt vinegar: the timeless, beloved British pub comfort classic.

⏱️ 45 minuteMain Course ★ 4.7
Main Course
🍜 Mexico

Smoky, chile-marinated pork tacos with caramelized pineapple, fresh cilantro, and lime: a beloved classic Mexican street food perfect for casual summer gatherings.

⏱️ 1 hour 45Main Course ★ 4.8
Main Course
🍜 United States

Crunchy Fritos corn chips layered with savory beef chili and melted cheddar, topped with cool, zesty fixings for a beloved, cozy Tex-Mex comfort food.

⏱️ 35 minuteMain Course ★ 4.8

cooking sausages in pan:Frequently Asked Questions

1.Why do you add cold water to the pan when cooking sausages? ▾
That cold water serves two critical jobs: it gently steams sausages from the inside out first so they reach a safe internal temperature without raw centers, and it prevents casings from seizing up and splitting early. Once the water evaporates, you’ll get that perfect snappy, evenly browned exterior without random burnt splotches.
2.Do I need to prick sausage casings with a fork before cooking? ▾
Skip pricking natural casings entirely. Poking holes lets all that delicious, juicy rendered fat leak out into the pan, leaving you with dry, bland sausages and causing excess stovetop splatter. The gentle cold-water steam start keeps casings from splitting on their own, so you lock in flavor and get that signature snappy bite.
3.What type of pan works best for this recipe? ▾
Reach for a heavy-bottomed stainless steel or cast iron skillet with a tight-fitting lid, ideally 10 to 12 inches wide. Heavy pans distribute heat evenly to eliminate hot spots that cause burnt patches, and the lid traps steam during the initial water-cook stage so sausages cook uniformly without constant hovering.
4.How do I know when sausages are fully cooked and safe to eat? ▾
Always use an instant-read thermometer to check doneness instead of guessing by color. Pork sausages are safe to eat when they hit 160°F at their thickest point, with no pink remaining in the center. If you don’t have a thermometer, cut into one link: clear, not pink, running juices mean they’re ready to serve.
5.Can I use pre-cooked smoked sausages instead of raw natural-casing pork links? ▾
You absolutely can, with one small cook time tweak. Pre-cooked sausages only need half the initial steam time (about 3 minutes instead of 6 to 8) since you’re just warming them through, not cooking raw pork. You’ll still get a snappy, evenly browned casing, with total cook time dropping to around 10 minutes flat.
6.Why do my pan-cooked sausages always have burnt, uneven spots? ▾
That almost always happens when you crank heat too high and cook sausages straight from the fridge with no steam step. High heat scorches casings long before the center cooks through, and uneven pan heat creates random hot spots. The low-and-slow steam start, followed by medium-heat browning, eliminates those burnt patches.
7.How much extra-virgin olive oil do I actually need for this recipe? ▾
You only need 1 teaspoon of extra-virgin olive oil per 4 to 6 sausage links, since the sausages will render plenty of their own fat as they cook. Too much oil causes excess splatter and makes casings greasy instead of crisp. A light coating just keeps links from sticking during the first minute before adding water.
8.Should I bring sausages to room temperature before cooking them? ▾
You don’t need to wait for sausages to come to room temperature for this method, which is part of what makes it perfect for quick weeknight autumn meals. The gentle initial steam stage cooks cold sausages evenly without shocking casings, so you can pull links straight from the fridge and have dinner ready in under 20 minutes.
9.How do I get that crisp, snappy casing everyone raves about? ▾
That perfect snappy casing comes from two simple steps: first, don’t prick casings so they stay taut, and second, let all initial cooking water fully evaporate before you start browning. Once water is gone, roll sausages every minute or two in rendered fat and oil to crisp casings evenly on all sides without burning.
10.Why do my sausage casings turn tough and chewy instead of crisp? ▾
Tough, chewy casings usually come from cooking over too-low heat for too long, or stacking sausages on top of each other so they steam the whole time instead of browning. Make sure sausages sit in a single layer with a little space between each link, and turn heat to medium once water evaporates to crisp casings quickly.
11.Can I cook onions, peppers, or other veggies in the pan with the sausages? ▾
Absolutely, just add them after the initial steam stage, once the water has evaporated. Toss sliced onions, bell peppers, or even diced autumn apple in the rendered sausage fat and oil, season with a pinch of kosher salt and black pepper, and sauté alongside sausages as they brown for a one-pan meal with almost no extra cleanup.
12.How do I cut down on oil splatter when cooking pan sausages? ▾
The cold-water method cuts down on splatter dramatically because you’re not dropping cold sausages into screaming hot oil. For extra protection, use a splatter screen over the pan during the final browning stage, and pat sausages dry of excess packaging moisture before adding them to the skillet to reduce popping.
13.What’s the best way to season these pan-cooked sausages? ▾
You don’t need fancy spice blends! Natural-casing pork links have plenty of built-in savoriness, so a light pinch of coarse kosher salt and a few grinds of fresh black pepper right as they finish browning is all you need. Skip heavy seasonings early on, since they can burn and turn bitter as sausages brown.
14.Can I make these sausages ahead for weekly meal prep? ▾
Yes, these pan-cooked sausages hold up really well for meal prep. Let them cool completely after cooking, then store in an airtight container in the fridge for up to 4 days. Reheat in a dry skillet over medium-low heat for 3 to 4 minutes, rolling occasionally, to crisp casings instead of microwaving, which makes them rubbery.
15.How often should I flip or turn sausages while they’re browning? ▾
You only need to roll the sausages every 60 to 90 seconds once the water evaporates, which gives each side enough time to develop a deep golden, crisp crust without burning. Resist the urge to poke or prod them constantly with a fork—use tongs to roll them gently so you don’t pierce casings and leak flavorful juice.
16.Why do some of my sausages split open while they cook? ▾
Split sausages almost always happen when heat is too high right from the start, which causes fat inside to boil rapidly and burst through the casing. The cold water steam start raises internal temperature gradually so pressure doesn’t build too fast, and keeping heat at medium during browning prevents sudden splits that leak juice.
17.Can I make this recipe if my skillet doesn’t have a matching lid? ▾
If you don’t have a matching lid for your skillet, you can use a tight-fitting sheet of aluminum foil crimped around the pan edges to trap steam during the initial water cook stage. Just make sure the seal is tight enough to keep steam from escaping, so sausages cook evenly all the way through before browning.
18.What should I do with the rendered fat left in the pan after cooking? ▾
Never pour that flavorful rendered sausage fat down the drain! Let it cool slightly, strain it into a glass jar, and store it in the fridge for up to 2 weeks to use for roasting veggies, frying eggs, or sautéing greens. Wiping the cooled pan with a paper towel makes cleanup fast with no heavy scrubbing needed.

Comments (16)

2 days ago

OMG this method is a total game changer! I’ve been overcooking and burning my breakfast sausages on the stove for YEARS, they always end up charred on the outside and raw in the middle. Followed this exactly for Sunday family breakfast, even my super picky 7 year old ate two and asked for more. 15 minutes flat, no fuss, perfect juicy snappy casings every time.

yesterday

Right?! I used to poke holes in them too which made all the juice run out, so glad I skipped that step per the recipe! My kids went crazy for these last night with sheet pan veggies.

2 hours ago

So glad the whole family loved them! Poking holes is such a common mistake that dries out sausages, we’re happy this trick works for your breakfasts too!

3 days ago

SO good, so easy! I made a big batch of these on Sunday to throw in breakfast wraps and pasta dishes all week, they held up perfectly in the fridge. No splatter all over my stovetop like when I used to crank the heat too high. 10/10 will be making these every single week.

2 hours ago

Wait, do I need to add oil first? I tried this last night with my regular pork brats and they stuck a little to the pan even though I used a nonstick, still tasted amazing though!

30 minutes ago

Great question! If you’re using very lean sausages or a stainless steel pan, a tiny teaspoon of neutral oil (like canola or avocado) added before heating the pan will prevent sticking. No extra oil needed for regular higher-fat pork sausages!

1 week ago

Made these for our neighborhood potluck last weekend, everyone was asking me for the recipe! I used spicy Italian sausages, served them on hoagie rolls with sautéed peppers and onions, and they were gone in 10 minutes flat. Can’t believe how simple this is, I always thought good pan sausages required fancy equipment.

5 days ago

I did the exact same thing for our block party! I also added a little grainy mustard on the side, people were going back for thirds.

3 days ago

Spicy Italian with peppers and onions is such a classic combo! We love hearing these are a hit at neighborhood gatherings, great call serving them on rolls.

yesterday

These came out perfectly juicy! I paired them with mashed potatoes and roasted green beans for a quick weeknight dinner when I got home late from work, total cook time really was only 15 minutes. No fancy skills required, even a beginner can nail this.

30 minutes ago

Has anyone tried this with chicken apple sausages? I usually buy those for lower fat meal prep, wondering if the cook time is the same?

5 minutes ago

I made it with chicken apple sausages last week! Just turned the heat down a tiny bit and added 2 extra minutes, they came out perfect, no dryness at all.

2 weeks ago

I was skeptical that pan-cooked could beat my usual grilled sausages, but wow, these hold up! It’s been pouring rain all week so I couldn’t fire up the smoker, gave this a shot and my wife said they’re better than the grilled ones. Don’t tell my grill master friends I said that 😂

1 week ago

Haha I feel that! I’m a total grill snob too but this method is unbeatable when the weather is garbage, I’ve made it three times in the last two weeks.

5 days ago

We won’t tell your grill crew, promise! This method is our go-to for rainy days when grilling isn’t an option, so glad it passed the grill master test.

5 days ago

Quick question! Can I cook these ahead and reheat them in the microwave for my kid’s school lunch? I’m always looking for easy protein options that don’t get rubbery when reheated.

3 days ago

Absolutely! Let them cool completely before storing in an airtight container in the fridge for up to 4 days. Reheat in 30 second bursts in the microwave, or toss them in a warm pan for a minute to get the casing snappy again. They work great for lunch boxes!

2 hours ago

Tried this with the fancy garlic herb sausages from my local butcher shop, and they turned out absolute chef’s kiss. The low and slow start then final sear gives the perfect snap, I’ll never go back to cranking the heat to high and burning them again. Worth every penny of the good sausages with this method.

3 days ago

My husband is OBSESSED with these! I made them for our first at-home date night after moving into our new apartment, he said they’re better than the sausages we got at the German restaurant on our honeymoon. Win for me!

2 days ago

Aww that’s so sweet! I made these for my husband’s birthday dinner last month and he said the same thing, total crowd pleaser for date night.

yesterday

Game. Changer. I don’t know why I never thought to not move the sausages around the pan the whole time, letting them brown on each side without poking or prodding makes such a huge difference. Made these with mac and cheese for the kids last night, zero complaints, clean plates all around.

2 hours ago

Same! I was always flipping them every 10 seconds like a maniac before, leaving them alone makes the crust so much better. My kids ate theirs with ketchup, obviously, but they still loved them.

30 minutes ago

The no-fidgeting rule is the real secret! It lets the casings caramelize perfectly and keeps all the juicy flavor locked in. So happy the kids cleaned their plates!

1 week ago

So happy this recipe is naturally gluten free! I have celiac and it’s so hard to find easy weeknight dinners that don’t require a ton of specialty ingredients. These were perfect served over roasted sweet potatoes, I’ll be adding them to my regular rotation.

2 weeks ago

I’ve been cooking sausages for 60 years and thought I had it all figured out, but this method is better than what I’ve been doing! My grandkids kept saying “grandpa these are the best sausages ever” when they visited last weekend. One tip: add a little sliced apple to the pan the last 3 minutes, it pairs so well with pork sausages.

1 week ago

That apple tip is brilliant! We love that trick too, the sweet apple cuts through the savoriness of the sausage perfectly. So glad the grandkids approved, that’s the best review we could ask for!

just now

Made these in my tiny dorm kitchen with a $10 thrift store frying pan, no splatter screen, no fancy tools, and they came out perfect. Total cost for 4 sausages was like $3, fed me and my roommate for two meals. Best cheap easy dinner I’ve found all semester.

2 days ago

Tried this with hot links last night for game night, served with potato salad and coleslaw, my friends ate every last one. I was worried they’d burst if I didn’t poke them, but they stayed perfectly intact and had that amazing snap when you bit into them. 10/10, will be making these for every game day from now on.

yesterday

Hot links are my go-to for game day too! I did a mix of hot and mild last weekend for the football game, even the people who “don’t like spicy food” were eating the hot ones.

2 hours ago

Game day spread perfection! We’re thrilled they didn’t burst on you – that no-poke trick really does keep all that delicious spicy flavor locked inside. Can’t beat sausages for a watch party!

30 minutes ago

This is such a perfect low carb, high protein dinner option! I’ve been stuck in a chicken breast rut for weeks, these are such a nice change of pace, and they’re so quick to make after my evening gym sessions. No weird additives, just simple, tasty food.

5 minutes ago

Right?! I’m always looking for quick post-gym meals too, these are way more flavorful than plain chicken, and they reheat so well for lunch the next day too.



