
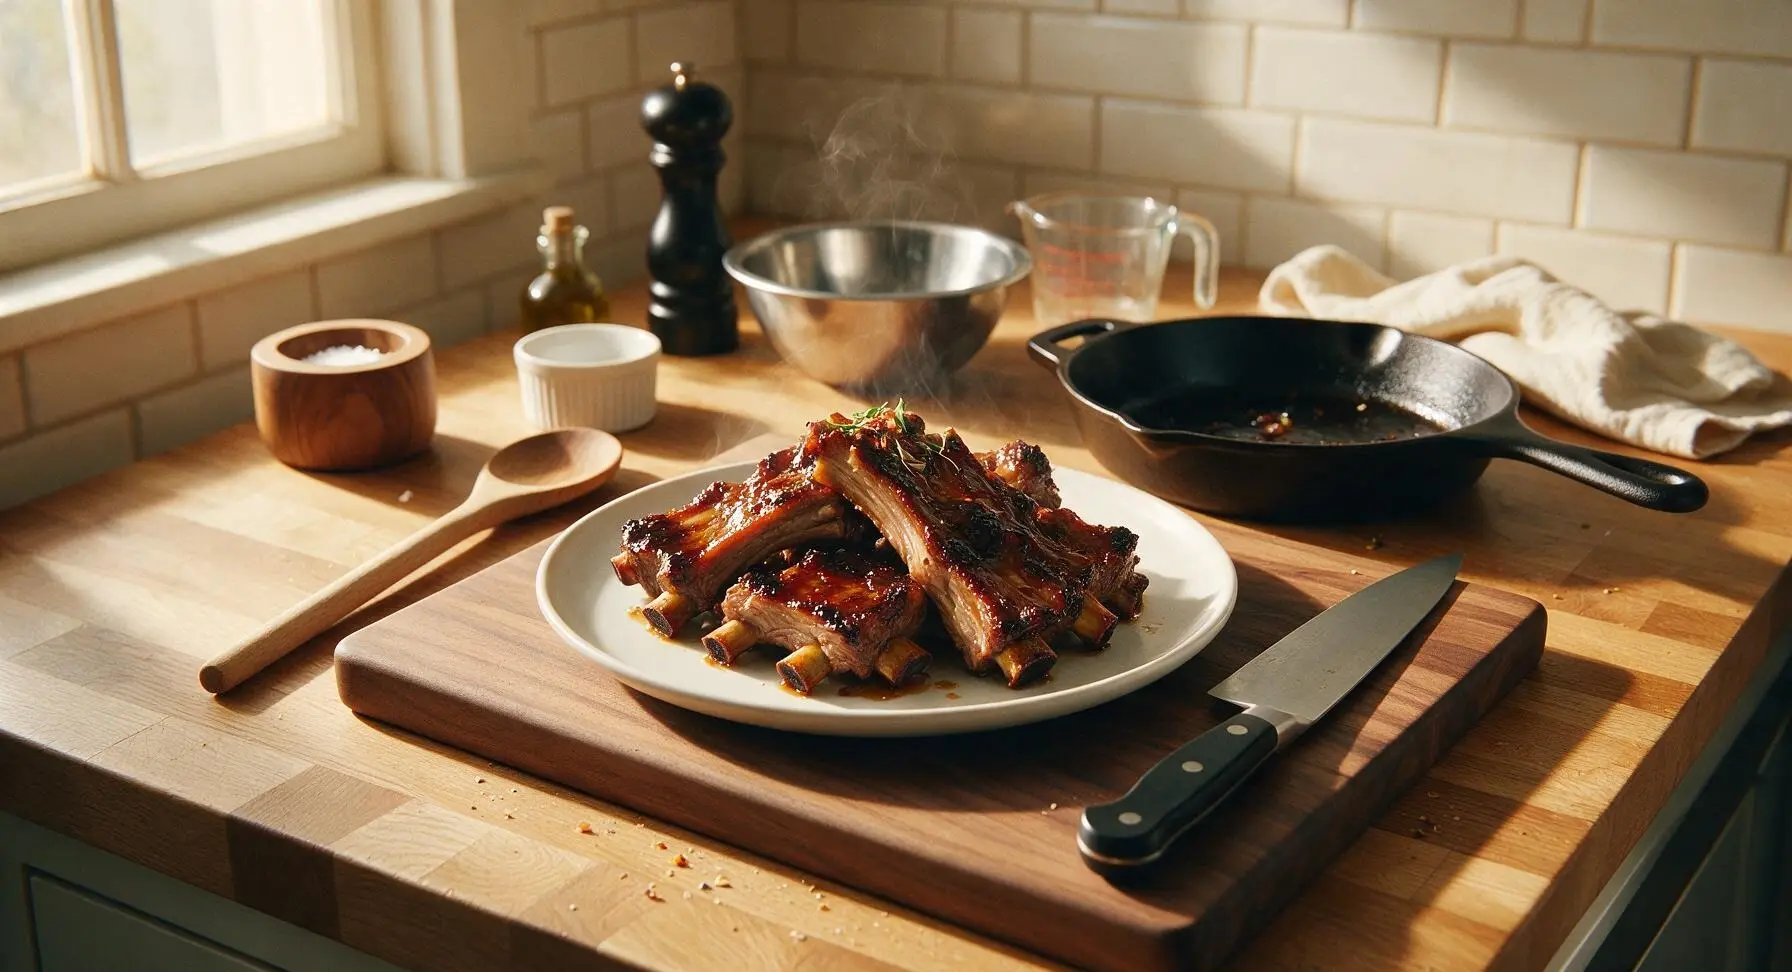
English Cut Ribs

title 1
English Cut Ribs
⏱️ cook time 2 hours
🍽️ servings 4
⚡ Difficulty medium

intro

Tender, fall-off-the-bone English cut pork ribs coated in a tangy, sticky sweet-savory glaze, slow-cooked to caramelized perfection for casual summer gatherings.

Ingredients
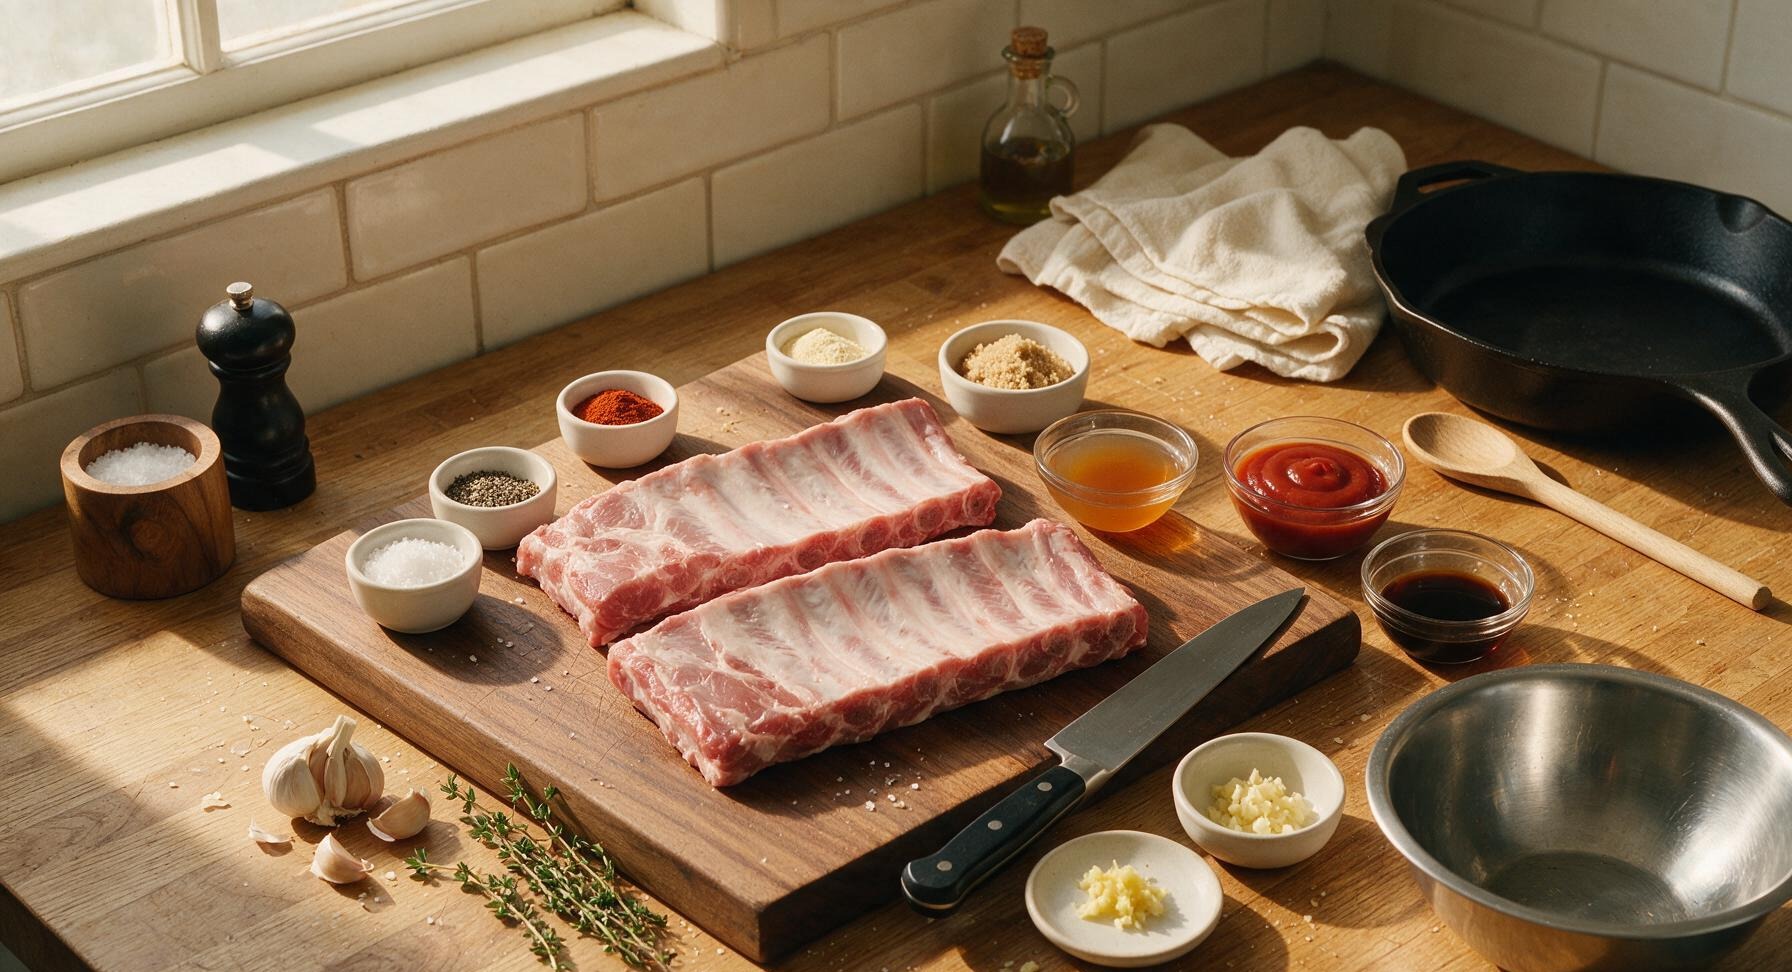
English cut pork ribs 2 racks (1.2kg total)
Kosher salt 2 tbsp
Freshly cracked black pepper 1 tbsp
Smoked paprika 1 tsp
Garlic powder 1 tsp
Light brown sugar 3 tbsp
Apple cider vinegar 60ml
Tomato ketchup 80g
Worcestershire sauce 2 tbsp
Fresh garlic 3 cloves, minced
Fresh ginger 1 tsp, grated
Fresh thyme 5 sprigs

Steps

1

Trim the Ribs

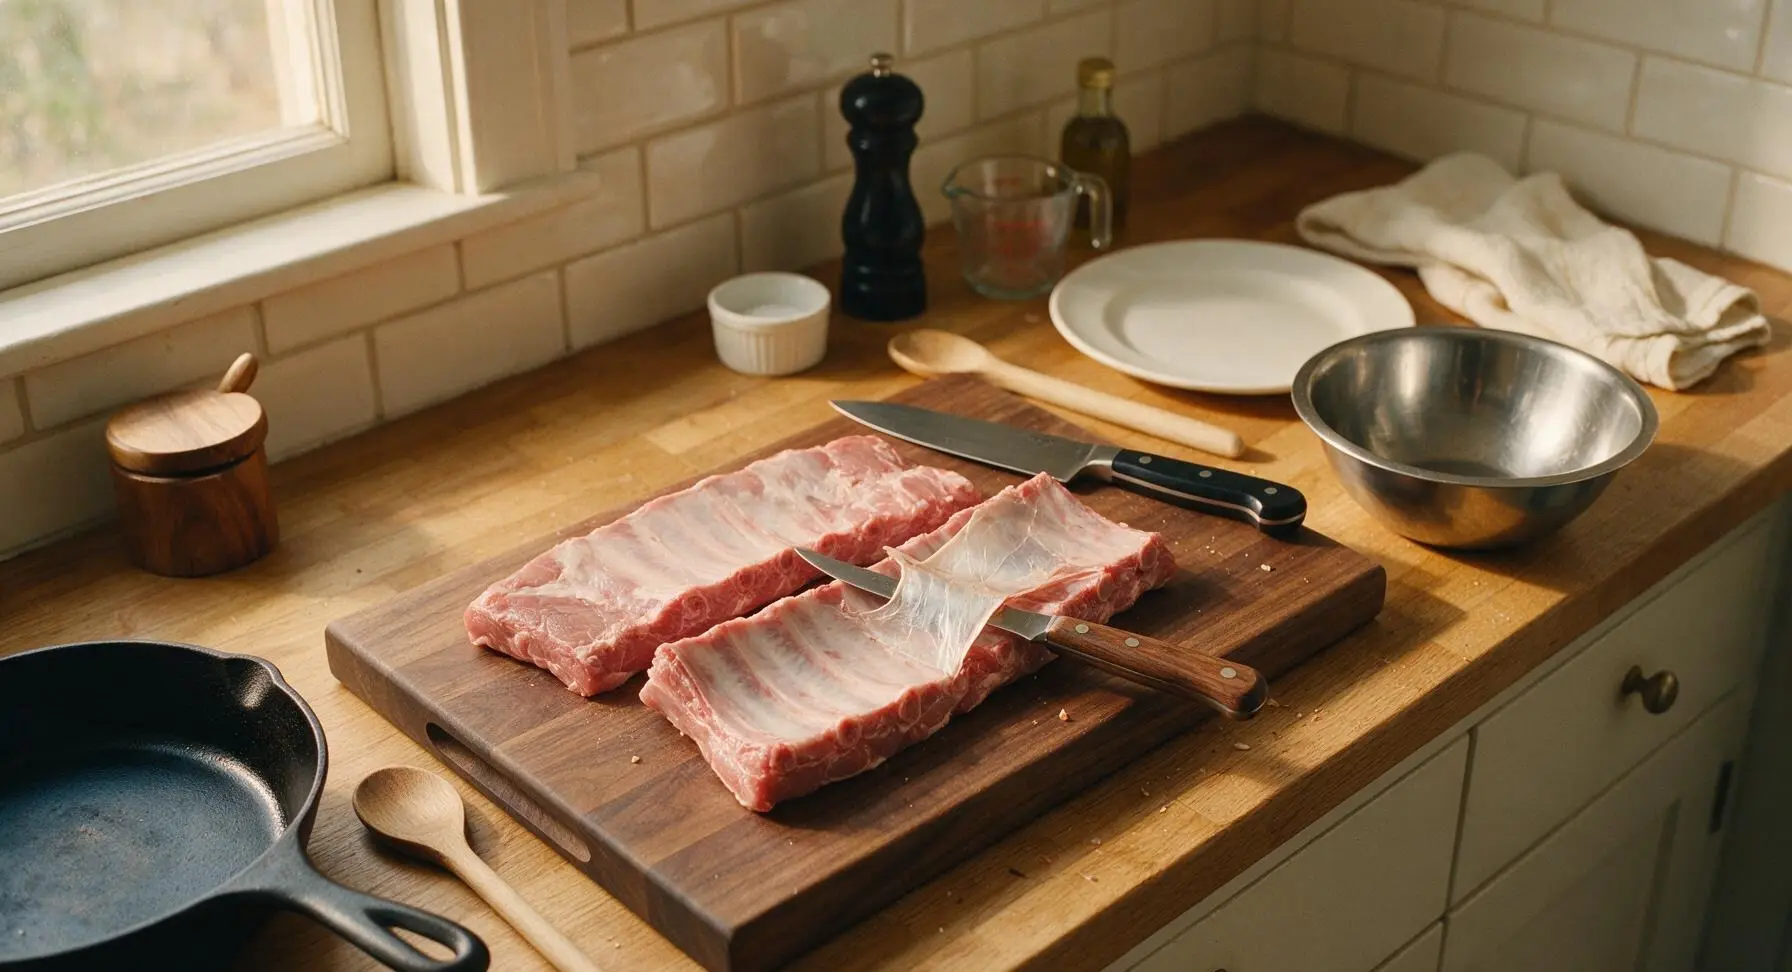
Remove the 2 racks of English cut pork ribs from packaging, pat dry with the indigo cotton kitchen towel, and place on the maple end-grain cutting board. Use the 6-inch walnut-handled boning knife to trim any excess loose fat and tough silver skin from the bone side of the ribs, leaving a thin 3mm (1/8 inch) fat cap on the meat side to retain moisture during cooking. Trim any ragged meat edges so the racks lie completely flat for even cooking.
Step 1
step1:Trim the Ribs
2

Mix Dry Rub

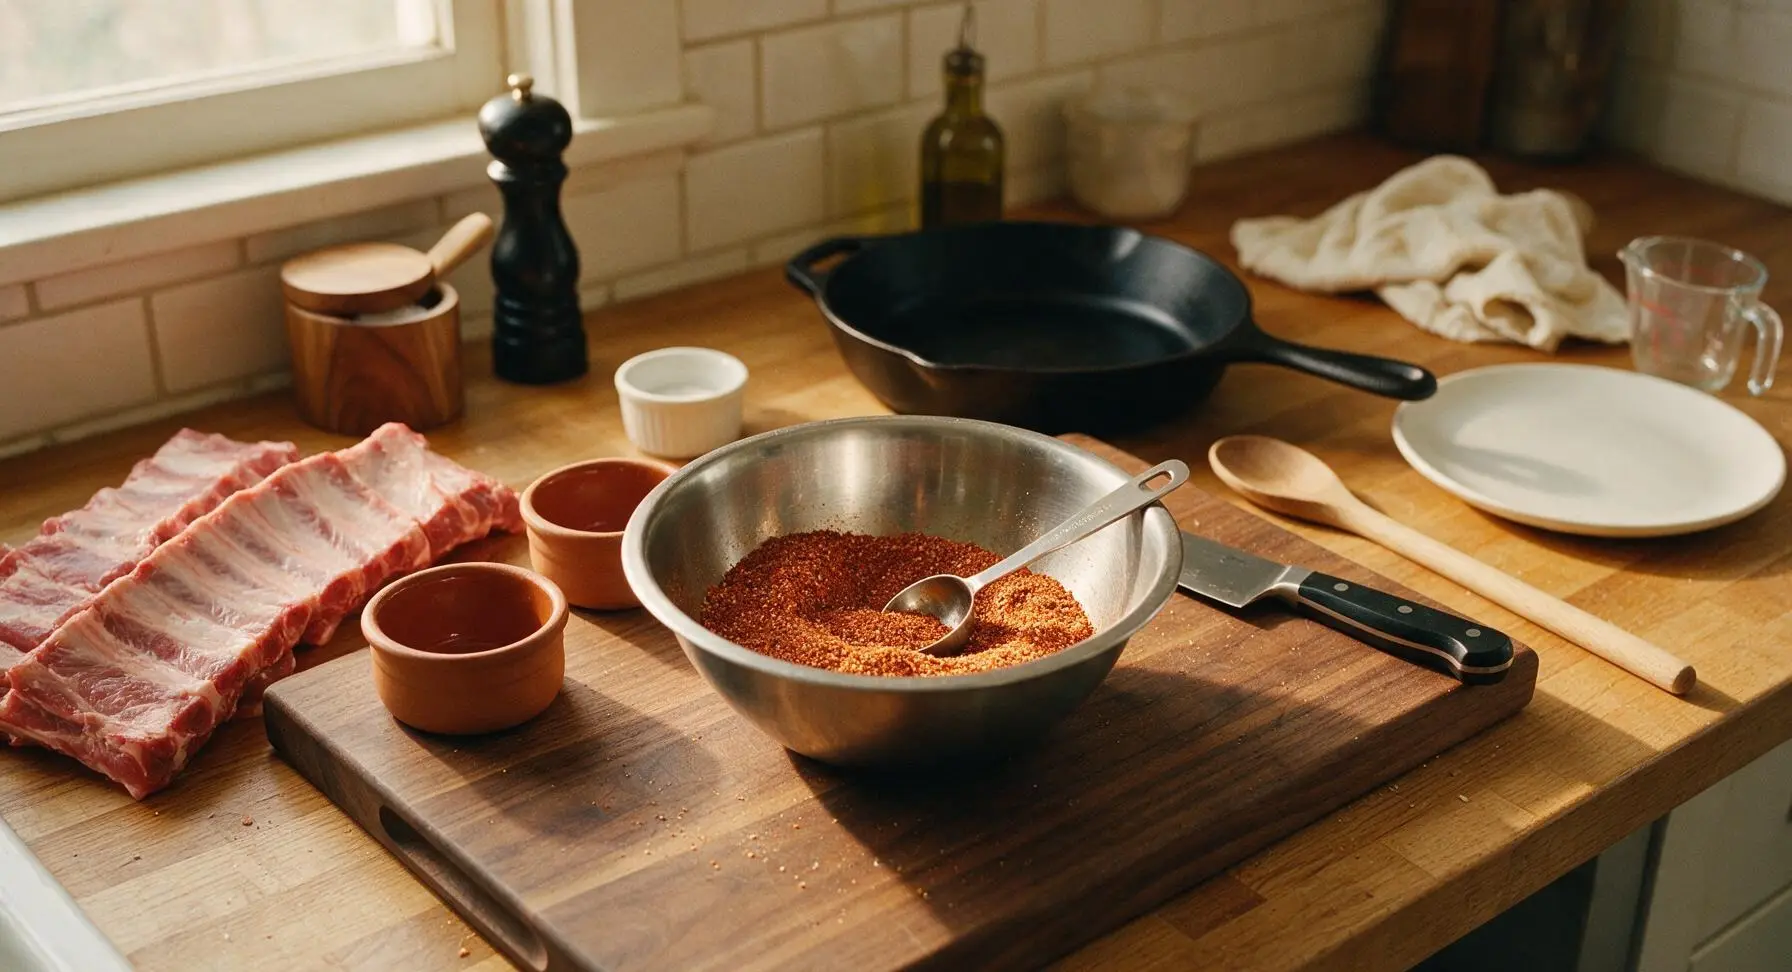
In the medium brushed stainless steel mixing bowl, combine 2 tbsp kosher salt, 1 tbsp cracked black pepper, 1 tsp smoked paprika, and 1 tsp garlic powder. Stir with the smallest spoon from the stainless steel measuring spoon set until the spices are evenly blended, with no clumps of paprika or garlic powder visible.
Step 2
step2:Mix Dry Rub
3

Season Ribs Evenly

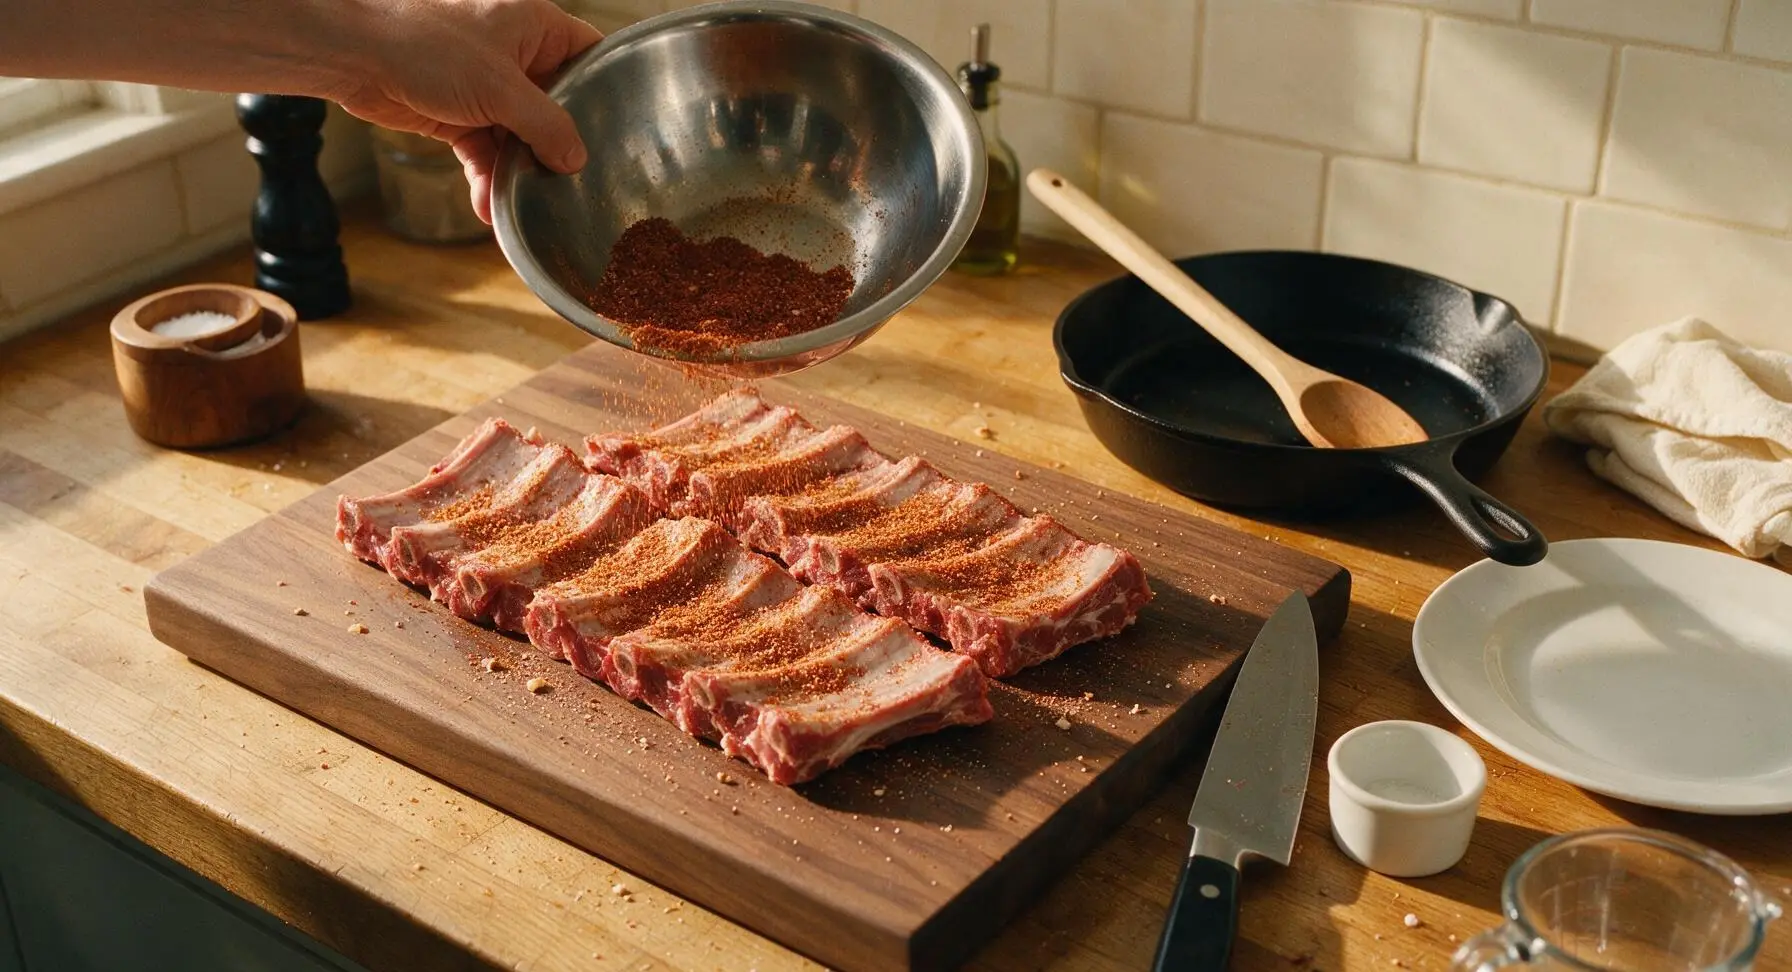
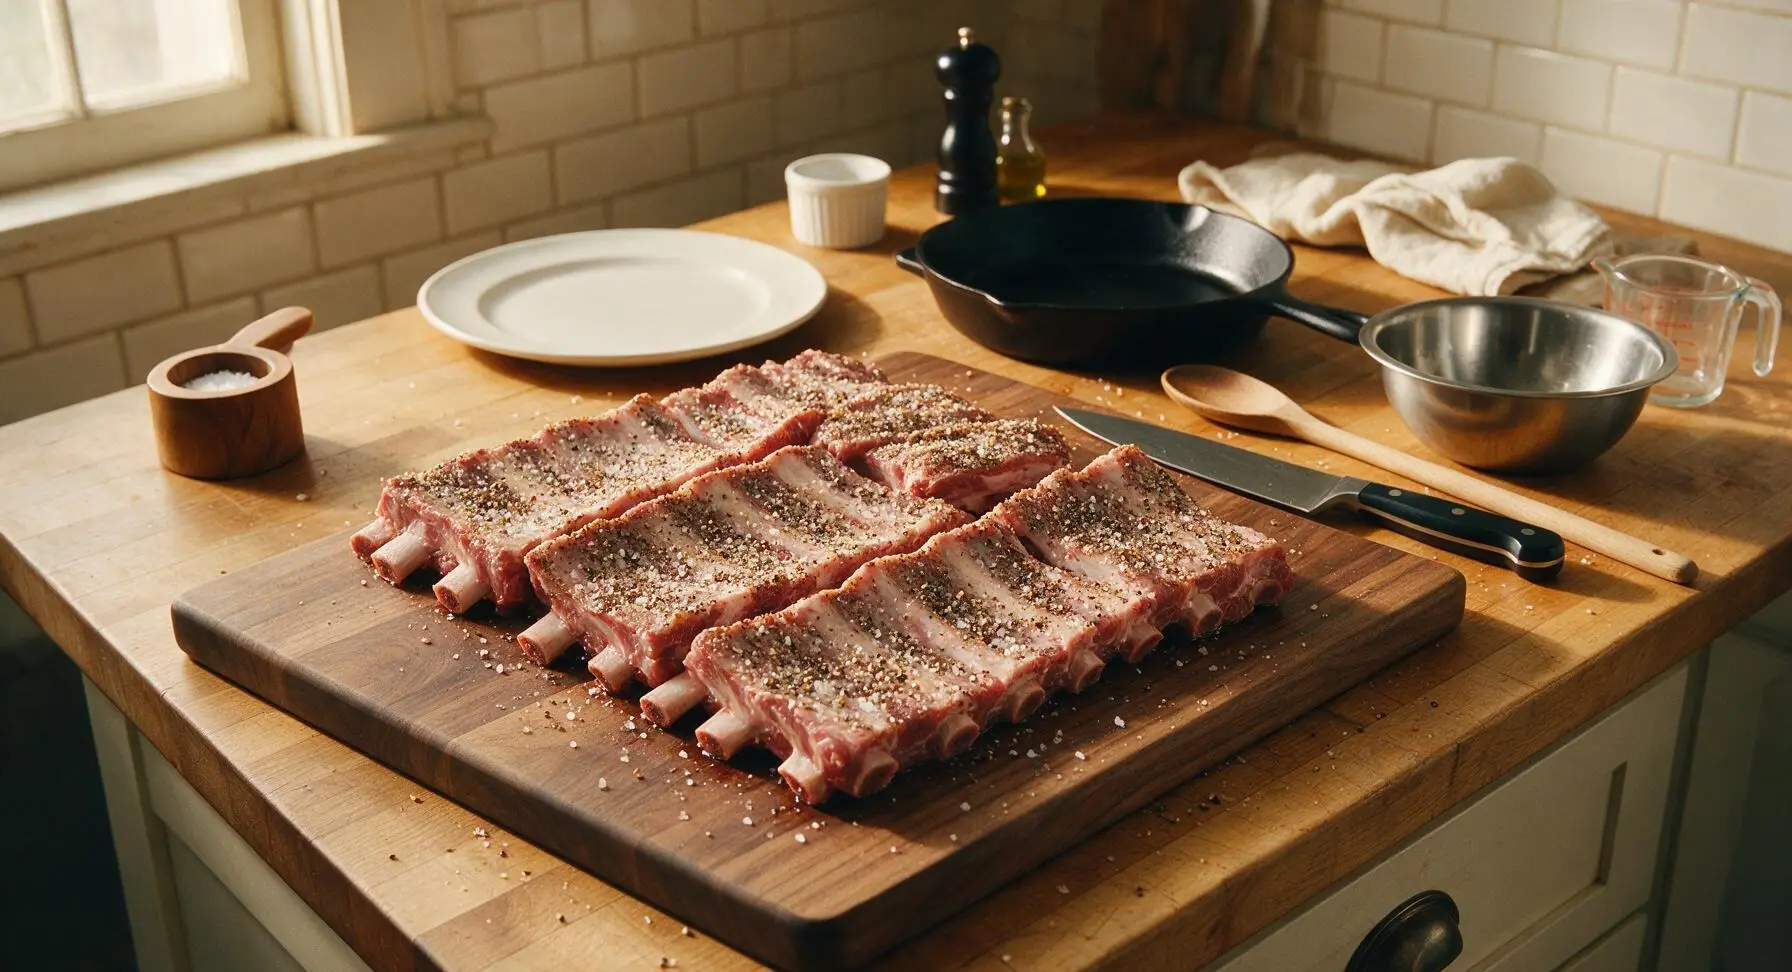
Sprinkle the dry rub evenly over all sides of the rib racks, using clean hands to press the spice mix firmly into the meat surface so it adheres fully. Ensure every inch of the ribs is coated, including the narrow gaps between the short English-cut bone segments. Let the seasoned ribs rest at room temperature for 20 minutes to allow the salt to penetrate the meat before cooking.
Step 3
step3:Season Ribs Evenly
Step 3
step3:Season Ribs Evenly
4

Prep Sticky Glaze

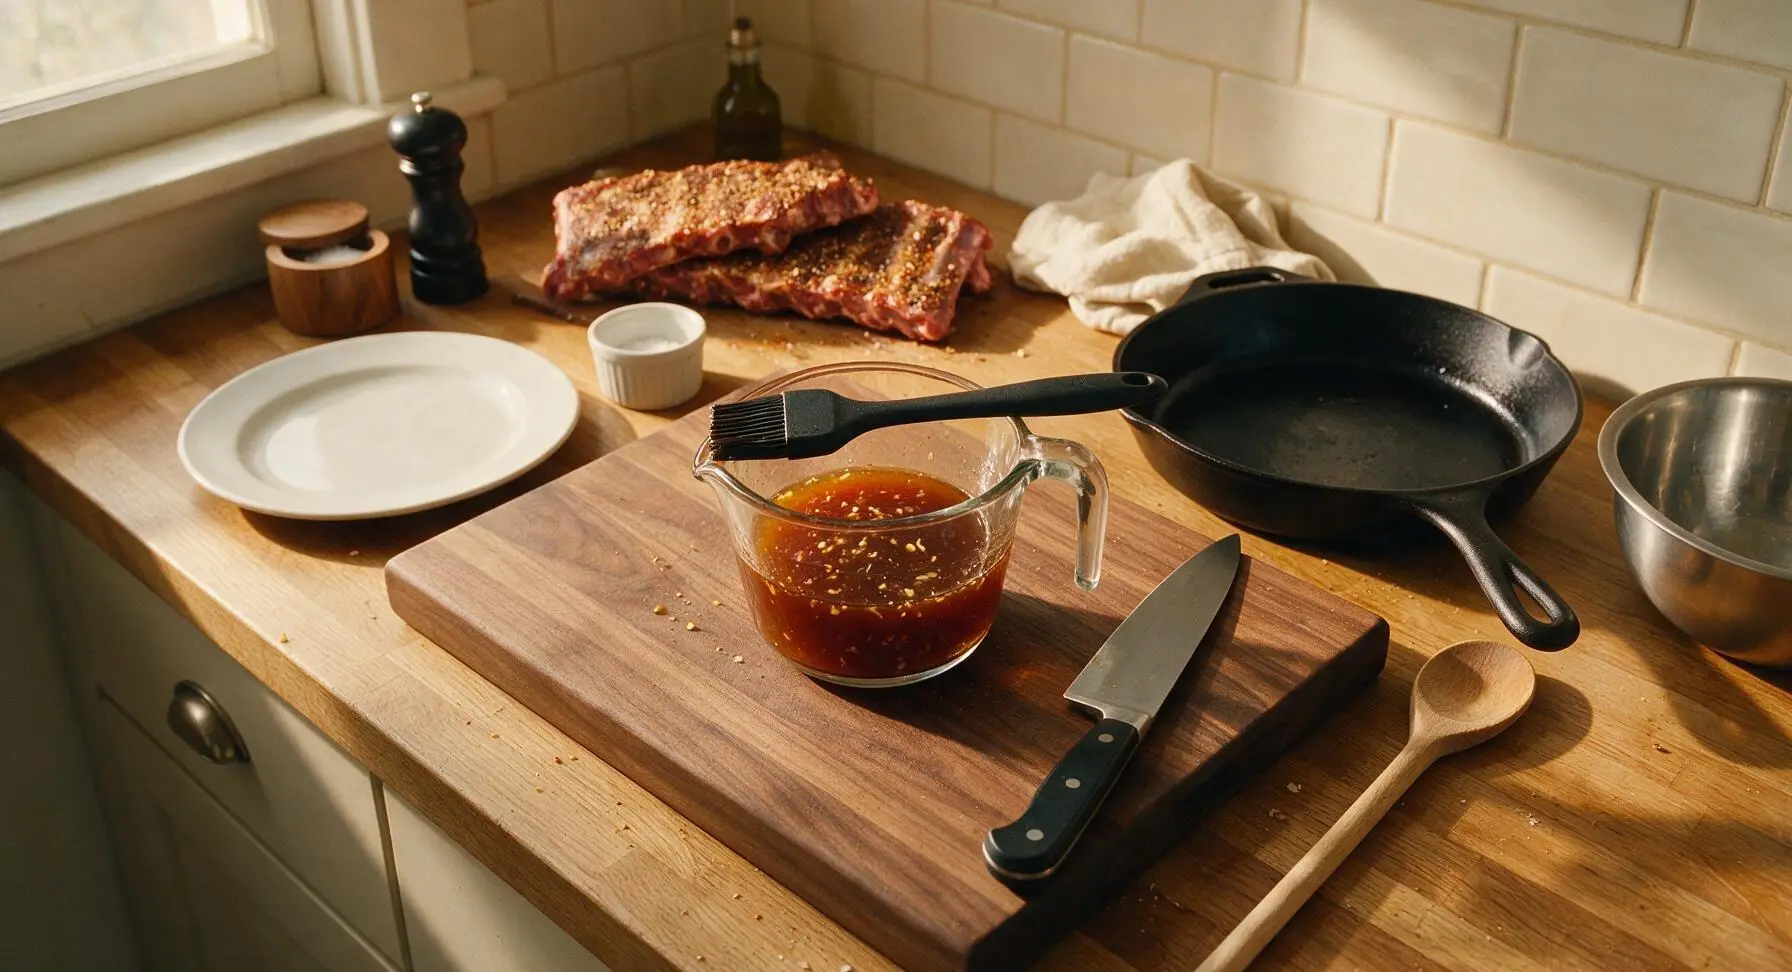
In the clear tempered glass measuring cup, combine 3 tbsp light brown sugar, 60ml apple cider vinegar, 80g tomato ketchup, 2 tbsp Worcestershire sauce, 3 minced garlic cloves, and 1 tsp grated fresh ginger. Stir with the silicone basting brush until the brown sugar fully dissolves, creating a smooth, deep amber liquid. Strip leaves from 2 thyme sprigs and stir into the glaze for subtle herby depth.
Step 4
step4:Prep Sticky Glaze
5

Slow Cook Ribs

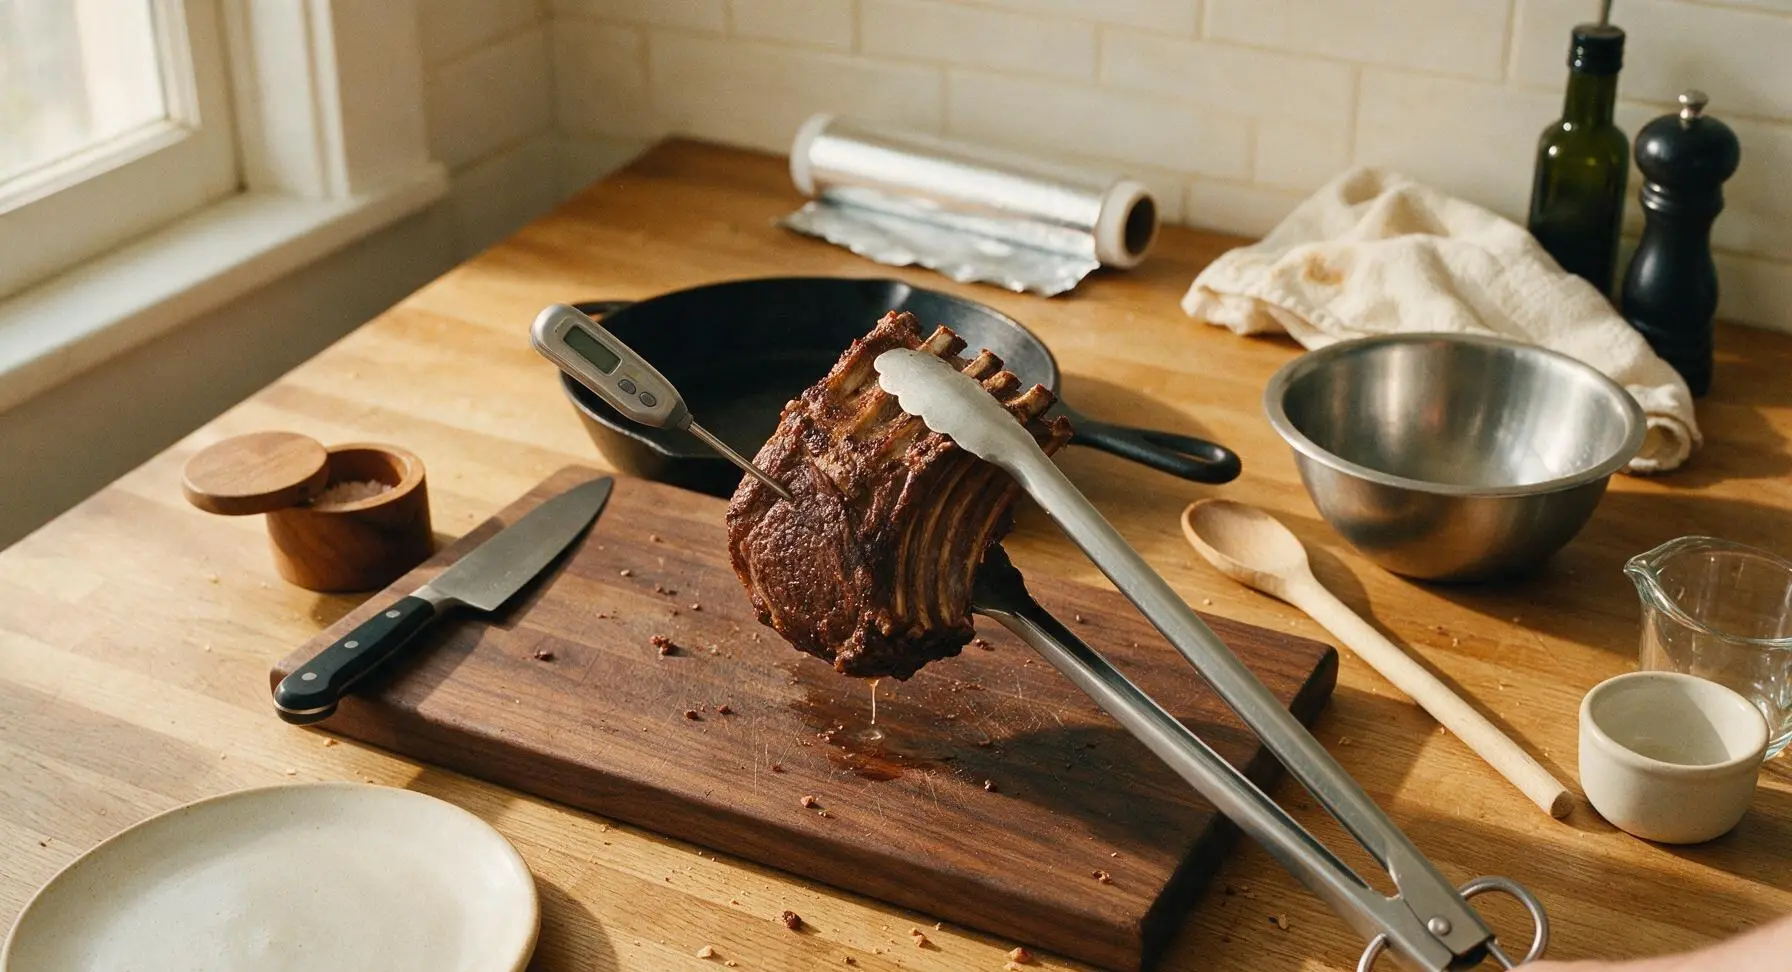
Preheat a grill or oven to 150C (300F) set up for indirect heat cooking. Transfer the seasoned ribs to the indirect heat zone, bone-side down, and cook covered for 1 hour 45 minutes, maintaining a consistent internal cooking temperature. Use the digital instant-read thermometer to confirm the thickest part of the ribs reaches 93C (200F); at this temperature, the meat will pull back 5mm from the ends of the bones for perfect tender texture. Avoid opening the grill/oven lid unnecessarily to prevent temperature drops.
Step 5
step5:Slow Cook Ribs
6

Glaze and Sear Ribs

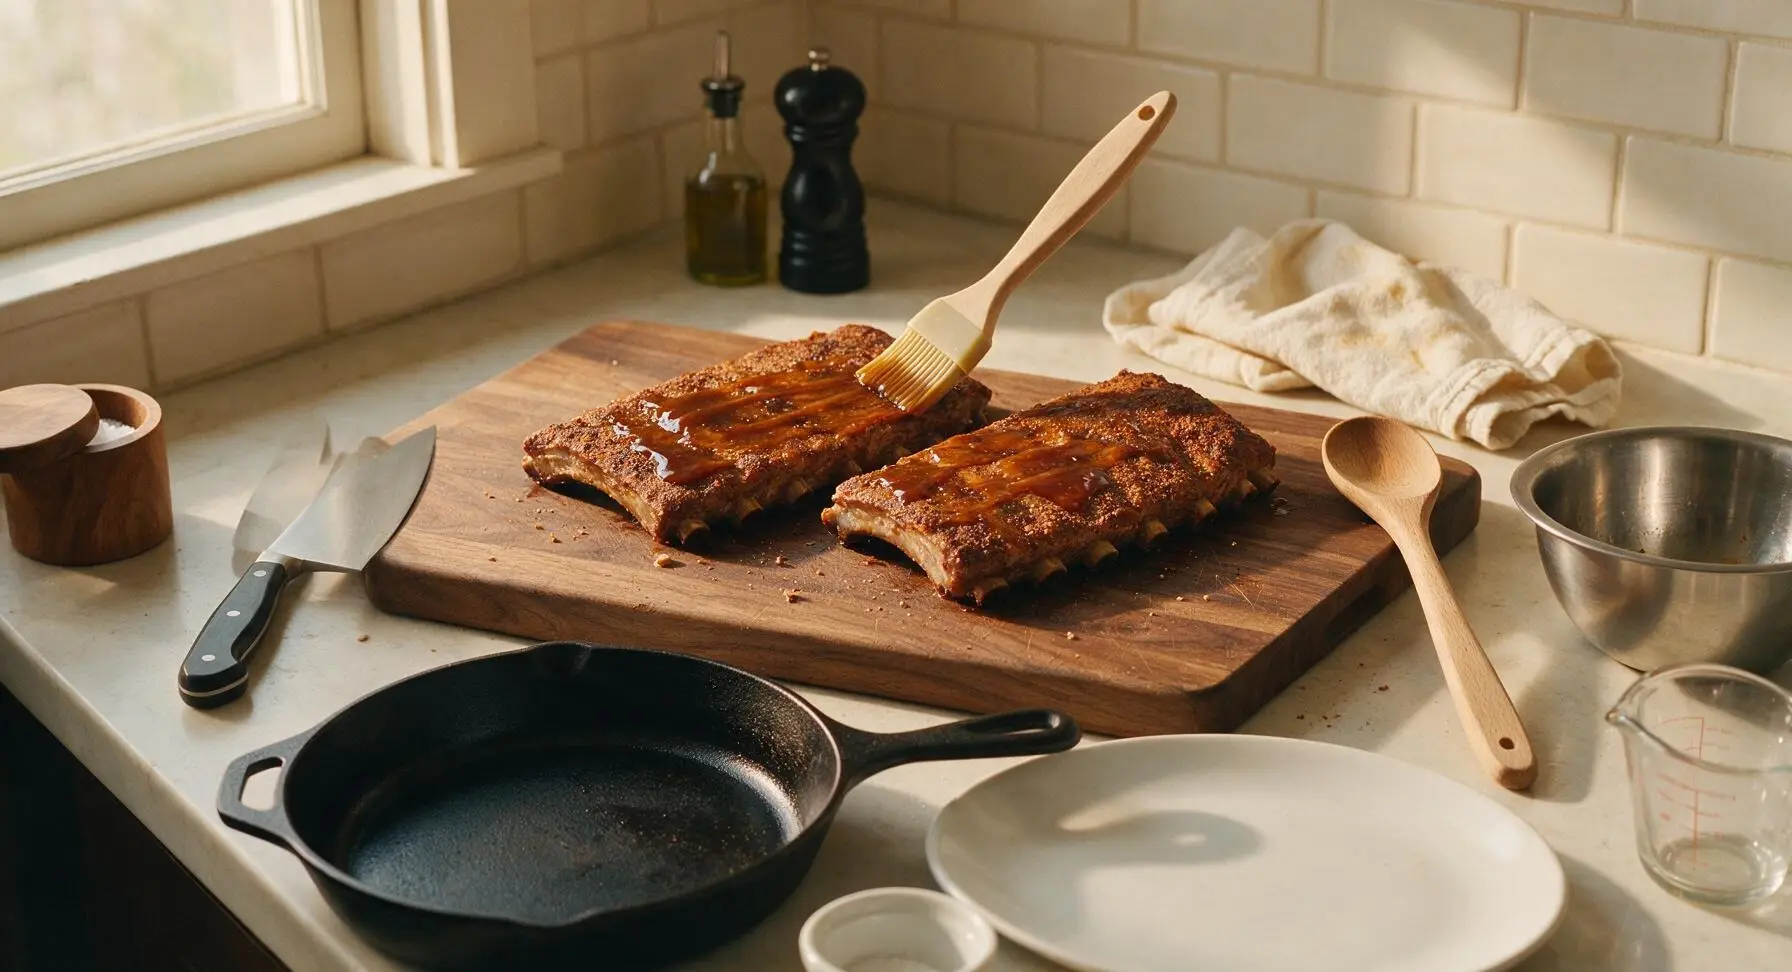
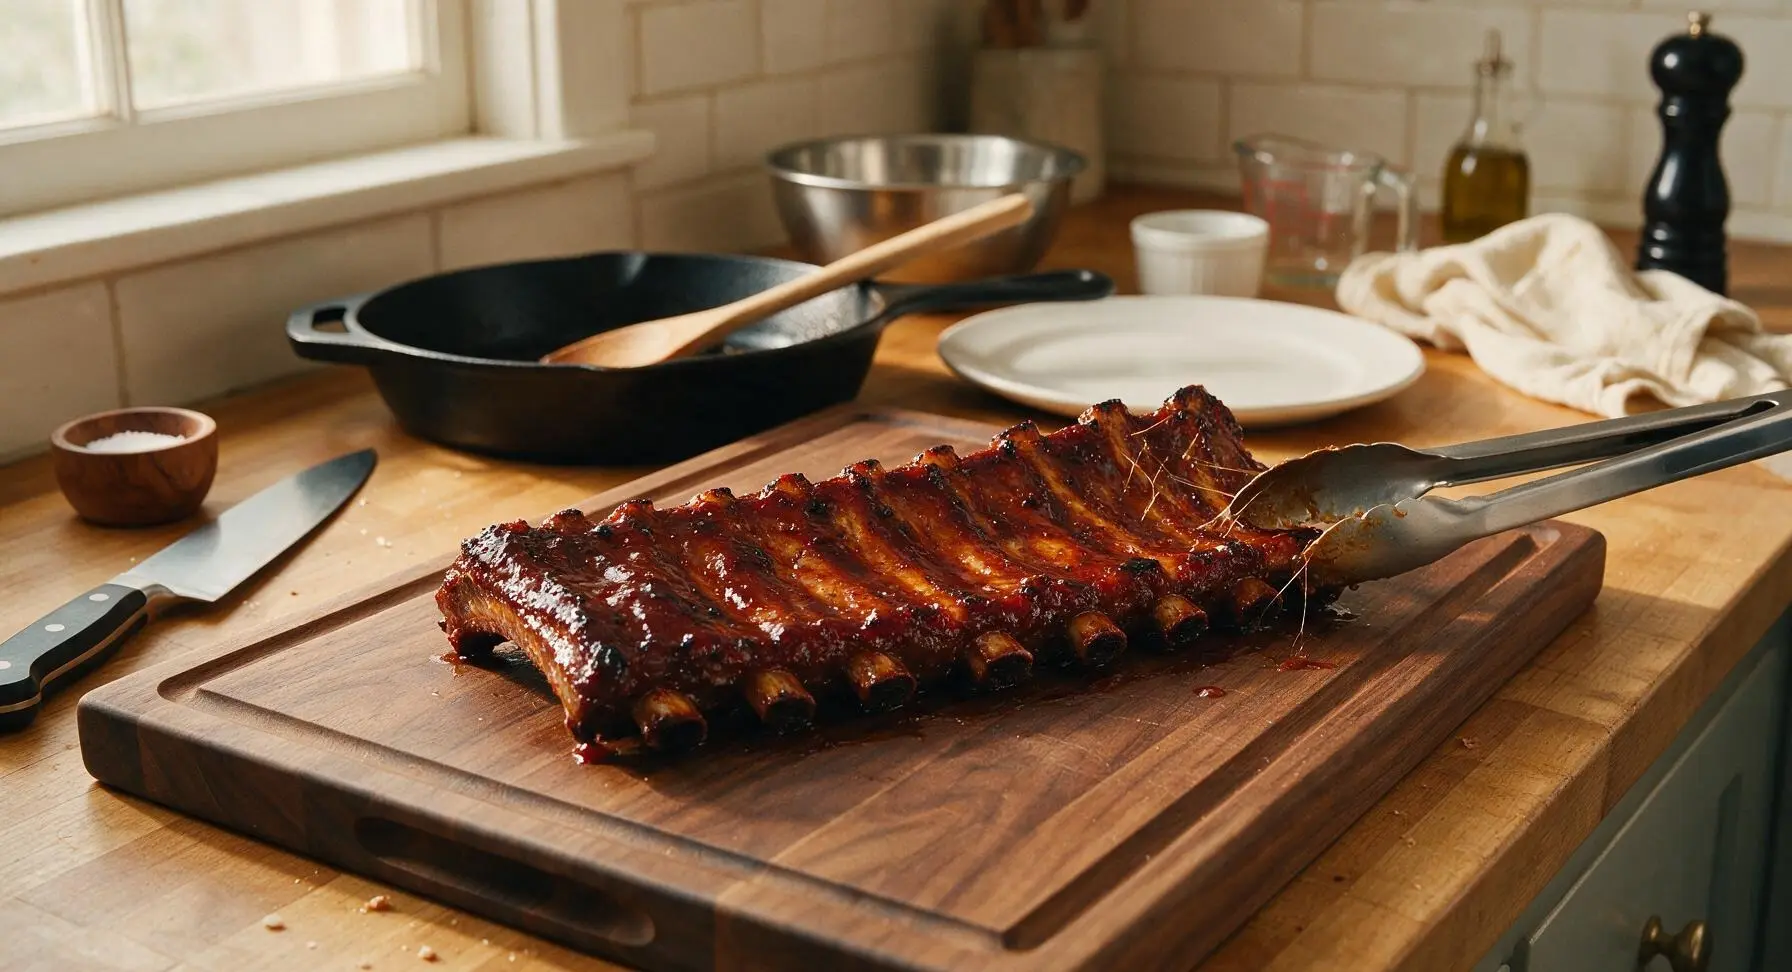
Use the silicone basting brush to generously coat all sides of the cooked ribs with the amber glaze. Return the glazed ribs to the grill (or place under a hot oven broiler) over direct medium heat for 3-4 minutes per side, until the glaze bubbles and caramelizes into a sticky, shiny coating. Watch closely during this step, as the sugar in the glaze will burn quickly if left over high heat for too long.
Step 6
step6:Glaze and Sear Ribs
Step 6
step6:Glaze and Sear Ribs
7

Rest and Plate Ribs

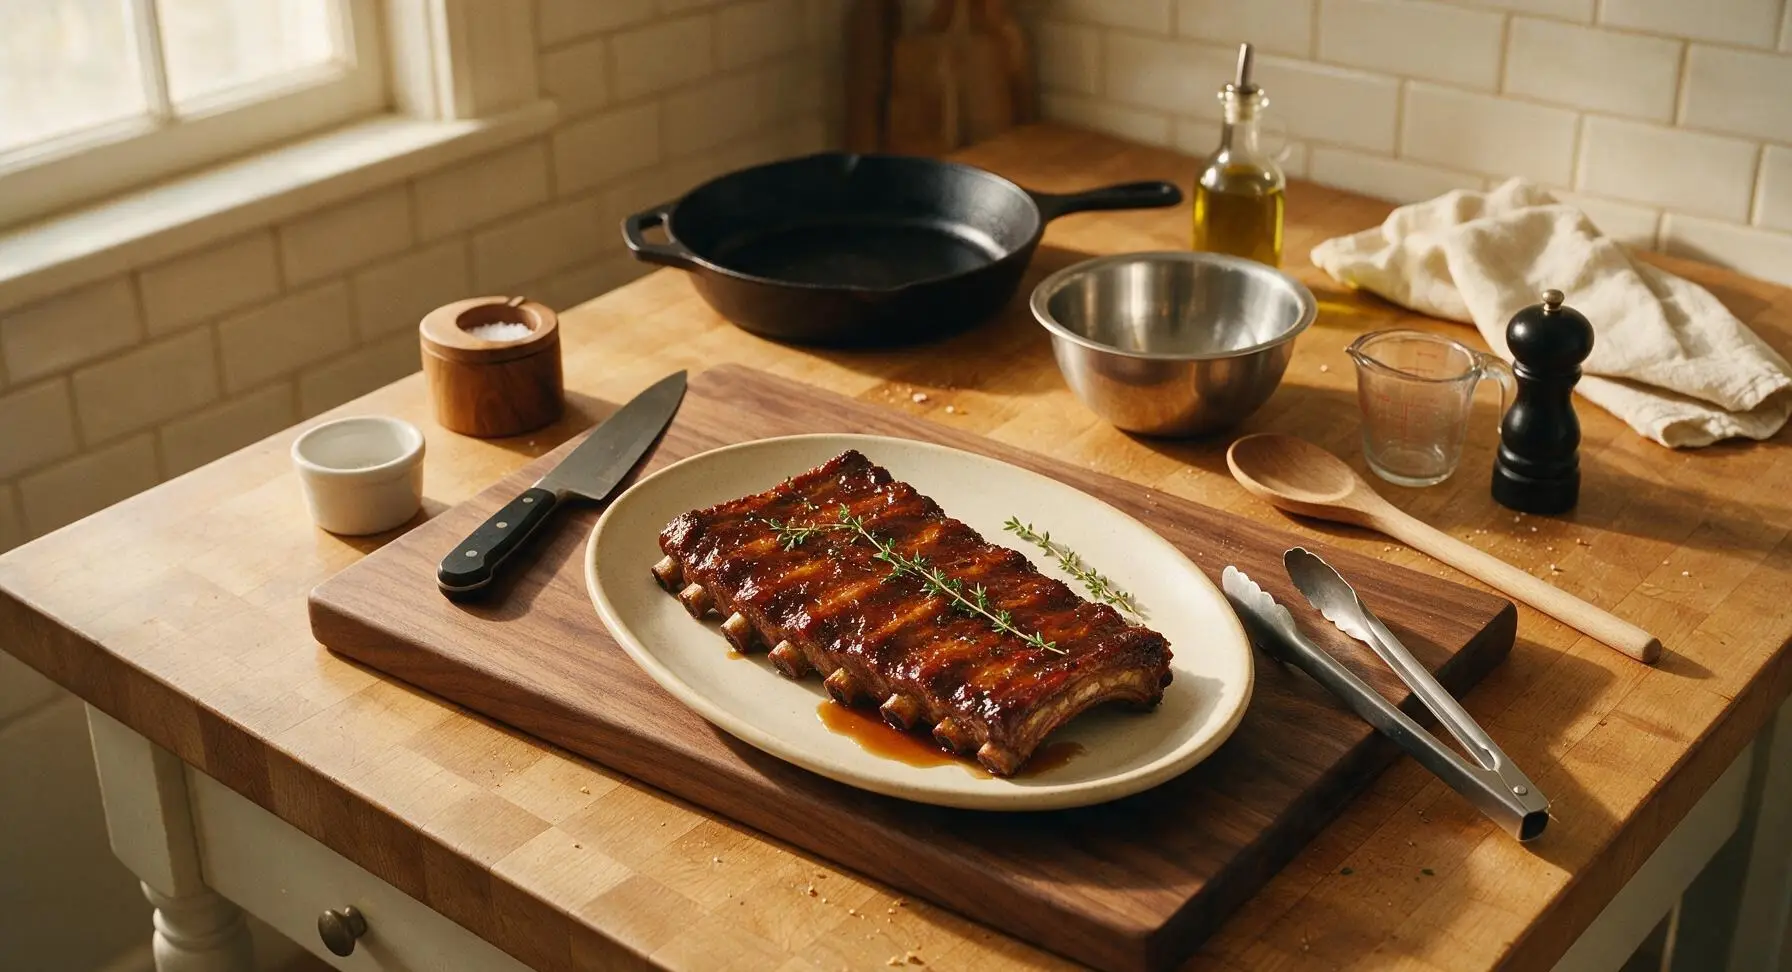
Transfer the caramelized glazed ribs to the matte cream ceramic oval serving platter. Drizzle any remaining glaze over the top of the ribs, garnish with the remaining 3 fresh thyme sprigs, and let the ribs rest for 10 minutes at room temperature to allow the juices to redistribute before serving. The meat should be tender enough to pull easily from the bone with a light tug.
Step 7
step7:Rest and Plate Ribs

Tips

1.Leave a thin 3mm (1/8 inch) fat cap on the ribs when trimming: the fat renders slowly during low-and-slow cooking to keep the meat juicy, while trimming thick excess fat prevents greasy ribs and reduces dangerous flare-ups on the grill.
2.Let seasoned ribs rest at room temperature for 20 minutes before cooking: this takes the chill off the outer meat so it cooks evenly from edge to center, and allows the salt in the rub to draw out moisture that dissolves spices for a better-adhered, more flavorful crust.
3.Wait to apply the sugary glaze until the final 3-4 minutes of cooking: sugar burns rapidly at temperatures above 160C (320F), so adding glaze early will result in a bitter, blackened coating instead of the desired sticky, sweet caramelized exterior.


✨ You May Also Like

BBQ & Grilling
🍜 United States

Tender, melt-in-your-mouth beef brisket with a crisp, spiced bark, slow-smoked to deep smoky perfection, the iconic centerpiece of Texas backyard barbecue.

⏱️ 12 hours BBQ & Grilling ★ 4.4
BBQ & Grilling
🍜 Korea

Tender, sweet-savory marinated beef short ribs, a beloved Korean BBQ staple with caramelized, slightly charred edges and deep umami flavor, perfect for outdoor summer gatherings.

⏱️ 4 hours 2BBQ & Grilling ★ 4.8
BBQ & Grilling
🍜 United States

Juicy grilled beef patties topped with smoky homemade chili, melted cheddar, and tangy pickles on toasted brioche buns for a hearty, flavor-packed handheld meal.

⏱️ 40 minuteBBQ & Grilling ★ 4.7
BBQ & Grilling
🍜 United States

A sweet, smoky, tangy BBQ sauce brightened with peak-season dark cherries, ideal for glazing grilled ribs, chicken, pork, or summer roasted veggies.

⏱️ 35 minuteBBQ & Grilling ★ 4.7
BBQ & Grilling
🍜 United States

Rich, smoky, slightly sweet homemade bourbon BBQ sauce with deep caramel notes, ideal for glazing grilled ribs, chicken, and burgers at cookouts.

⏱️ 25 minuteBBQ & Grilling ★ 4.7
BBQ & Grilling
🍜 United States

Iconic Alabama-style BBQ featuring tender hickory-smoked chicken slathered in tangy creamy white sauce, a beloved regional Southern cookout staple.

⏱️ 3 hoursBBQ & Grilling ★ 5

English Cut Ribs:Frequently Asked Questions

1.What makes English cut ribs different from other common rib cuts like baby backs or St. Louis-style spares? ▾
English cut ribs are cross-cut chunks of spare rib, usually 2–3 inches long, cut across the bone rather than into full long racks. They have higher fat marbling than leaner baby backs, which delivers richer, juicier results when slow cooked, and their bite-sized shape makes them ideal for casual, hand-held serving at summer gatherings.
2.Do I need to remove the membrane from the back of these ribs before cooking? ▾
Yes, I always recommend peeling off the tough, papery silver membrane from the bone side of the ribs before seasoning. It doesn’t break down fully during cooking, and leaving it on will block seasoning from penetrating and make ribs chewy to bite through. Slide a butter knife under the edge, grab it with a paper towel for grip, and pull it off in one sheet.
3.Can I use regular table salt instead of kosher salt for the seasoning rub? ▾
You can, but you’ll need to adjust the amount drastically to avoid over-salting. Kosher salt has larger, less dense crystals, so 1 teaspoon of table salt equals roughly 2 teaspoons of Diamond Crystal kosher salt. If substituting, start with half the called-for kosher salt amount, taste the rub first, and add more slowly to match your preference.
4.What’s the ideal low-and-slow temperature to get fall-off-the-bone tender ribs? ▾
For consistently tender ribs without drying them out, hold your cooking temperature (whether oven, smoker, or grill) at a steady 275°F. At this temp, English cut ribs will take roughly 2.5 to 3 hours to reach that perfect tender point where meat pulls clean from the bone but doesn’t slide completely off before you take a bite.
5.Can I make these ribs ahead of time for a summer cookout? ▾
Absolutely! These ribs actually taste better when prepped a day ahead. Slow cook them until almost tender, let them cool completely, then store covered in the fridge for up to 2 days. When you’re ready to serve, brush on the sticky glaze, then finish them on the grill or in a hot oven for 10–15 minutes to caramelize the glaze and reheat through.
6.My smoked paprika is old and lost its scent—can I substitute regular sweet paprika? ▾
You can, but you’ll miss that deep, smoky backbone the rub gets from fresh smoked paprika. If you don’t have a new jar, add ¼ teaspoon of liquid smoke to your glaze to make up for that smoky note, or mix a pinch of chipotle powder into the rub for similar warm, smoked depth. Skip hot paprika unless you want a noticeable spicy kick.
7.How do I keep the sweet glaze from burning when I’m caramelizing the ribs? ▾
Sticky sweet glazes burn fast once sugar hits high heat, so always apply the glaze in the last 15 minutes of cooking. Keep your finishing heat at medium (around 375°F) and turn the ribs every 3 to 4 minutes as the glaze sets, so it bubbles and caramelizes into a glossy coating instead of charring black on the edges.
8.Do I have to use a grill to get that caramelized sticky finish, or can I make these entirely in the oven? ▾
You don’t need a grill at all for perfect results! Cook the seasoned ribs low and slow on a wire rack set over a baking sheet at 275°F until tender, then crank the oven to 400°F, brush on the glaze, and bake for 10–12 minutes, flipping once halfway, until the glaze is bubbly and glossy. Keep a close eye to avoid burning the sugar.
9.Can I use fresh garlic instead of garlic powder in the base rub? ▾
I stick to garlic powder for the base rub because fresh garlic has high moisture content that can burn during long slow cooking, leaving bitter, charred bits on the rib surface. If you love bright garlic flavor, add a teaspoon of finely minced fresh garlic to the glaze instead, where the shorter finishing cook time won’t let it burn.
10.How do I know when the ribs are done, so I don’t overcook them to a mushy texture? ▾
The most reliable test is the toothpick method: stick a thin wooden toothpick into the thickest part of the rib meat, between two bones. It should slide in with almost no resistance, and when you gently twist a bone, it should pull about ¼ inch out of the meat without tearing. If the bone slides all the way out easily, you’ve overcooked them.
11.Can I cook these ribs in a slow cooker instead of the oven or grill? ▾
Yes, that’s a super low-effort option! Arrange the seasoned ribs in your slow cooker, set it to low, and cook for 4 to 5 hours until tender. Because slow cookers trap moisture, transfer ribs to a baking sheet after cooking, brush with glaze, and broil for 3 to 5 minutes per side to get that sticky caramelized exterior you won’t get from the slow cooker alone.
12.What sides pair best with these sticky glazed ribs for a summer gathering? ▾
The tangy, sweet-savory glaze pairs perfectly with bright, acidic sides to cut through the rich meat. My go-tos are creamy coleslaw, tangy potato salad, grilled corn on the cob with lime butter, dill pickle spears, and buttery cornbread. For lighter spreads, a crisp vinaigrette-tossed green salad or cold cucumber salad also balances the ribs beautifully.
13.The recipe calls for freshly cracked black pepper—can I use pre-ground pepper instead? ▾
You can, but pre-ground black pepper loses most of its bright, sharp, piney flavor after a few months on the shelf, so it will give you flatter, less vibrant seasoning. If that’s all you have, add an extra ¼ teaspoon of pre-ground pepper to the rub, then taste to adjust. For the best flavor, I always recommend cracking pepper fresh right before seasoning.
14.How should I store leftover ribs, and how long will they keep? ▾
Let leftover ribs cool completely to room temperature within 2 hours of cooking, then store them in an airtight container in the fridge for up to 4 days. To reheat, wrap them loosely in foil and bake at 300°F for 15 to 20 minutes until heated through, then brush on a little extra glaze and broil for 1 minute to refresh that sticky, caramelized coating. They freeze well for up to 3 months.
15.Should I wrap my ribs in foil during the slow cook, or cook them unwrapped? ▾
For English cut ribs, I recommend cooking them unwrapped on a wire rack for the first 2 hours to let the seasoning form a nice crust on the meat surface, then tenting them loosely with foil for the last 30 to 45 minutes of slow cooking. This traps just enough steam to keep meat juicy without making the exterior soggy, so glaze sticks perfectly when you add it for the finish.

Comments (10)

2 days ago

OMG these ribs were the star of our Sunday family dinner! I was worried the 2 hour cook time would be too much for a weekend meal but it was so worth it — that sticky glaze is chef’s kiss, even my super picky 7 year old asked for seconds. Do you think I could swap the apple cider vinegar for white vinegar if I run out next time?

1 day ago

I did that exact swap last week when I made these for a potluck! Still turned out SO good, just add a tiny extra splash of apple juice to cut the sharpness if you go that route.

22 hours ago

So glad your family loved them! Great tip from Jake — white vinegar works in a pinch, just balance it with a touch more brown sugar or apple juice to match that subtle sweet-tang the glaze is known for. Happy cooking!

1 week ago

Total game changer for meal prep! I made a big batch Sunday, portioned them out with roasted broccoli and mashed potatoes, and they reheated perfectly all week. The glaze gets even stickier when you reheat it in the air fryer for a couple minutes, 10/10.

6 days ago

Love that meal prep hack! Reheating in the air fryer is such a smart call to keep that crispy, sticky exterior instead of sogginess from the microwave. Thanks for sharing the tip!

5 minutes ago

Okay full transparency, I was intimidated because it says medium difficulty, but the steps were actually super straightforward! My only oops was I forgot to line my baking sheet with foil and the glaze baked on so hard I was scrubbing for 20 minutes after dinner. Learn from my mistake, folks — LINE YOUR SHEET. Ribs were incredible though, will definitely make again.

3 days ago

Brought these to my neighborhood block party last weekend and people were begging for the recipe before I even set the platter down! The glaze has that perfect balance of sweet, salty, and a tiny little kick that keeps you reaching for more. Only thing I adjusted was adding a pinch more smoked paprika because my crew loves smoky flavors.

2 days ago

The extra smoked paprika move is genius! I did that too last time I made these and my husband said they tasted better than the ribs we get at our favorite BBQ joint down the street.

2 weeks ago

Wait, English cut ribs vs the spare ribs I usually grab — I had to ask the butcher for these and I’m so glad I did. They’re meatier than I expected! I did end up cooking them about 10 minutes longer than the recipe said because my oven runs a little cool, but they were fall-off-the-bone tender. Worth every minute.

1 week ago

Quick question — did you wrap them in foil for the first part of the cook? I’m making these for my dad’s birthday this weekend and don’t want to mess them up!

6 days ago

Great question! We recommend wrapping tightly in foil for the first hour and 20 minutes of cook time to lock in moisture, then unwrapping to brush on the glaze for the last 40 minutes to get that perfect sticky char. If your oven runs cool like @DadWhoGrills mentioned, just add 5-10 minutes to the wrapped phase until the meat pulls easily from the bone!

30 minutes ago

Made these for my roommates last night and we all ate way too much lmao. I didn’t have all the fancy glaze ingredients so I used a little store bought BBQ sauce mixed with honey and soy sauce to stretch it, and it still slapped. Next time I’m gonna follow the glaze recipe exactly because I can only imagine how much better it is.

yesterday

So happy this recipe is easy to make gluten free! I just swapped the regular soy sauce for tamari and didn’t change a single other thing, and you couldn’t even tell a difference. My whole family (even the non-GF folks) devoured these. No weird crumbly texture or off flavors, just perfect sticky ribs.

20 hours ago

That’s such a helpful swap for gluten free cooks! We’re so glad the tamari worked seamlessly — the glaze is really forgiving for dietary swaps as long as you keep that sweet-savory balance. Thanks for sharing how it turned out!

5 days ago

Made these for date night with my partner last night and they were OBSESSED. We paired them with coleslaw and cornbread and it felt like we were at a fancy BBQ restaurant without the $40 price tag per plate. My only complaint is my whole apartment smelled like ribs for like 2 days after, worth it though.

4 days ago

Ugh the smell is so real! I lit like three candles after making these and my coworker still asked why I smelled like BBQ when I got to work the next day lmao. 100% worth it though, these are top tier.

4 days ago

Love that date night win! Pro tip to cut down on the lingering smell: toss a small dish of white vinegar on the counter while the ribs cook, it absorbs food odors like magic. Hope you two get to make them again soon!

2 hours ago

Tested these out ahead of our college football tailgate next weekend and they’re gonna be a hit. I finished them on the grill for the last 10 minutes after glazing to get a little extra char, and chef’s kiss. Way better than the sad hot dogs and burgers we usually serve.

1 hour ago

Finishing them on the grill is such a pro move! That little extra char from open flame takes the glaze to a whole new level. Hope your tailgate crew loves them — go team!

just now

I’ve tried so many sticky rib recipes online and this one is hands down the best. The glaze doesn’t just slide off the ribs like other recipes I’ve tried — it actually sticks and coats every bite, which is exactly what I want. Cook time was spot on for my oven, no extra time needed. Will be my go-to rib recipe from now on.



