
English Muffin Toast
intro
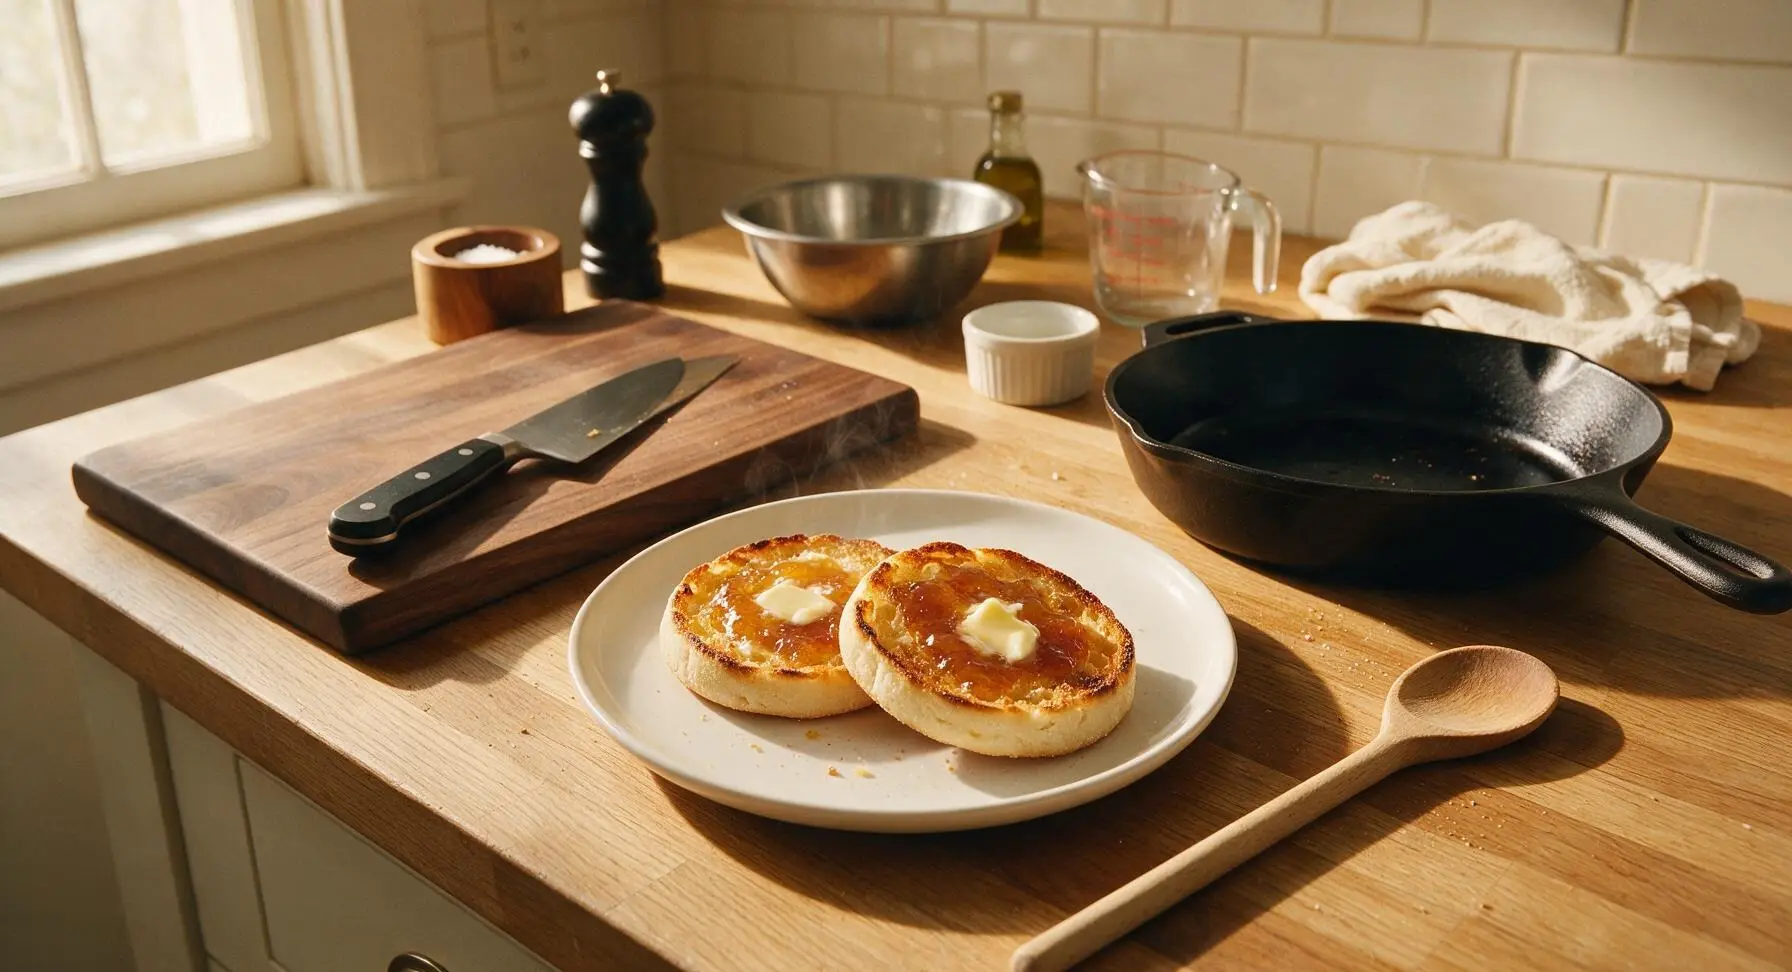
Crispy, craggy English muffins toasted to golden perfection, slathered with melted salted butter and sweet jam for a fast, cozy, customizable bite ready in minutes.
Ingredients
Steps
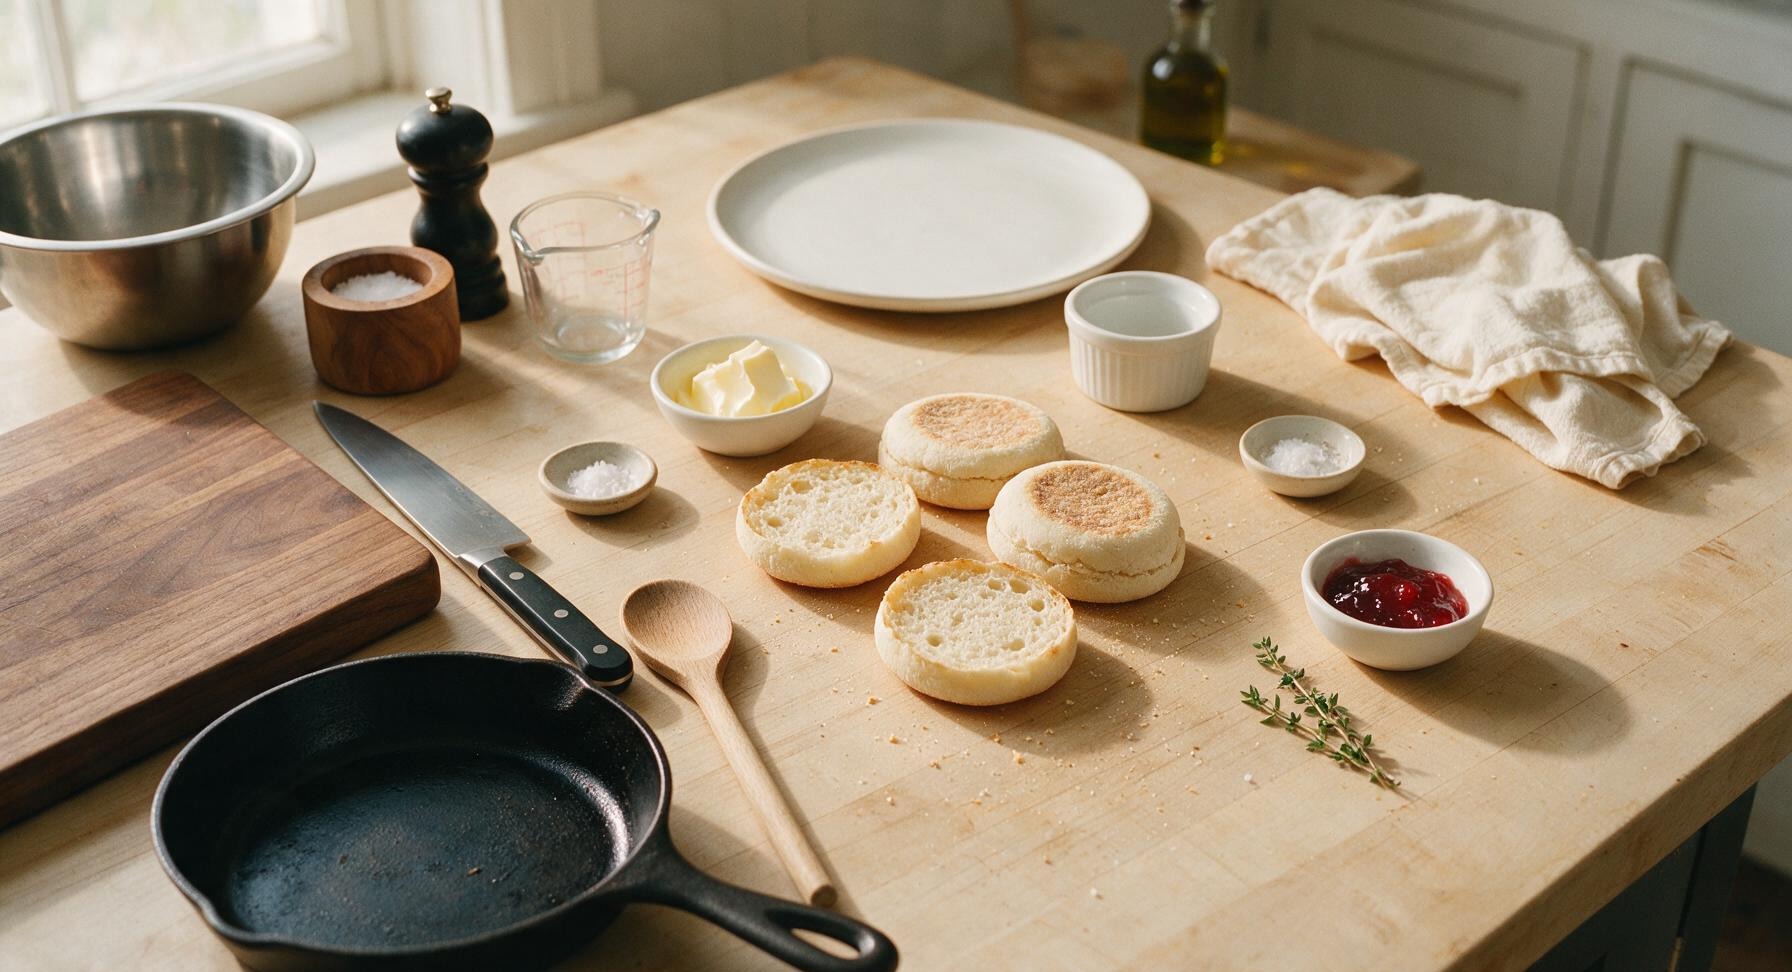
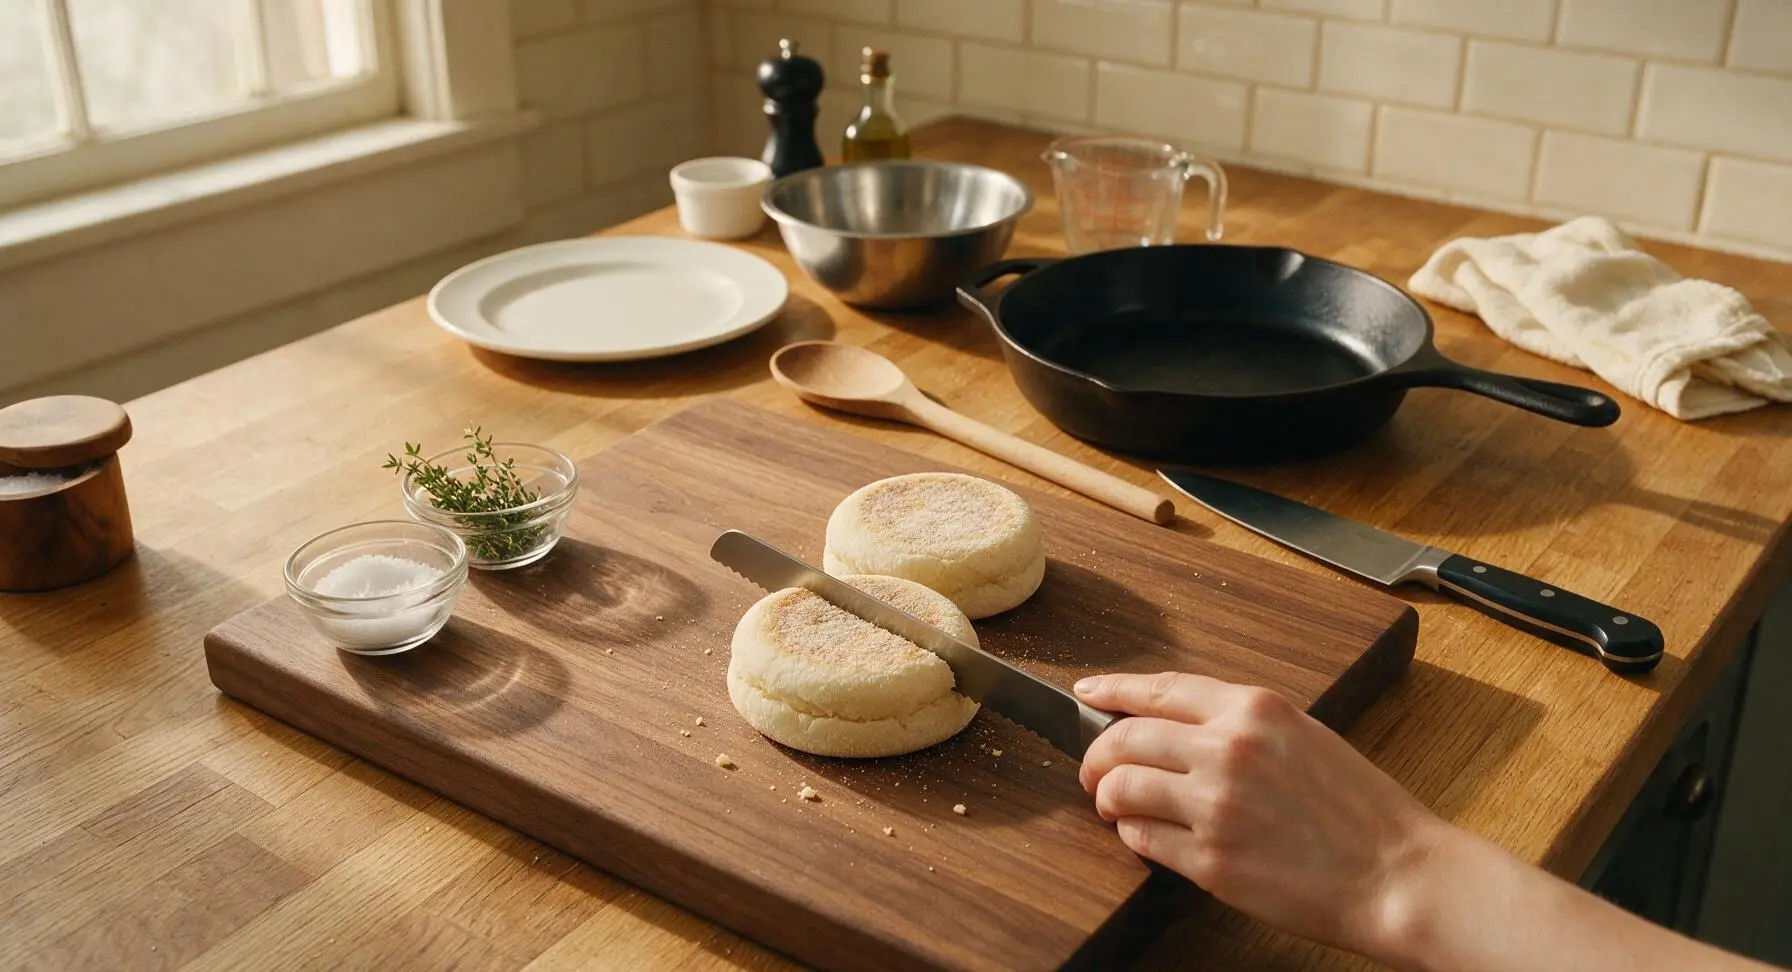
Split English Muffins
Place the 2 whole plain English muffins on the center of the maple cutting board. Hold each muffin steady with your non-dominant hand, and use the serrated bread knife to split each horizontally into two even halves using a gentle sawing motion around the perimeter. Avoid pressing straight down with the knife, as this compresses the soft crumb and destroys the signature nooks and crannies that hold butter and toppings. Aim for halves of equal 1.5cm thickness to ensure even toasting.
Toast Muffin Halves
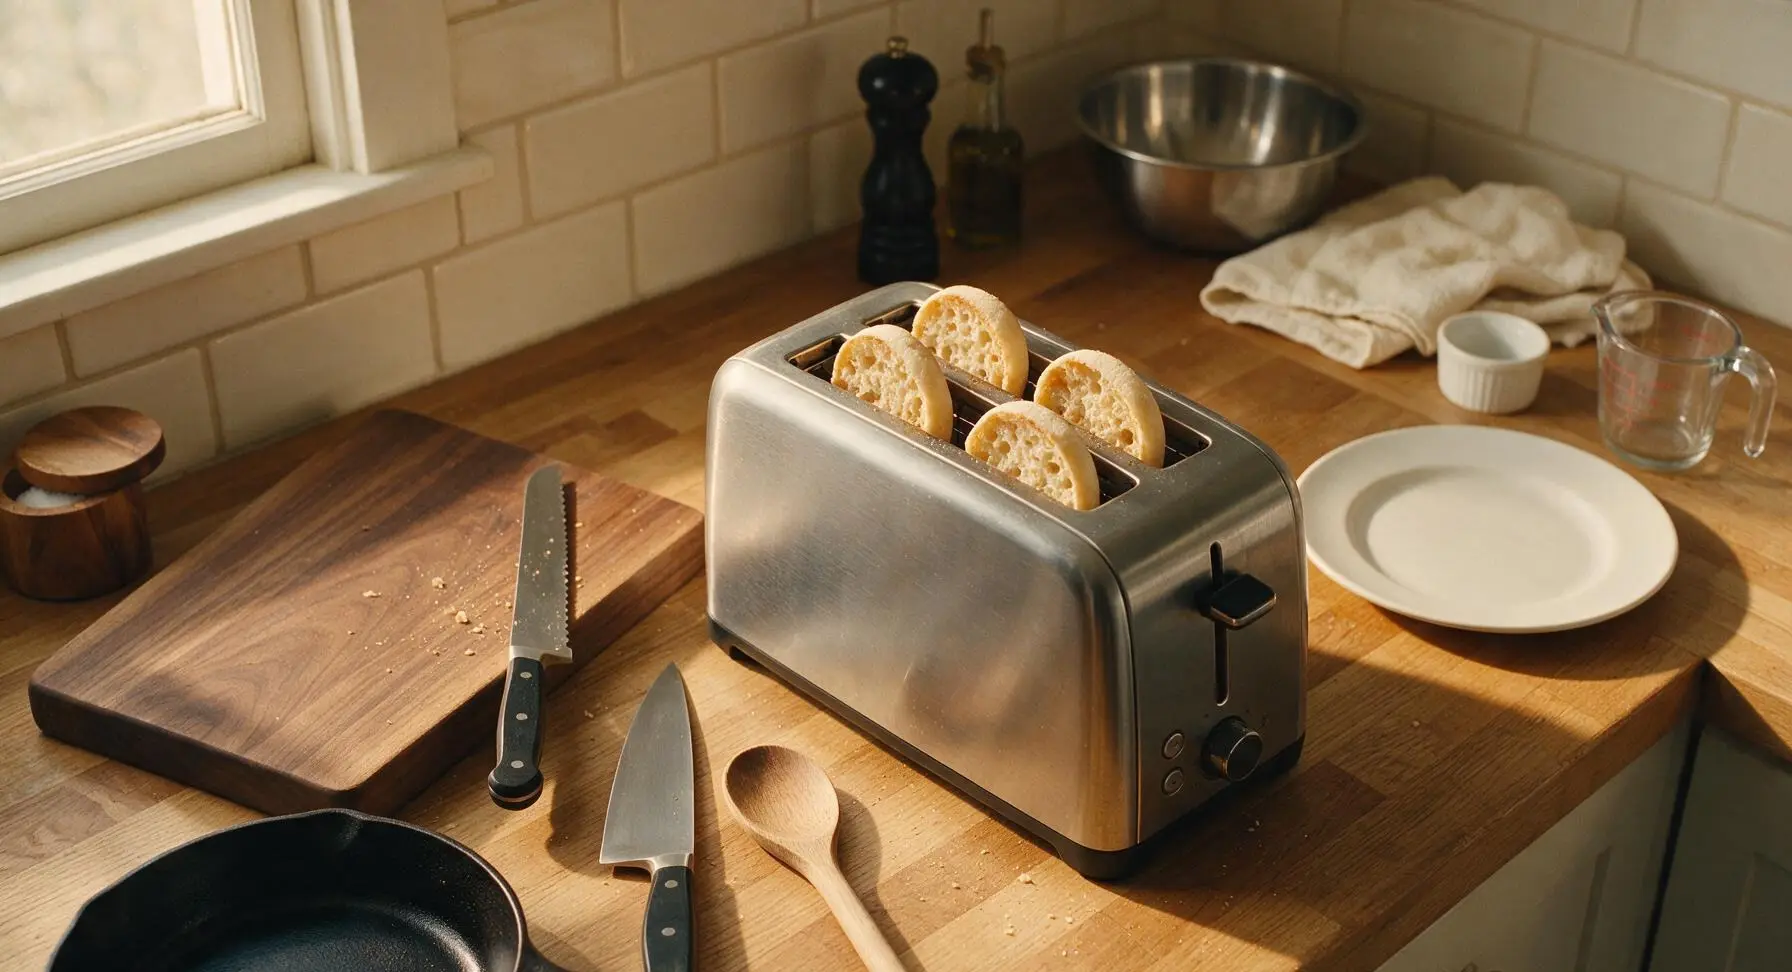
Adjust the brushed stainless steel toaster to a medium-high setting (level 4 out of 6, ideal for crisp, golden results without burning). Place the four split muffin halves into the toaster slots with the cut sides facing inward toward the heating elements. Toast for 2.5 to 3 minutes, until the cut surfaces are deep golden brown with darker, crispy edges. Watch closely during the final 30 seconds of toasting, as muffin density varies by brand and can burn quickly. Perfectly toasted muffins will be crisp on the cut surface, soft and chewy in the center, not hard throughout.
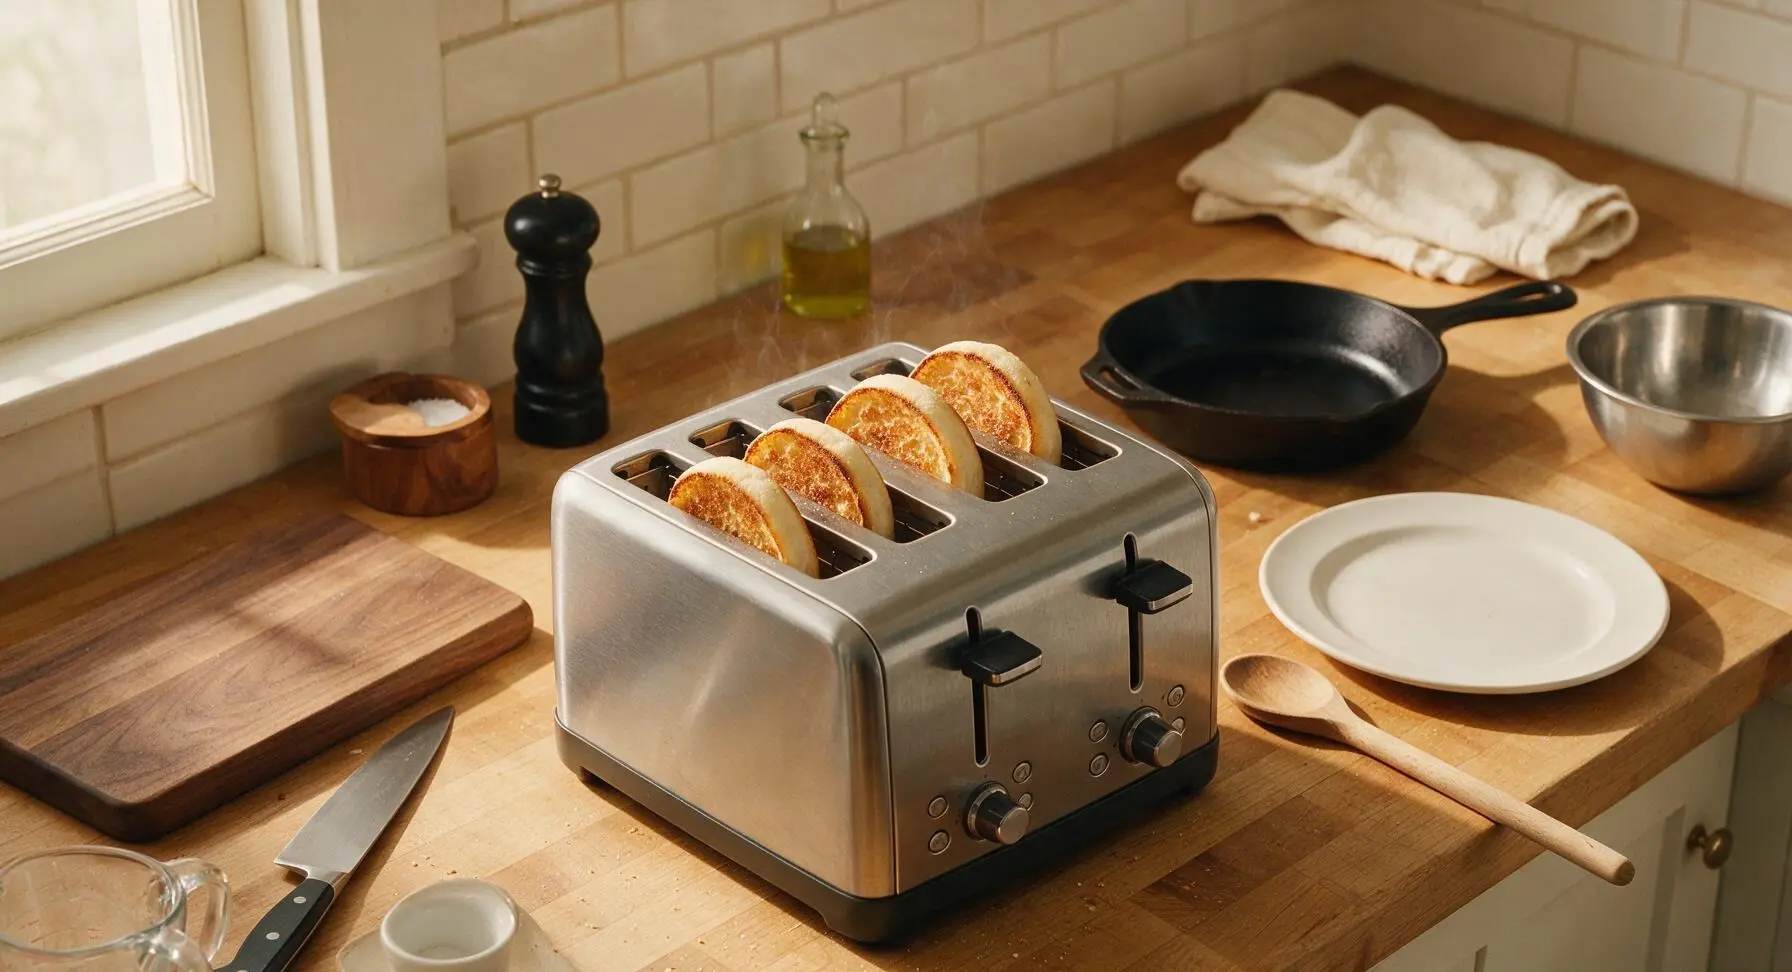
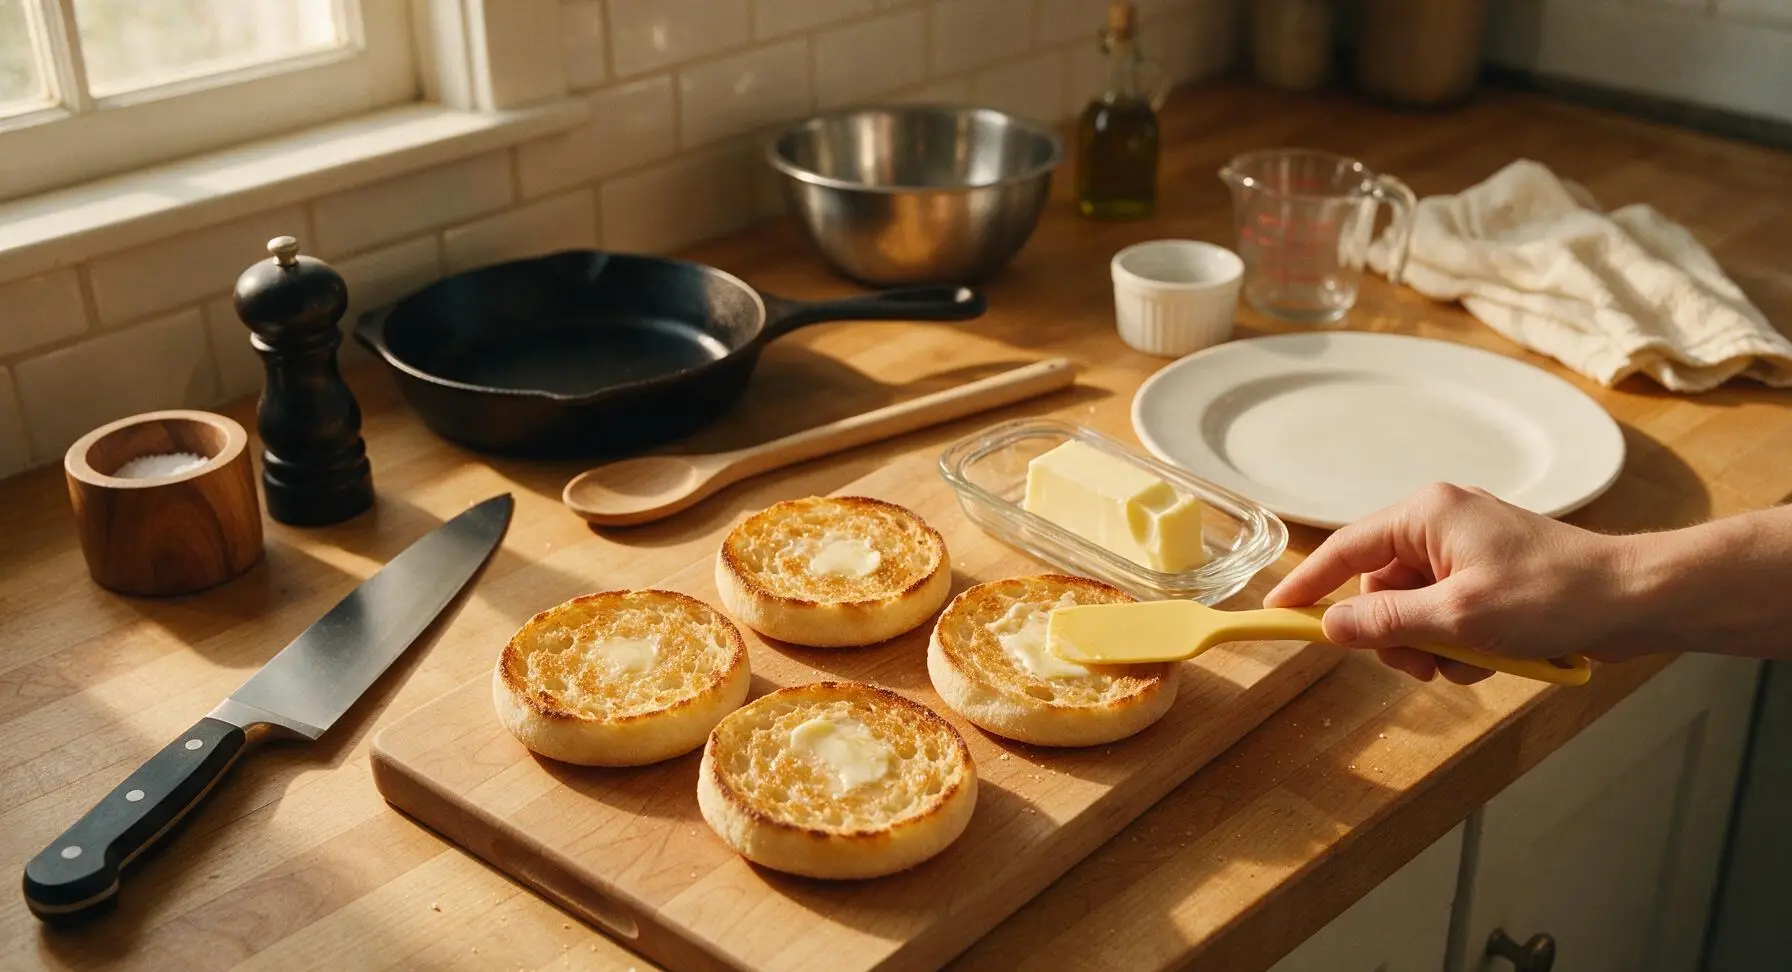
Butter Warm Muffins
Immediately after toasting, transfer the hot muffin halves back to the maple cutting board, cut sides facing up. Use the butter-yellow silicone spatula to spread 1/2 tablespoon of slightly softened salted butter evenly across the cut surface of each half. Work quickly while the muffins are still piping hot: the residual heat will melt the butter so it seeps deep into the nooks and crannies, rather than sitting as a thick, greasy layer on top of the toast.
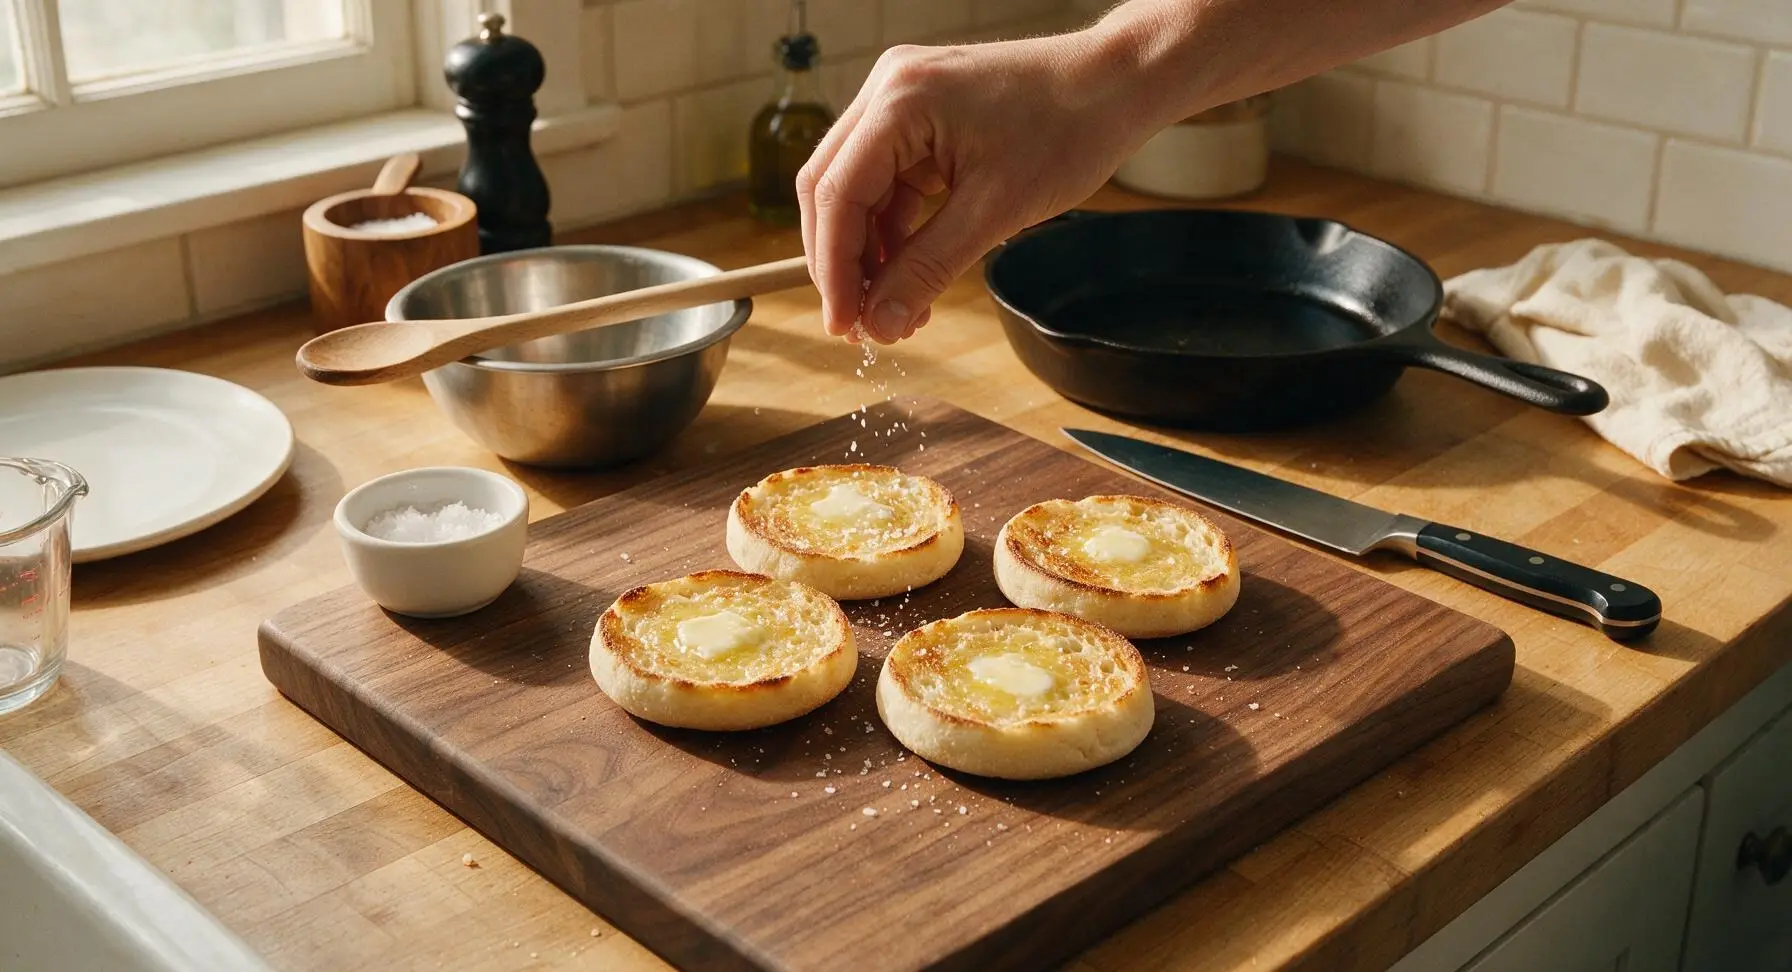
Sprinkle Flaky Salt
After buttering all four halves, pinch a tiny amount of flaky sea salt from the glass ramekin and sprinkle it lightly over each buttered surface. Use a very light hand—only 1/4 teaspoon total for all four halves, or about 3-4 salt crystals per bite. The salt cuts through the richness of the butter and amplifies the nutty, toasty flavor of the muffin, rather than making the dish taste salty.
Add Jam Dollop
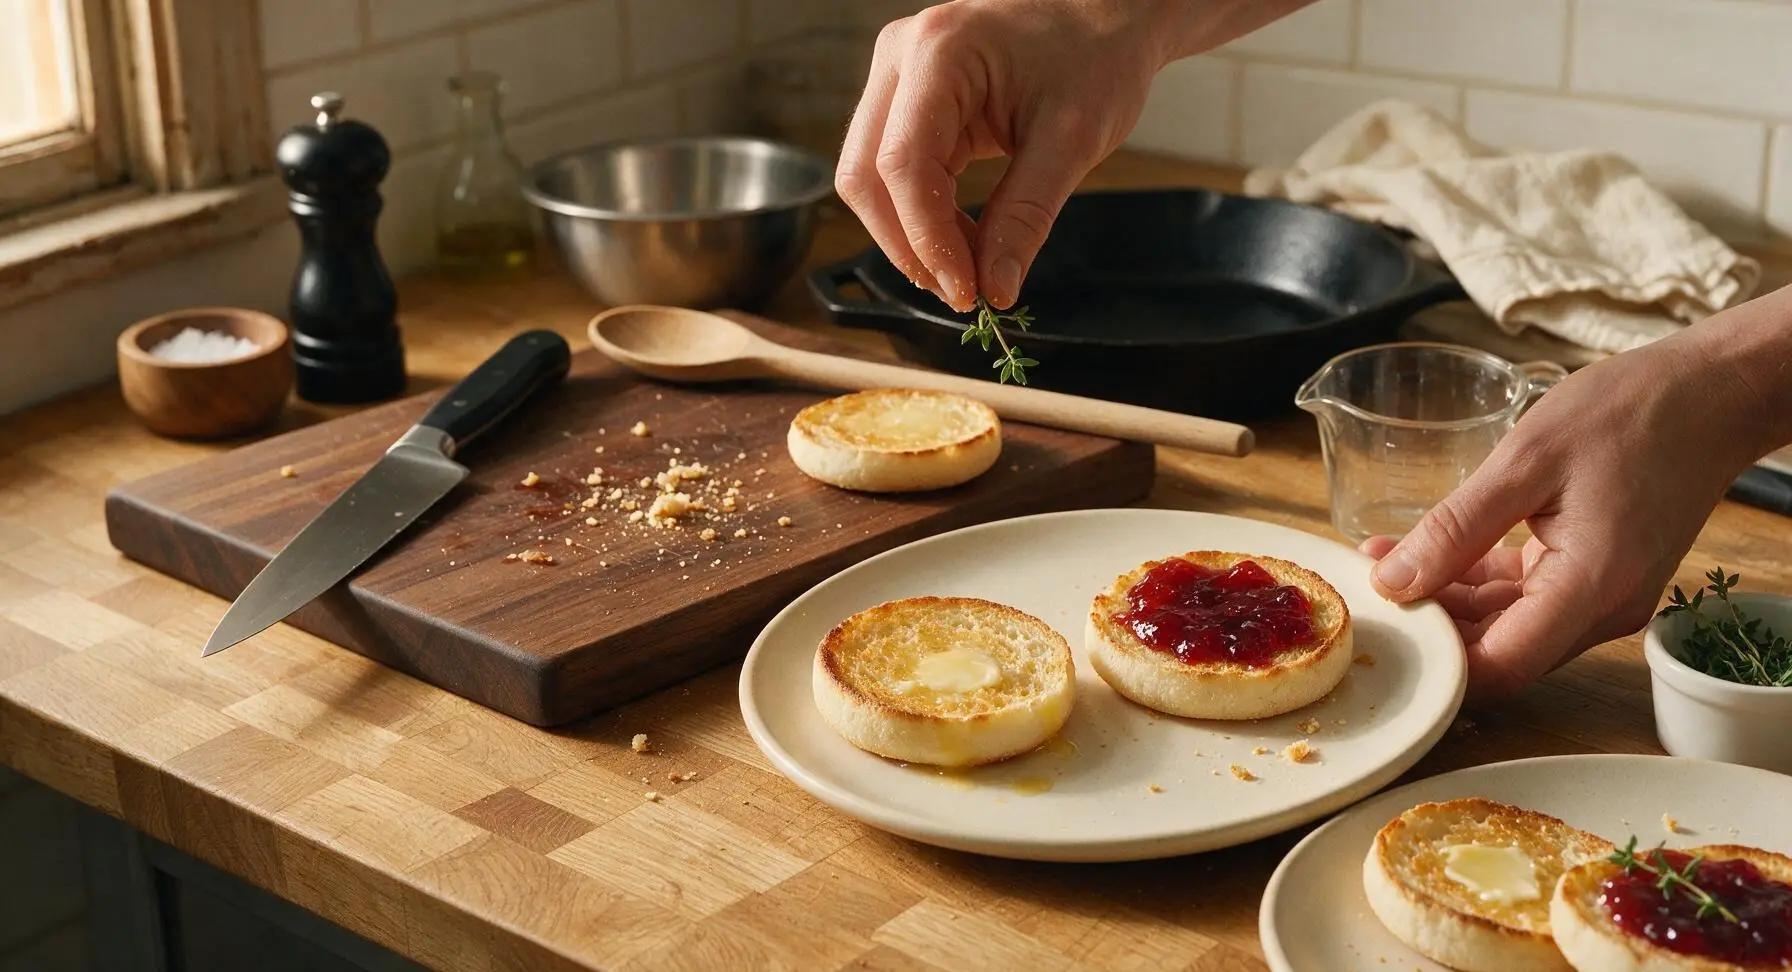
Scoop 1/2 tablespoon of strawberry jam from the glass jam jar with the silicone spatula, and place a thick dollop on two of the four buttered, salted muffin halves. Do not spread the jam all the way to the edges; leave a 5mm border of buttered toast visible to prevent jam from dripping when the muffin is picked up. Leave the remaining two halves plain buttered for guests who prefer a simpler, less sweet bite.
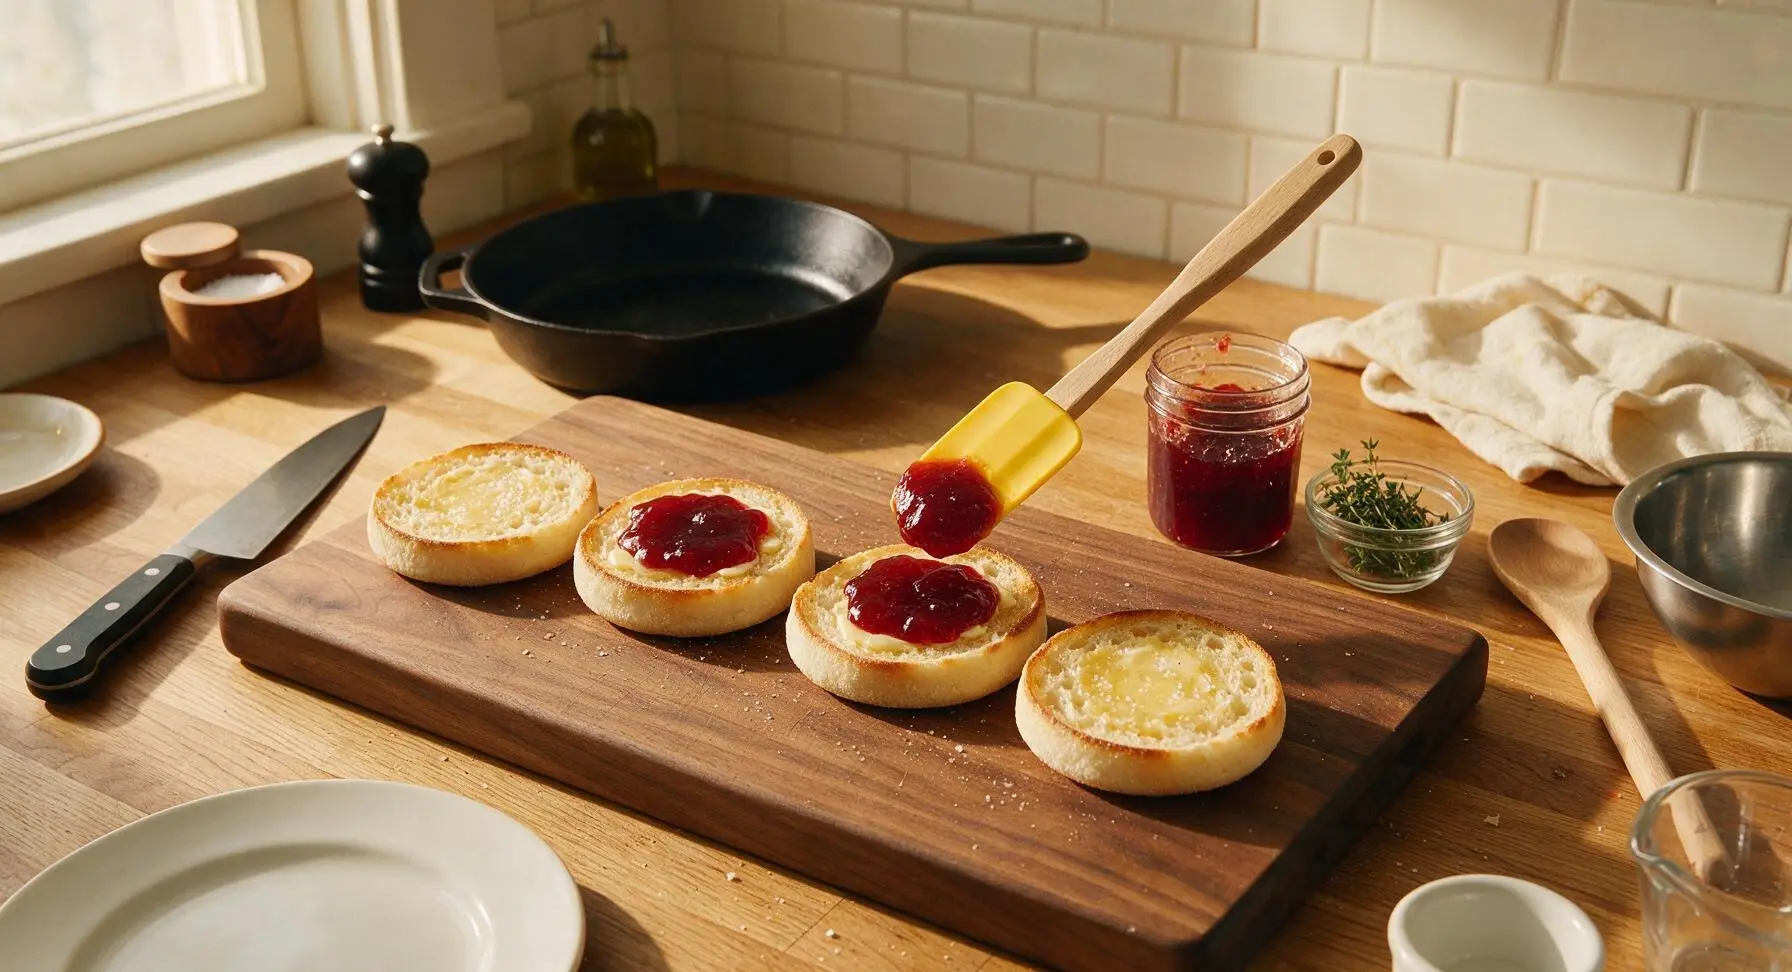
Plate and Garnish
Arrange two muffin halves (one jam-topped, one plain buttered) on each of the two matte cream ceramic plates. Take one small thyme sprig from the glass ramekin and tuck it next to the muffins on each plate for a subtle herby aroma and fresh pop of green color. Leave the few stray crumbs that land on the plate surface—they add natural, approachable realism, no need for a perfectly wiped plate. Serve immediately while the muffins are warm and the butter is still melted.
Tips
2.Butter your muffins within 10 seconds of removing them from the toaster. If you wait too long, the muffin surface cools and butter will sit on top as a thick, congealed, greasy layer instead of absorbing into the warm crumb for even, rich flavor in every bite.
3.For extra crispy results without burnt edges, set your toaster to a medium setting and toast the muffins twice for 1.5 minutes each, instead of once on a high setting. This slowly dries out the crumb for a crisp texture that doesn’t get soggy under butter and jam, without charring the edges.






OMG this is such a game changer for my chaotic school mornings! I used to spend 10 minutes fumbling with different breakfast options, but this 5 minute English muffin toast is perfect. My kids go crazy for it when I add a little cinnamon sugar on top. SO good, will be making this every weekday!
Super easy even for someone like me who burns toast half the time! I made this in my dorm toaster oven, no fancy equipment needed, and it came out perfectly crispy on the edges, soft in the middle. Way better than the sad dining hall breakfast options.
I’ve been making English muffin toast for decades, but I picked up a little tip from this recipe about toasting it on a lower setting for longer instead of high heat quick — total difference! No more burnt edges while the middle is still cold. Tasted just like the ones I used to make for my kids when they were little.
I made these earlier this week and loved them! Has anyone tried pre-making a batch for the week? I do meal prep every Sunday and I’m wondering if these hold up well if I toast them ahead and store them in the fridge for quick grab-and-go breakfasts.
Made this for my weekend potluck brunch last Saturday and people kept asking for the recipe! I set up a little toast bar with jams, peanut butter, avocado, and cream cheese so people could top their own. Total hit, zero leftovers.
Tried this with my favorite gluten free English muffins and it worked exactly the same! Crispy outside, chewy inside, no weird texture. I was worried gluten free bread would get too crumbly when toasted this way but it was perfect. 10/10 for my fellow GF folks.
5 minute cook time is no lie! I rolled out of bed 10 minutes before my work meeting, threw this together, topped it with a fried egg and a slice of cheese, and was at my desk right on time with a hot breakfast. Game changer for us WFH folks.
My boys are super picky eaters and they all devoured this! I was shocked, usually they turn their noses up at anything that isn’t covered in syrup, but they loved these toasted English muffins with a little butter and jam. Even asked for seconds!
I topped mine with smashed avocado, red pepper flakes, and a sprinkle of everything bagel seasoning and it was chef’s kiss. Way better than regular toast because the nooks and crannies hold all the toppings so nothing falls off when you take a bite.
This is such an affordable breakfast option! English muffins are super cheap at the grocery store, you don’t need any fancy ingredients, and it’s way more filling than a regular slice of toast. Perfect for anyone trying to cut down on takeout breakfast costs.
Okay I’m literally the worst cook ever, like I can mess up cereal bad, and I nailed this on the first try. The instructions were so clear, no confusing steps, and it came out exactly like the photo. Finally a recipe I don’t have to panic about making!
I made these before an early morning hike last weekend and they kept me full for hours! I slathered mine with peanut butter and banana slices, wrapped it in foil, and ate it on the trail. No sogginess, perfect portable breakfast.