
jus sauce
intro
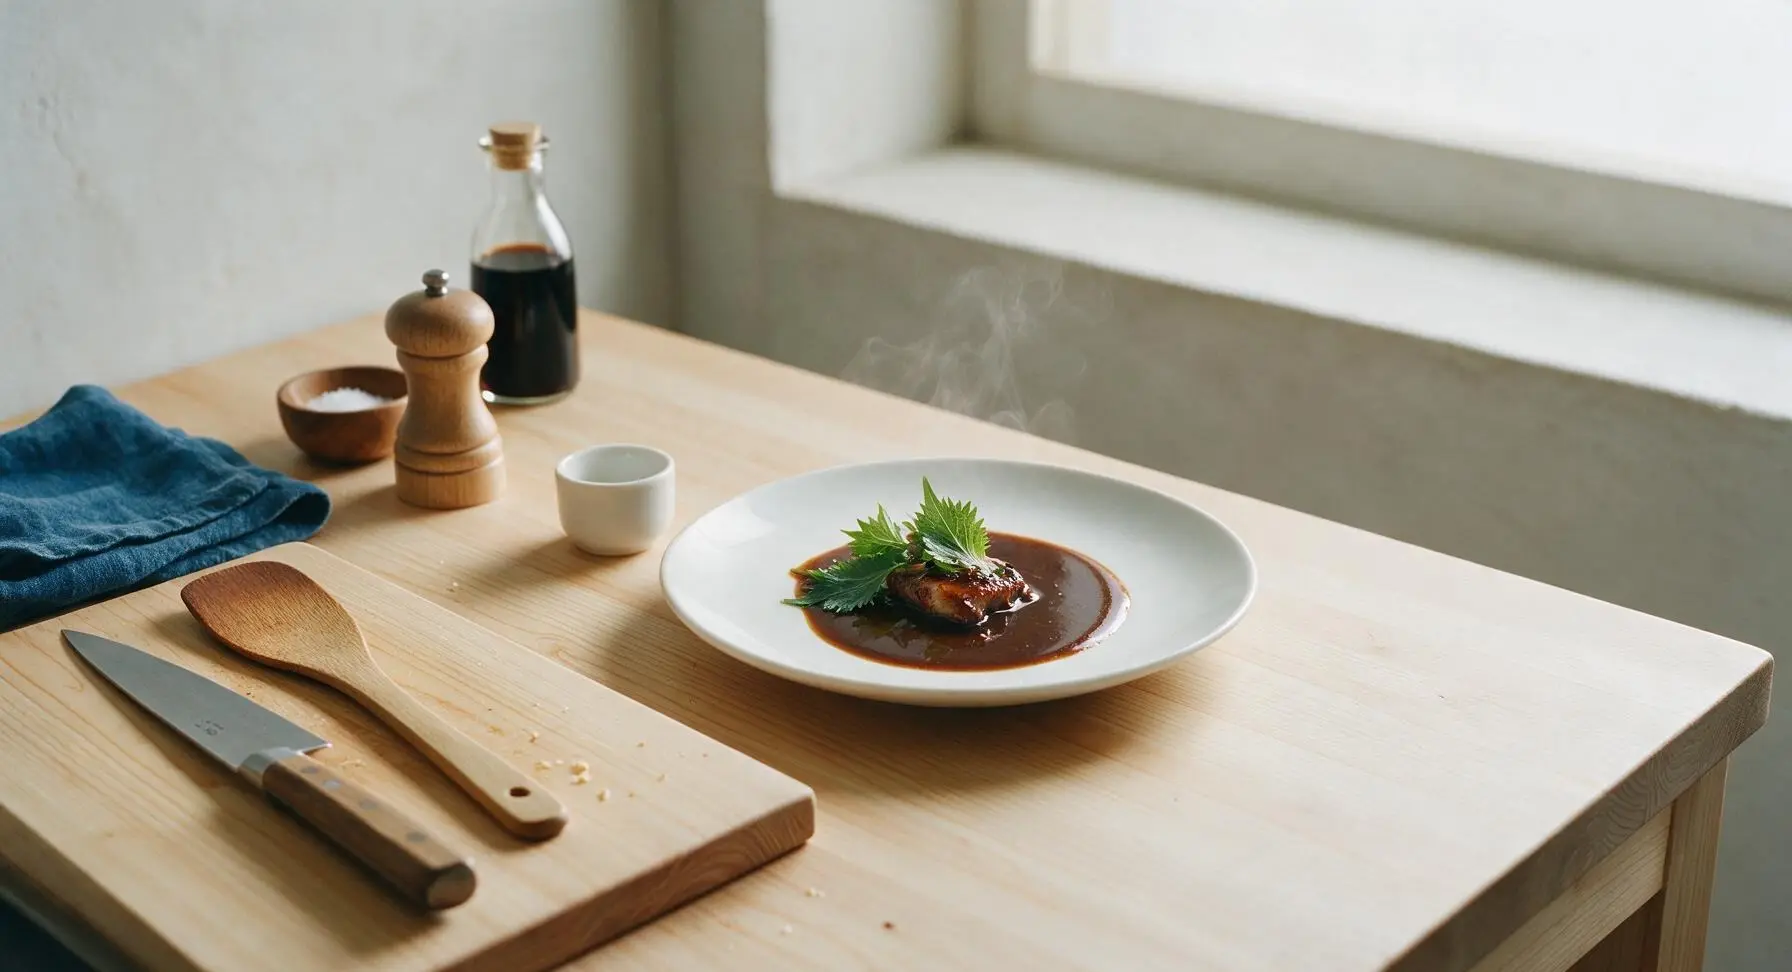
Silky, deeply concentrated classic jus, made from roasted bone drippings and mirepoix with no added thickeners. It delivers rich, meaty umami to elevate roast beef, steak, or roasted chicken.
Ingredients
Steps
Prep Roasting Base
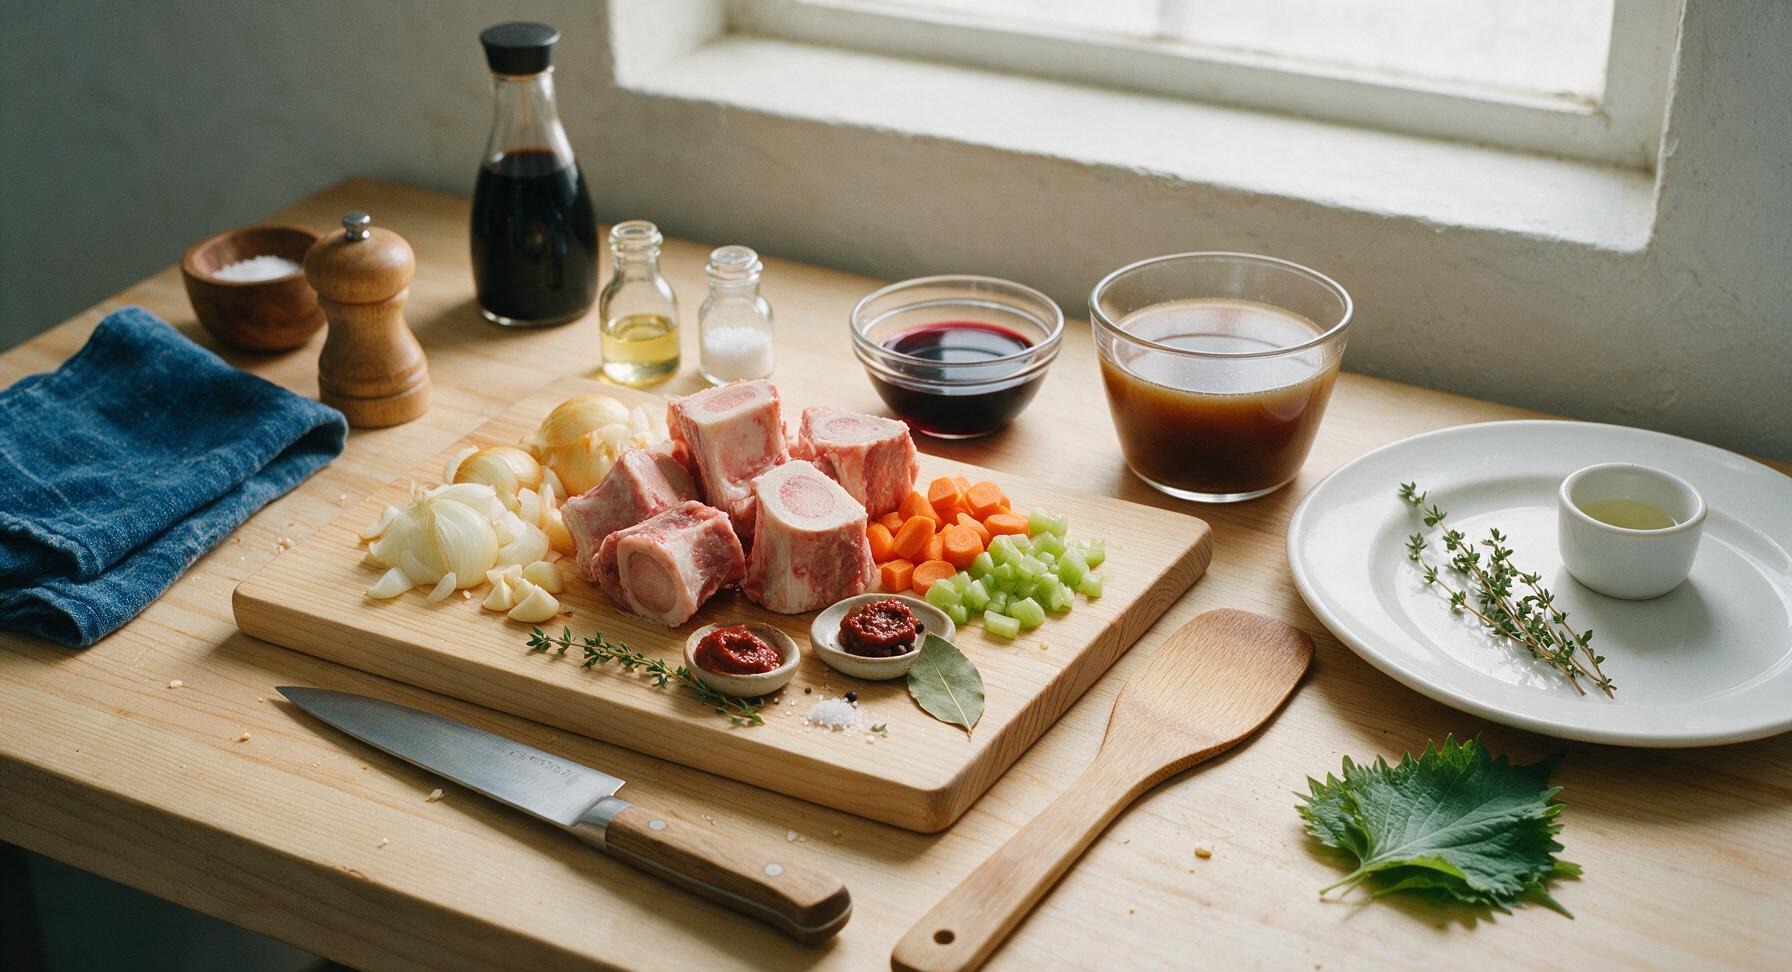
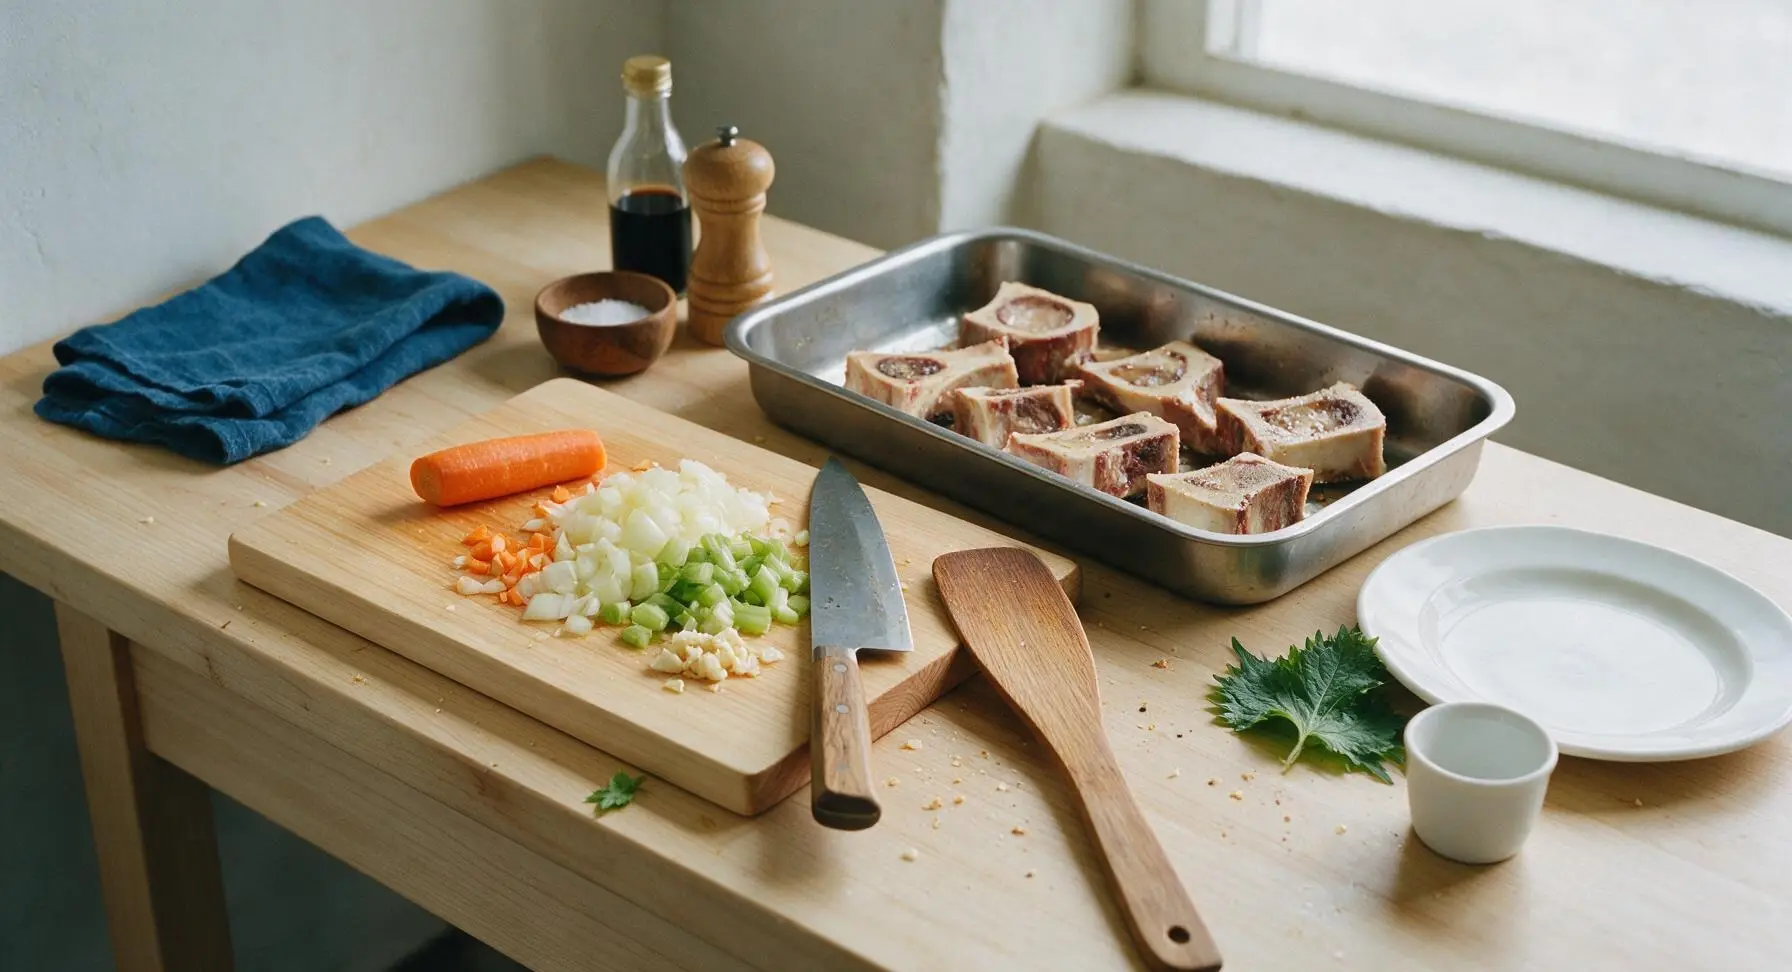
Preheat oven to 425°F (220°C). Set the acacia wood cutting board in its fixed center-left counter position. Use the 6-inch chef’s knife to chop yellow onion into 2cm chunks, carrot into 1cm rounds, celery into 2cm pieces, and crush garlic cloves lightly with the flat of the knife. Toss split beef marrow bones with 1 tsp neutral oil directly in the stainless steel roasting pan, then scatter chopped mirepoix and garlic around the bones, leaving the 1 tbsp tomato paste set aside for later.
Roast for Deep Flavor
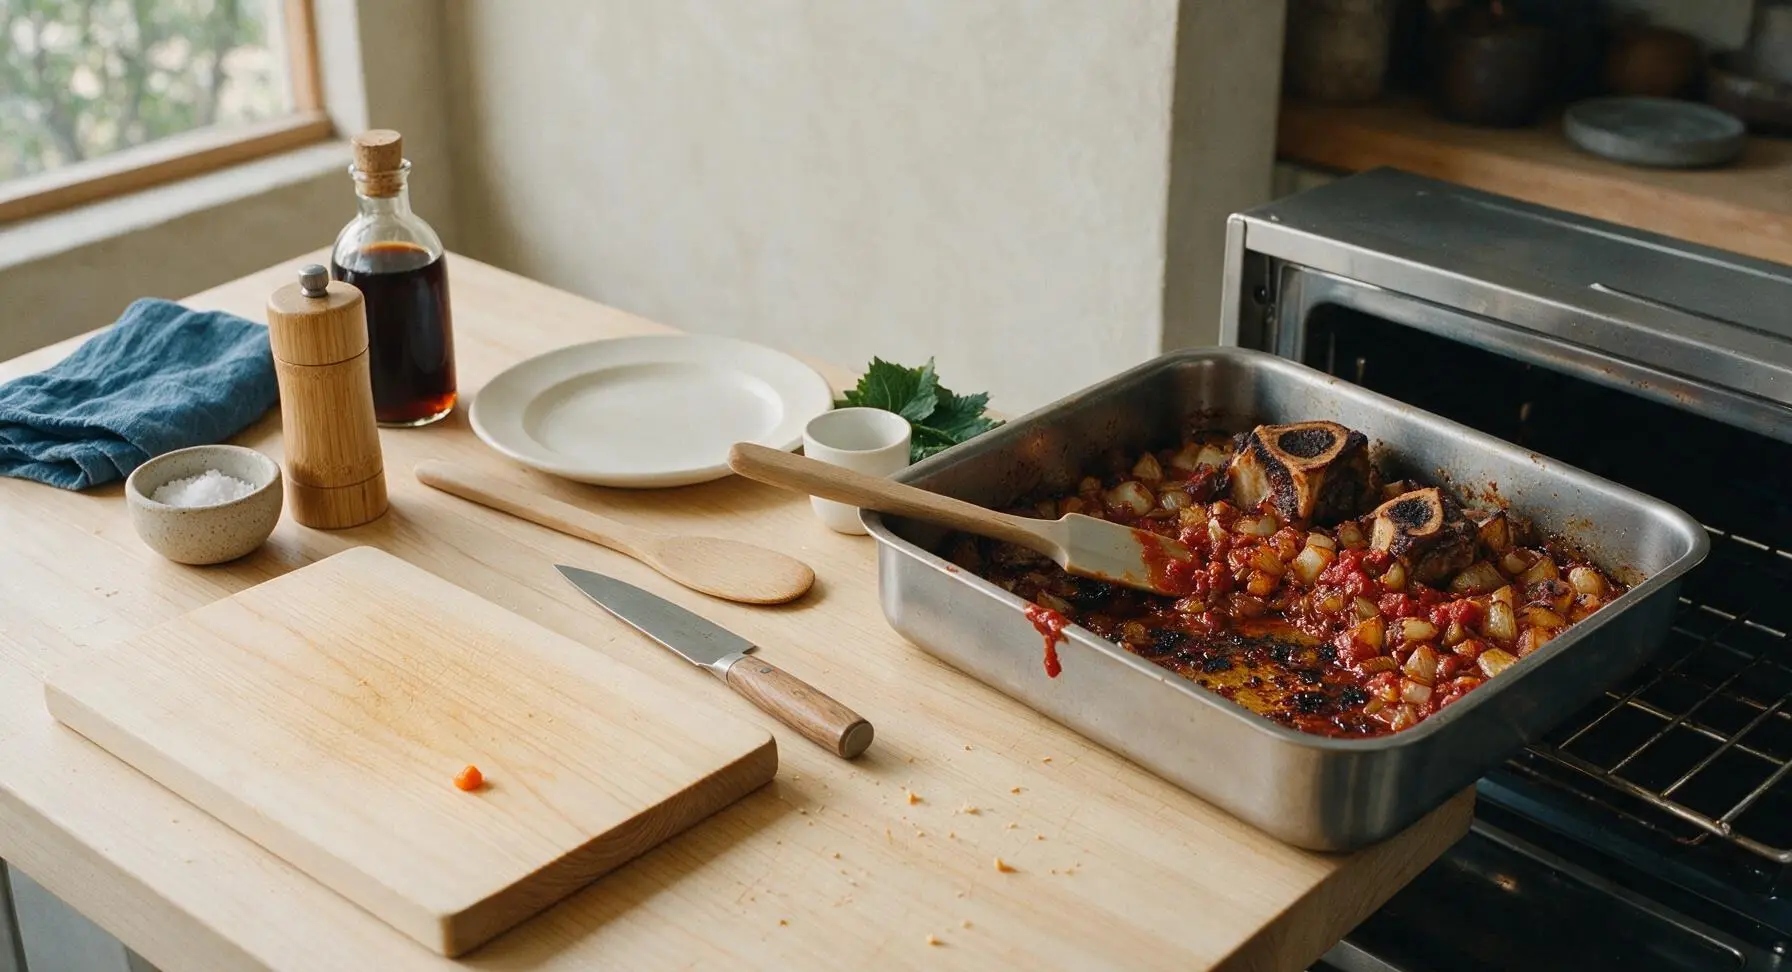
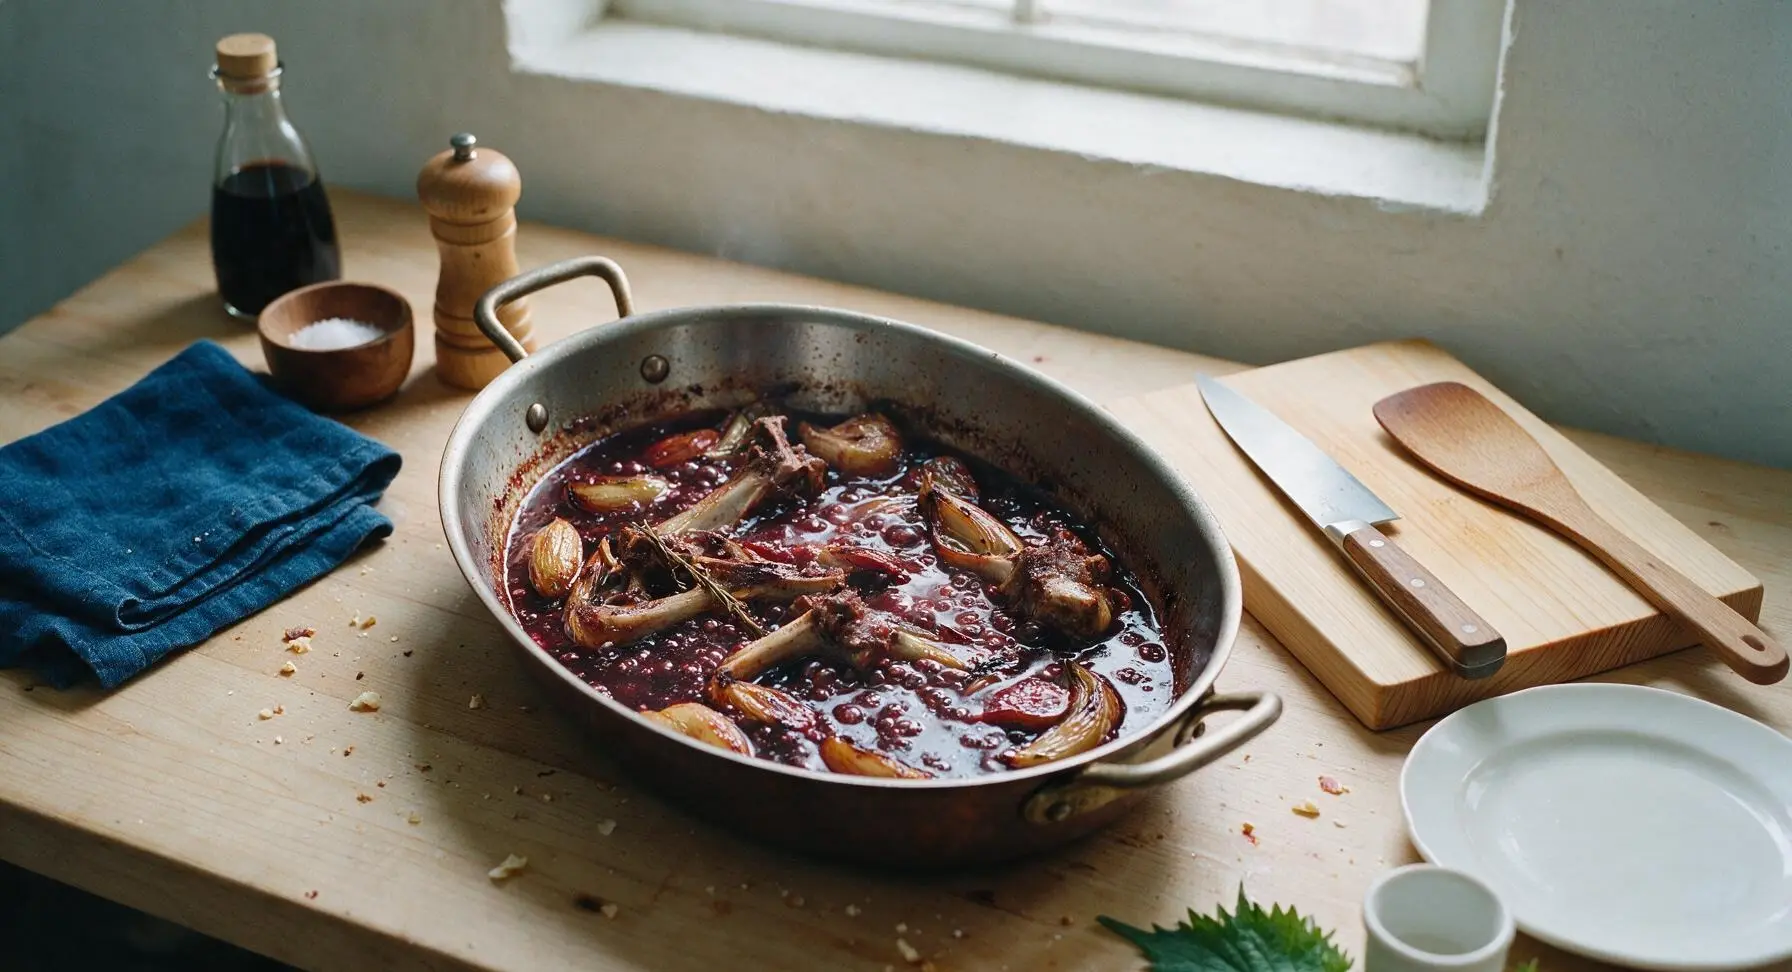
Place the roasting pan on the middle oven rack. Roast for 25 minutes, then carefully pull the pan out, add 1 tbsp tomato paste to the mirepoix, stir to coat all vegetables evenly with the paste, and roast for 5 additional minutes (30 minutes total roasting time). The bones should be deep golden brown, mirepoix caramelized at the edges, tomato paste a deep rust red with no raw metallic smell, and dark brown fond (browned flavor bits) coating the pan bottom. Halfway through the initial roast time, use the silicone spatula to stir the mirepoix once to prevent burning.
Deglaze Pan with Wine
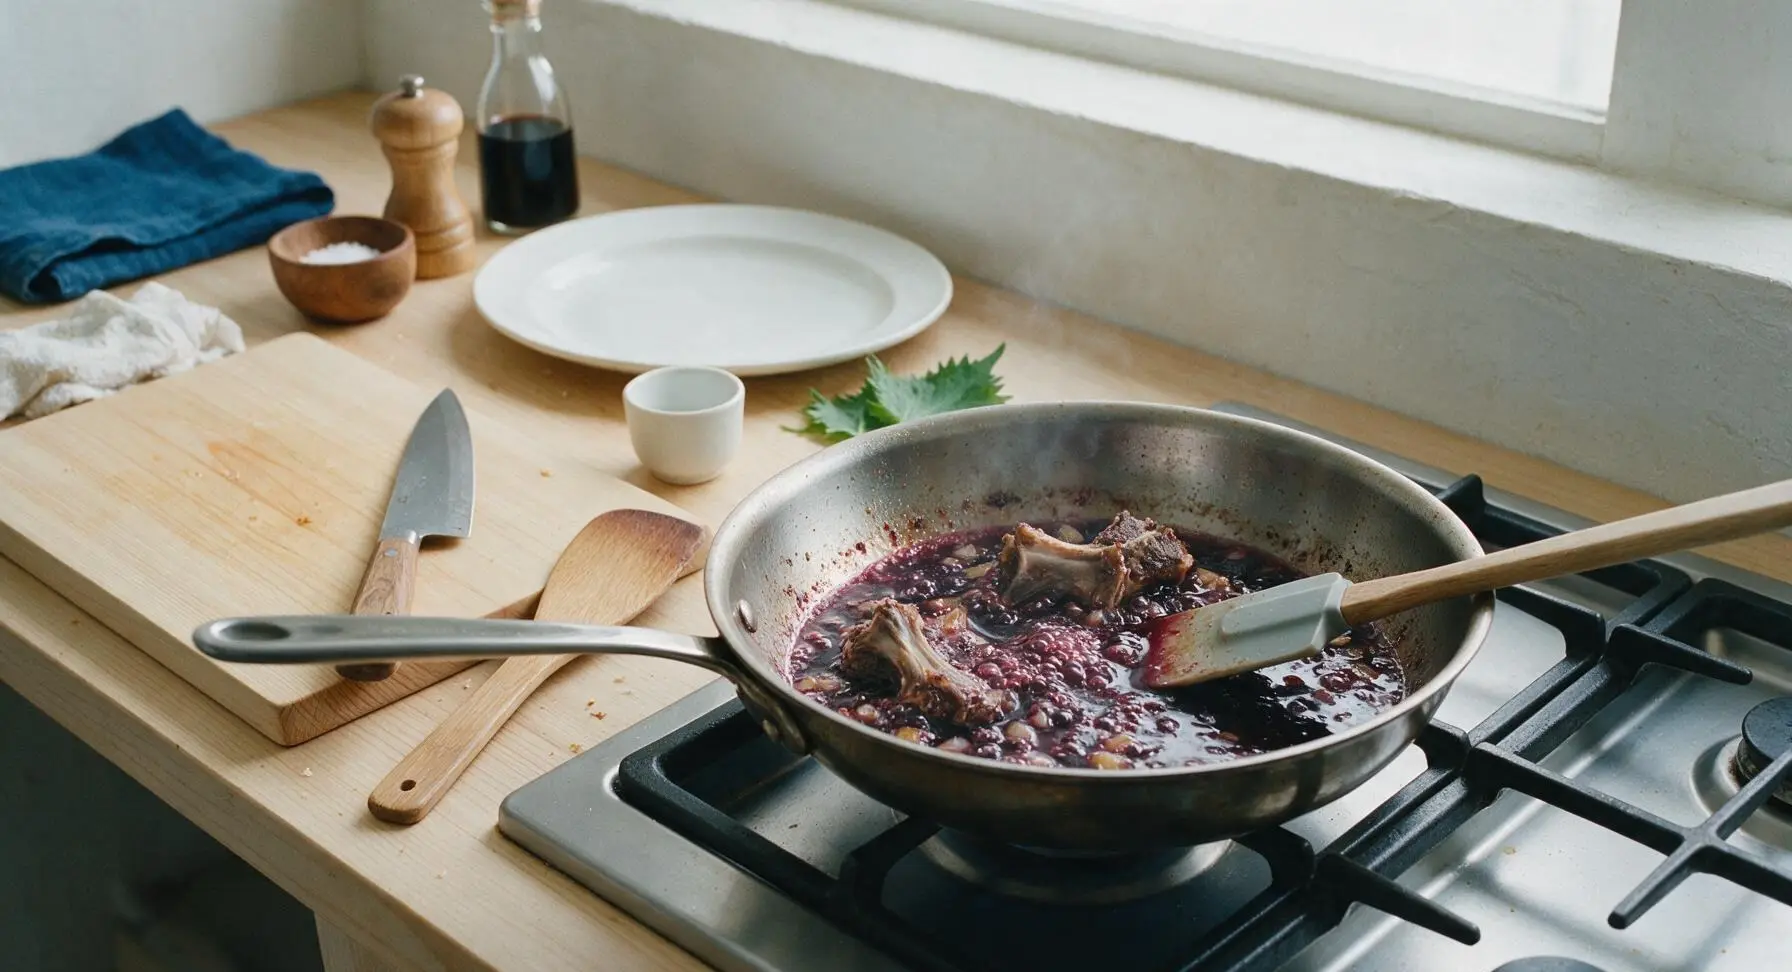
Carefully transfer the hot roasting pan to the front stovetop burner set to medium heat. Pour in ¼ cup dry red wine, and use the silicone spatula to firmly scrape all browned fond bits from the pan bottom as the wine comes to a simmer. Cook for 2 minutes, until wine is reduced by half, with a rich fruity-savory aroma and no sharp raw alcohol scent remaining.
Simmer Jus Base
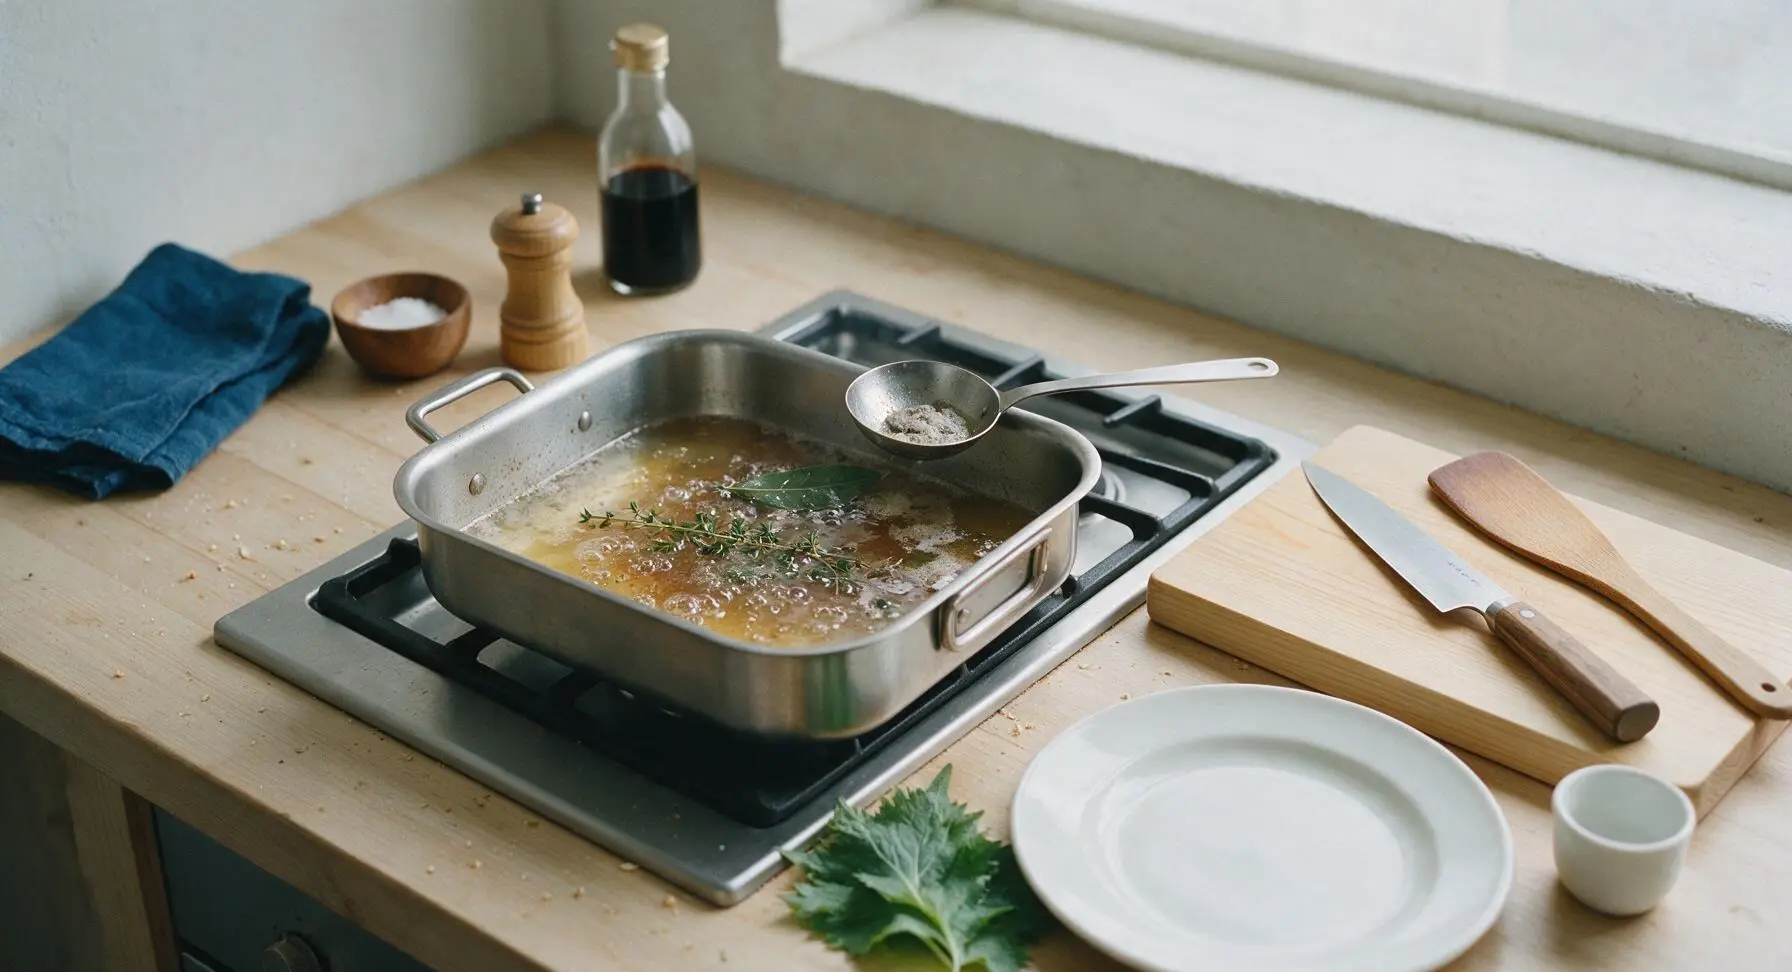
Add 2 cups low-sodium beef stock, 2 fresh thyme sprigs, 1 bay leaf, and 1 tsp whole black peppercorns to the roasting pan. Bring to a gentle simmer (small bubbles breaking every 1-2 seconds at the surface; do not boil rapidly, as this causes cloudiness), then reduce heat to low and cook for 25 minutes. Every 10 minutes, use a small spoon to skim any grey, foamy impurities and excess rendered fat that rises to the surface, for a clear, clean-tasting jus.
Strain Jus Thoroughly
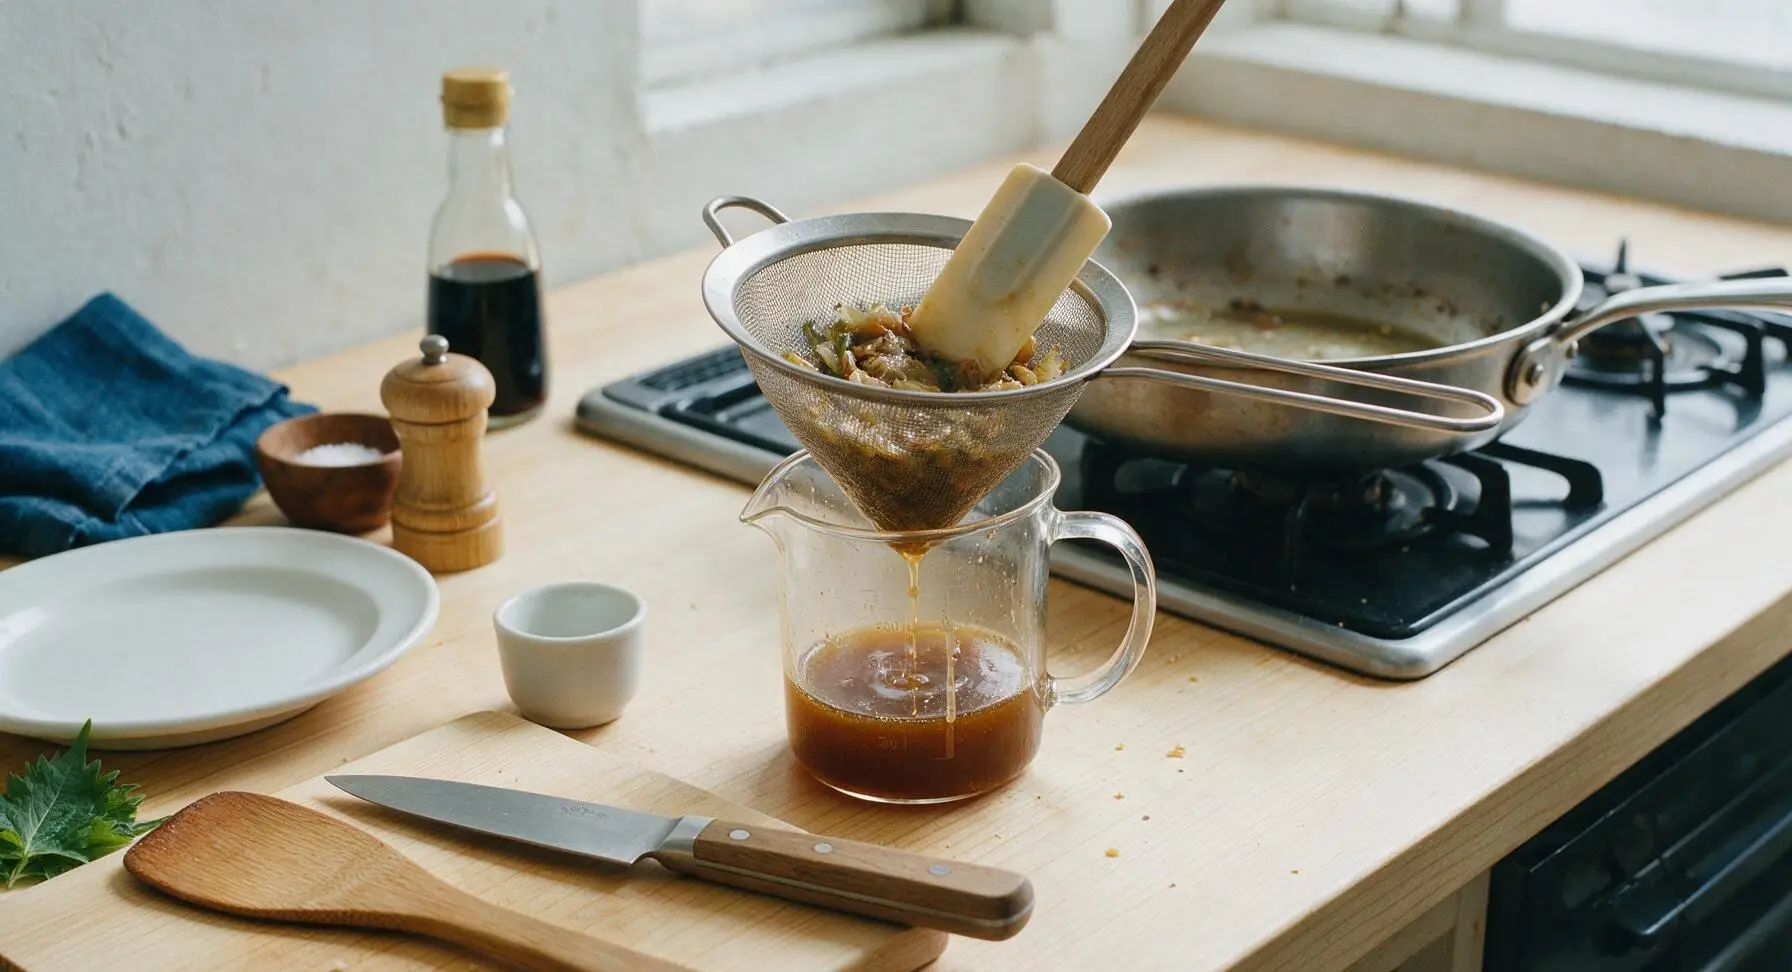
Set the fine-mesh conical strainer over the clear 250ml glass measuring cup, positioned to the right of the stovetop. Carefully pour all contents of the roasting pan through the strainer, pressing gently on the bones and vegetables with the silicone spatula to extract every drop of flavorful liquid, then discard the spent solids. You should have roughly 1¼ cups of light golden-brown, slightly translucent strained liquid.
Reduce to Consistency
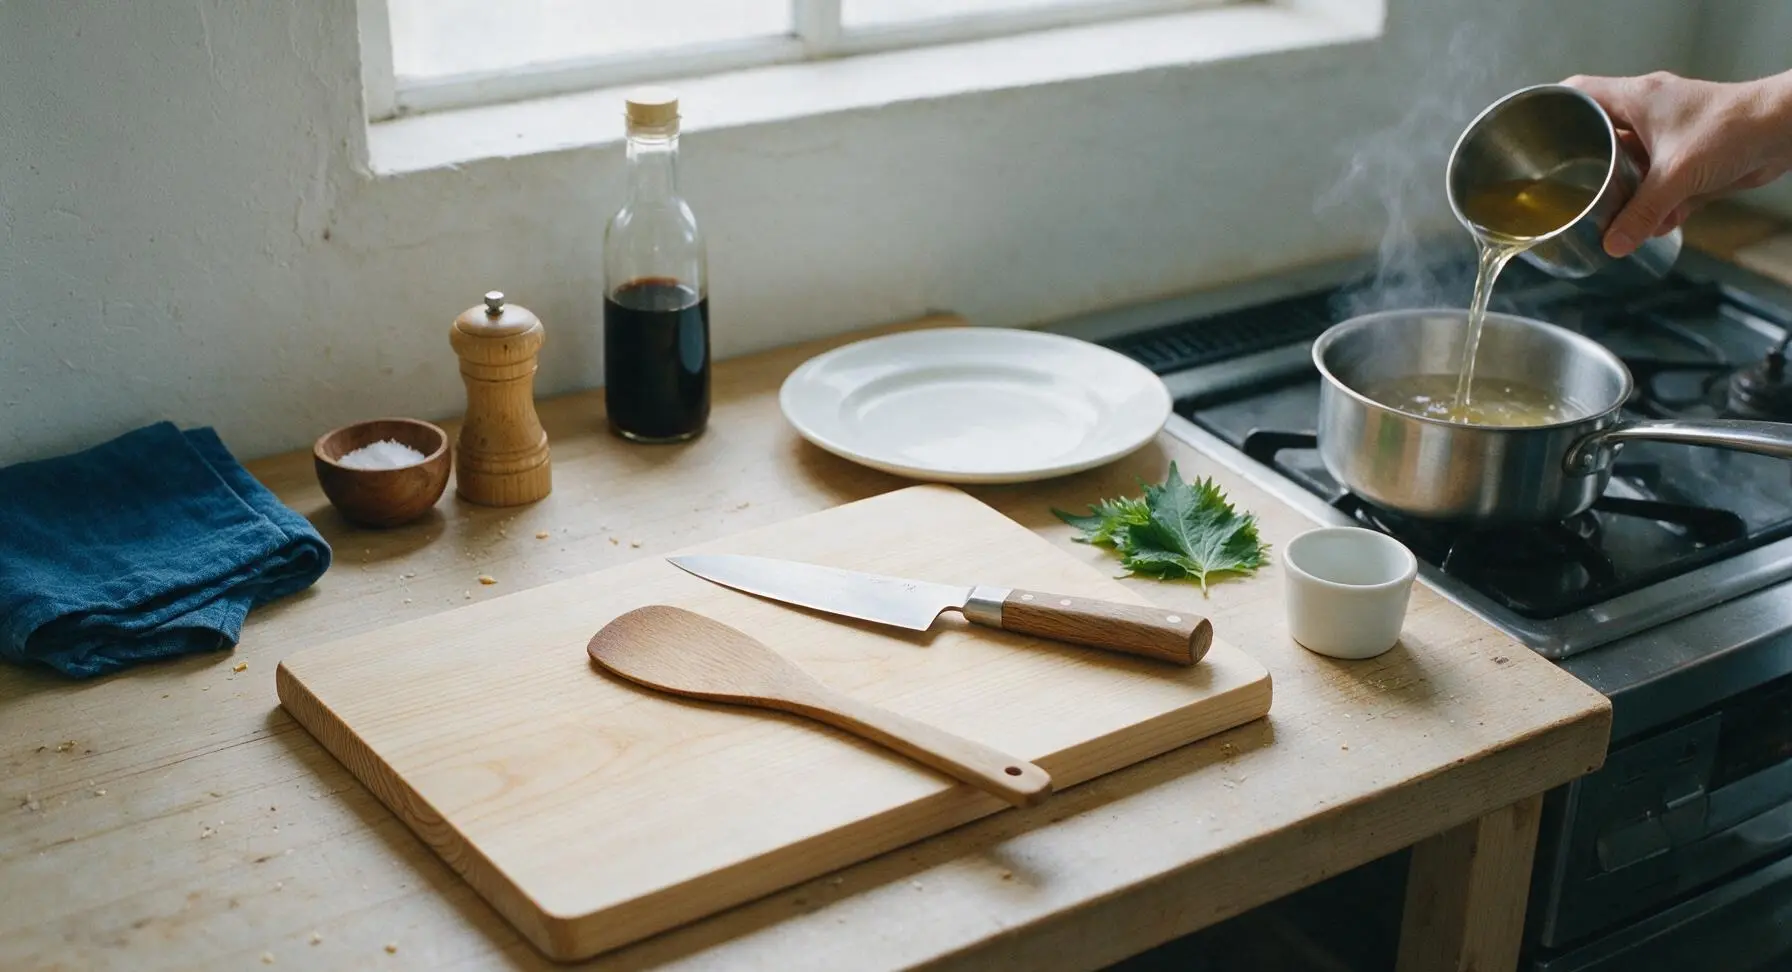
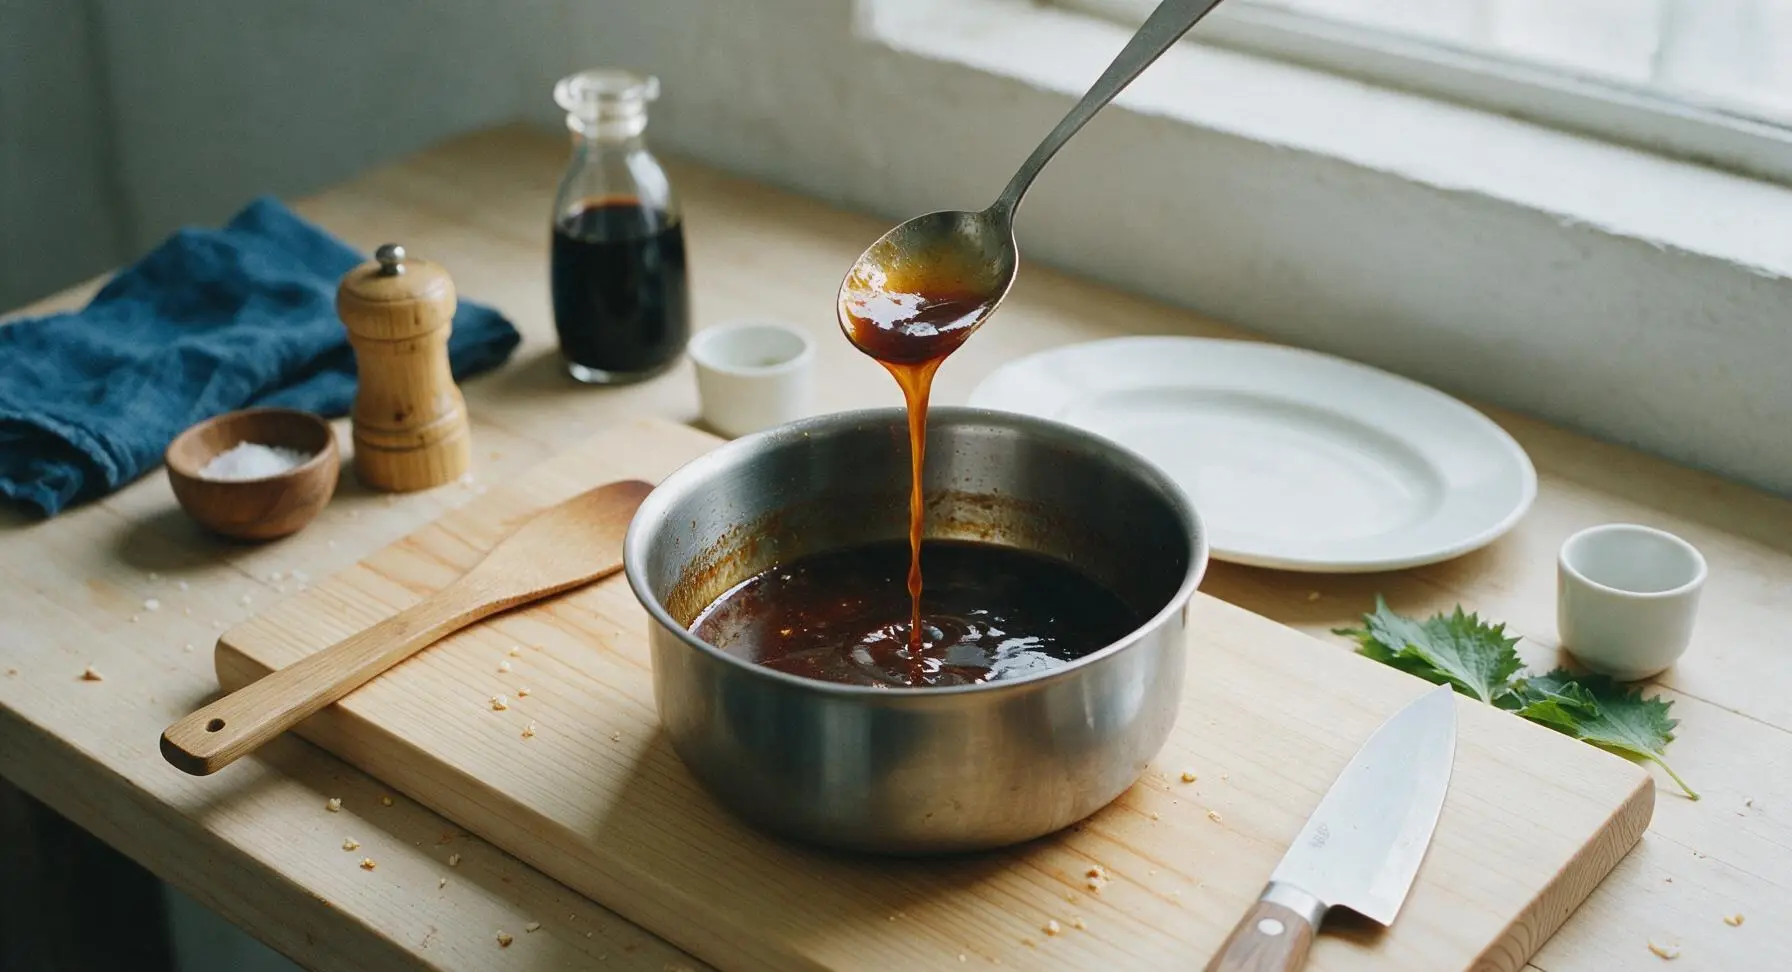
Pour the strained liquid into the 1L small stainless steel saucepan, set over medium-low heat. Simmer gently for 10-12 minutes, until the jus is reduced to ½ cup total volume, with a deep glossy amber color and rich, meaty aroma. The finished jus will thinly coat the back of a metal spoon, running off in a slow, wide stream—no thickener is required for classic jus.
Season and Finish Jus
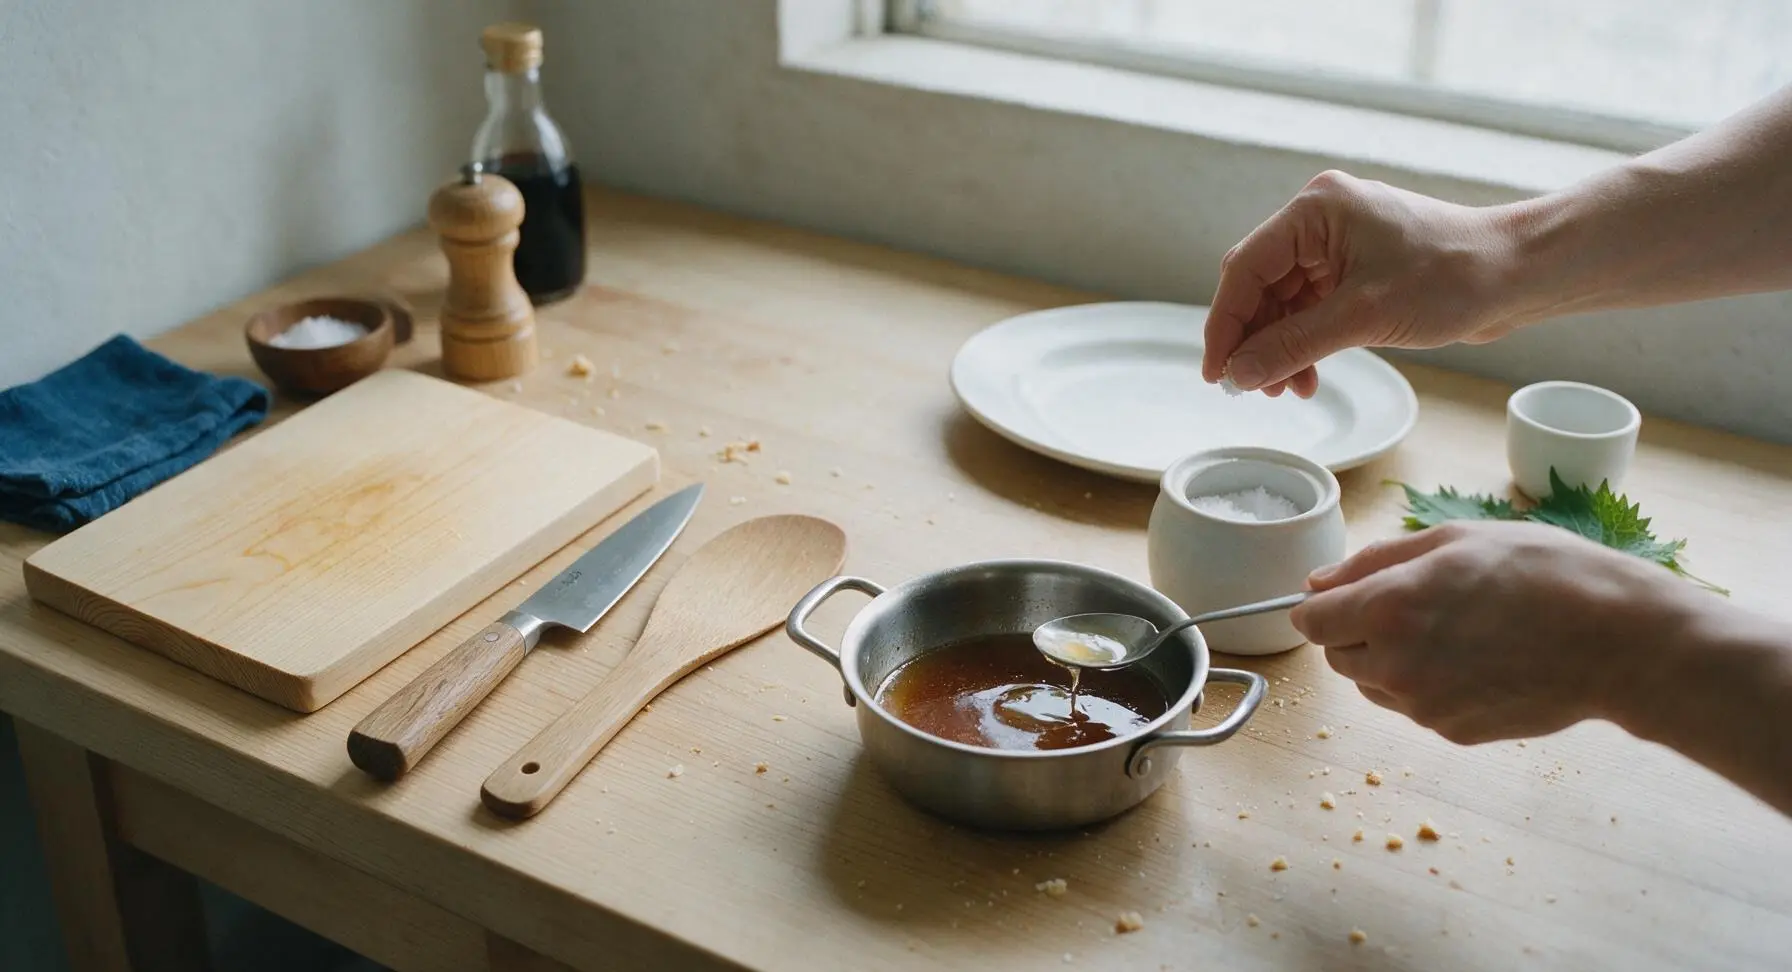
Taste the reduced jus, and add ½ tsp kosher salt, adjusting slightly as needed to bring out the savory meat flavor (salt needs will vary based on your stock’s sodium content). Use a small spoon to skim any last traces of surface fat for a crystal-clear sauce, then pour into the white matte ceramic sauce boat for serving.
Tips
2.Take time to fully caramelize the tomato paste during roasting: cooking tomato paste for 5 minutes at high heat removes its raw, metallic taste and deepens its sweet umami flavor, but watch it closely—burnt tomato paste will add a bitter, acrid note to the entire batch.
3.Skip the thickeners: classic jus gets its rich body from slow reduction of roasted flavors, not flour or cornstarch. If your jus feels too thin, simmer it for 2-3 extra minutes to concentrate it further; thickeners will make it heavy and mask the pure, meaty flavor.






OMG this pan jus is a total game changer for my weekly Sunday roast! I was intimidated at first since it’s marked medium difficulty, but the steps were so straightforward even my teen helped stir. Served it over prime rib last night and my in-laws asked for the recipe before they even finished their first bite. SO good, will be making this for every family dinner from now on!
Took me a little over an hour total like the recipe said, which is totally doable even on a weeknight if I plan ahead. I made a big batch to portion out for meal prep over seared chicken thighs and roasted veggies, and it held up perfectly in the fridge all week. Only note is I added a tiny extra pinch of thyme because I grow it on my windowsill, chef’s kiss.
Brought this jus to a neighborhood potluck last weekend paired with sliced roast beef sliders, and people literally lined up to get seconds! I was worried it might be too fussy for a crowd, but it stayed smooth and flavorful even in the slow cooker on warm for a couple hours. 10/10, already passed the link to three of my neighbors.
First time ever making a pan sauce from scratch and I was so nervous I’d mess it up! Mine came out a little lumpy at first, but I followed the tip to strain it at the end and it turned out silky and amazing over pork chops. My kids loved it so much they dipped their mashed potatoes in it, no complaints from the picky eaters for once!
Made this for my anniversary dinner with filet mignon and roasted asparagus, and my partner said it tasted better than the steakhouse downtown we went to for our first date! Worth every minute of the cook time, the depth of flavor is unreal. I did use a cabernet sauvignon like the note suggested, would 100% recommend that choice.
Pretty good! Flavor is great, but I think the 1 hour 10 minute cook time was a little long for me on a busy school night. I cut the simmer time down by 20 minutes and it still tasted really solid, just a little thinner. Next time I’ll save this for a weekend when I have more time to let it reduce properly.
Wait, has anyone tried making this with a gluten free flour blend instead of all purpose? I have celiac and I’ve been craving a good pan jus for my roasted turkey breast, but I don’t want it to get gummy with the wrong flour swap.
I tested this recipe ahead of Thanksgiving to go with our turkey, and it is going to steal the show! The depth from the pan drippings and the little hit of fresh black pepper at the end is exactly what my usual turkey gravy was missing. Way better than the packet stuff I’ve been using for years, game changer doesn’t even describe it.
Tastes just like the pan jus my grandma used to make for our Sunday pot roasts! I haven’t had it this good since I was a kid, the recipe is perfectly balanced, not too salty, not too thin, just right. I added a tiny splash of Worcestershire like she used to and it took me right back to her kitchen. Perfect nostalgia meal.
Made this for my weekly steak night with the guys, and they were all blown away. I’ve been buying jarred au jus for years and I’ll never go back after this. It’s so much richer, and you can tweak the seasoning exactly how you like it. My only tip is don’t skip the shallot step, it adds so much sweetness that balances the savoriness.
Made this over the camp stove on our last camping trip with cast iron, using drippings from the venison backstrap my husband caught. It was insane! Even out in the woods with limited supplies, it came together perfectly, no fancy equipment needed. We mopped every last drop up with sourdough bread, no leftovers at all.
Okay real talk – I burned the shallots a little the first go around because I got distracted answering a work call, and I thought the whole thing was ruined. Turns out, if you just scoop out the burnt bits and keep going, it still turns out pretty great! Don’t be like me and walk away from the pan when the shallots are cooking, y’all.
I live in a tiny studio apartment with a super old electric stove, so I was worried this recipe would be too finicky for my janky setup. Turns out it was totally manageable! I just adjusted the heat a little lower so it wouldn’t burn while reducing, and it came out perfect to go with my roasted chicken dinner last night.