
Maple Soy Turkey
intro
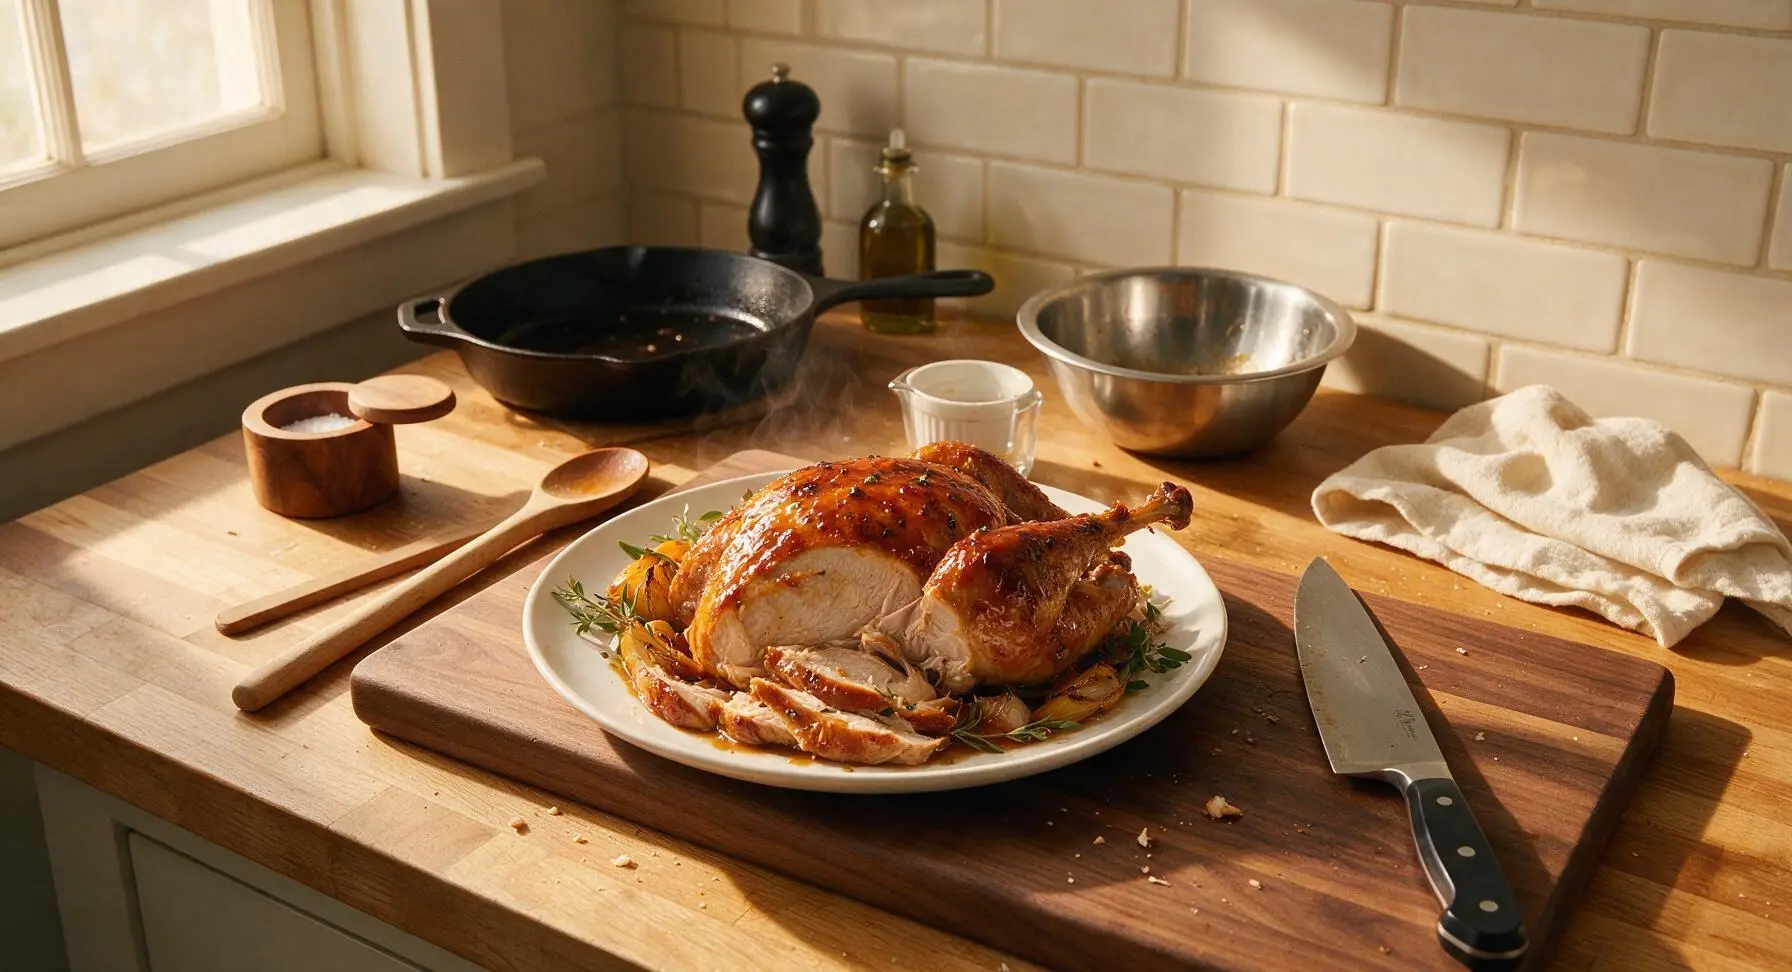
Juicy, tender roast turkey coated in a glossy sweet-savory maple soy glaze, with crisp amber skin—an elevated, cozy twist on classic holiday fare perfect for gathering.
Ingredients
Steps
Pat Turkey Dry
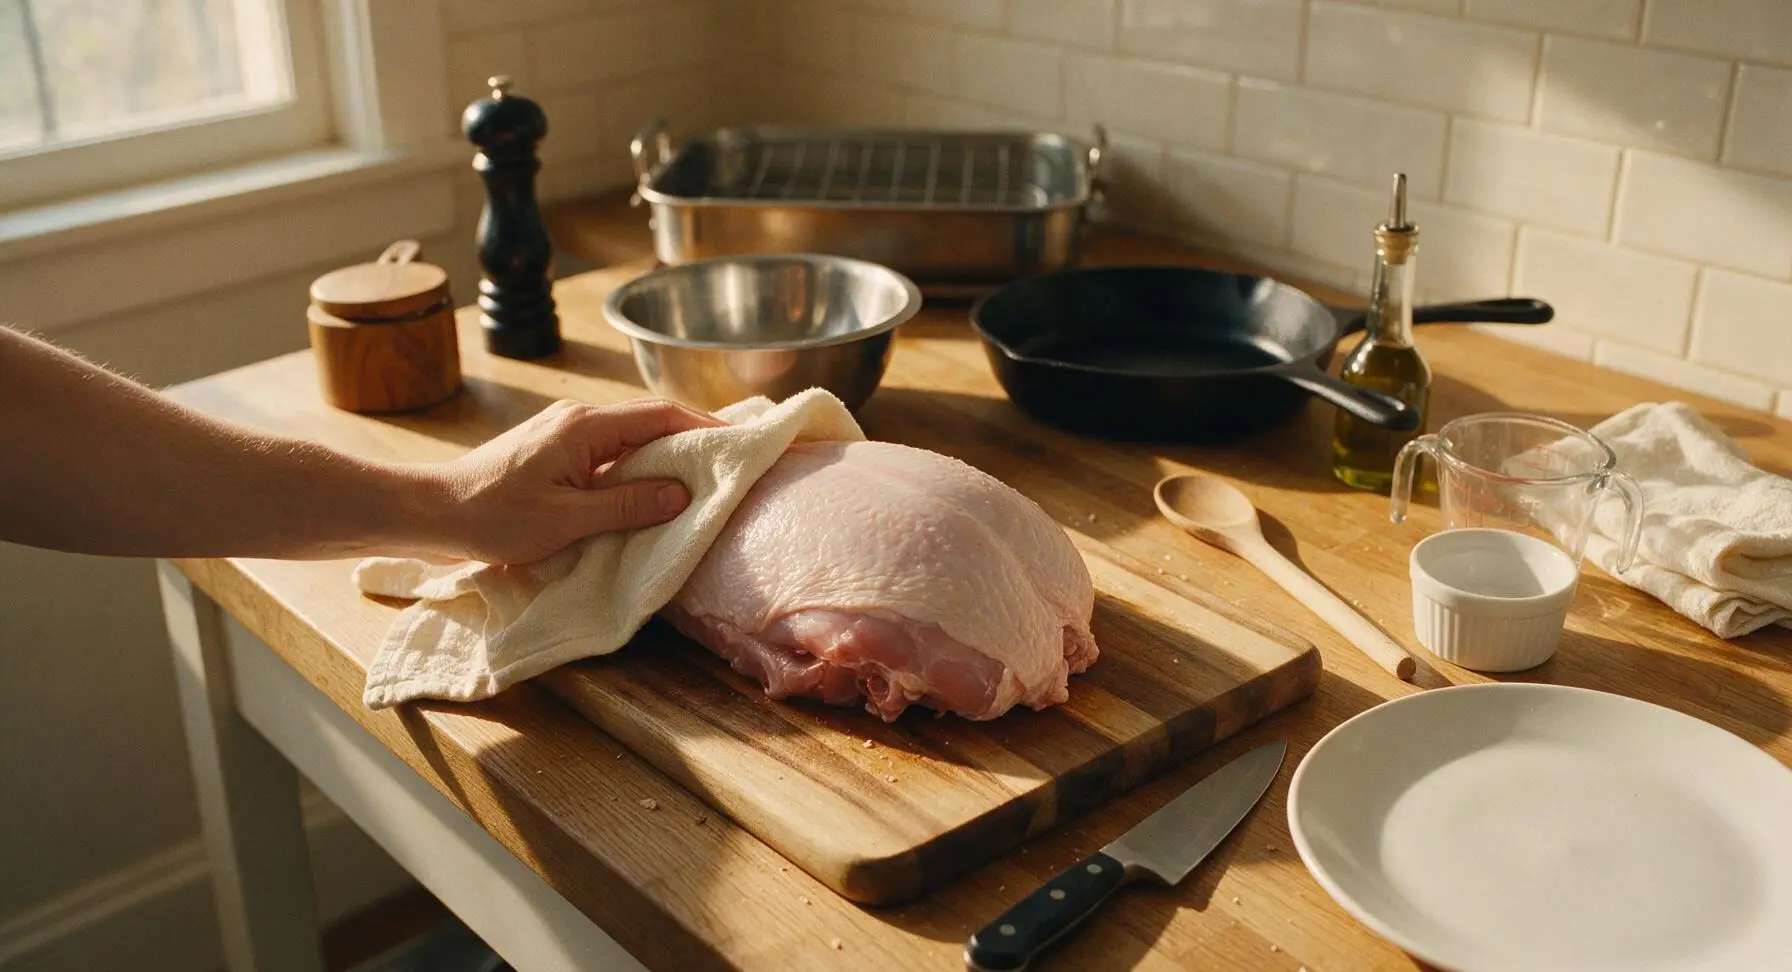
Place the 2kg bone-in, skin-on turkey breast skin-side up on the acacia wood cutting board. Use a clean corner of the fixed burnt orange linen towel to pat the entire surface of the skin and exposed meat completely dry, paying extra attention to crevices around the rib bone. The skin should feel fully matte and dry to the touch, with no residual dampness, to guarantee crisp skin during roasting. Set the stainless steel roasting pan (with rack insert) on the back edge of the counter to await use.
Mix Maple Soy Glaze
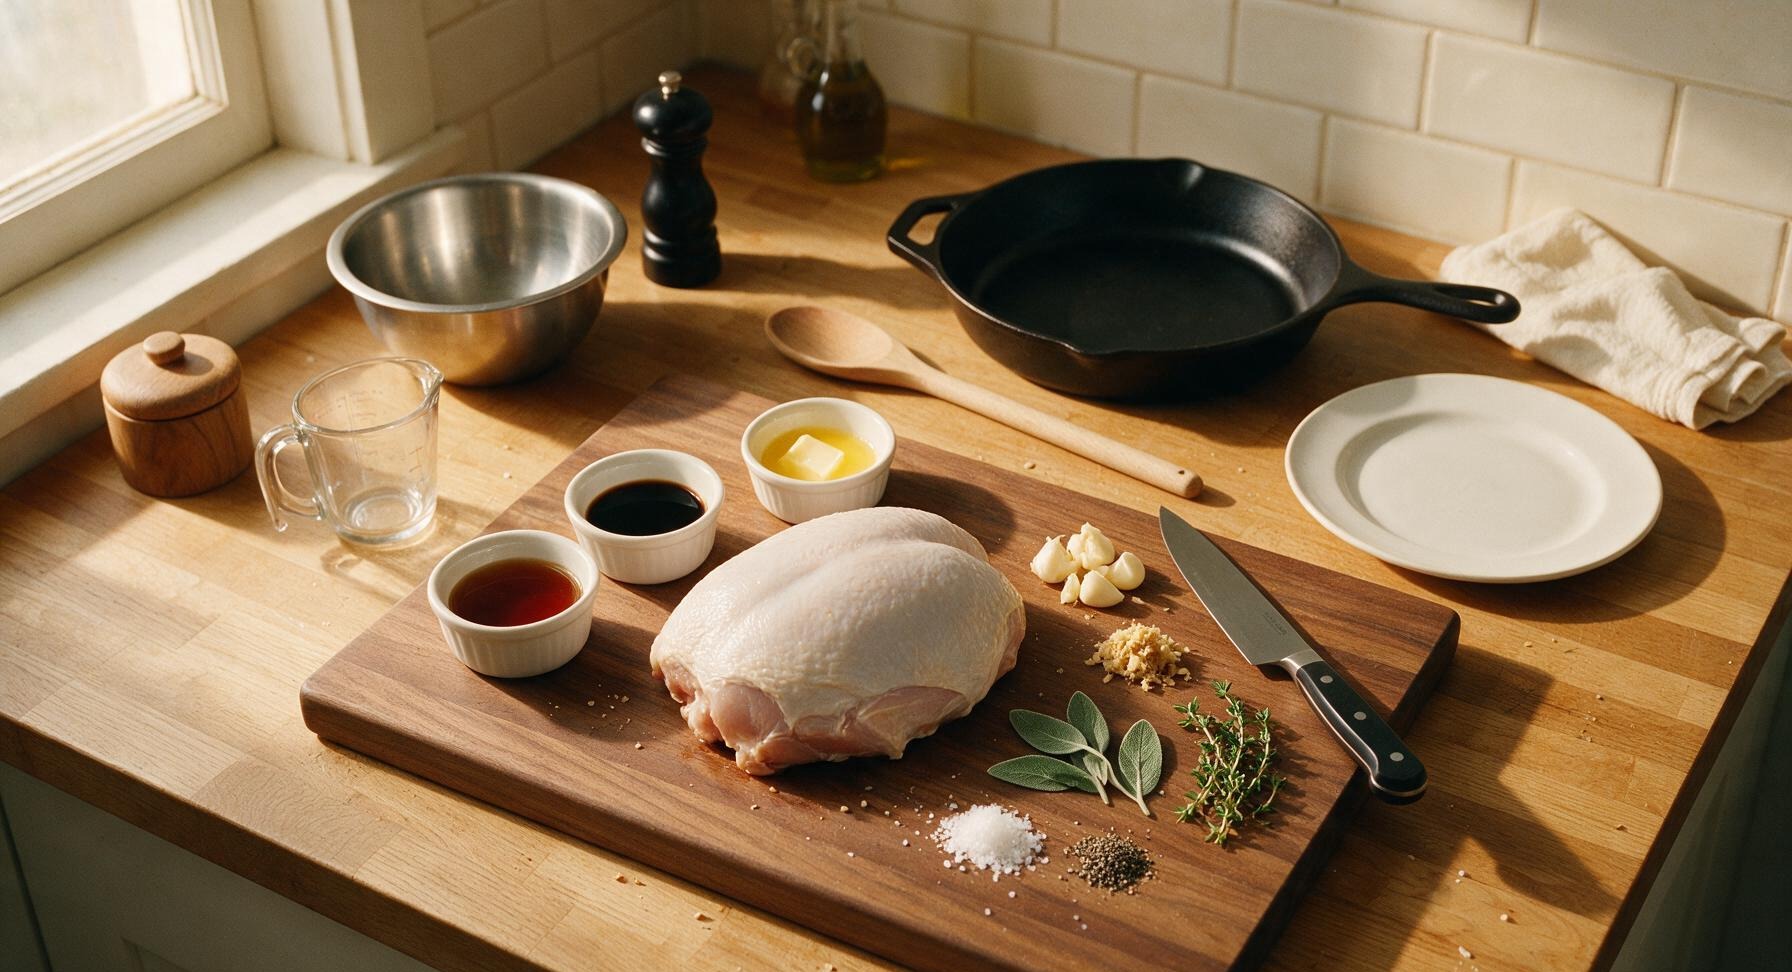
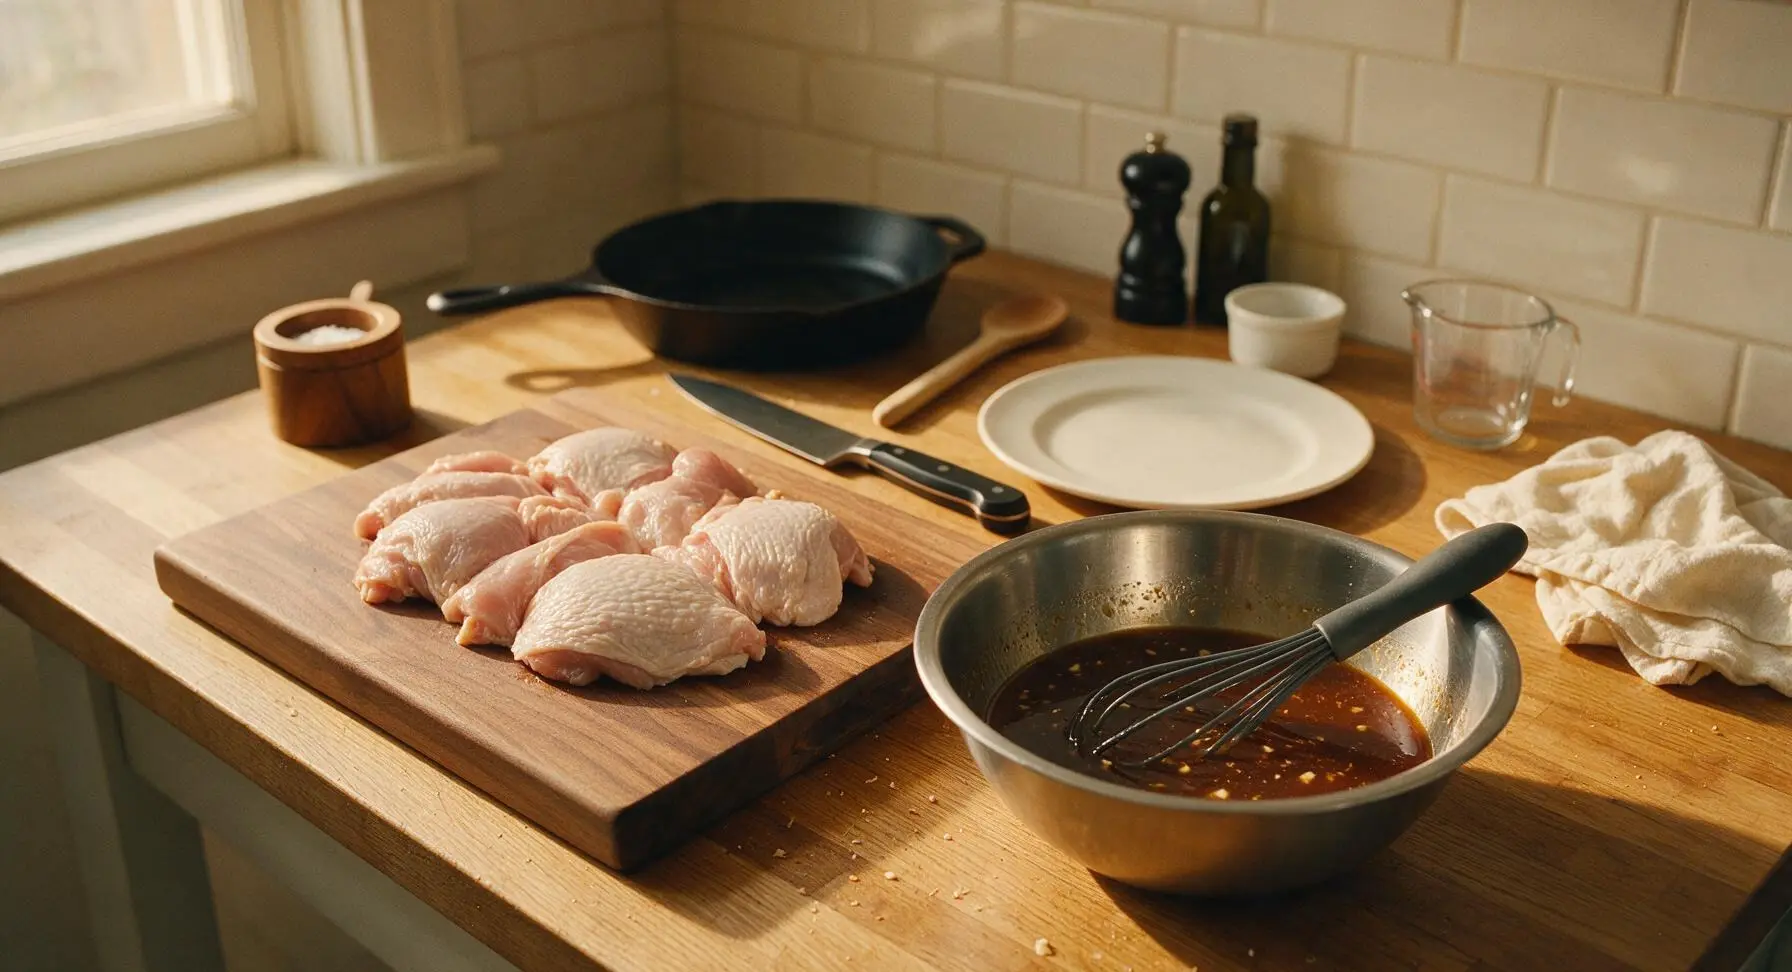
Place the medium brushed stainless steel mixing bowl on the counter to the right of the cutting board. Add 120ml pure maple syrup, 60ml low-sodium soy sauce, 2 tablespoons melted unsalted butter, 4 crushed garlic cloves, 1 tablespoon grated fresh ginger, 1 teaspoon flaky sea salt, and ½ teaspoon freshly ground black pepper to the bowl. Use the small matte charcoal silicone whisk to stir the mixture for 30 seconds until fully homogeneous, with no separated butter pools floating on the surface.
Season Under Skin
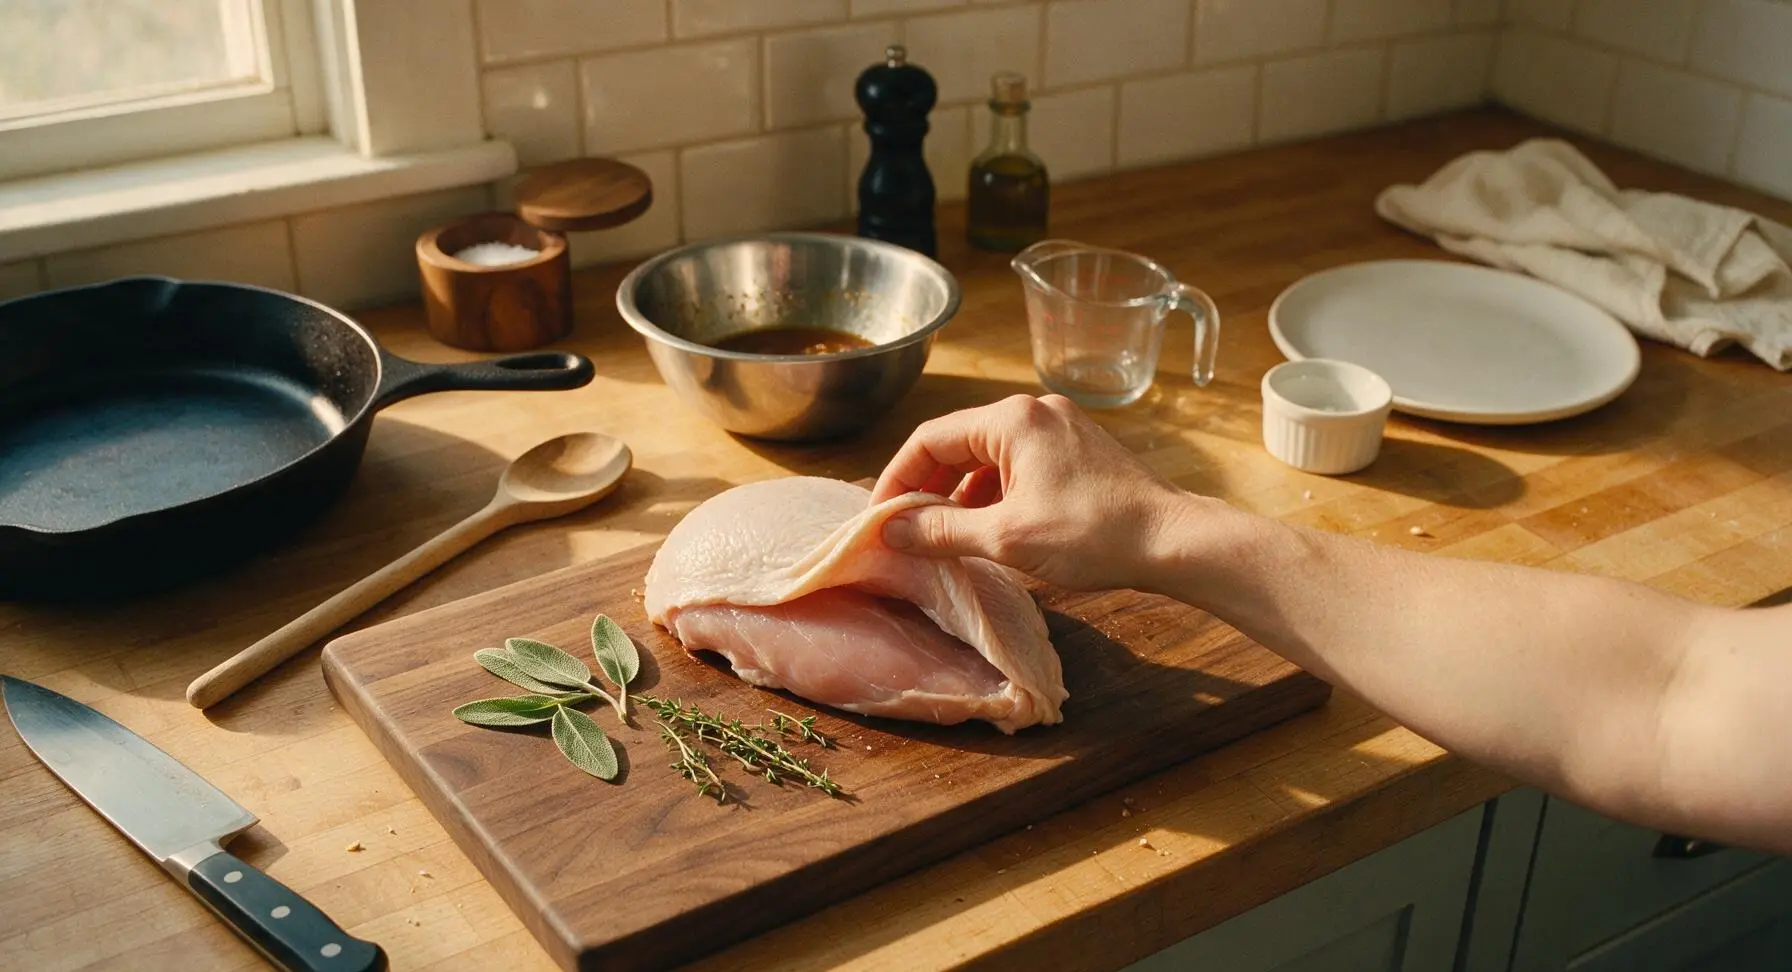
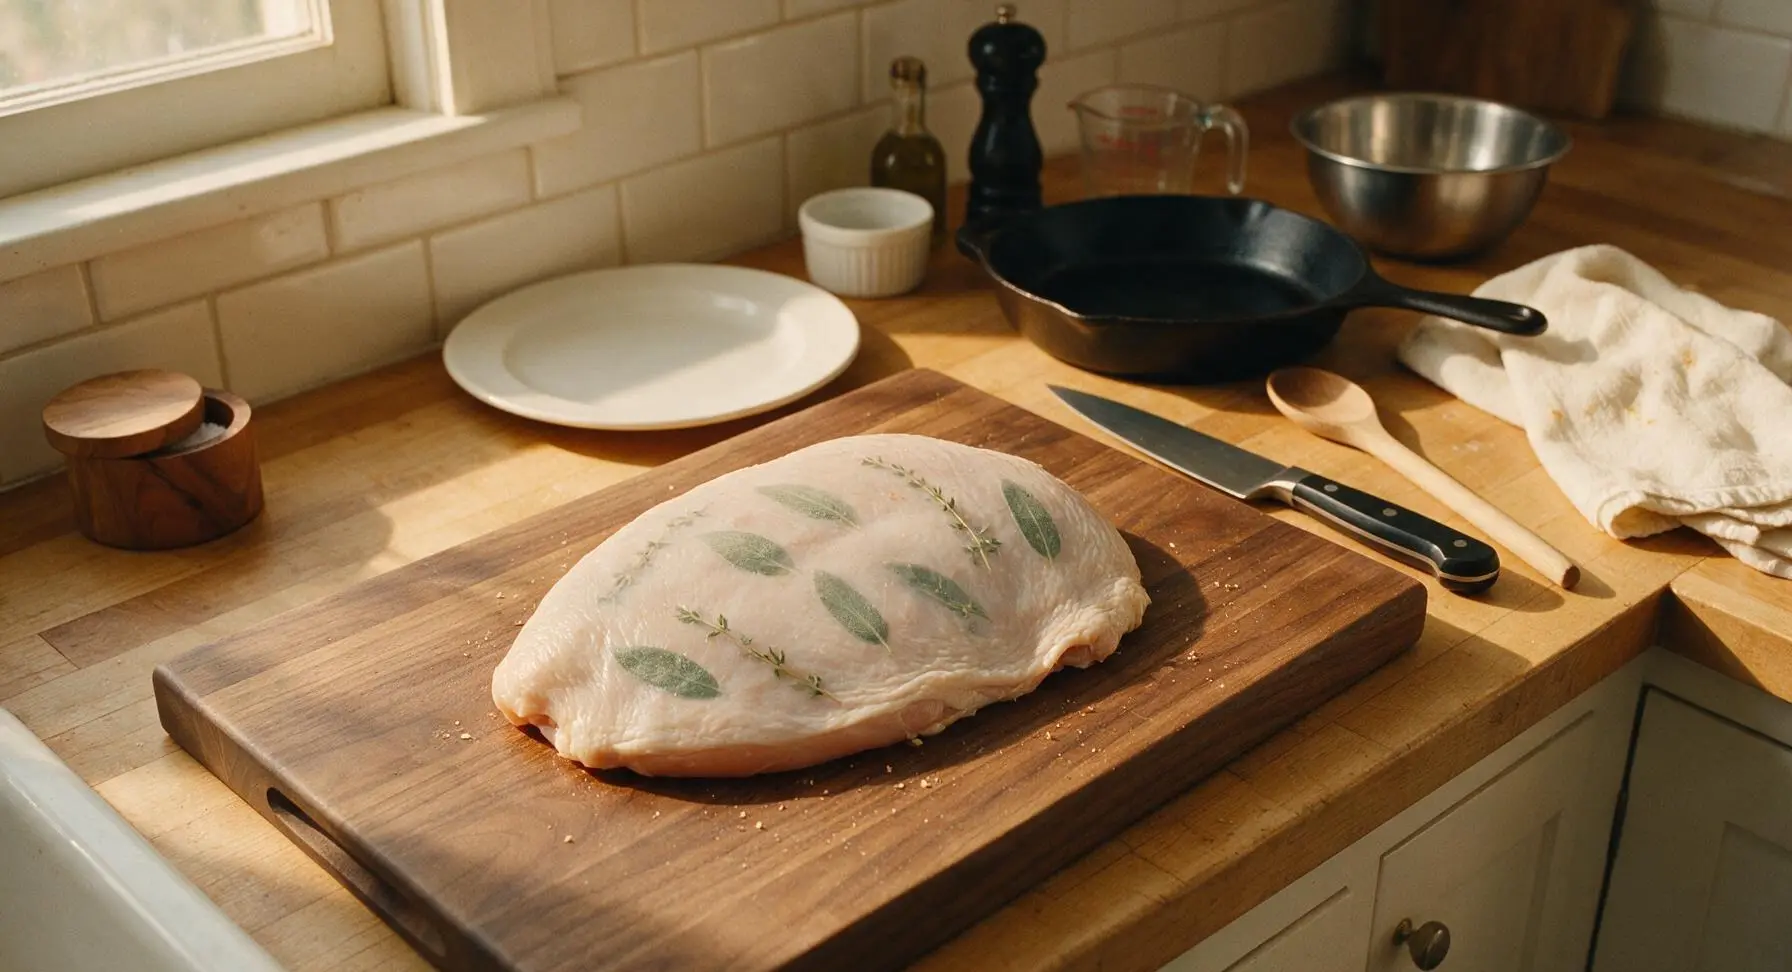
Use clean fingers to gently loosen the turkey skin from the breast meat, starting at the thickest rounded edge and working slowly toward the tapered end, taking care not to tear the thin skin. Tuck 4 fresh sage leaves and all 4 thyme sprigs evenly under the loosened skin, pressing gently on the outside of the skin to spread the herbs flat against the meat surface for even flavor infusion during roasting.
Set Turkey in Pan
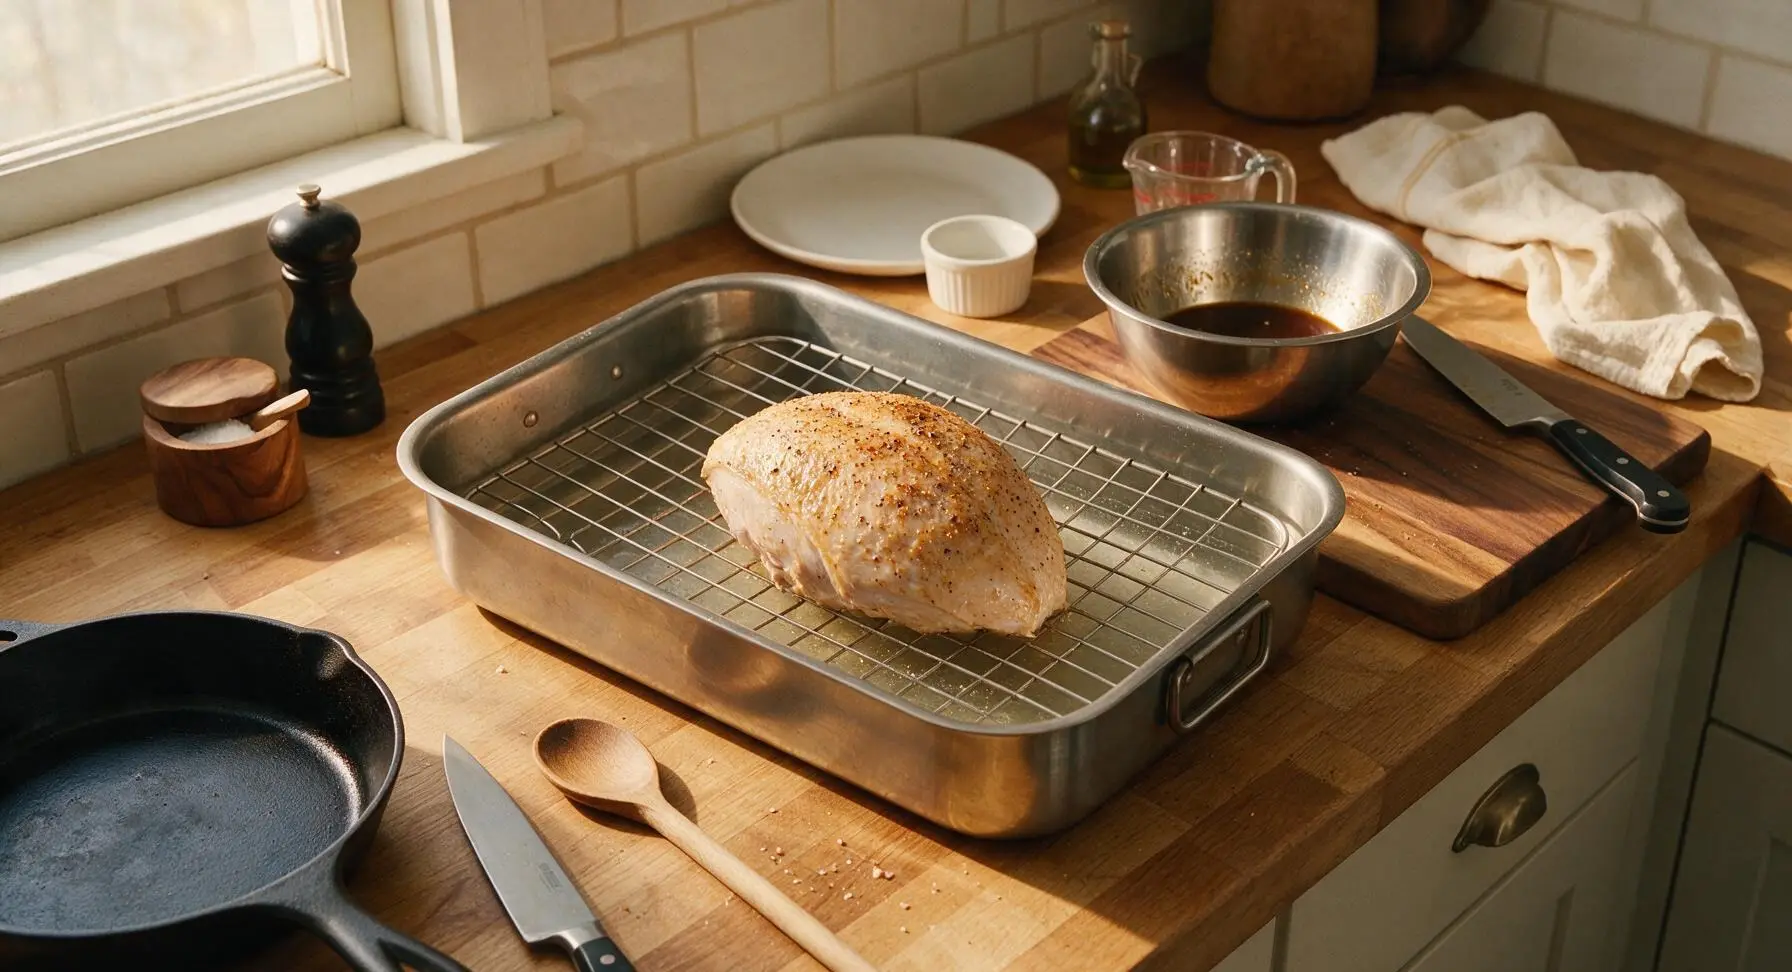
Fit the flat wire rack insert inside the stainless steel roasting pan. Lift the seasoned turkey breast and set it skin-side up centered on the rack, adjusting as needed so it sits level without tipping. Pour 120ml (½ cup) of plain water into the bottom of the pan, below the rack, to prevent drippings from burning and smoking during roasting.
Roast and Baste Often
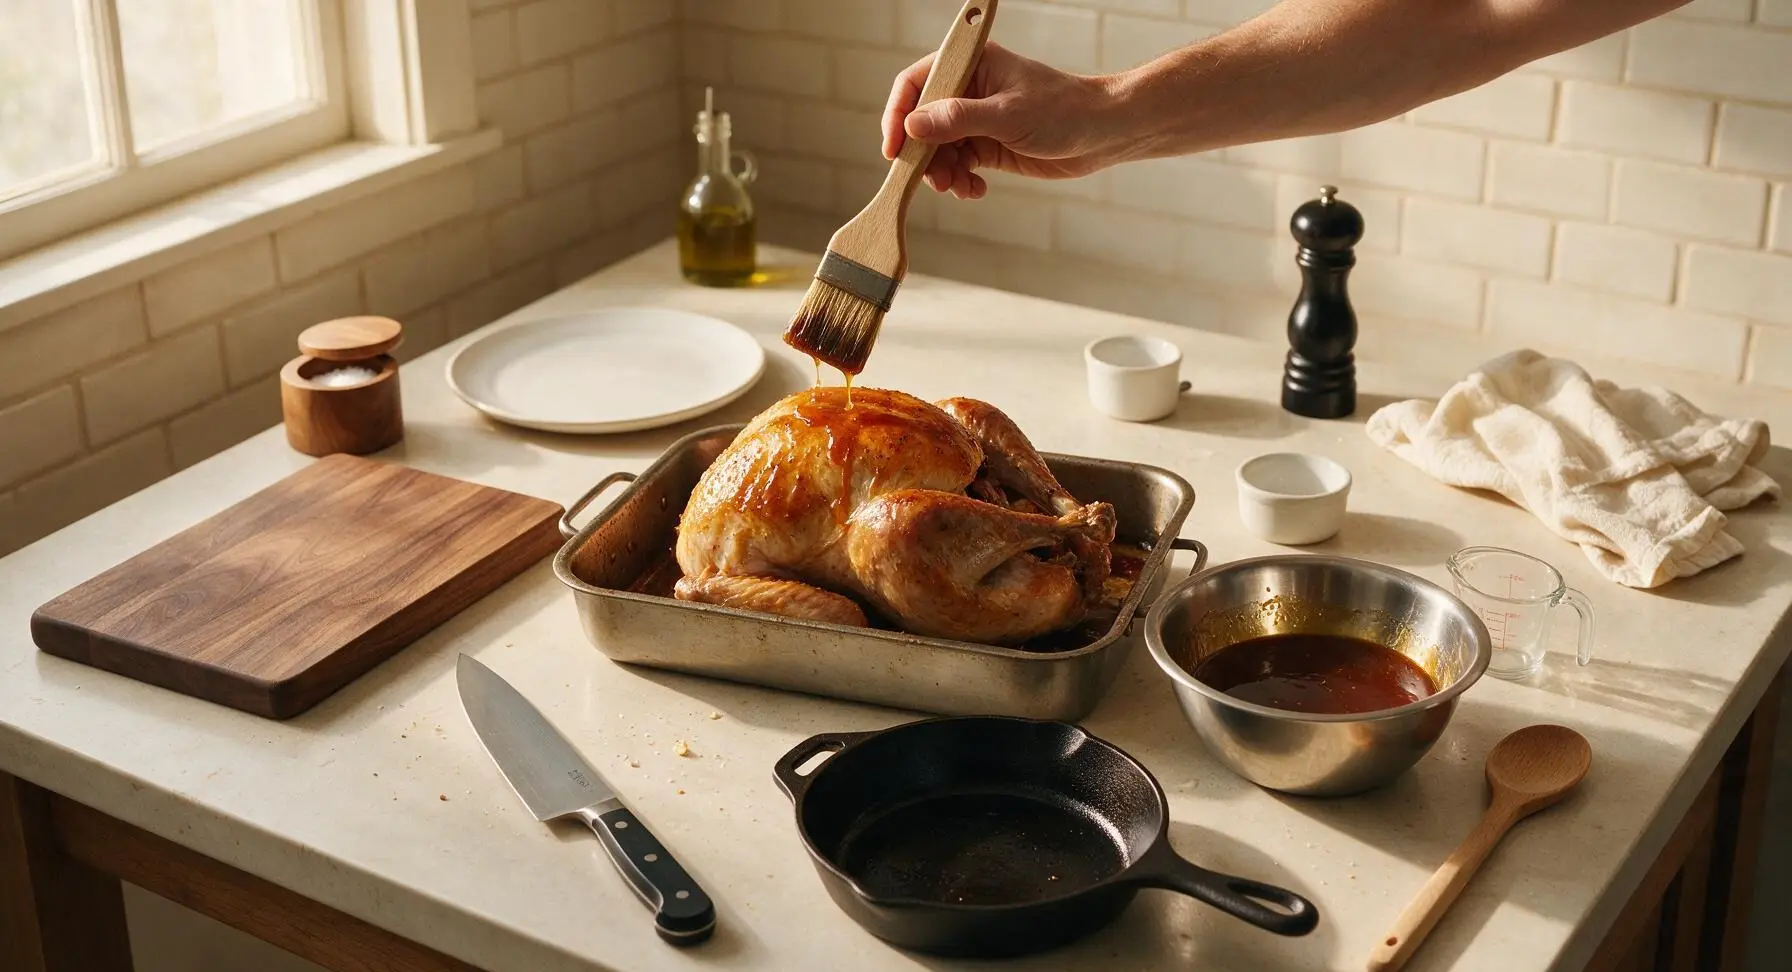
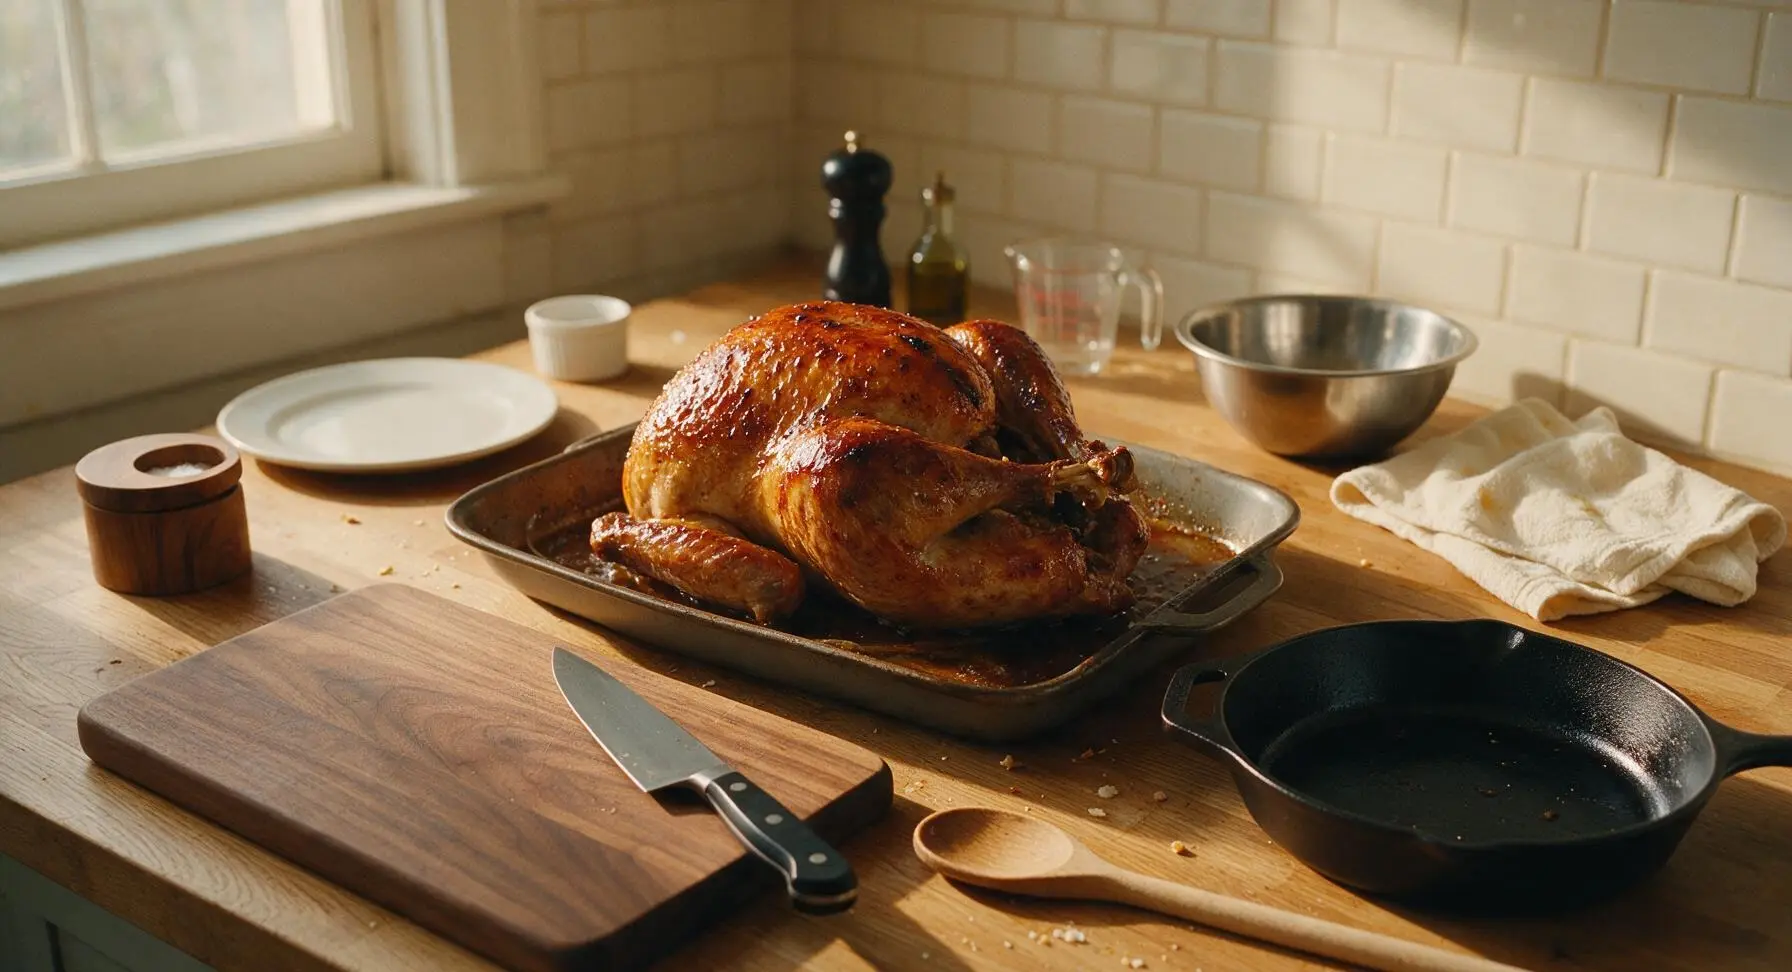
Transfer the roasting pan to a preheated 175C (350F) oven. Roast for a total of 1 hour 20 minutes, pulling the pan out every 20 minutes to use the long-handled boar-bristle basting brush to coat the entire turkey skin with a thick layer of the maple soy glaze. After each baste, check the water level in the pan bottom, adding 2 extra tablespoons of water if the liquid has evaporated to prevent burnt drippings.
Check Internal Temp
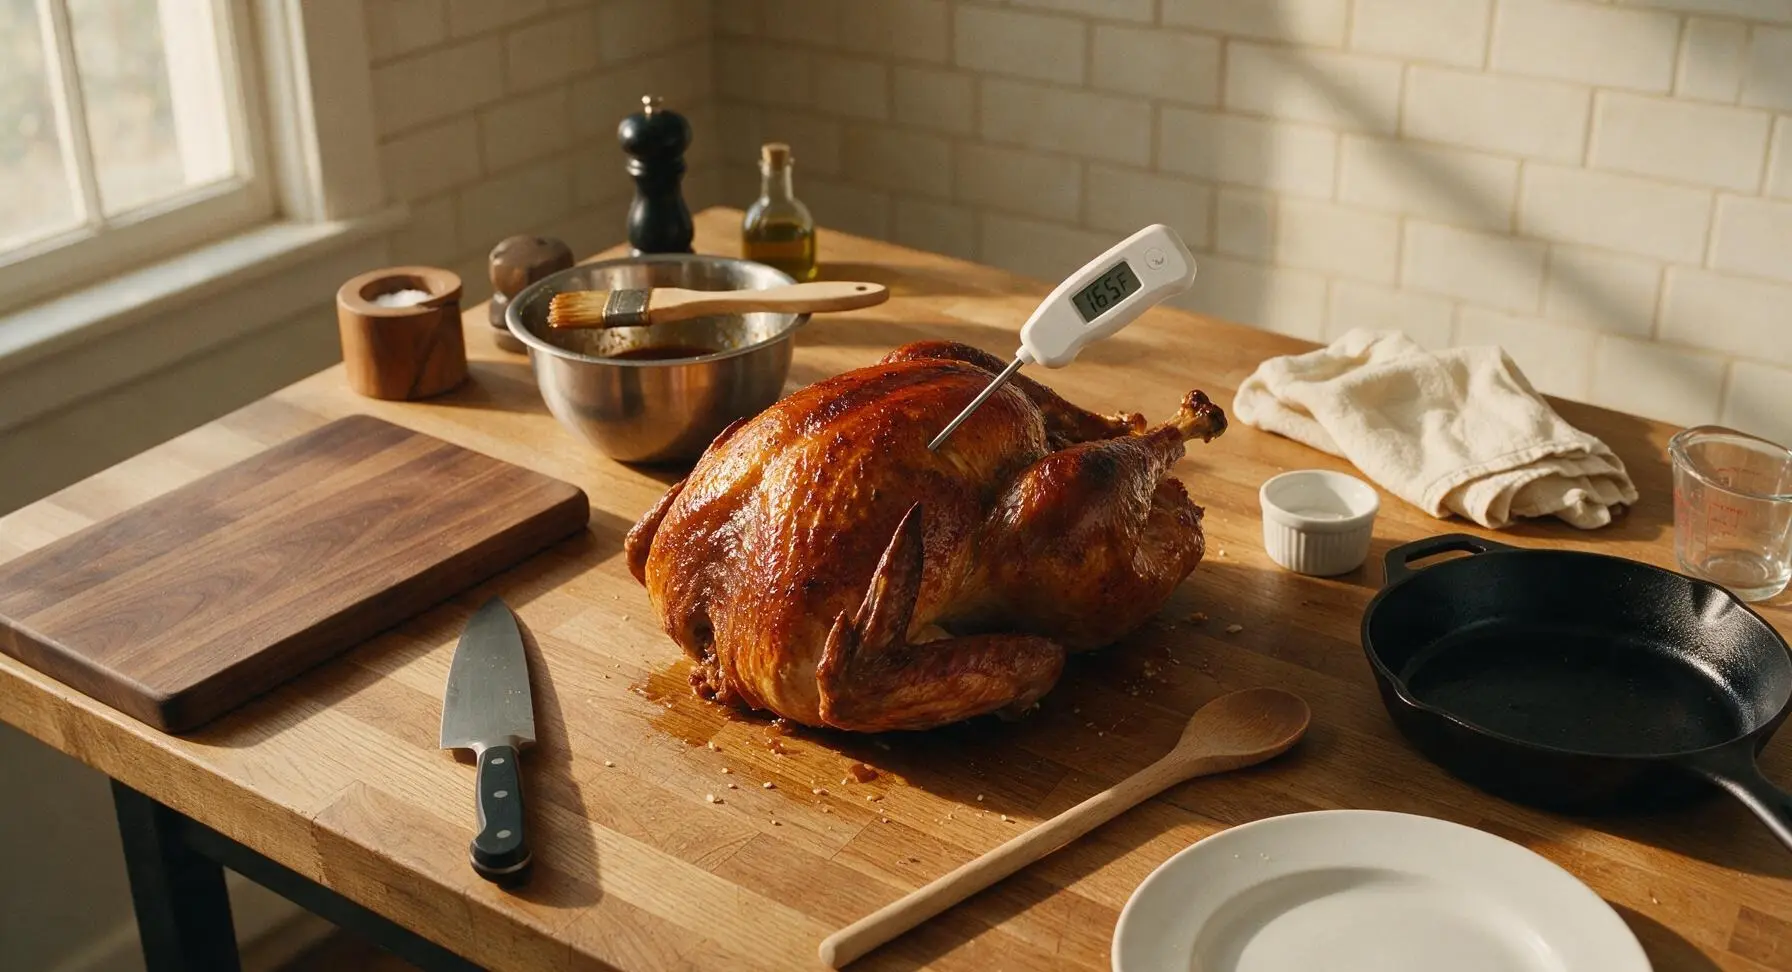
After 1 hour 10 minutes of total roast time, insert the stainless steel probe of the digital meat thermometer into the thickest part of the turkey breast, making sure the probe does not touch the bone (which will give a falsely high reading). The turkey is fully cooked when the internal temperature reads 74C (165F). If the skin darkens too quickly before this temperature is reached, tent the turkey loosely with a strip of aluminum foil to prevent burning.
Rest Cooked Turkey
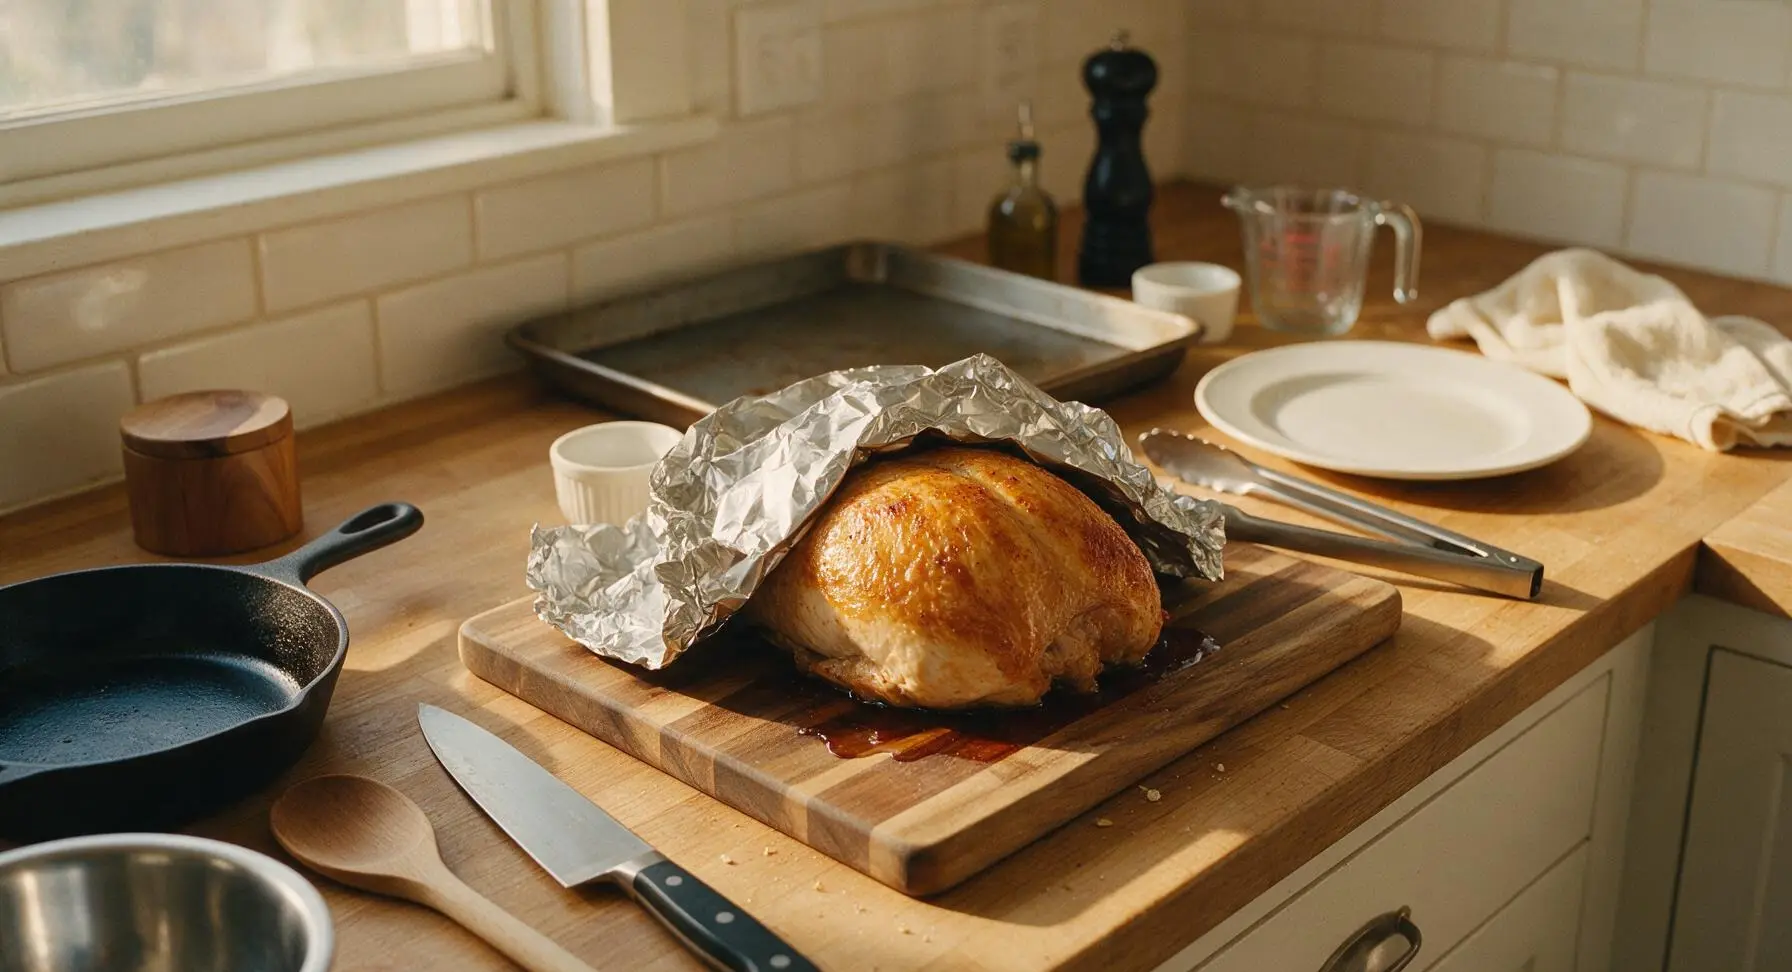
Carefully pull the roasting pan from the oven, use the silicone-tipped stainless steel tongs to lift the turkey from the rack and transfer it back to the acacia wood cutting board. Tent the turkey loosely with a sheet of aluminum foil, and let it rest for 15 full minutes to allow muscle fibers to relax and reabsorb juices, preventing dry, runny slices. Pour any remaining glaze and pan drippings into a small pot to warm for serving.
Slice and Plate
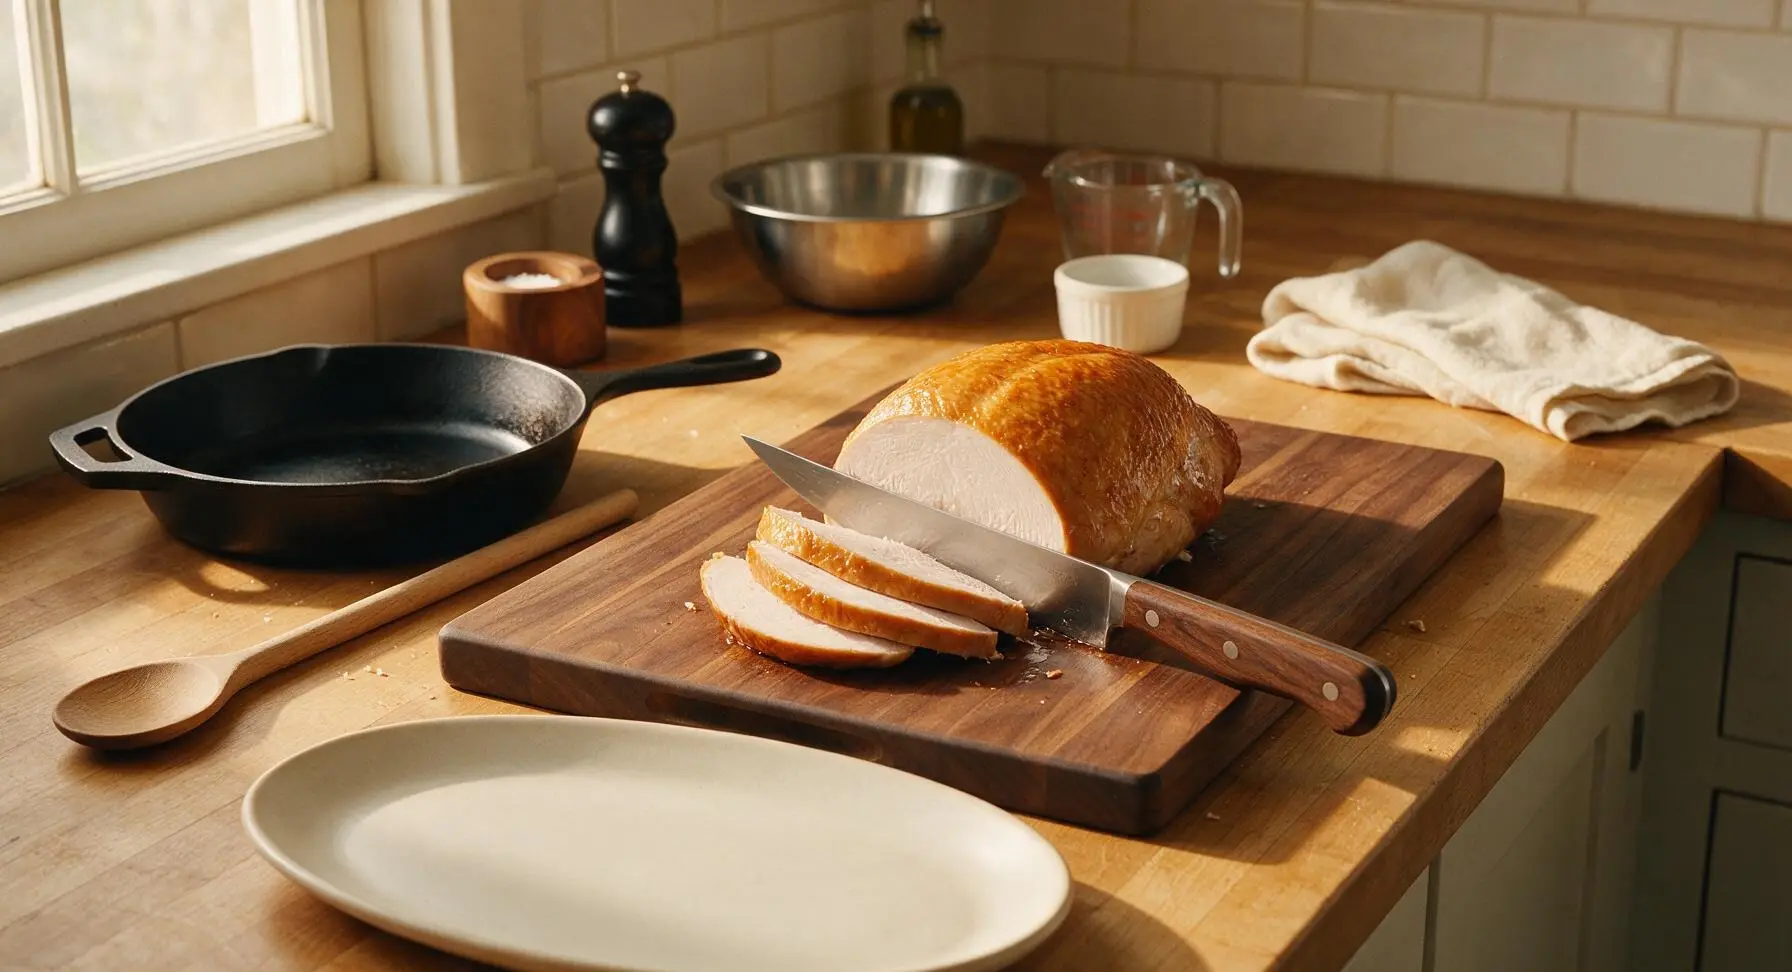
After the 15-minute rest, use the 6-inch walnut-handled boning knife to slice the turkey against the grain into 1cm (½-inch) thick slices, keeping the crisp glazed skin attached to each slice. Arrange the slices in a fanned arc across the matte warm white oval serving platter, drizzle with warm reserved maple soy glaze, and garnish with 3 crispy fried sage leaves. Pour extra glaze into the two small terracotta ramekins to serve alongside.
Tips
2.Let the turkey rest a full 15 minutes before slicing: cutting hot turkey right out of the oven causes all the juicy, flavorful juices to run out onto the platter, leaving dry, bland slices. Resting lets muscle fibers reabsorb moisture for tender, juicy meat.
3.Watch the glaze closely during the last 20 minutes of roasting: maple syrup caramelizes quickly at high heat, and if you notice dark, almost black spots forming, tent the skin loosely with foil immediately to avoid bitter burnt glaze.






OMG this maple soy turkey was an absolute game changer for our Sunday family dinner! My kids loved it, even my picky 7 year old asked for thirds, which never happens. I was worried the soy would make it too salty but the maple balances it perfectly. Only note: I added a pinch of garlic powder because we’re garlic obsessed over here. 10/10 will make again for our next potluck!
Tried this for my first ever Thanksgiving turkey breast since I was hosting my roommates for Friendsgiving, and it turned out way better than I expected! Cook time was spot on for my 3lb breast, no dry meat at all. The glaze got all sticky and caramelized on the edges, SO good. Only reason I’m not giving 5 stars is I wish there was a note about tenting with foil if the glaze starts to burn too fast, I figured it out but almost had a panic moment 40 mins in.
Made this for a post-hike group dinner last weekend and everyone was raving! I subbed tamari for the regular soy sauce because I’m gluten free, and it worked perfectly. The maple gives it that cozy fall vibe that’s perfect for cool Colorado evenings. Will absolutely be adding this to my regular rotation.
I made the breast version of this last month and it was a huge hit for my kid’s soccer team potluck! Has anyone tried making this with turkey thighs instead of breast? I prefer dark meat but don’t want to mess up the cook time or glaze ratio. Dying to make a big batch for next week’s meal prep!
This was solid! I was worried medium difficulty would be too much for my tiny apartment kitchen, but it was actually super straightforward. The only thing I messed up was using dark maple syrup instead of the light/amber kind, so it was a little richer than I expected, but still really tasty. Paired it with roasted Brussels sprouts and mashed cauliflower for a low carb dinner.
Brought this maple soy turkey to my office potluck yesterday and every single person asked me for the recipe! I let it rest for 15 minutes after taking it out of the oven like the recipe said and it was so juicy, no dry bites at all. The sweet and savory combo is unreal, I’ll never make a plain roasted turkey again.
This recipe looks incredible, I’m making it for my girlfriend’s birthday dinner tonight and I accidentally bought low sodium soy sauce. Do I need to adjust anything? I don’t want it to be too bland, I’m already nervous about messing this up since it’s our first time hosting at our apartment. Rated 5 because all the reviews look amazing!
Y’all, this glaze is INSANE. I added a little splash of bourbon to it like I do with my holiday ham, and oh my word, it took it to a whole new level. The whole house smelled like maple and soy and bourbon for hours, my husband kept hovering by the oven waiting for it to be done. We had it with green bean casserole and sweet potato mash, total comfort food feast.
Made a double batch of this Sunday for the week’s lunches, and it’s held up so well! I sliced it thin and put it on salads, wraps, and even had a few slices with eggs for breakfast. The flavor is so versatile it works for basically every meal. 10/10 for meal prep, way better than boring plain chicken breast.
I was so intimidated by the medium difficulty rating because I barely know how to roast veggies, but this was so easy to follow! The step by step instructions were super clear, I didn’t have to Google anything while I was cooking. The turkey came out juicy, the glaze was perfect, my roommate thought I ordered takeout lmao. Will definitely be making this again when my parents come to visit next month.
Made this last night for date night and it was perfect! We had it with roasted root veggies and a side of cranberry sauce, and the combo of the salty soy, sweet maple, and tart cranberry was unreal. Only heads up for other people: my oven runs hot, so I had to turn the temp down 25 degrees to keep the glaze from burning, so definitely check your oven temp before you start!