
Maple Syrup
intro
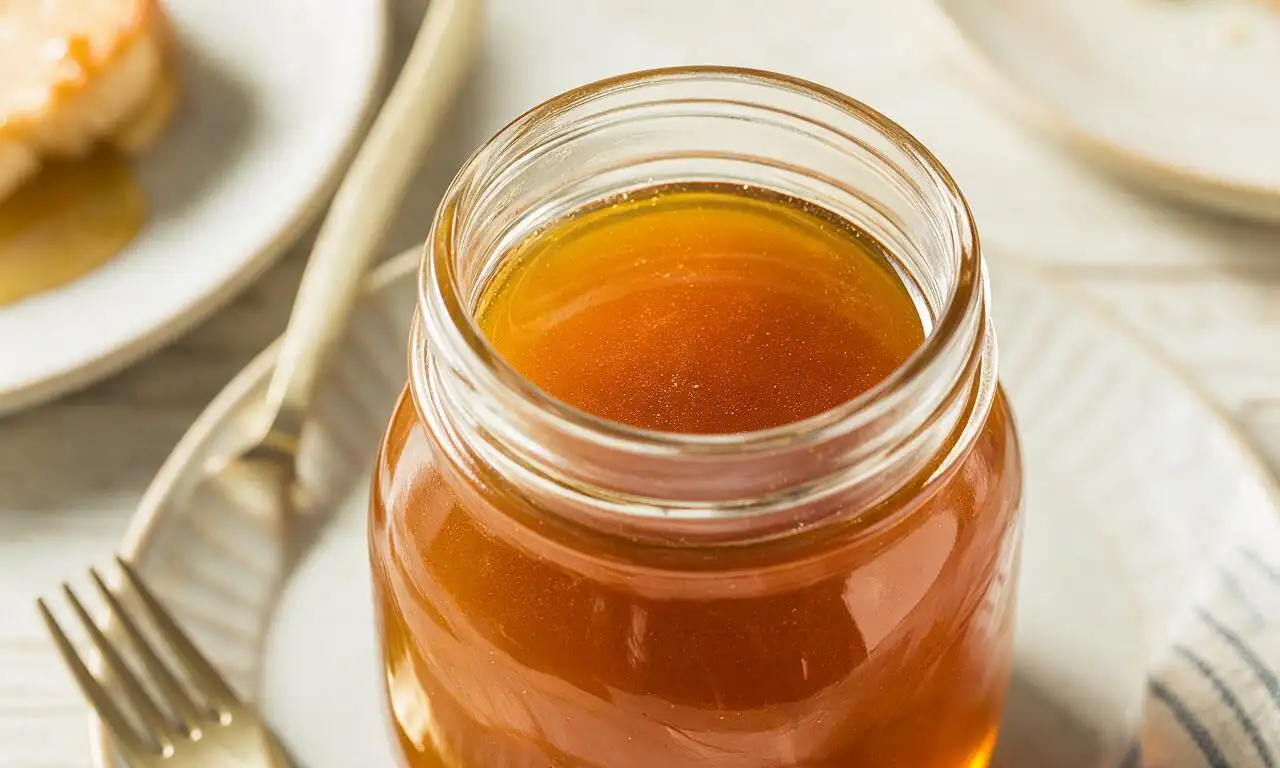
Pure, golden homemade maple syrup made by reducing fresh sugar maple sap, with rich caramelized notes perfect for drizzling over breakfast favorites.
Ingredients
Steps
Prep boiling setup
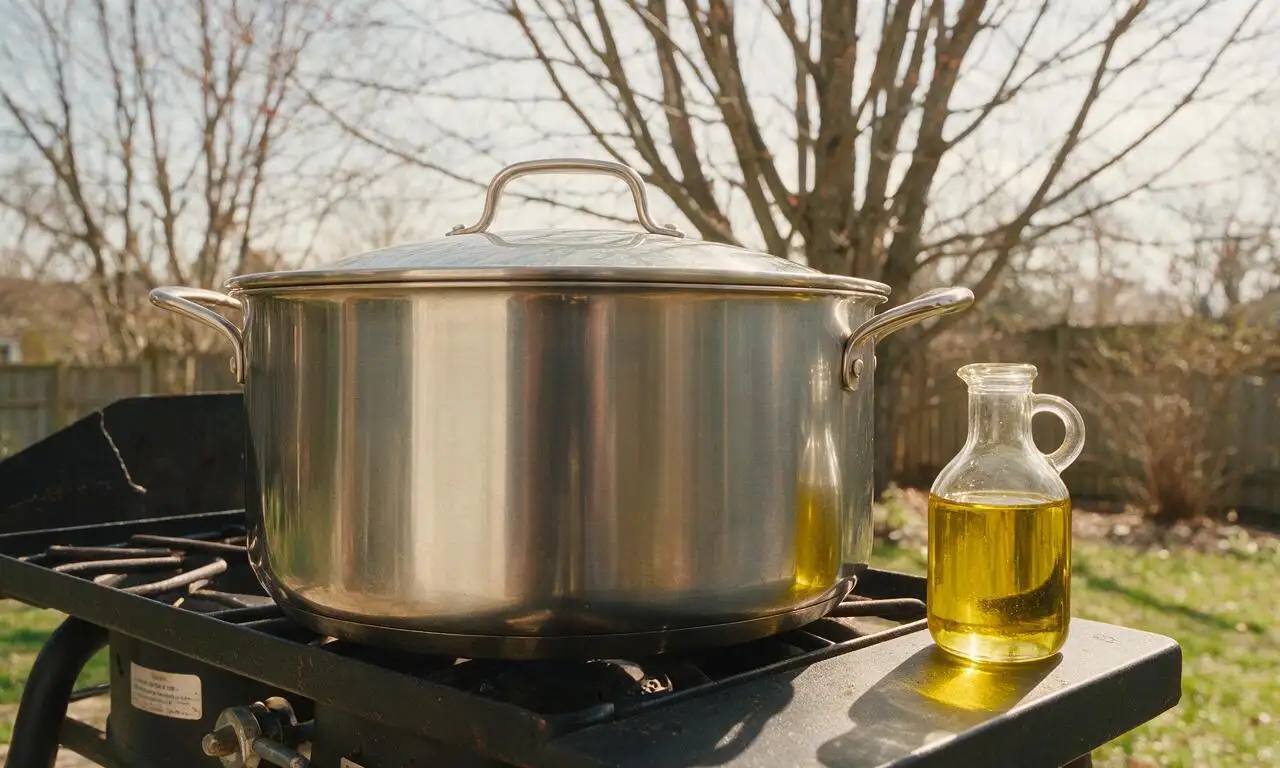
Set up a 12-quart (11.4 L) wide heavy-bottomed stock pot on an outdoor propane burner (to avoid indoor steam buildup) or your largest stovetop pot with the range hood running on high. Add 1/4 teaspoon of neutral canola oil to the empty pot to prevent boil-over during the long reduction.
Start initial sap boil
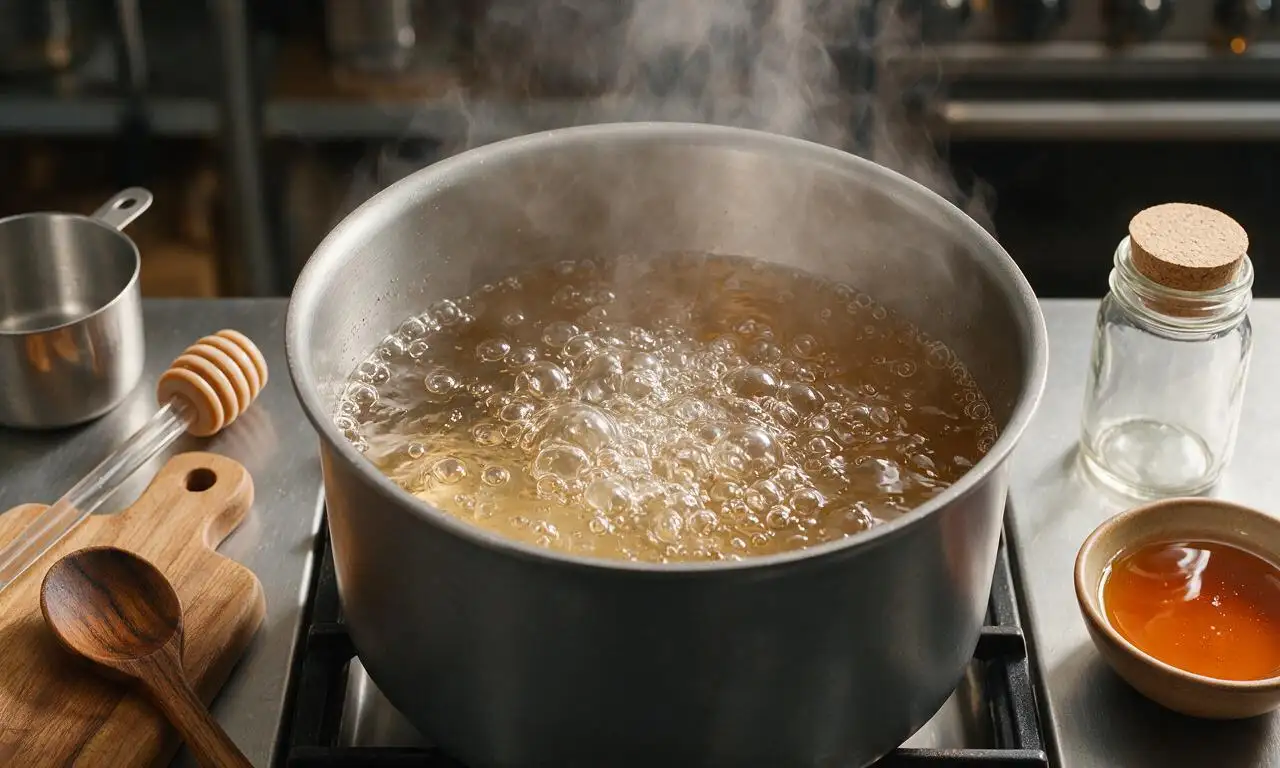
Pour all 40 cups (9.5 L) of cold, fresh sugar maple sap into the prepared pot, turn the burner to high heat to bring the sap to a steady rolling boil. Keep the pot uncovered, maintain high heat for 3 to 3.5 hours, until the liquid volume reduces to roughly 4 cups (960 ml) of light golden concentrated sap.
Transfer for finishing boil
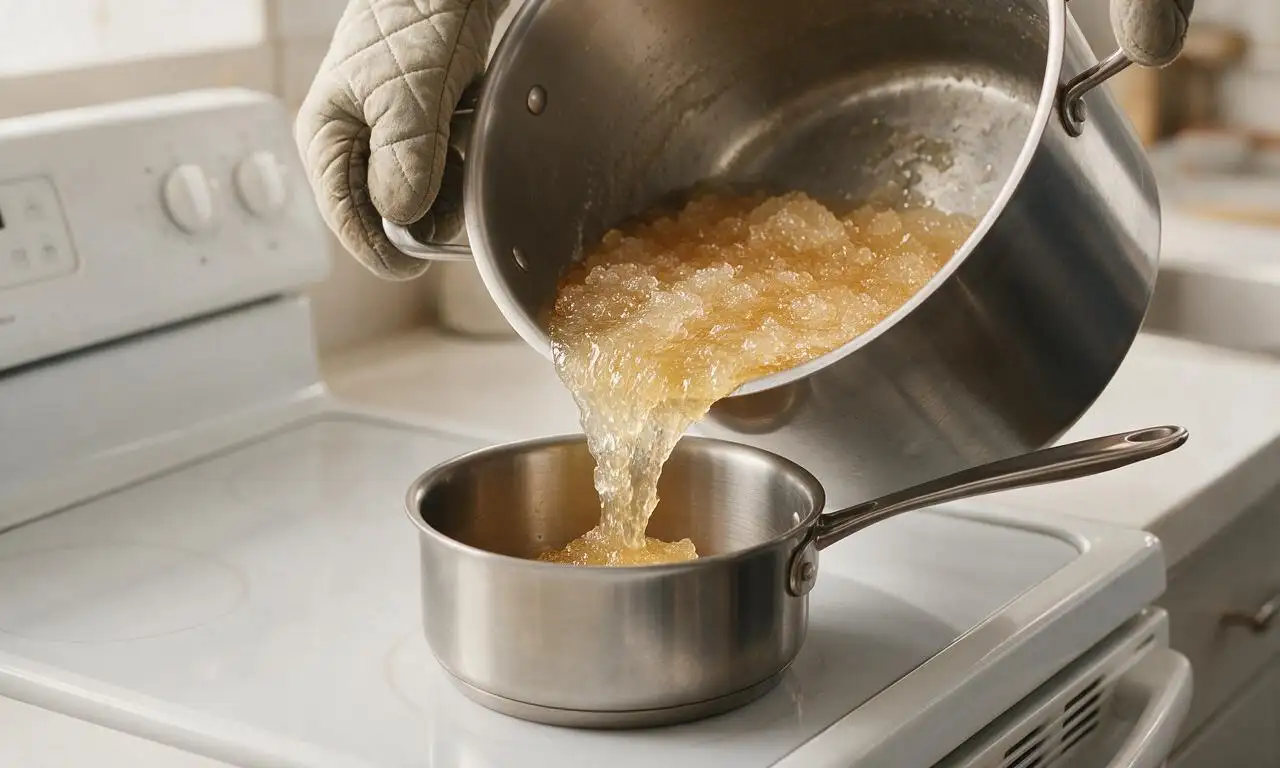
Carefully pour the hot, partially reduced sap into a 2-quart (1.9 L) heavy-bottomed saucepan to avoid burning the concentrated sugars. Move the saucepan to a stovetop burner set to medium-low heat for a slower, more controlled final reduction.
Monitor finish temperature
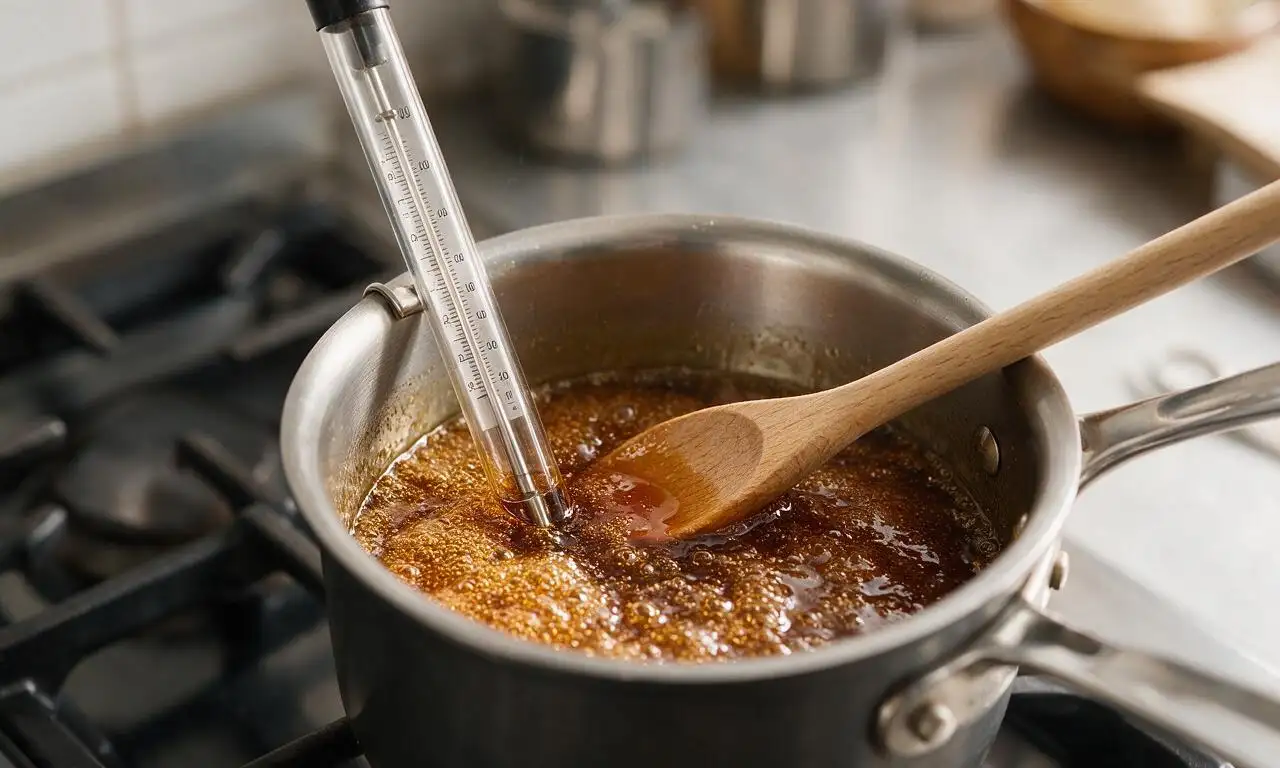
Clip a candy thermometer to the saucepan, ensuring the tip is submerged in liquid but not touching the pot bottom. Simmer on medium-low heat, stirring gently every 5 minutes, until the syrup reaches 7°F (4°C) above the boiling point of water at your elevation (219°F / 104°C at sea level). This step takes 25 to 35 minutes; do not raise heat to speed it up, as syrup scorches easily.
Filter hot syrup
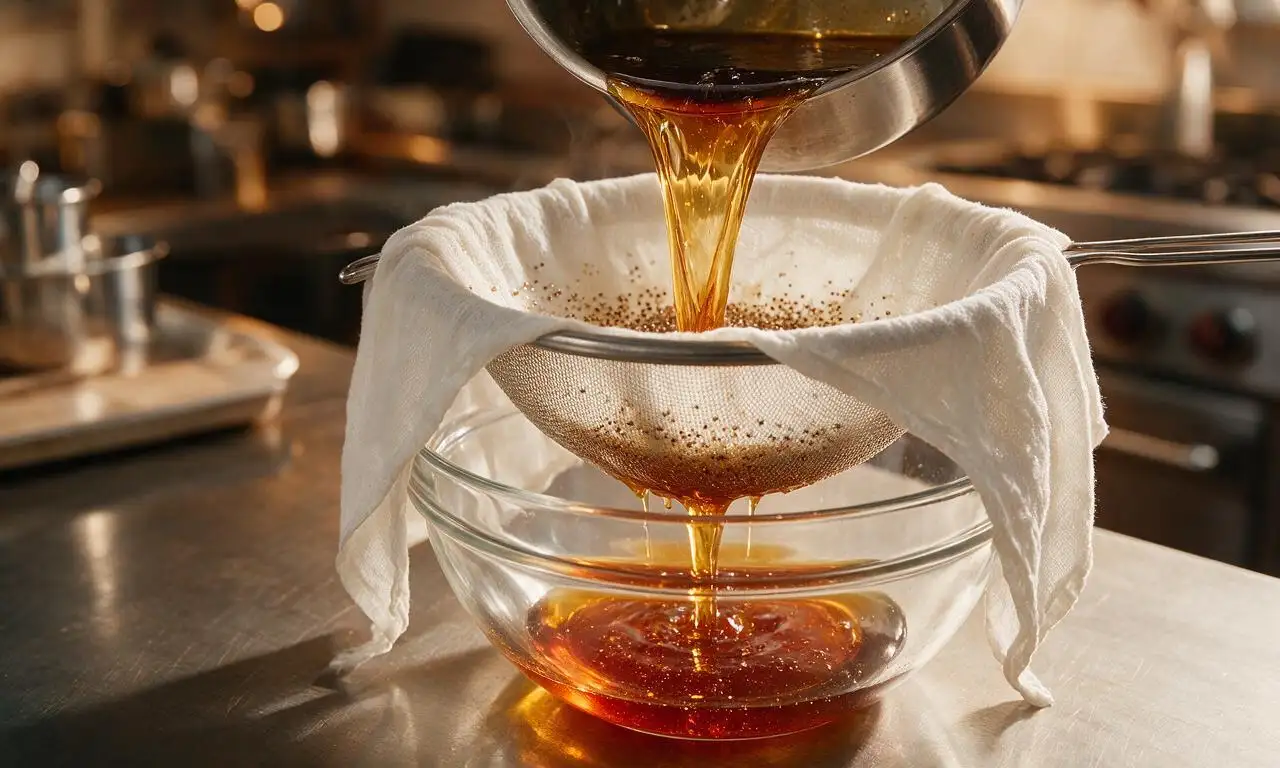
Turn off the heat the moment the syrup hits target temperature, and let it rest for 2 minutes to let fine sugar sand sediment settle. Line a fine-mesh sieve with 2 layers of clean cheesecloth, set it over a heatproof glass bowl, and pour the hot syrup through to remove all sediment for a clear, smooth final product.
Bottle and cool syrup
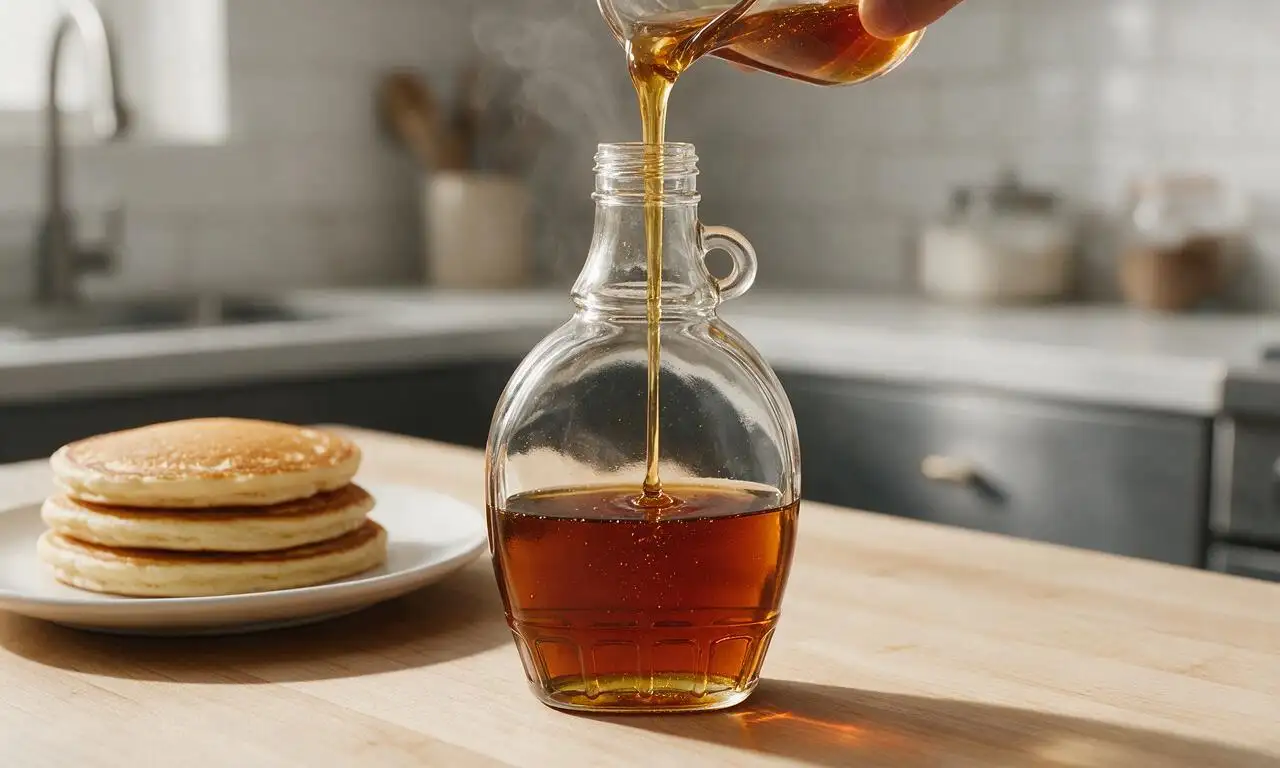
Immediately pour the filtered hot syrup into sterilized glass canning jars or syrup bottles, leaving 1/4 inch (6 mm) of headspace, and seal tightly with lids. Let jars cool completely to room temperature (about 2 hours) before storing in the refrigerator for up to 6 months, or freezer for up to 2 years.
Tips
2.Never boil the final concentrated syrup on high heat—reduced maple sap has a high sugar concentration that scorches in seconds, creating a bitter, unusable batch.
3.If you do not have a candy thermometer, test doneness with the cold spoon method: dip a chilled metal spoon into the syrup, which should coat the spoon in a thin, sticky sheet that drips slowly, rather than running off like water.






OMG, this homemade maple syrup is a total game changer! I’ve been buying the expensive store-bought pure stuff for years and never realized I could make it at home, even with the 4 hour cook time. My kids went crazy for it over chocolate chip pancakes last Sunday, even asked for extra to dip their sausage in. Only thing I messed up first try was letting the temp get too high at the end so it thickened a little more than I wanted, but it still tasted incredible.
Tapped my own sugar maple trees out behind my property this year and was so nervous to process the sap, but this recipe walked me through every step! It’s medium difficulty for sure, you can’t rush the 4 hour cook time no matter how bad you want to, but the payoff is unreal. Tastes way brighter and fresher than any syrup I’ve ever bought from the store. Brought a jar to our neighborhood potluck last weekend and everyone was begging for the recipe.
Wait, hold on — I thought pure maple syrup was just straight tree sap? Did not realize you have to cook it down for that long. Tried this last weekend for my weekly meal prep to put on overnight oats all week, and wow, SO good. Way cheaper than buying the tiny bottles at the campus grocery store too.
Okay, full transparency: I burned my first batch so bad my smoke alarm went off. 😂 I tried to crank the heat to cut down on cook time because I didn’t want to wait 4 hours, big mistake. Tried again two days later, kept the heat at the recommended level, and it turned out perfect! Drizzled it over French toast for my roommate’s birthday and she thought I bought it from a fancy specialty shop.
Game changer for our family! Our kid has a bunch of weird food sensitivities and we’ve struggled to find store-bought syrup that doesn’t have random added preservatives or artificial flavors. This is 100% pure, no weird additives, and even my super picky eater will eat his whole stack of whole wheat pancakes when we put this on top. Worth every minute of the 4 hour cook time, I make a big batch once a month and freeze the extra.
Made this for our annual cabin trip up in the mountains last weekend, cooked it over the camp stove for a little extra smoky vibe. Unreal. We poured it over cast iron pancakes, campfire sausages, even drizzled a little on our vanilla s'mores. 10/10, will be making this every trip from now on.
I’ve been making my own syrups for years (blueberry, vanilla, cinnamon bun, you name it) but pure maple always felt too intimidating until I found this recipe. The step-by-step temp guide made it so easy to nail the right consistency even with the long cook time. I added a tiny splash of bourbon to my last batch for an adult twist and it was chef’s kiss over bread pudding.
I’ve been making maple syrup the old-fashioned way for over 40 years, and this recipe is spot on. A lot of new recipes try to cut corners to reduce cook time, but you can’t rush real pure maple syrup. My grandkids came over for Sunday breakfast last week and said it tasted just like the syrup I used to make when their parents were little. Brought back so many good memories.
SO good. I am a diehard breakfast for dinner stan, and this syrup takes my weekly pancake dinner nights to a whole new level. Only con is that my whole house smelled like maple for three days after making it, but honestly that’s not even a con, that’s a bonus. Walked in the door after work and it still smelled like a cozy breakfast spot, zero complaints.
Full disclosure, I’m a total maple syrup snob. I will turn my nose up at the fake corn syrup stuff every single time, and I’ve dropped wild amounts of money on grade B dark syrup from small farms in the past. This recipe makes syrup that’s just as good, if not better, than the $25 a bottle stuff I used to buy. The medium difficulty rating is fair, just don’t walk away from the pot in the last hour and you’ll be fine.
Tried this recipe last night to top my homemade pumpkin spice waffles, and wow. I thought I loved maple syrup before, but fresh homemade hits different. The only heads up I have for new makers: this makes a lot more syrup than you think it will, so have enough glass jars ready to store it before you start cooking! I had to scramble to find extra jars mid-cook because I underestimated how much I’d end up with.
Tested this recipe ahead of our big friend group cabin trip next month, and it’s a home run. I’m planning to set up a little pancake bar with all the toppings, and this syrup is going to be the star of the show. Cook time is long, but it’s totally hands off for the first three hours so you can get other chores done while it simmers, which is perfect for busy weekends.
I love that this recipe helps me cut down on packaging waste! No more buying plastic-lined syrup bottles from the grocery store that are impossible to recycle. I buy bulk sap from a local farm a few towns over, cook it down on my stove, and store it in reusable glass jars. It’s cheaper, better for the planet, and tastes way better than store-bought. Win win win.
Made this for my girlfriend’s birthday brunch last weekend, and she said it was the best gift I could have given her (which is saying a lot, because I got her concert tickets too 😂). We had it over lemon ricotta pancakes, fresh fruit, and even stirred a spoonful into our coffee for a little maple latte vibe. 10/10, will be making this a regular weekend thing.
Hosted my monthly brunch club yesterday and served this syrup alongside crispy bacon, hash brown casserole, and fluffy buttermilk waffles. Every single person asked for the recipe before they left! I was worried the 4 hour cook time would be too much of a hassle, but it’s mostly inactive so I was able to clean the house and set the table while it simmered. So worth the effort, this is going to be my go-to syrup from now on.