
maple waffle sandwich
intro
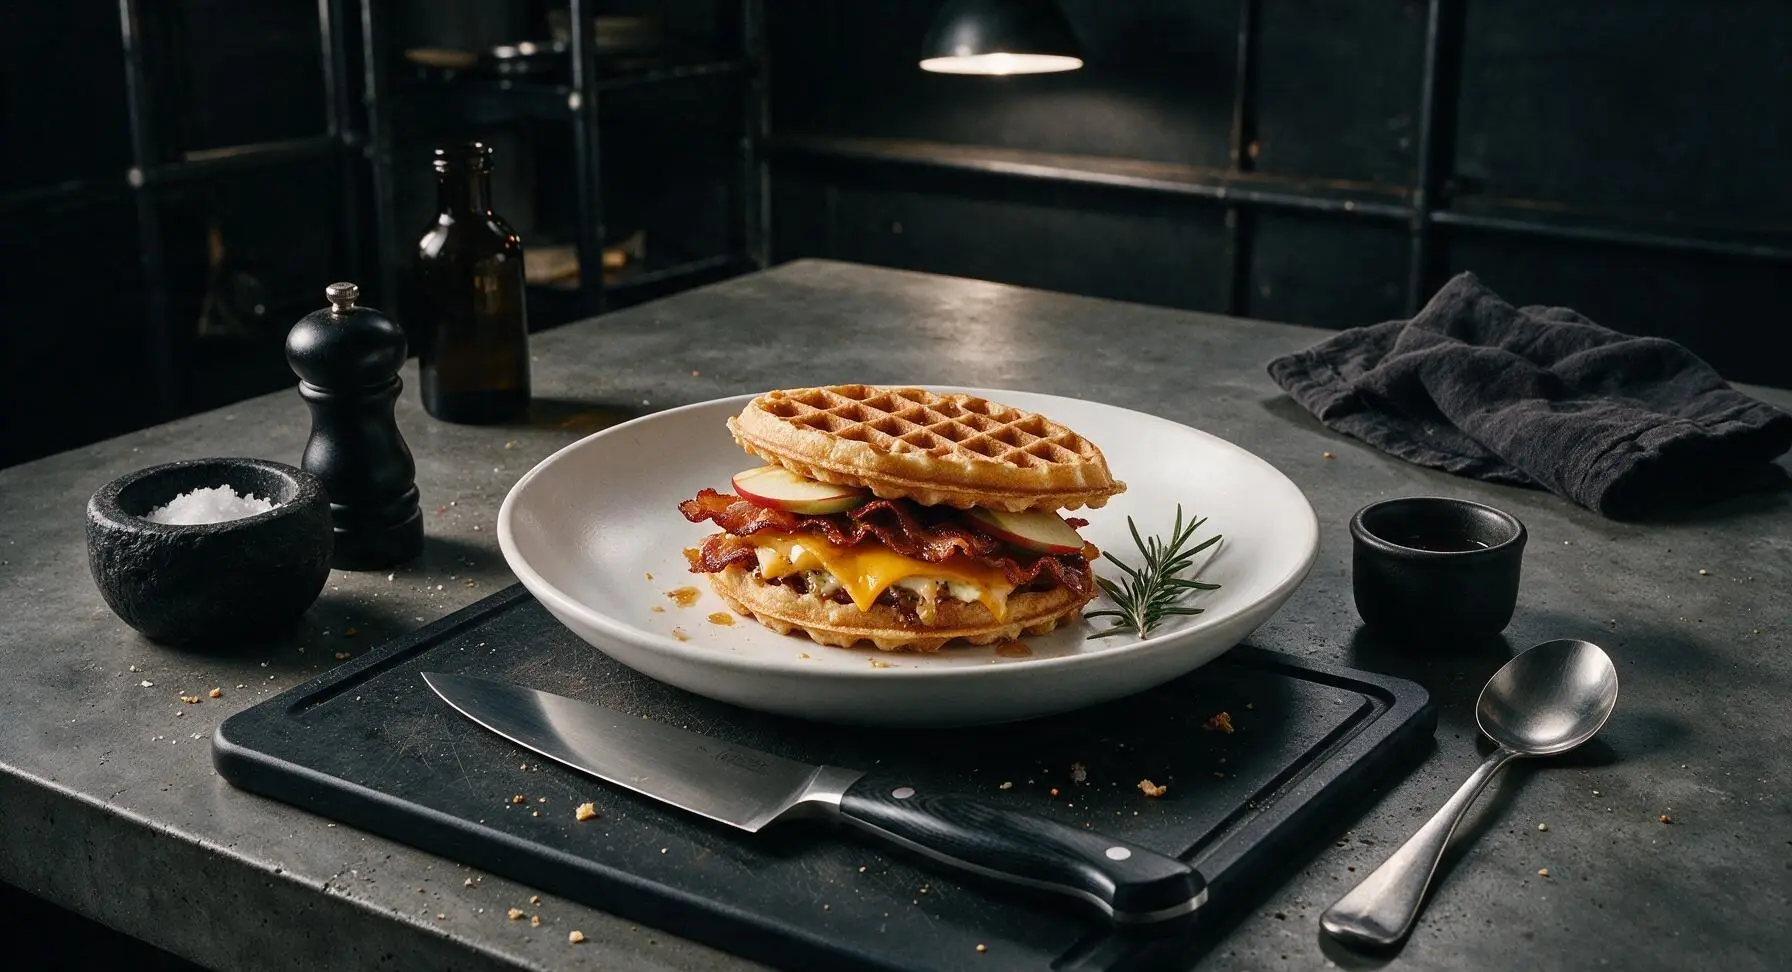
Crispy golden waffles layered with smoky bacon, melted cheddar, spiced maple butter, and crisp apple—an irresistible sweet-savory handheld meal perfect for busy days.
Ingredients
Steps
Mix Maple Butter
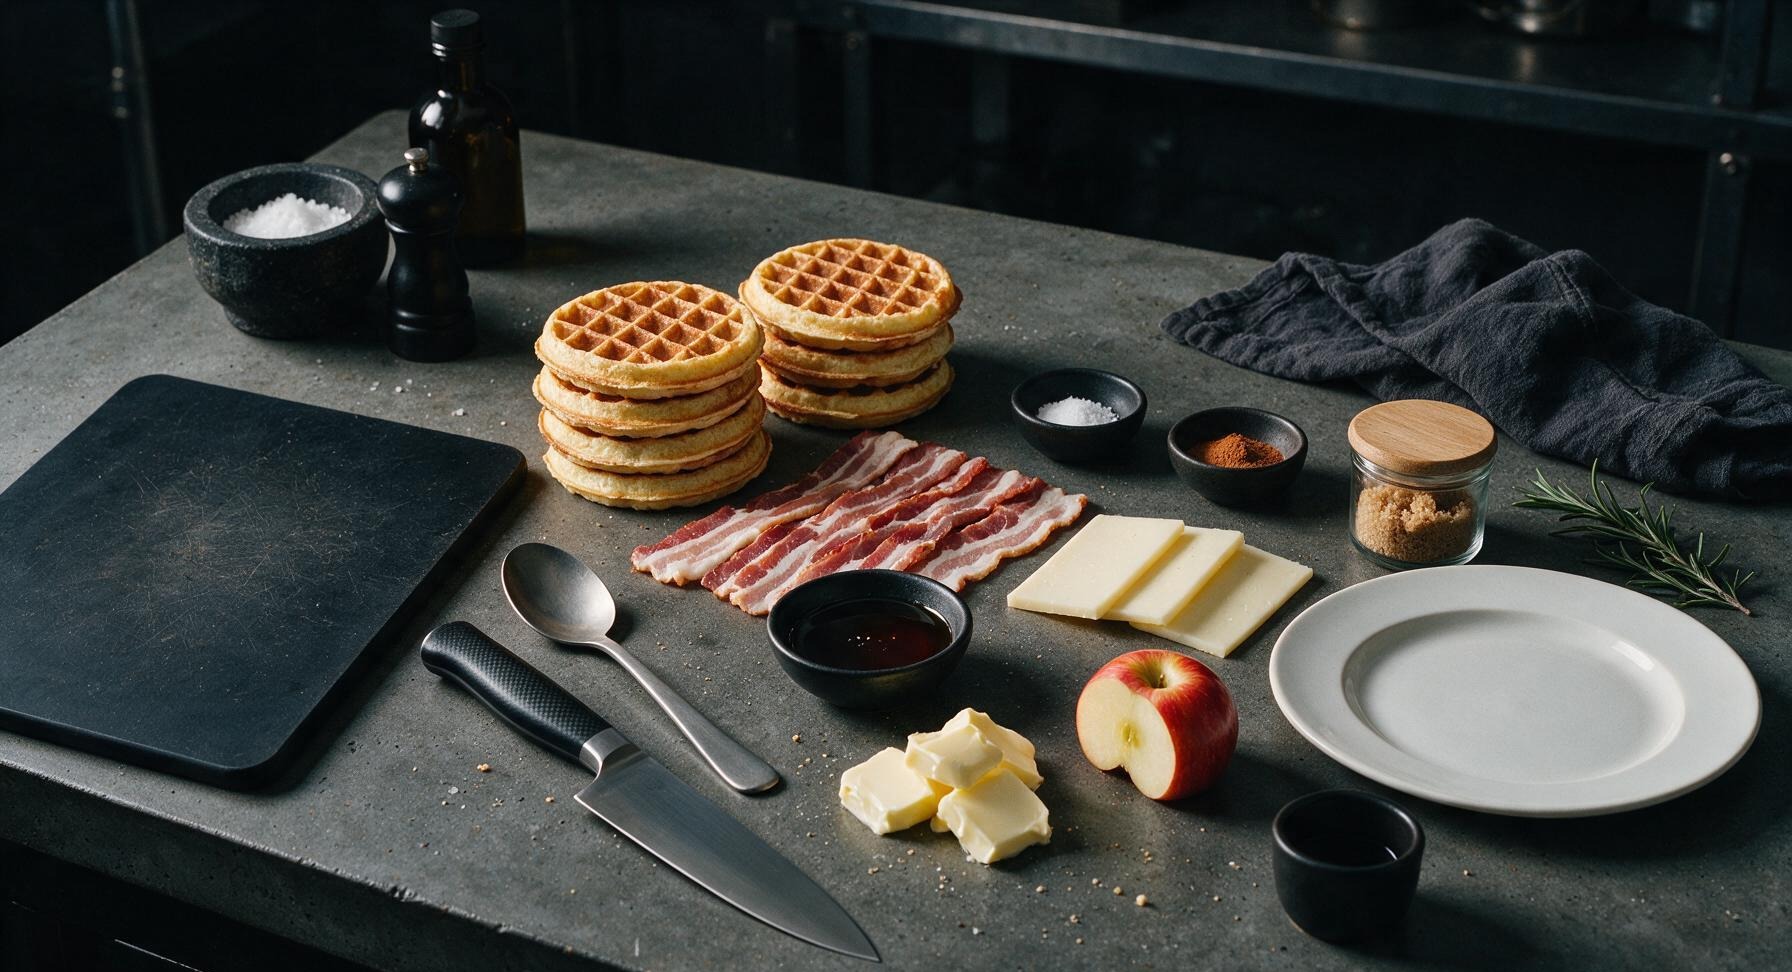
In one small matte terracotta pinch bowl, combine 4 tbsp room-temperature softened unsalted butter, 2 tbsp pure maple syrup, 1 tbsp packed light brown sugar, 1/4 tsp ground cinnamon, and 1/8 tsp kosher salt. Use the small acacia wood mixing spoon to stir until completely smooth, with no visible lumps of brown sugar. The finished spread will be a pale amber, easily spreadable consistency; set aside at room temperature until ready to use.

Cook Crispy Bacon
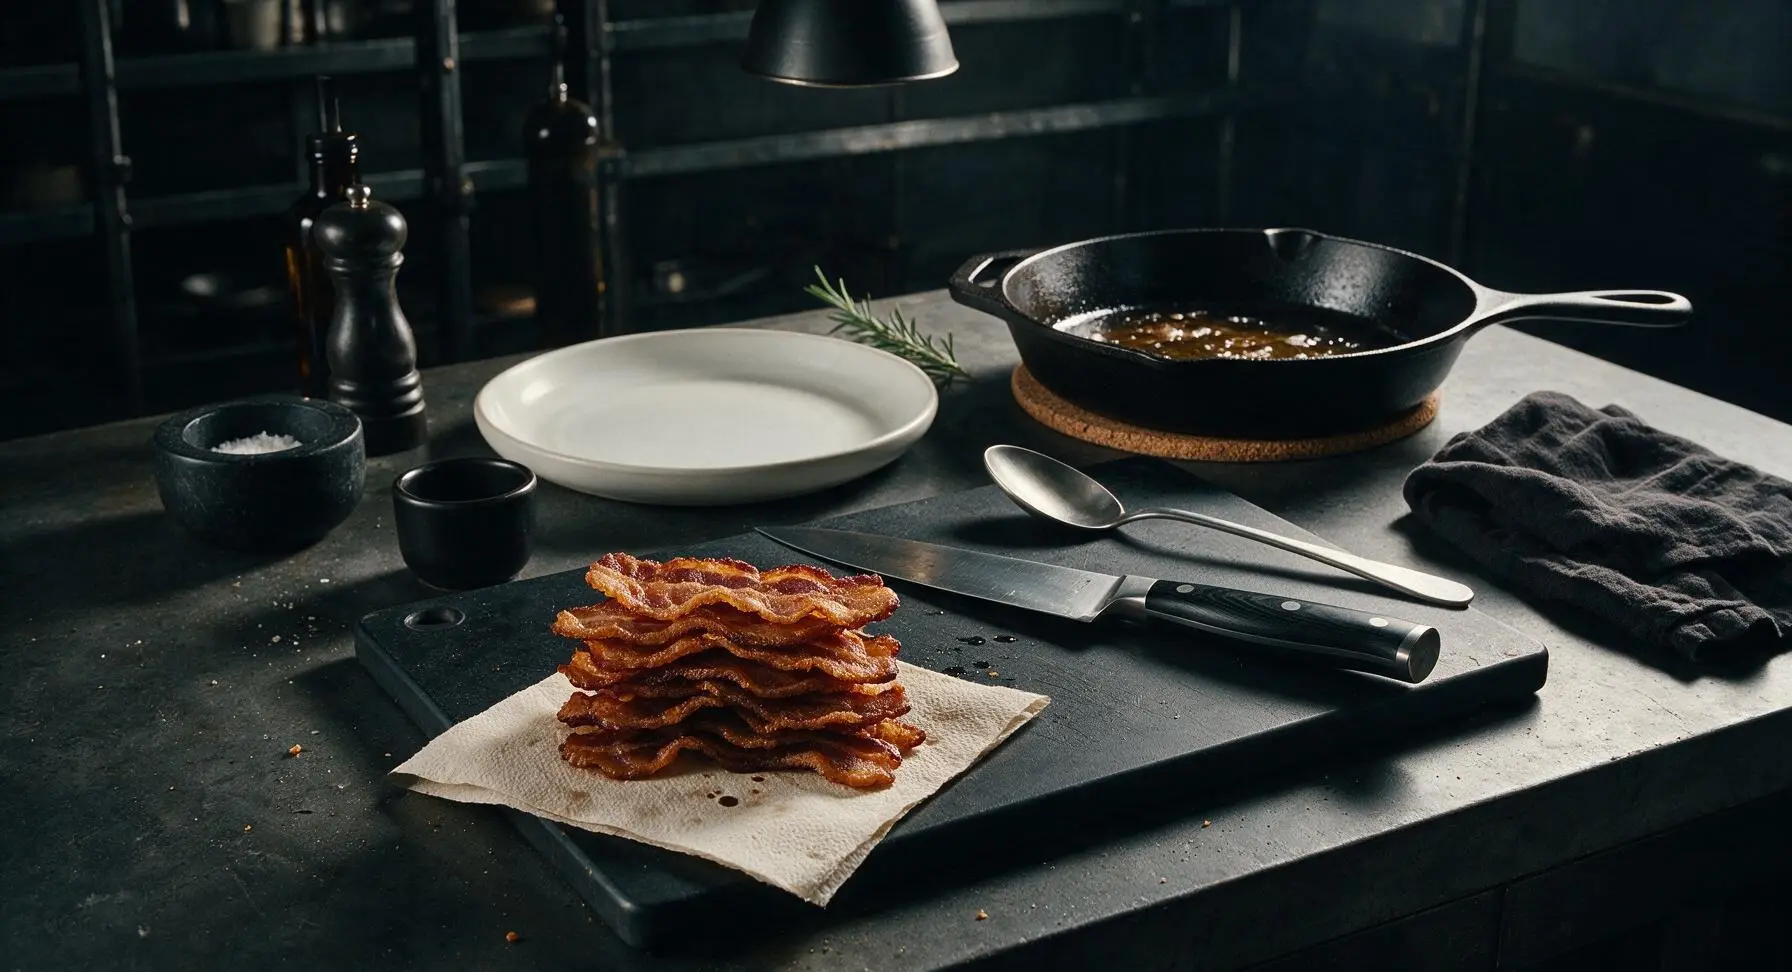
Place the pre-seasoned matte black cast iron skillet on the cork heat mat at back right over medium heat (350°F). Add 8 thick-cut bacon slices in a single layer, cooking in two batches if needed to avoid crowding the pan. Cook 4-5 minutes per side, until edges are deep golden and crispy, with fat fully rendered. Transfer cooked bacon to a small piece of unbleached paper towel on the corner of the bamboo cutting board to drain excess grease; set aside.

Toast Waffles Crisp
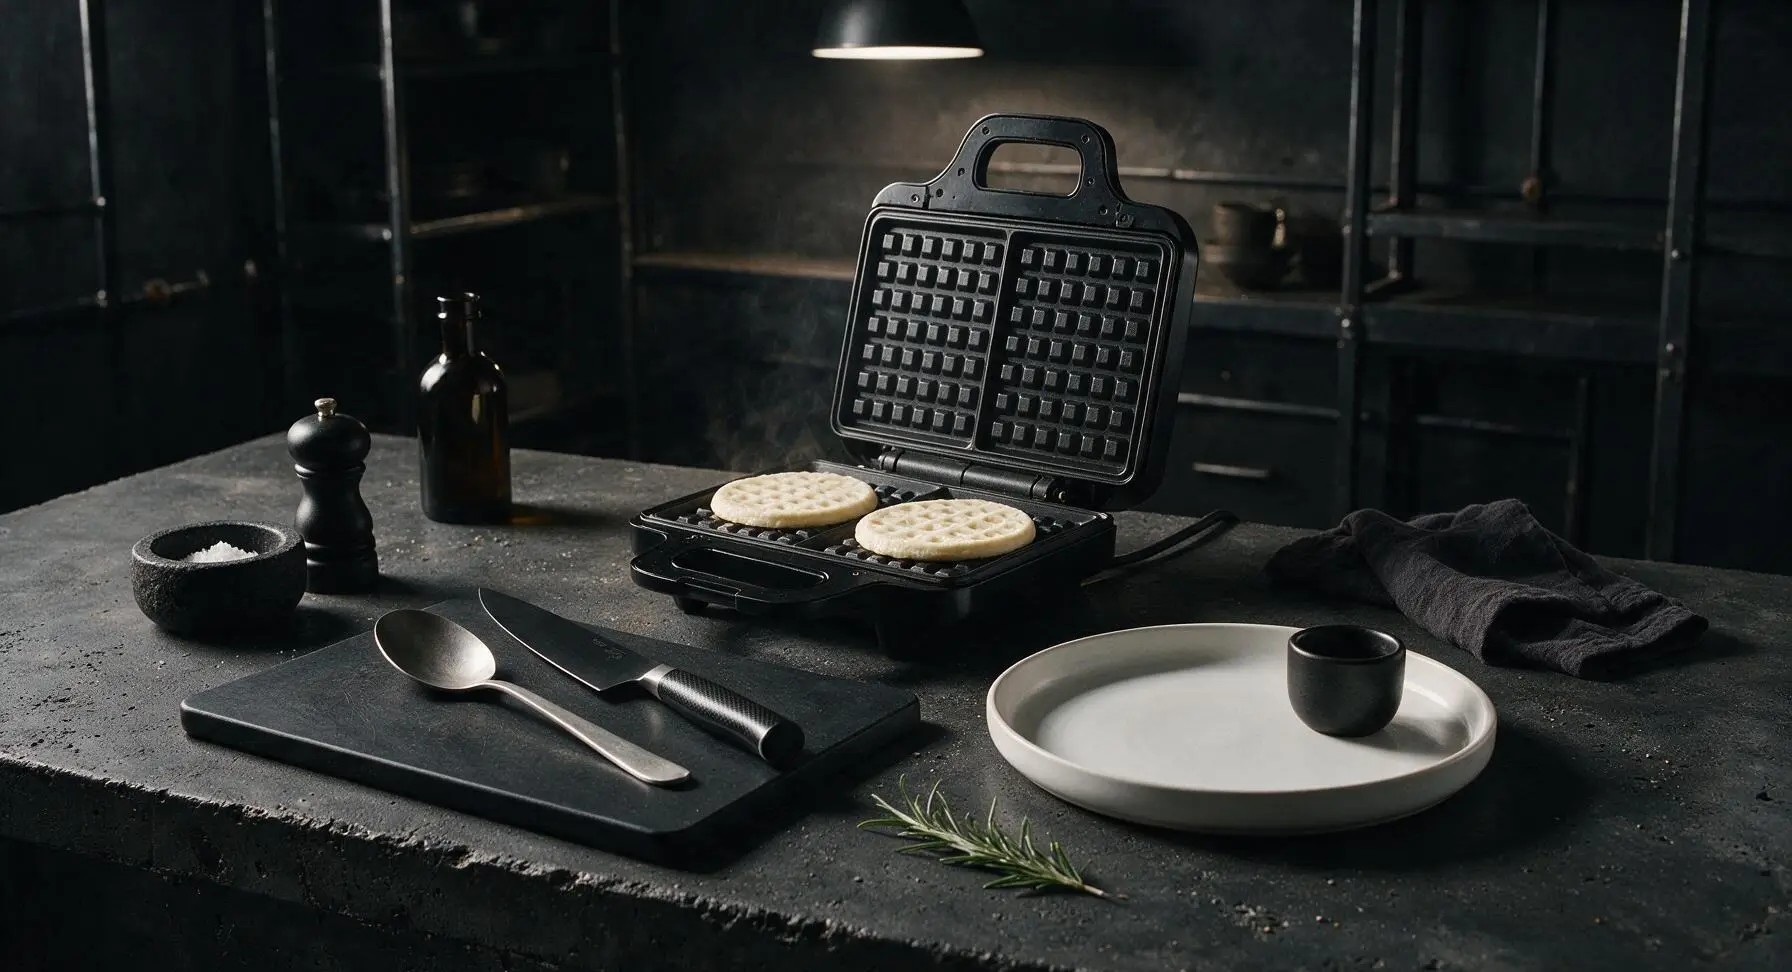
Preheat the matte black countertop waffle iron to medium-high heat (375°F). Place waffle rounds two at a time on the preheated non-stick plates, close the lid, and cook for 3-4 minutes. Waffles are done when they are deep golden brown, crispy to the touch, with no pale soft spots remaining. Transfer toasted waffles to the edge of the bamboo cutting board as you work, loosely tented with a small piece of aluminum foil to stay warm while all 8 rounds cook.

Slice Fresh Apple
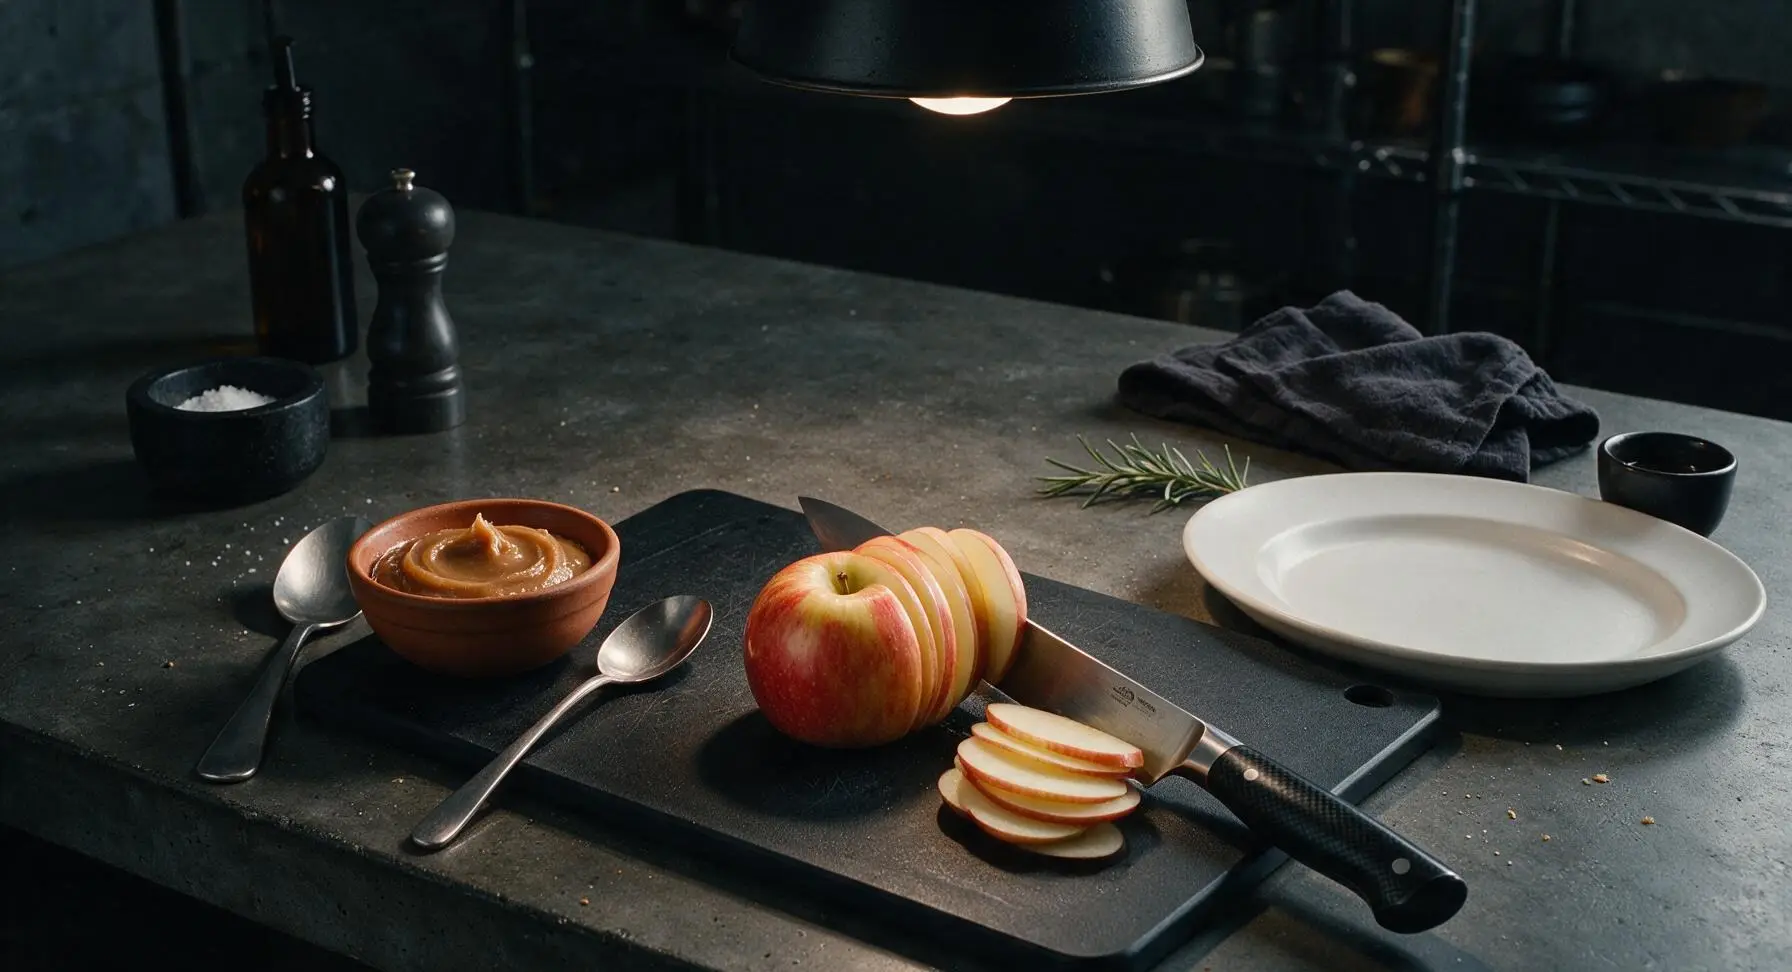
Place the small Honeycrisp apple on the light bamboo cutting board. Use the 8-inch stainless steel chef knife with burnt orange resin handle to core the apple, then cut into uniform 1/8-inch thick slices, discarding the core and seeds. Pat slices lightly with a paper towel to remove excess surface moisture, which prevents sogginess in the finished sandwich. You will have approximately 16 thin slices total.
Layer Sandwich Fillings
Lay 4 toasted waffle rounds flat on the bamboo cutting board. Spread 1 tsp of prepared maple butter evenly across the top surface of each waffle. Top each base waffle with half a slice of sharp white cheddar, 2 slices of crispy bacon (broken to fit the waffle shape), 4 thin apple slices, then the remaining half slice of cheddar. Spread 1 tsp of maple butter on the underside of the remaining 4 waffle rounds, and place butter-side down on top of each stack to form 4 complete sandwiches.

Press to Melt Cheese
Return assembled sandwiches one at a time to the preheated waffle iron, adjusted to medium heat (350°F). Close the lid gently, pressing lightly to compress the sandwich slightly, and cook for 1.5-2 minutes. Sandwiches are done when the cheddar cheese is fully melted and oozing slightly from the edges, and the outer waffle surfaces are deep golden and extra crisp. Do not overcook, as this will soften the apple slices too much and make the waffles tough.


Plate and Serve
Transfer pressed hot sandwiches to the matte cream hand-thrown ceramic dinner plate at front center. Cut each sandwich diagonally in half with the chef knife to reveal the layered cross-section. Drizzle the remaining 1 tbsp of pure maple syrup lightly over the top of the sandwiches, and garnish with a single fresh lemon thyme sprig. Serve immediately while warm, crispy, and the cheese is fully melted.

Tips
2.Don’t overstuff the sandwiches: too much filling will squeeze out when pressed in the waffle iron, leading to burnt cheese on the iron plates and messy, falling-apart bites. Stick to the measured ingredient amounts for neat, evenly cooked results.
3.Use fully softened room-temperature butter for the maple spread: cold butter will not mix smoothly with maple syrup and brown sugar, leading to lumpy spread that can tear soft, crisp waffle surfaces when you spread it.






OMG these maple waffle sandwiches are a total game changer for my weekday morning rush! I pre-made a batch of waffles on Sunday, slathered them with maple cream and tucked crispy bacon between them, and my kids loved them so much they devoured theirs before the school bus even pulled up. The 15 minute cook time is no joke, even I can pull this off half-asleep before coffee. SO good, already added to our permanent weekly rotation!
Took these maple waffle sandwiches to a neighborhood potluck this weekend and people were hounding me for the recipe all night! I swapped the sweet cream filling for a crispy fried chicken tender and a swipe of maple hot honey, total chef’s kiss. Super easy to throw together even when you’re running last minute behind on event prep. 10/10, would make again for the next tailgate too.
Such a solid easy breakfast option for my weekly meal prep! I froze the assembled sandwiches wrapped tight in parchment, and just pop them in the toaster oven for 3 minutes on busy mornings when I’m running out the door to spin class. The maple flavor is perfectly balanced, not too sweet, and they hold up way better in the freezer than I expected. My only tiny note is that toasting the waffles a little extra before assembling helps them stay crisp even after reheating. Great recipe!