
peameal

intro
Juicy, subtly salty wet-cured pork loin crusted in golden cornmeal, this iconic Canadian peameal is tender, crisp-edged, and perfect sliced thick for breakfasts or picnic sandwiches.
Ingredients
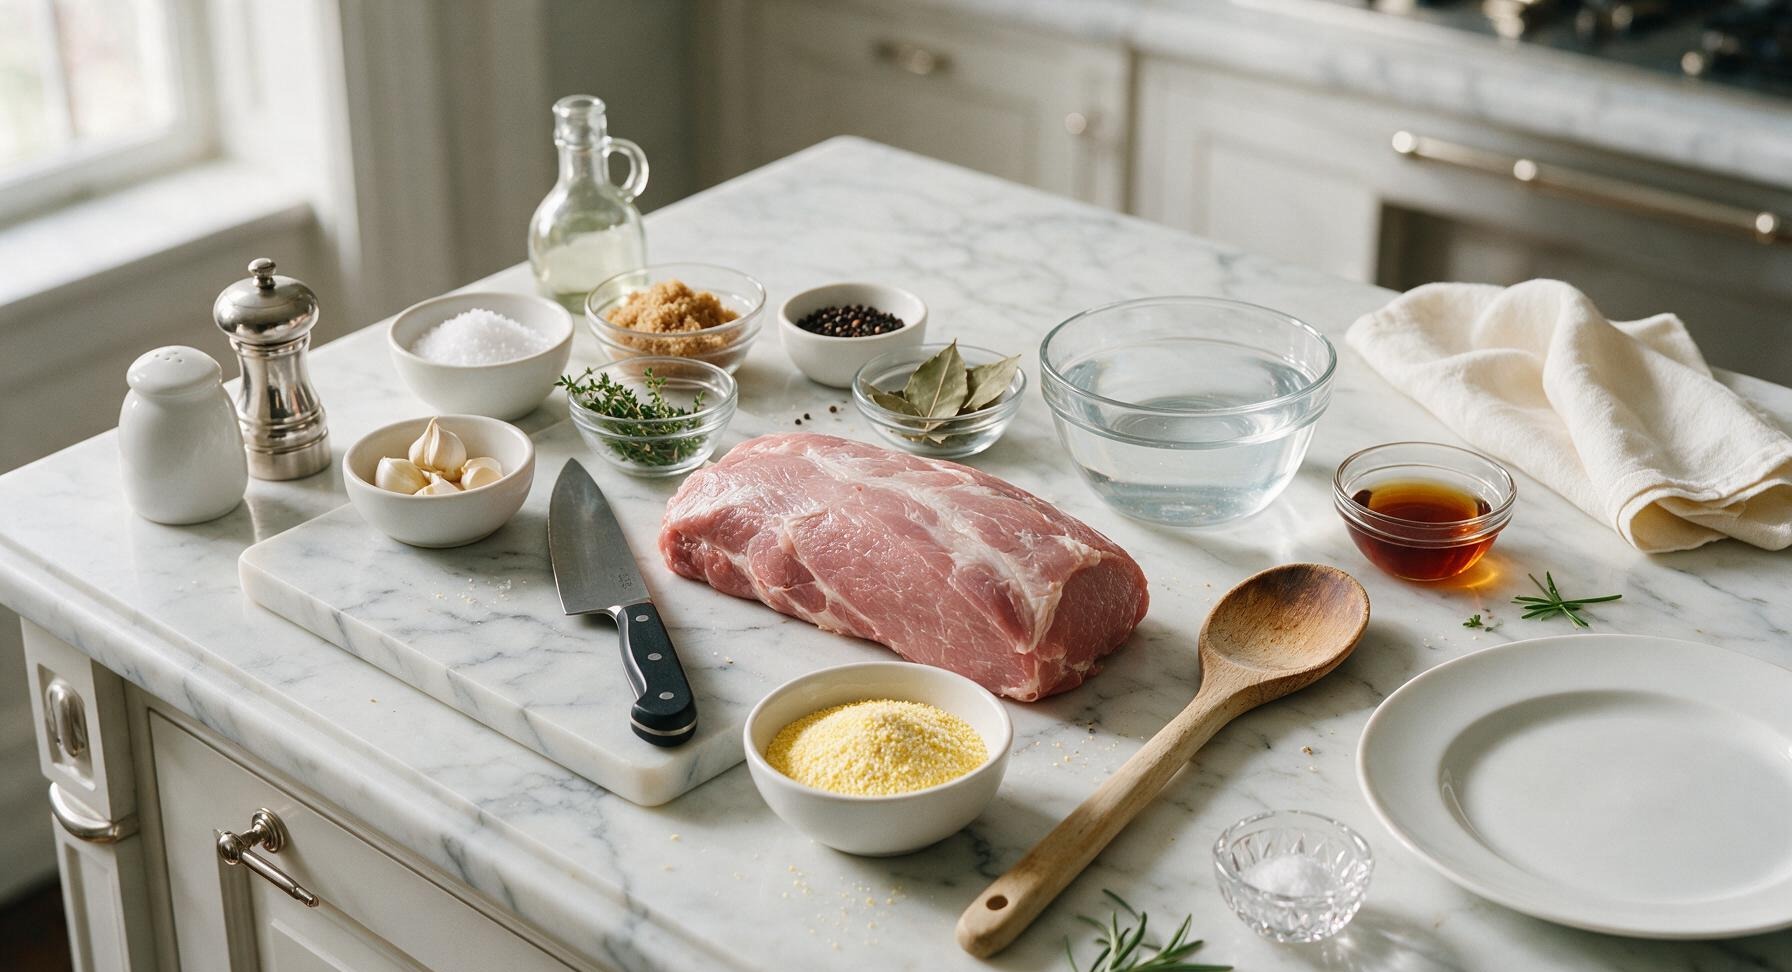
Steps
Make the Brine Base
Place the 4L stainless steel stock pot on the left stovetop burner over medium heat. Pour in 500ml (2 cups) of cold water, then add kosher salt, light brown sugar, Prague Powder #1, cracked black peppercorns, crumbled bay leaves, crushed garlic, thyme sprigs, and maple syrup. Stir continuously with the olive wood mixing spoon for 3-4 minutes, until salt and sugar are fully dissolved and the liquid just reaches a gentle simmer (small bubbles breaking at the pot edge). Do not bring to a rapid boil, as this will cook off delicate aromatic flavors from the herbs and garlic.

Chill and Strain Brine
Remove the stock pot from heat, pour in the remaining 1L (4 cups) of ice-cold water to rapidly drop the brine temperature. Transfer the pot to the refrigerator for 30 minutes, until the brine is completely chilled to 4C (40F) – warm brine will partially cook the outer pork layer and create unsafe curing conditions. Once chilled, pour the brine through the fine-mesh stainless steel strainer to remove all solid herbs, spices, and garlic, leaving a smooth, clear amber liquid.


Cure Pork Loin
Pat the trimmed boneless pork loin dry with a corner of the heather grey tea towel, then lower it fully into the chilled, strained brine. Place a small heavy stainless steel lid on top of the pork to weigh it down and keep it completely submerged (no part of the meat should be exposed to air, as this can cause uneven curing or spoilage). Cover the stock pot with its matching lid, and transfer to the refrigerator to cure for 3 full days (72 hours) at a consistent 4C (40F). Do not cure for less than 48 hours (under-seasoned meat) or more than 5 days (overly salty meat).
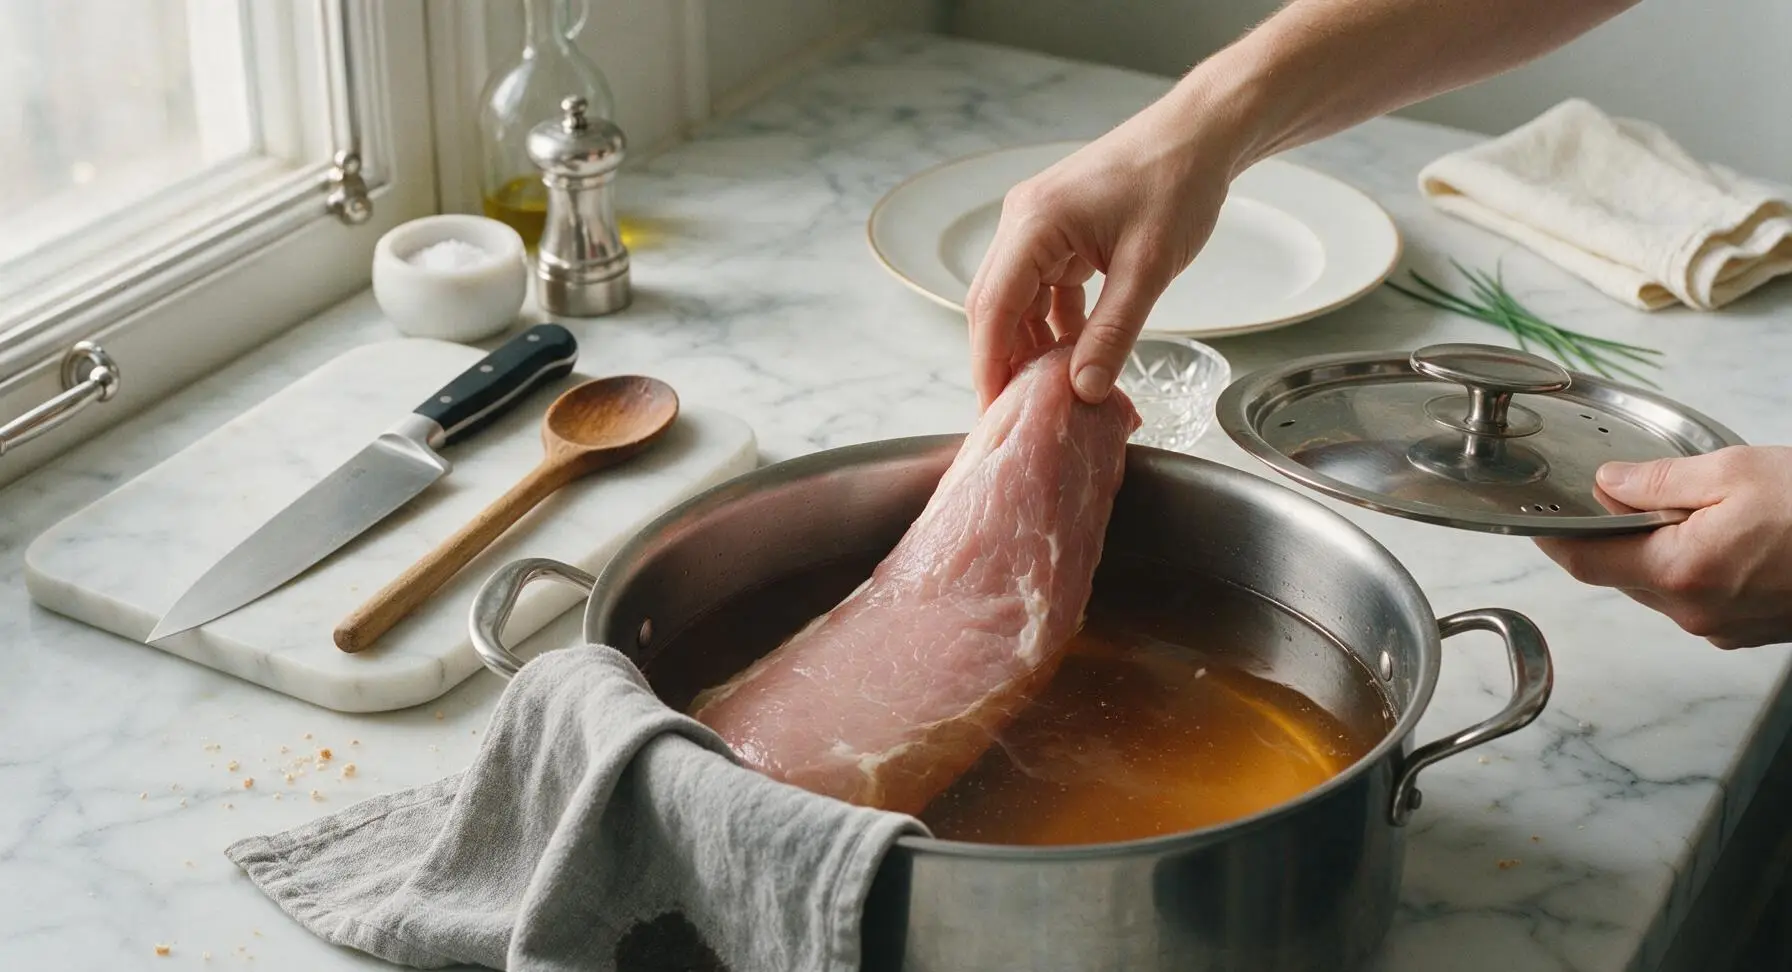
Dry Cured Pork
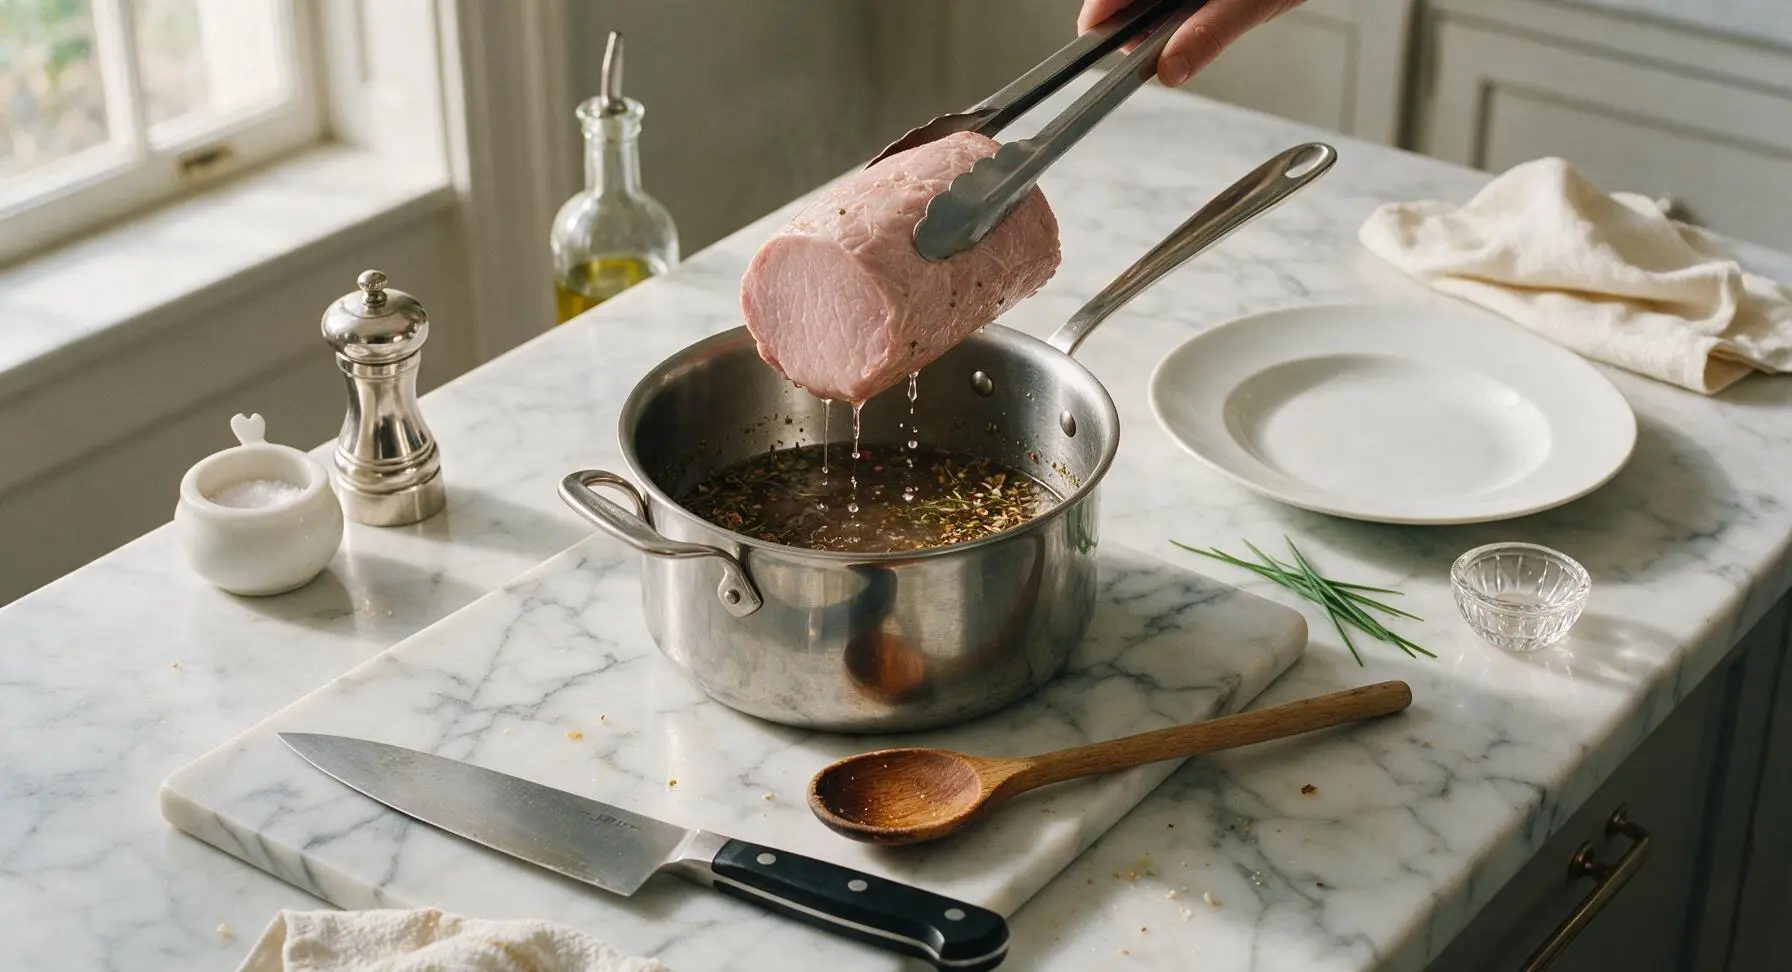
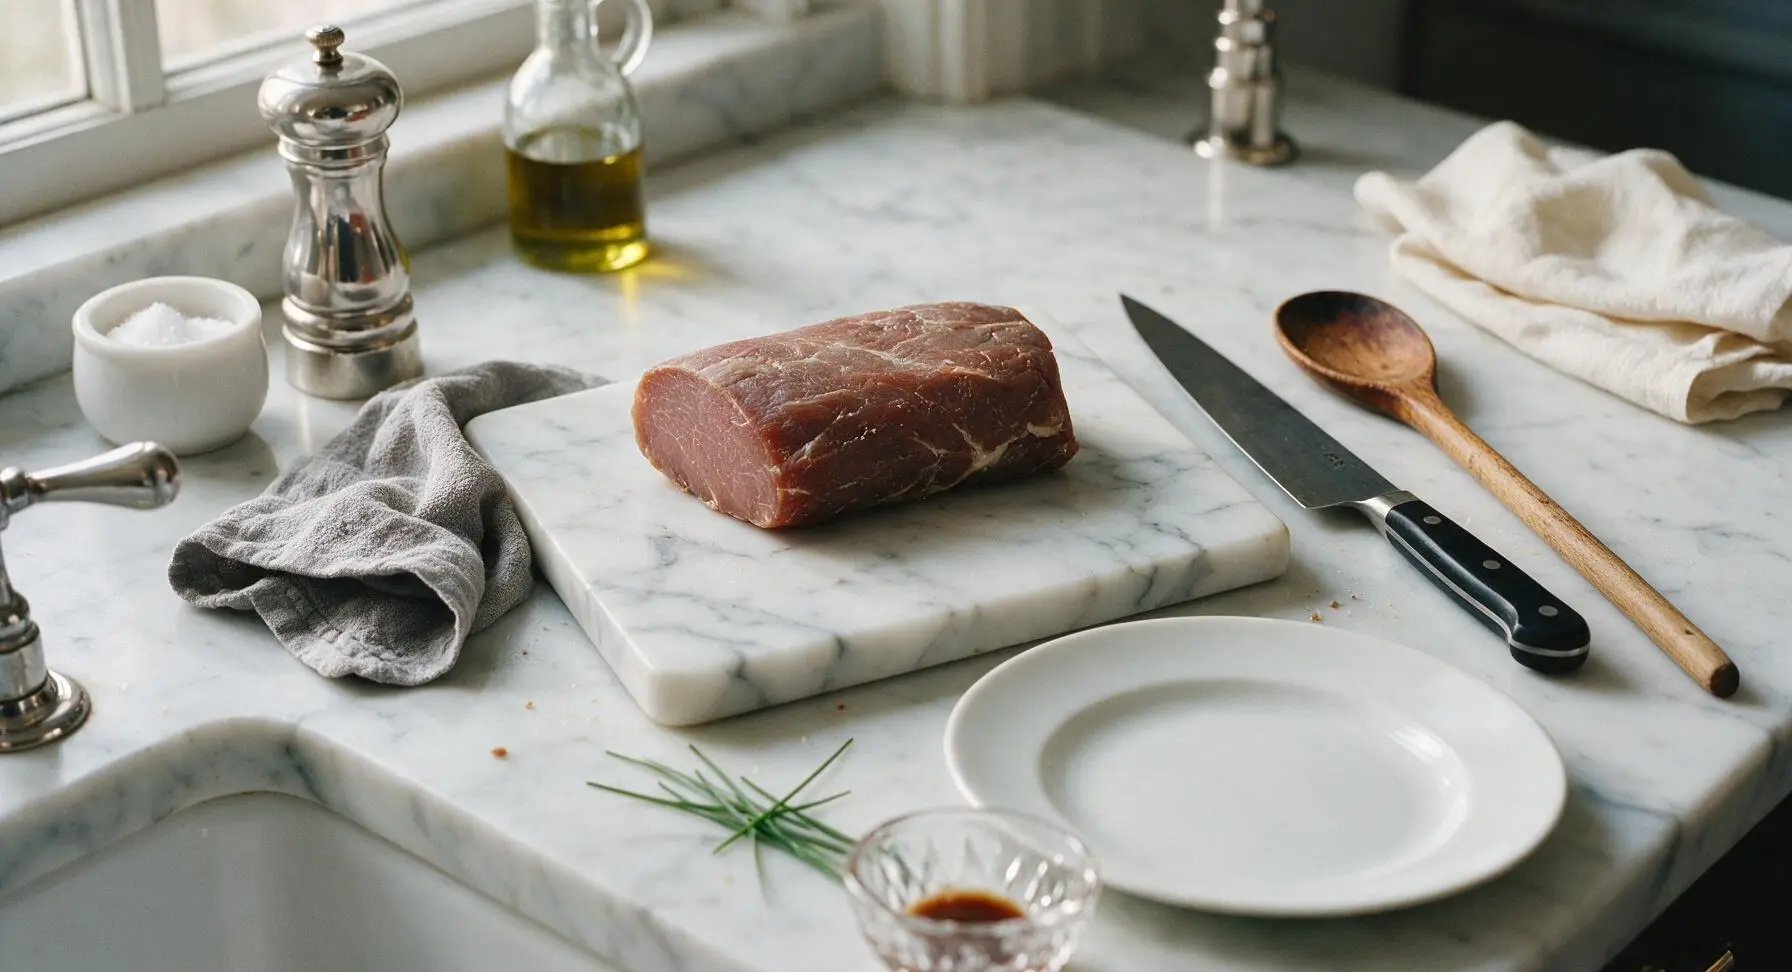
After 3 days of curing, lift the pork loin from the brine using the stainless steel tongs, and discard the used brine. Rinse the loin briefly under cold running water to wash off excess surface salt, then pat it completely dry all over with the grey tea towel. Set the dried loin on the maple cutting board, and leave it uncovered in the refrigerator for 1 hour to form a slightly tacky surface layer (called a pellicle) that helps the cornmeal coating adhere evenly during roasting.
Coat in Cornmeal
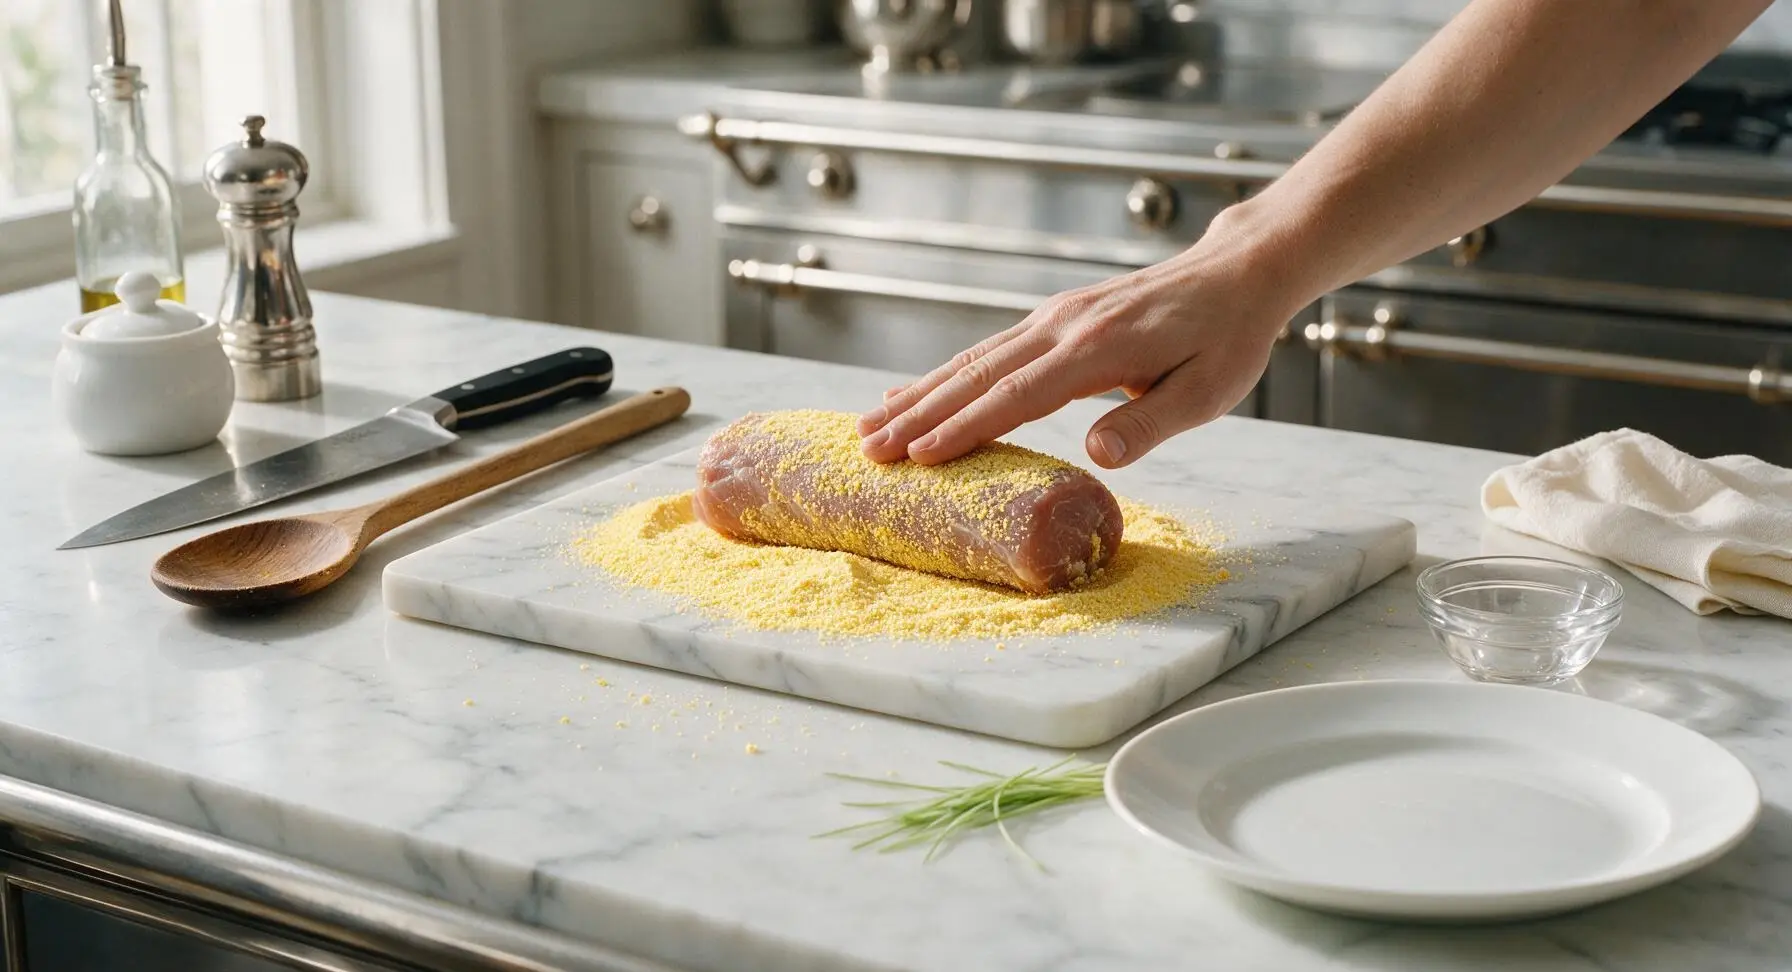
Pour the fine yellow cornmeal in an even, thin layer across the center of the maple cutting board. Roll the dried, tacky pork loin in the cornmeal, pressing firmly with clean dry hands to ensure cornmeal adheres to every surface, including the flat ends of the loin. The finished coating should be an even, thin golden layer, with no bare spots of exposed pork visible.
Roast to Temperature
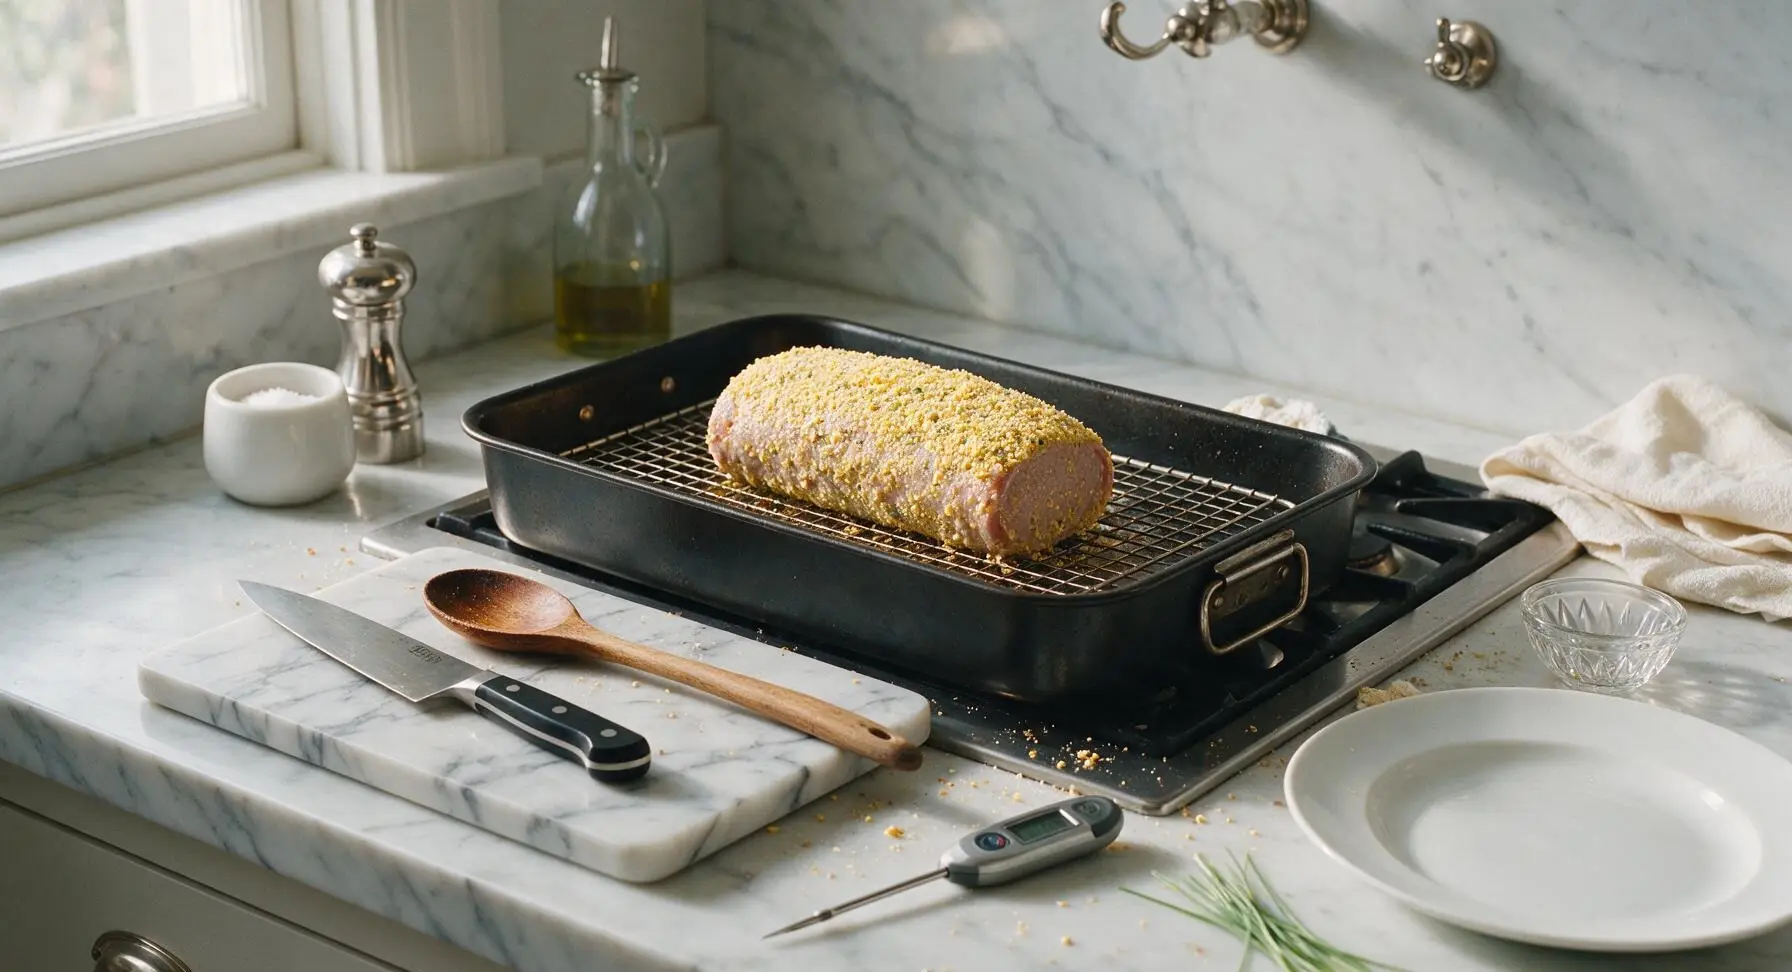
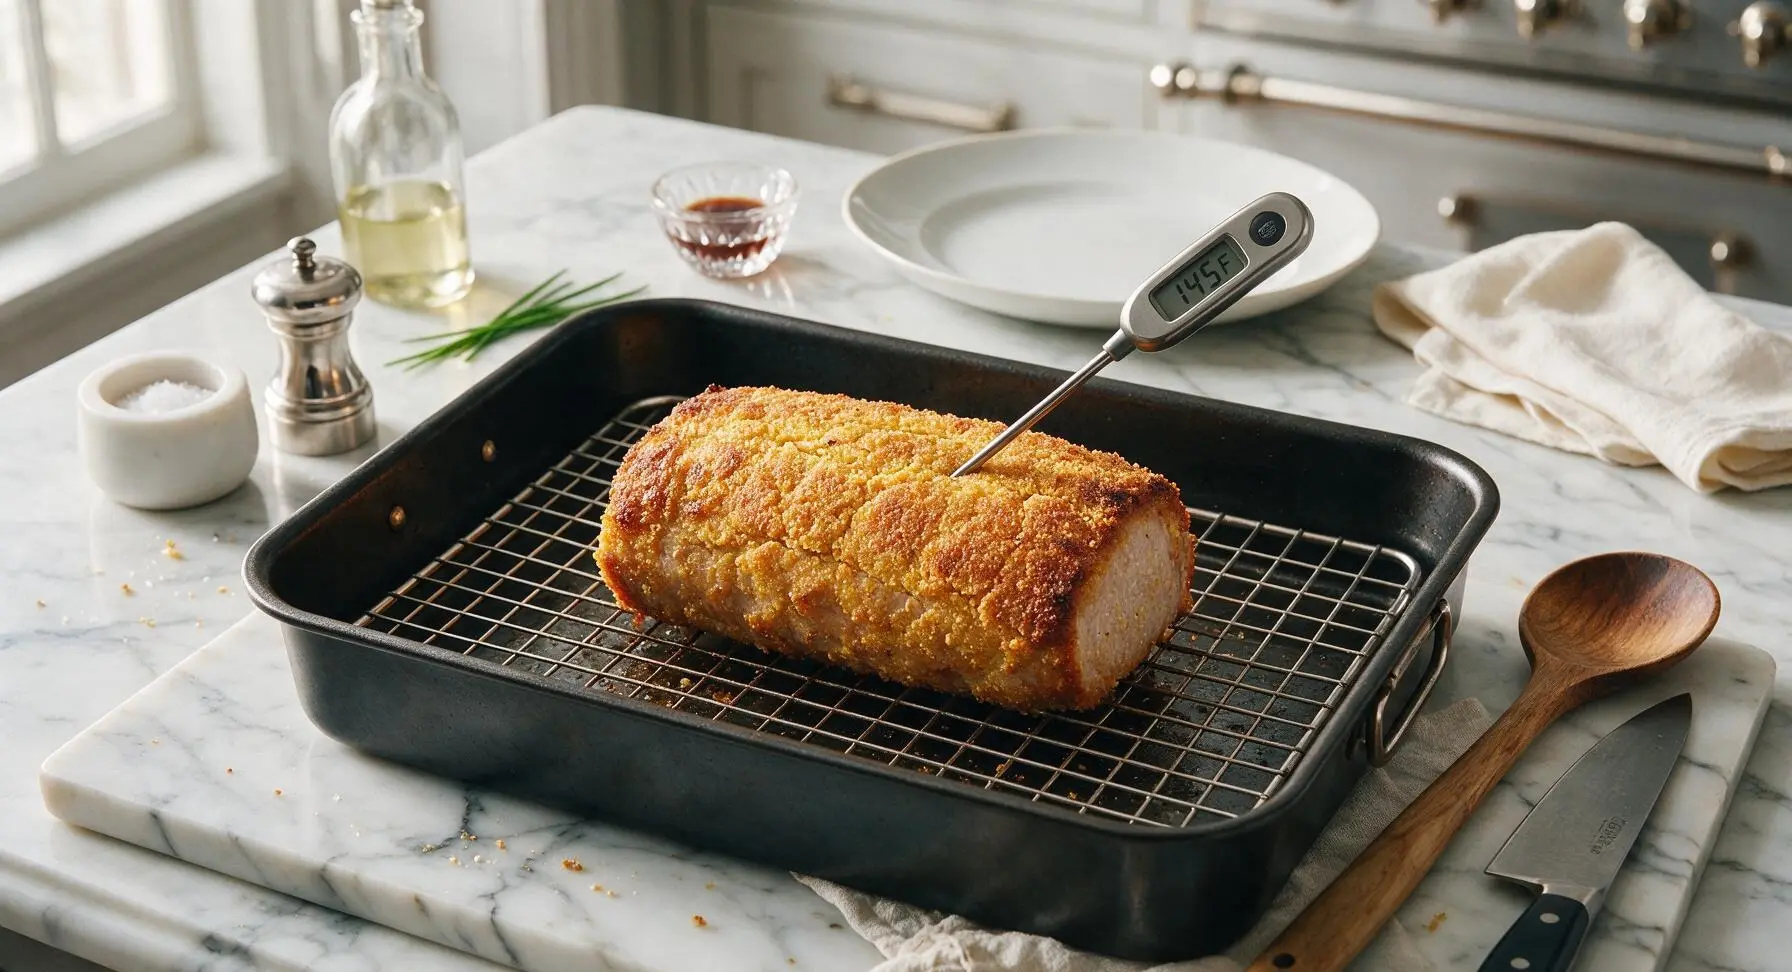
Set the stainless steel wire rack inside the matte black carbon steel roasting pan, then place the cornmeal-coated pork loin centered on the rack, leaving 2cm of space around all sides for hot air to circulate. Transfer the pan to a preheated 175C (350F) oven, and roast for 45-55 minutes, until the cornmeal crust is deep golden and crisp, and the digital instant-read thermometer inserted into the thickest part of the loin reads 63C (145F). Do not overcook, as the lean pork loin will become dry and tough if heated above 70C (160F).
Rest and Slice
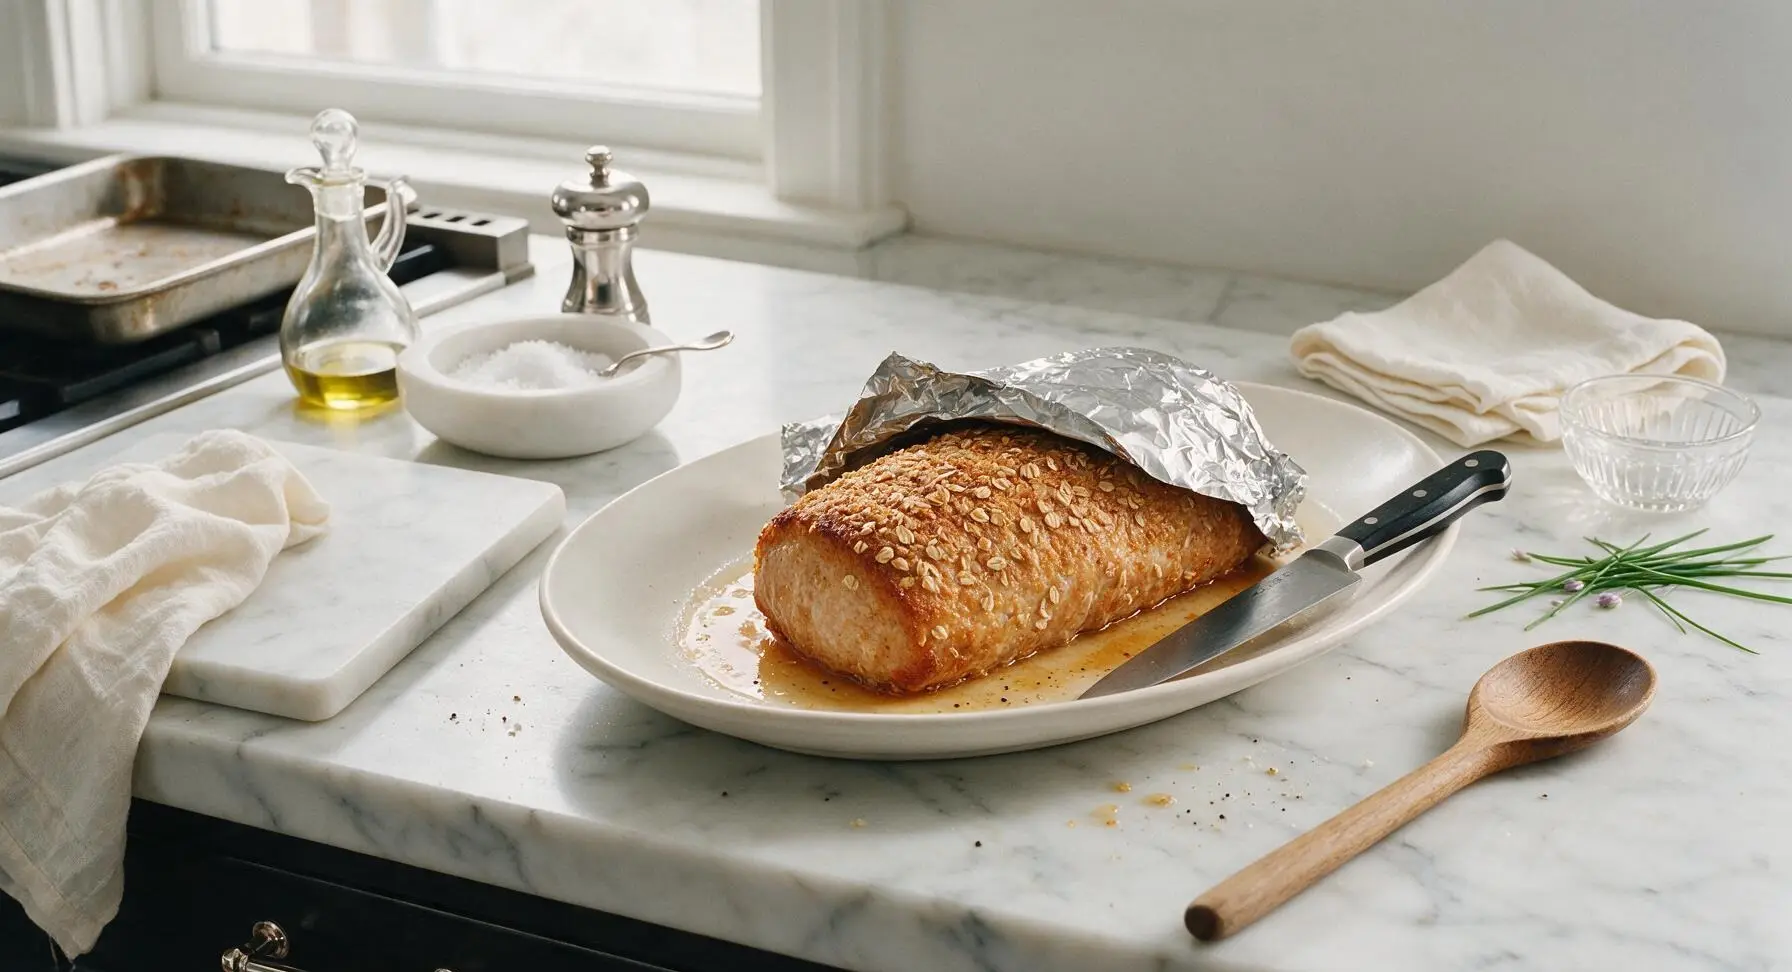
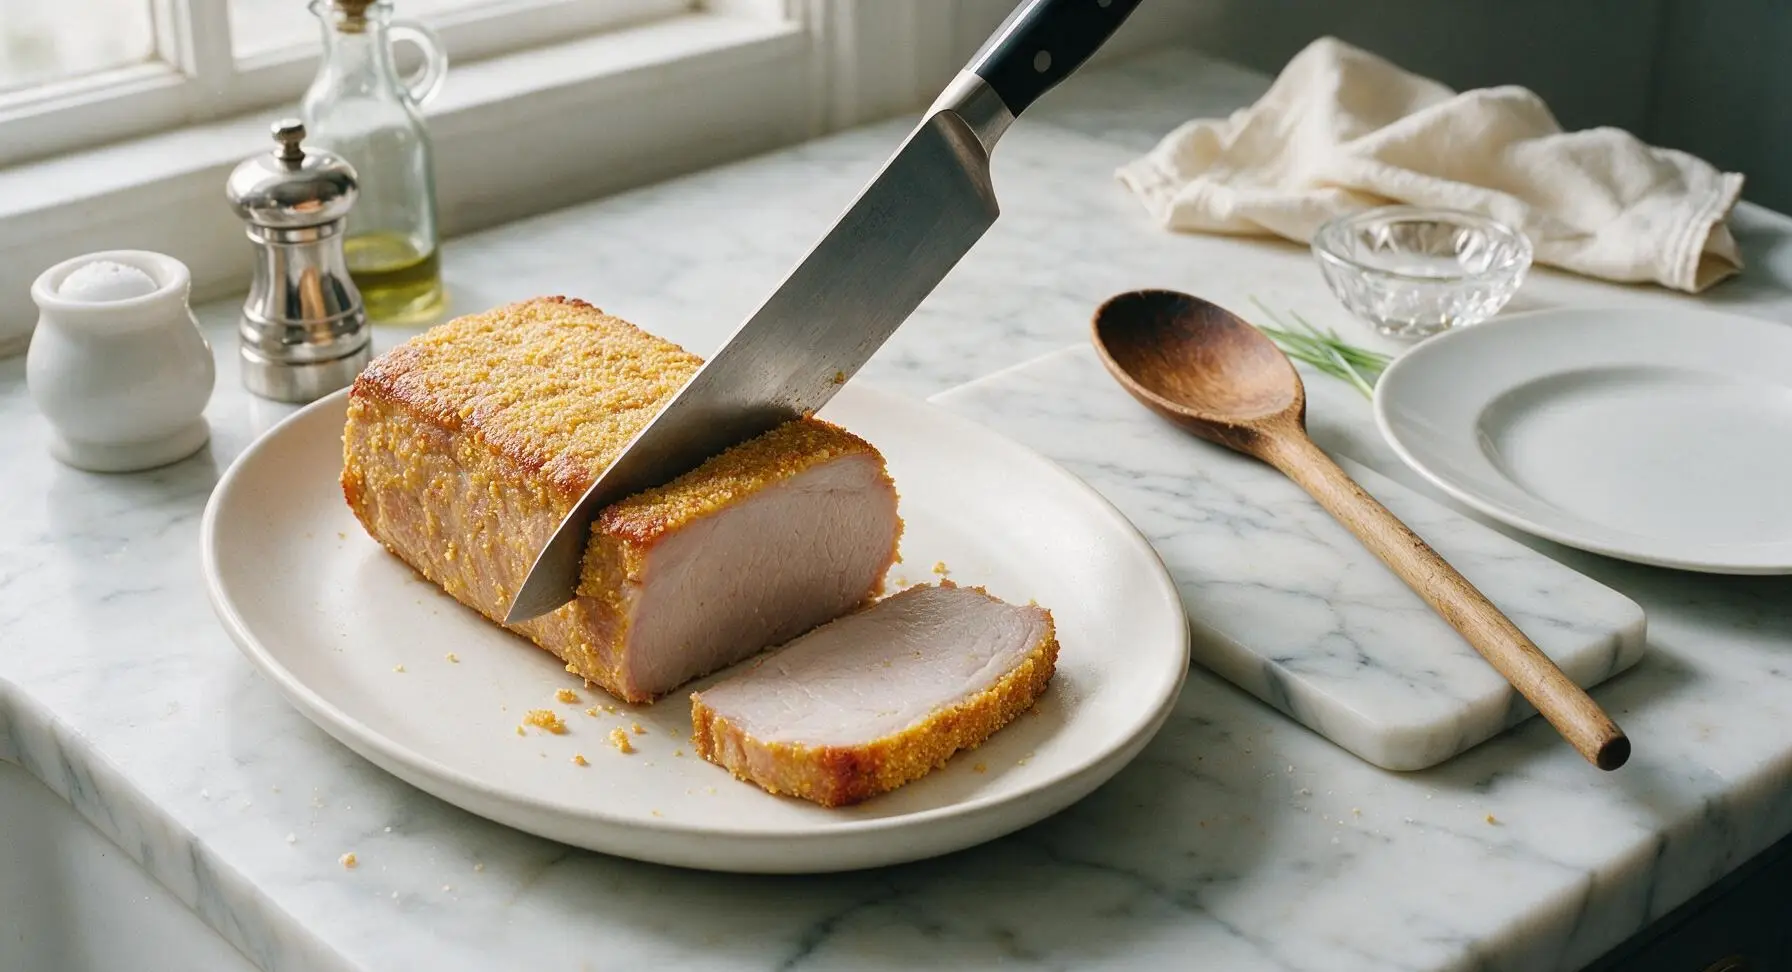
Use the stainless steel tongs to transfer the cooked peameal loin from the roasting rack to the matte warm white oval serving platter. Loosely tent the loin with a small piece of crinkled aluminum foil, and let it rest for 15 minutes at room temperature to allow juices to redistribute through the meat (this prevents all the juice from running out when you slice it). After resting, use the 8-inch chef knife to slice the peameal into 1cm (1/2 inch) thick slices, fanning them slightly across the platter for serving.
Tips
2.The 1-hour uncovered fridge rest to form a tacky pellicle is critical for a perfect crust: if the pork surface is wet when you apply the cornmeal, the coating will slide off during roasting instead of forming a crisp, evenly attached golden layer.
3.For the iconic Toronto peameal bacon sandwich, let the roasted peameal cool completely, slice it 1.5cm (1/2 inch) thick, pan-fry slices for 2 minutes per side to crisp the crust, and serve on a soft kaiser roll with yellow mustard and dill pickles for a classic summer picnic meal.






OMG, this peameal bacon was a total game changer for our Sunday brunch! I’ve only ever had the store-bought version before, and the homemade brine makes such a huge difference. Cooked it up for my husband and two kids, and they all begged for seconds. I did add a tiny extra bit of maple syrup to the brine because we love that sweet-savory vibe, and it was chef’s kiss. 10/10 will be making this monthly for meal prep too!
I was a little intimidated by the curing process at first since I’ve never made any kind of bacon from scratch, but the instructions were super straightforward! My only issue was that my cornmeal coating slid off a little bit when I seared the first side — did I maybe not pat the loin dry enough before coating? Flavor was still incredible, though, even with the coating mishap.
Brought a sliced platter of this to our neighborhood potluck last weekend and people were swarming the table! Everyone kept asking where I bought it, they couldn’t believe I made it from scratch. Served it with some honey mustard dipping sauce and it was gone in 10 minutes flat. SO good, will absolutely be making this for every summer cookout from now on.
Made a double batch of this on Sunday for the week’s breakfasts, and it’s held up perfectly! Crisps up so nicely in the pan in the morning, way less greasy than regular bacon, and the flavor is unreal. I was worried the cook time would be too long for a weeknight prep, but 50 minutes in the oven was totally hands off while I chopped veggies for the rest of my meals. Win win!
As someone who only started cooking last year, I was nervous to tackle this since it’s marked medium difficulty, but it was way easier than I thought! The brine came together with stuff I already had in my pantry, and the roast turned out juicy all the way through, no dry spots at all. Sliced it thick for breakfast sandwiches and my roommate said it’s better than the deli version down the street.
Solid recipe, flavor was spot on peameal bacon just like I had on my trip to Toronto a few years back. Only reason I’m not giving 5 stars is I wish the instructions had a note about internal temp a little more front and center — I almost overcooked mine because I was going by time alone. Ended up pulling it at 145F and it was perfect, just had to scramble to check temp guides halfway through.
Made this for our family dinner last night instead of our usual ham, and it was such a hit! My grandkids gobbled it up, even the picky one who turns his nose up at most pork dishes. I served it with roasted potatoes and green beans, and the leftovers made amazing fried rice today for lunch. Will definitely be adding this to our regular rotation.
Threw this on the smoker instead of roasting it in the oven per the recipe, and holy cow it was next level. Did 225F for about an hour until it hit temp, added a little apple wood smoke, and the cornmeal crust got all crispy and perfect. Took this to my buddy’s football watch party and everyone was raving. 10/10, even better than the restaurant version I had in Montreal last year.
Just made this for the first time and it’s SO good. I’ve been paying a fortune for pre-made peameal bacon at the fancy grocery store, and this tastes way better for half the cost. No more store bought for me!
Full transparency, I forgot to add the pickling spice to my brine the first 24 hours, dumped it in at the last minute before roasting, and it still turned out absolutely delicious. Can only imagine how good it is when you follow the directions correctly, haha. Already planning my second batch for next weekend, this time I’m setting 3 reminders to add all the brine ingredients on time.
Tried this with pork tenderloin since that’s what I had on hand, and it was still delicious! The only thing is it cooked a little faster than the recipe said, so I had to pull it out about 10 minutes early to keep it from drying out. Would still make it again, maybe next time with the proper loin cut to compare.