quick sandwich ideas

title 1
quick sandwich ideas
⏱️ cook time 0 minutes
🍽️ servings 4
⚡ Difficulty easy

intro

Three no-cook, 10-minute global sandwich recipes with zero oven time, minimal prep, and bright fresh flavor, perfect for busy summer weeknights.

Ingredients
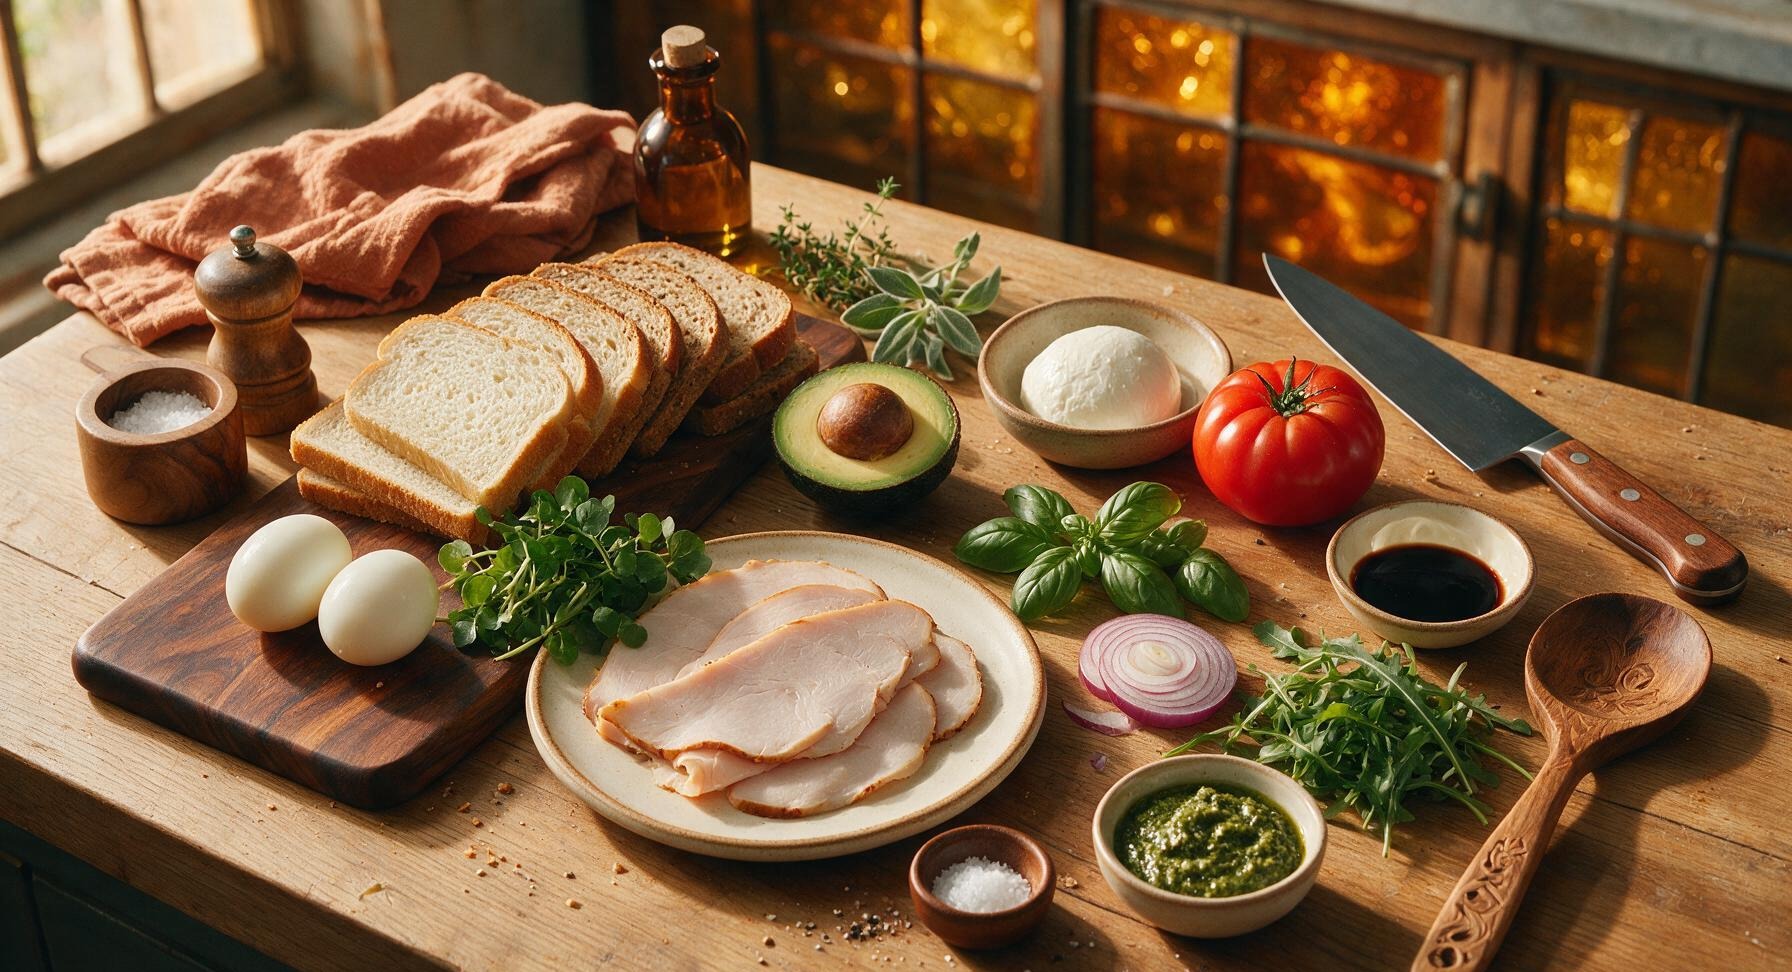
Sliced sandwich bread (mixed white and whole-grain) 8 slices
Pre-cooked hard-boiled eggs 2 large
Watercress 1 small bunch (30g)
Deli sliced roast turkey breast 4 slices (120g)
Ripe avocado 1 medium
Fresh mozzarella cheese 1 small ball (110g)
Ripe beefsteak tomato 1 medium
Fresh basil leaves 1 small bunch (15g)
Thinly sliced red onion 2 thin slices (20g)
Arugula 1 small handful (20g)
Mayonnaise 3 tbsp
Basil pesto 2 tbsp
Balsamic glaze 1 tbsp
Kosher salt 1/4 tsp
Freshly ground black pepper 1/4 tsp

Steps

1

Arrange Bread Slices

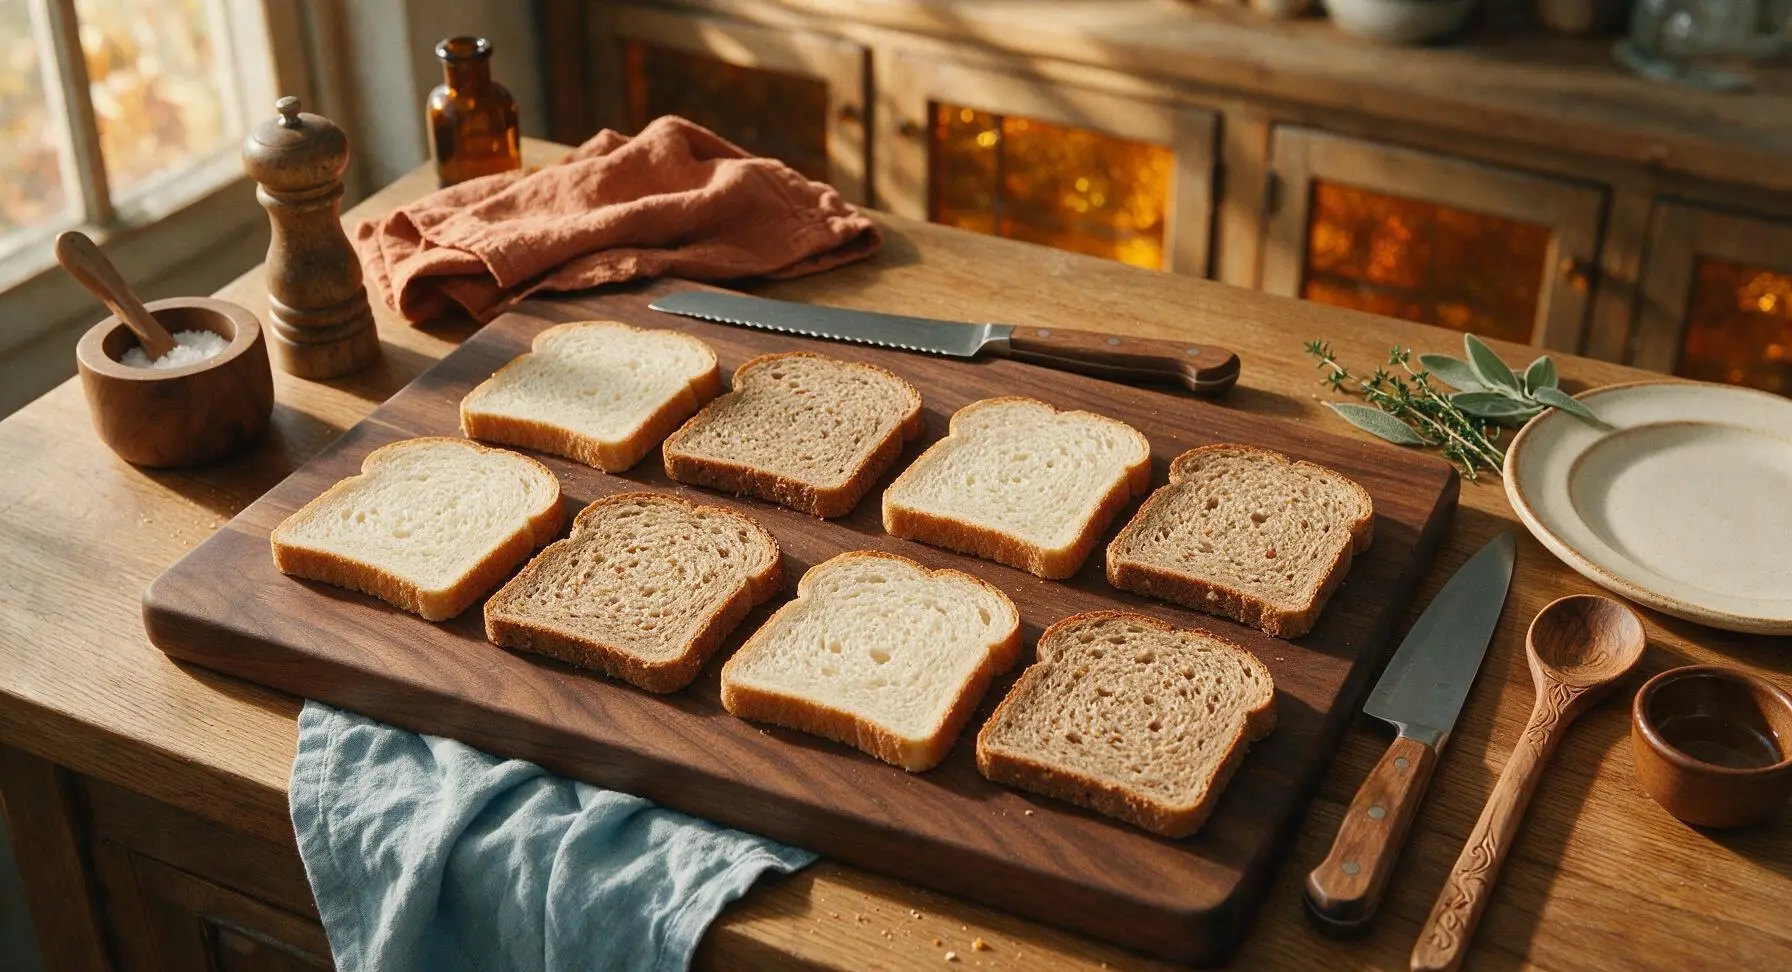
Lay all 8 bread slices flat on the birch cutting board. Toasting is optional (1 minute per side in a toaster for extra crunch, but not required for the no-cook version). Pat bread surfaces lightly with a corner of the linen towel to remove any excess packaging moisture, which prevents sogginess later. The bread should lie completely flat with no curled edges.
Step 1
step1:Arrange Bread Slices
2

Make Egg Salad Filling

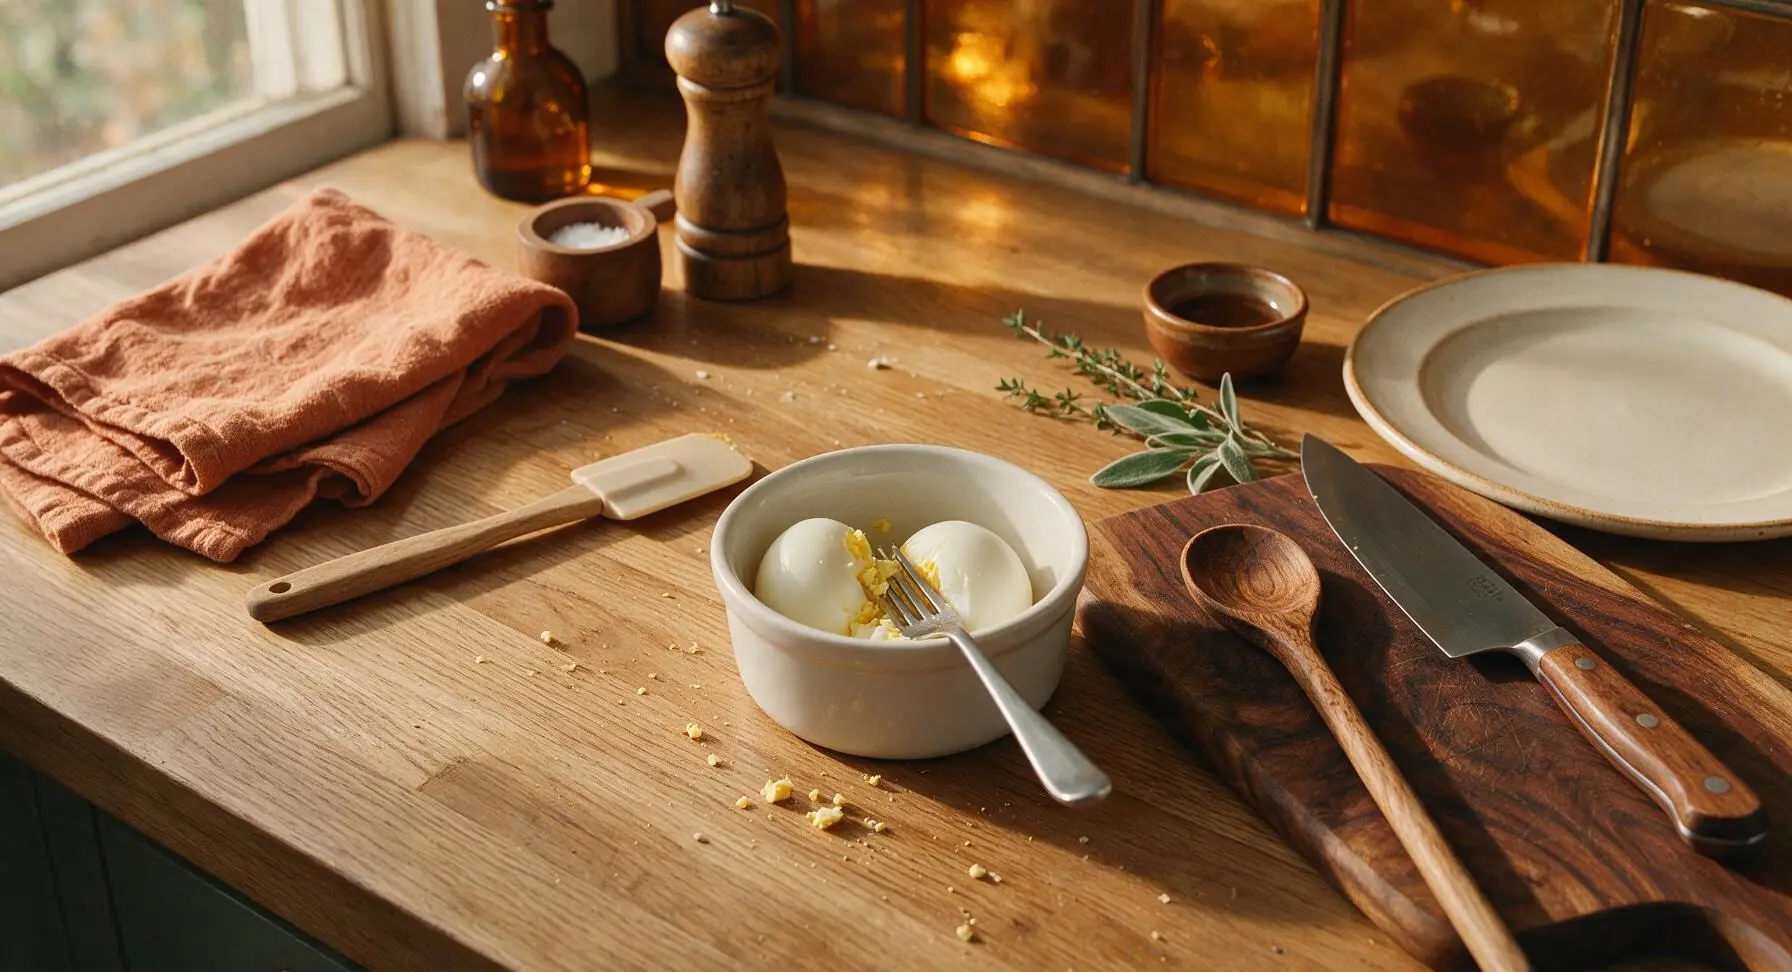
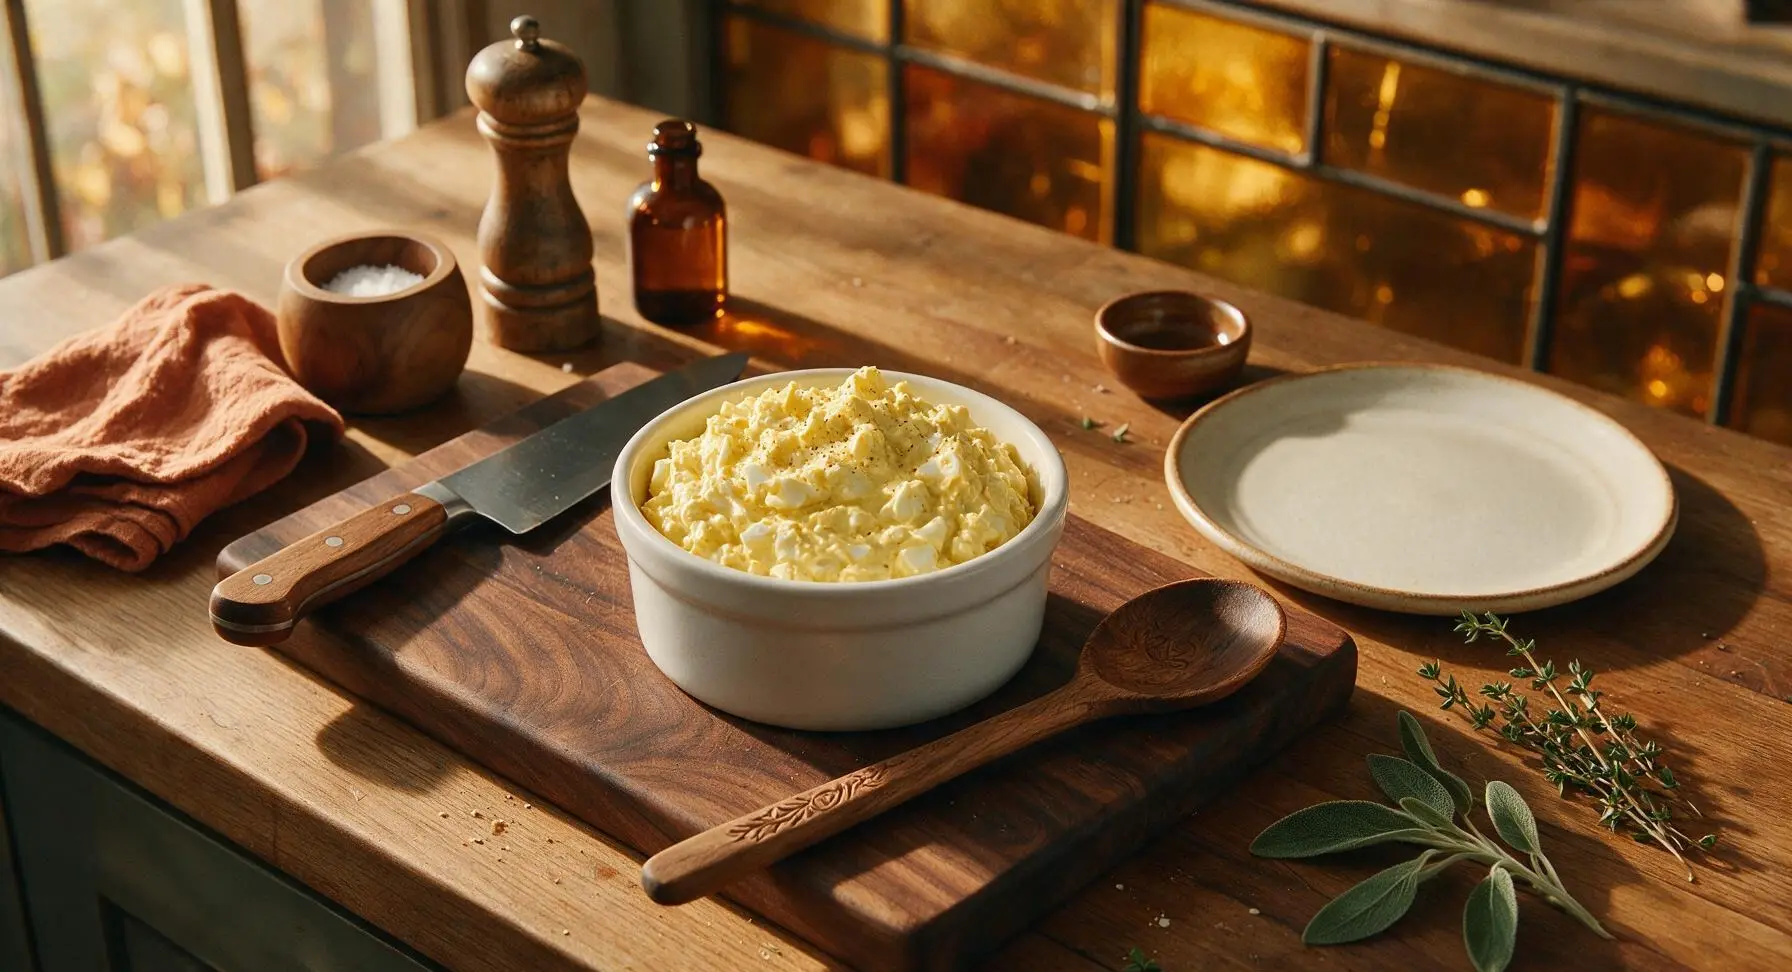
Place the 2 peeled pre-cooked hard-boiled eggs into the matte white ceramic ramekin. Mash coarsely with the stainless steel fork until eggs are broken into pea-sized crumbles, with no large chunks remaining. Stir in 2 tablespoons of mayonnaise, 1/8 teaspoon kosher salt, and 1/8 teaspoon black pepper, mixing until the salad is evenly combined and creamy but not runny.
Step 2
step2:Make Egg Salad Filling
Step 2
step2:Make Egg Salad Filling
3

Slice Fresh Produce

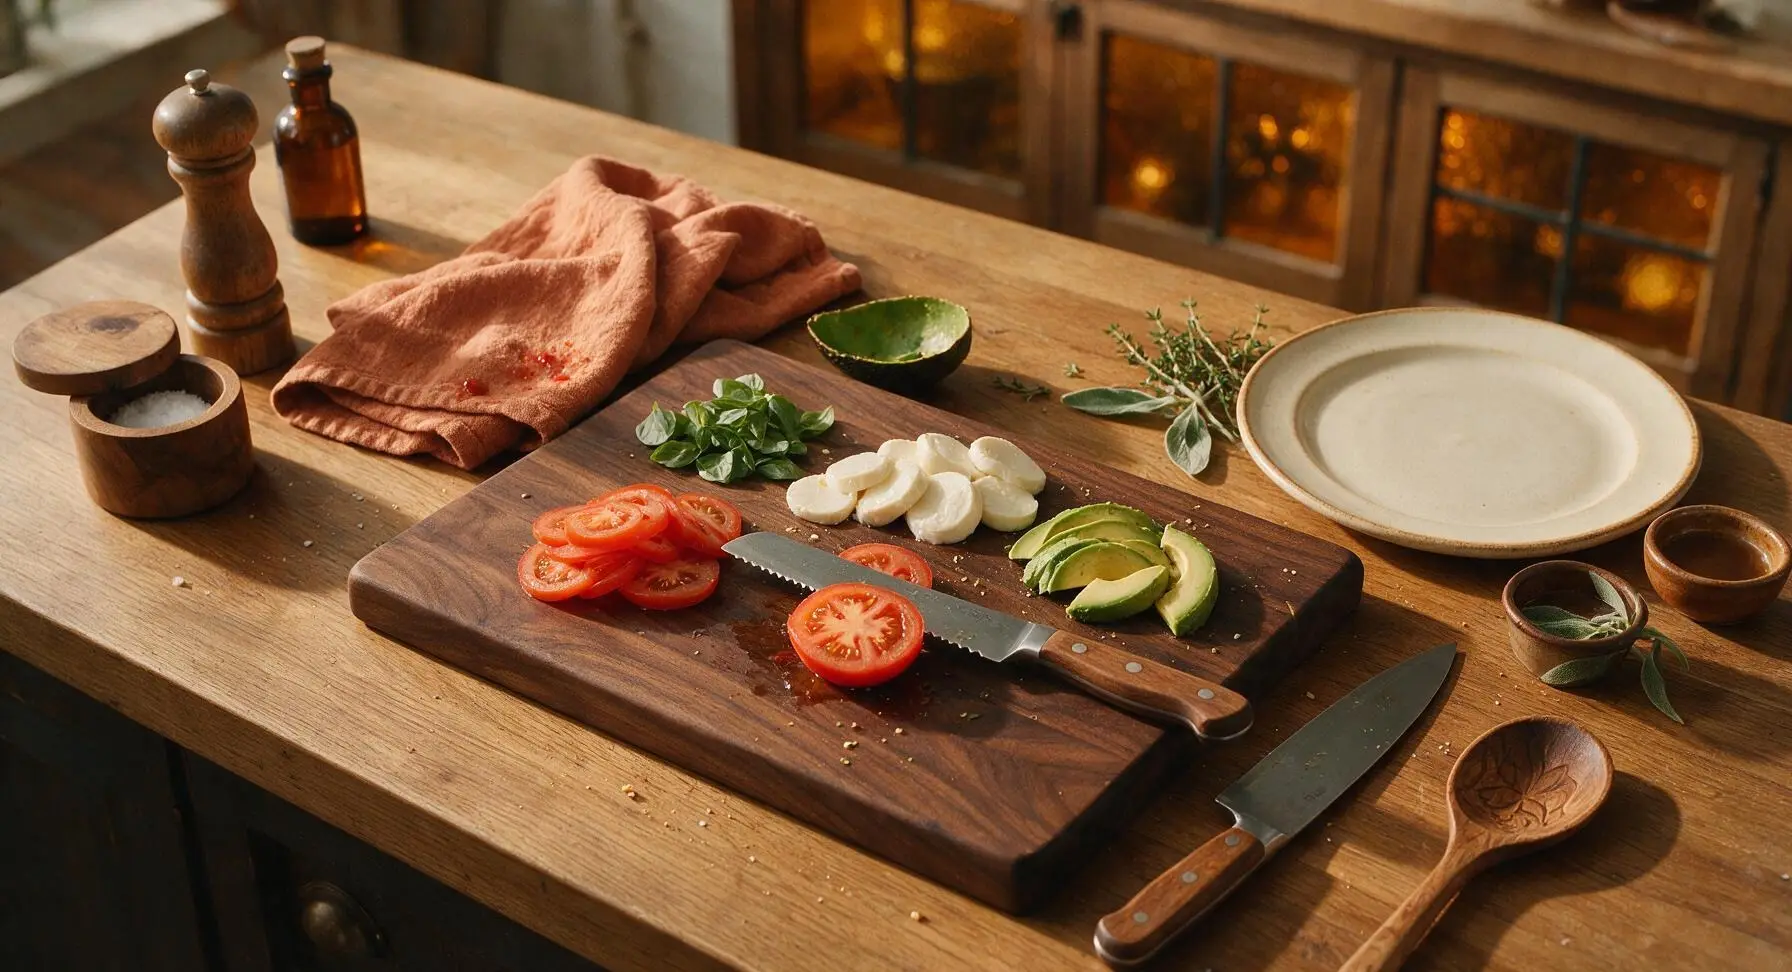
Use the serrated bread knife to cut the tomato into 1/4-inch thick rounds, slice the mozzarella into matching 1/4-inch rounds, pit and slice the avocado into 1/4-inch thick slices, and pluck basil leaves from their stems. Pat tomato slices gently with the linen towel to remove excess seedy juice, which causes soggy bread. Arrange sliced ingredients in separate small piles on the empty section of the cutting board.
Step 3
step3:Slice Fresh Produce
4

Spread Bread Bases

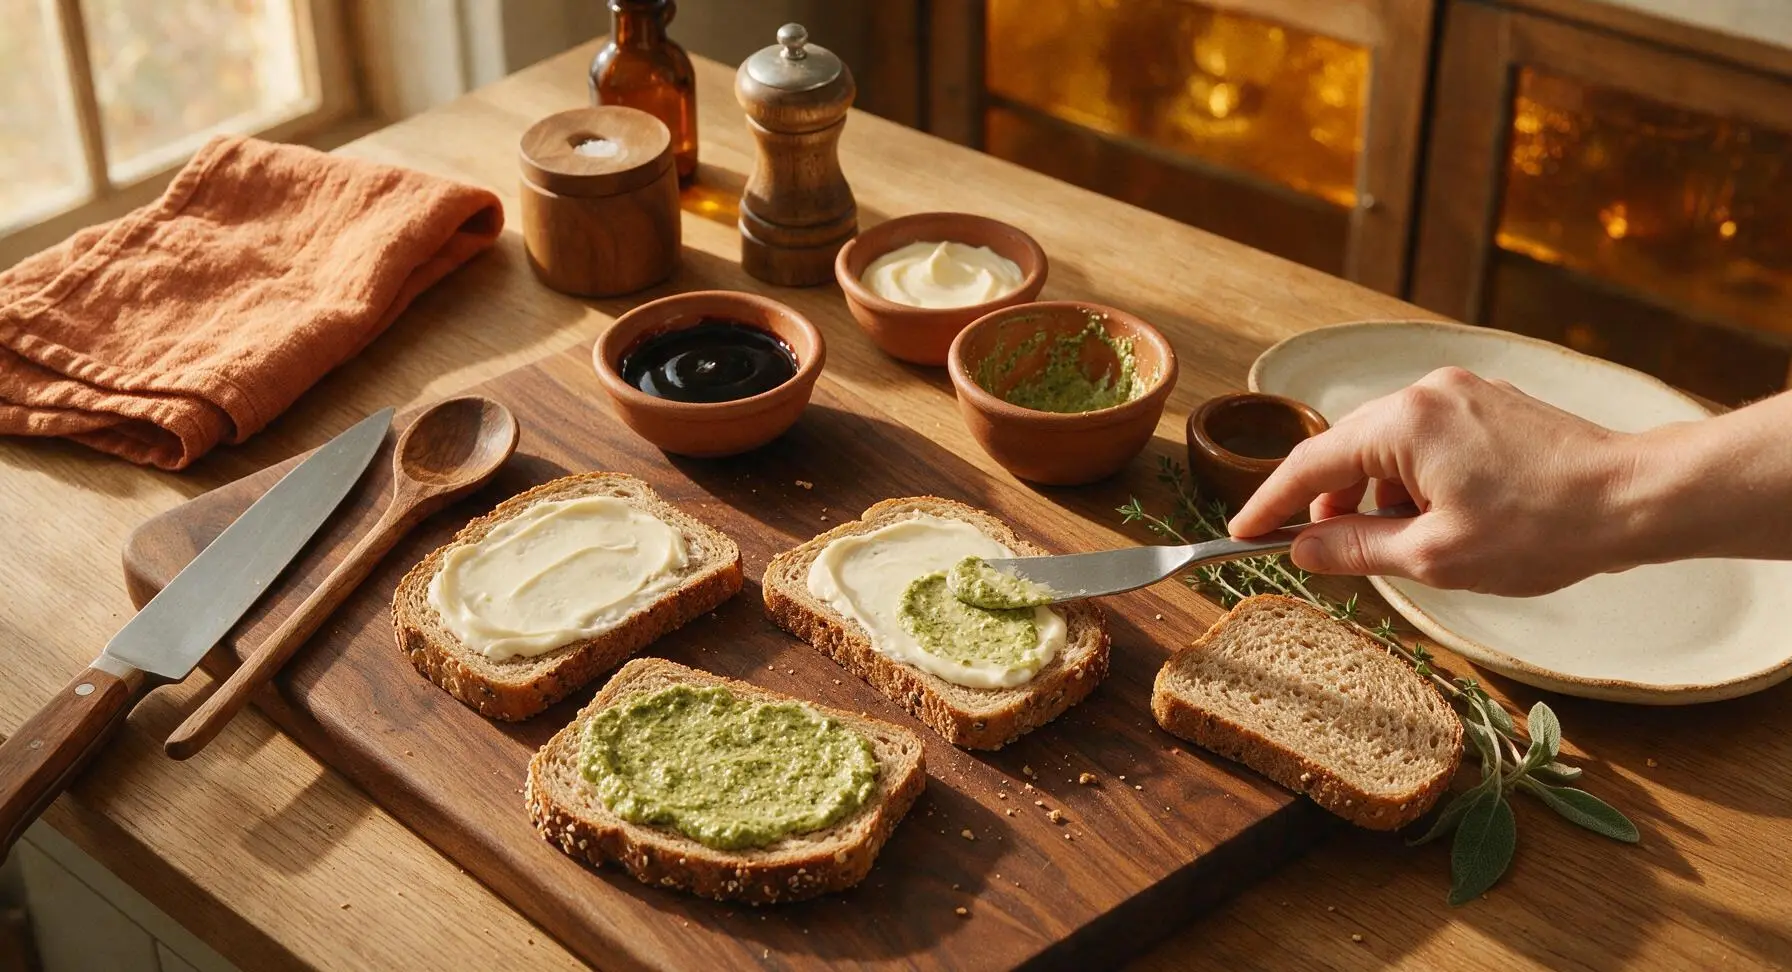
Use the stainless steel butter spreader to apply thin, even 1/8-inch thick layers of spread across 4 of the bread slices: spread 1/2 tablespoon mayonnaise on one slice for the egg & cress sandwich, 1/2 tablespoon mayonnaise on a second slice for the turkey avocado sandwich, spread all 2 tablespoons of pesto on a third slice for the caprese sandwich, and leave the fourth plain bread slice as a top for the caprese. Spread all the way to the bread edges to create a moisture barrier.
Step 4
step4:Spread Bread Bases
5

Build First Two Sandwiches

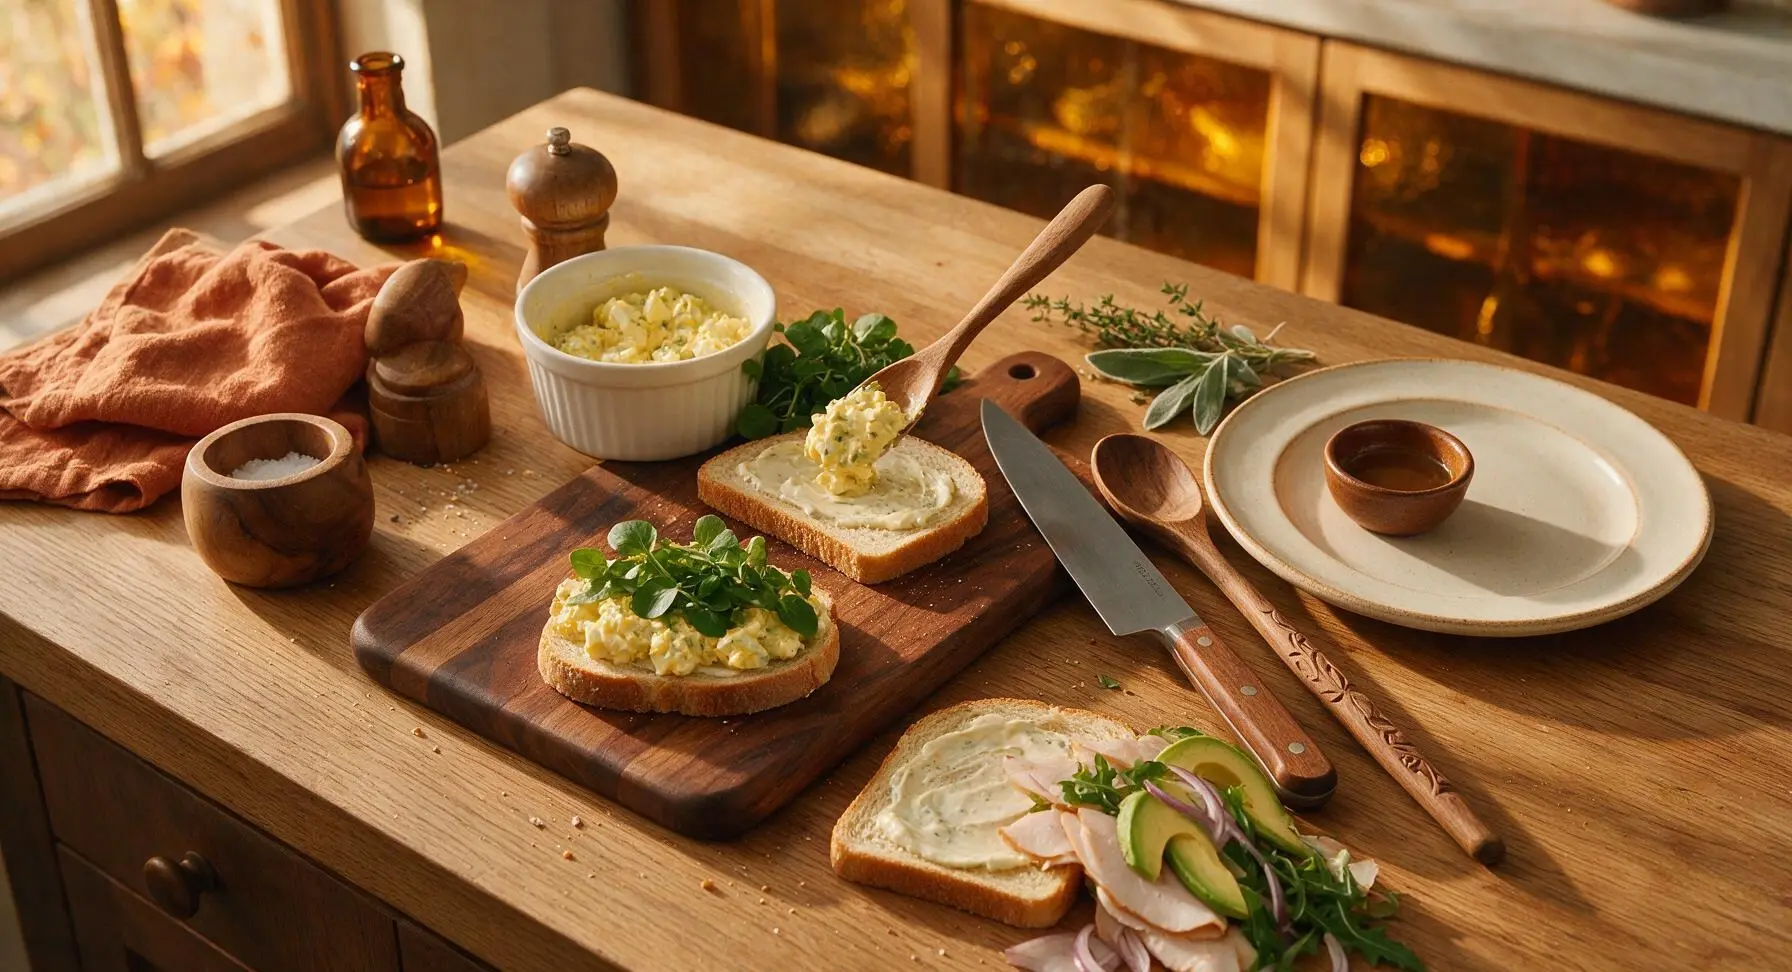
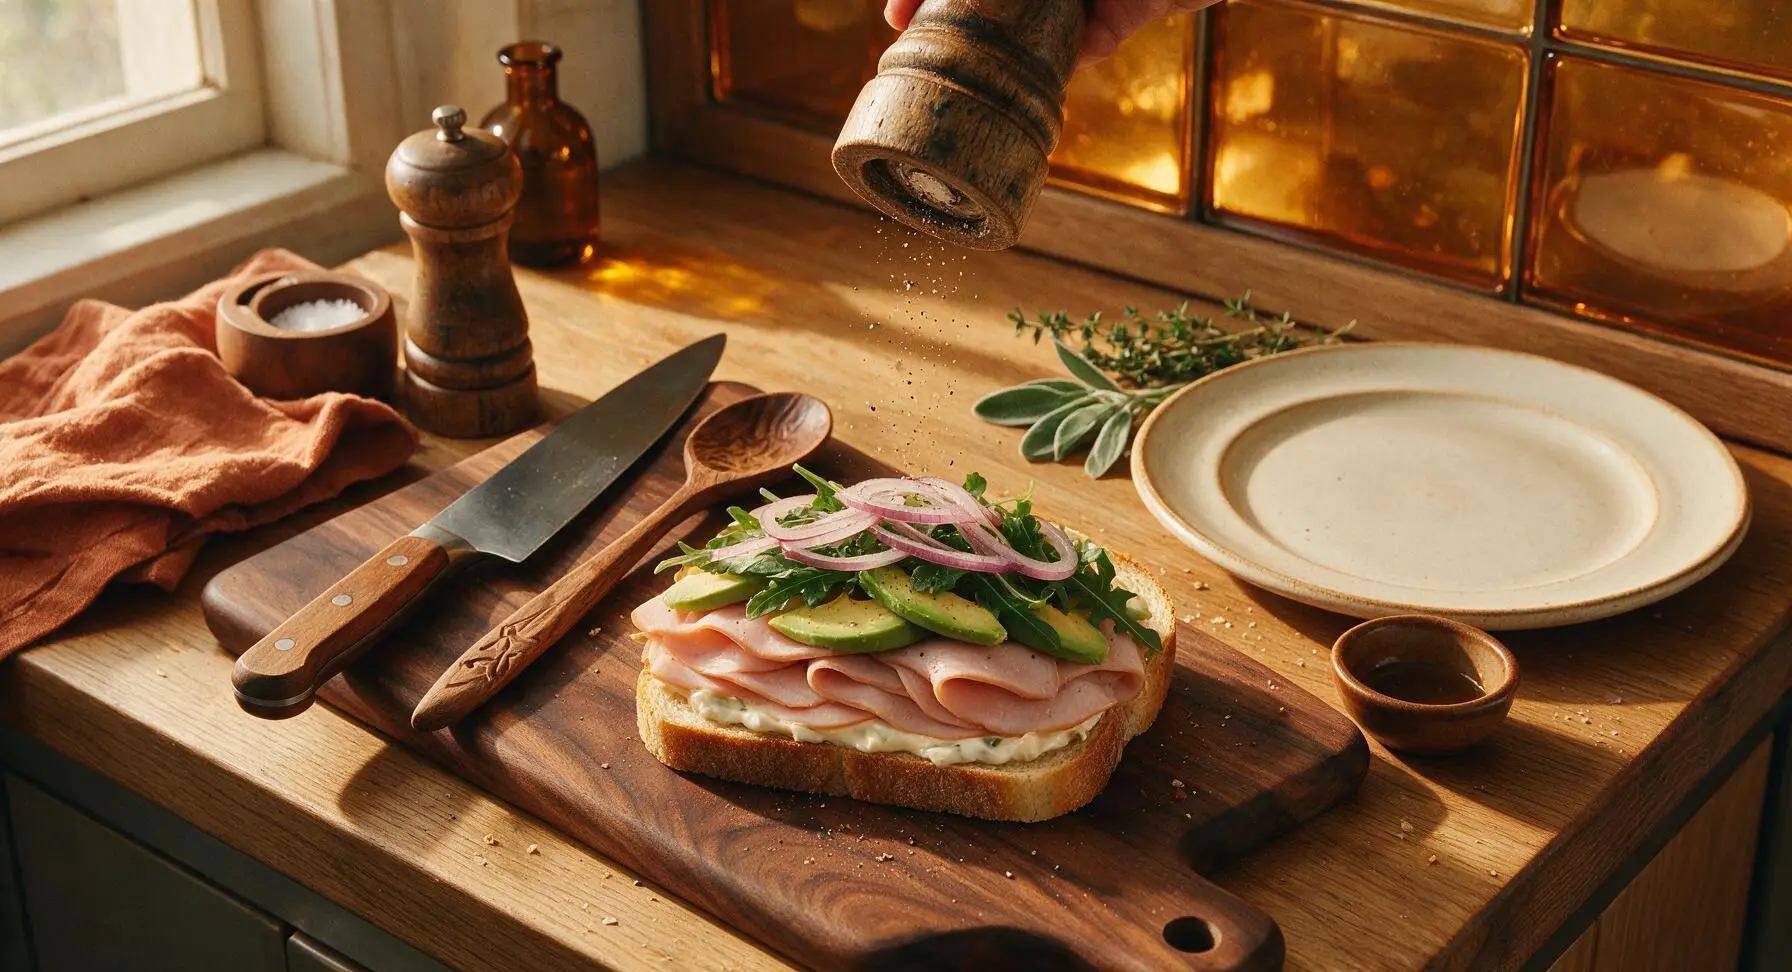
For the egg & cress sandwich: spoon all of the mashed egg salad evenly across the mayonnaise-spread bread slice, top with a 1/3 cup handful of watercress, then cap with a plain top bread slice. For the turkey avocado sandwich: layer 4 slices of turkey, 3-4 avocado slices, a 1/4 cup handful of arugula, and 2 thin red onion slices on the second mayonnaise-spread slice, sprinkle with a pinch of salt and pepper, then cap with a plain top bread slice. Press down gently on both sandwiches with the palm of your hand to set fillings.
Step 5
step5:Build First Two Sandwiches
Step 5
step5:Build First Two Sandwiches
6

Build Caprese Sandwich

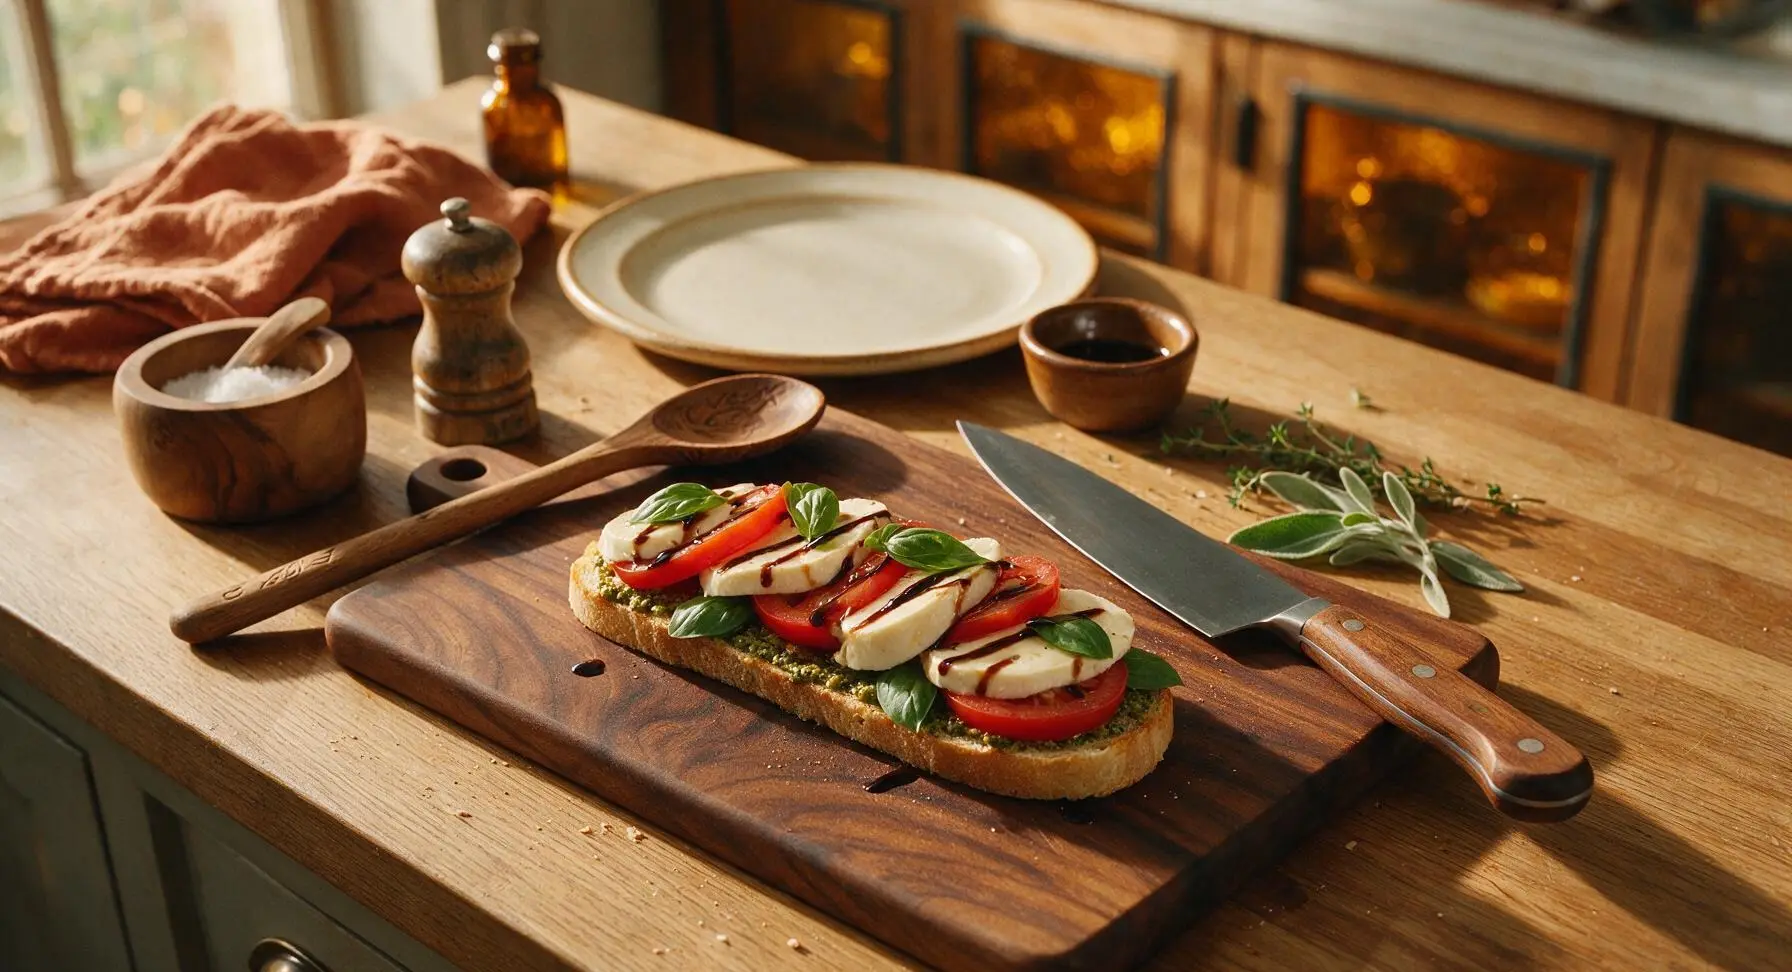
For the caprese sandwich: alternate 3 slices of tomato and 3 slices of mozzarella on the pesto-spread bread slice, tucking 3-4 fresh basil leaves between the layers. Drizzle the full 1 tablespoon of balsamic glaze evenly over the filling, then sprinkle with a tiny pinch of kosher salt. Cap with the remaining plain bread slice, pressing gently to adhere the layers.
Step 6
step6:Build Caprese Sandwich
7

Cut and Plate Sandwiches

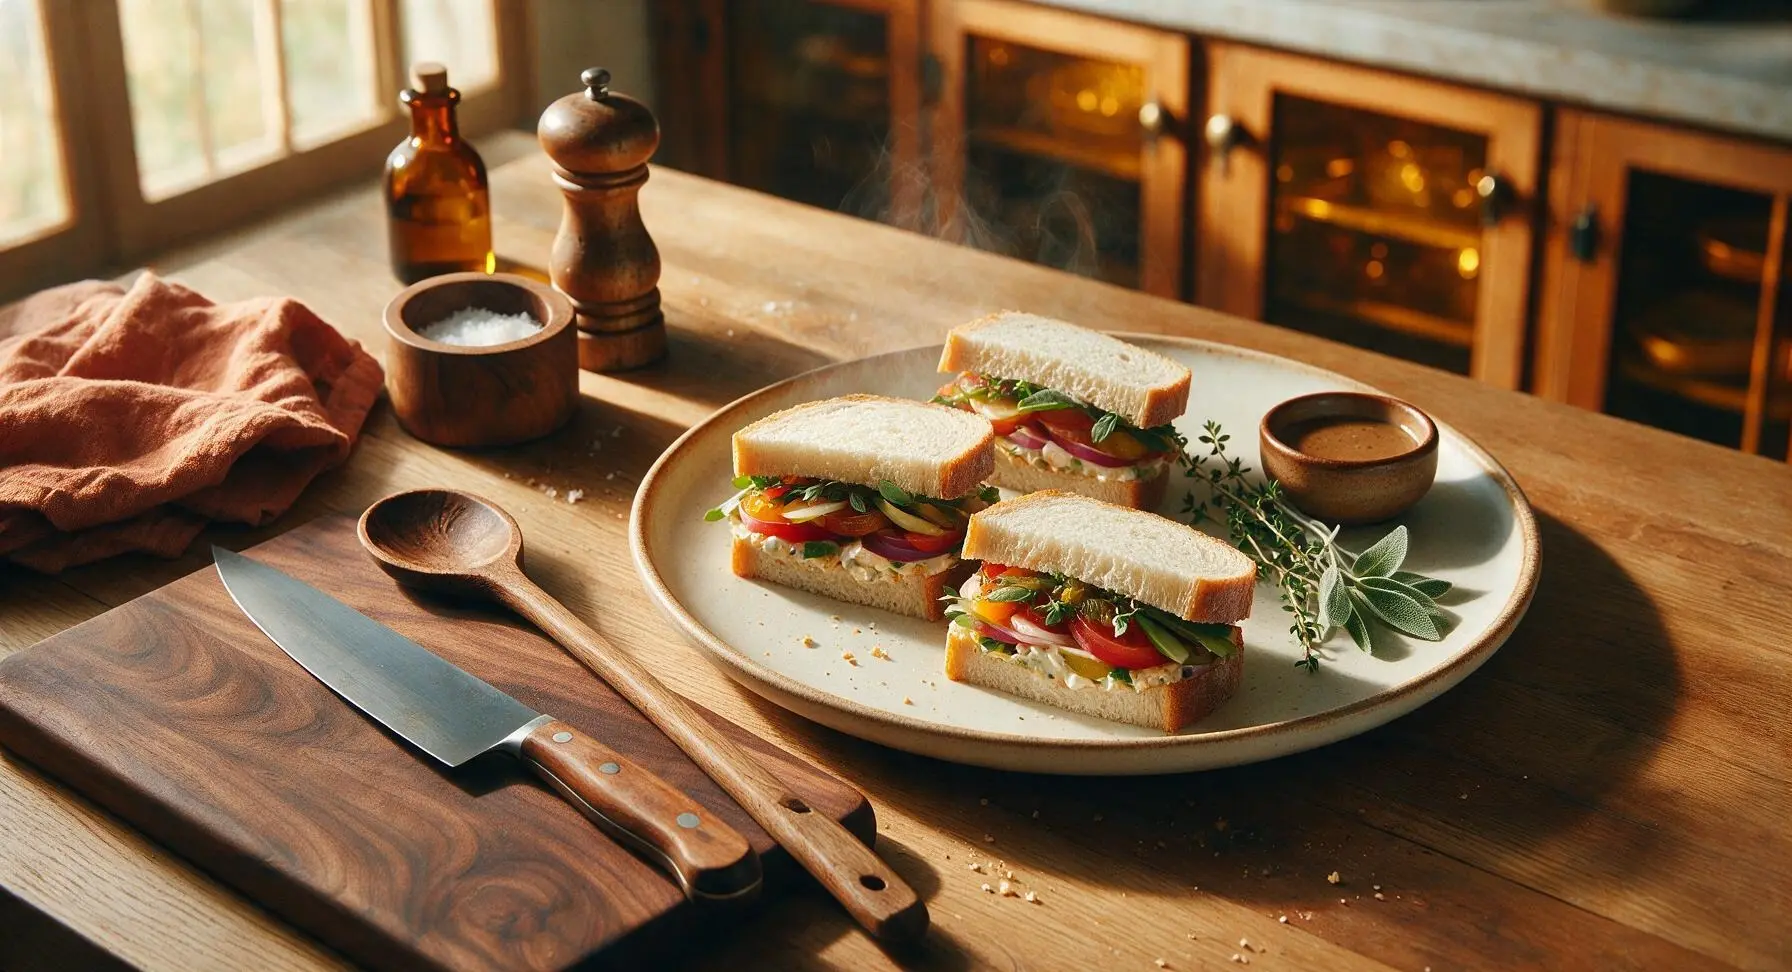
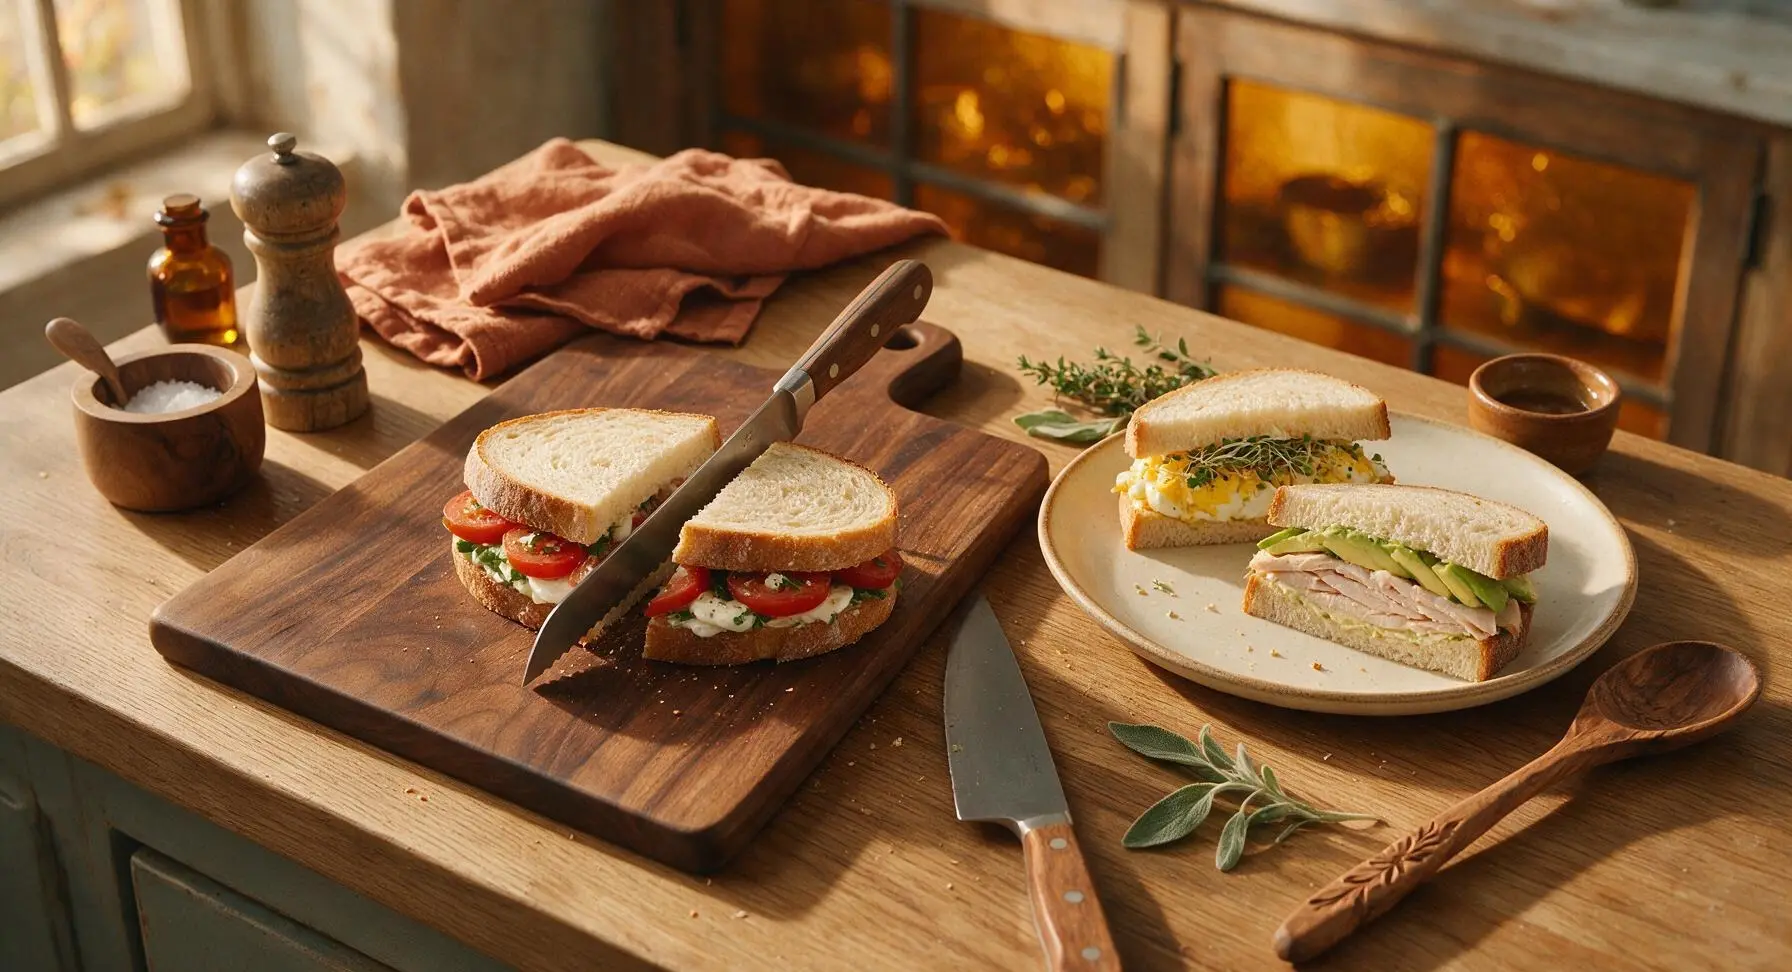
Use the serrated bread knife to cut each sandwich diagonally into two equal triangular halves, using a smooth sawing motion to avoid squishing fillings out. Wipe any oozed filling from the cutting board with the linen towel corner, then arrange four halves (one egg & cress, two turkey avocado, one caprese) on the matte cream ceramic dinner plate, angled to show their layered cross-sections. Serve immediately.
Step 7
step7:Cut and Plate Sandwiches

Tips

1.Pat tomato slices and washed greens completely dry with a towel before adding to sandwiches: excess moisture will seep into bread and create a soggy texture, even after just 10 minutes of assembly.
2.Spread mayonnaise or pesto all the way to the edges of every bread slice: this creates a waterproof barrier between wet fillings and bread, keeping slices soft but not mushy for up to 2 hours.
3.Press assembled sandwiches gently with your palm before cutting: this compresses layers slightly so fillings stay in place instead of sliding out when you take the first bite.

✨ You May Also Like

Dinner
🍜 United States

A festive, hearty spread of classic Swedish small plates, featuring cured fish, tender meatballs, cheese, and seasonal sides, perfect for holiday gatherings.

⏱️ 2 hoursDinner ★ 4.8
Dinner
🍜 United States

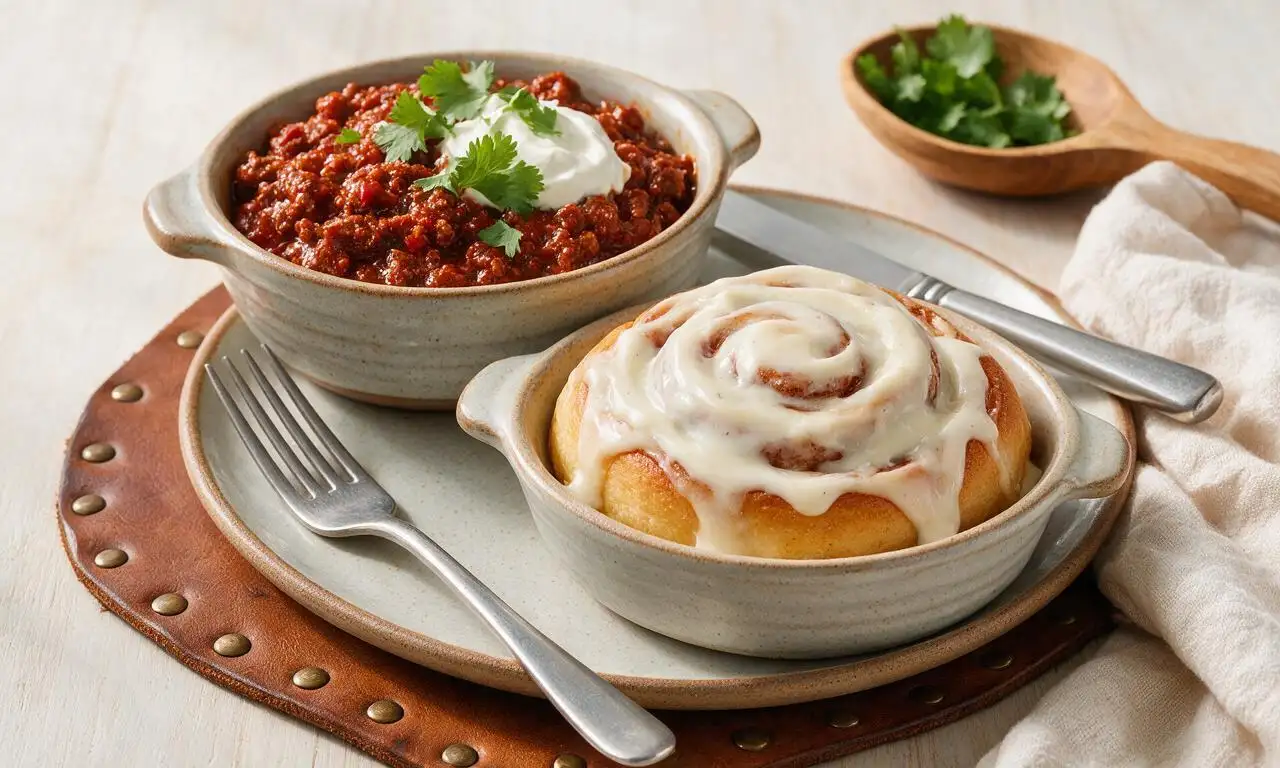
Iconic Midwestern comfort meal pairing rich, spiced beef chili with soft, frosted cinnamon rolls for the perfect sweet-savory cold-weather bite.

⏱️ 1 hour 45Dinner ★ 4.7
Dinner
🍜 Canada

A beloved sweet-savory pizza loaded with smoky ham, juicy pineapple, and gooey melted cheese on a crisp golden crust, perfect for casual shared meals.

⏱️ 25 minuteDinner ★ 4.9
Dinner
🍜 United States

Juicy herb-roasted turkey with savory sourdough stuffing and rich pan gravy, the iconic cozy holiday meal made for gathering loved ones around the table.

⏱️ 4 hours 3Dinner ★ 4.9
Dinner
🍜 Italy

Crispy chewy crust, tangy tomato sauce, gooey melted mozzarella, and spicy curled pepperoni: this takeout favorite is simple to make perfectly at home.

⏱️ 35 minuteDinner ★ 4.9
Dinner
🍜 Italy

Crispy, chewy crust loaded with colorful fresh veggies, melted mozzarella, and zesty tomato sauce: a satisfying, crowd-pleasing meatless meal.

⏱️ 35 minuteDinner ★ 4.8

quick sandwich ideas:Frequently Asked Questions

1.Do I truly need zero cooking appliances to make these three sandwiches? ▾
That’s right! You won’t touch an oven, stovetop, toaster, or microwave for these recipes. The only tools you’ll need are a clean cutting board, a butter knife, a small fork for mashing avocado, and a paper towel for patting ingredients dry—no heat required, which is ideal for sweltering summer weeknights when you don’t want to warm up your kitchen.
2.Can I use all whole-grain or all white sandwich bread instead of a mix? ▾
Absolutely! The mixed bread recommendation is just to give you flexibility for different flavor and texture preferences across the three sandwiches. All whole-grain adds extra nutty fiber and heartiness, while all white gives a softer, milder base that pairs beautifully with every filling, so pick what your household likes best.
3.How do I keep these sandwiches from getting soggy if I pack them for work or picnic lunches? ▾
The key is to create a moisture barrier between wet fillings and bread. Spread a thin layer of mashed avocado on both inner sides of the bread slices before adding juicier ingredients, and pat watercress completely dry with a paper towel before layering. Skip extra high-moisture add-ins like sliced tomato if packing them more than 4 hours ahead.
4.I don’t have watercress on hand—what’s a good no-cook swap? ▾
Watercress adds a bright, peppery crunch, but you can easily swap it for other tender, no-cook greens without extra prep. Baby arugula is the closest flavor match, but thinly sliced baby spinach, shredded romaine heart leaves, or mild microgreens work perfectly, as long as you pat them fully dry before layering to avoid sogginess.
5.How do I stop cut avocado from browning if I prep ingredients a little ahead of time? ▾
Lightly brush the exposed cut surface of leftover avocado with a tiny bit of lemon or lime juice, press a piece of plastic wrap directly against the flesh so no air touches it, and store it in the fridge for up to 24 hours. For mashed avocado used in sandwiches, stir in a pinch of citrus juice right before spreading to slow browning.
6.Can I make these sandwiches ahead of time for meal prep? ▾
These are best assembled right before eating for the freshest texture, but you can prep individual components up to 3 days ahead to keep assembly under 10 minutes. Keep hard-boiled eggs peeled and sealed in an airtight container, deli turkey sealed, greens washed and dried, and avocados stored whole until you’re ready to build.
7.Are these sandwiches a good fit for kids’ lunches? ▾
Definitely! You can tweak the fillings to match kid preferences: mash hard-boiled egg with a little mayo for a familiar egg salad texture, swap peppery watercress for mild spinach, and cut sandwiches into fun diagonal halves or bite-sized pinwheels. The mild, fresh flavors are usually a hit even with picky eaters.
8.What if I don’t eat deli meat—can I swap the roast turkey for something else? ▾
Absolutely! The deli roast turkey adds a savory, protein-packed element, but you can swap it for thin-sliced deli ham, smoked salmon, hummus for a vegan option, thin-sliced marinated tofu, or extra slices of hard-boiled egg for a vegetarian twist. Just stick to pre-cooked, no-prep fillings to keep the 10-minute timeline.
9.I don’t have pre-cooked hard-boiled eggs—can I use regular eggs without messing up the no-cook flow? ▾
If you don’t have store-bought pre-cooked hard-boiled eggs, you can boil a batch on Sunday for the week ahead to keep assembly fast on busy nights, but to stay true to the 10-minute no-cook promise, pick up pre-peeled hard-boiled eggs from the grocery store deli—they’re affordable and cut out all prep work.
10.What quick, no-cook sides pair well with these sandwiches for a full meal? ▾
Stick to no-cook sides to keep your total meal prep under 15 minutes: a handful of crunchy potato chips, pre-washed baby carrot sticks with hummus, fresh berry cups, dill pickle spears, or pre-cut coleslaw mix tossed with a splash of pre-made vinaigrette. All require zero cooking and complement the bright sandwich flavors well.
11.How firm should my avocado be for these sandwiches? ▾
Look for ripe avocados that give slightly when you press the skin gently with your thumb, but don’t leave deep indentations. Overly soft avocados will make bread soggy and have a mushy, off texture, while rock-hard unripe avocados won’t mash smoothly and taste bitter, so aim for that perfectly tender, creamy ripe stage.
12.Can I toast the bread if I want a crunchier texture, or does that defeat the no-cook purpose? ▾
Toasting is totally optional if you don’t mind pulling out your toaster for 2 minutes! The recipe is designed for no heat at all, but a light toast adds extra crunch and creates an even sturdier moisture barrier to prevent sogginess. It won’t add significant prep time, so go for it if you prefer toasted sandwich bread.
13.How do I actually hit the 10-minute total prep time for all three sandwiches? ▾
Lay out all your ingredients on the counter first before you start assembling: line up your bread slices, open all ingredient packages, and pat greens dry first. Build all three sandwiches assembly-line style instead of making one start to finish, and you’ll easily wrap up all three in 10 minutes flat with no rushed prep.
14.Can I adjust these recipes for gluten-free diets? ▾
Absolutely! The only swap you’ll need is your favorite pre-sliced gluten-free sandwich bread in place of the regular white and whole-grain loaves. All the core fillings—pre-cooked hard-boiled eggs, watercress, deli roast turkey, and ripe avocado—are naturally gluten-free, just double-check deli turkey for hidden gluten additives if you’re highly sensitive.
15.How should I layer the fillings to keep the sandwiches from falling apart when I eat them? ▾
Start with a thin spread of mashed avocado on both bread slices to act as “glue,” then layer sturdier ingredients like turkey and sliced hard-boiled egg next, top with light, delicate watercress in the middle, and press the top slice of bread down gently. This structure keeps fillings from sliding out for a neat, easy-to-eat sandwich.
16.Can I add extra spreads like mayo or mustard to these sandwiches? ▾
Of course! The base recipes are designed to be bright and simple, but you can slather on a thin layer of mayo, Dijon mustard, hot honey, store-bought pesto, or hummus to match your taste preferences. Just stick to thin layers to avoid making the bread soggy, and use pre-made spreads to keep prep under 10 minutes.
17.How many people do these three sandwiches serve? ▾
The three sandwich recipes make 3 full-sized sandwiches, which serves 2 to 3 people depending on appetite: two hungry adults can split them with a side, or they work as individual light servings for 3 people for a quick summer dinner. You can easily double or triple quantities for larger groups using the same assembly-line method.
18.Is it safe to leave these sandwiches out at room temperature for a summer potluck? ▾
Since these sandwiches contain perishable ingredients like hard-boiled eggs, deli turkey, and avocado, don’t leave them out at room temperature for more than 2 hours total—and cut that to 1 hour if outdoor temperatures are above 90°F. Keep them stored in a cooler with ice packs until you’re ready to serve to avoid food safety risks.
19.What’s the best way to store leftover assembled sandwiches if I make too many? ▾
Assembled leftover sandwiches will stay fresh in the fridge for up to 24 hours if wrapped tightly in plastic wrap or stored in an airtight container. Note that avocado may darken slightly and watercress will lose a little crunch over time, so for the best texture, I recommend storing fillings separately and assembling fresh when possible.

Comments (5)

2 hours ago

OMG these are such a game changer for busy school mornings! I threw together the turkey avocado one this morning before rushing the kids out the door and none of them complained — that’s basically a miracle in my house. No cook, 10 minutes flat, zero mess? My kids even asked if we can have them for after-school snacks too, and I’m already planning to make the ham and cheese variant for quick family dinners on nights when soccer practice runs late. I’m already adding all the ingredients to my weekly grocery list. SO good!

3 days ago

Perfect for day hike meal prep! I made all three variants last night to pack for our trail trip today, no soggy bread even after sitting in the cooler for a few hours. The chickpea salad one is my personal favorite, super flavorful without being heavy. Way better than squished granola bars mid-hike. Already told my whole hiking group about them for our next outing.

2 days ago

How’d the chickpea salad hold up in the heat? I’m doing a 6 mile hike this weekend in 90 degree weather and don’t want anything that’ll go bad fast!

2 days ago

It held up great! I kept it in the insulated part of my pack with an ice pack and it was still totally fresh when we stopped for lunch 4 hours in. No weird mushy texture at all!

yesterday

I made the caprese variant for my work potluck last week and people were begging me for the recipe! It looks fancy but takes literally no time at all, I didn’t even have to turn on my stove when I got home late from work the night before. Only note: I added a tiny drizzle of balsamic glaze on top and it was chef’s kiss. Even my picky boss went back for a second half!

2 hours ago

So glad the caprese sandwich was a hit at your potluck — even with your boss! The balsamic glaze addition sounds absolutely delicious, it’s such an easy upgrade that adds so much bright, tangy flavor. Thanks for sharing the tip!

5 minutes ago

Wait hold on, are any of these good for dorm rooms? My dorm doesn’t have a kitchen at all, no microwave even, so I’m always hunting for no-cook meals that don’t taste like sad instant noodles. Would love to know if these hold up with regular grocery store bread and pre-sliced veggies!

just now

Yes 100%! I lived in a dorm with zero kitchen access my whole freshman year and made these constantly. Grab pre-shredded carrots, pre-sliced cheese, and those little single-serve hummus cups for the veggie one and you don’t even need a cutting board. Super easy, way cheaper than eating at the dining hall every meal!

1 week ago

These are going straight into my weekly meal prep rotation! I work 12 hour shifts as a nurse so I never have energy to cook when I get home, and these are way cheaper than buying takeout every day. Quick question though — how well do these keep in the fridge for a few days? I don’t want soggy sandwiches halfway through the week when I’m counting on a quick, good meal between patients.

5 days ago

I’ve been making these for my ER shifts too! I pack the wet ingredients (like tomato slices, hummus) separately in tiny reusable containers and assemble right before I eat, no sogginess at all. Lasts 3-4 days in the fridge easy!

3 days ago

Great question! For best results storing these ahead for meal prep, you can spread a thin layer of cream cheese or softened butter on the bread slices to create a barrier against wet fillings — no cooking required, of course! As the other commenter mentioned, packing juicier ingredients like tomato slices separately also works perfectly to avoid sogginess. Hope that helps make your long shifts a little easier!