
Rusks
intro
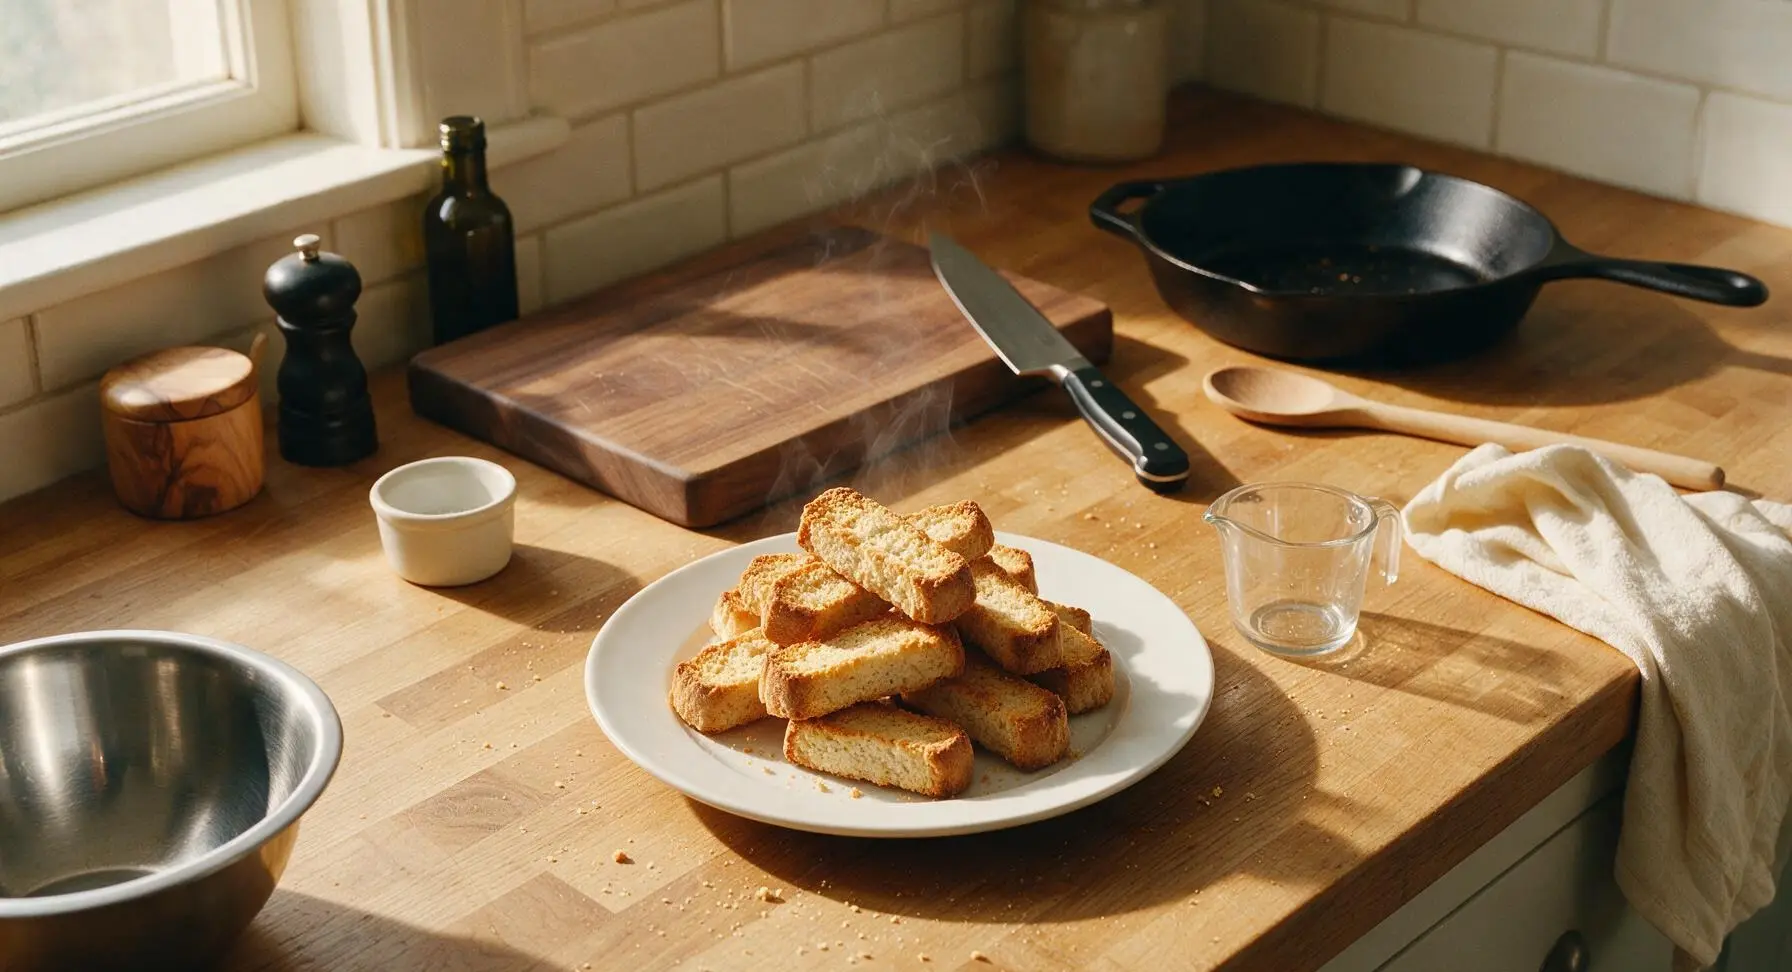
Crunchy, lightly sweet twice-baked British rusks, perfect for dipping into hot tea or coffee. Sturdy, long-lasting, and gently spiced, they are a cozy cold-weather breakfast staple.
Ingredients
Steps
Combine Dry Ingredients
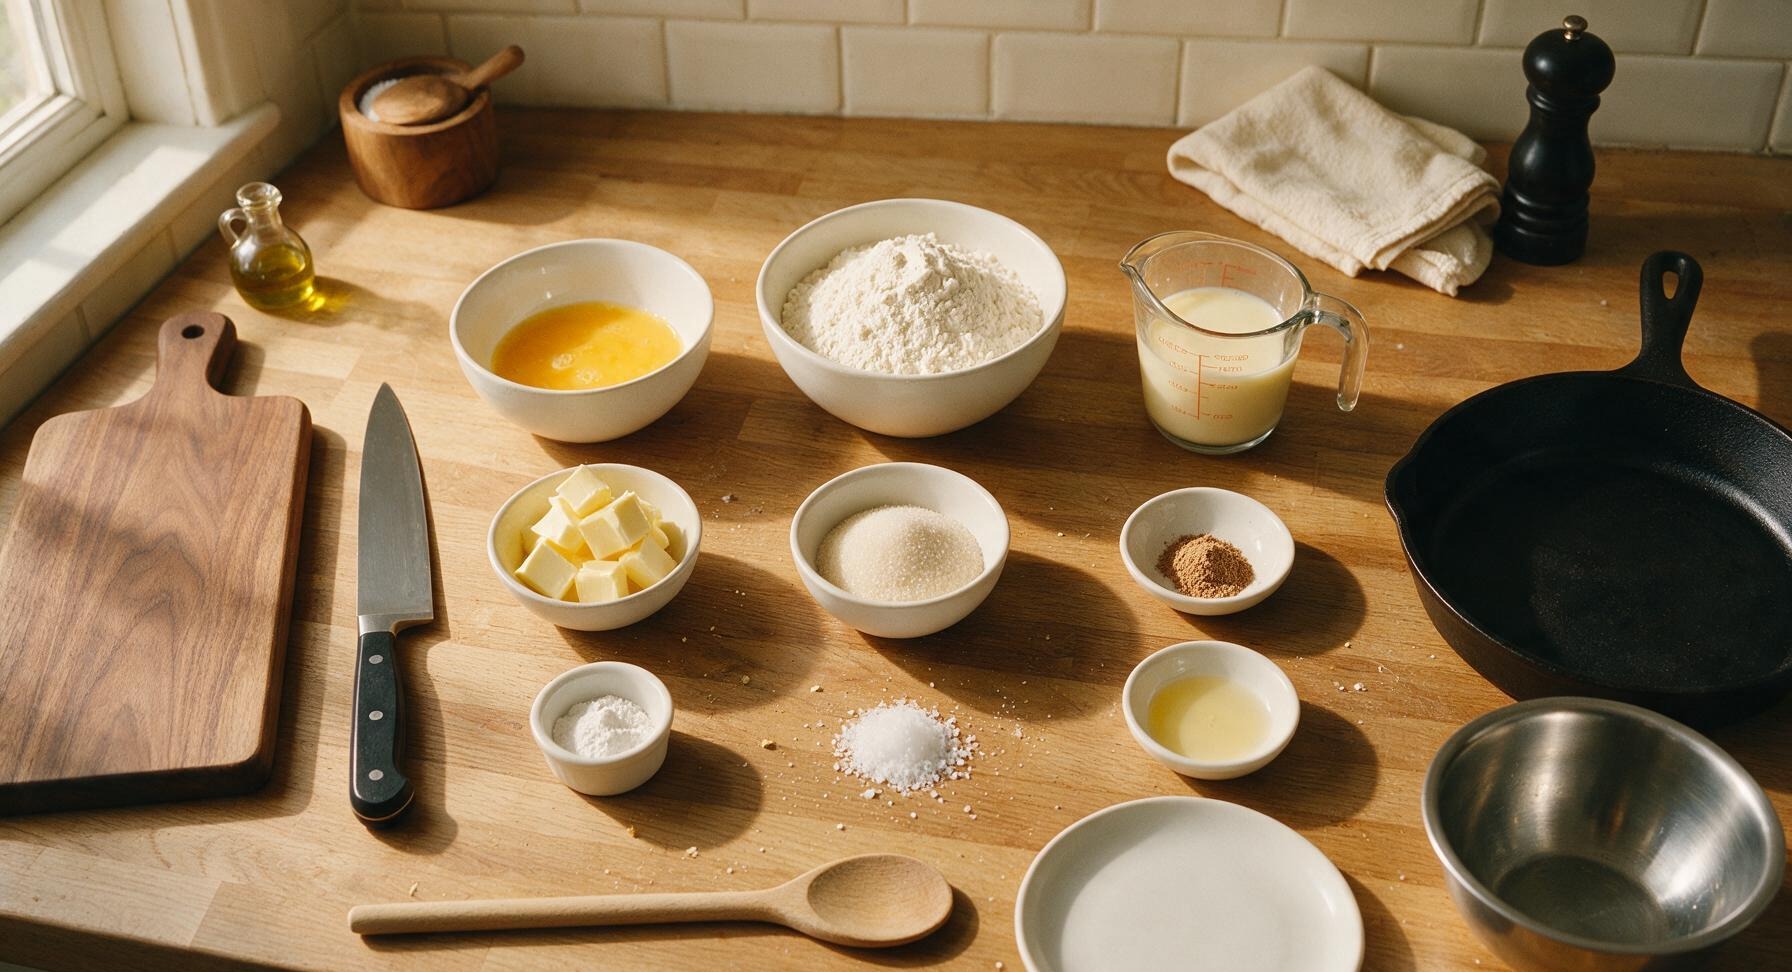
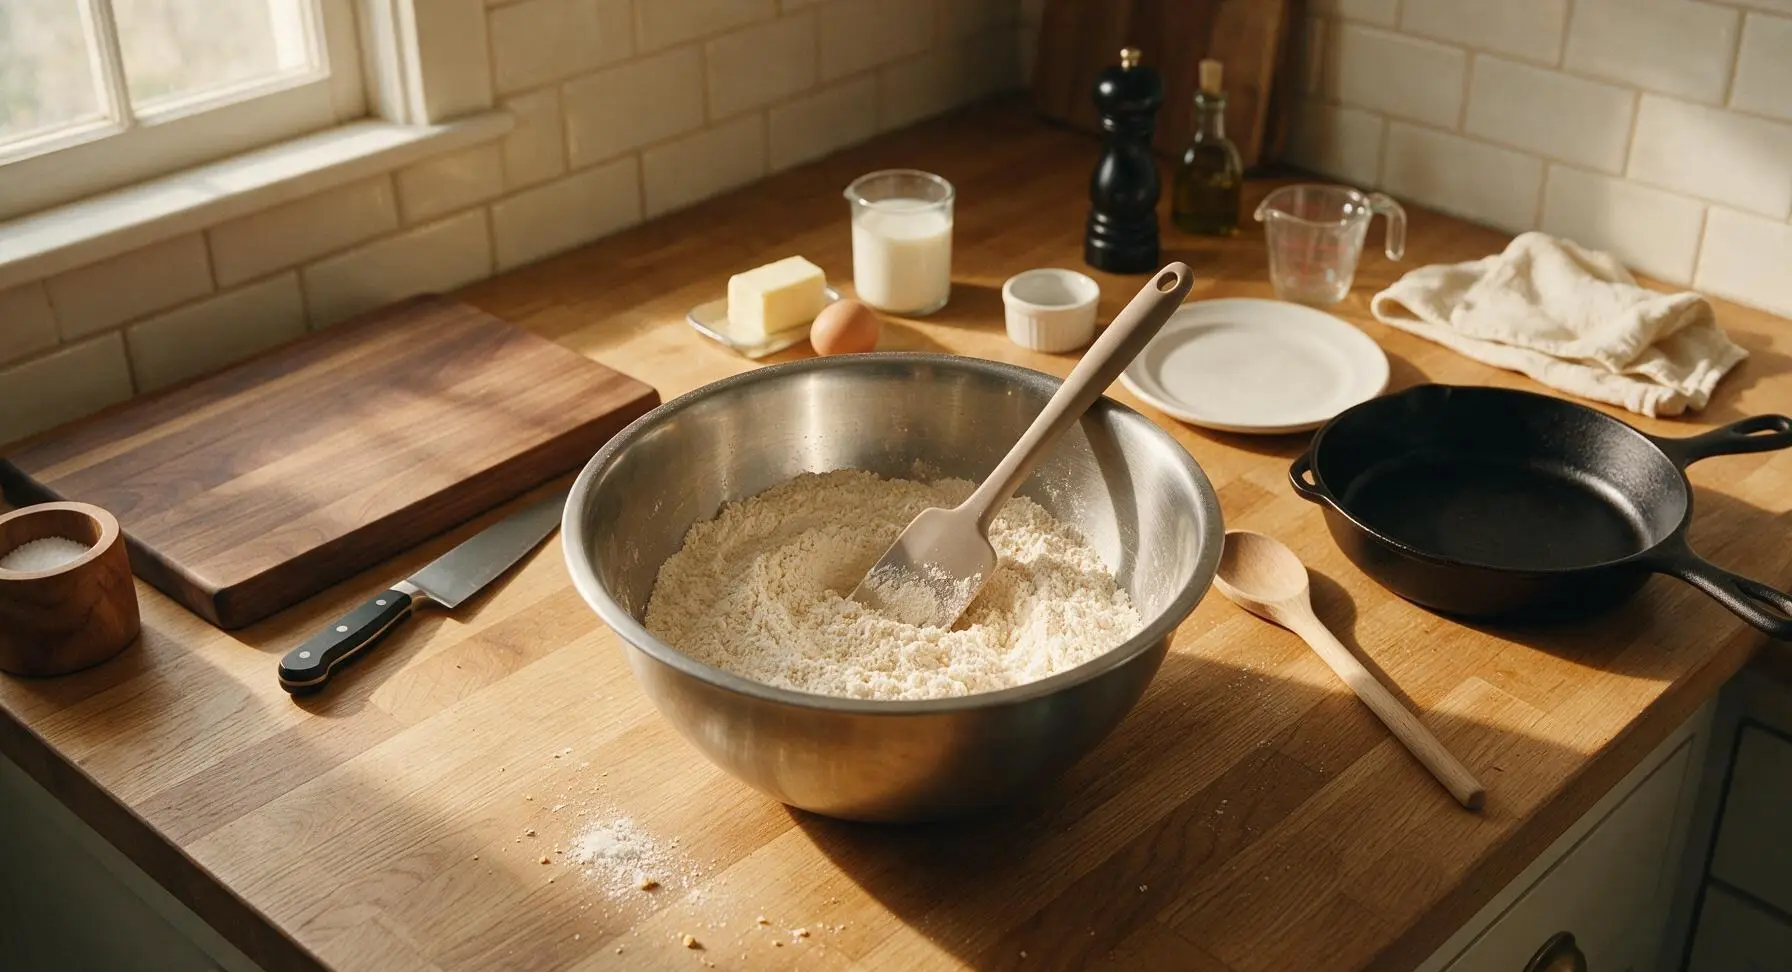
Place the large stainless steel mixing bowl on the center of the counter. Add 400g all-purpose flour, 2 tsp baking powder, 1/2 tsp fine sea salt, 1/4 tsp ground nutmeg, and 60g caster sugar to the bowl. Use the silicone spatula to stir for 30 seconds until all dry ingredients are evenly distributed, with no clumps of baking powder or nutmeg visible.
Cut in Cold Butter
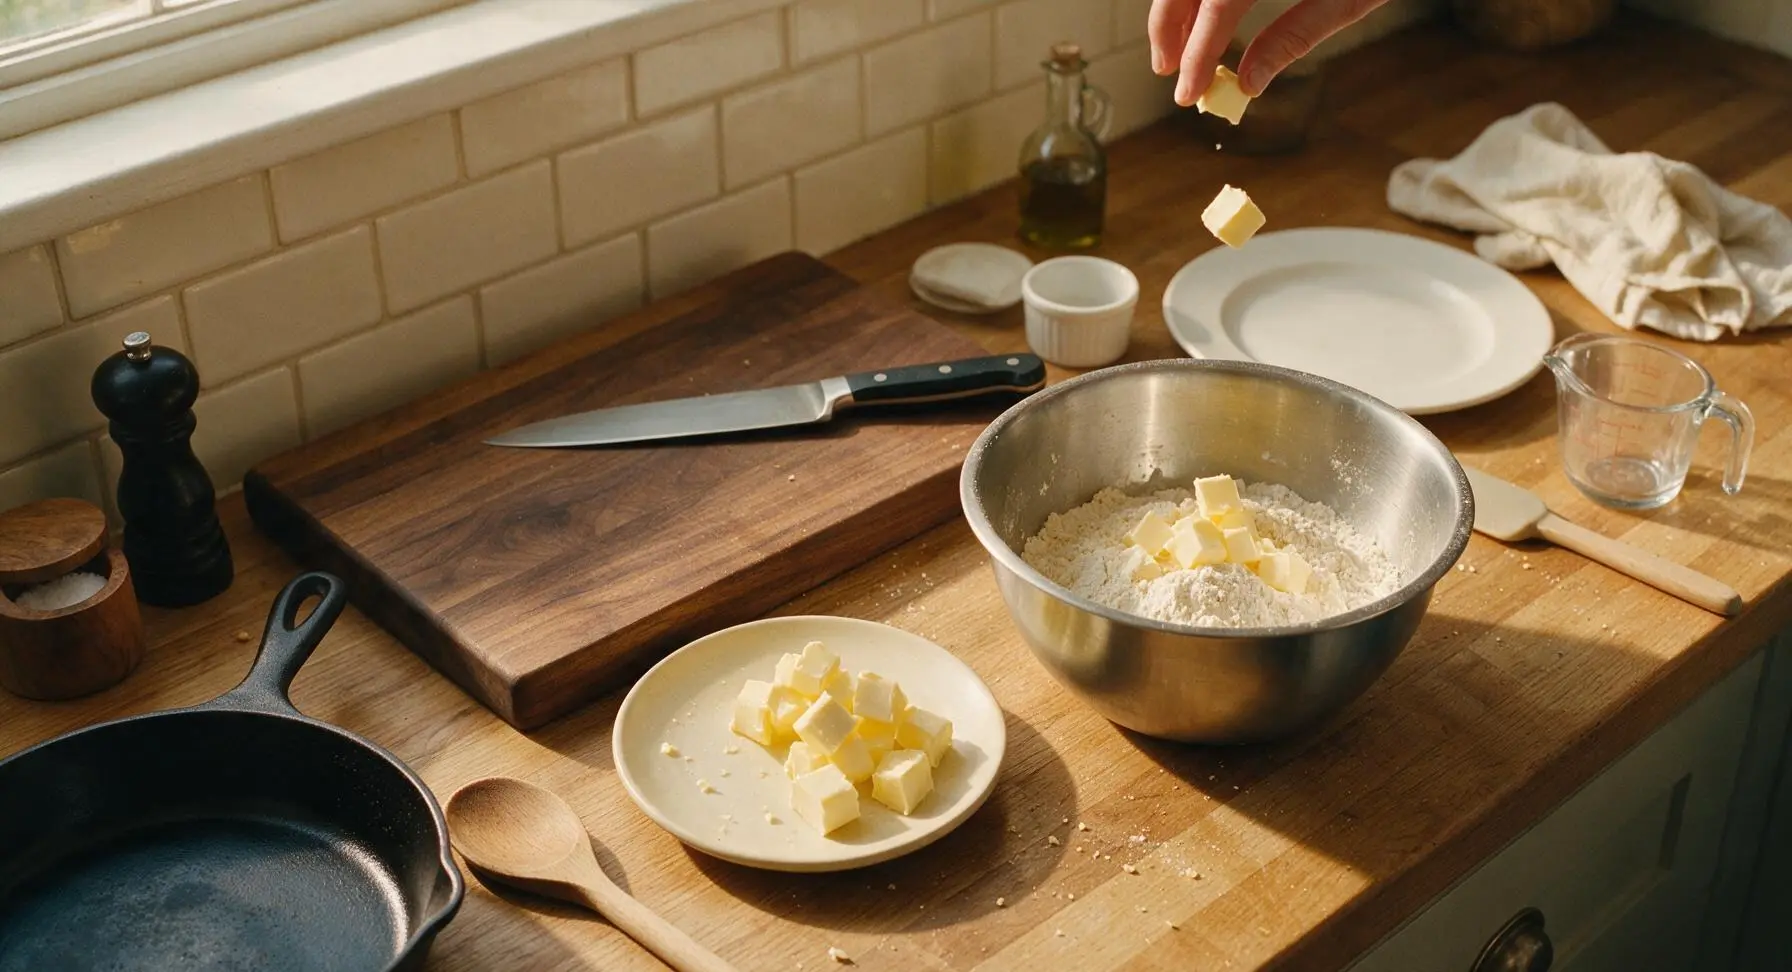
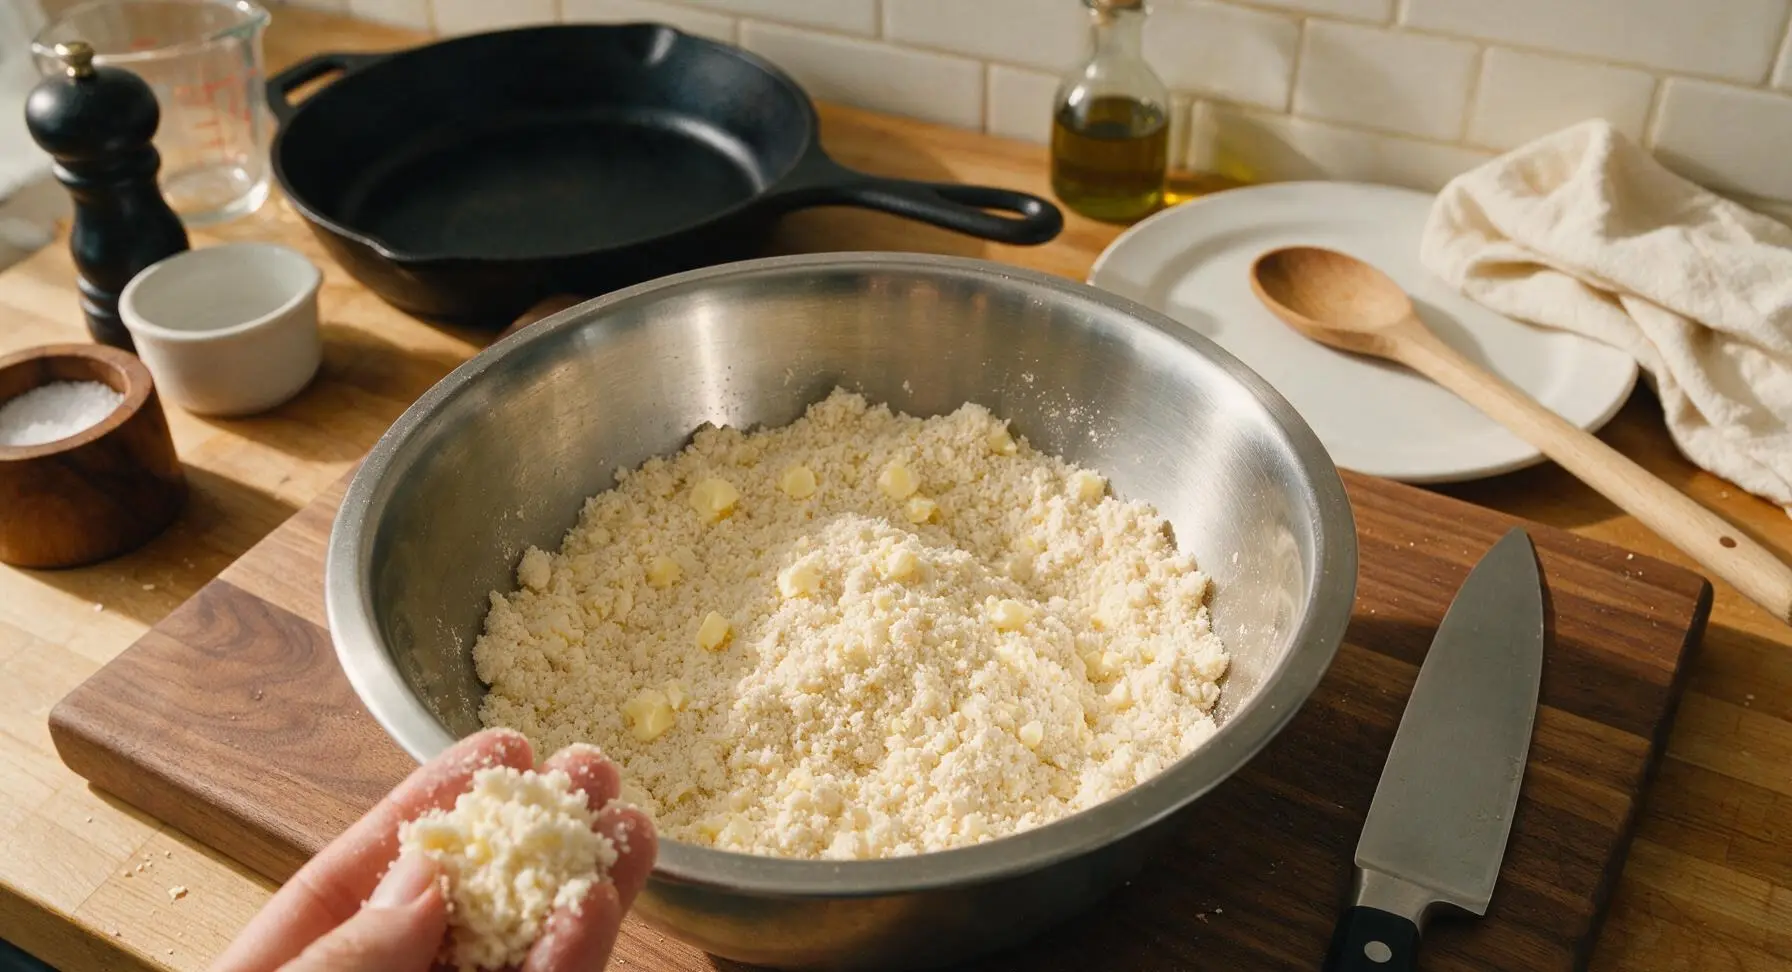
Add the 75g cold cubed unsalted butter to the dry ingredient mixture. Use your fingertips to rub the butter into the flour until the mixture resembles coarse, damp breadcrumbs, with no butter pieces larger than a pea remaining. This takes 3-4 minutes, and the mixture should feel cool to the touch, with no melted butter spots.
Add Wet Ingredients
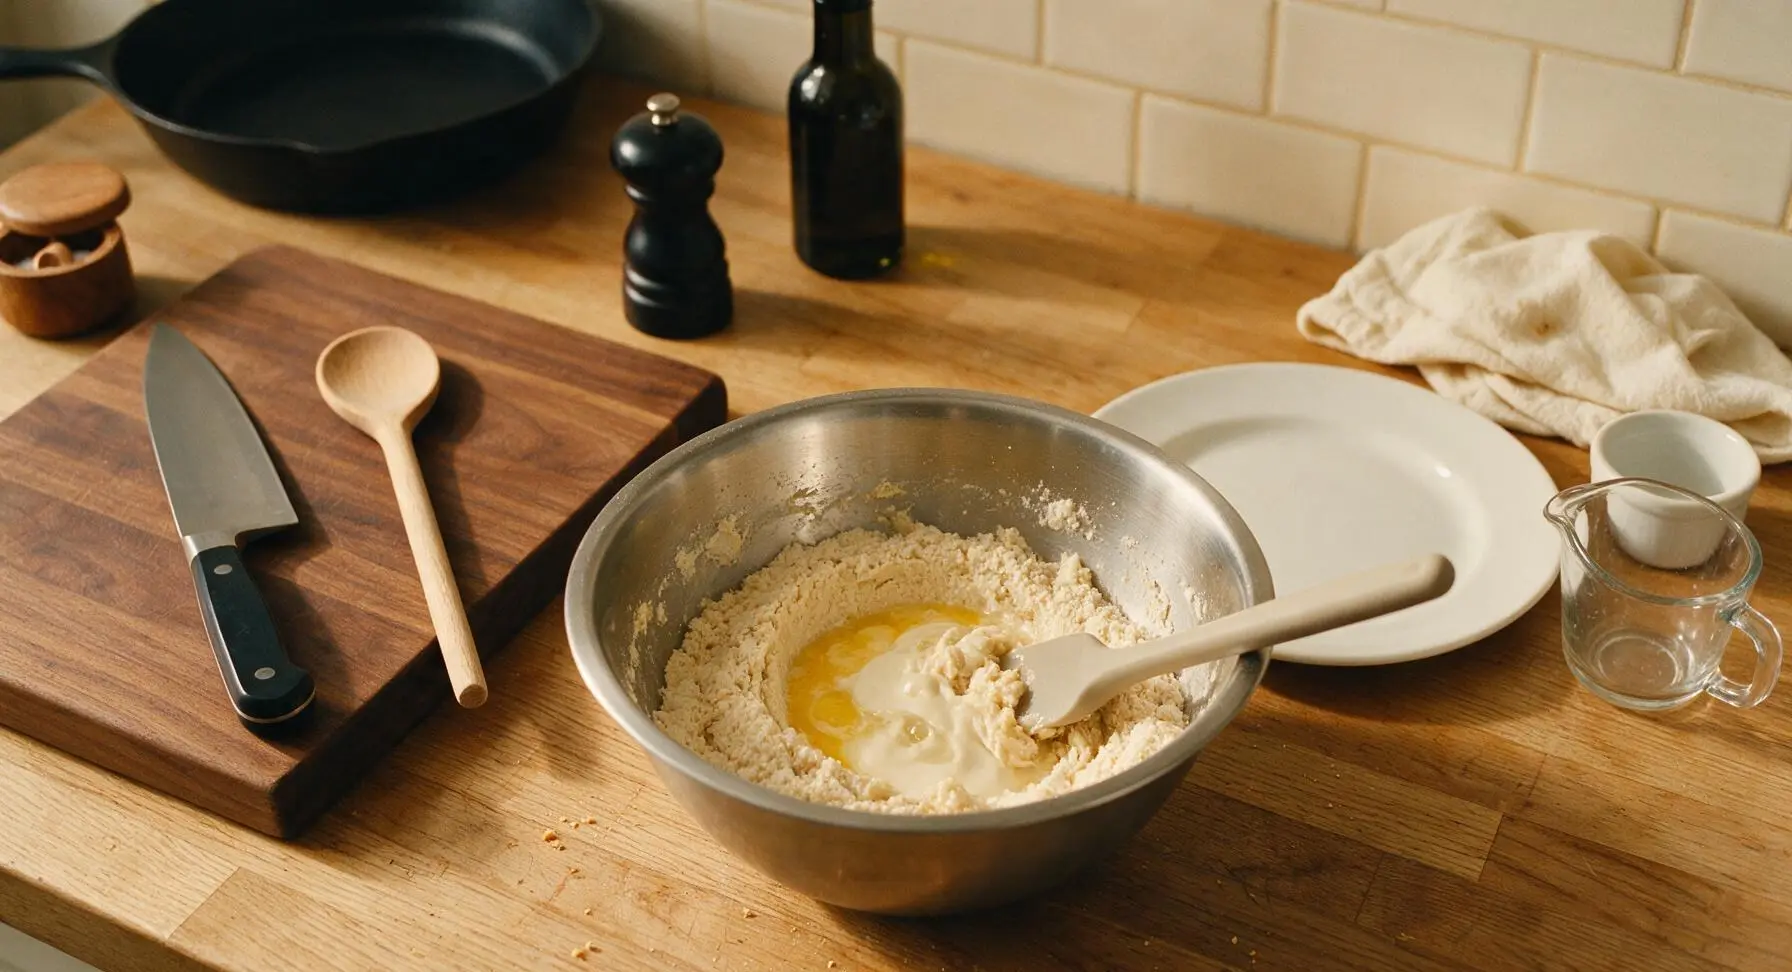
Make a well in the center of the flour-butter crumb mixture. Pour in the beaten egg, 250ml buttermilk, and 1 tsp vanilla extract. Use the silicone spatula to gently fold the ingredients together just until a shaggy, sticky dough forms; do not overmix, as this will make rusks tough. Stop mixing as soon as no dry flour patches remain at the bottom of the bowl.
Prep Pan and First Bake
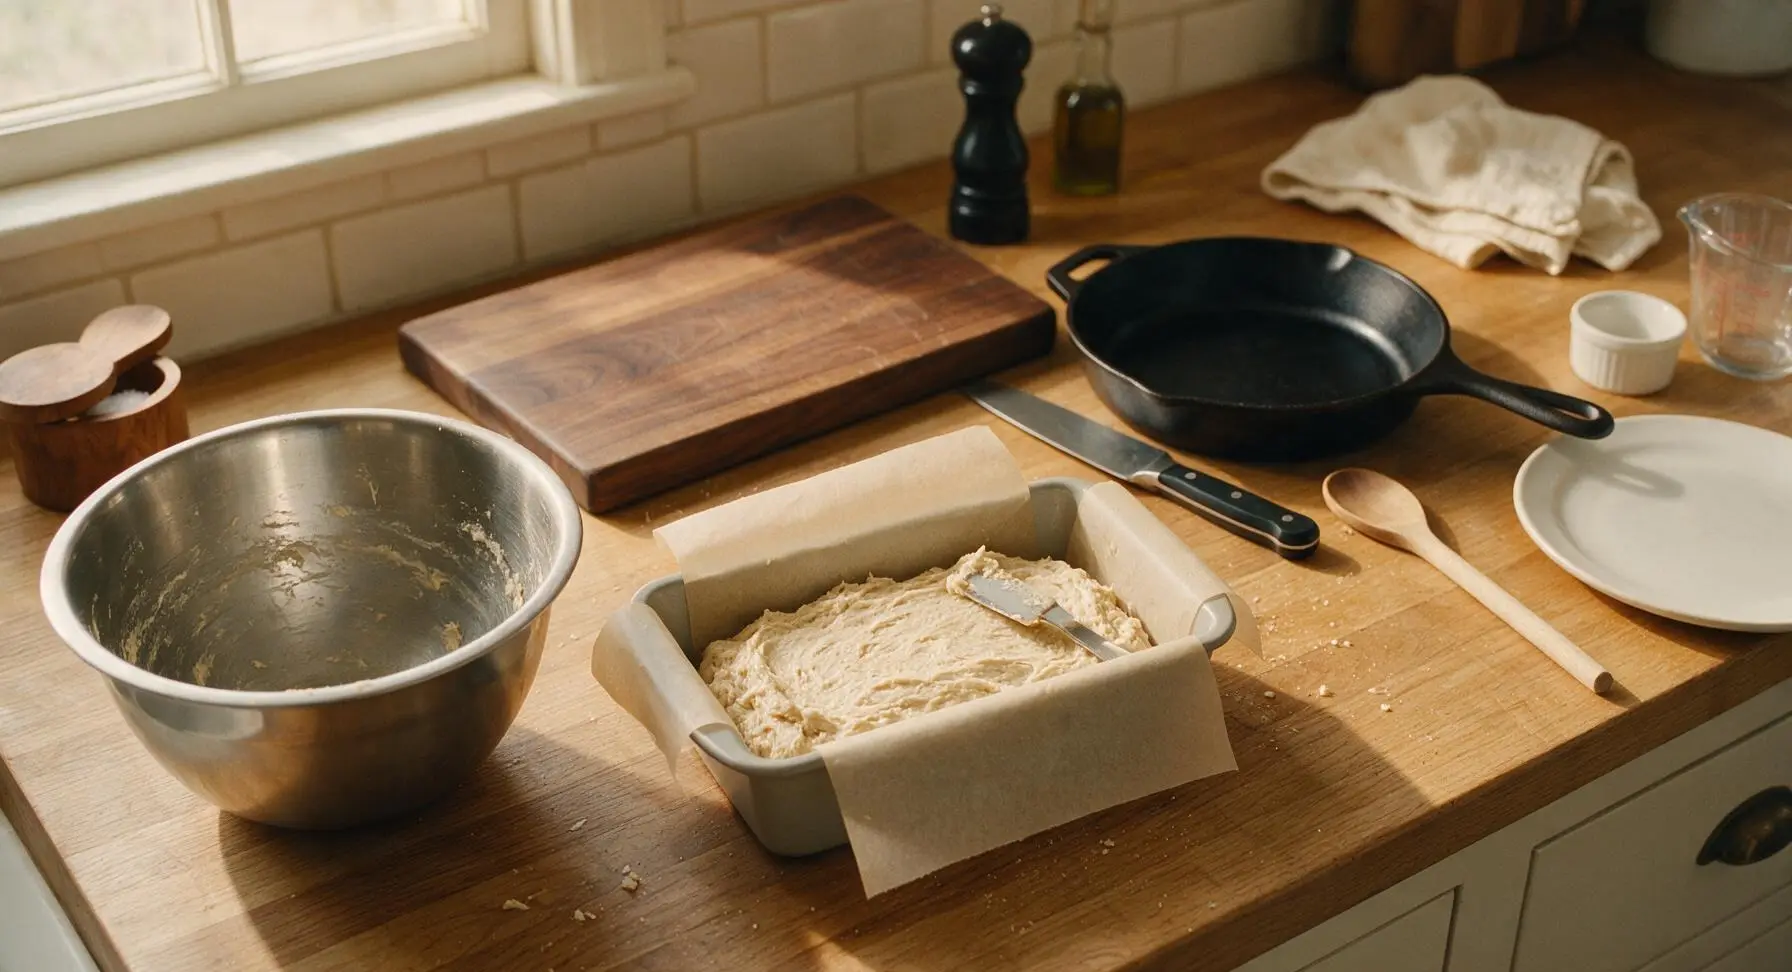
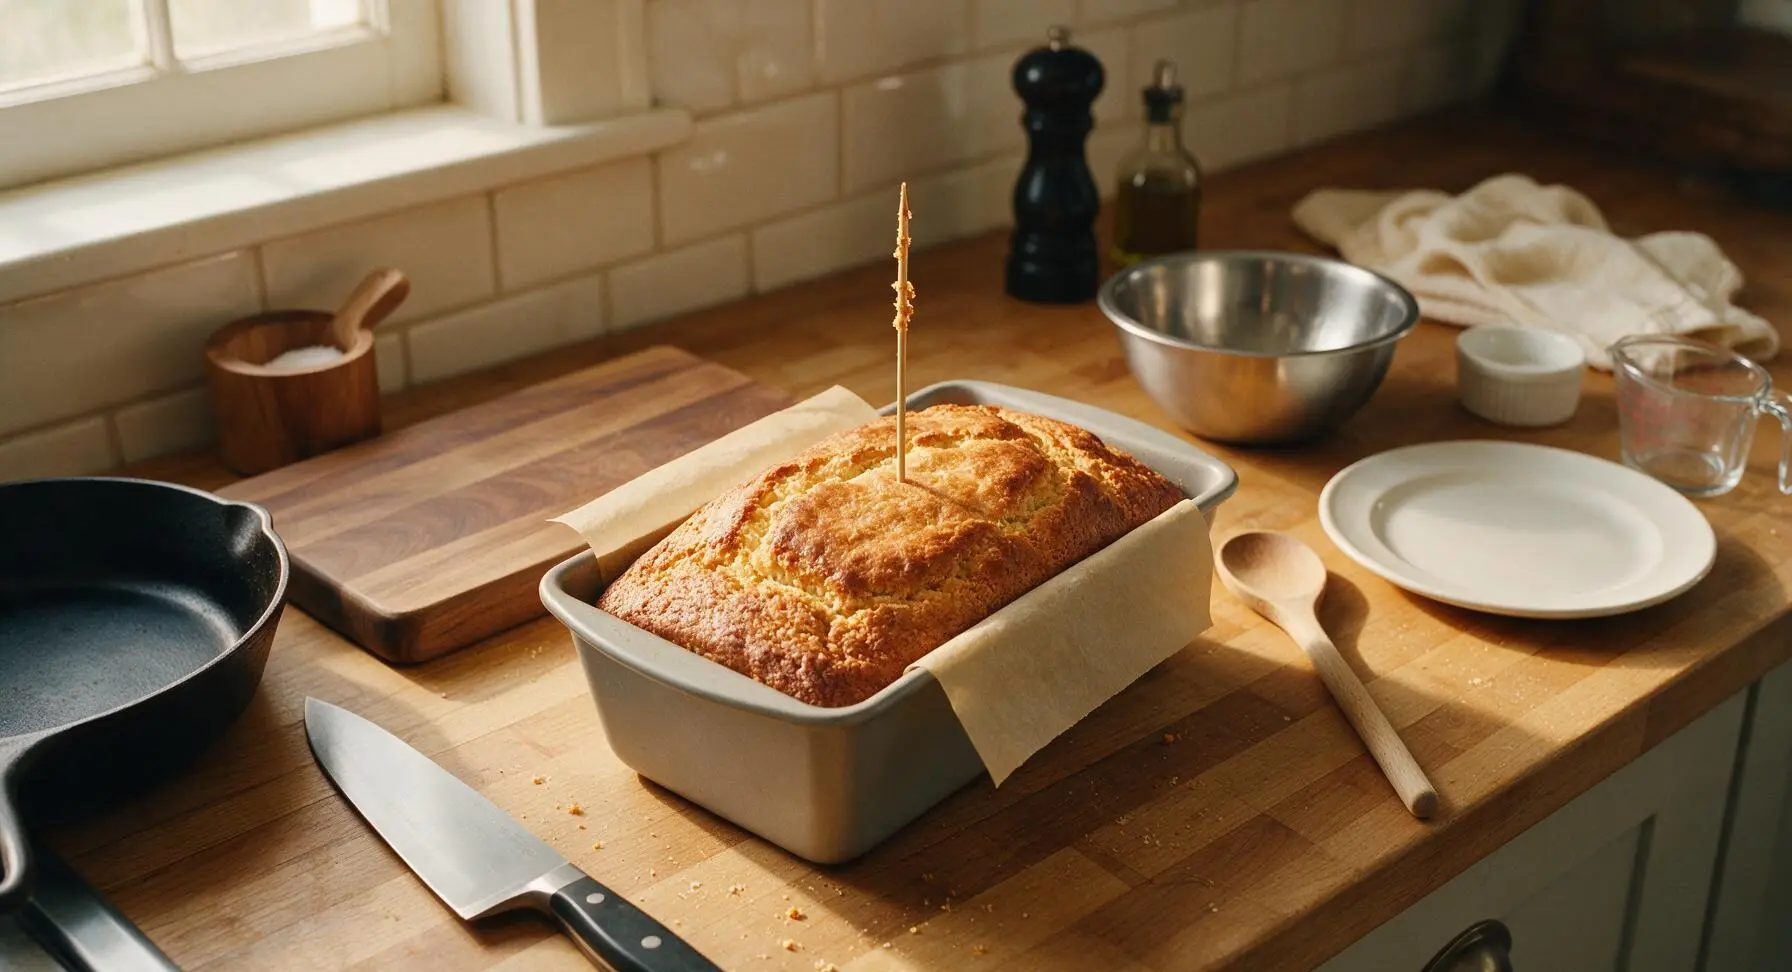
Preheat oven to 180C (350F). Line the 9x5 inch light gray loaf pan with the cut parchment paper, leaving 5cm overhang on the long sides for easy lifting. Scrape the shaggy dough into the prepared pan, using the small offset spatula to smooth the top into an even layer. Bake for 35-40 minutes, until the top is golden brown and a wooden toothpick inserted into the center comes out clean with no wet dough attached.
Cool and Slice Loaf
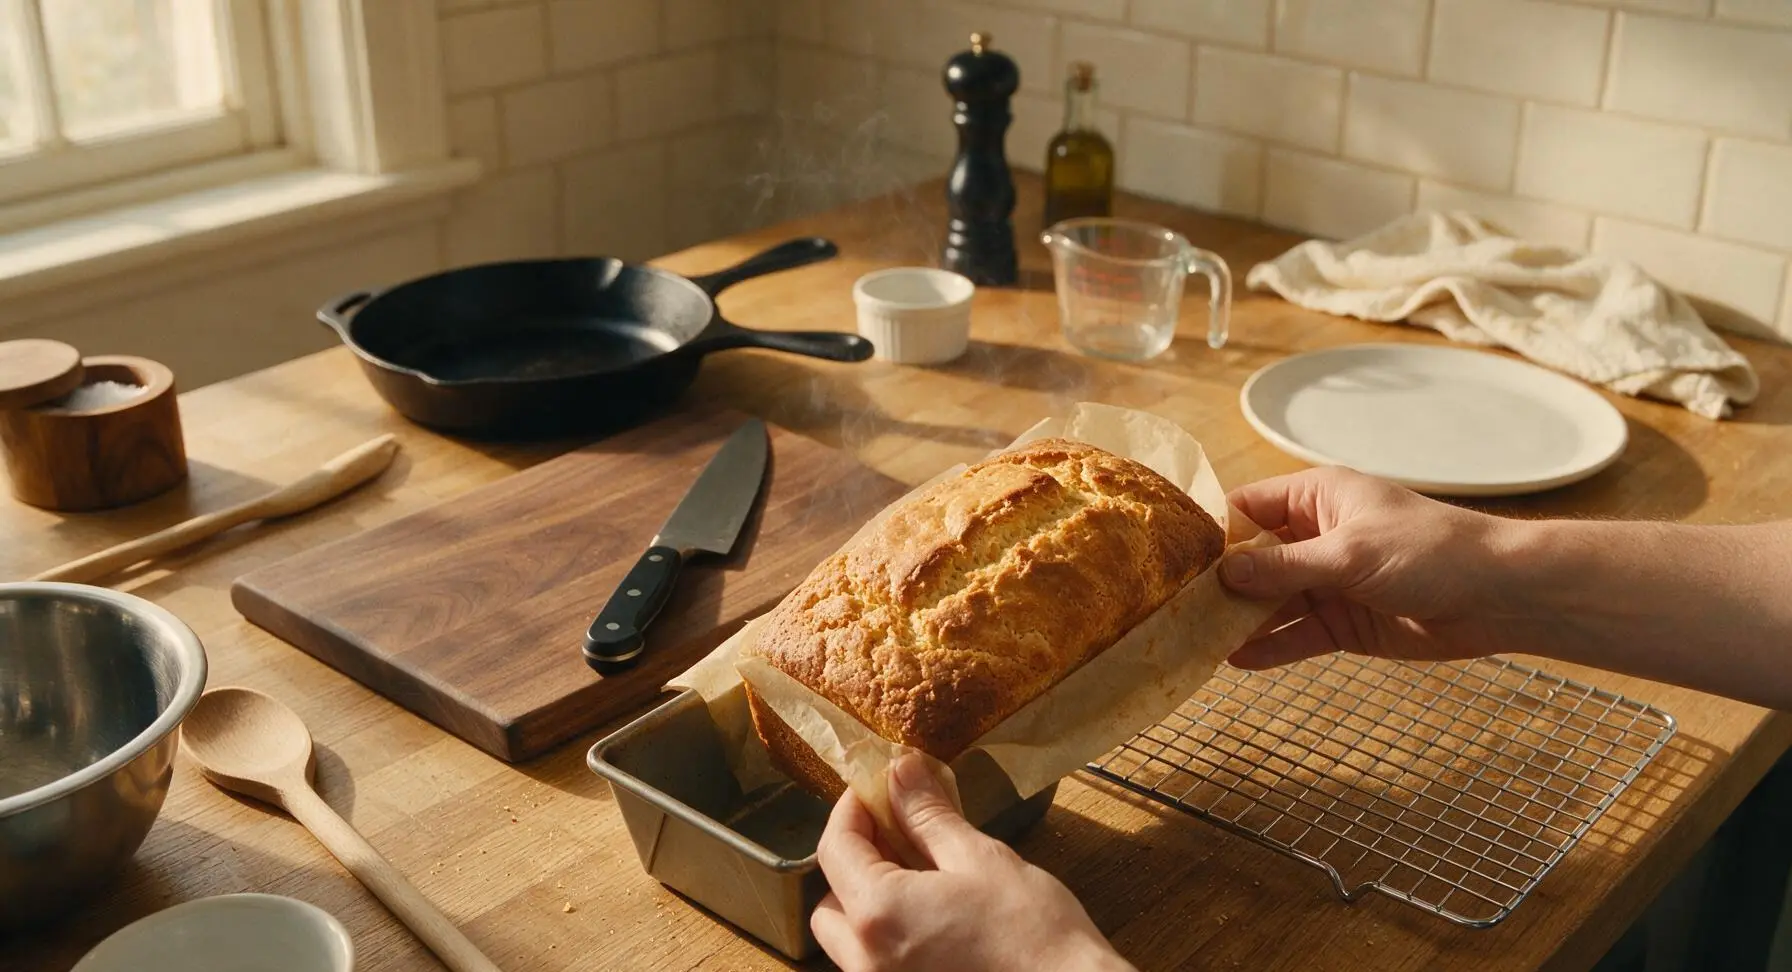
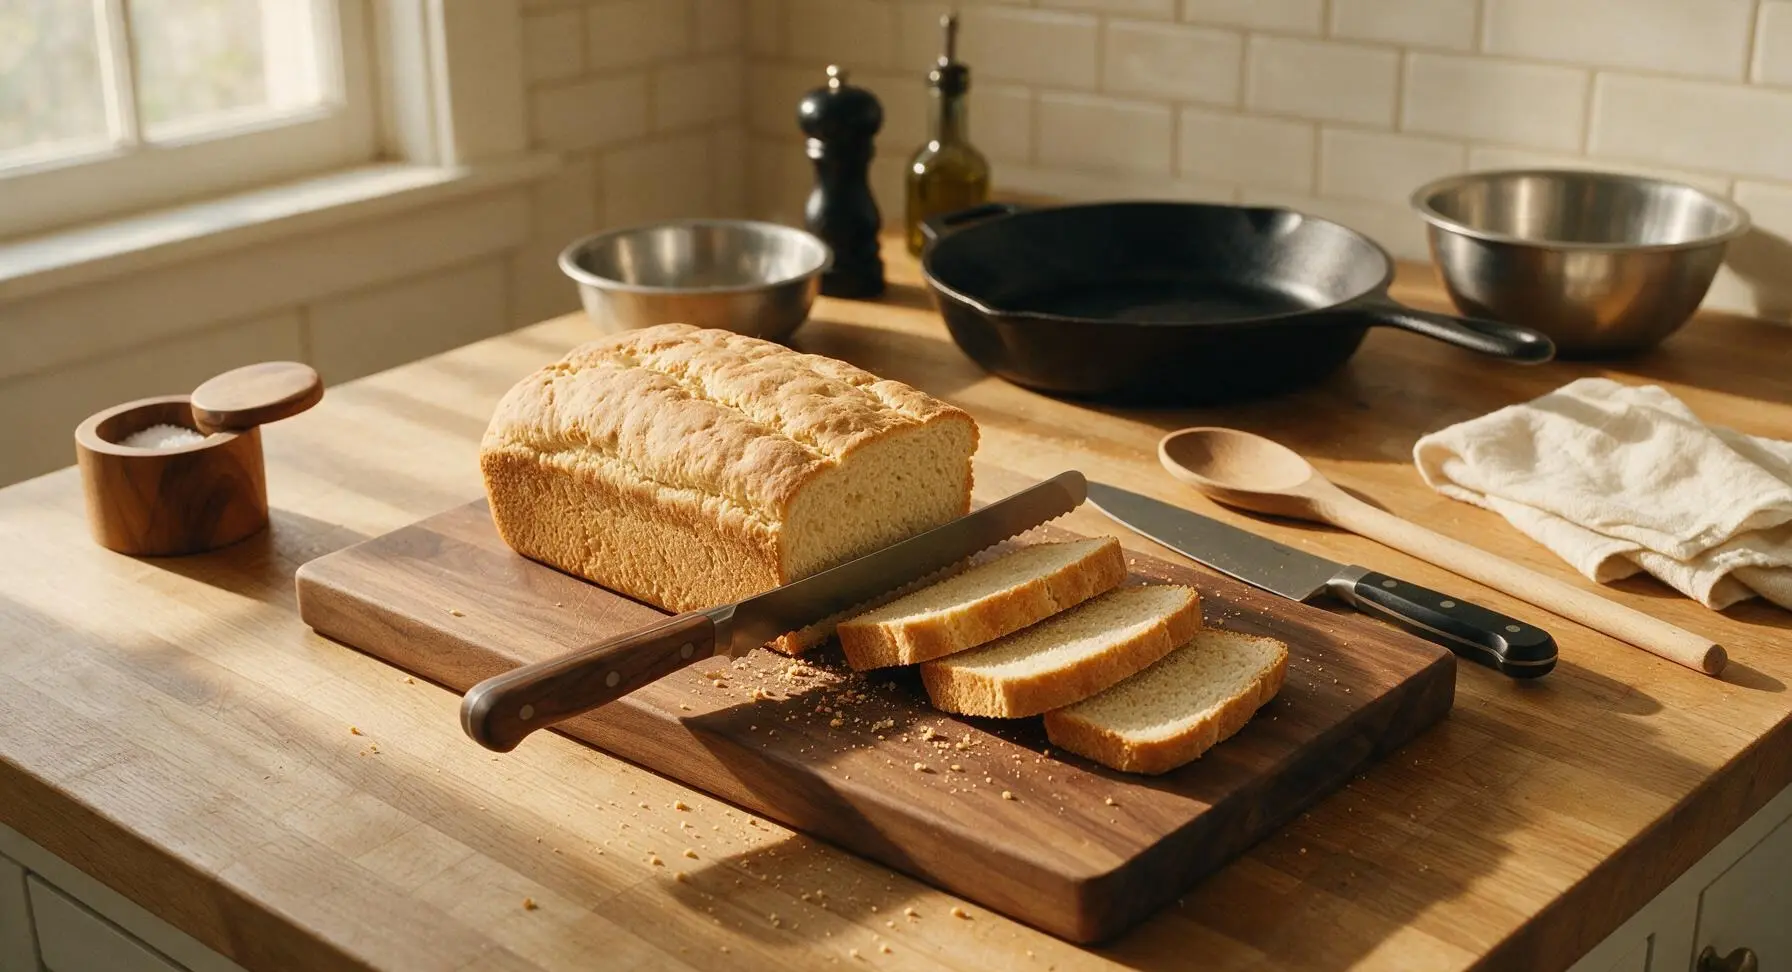
Use the parchment overhang to lift the baked loaf out of the pan immediately, and transfer it to the chrome wire cooling rack. Let it cool completely for 1 full hour, until it is room temperature all the way through (warm loaf will crumble when sliced). Once cool, place the loaf on the beech wood cutting board, and use the serrated bread knife to cut the loaf into 1.5cm thick slices, cutting straight across the loaf to make uniform rectangular rusks.
Twice-Bake to Dry
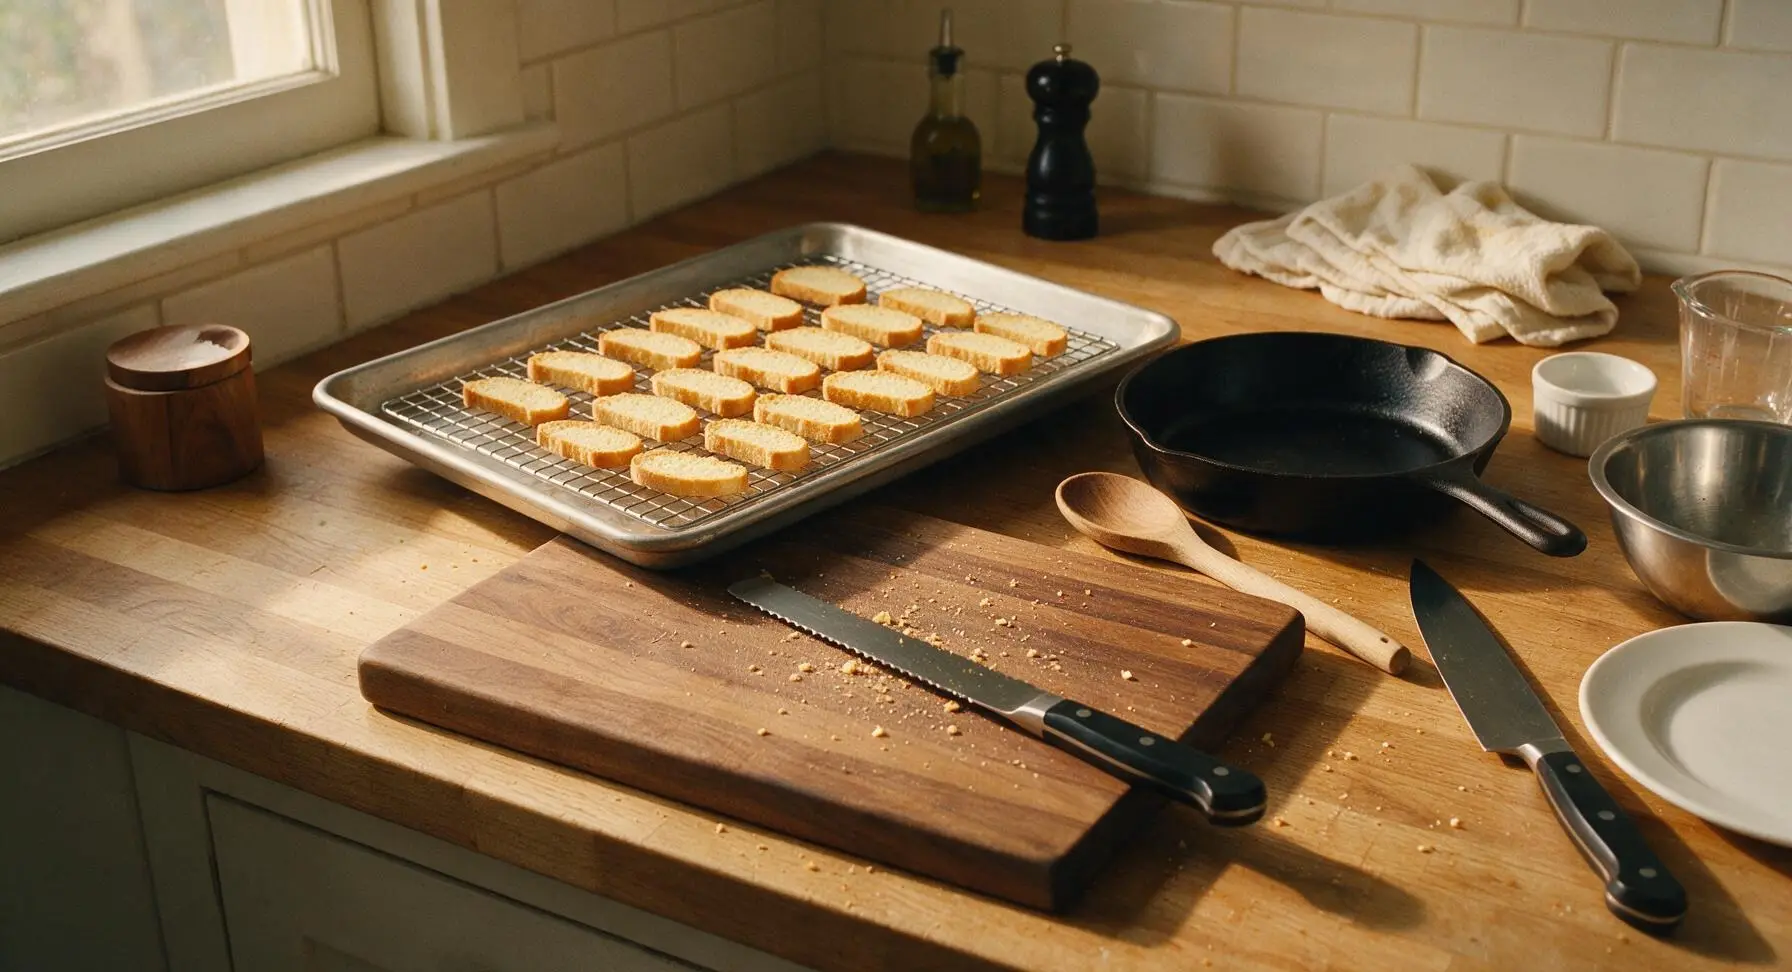
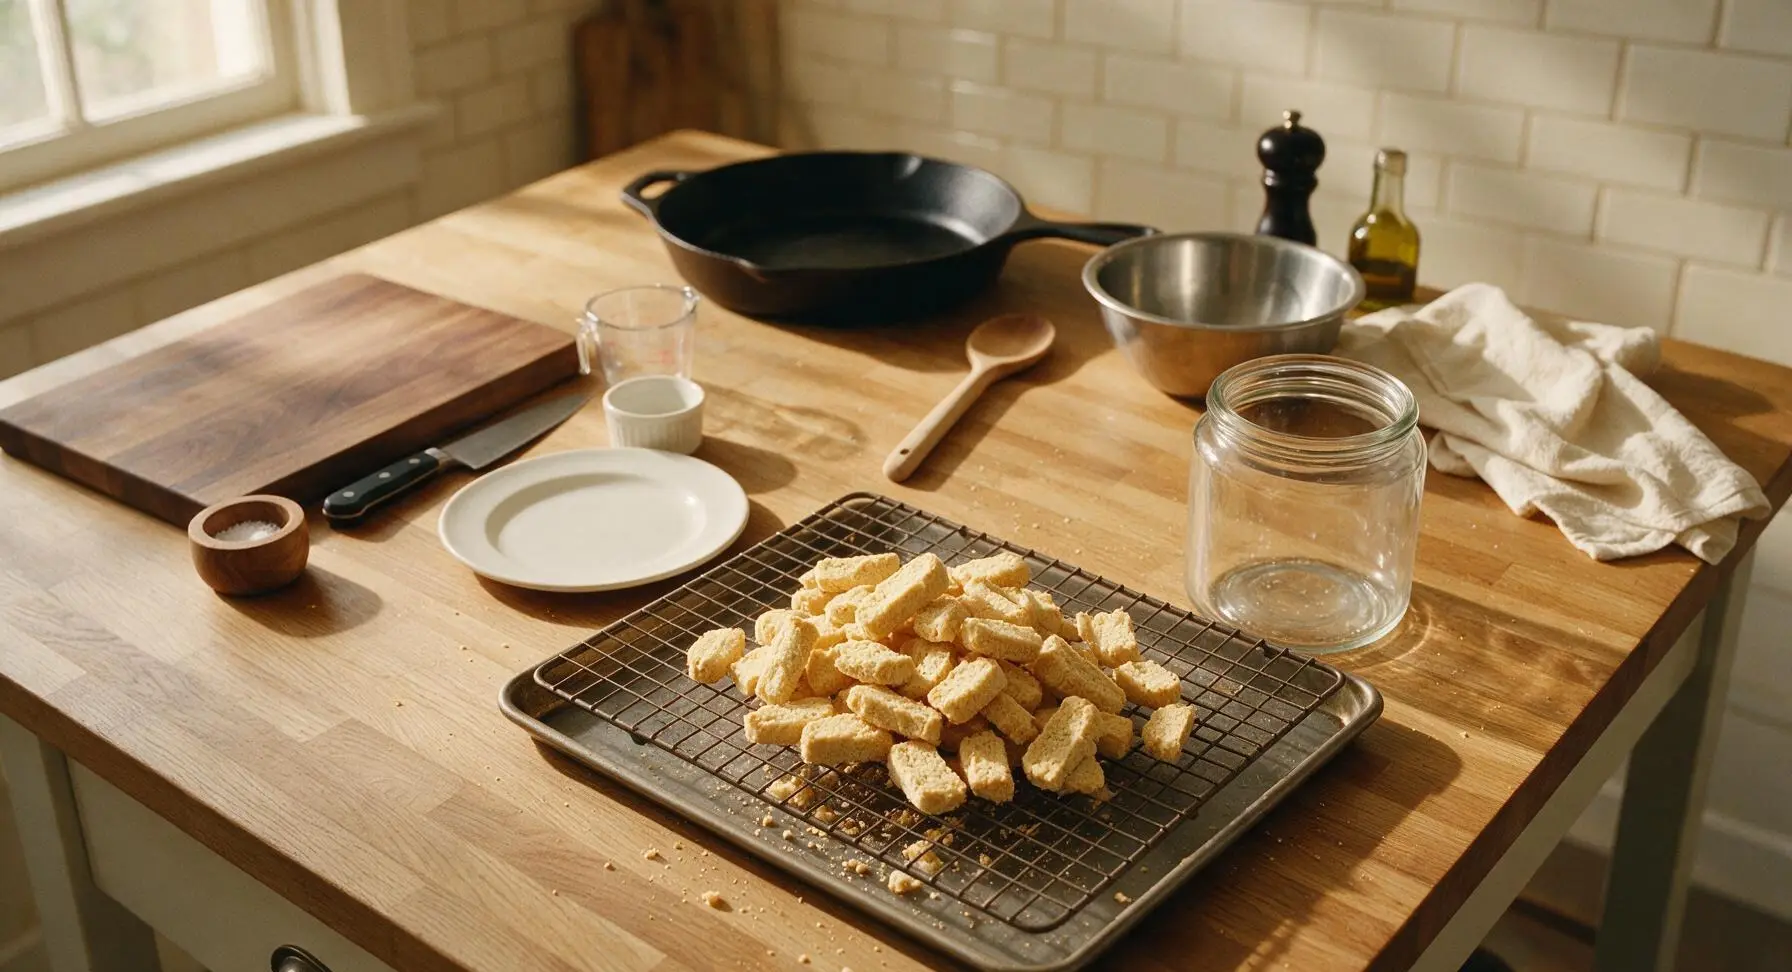
Reduce oven temperature to 120C (250F). Set the wire cooling rack inside the large rimmed aluminum baking sheet to catch crumbs. Arrange the sliced rusks in a single layer on the rack with 1cm space between each slice for air flow. Bake for 1 hour 15 minutes, flipping each rusk halfway through, until the rusks are completely dry, pale golden all over, and crisp through the center with no soft, moist crumb when broken open. They will crisp further as they cool.
Cool and Store Rusks
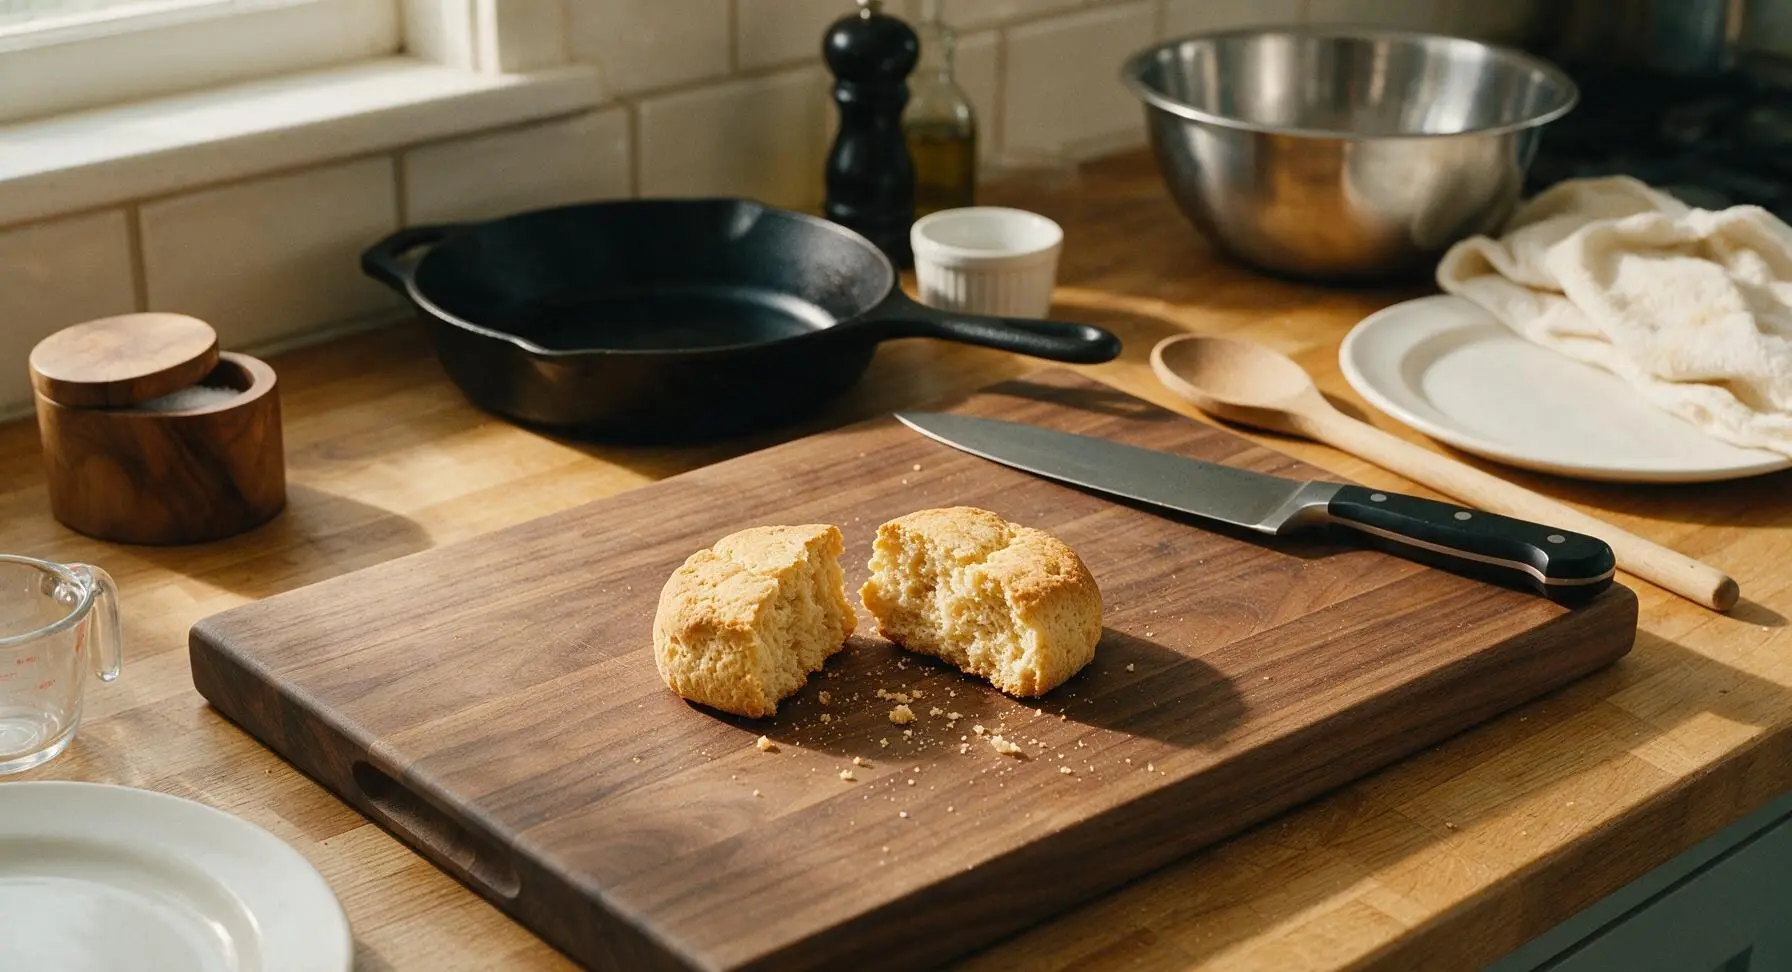
Once the rusks are done with the second bake, transfer them back to the wire cooling rack to cool completely to room temperature, about 30 minutes. Once fully cool, store rusks in an airtight glass or metal container at room temperature for up to 3 weeks; do not store in plastic, as this will trap moisture and make rusks soften and lose their signature crunch.
Tips
2.Do not rush the 1-hour cooling step before slicing: cutting into a warm loaf will cause ragged, crumbly slices, and residual heat trapped in warm rusks will create condensation during storage leading to sogginess.
3.Keep the oven temperature low for the second bake: high heat will brown and crisp the outside of the rusks before the center dries out, leaving you with soft, chewy centers instead of the signature dry, shatteringly crisp texture perfect for dipping.






OMG these buttermilk rusks are SO good! I made them for my kid’s after-school snack spread this week and they gobbled them up in 2 days. Perfectly crumbly, not too sweet, amazing with a little jam and a cup of tea. 10/10 will be adding this to my regular meal prep rotation!
Game changer! I brought a batch of these to our neighborhood potluck last weekend and everyone was asking for the recipe. I added a tiny sprinkle of cinnamon sugar on top before baking and it was chef’s kiss. Super easy to make even for someone like me who burns toast half the time, lmao.
Made these before a weekend backpacking trip and they were the perfect trail snack! Held up great in my pack, didn’t get squished, gave me that little carb boost I needed on steep climbs. Will definitely make again for my next outdoor adventure.
Wait I’ve never had British rusks before – are these like the hard biscotti texture? Or softer? I want to make them for my grandma who loves hard dippable cookies but has bad teeth so I don’t want them to be too tooth-breaking.
Meal prep win! I baked these on Sunday and they lasted all week for quick breakfasts on my way to work. Slap a little peanut butter on them and they’re filling, not too sugary, way better than the processed granola bars I used to buy. Easy recipe too, didn’t take nearly as much active time as I thought it would for a baked good.
These are good but I wish they were a little sweeter? I followed the recipe exactly and they’re pretty plain on their own, great with toppings but I was hoping for more of a sweet cookie vibe. Still tasty, just not what I expected!
Made these in my tiny dorm oven last night and they actually turned out perfect! Didn’t need any fancy equipment, just mixed the dough, baked, sliced, and did the second bake. My roommates are already begging me to make another batch. Way cheaper than buying snacks from the campus store.
Has anyone tried making these with gluten-free all purpose flour? My kid has a gluten sensitivity and I’m dying to make these for him, he’s been obsessed with British snacks ever since we watched that Great British Baking Show marathon last month.
I grew up eating rusks when my grandma would visit from London, and this recipe tastes exactly like what she used to make! The buttermilk gives that perfect subtle tang, the texture is spot on. I’ve been looking for a reliable rusk recipe for years and this is finally the one. Thank you so much for sharing!
These are perfect for my post-workout morning snack! High carb, low added sugar, pairs great with protein spread and a banana. I make a batch every Sunday and portion them out into snack bags for the gym bag. No weird preservatives, way better than the store-bought workout snacks I used to drop so much money on.
Help! I think I messed up the second bake? My rusks came out really soft in the middle instead of dry and crumbly. Did I slice them too thick? Or not leave them in the oven long enough? I really want to get these right because the little edges I did get to taste were amazing.
Served these at our monthly book club meeting with a selection of jams, clotted cream, and different teas, and everyone raved. They felt fancy but were so low effort to make, I didn’t even have to stress about hosting because the recipe was so straightforward. Will definitely be making these for future gatherings.
Wait a second – can I give these to my teething puppy? I remember my mom giving us rusks as babies when we were teething, and I have a 4 month old golden retriever who’s chewing everything in sight. Obviously I won’t add any extra sugar or toppings if I make a batch for her, just curious!