
sausage pie
intro
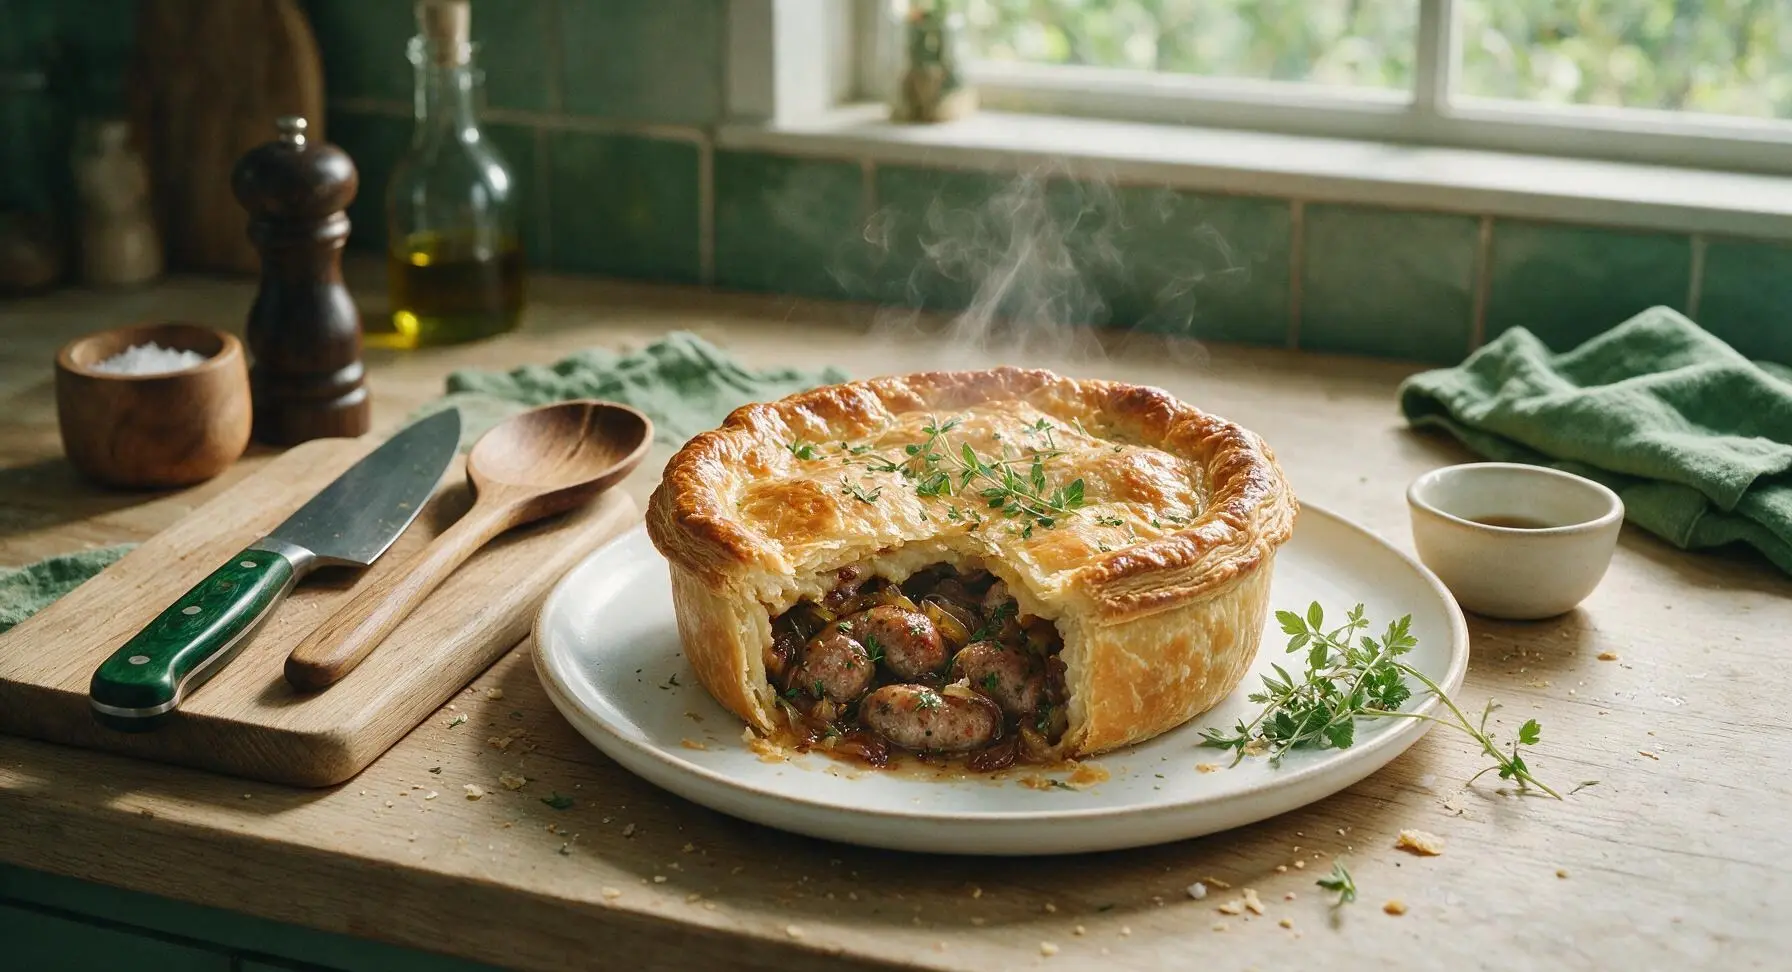
Flaky golden all-butter pastry wrapped around juicy herby pork sausage and caramelized onion filling, this hearty, comforting pie is made for lazy Sunday family gatherings.
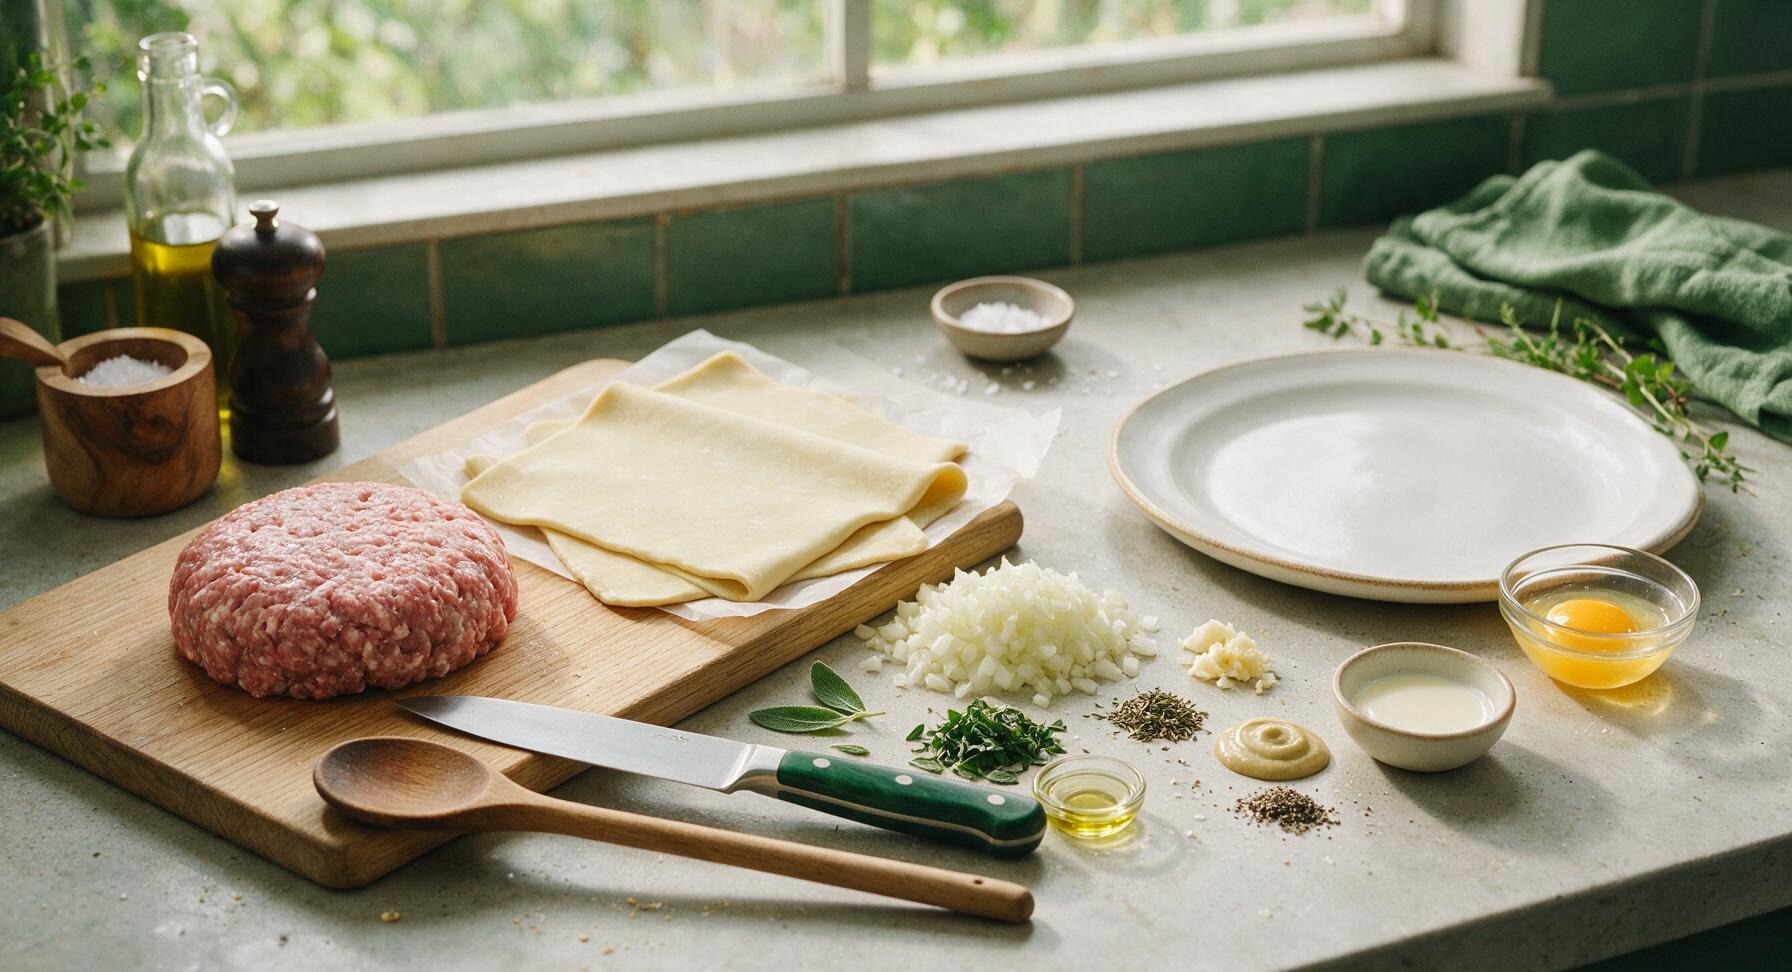
Ingredients
Steps
Sauté Aromatic Vegetables
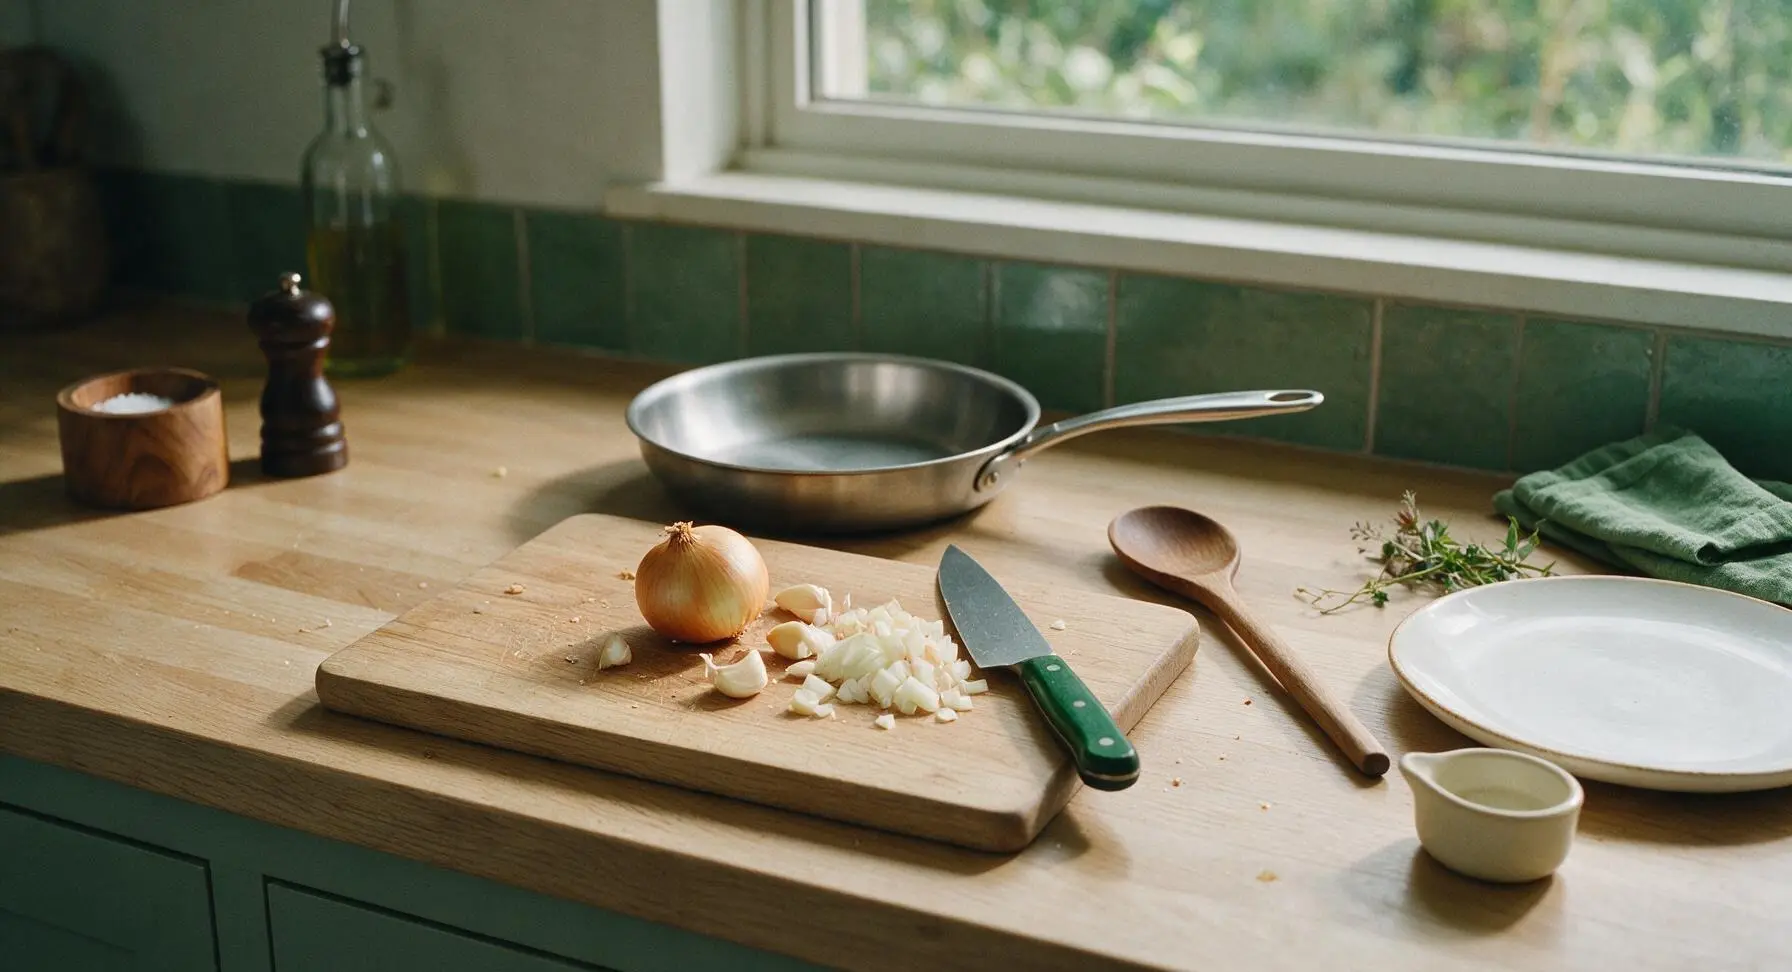
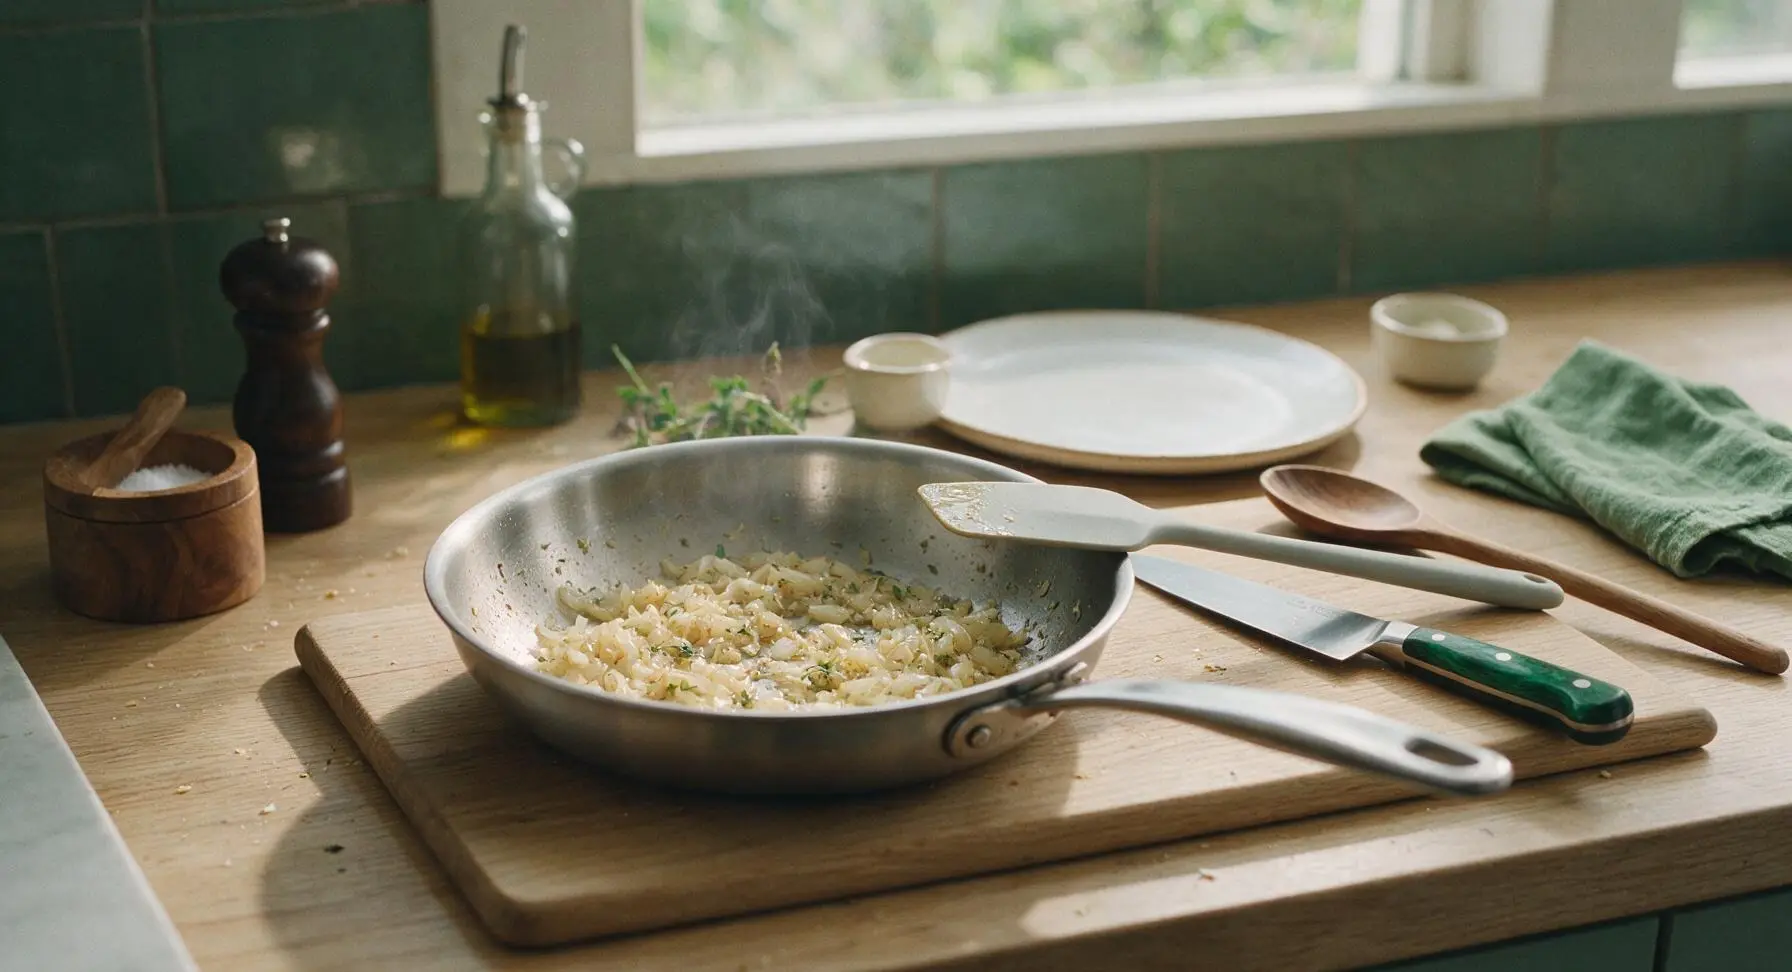
Heat 1 teaspoon neutral cooking oil in the 20cm matte stainless steel frying pan over medium heat (170C/340F). Add the finely diced yellow onion, cook for 8 minutes, stirring occasionally with the light grey silicone spatula, until soft and translucent with pale golden edges. Add the minced garlic, dried thyme, and chopped fresh sage, cook for 60 seconds until fragrant, then transfer the mixture to the small matte white side plate to cool completely for 10 minutes. Avoid browning the garlic, as it will develop a bitter taste in the finished pie.
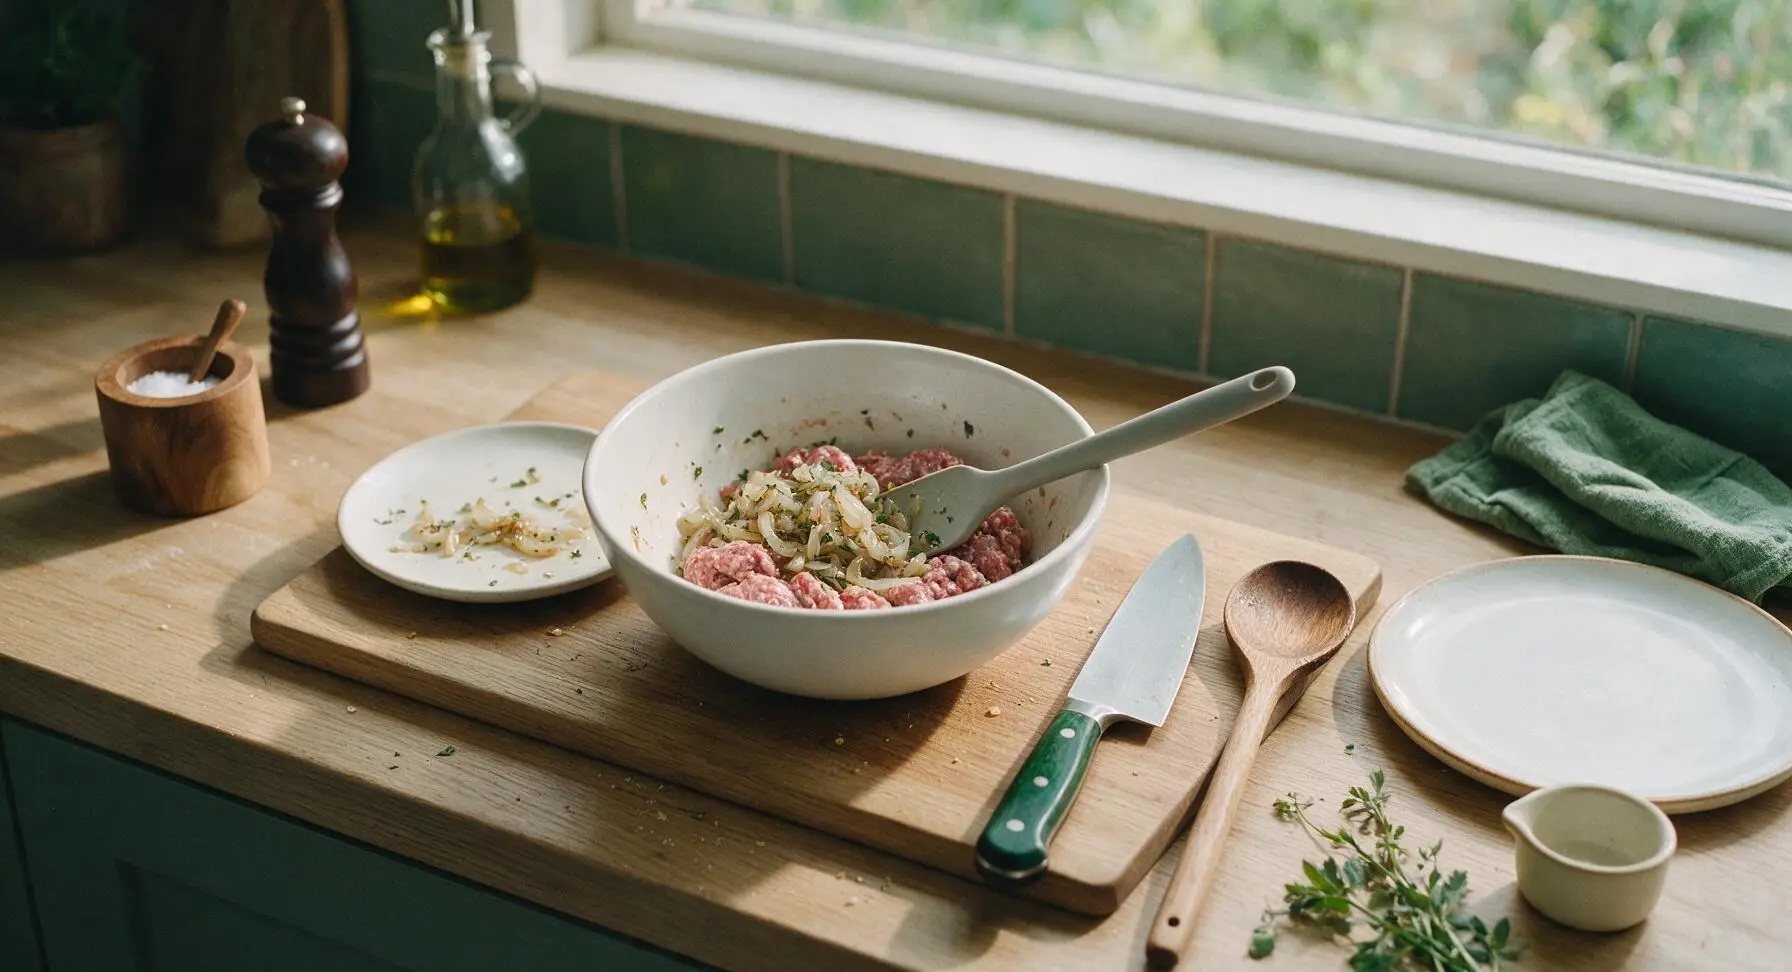
Mix Sausage Filling
Once the cooked onion and herb mixture is fully cooled to room temperature, add it to the 24cm matte white ceramic mixing bowl along with the 500g pork sausage meat, 1 tsp Dijon mustard, 1 tsp flaky sea salt, and 1/2 tsp black pepper. Use clean hands or the light grey silicone spatula to mix thoroughly until all ingredients are evenly distributed, being careful not to overwork the sausage meat (overmixing will make the filling tough and dense). Set the filling aside while you prepare the pastry.
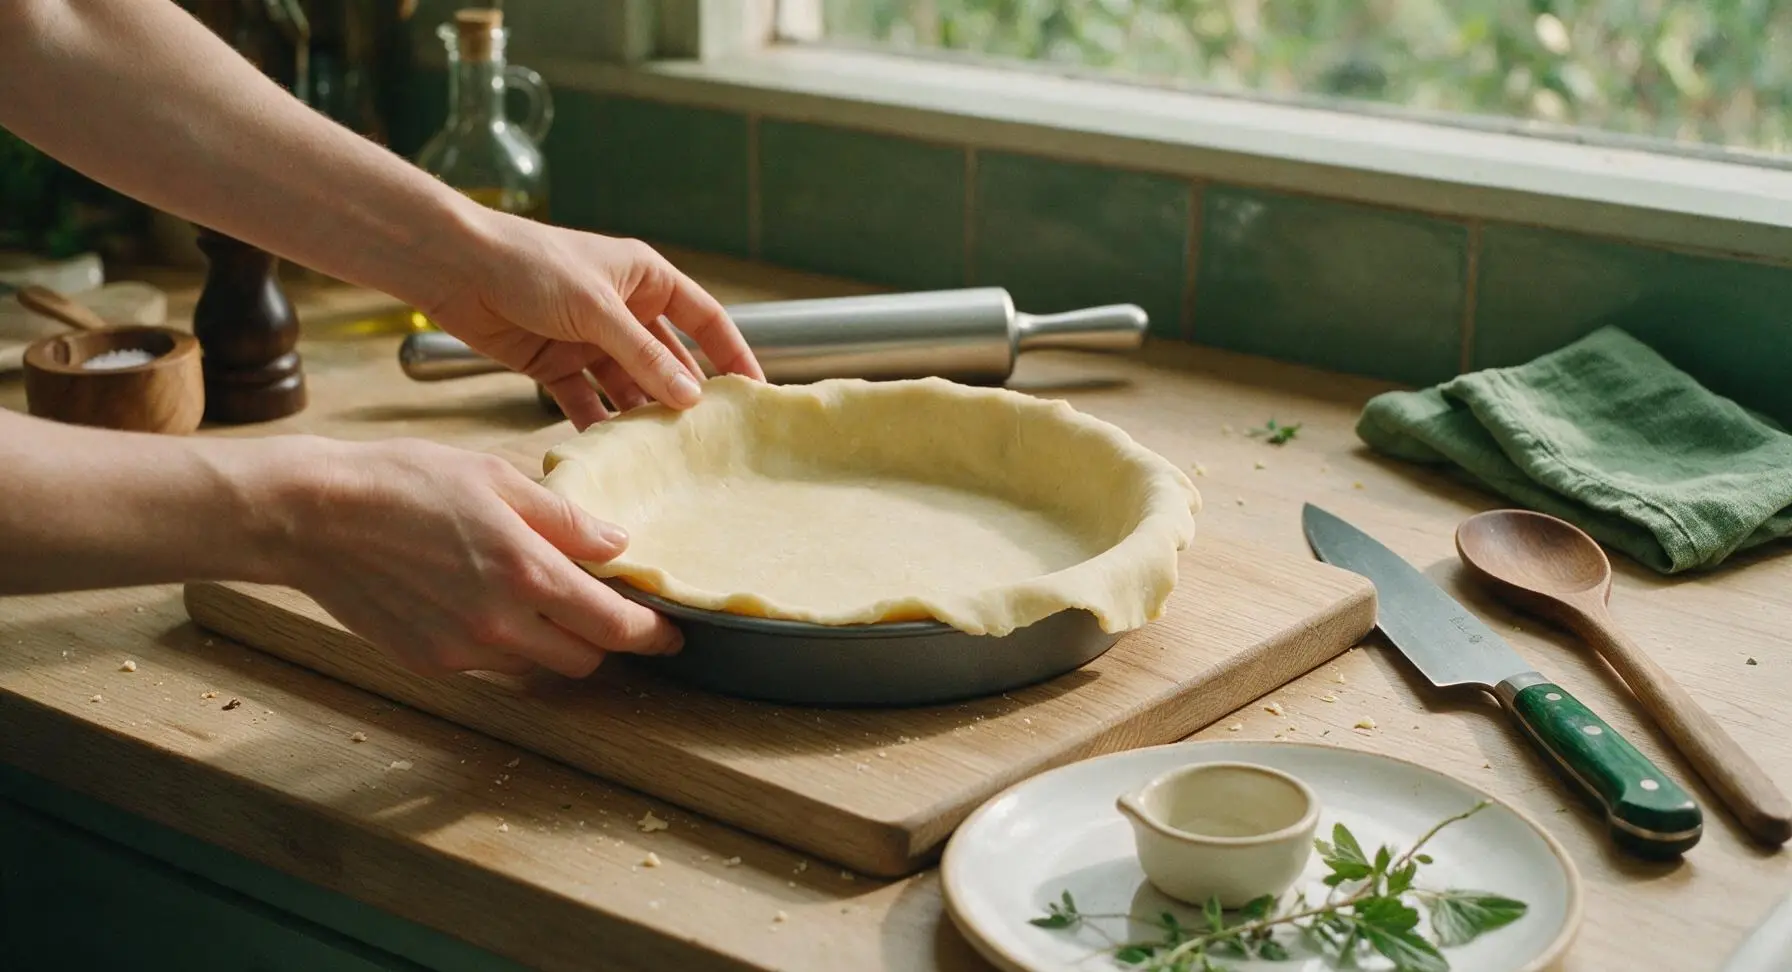
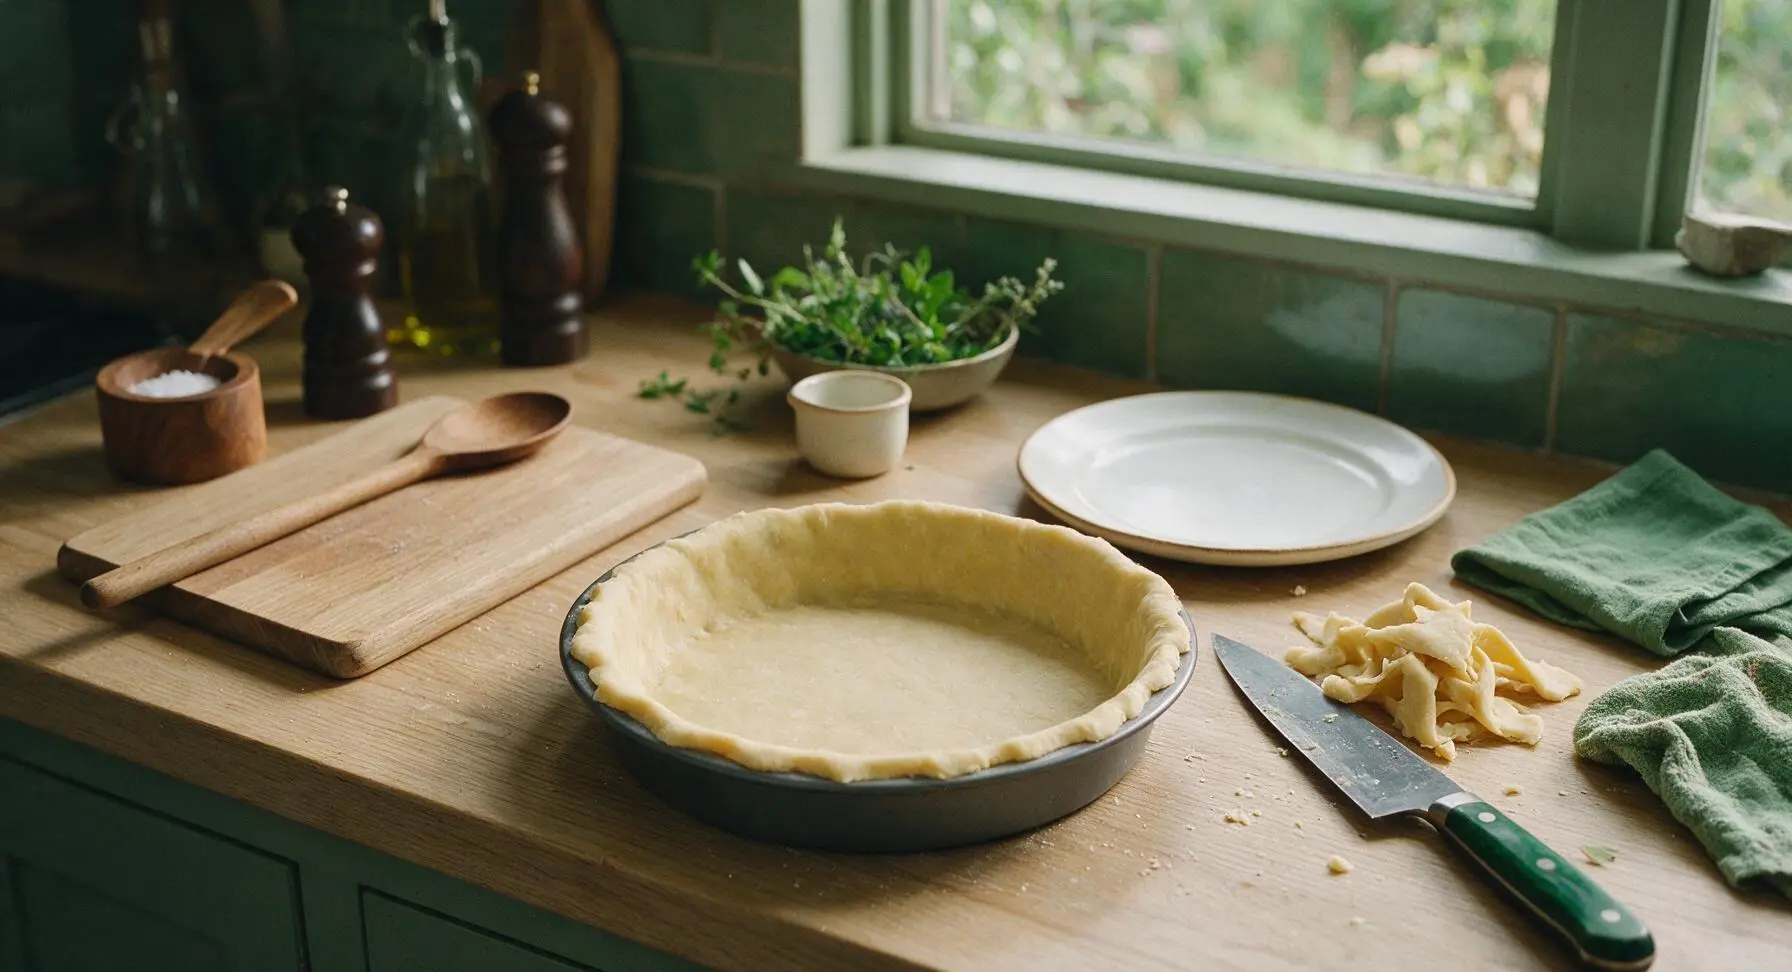
Line Pie Tin with Pastry
Unroll one 200g sheet of all-butter shortcrust pastry and lay it across the 23cm dark grey non-stick pie tin, gently pressing it into the bottom and up the sides of the tin, leaving a 1cm overhang around the rim. Use the 8-inch chef's knife to trim any excess pastry that hangs more than 1cm over the edge, then place the lined tin in the refrigerator to chill for 10 minutes – this prevents the pastry from shrinking during baking. Do not stretch the pastry when pressing it into the tin, as this will cause it to pull away from the sides as it bakes.
Add Sausage Filling
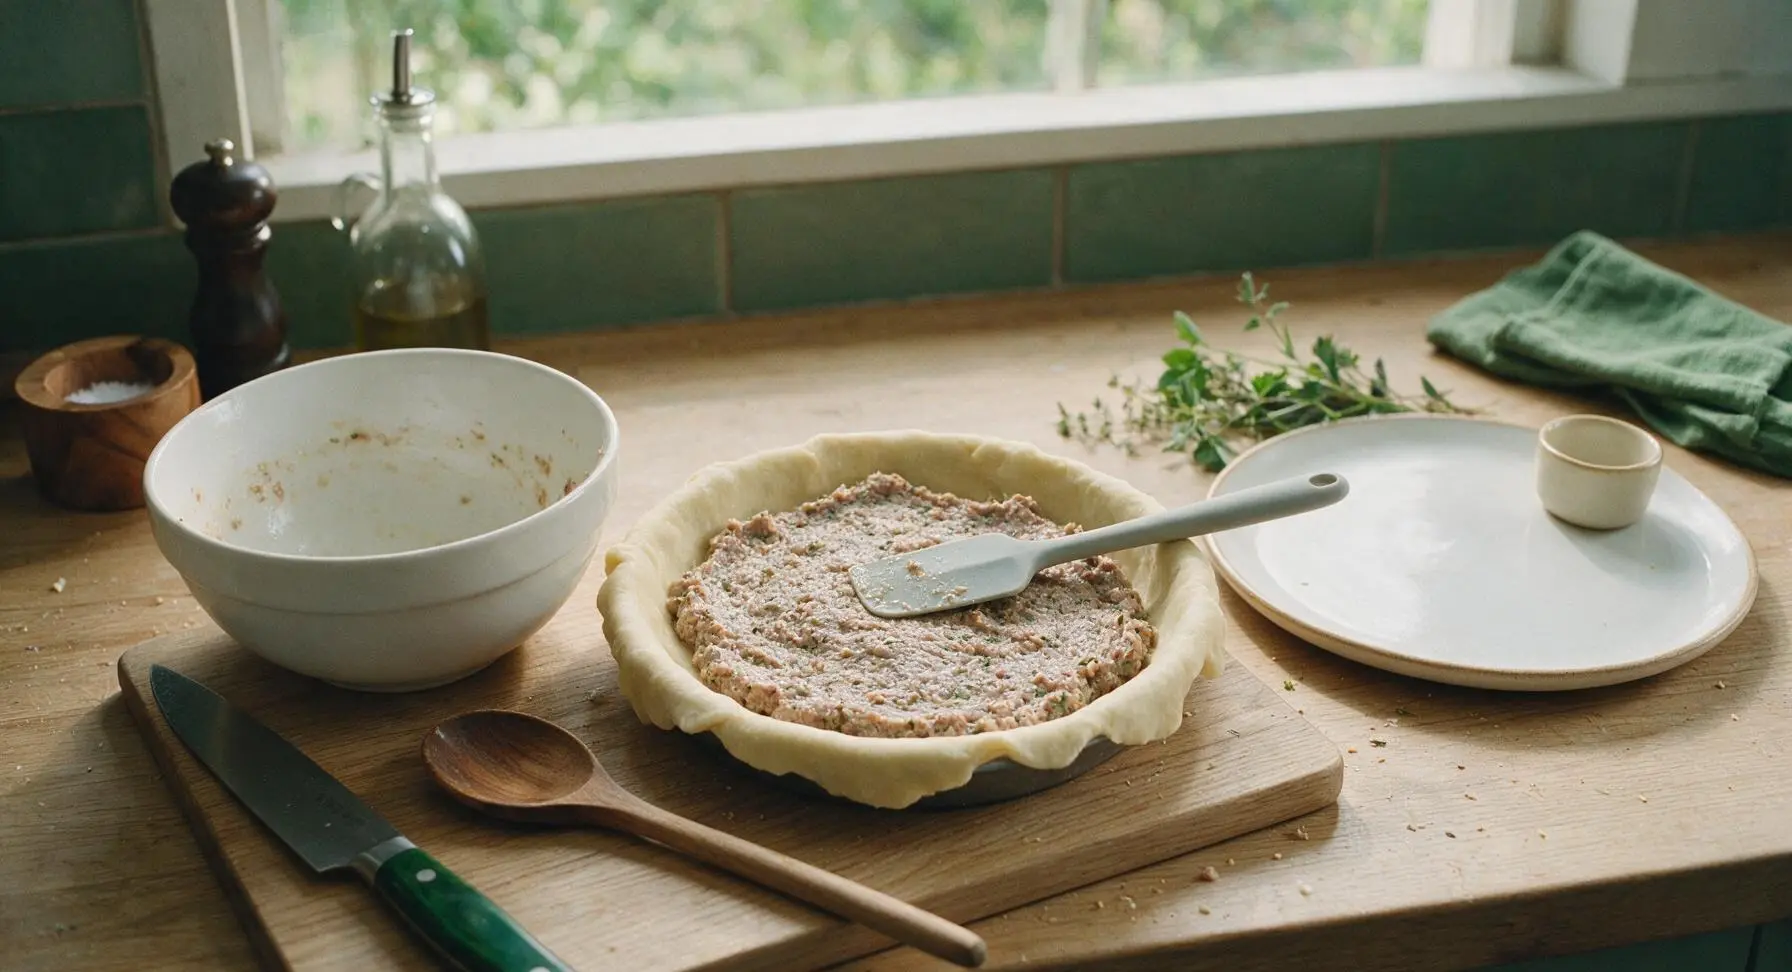
Remove the chilled pastry-lined tin from the refrigerator. Spoon all of the prepared sausage and onion filling into the pastry shell, using the back of the light grey silicone spatula to spread it into an even, smooth layer that reaches right to the edges of the tin. Press the filling gently to remove any air pockets, which would cause gaps in the finished pie as the filling cooks and shrinks.
Add Top Pastry Layer
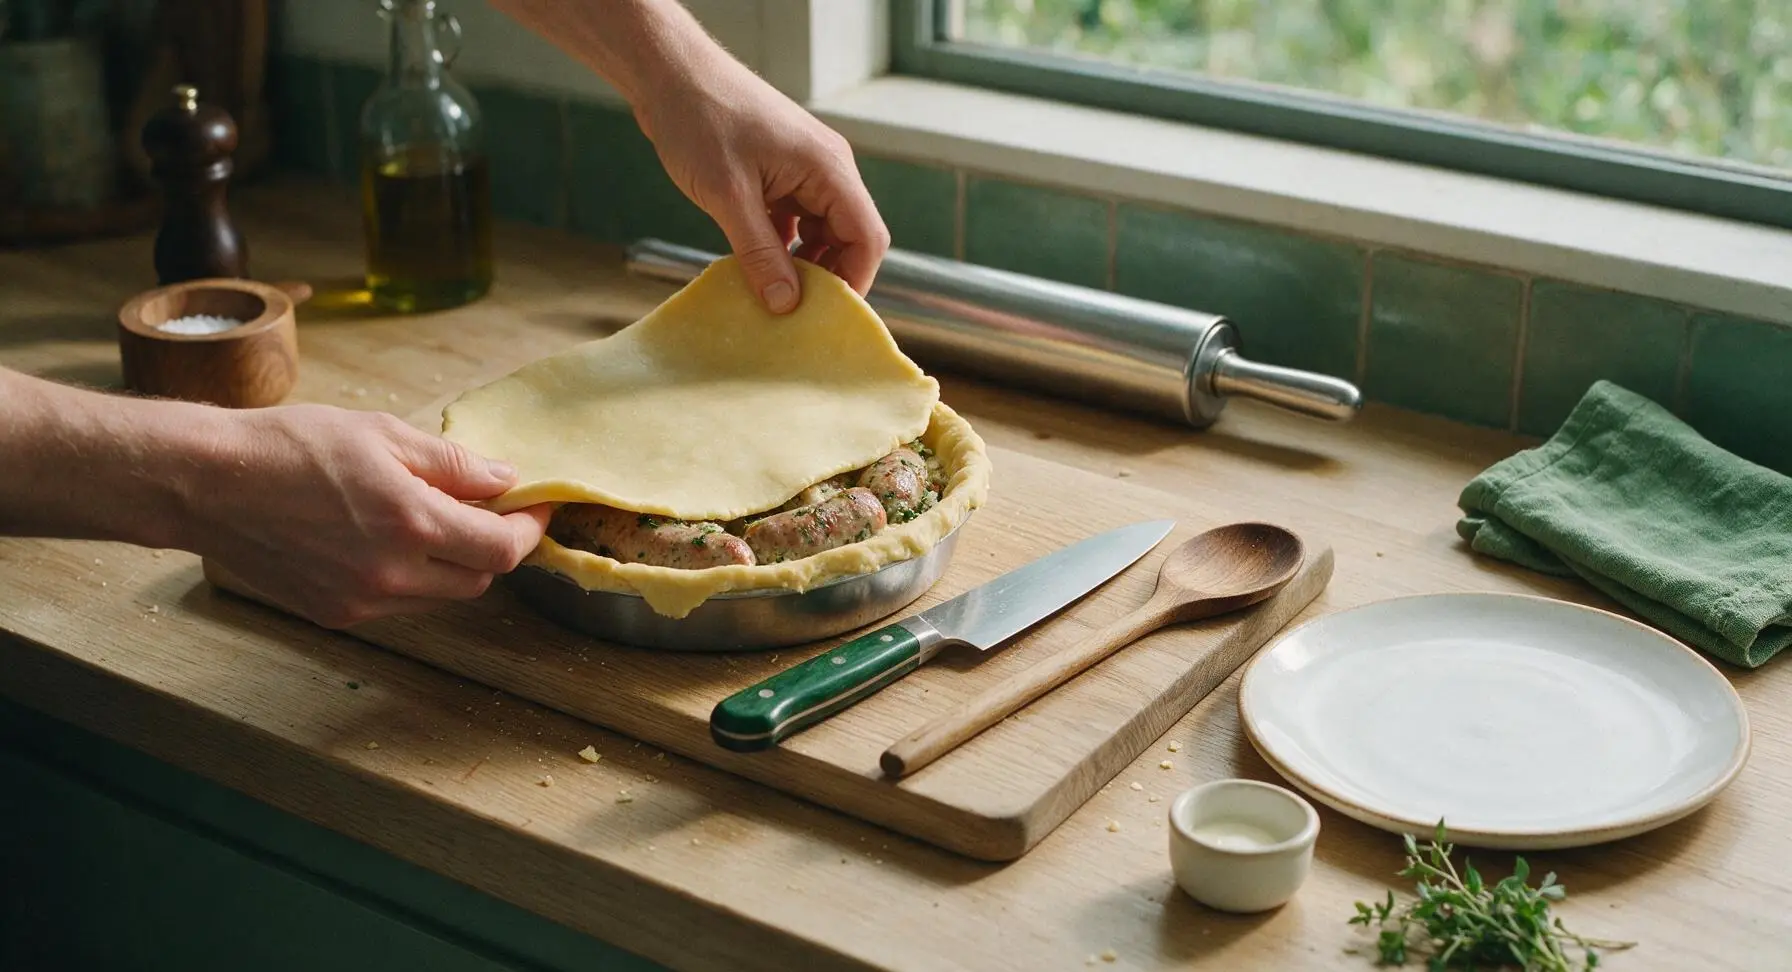
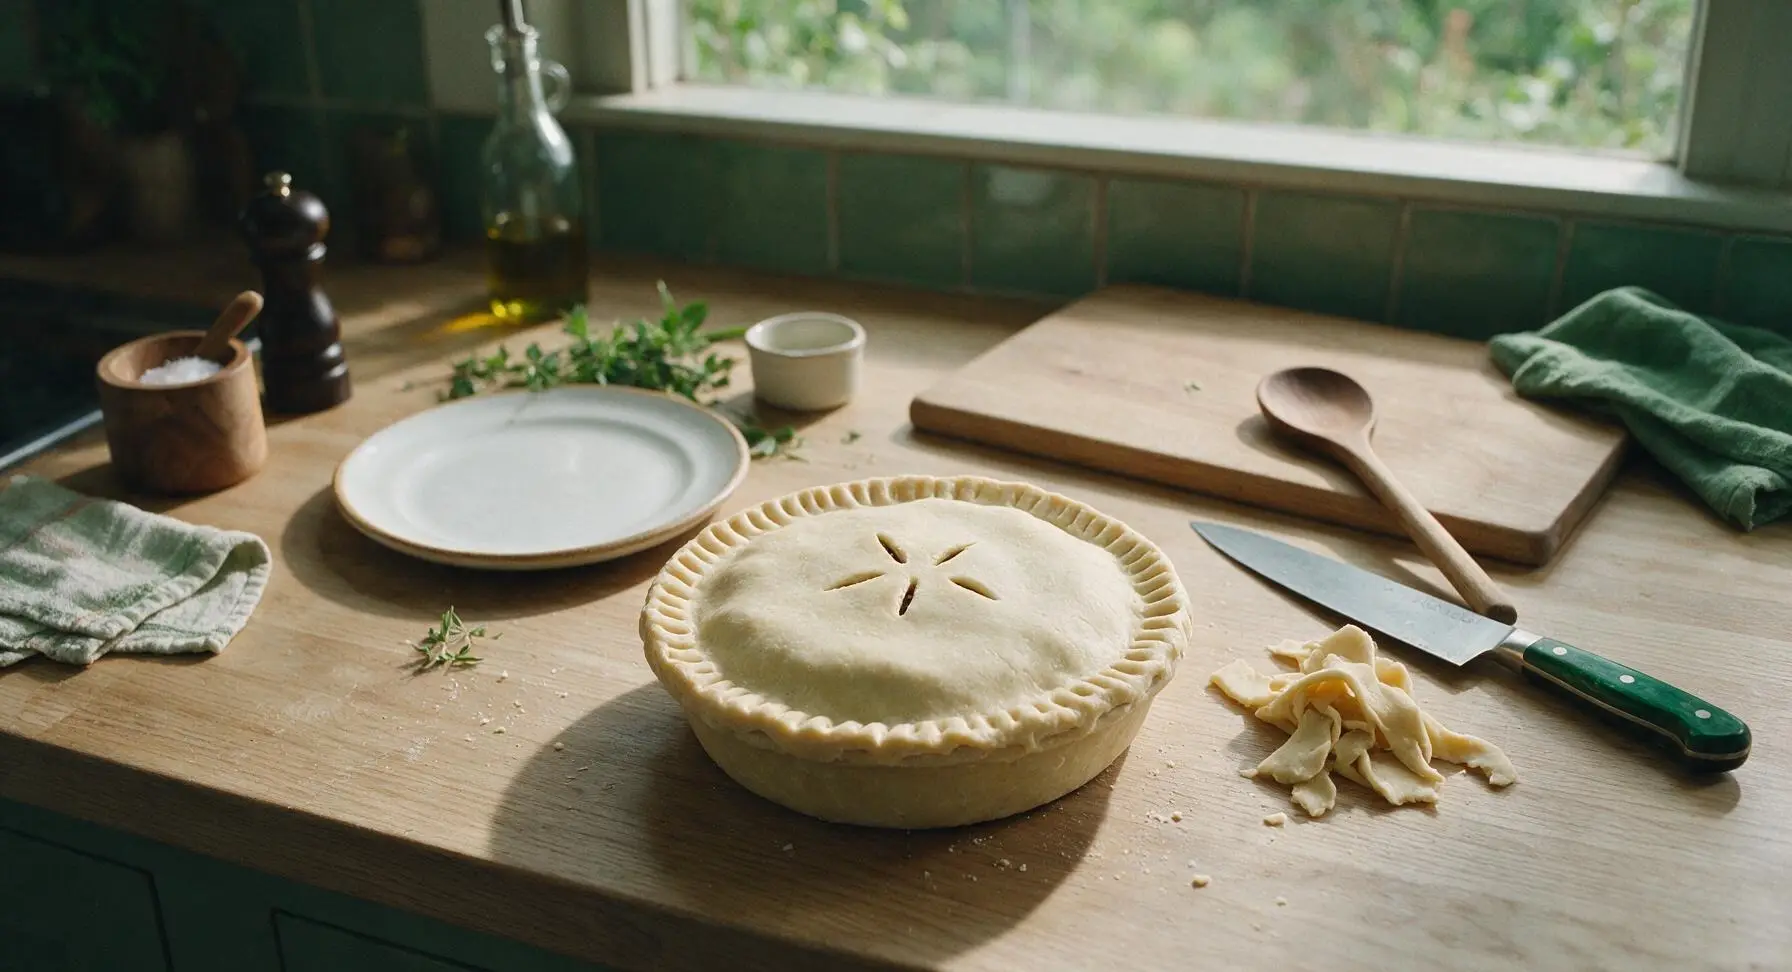
Unroll the second 200g sheet of shortcrust pastry and lay it carefully over the top of the filled pie. Press the edges of the top pastry firmly against the overhang of the bottom pastry to seal, then crimp the edges with your thumb and forefinger to create a neat, tight seal. Use the 8-inch chef's knife to trim any excess pastry from the crimped edge, then cut three small 2cm diagonal slits in the center of the top crust to allow steam to escape during baking. Return the assembled pie to the refrigerator to chill for 15 minutes while you preheat the oven to 190C/375F (fan 170C/340F).
Apply Egg Wash
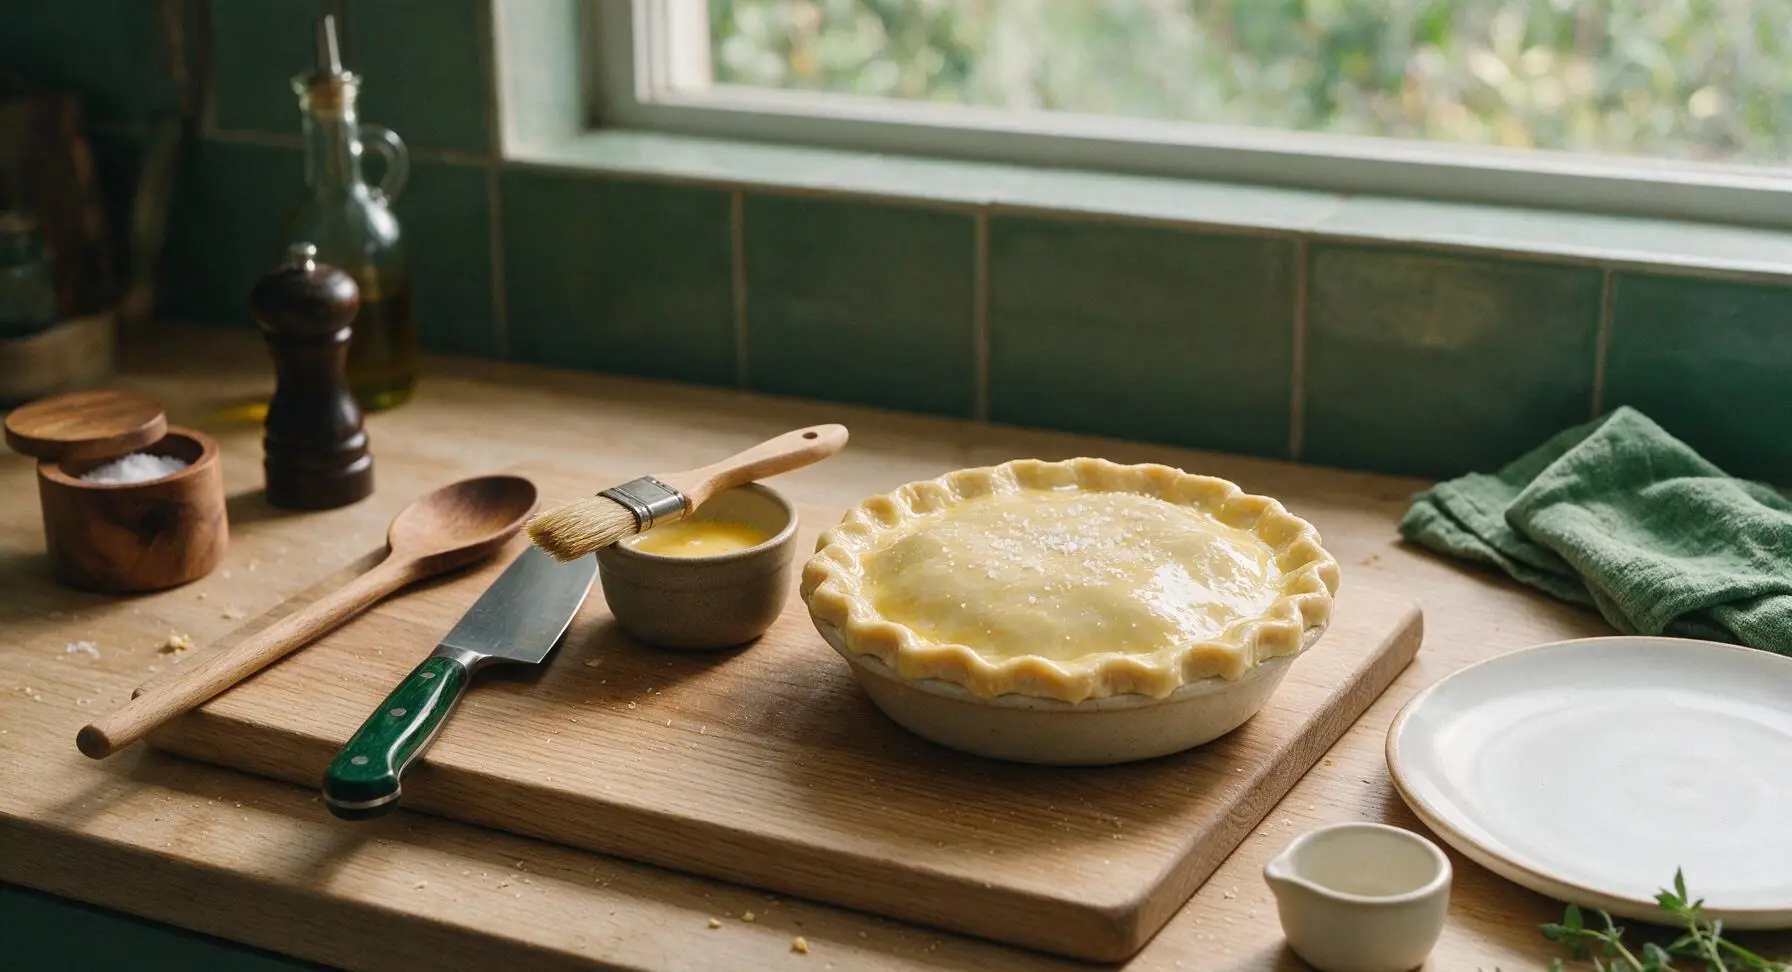
In the 8cm matte taupe stoneware ramekin, beat the large egg together with 1 tbsp whole milk until smooth to make egg wash. Use the small natural bristle pastry brush to coat the entire top surface of the chilled pie with a thin, even layer of egg wash, taking care not to let excess egg pool in the crimped edges (this can cause the seal to burn and stick). Lightly sprinkle the top with a pinch of flaky sea salt for extra crunch and flavor.
Bake Until Golden
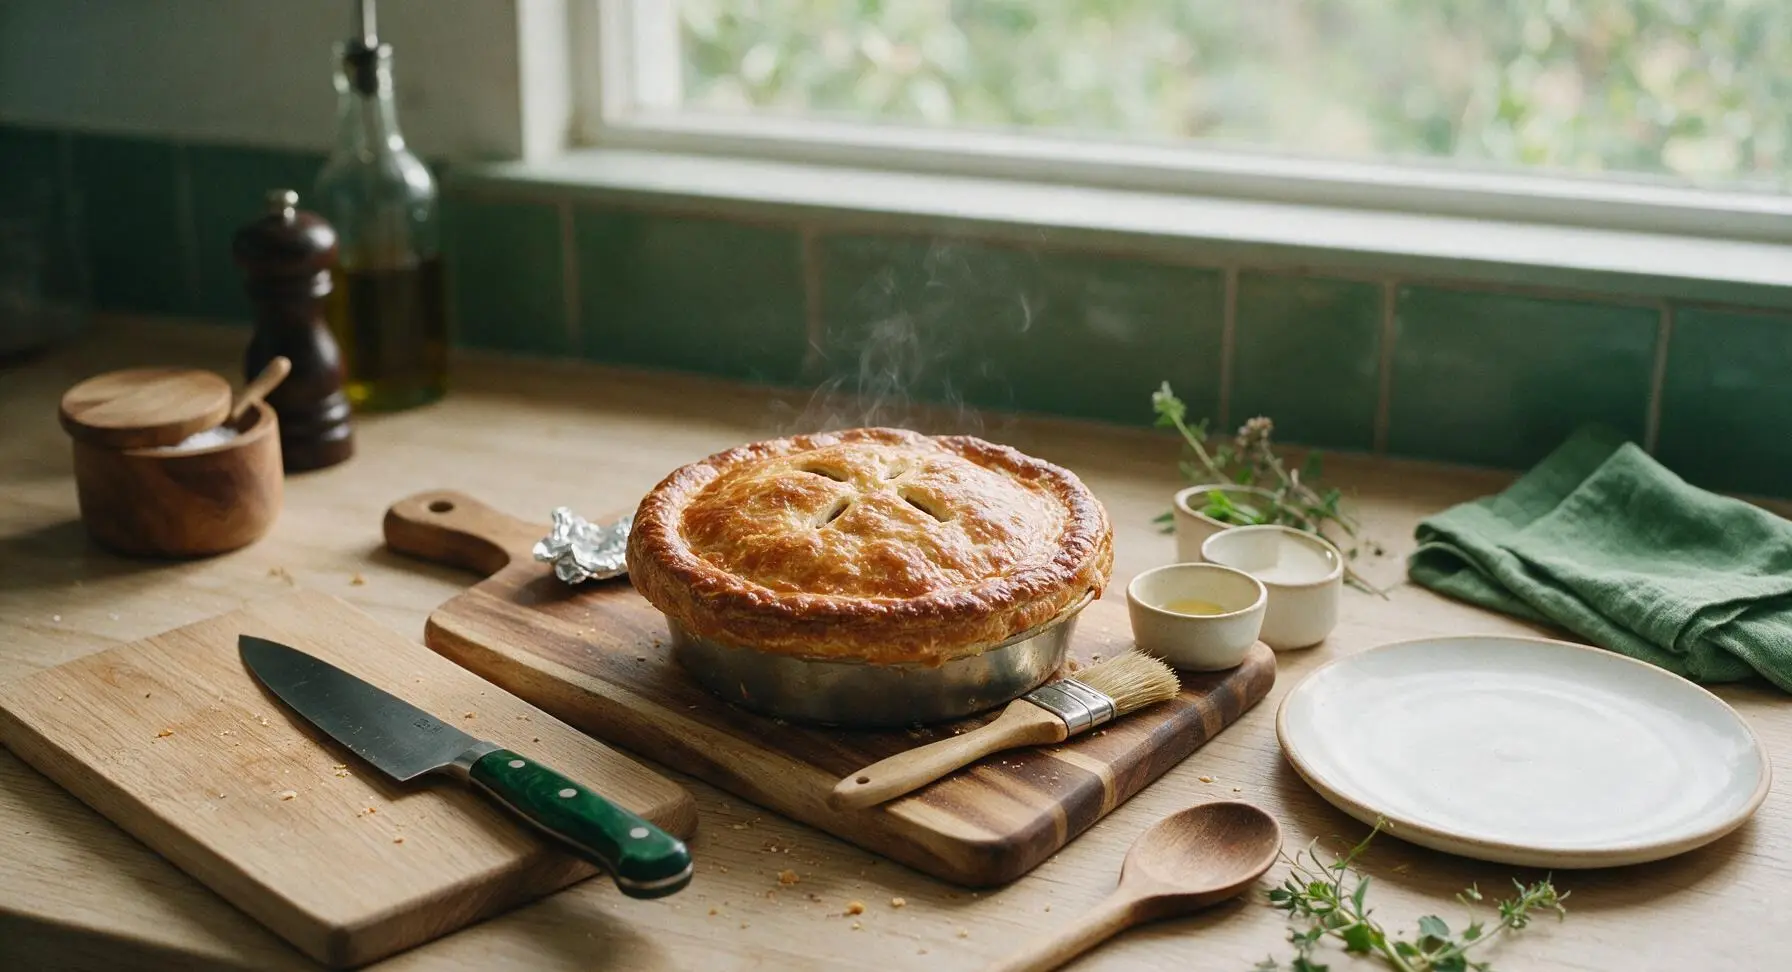
Place the prepared pie on the middle shelf of the preheated 190C/375F oven and bake for 55 minutes, until the pastry is a deep, even golden brown all over, and the internal temperature of the sausage filling reaches 75C/165F when measured with a food thermometer. If the edges of the pastry start to brown too quickly after 35 minutes, cover them loosely with a strip of aluminum foil to prevent burning. Once baked, remove the pie from the oven and let it rest in the tin for 15 minutes before transferring to the serving plate – this allows the filling to set so slices hold their shape.
Tips
2.Ensure the cooked onion mixture is fully cooled before mixing with raw sausage: warm onions will prematurely soften the raw pastry and start to cook the sausage, leading to a soggy bottom crust and unevenly cooked filling.
3.Resist the urge to slice the pie immediately after baking: the hot filling is very soft straight from the oven, and the 15-minute rest allows it to set firmly so you get clean, neat slices that hold their shape instead of oozing out of the crust.






OMG this sausage pie was the star of our Sunday family dinner! The herb blend is so perfect—no sad, bland sausage filling here. My 7 year old asked for thirds, which never happens. I used a store-bought pie crust to save time and it still turned out chef’s kiss. SO good, already added this to our monthly rotation!
Really solid recipe! The cook time was pretty spot on for me, though I wish there was a little note about how much salt to add if you’re using unsalted butter for the crust. I ended up tossing in an extra pinch of dried thyme and a 1/4 tsp of red pepper flakes to the filling for a tiny kick, which was such a good call. Would absolutely make this again for my next game night spread with the guys.
Game changer! I made this on Sunday and sliced it into individual portions for work lunches all week, and it held up perfectly even after reheating in the office microwave. The herby gravy inside doesn’t get soggy at all, which is my biggest pet peeve with meal prep pies. 10/10, no notes.
Taste was amazing, but I definitely struggled with the crust since I’m still pretty new to baking! It shrank a ton on me when I blind baked it, so the filling oozed over the sides a little. Ended up tasting great anyway, my roommates devoured half of it in 10 minutes, but I wish I knew what I did wrong with the crust.
Brought this to our neighborhood block party potluck last weekend and people were coming up to me asking for the recipe all night! I added a little extra sage because I have a ton growing in my garden, and it paired so well with the sausage. Even the picky eaters went back for seconds. Absolute home run.
Made this with a gluten free all-purpose flour blend for the crust and it turned out so good! My husband who doesn’t even like gluten free food said he couldn’t tell the difference. Only reason it’s not 5 stars is I wish the recipe had a gluten free swap note built in, I had to guess on the butter ratio for the GF crust. Otherwise, amazing, will be making this for our fall dinner parties.