
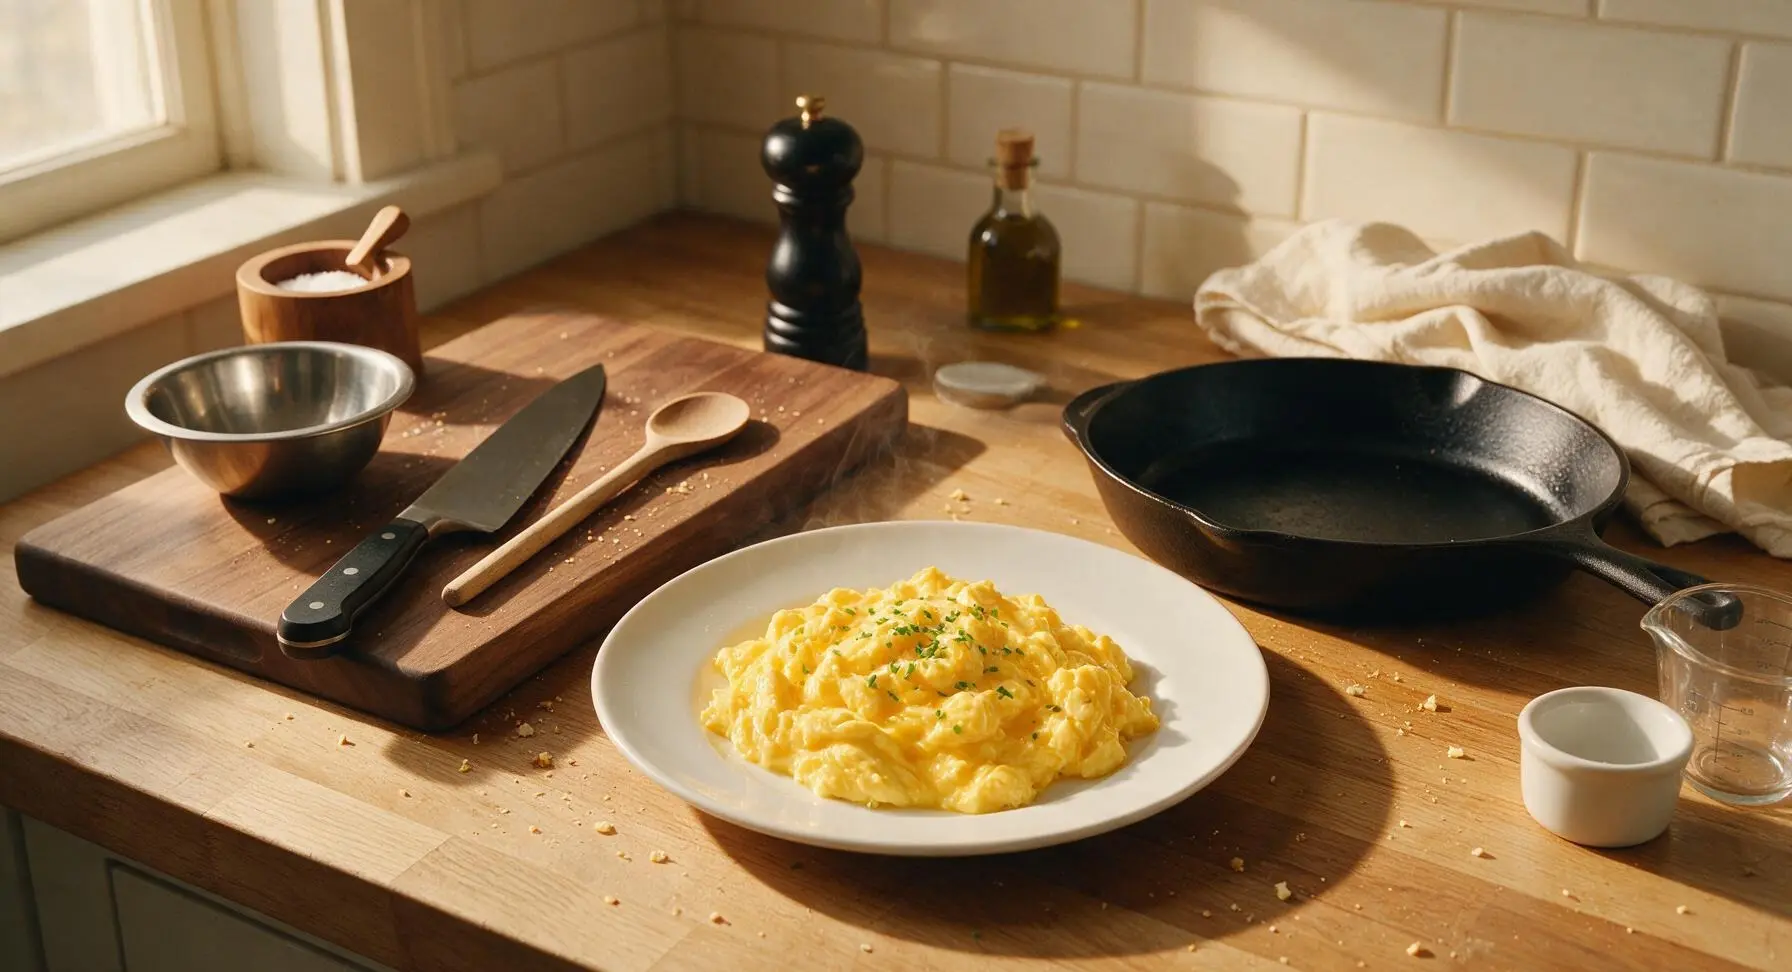
Scrambled Eggs

title 1
Scrambled Eggs
⏱️ cook time 3 minutes
🍽️ servings 2
⚡ Difficulty easy

intro

Silky, pillowy soft-curd scrambled eggs cooked low and slow with butter, finished with fresh chives. A 10-minute, protein-packed meal that feels indulgent even on the busiest days.

Ingredients
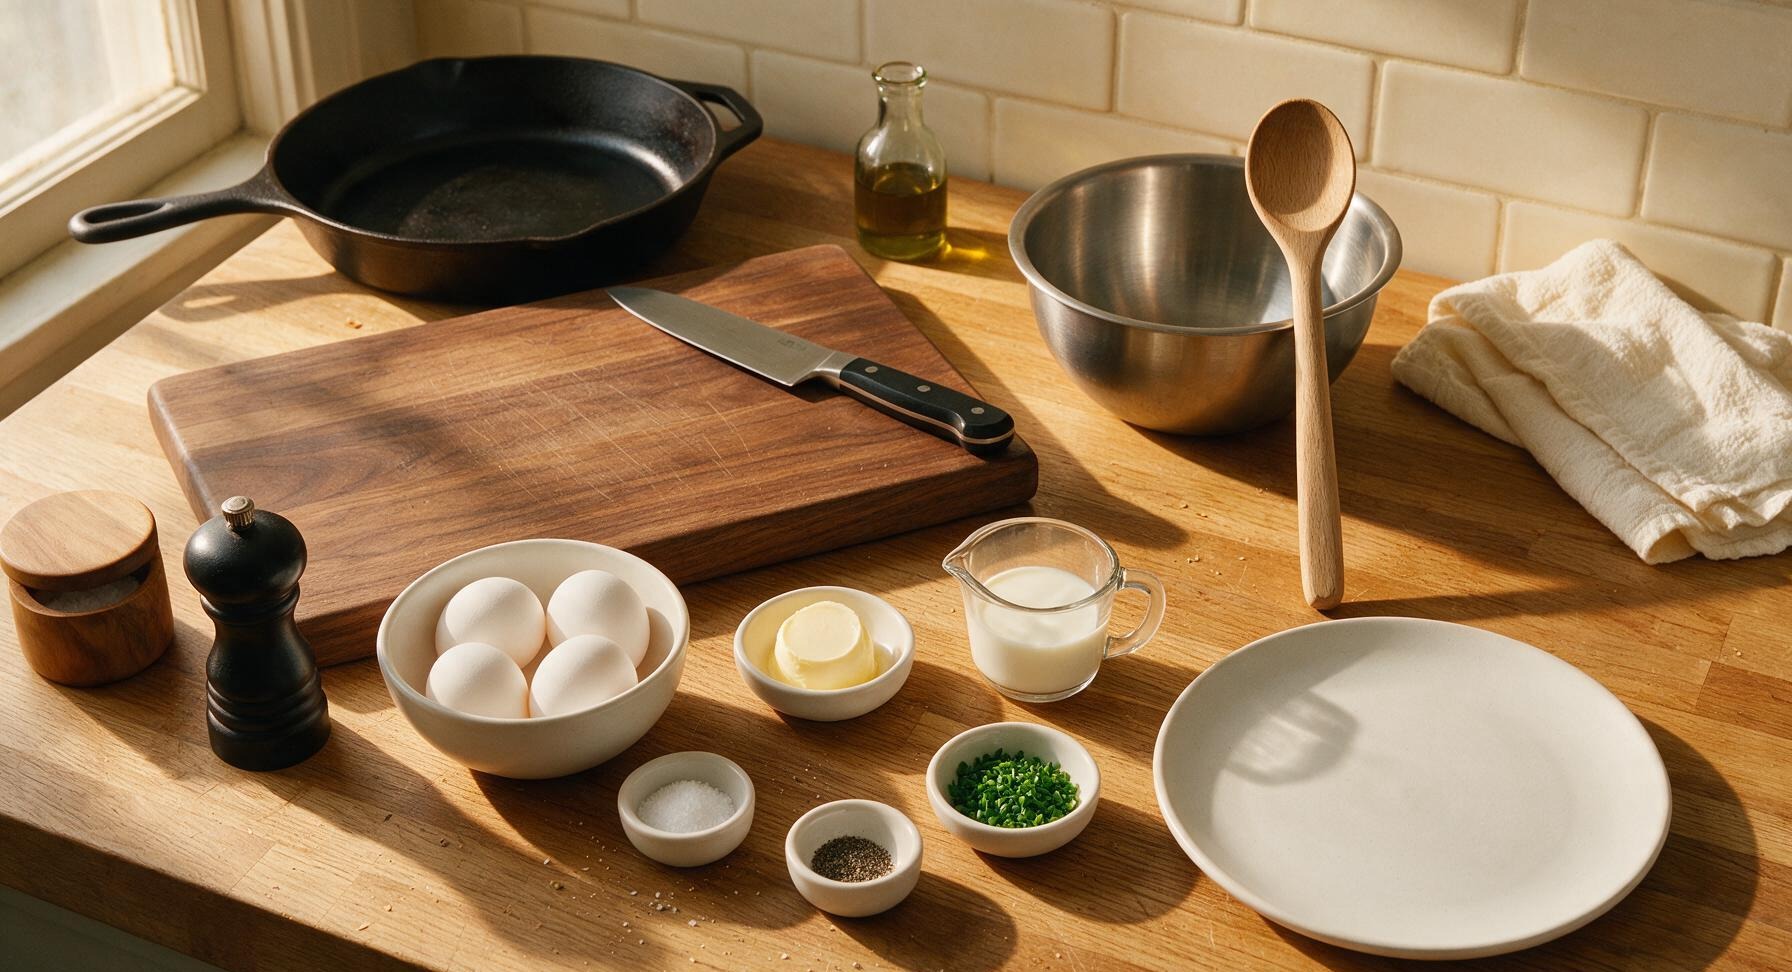
Large eggs 4
Unsalted butter 1 tablespoon
Whole milk 2 tablespoons
Kosher salt 1 teaspoon
Freshly ground black pepper 1/4 teaspoon
Fresh chives 1 tablespoon (finely chopped)

Steps

1

Crack eggs into bowl

Gently tap each of the 4 large eggs on the edge of the stainless steel mixing bowl to create a clean, even crack, then pull the shell halves apart to let the yolk and white fall into the bowl. Use a half empty egg shell to fish out any small shell fragments that fall into the mixture—shells naturally stick to other shell, making this quick and easy.
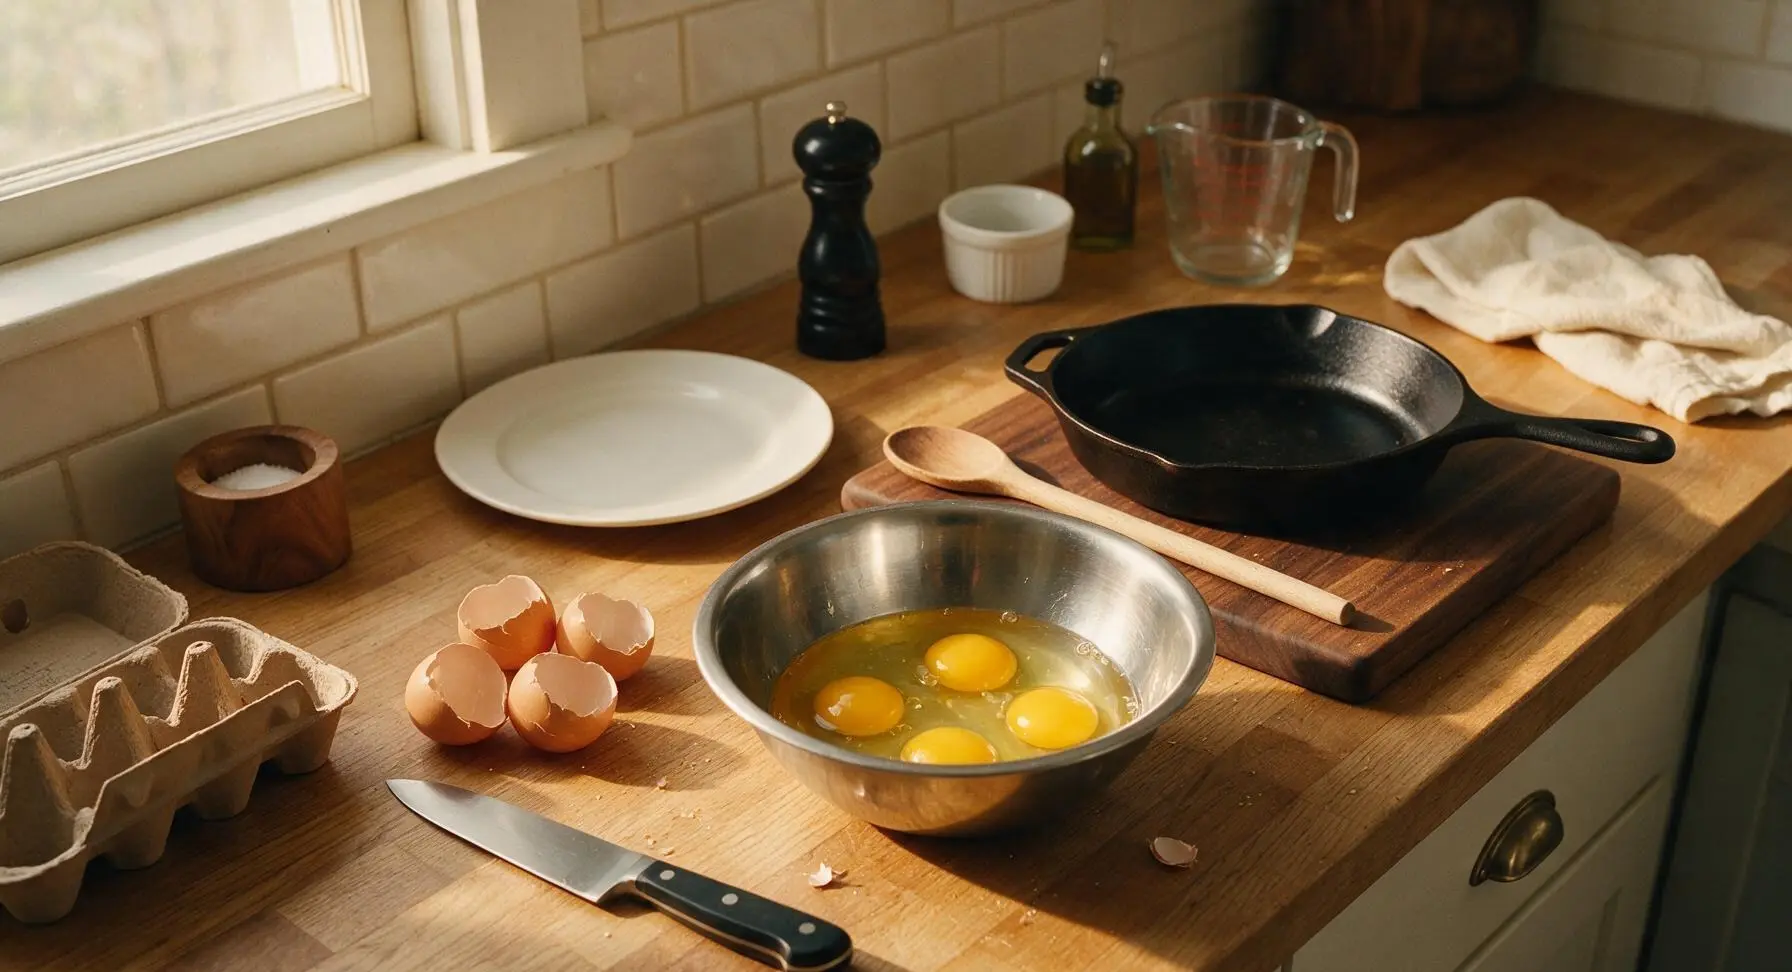
Step 1
step1:Crack eggs into bowl
2

Whisk egg mixture

Add 2 tablespoons whole milk and 1 teaspoon kosher salt to the eggs in the bowl. Hold the wire whisk firmly and mix in fast, steady circular motions for 30-45 seconds, until the yolks and whites are fully combined into a uniform pale yellow liquid, with a thin layer of tiny bubbles across the surface. Avoid over-whisking, as excess air will make cooked eggs watery and spongy.
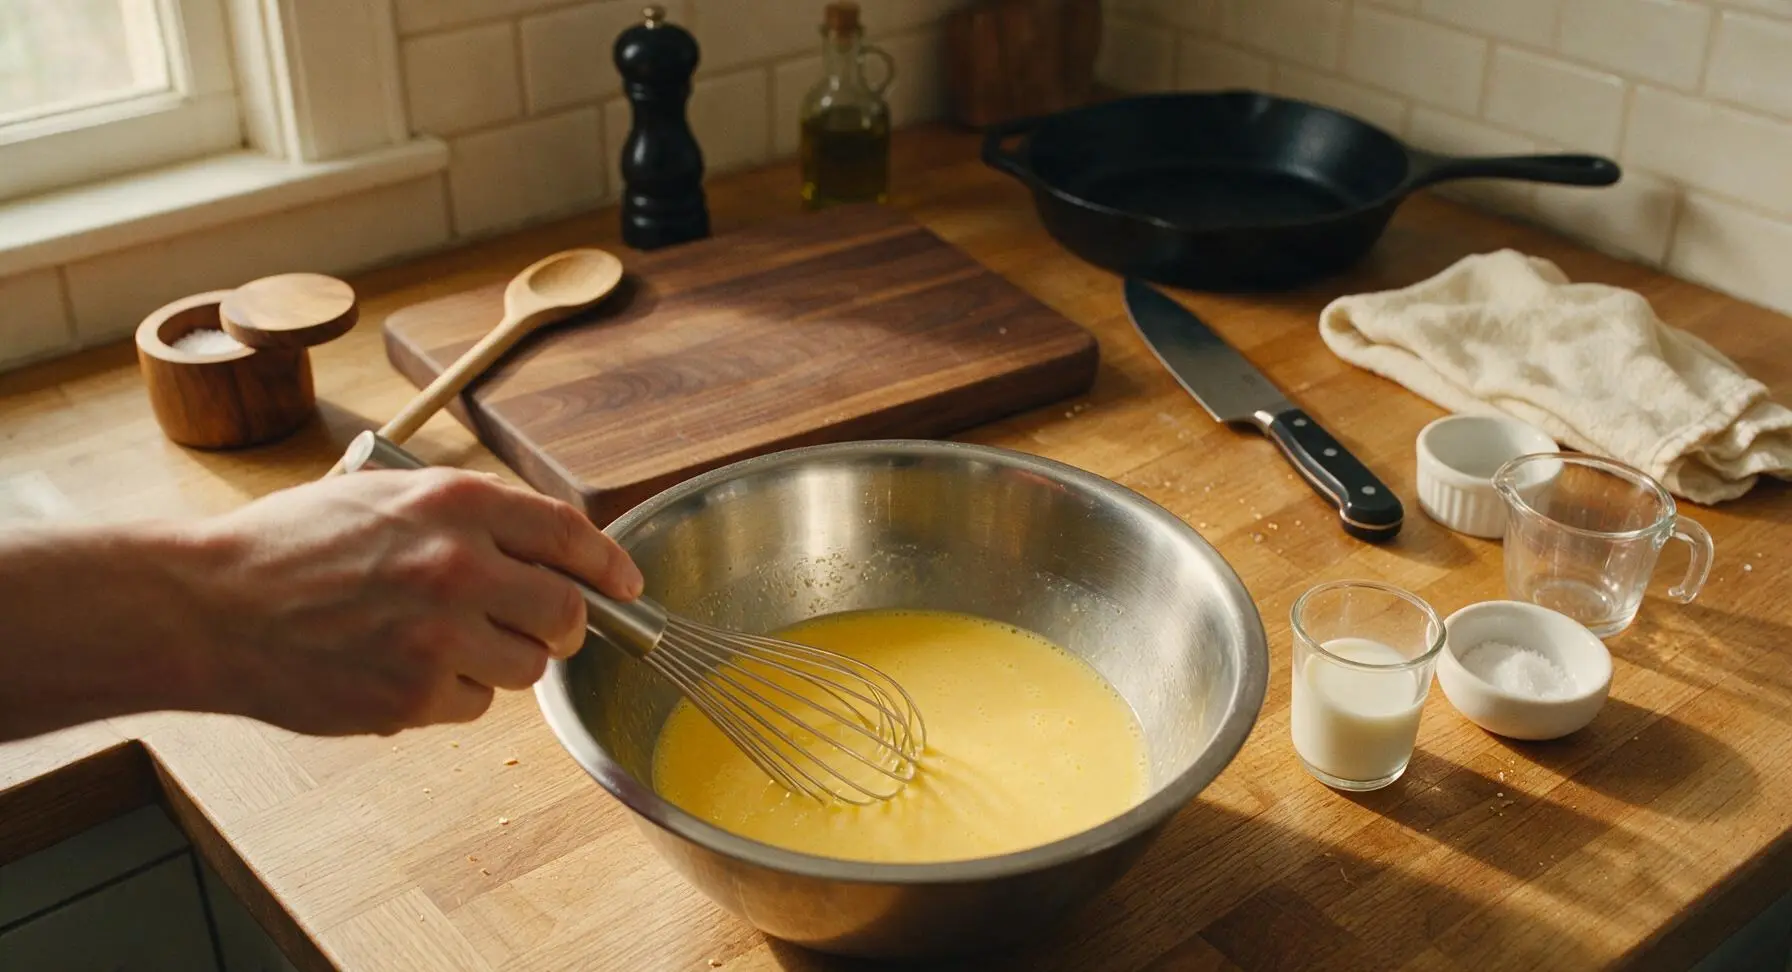
Step 2
step2:Whisk egg mixture
3

Prep chives, preheat pan

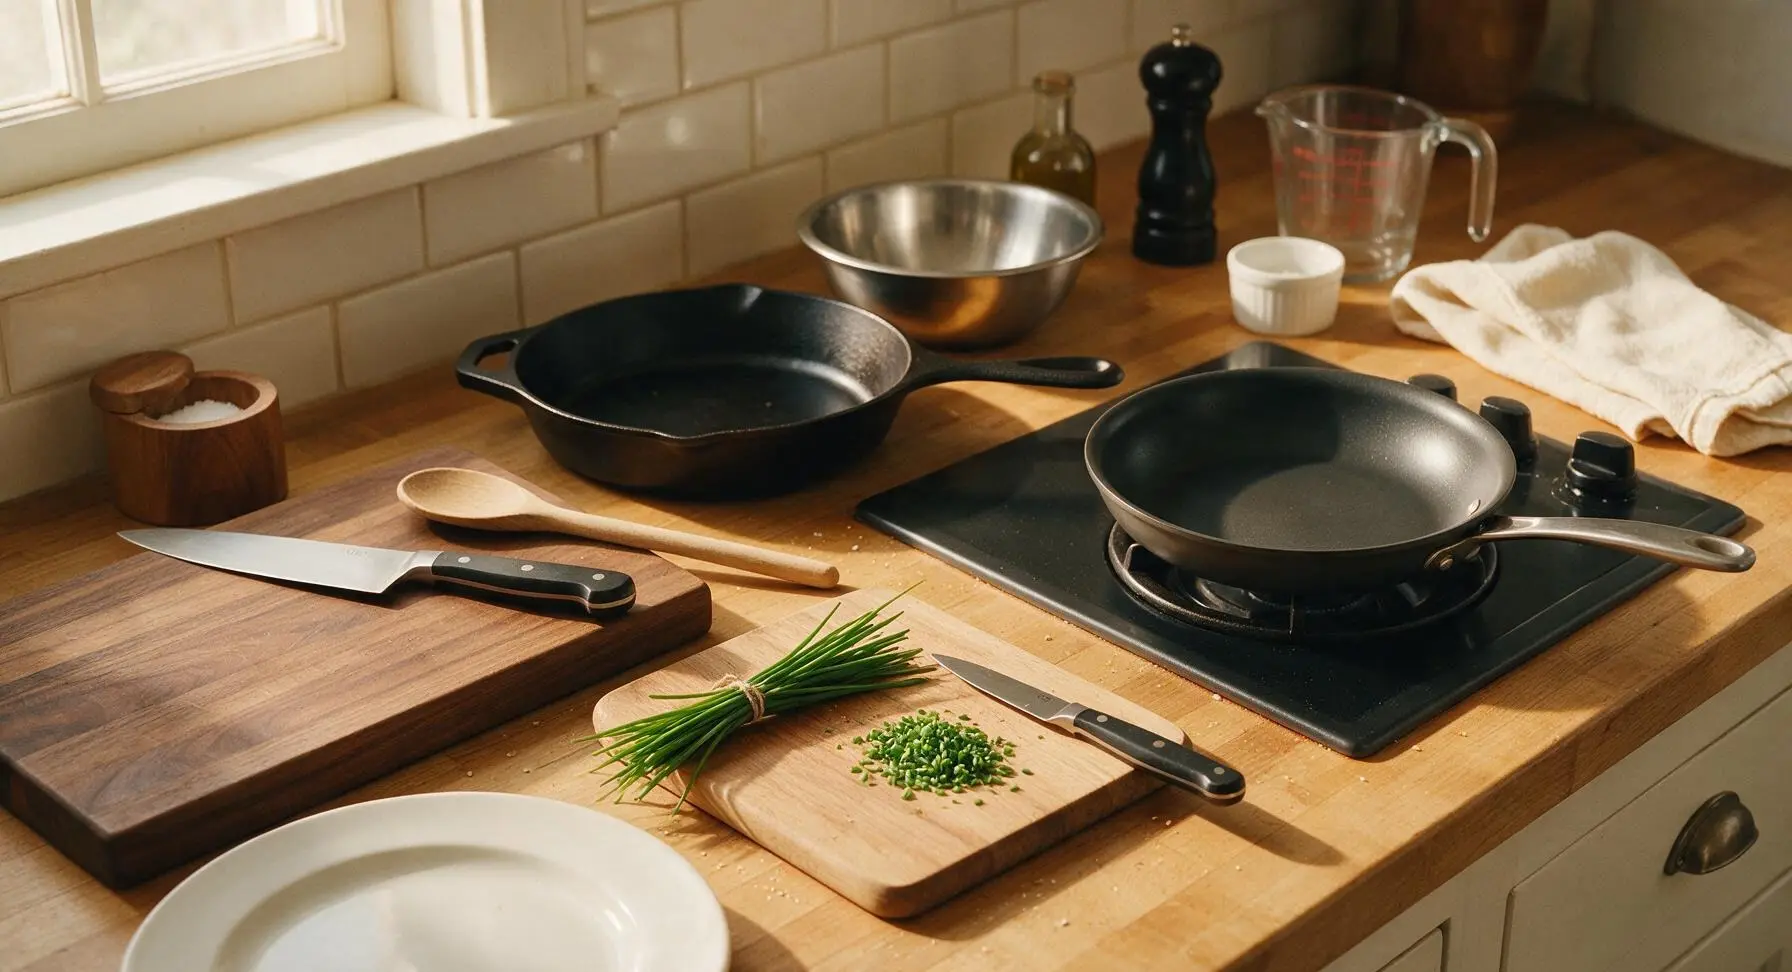
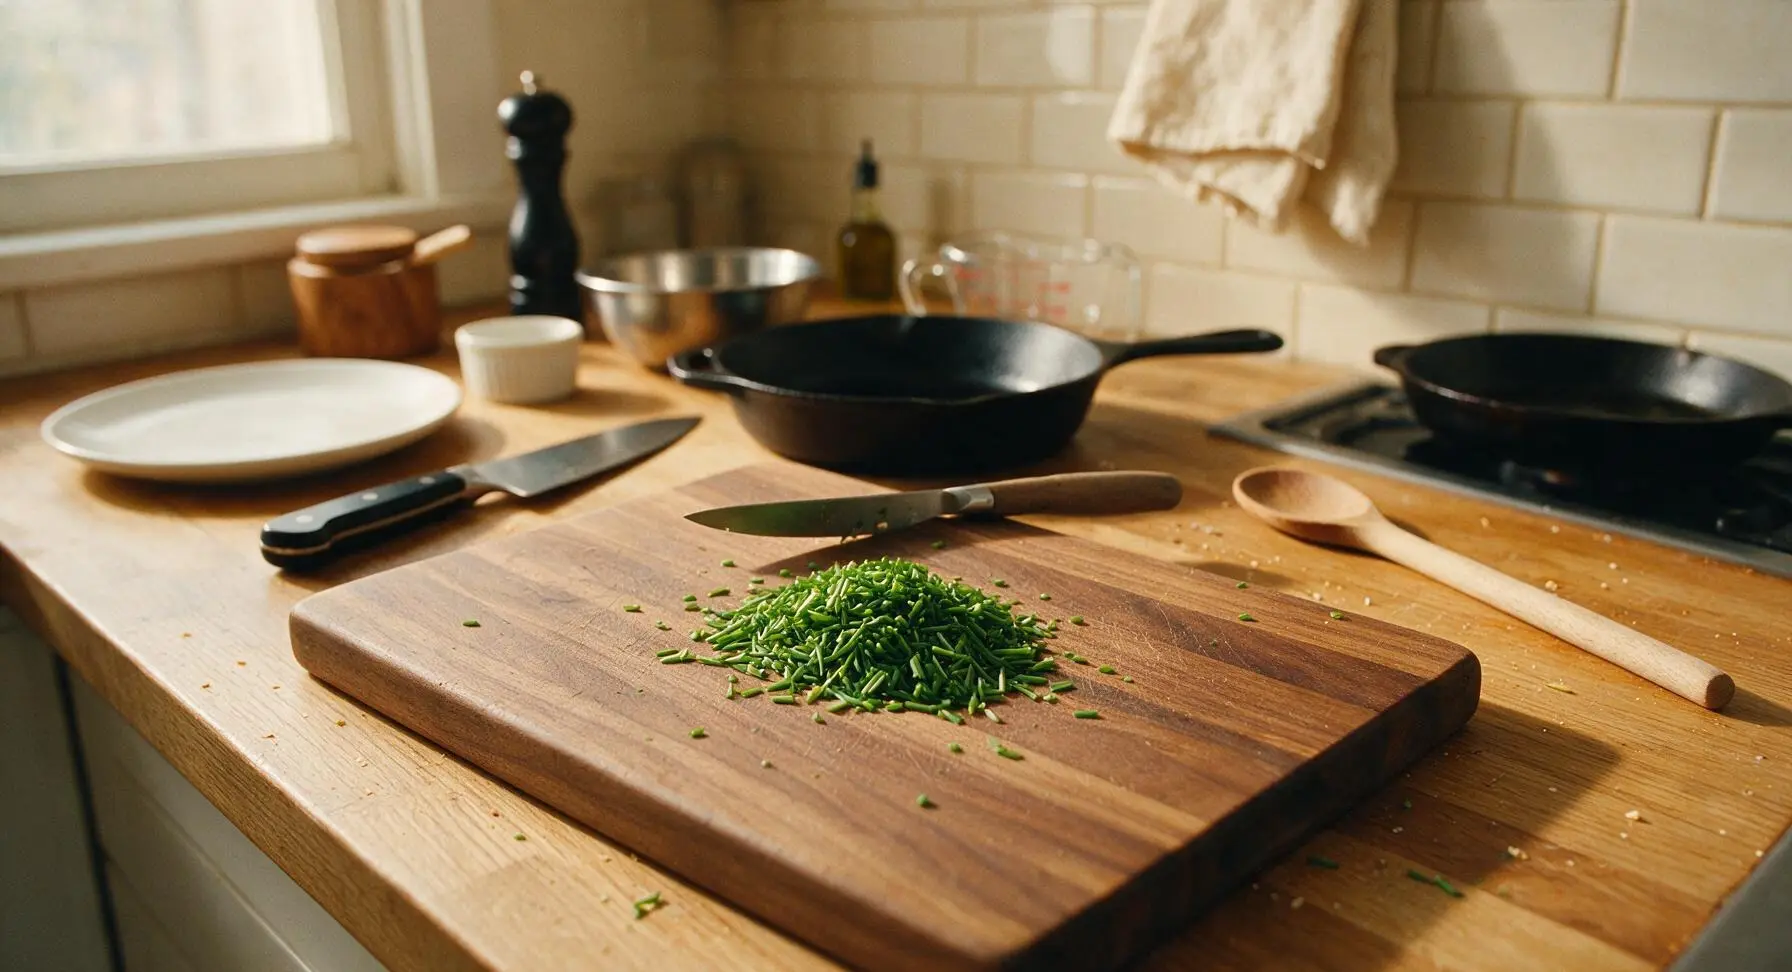
Set the 20cm non-stick skillet on the right-side flush stovetop burner over medium-low heat (130°C/265°F) to preheat for 1 minute. While the pan warms, place the small beech cutting board on the counter in front of the mixing bowl, move the chive bunch from its back position in the ingredient layout onto the board, and use the paring knife to finely chop chives into 3mm pieces. Set chopped chives in a small pile on the edge of the cutting board.
Step 3
step3:Prep chives, preheat pan
Step 3
step3:Prep chives, preheat pan
4

Melt butter gently

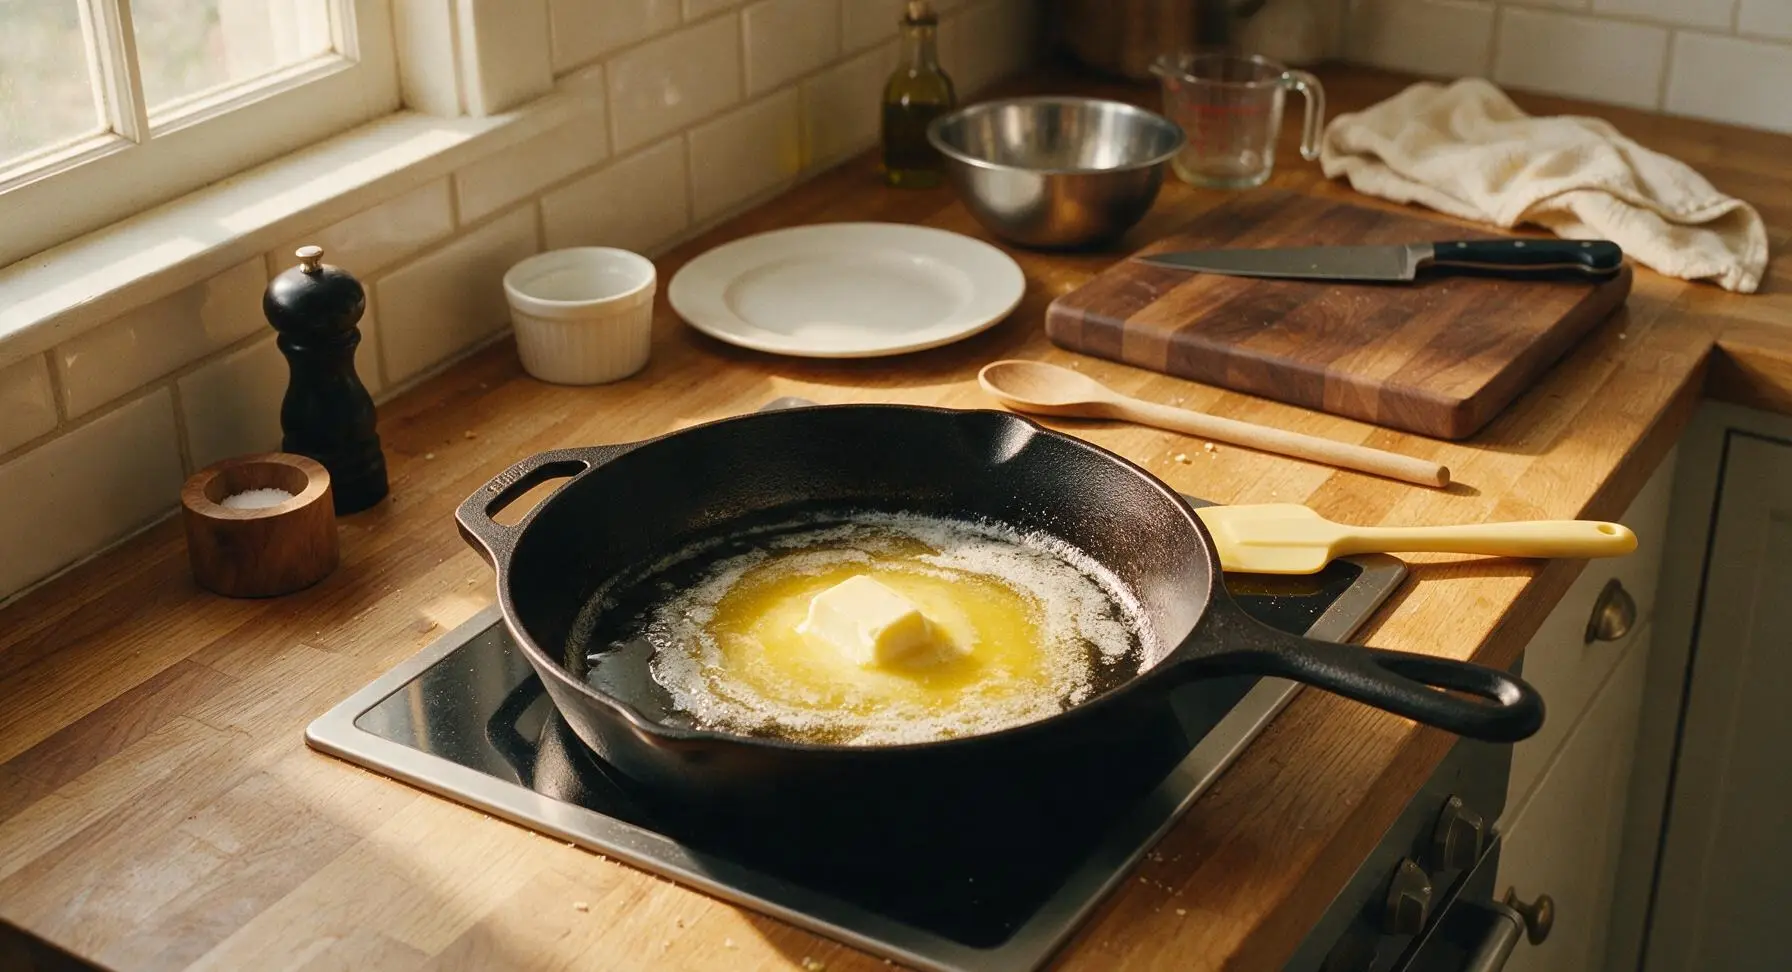
Add the 1 tablespoon of unsalted butter to the preheated skillet. Let it melt slowly over 30-45 seconds, swirling the pan occasionally to coat the entire bottom surface in a thin, even layer of butter. The butter should foam lightly but not turn golden brown or smell nutty; if browning occurs, turn the heat down immediately to avoid discolored, bitter eggs. Rest the silicone spatula on the counter edge beside the stovetop, ready for stirring.
Step 4
step4:Melt butter gently
5

Pour eggs into pan

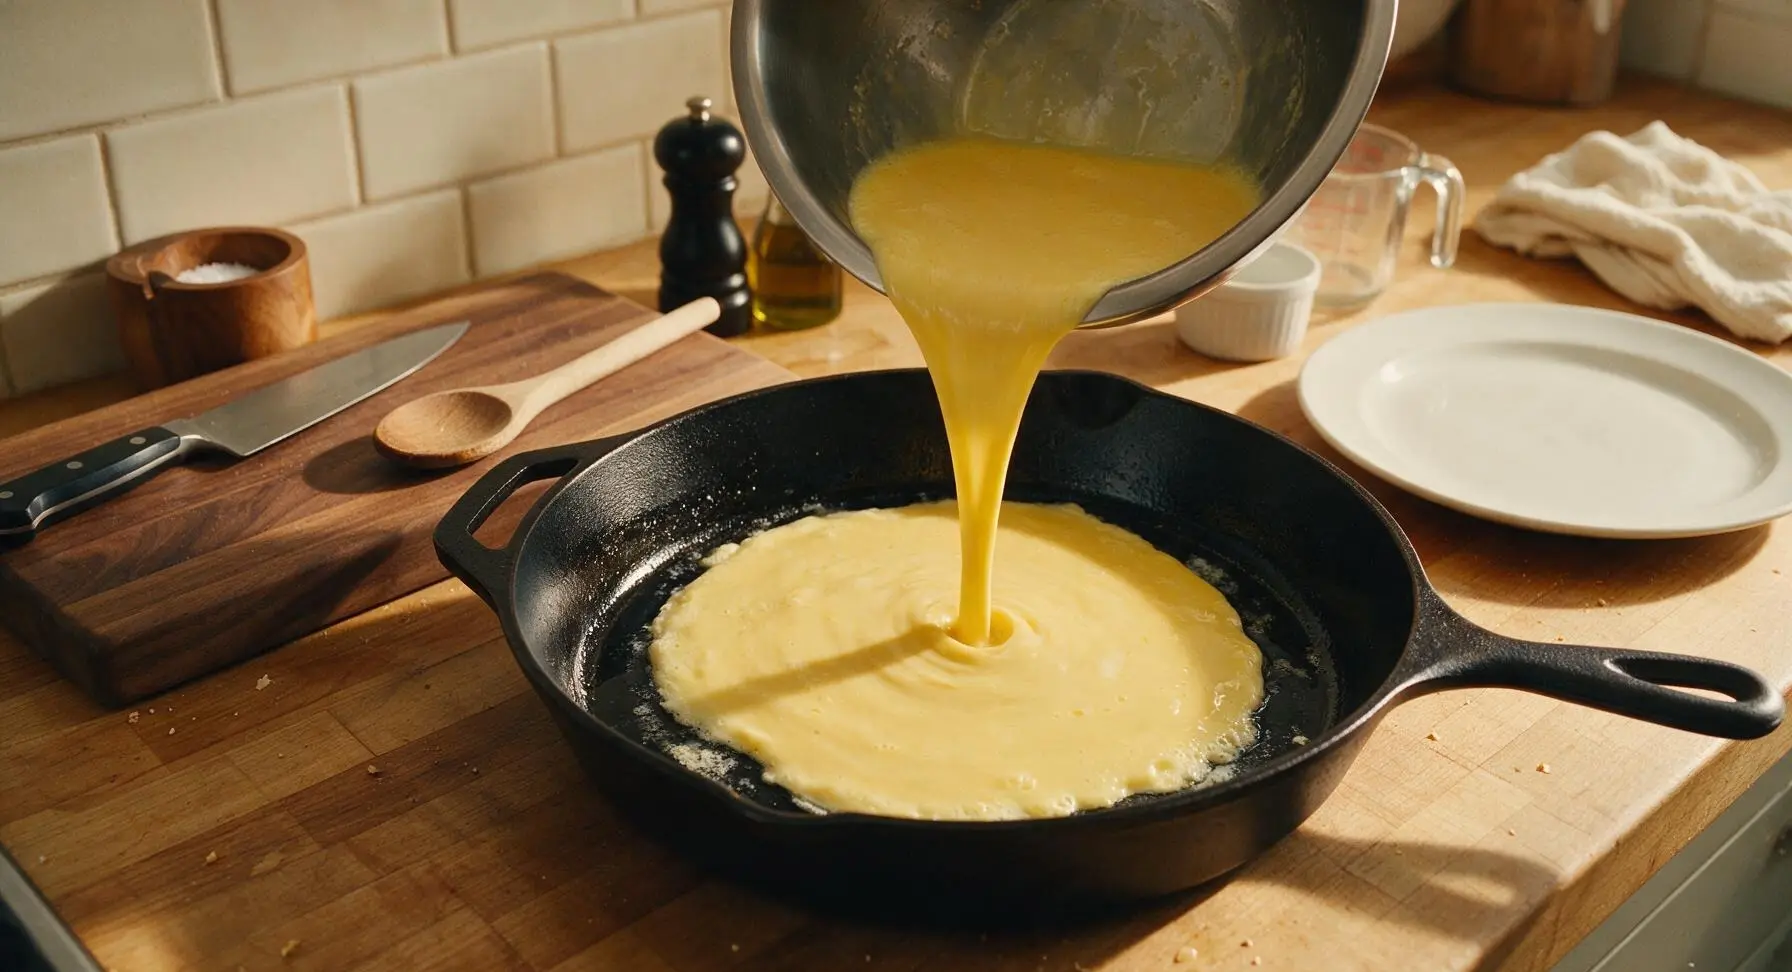
Hold the mixing bowl 5cm above the pan surface and pour the entire whisked egg mixture into the melted butter in one smooth, steady pour. You should hear a soft, gentle sizzle—if you hear a loud crackle, the pan is too hot, and you should lift it off the burner for 10 seconds to cool slightly before proceeding.
Step 5
step5:Pour eggs into pan
6

Cook soft egg curds

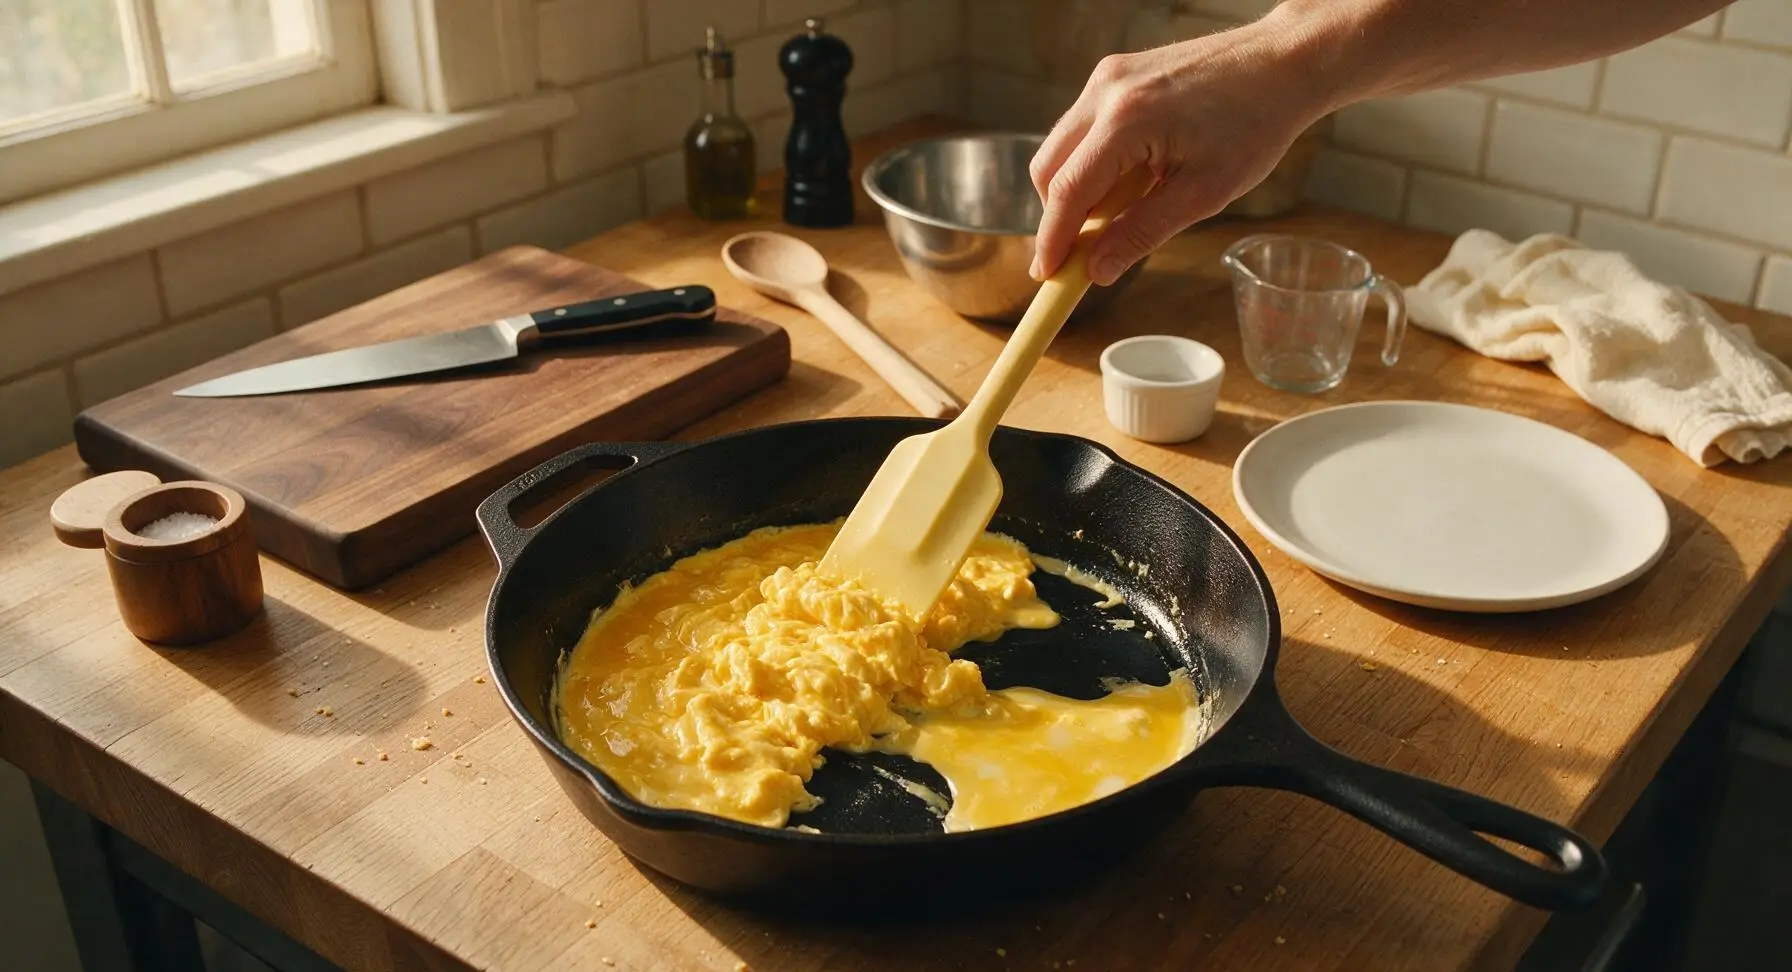
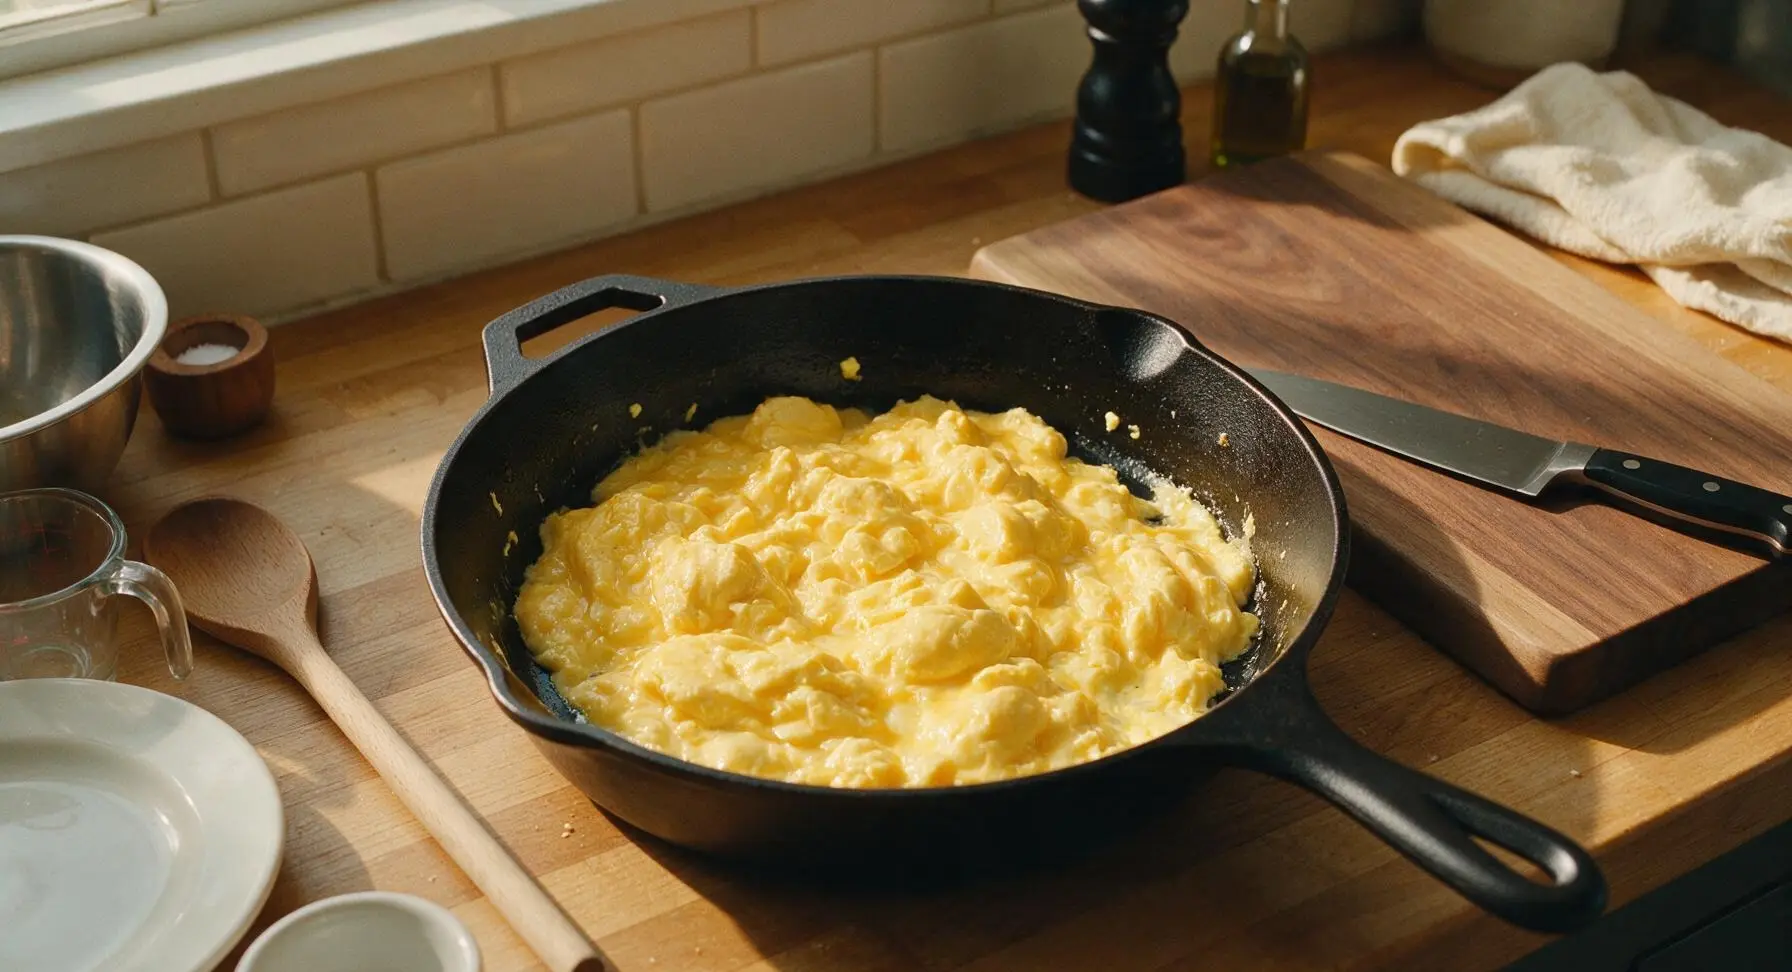
Let the eggs sit undisturbed for 10 seconds to set a thin base layer, then use the silicone spatula to gently push the cooked, set egg edges from the pan sides toward the center. Tilt the pan slightly to let uncooked, runny egg flow into the empty gaps left by the pushed curds. Repeat this slow push-and-tilt motion every 10 seconds for 2 full minutes, keeping heat at medium-low. Stop cooking when eggs are 90% set, with only small patches of wet, barely runny egg visible between curds.
Step 6
step6:Cook soft egg curds
Step 6
step6:Cook soft egg curds
7

Plate and garnish eggs

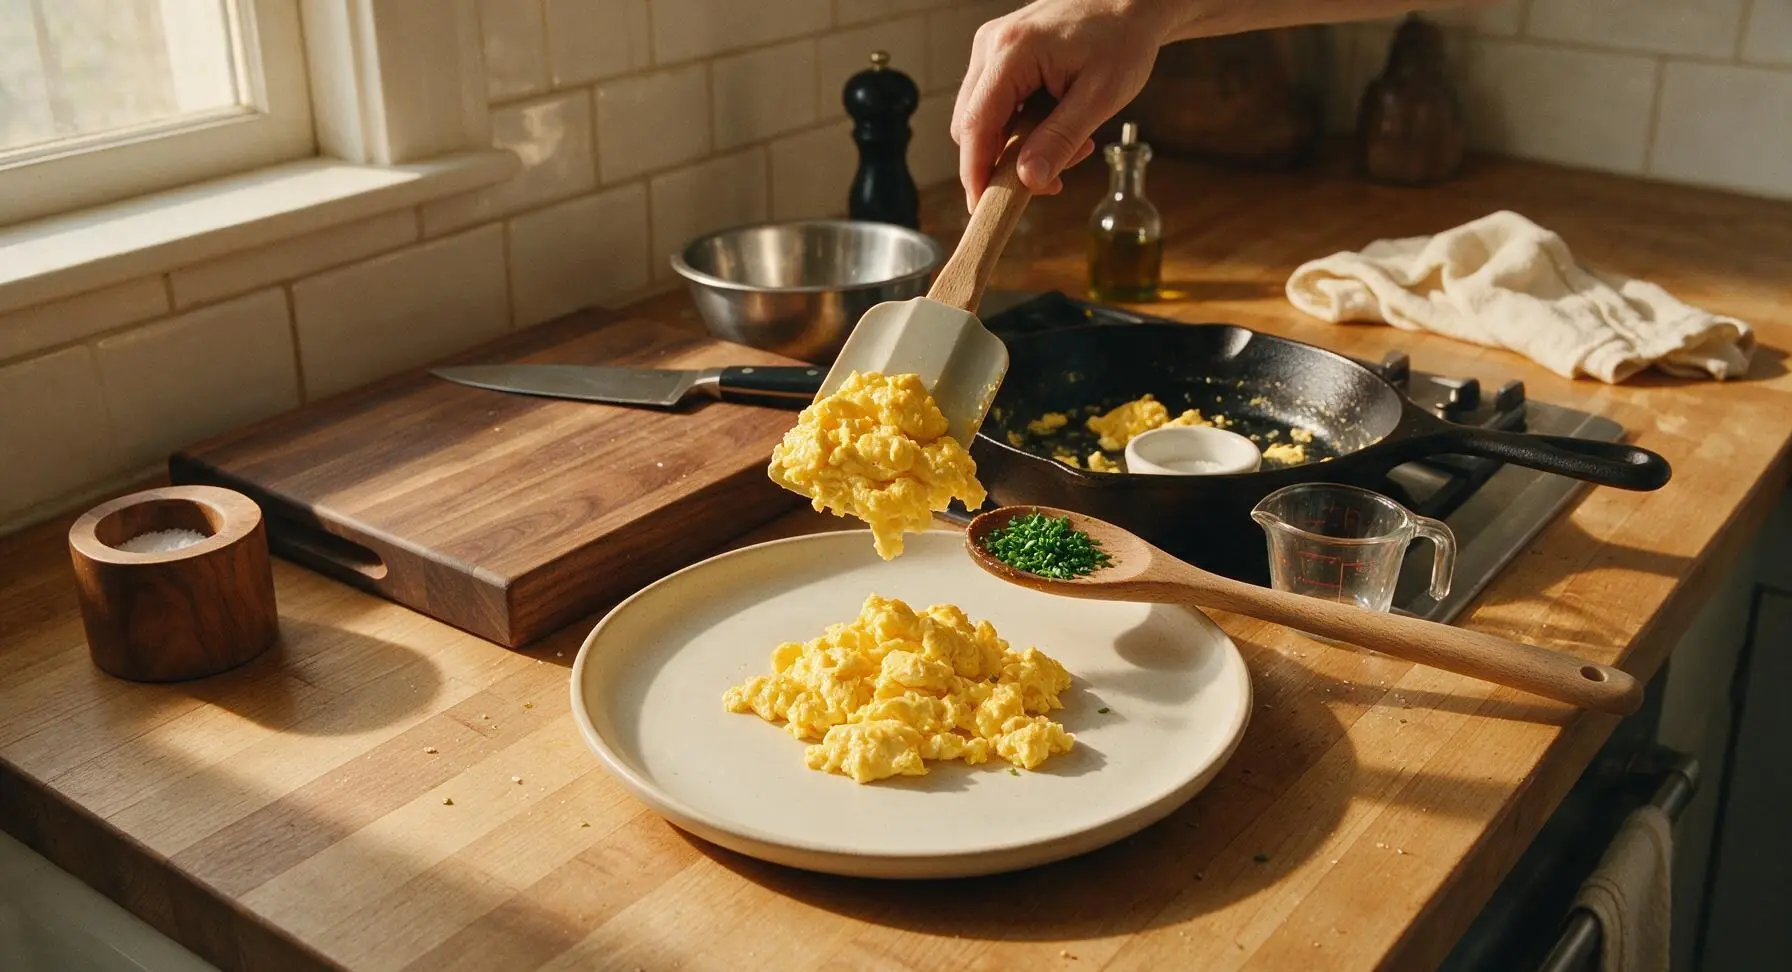
Turn off the stovetop heat immediately, and use the silicone spatula to transfer all the soft curds from the pan to the center of the off-white ceramic breakfast plate. Do not leave eggs in the hot pan, as residual pan heat will overcook them into rubbery, dry curds. Sprinkle the top of the eggs with 1/4 teaspoon freshly ground black pepper, a tiny pinch of flaky sea salt from the oak salt cellar, and the finely chopped fresh chives. Serve immediately.
Step 7
step7:Plate and garnish eggs

Tips

1.Cook exclusively over medium-low heat: High heat causes egg proteins to seize up quickly, creating tough, rubbery curds and browned, bitter edges, while consistent low heat builds soft, tender, melt-in-your-mouth curds without discoloration.
2.Remove eggs from heat when they are 90% set: Residual heat from the pan and the eggs themselves (called carryover cooking) will finish setting the curds in 30-60 seconds off the heat; waiting until eggs look fully done in the pan will result in dry, overcooked eggs by the time they reach the plate.
3.Avoid over-whisking the eggs: Whisking just until yolks and whites are combined creates tender curds; whisking too long incorporates excess air that breaks down during cooking, leading to watery, spongy eggs instead of a rich, creamy texture.


✨ You May Also Like

Breakfast
🍜 United States

Crisp-edged, fluffy lard griddle cakes are a nostalgic homestyle staple, with rich savoriness from rendered lard, perfect topped with maple syrup or savory gravy.

⏱️ 25 minuteBreakfast ★ 4.8
Breakfast
🍜 United States

Flaky, buttery homemade buttermilk biscuits smothered in creamy, peppery pork sausage gravy: a beloved, hearty Southern American comfort food classic.

⏱️ 35 minuteBreakfast ★ 4.8
Breakfast
🍜 United States

Golden, custardy brioche stuffed with sweet cream cheese and fresh berries, pan-fried to crisp perfection. An indulgent, cozy breakfast perfect for slow weekend mornings.

⏱️ 30 minuteBreakfast ★ 4.7
Breakfast
🍜 United States

Flaky, buttery Southern-style biscuits stuffed with savory salty country ham, a portable, satisfying classic perfect for casual on-the-go meals.

⏱️ 25 minuteBreakfast ★ 4.8
Breakfast
🍜 United States

Iconic puffy baked pancake popularized in Seattle, with crisp golden edges and soft custardy center, served warm with classic sweet toppings.

⏱️ 35 minuteBreakfast ★ 4.6
Breakfast
🍜 United States

Fluffy, golden pancakes studded with juicy peak-summer mixed berries, drizzled with maple syrup for a bright, comforting, crowd-pleasing family breakfast.

⏱️ 25 minuteBreakfast ★ 4.7

Scrambled Eggs:Frequently Asked Questions

1.Why do my scrambled eggs always turn out rubbery instead of soft and pillowy? ▾
Rubbery scrambled eggs almost always come from cooking over too-high heat and leaving them on the burner too long. Stick to the lowest heat setting on your stove, and pull the pan off heat the second soft, tender curds form with no runny raw egg left. Residual pan heat will finish cooking the eggs in 30 seconds, so you skip that dry, tough texture.
2.Do I have to use whole milk for this recipe, or are there easy substitutes? ▾
Whole milk adds subtle, light creaminess without thinning the egg base too much, but it’s totally flexible. Swap it for half-and-half for extra richness, a splash of heavy cream cut with water, or skip dairy entirely by adding an extra teaspoon of unsalted butter. Just avoid flavored or sweetened plant milks, which will throw off the eggs’ savory, balanced flavor.
3.How often should I stir the eggs as they cook to get perfect soft curds? ▾
Stir gently with a heatproof silicone spatula every 10 to 15 seconds once eggs start to set on the pan bottom, pushing cooked curds from the pan edges into the center. Don’t stir nonstop—that creates tiny, grainy curds—but don’t leave eggs untouched for long stretches, which leads to large, tough, fried egg-style chunks instead of pillowy curds.
4.When is the best time to add salt to the eggs for the best texture? ▾
Skip the old myth that salting eggs early makes them watery! Salting beaten eggs 10 to 15 minutes before cooking slightly breaks down egg proteins for extra tender, evenly seasoned curds. If you’re short on time, salt right as you pour eggs into the pan, and add freshly ground black pepper at the end to avoid bitter, burnt notes—just skip salting halfway through cooking, which leaves uneven, gritty seasoning spots.
5.Can I make these soft scrambled eggs ahead of time for meal prep? ▾
Soft scrambled eggs are best eaten immediately off the pan, as they don’t hold up well to storage or reheating. They’ll turn rubbery and weep excess moisture even when kept in an airtight fridge container. To save time on busy mornings, beat the eggs and chop chives the night before, but cook the eggs right before you plan to eat for that ideal silky texture.

Comments (15)

2 days ago

OMG these are the silkiest scrambled eggs I’ve ever made in my life! I’ve been overcooking mine for years by having the heat too high, the low and slow 3 minute trick is a total game changer. My 7 year old asked for seconds before he even finished his first serving!

yesterday

Right?! I used to blast the heat too because I thought 3 minutes sounded too fast, turns out that’s the secret! My picky toddler gobbles these up every weekend now.

yesterday

So happy to hear the whole family loves them! Low heat is definitely non-negotiable for that soft, curd texture we all love. If you want extra luxury, try stirring in a tiny pat of cold butter right at the end!

5 minutes ago

Wait, no milk or cream? I’ve always added a splash of half and half to my eggs, was skeptical but tried this exactly as written and wow. They don’t get watery at all! Who knew.

just now

So glad you gave it a shot! Milk and cream can actually break down the egg curds and make them watery if you add too much, which is why we stick to just eggs, a little salt, and butter for that perfect texture.

1 week ago

Made a big batch of these for my weekly meal prep yesterday, stored them in airtight containers and they reheated way better than I thought they would! Still soft, no rubbery texture at all when I zapped them for 20 seconds in the microwave at work. 10/10

3 days ago

Made these for my friend’s potluck brunch last weekend and everyone was asking for the recipe! I topped mine with a little chive and flaky sea salt like the note suggested, chef’s kiss. SO good.

2 days ago

The flaky salt on top is non-negotiable! I did that last time and it elevated the whole thing so much, regular table salt just doesn’t hit the same.

30 minutes ago

Hmm, mine came out a little runny even after 3 minutes? Maybe my stovetop runs hotter than most? I had to cook them an extra minute and they got a little firmer than I wanted, still tasted good though.

5 minutes ago

Oh yeah every stovetop is so different! I have an old gas range and I have to keep it on the absolute lowest simmer setting otherwise they cook too fast on the bottom. Maybe turn your burner down a notch next time!

just now

Great point from Steve! Stovetop heat varies a lot between models, so don’t be afraid to adjust the temp or cook time 30-60 seconds as needed. You want to pull them off right when the curds form but still look slightly wet, since they keep cooking a little from residual heat!

2 hours ago

Perfect quick high protein breakfast for post gym! I pair these with a slice of sourdough and some avocado and it keeps me full all the way until lunch, no mid-morning snack cravings. Love that it only takes 3 minutes, perfect for busy workout mornings.

5 days ago

Really good base recipe! I added a tiny sprinkle of shredded sharp cheddar right at the end and it melted perfectly into the eggs, didn’t make them greasy at all. Will definitely be making these again, just wish I’d thought to add cheese sooner.

3 days ago

Adding a little sharp cheddar at the end is such a great call! The residual heat from the eggs melts the cheese perfectly without making the texture greasy — we love that customization.

yesterday

My teenager used to say scrambled eggs were “boring” until I made these last night for dinner (breakfast for dinner night, duh) and he ate three servings. Win for dad! No more boring egg nights.

yesterday

Breakfast for dinner is the best! My boys are the same way, they turn their nose up at regular eggs but beg for these soft ones every time I ask what they want for dinner now.

1 week ago

Wait, 3 minutes? Mine were completely underdone, slimy even after I followed the directions exactly. I don’t get the hype, I like my eggs fully cooked not basically raw.

5 days ago

Oh these are definitely for people who like soft, custardy eggs! If you prefer firmer scrambled eggs you can just cook them a couple minutes longer, totally okay to adjust to your taste!

3 days ago

We totally get that soft, custardy eggs aren’t for everyone! If you prefer a firmer texture, simply cook them for an extra 1-2 minutes, stirring gently, until they reach your preferred doneness. Recipes are always a starting point to tweak to your tastes!

2 weeks ago

Made these on my tiny camper stove over the weekend and they turned out perfect even on the wimpy little RV burner! No fancy equipment needed, just a pan and a spatula, which is perfect for camping trips. Will be a staple on all our road trips from now on.

2 days ago

I stirred in a tiny bit of garlic powder and a pinch of red pepper flakes for a little kick and oh my god, life changing. The soft texture is the perfect base for whatever seasonings you love, it’s so versatile.

yesterday

That seasoning combo sounds incredible! We love how customizable these eggs are — red pepper flakes add such a nice little zing, we’ll have to try that next time we make them.

3 days ago

Literally the first thing I’ve made in my new apartment that didn’t turn out burnt or terrible! I’m such a bad cook but these were so easy, only 3 minutes, no fancy steps. I felt like a real chef making them this morning lol.

2 days ago

Same! I burned every egg I made in my dorm last semester until I found this recipe, it’s foolproof even for people who can barely boil water.

2 days ago

Welcome to your new apartment, Jess! We’re so glad this recipe was a win for you — everyone has to start somewhere, and easy, delicious basics like this are the perfect building block for learning to cook.

1 week ago

Made these for our weekly Sunday brunch with the roommates, served them with smoked salmon and bagels and everyone raved. Even my roommate who swears he “can’t eat runny eggs” went back for a second helping. Total hit.

5 days ago

The smoked salmon pairing is chef’s kiss! I do that too, plus a little dollop of cream cheese on the side and it tastes like something you’d pay $18 for at a fancy brunch spot.

2 weeks ago

Super easy to adapt for a low sodium diet! I skipped the added salt and topped them with a little no-salt seasoning and nutritional yeast, and they still had so much flavor even without the salt. Great base recipe for people with dietary restrictions.

yesterday

Wait the tip about stirring constantly with a silicone spatula to get those soft little curds? Why did no one ever tell me that before? I was just dumping eggs in a pan and leaving them for a minute before flipping, and they were always rubbery. This method is so much better.

yesterday

Right?! My grandma used to make eggs like this, stir them real slow the whole time, I forgot how she did it until I saw this recipe. Tastes exactly like her Sunday breakfast eggs now.

2 hours ago

Constant gentle stirring is the secret to those tiny, soft curds! It keeps the eggs cooking evenly so no rubbery bits, and gives that perfect melt-in-your-mouth texture. So glad it worked for you!



