
Slow Cooked Scrambled Eggs
intro
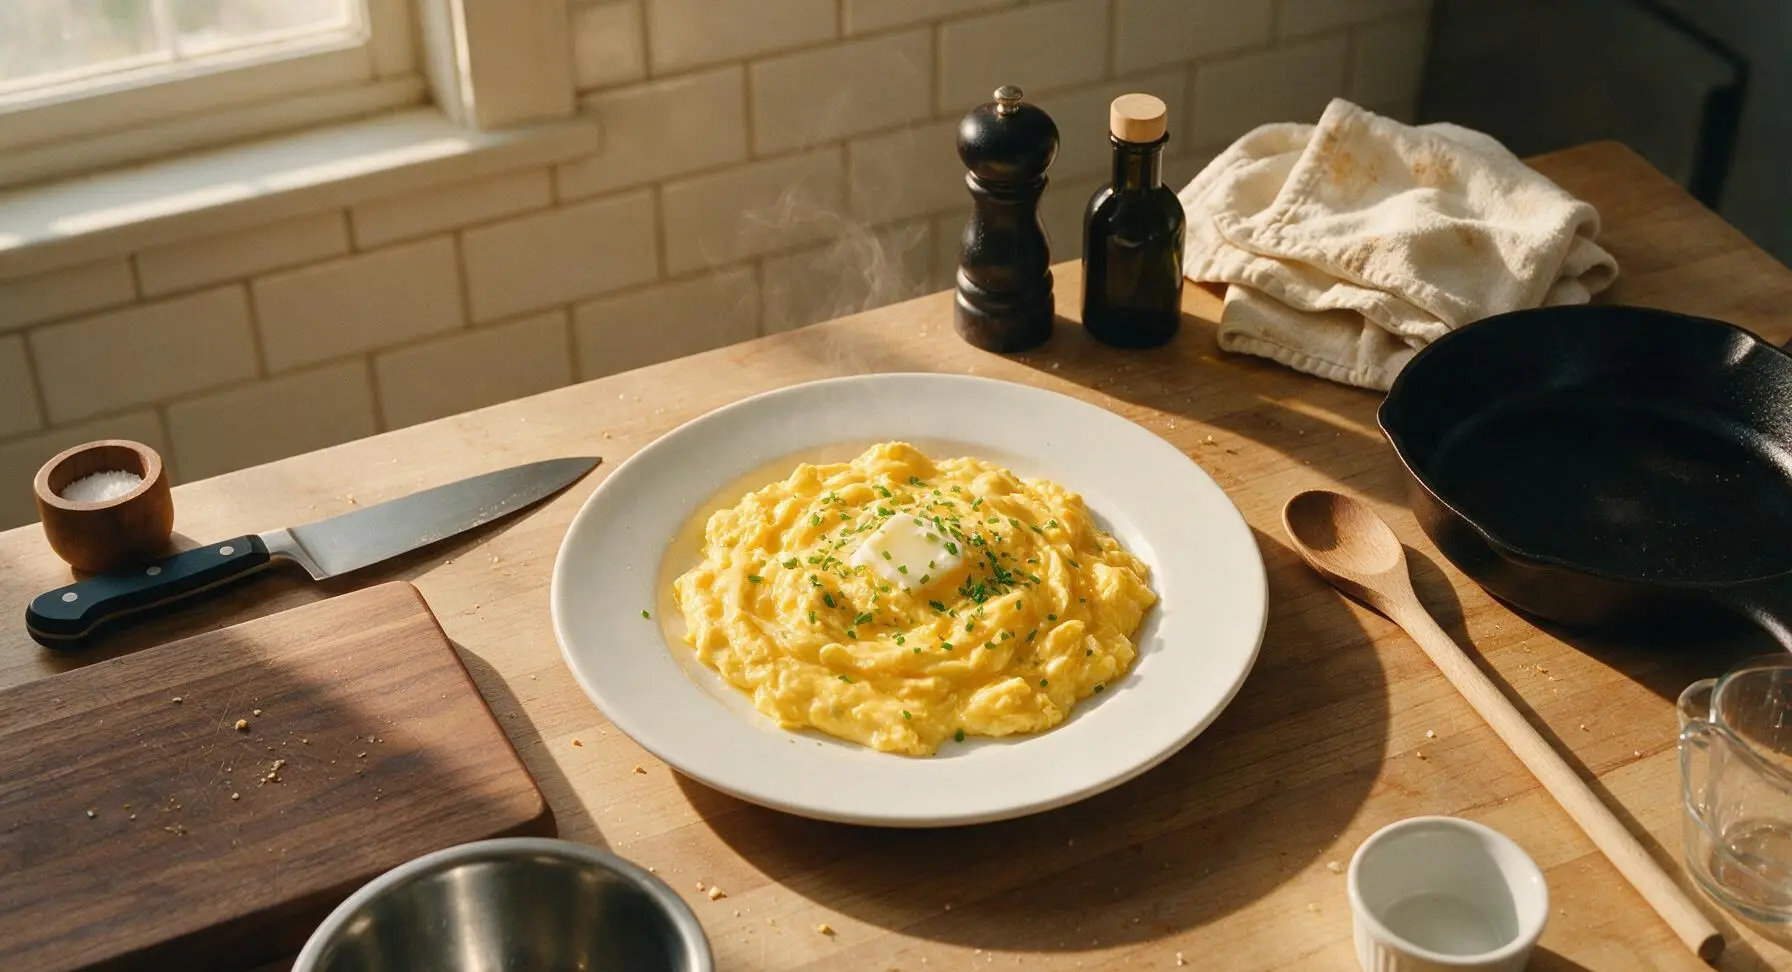
Silky, custard-like slow cooked scrambled eggs, made low and slow for melt-in-your-mouth texture with no rubbery bits, finished with butter and bright fresh chives.
Ingredients
Steps
Crack and Whisk Eggs
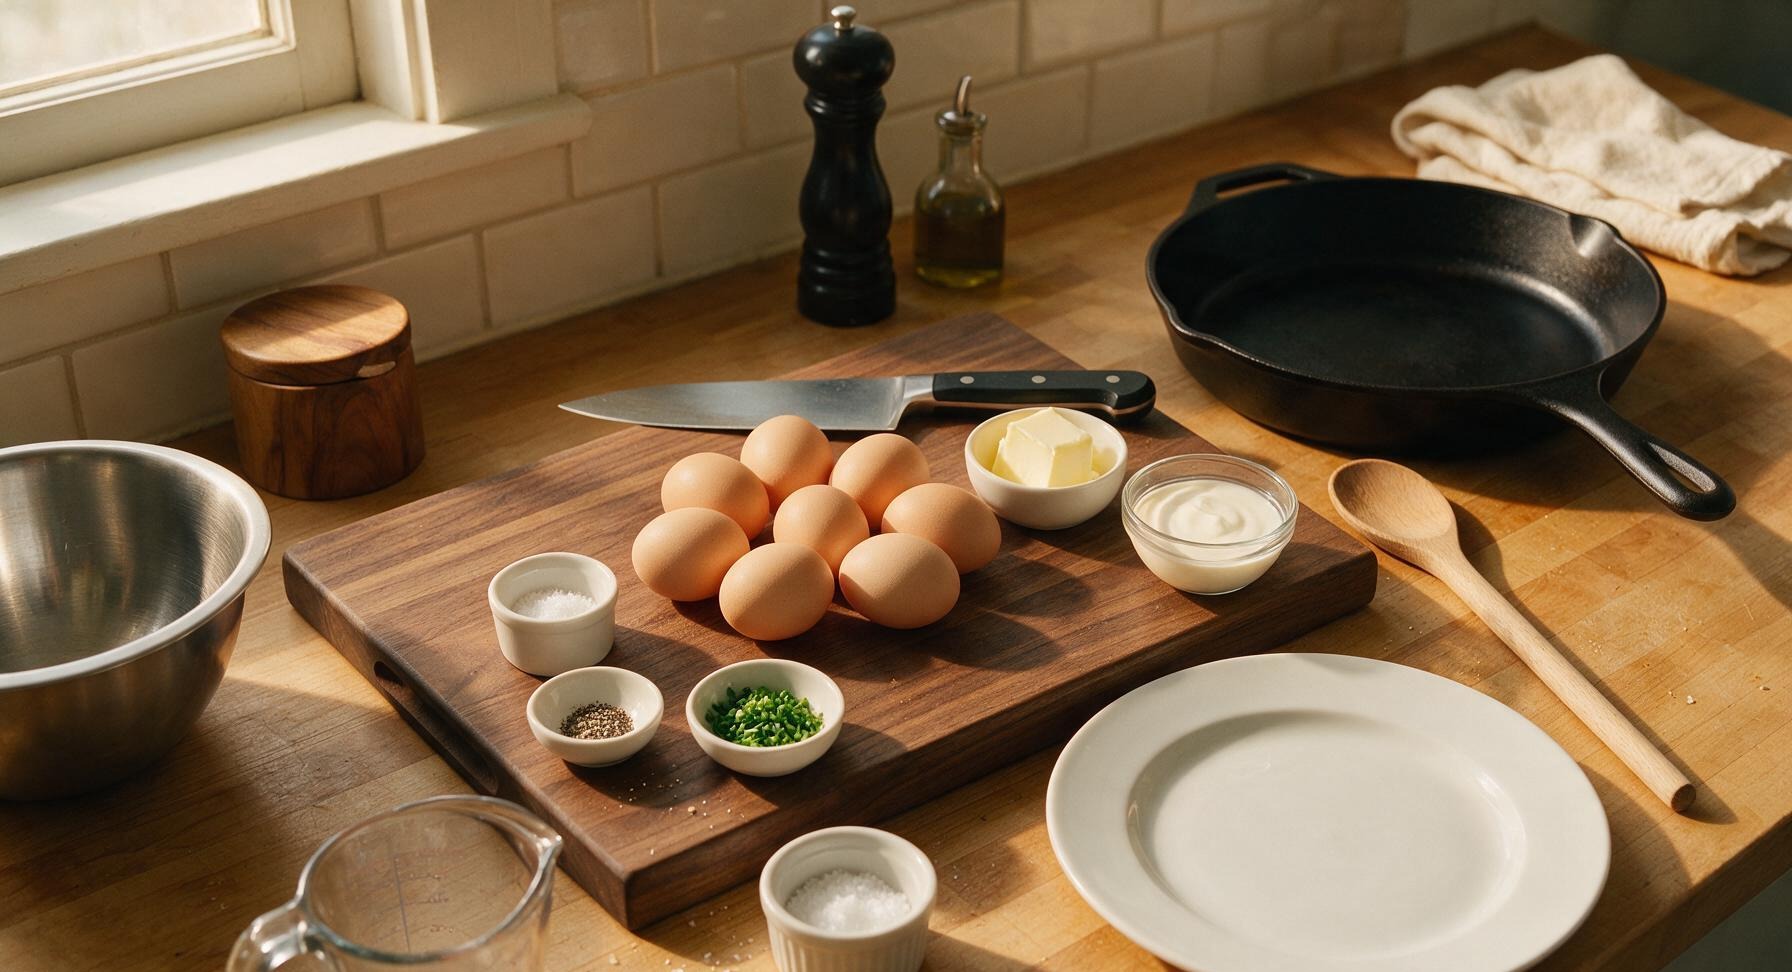
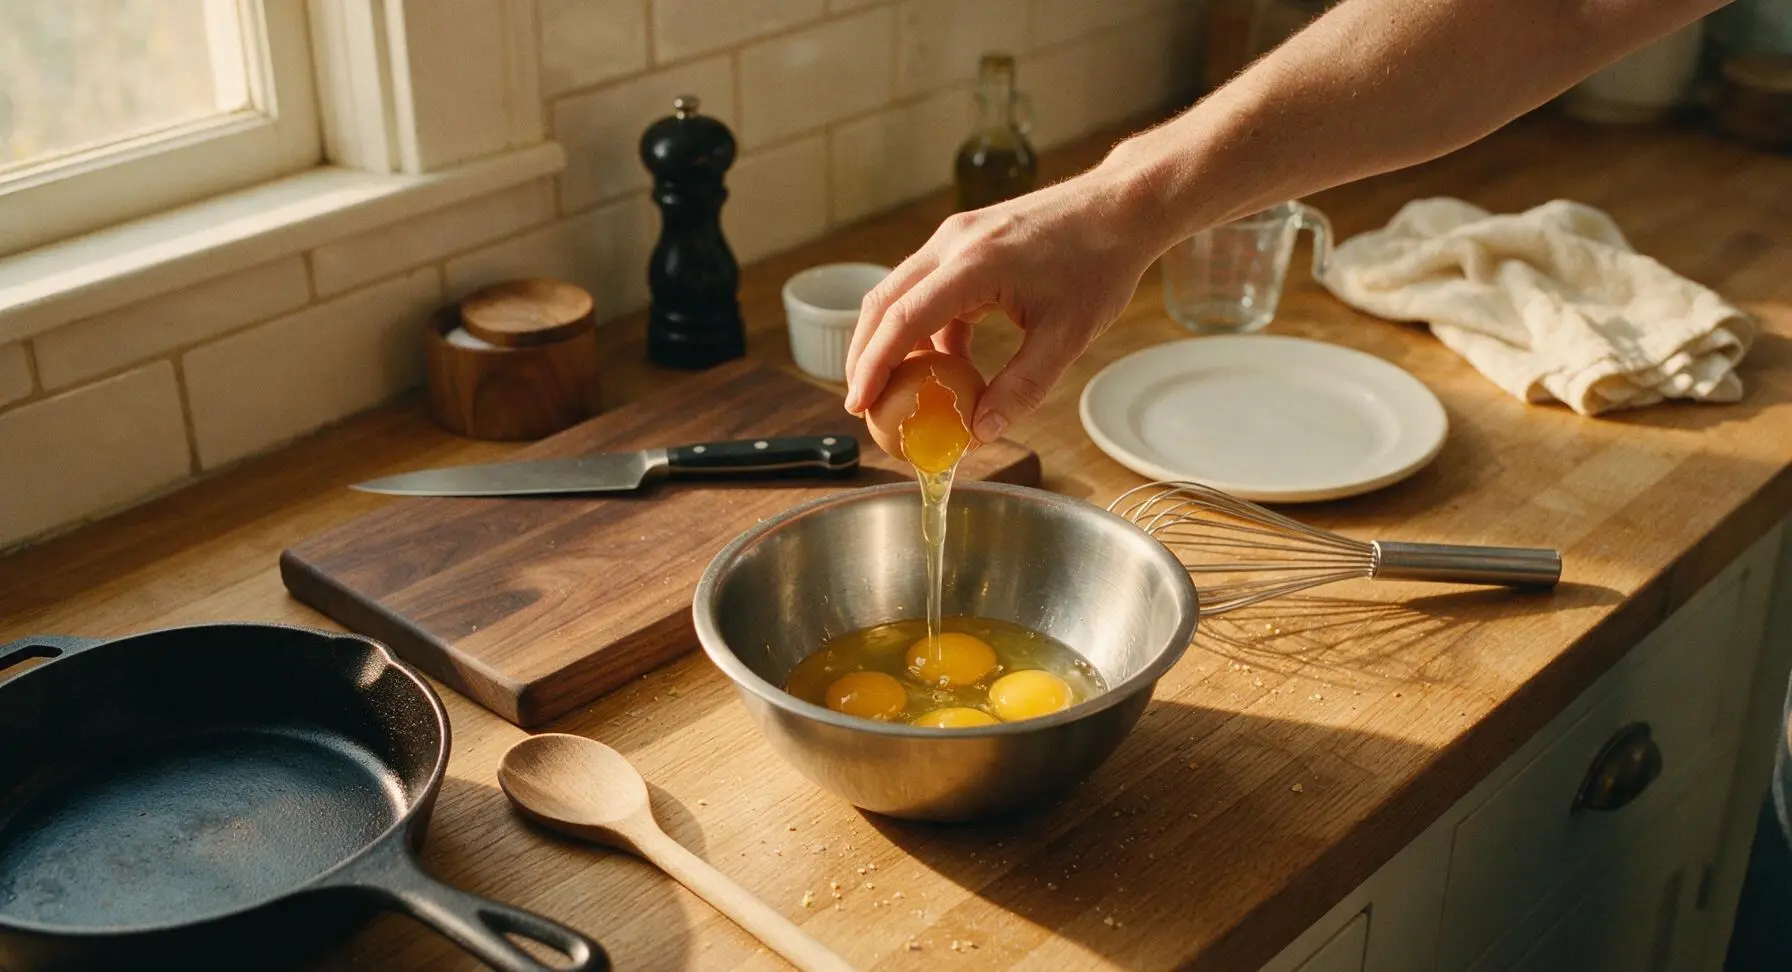
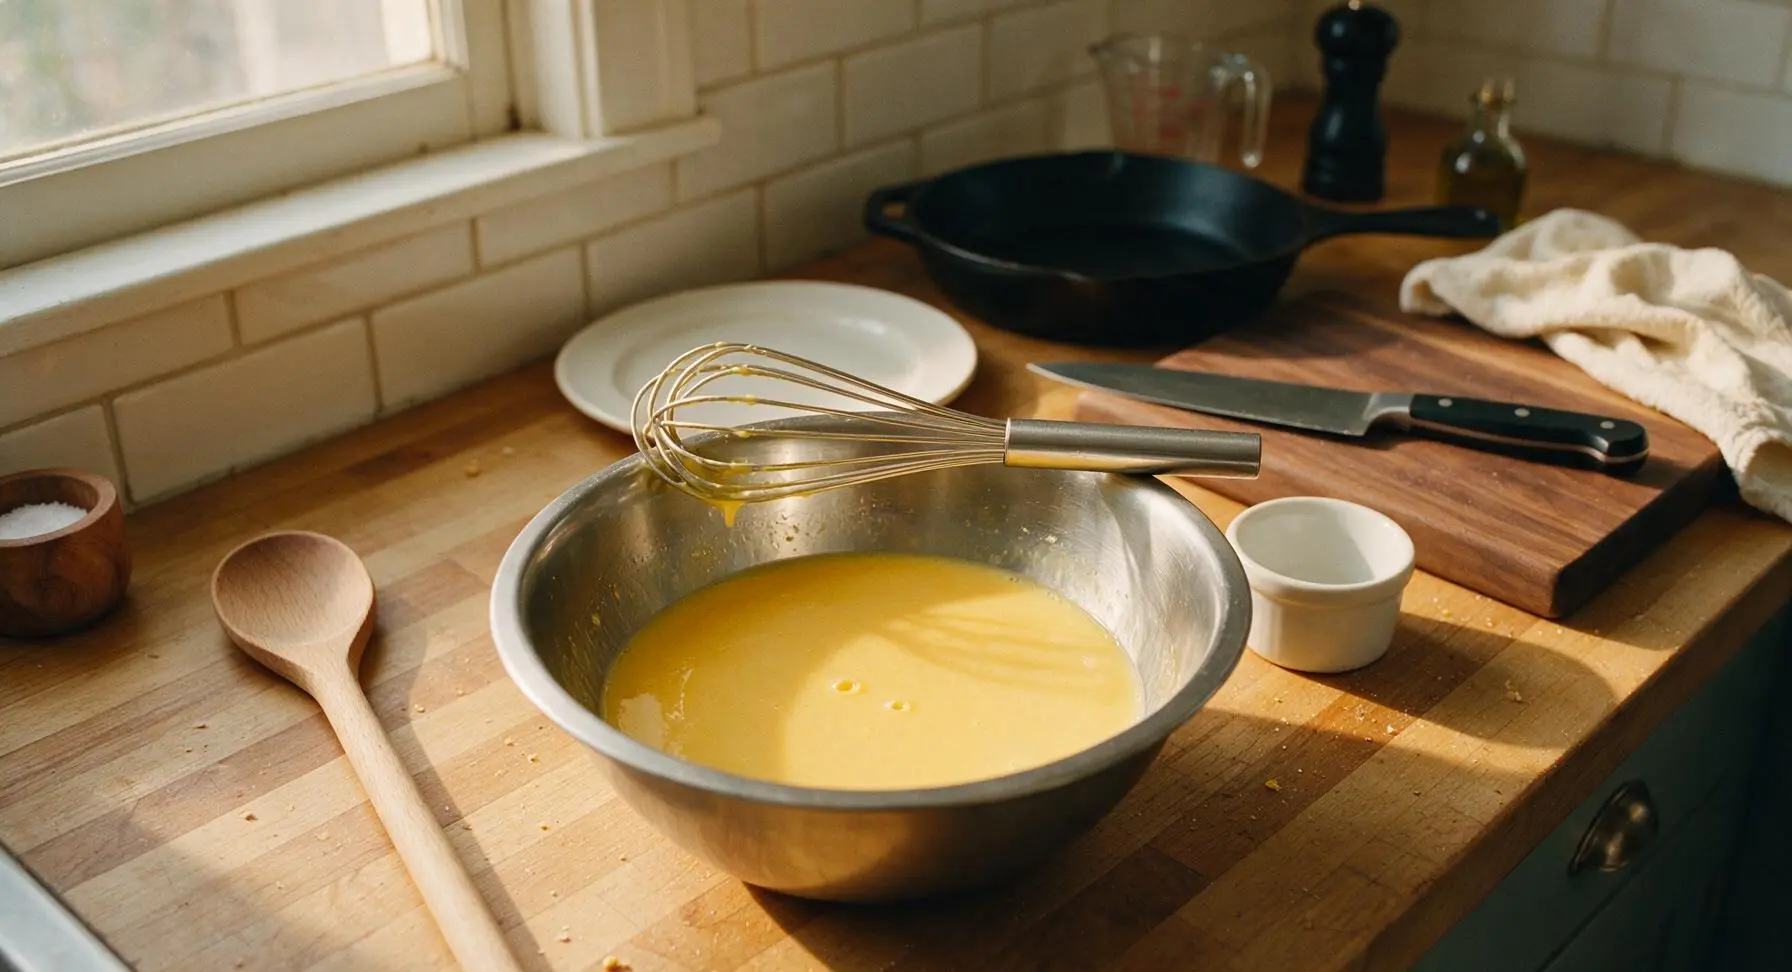
Crack all 8 large cold eggs into the medium brushed stainless steel mixing bowl. Add 2 tablespoons heavy whipping cream and 1 teaspoon kosher salt. Whisk slowly with the stainless steel wire whisk for 30 seconds until yolks and whites are fully combined into a uniform pale golden liquid, with no streaks of clear egg white remaining. Do not over-whisk, as excess air will create fluffy rather than silky, dense curds.
Prep Chive Garnish
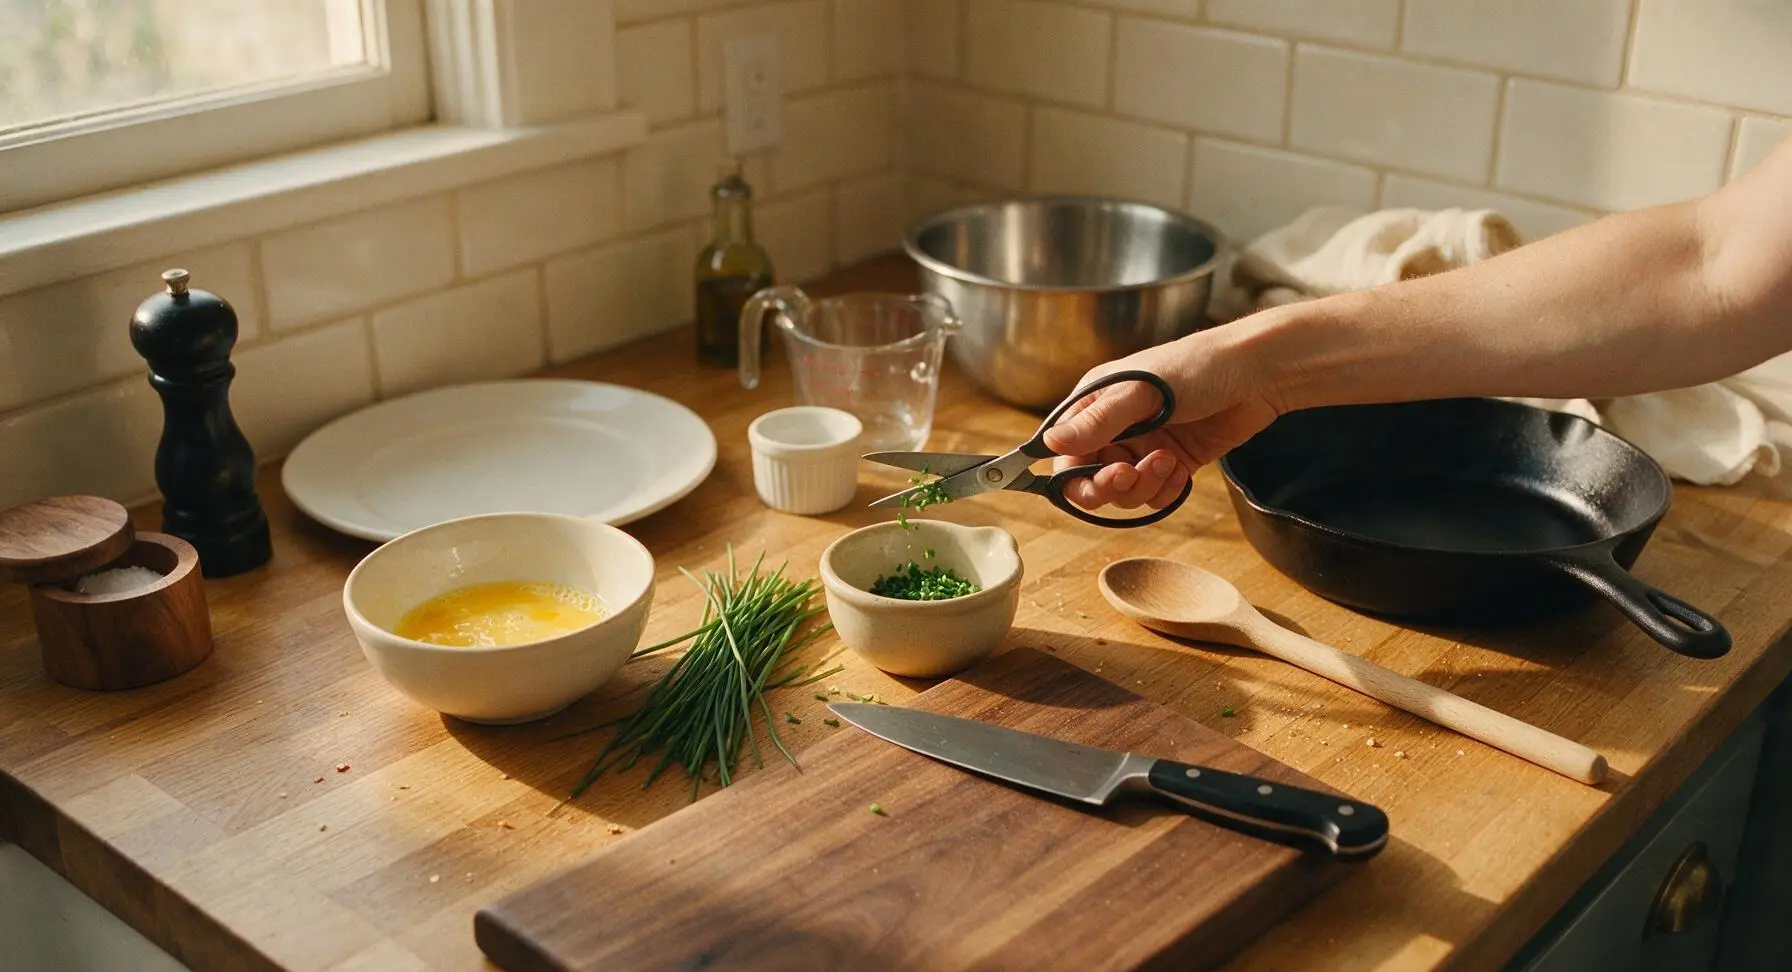
Rinse the fresh chive bunch under cool running water, pat dry with the corner of the fixed linen towel. Use the small kitchen shears to snip chives into 3mm (1/8 inch) pieces into the small cream ceramic pinch bowl, yielding approximately 1 tablespoon of chopped chives. Set the bowl of chives near the induction cooktop for final garnish; do not add chives during cooking, as prolonged heat will mute their bright, oniony flavor.
Heat Pan Low and Slow
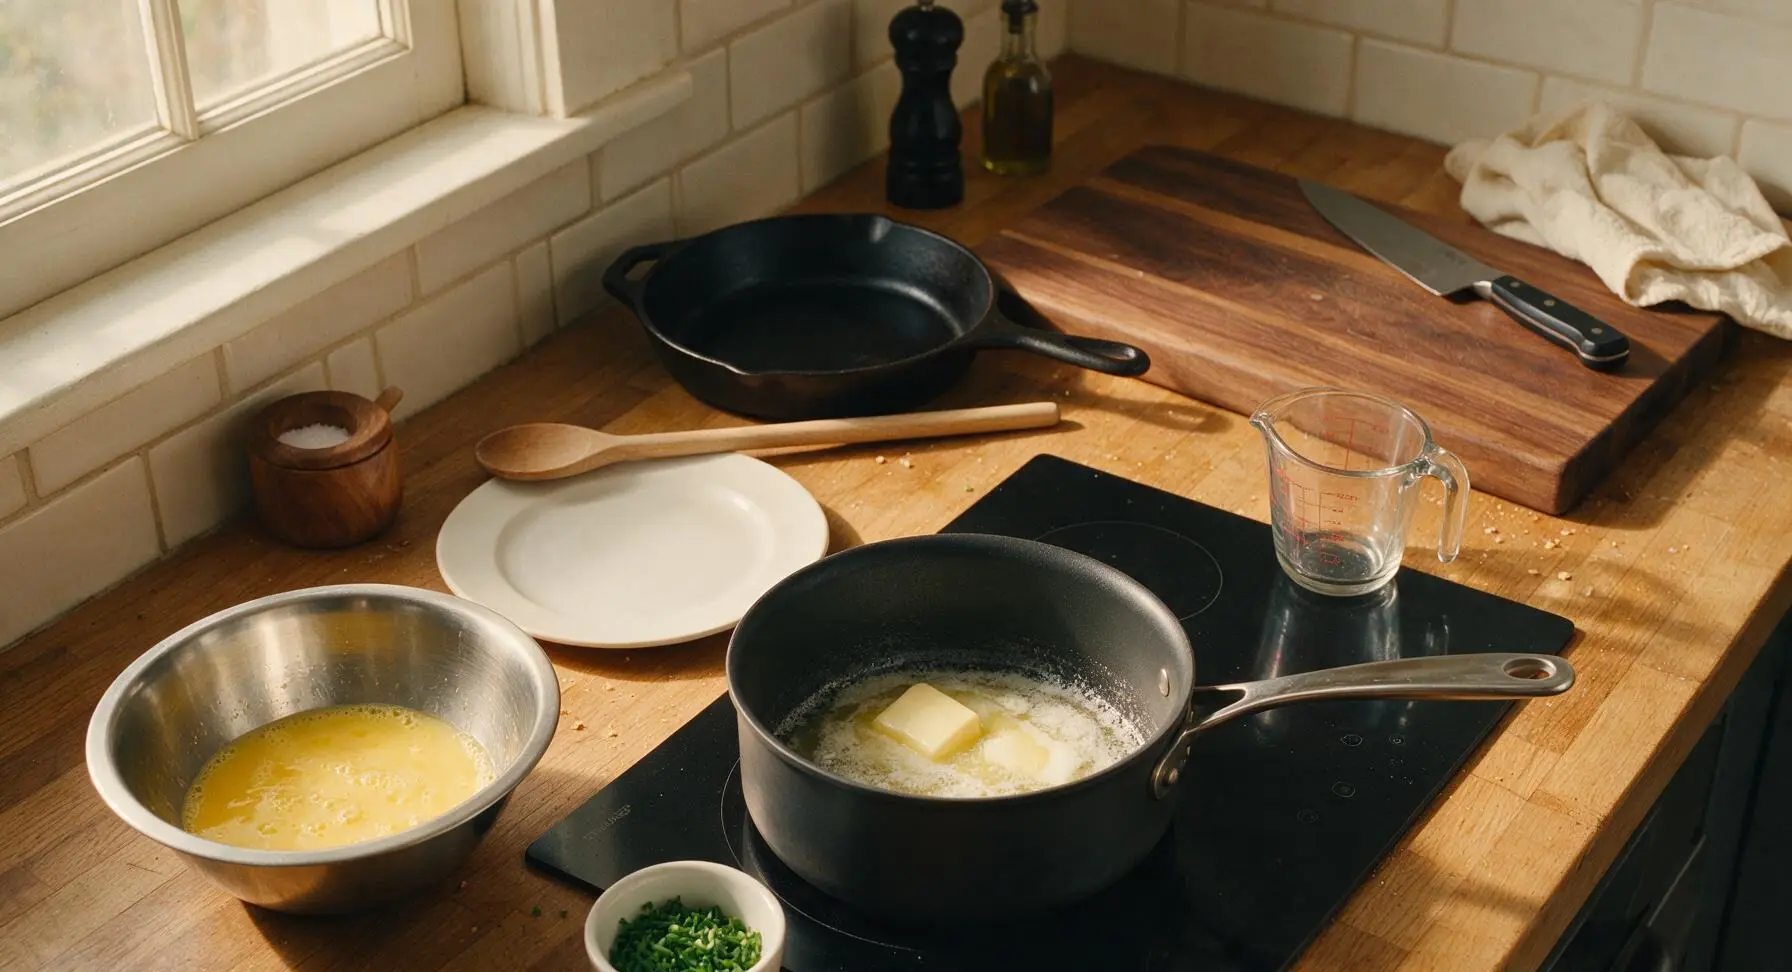
Retrieve the 18cm heavy-bottomed nonstick saucepan and place it on the matte black induction cooktop. Set the induction burner to its lowest setting, reaching a steady pan temperature of 130°F (55°C). Add 1.5 tablespoons of the unsalted butter to the pan, allowing it to melt slowly over 1 minute until it forms a thin, foamy layer across the pan bottom. If the butter sizzles or turns golden brown, the pan is too hot: remove it from the burner for 1 minute to cool before proceeding, as high heat will ruin the delicate egg texture.
Add Eggs to Pan
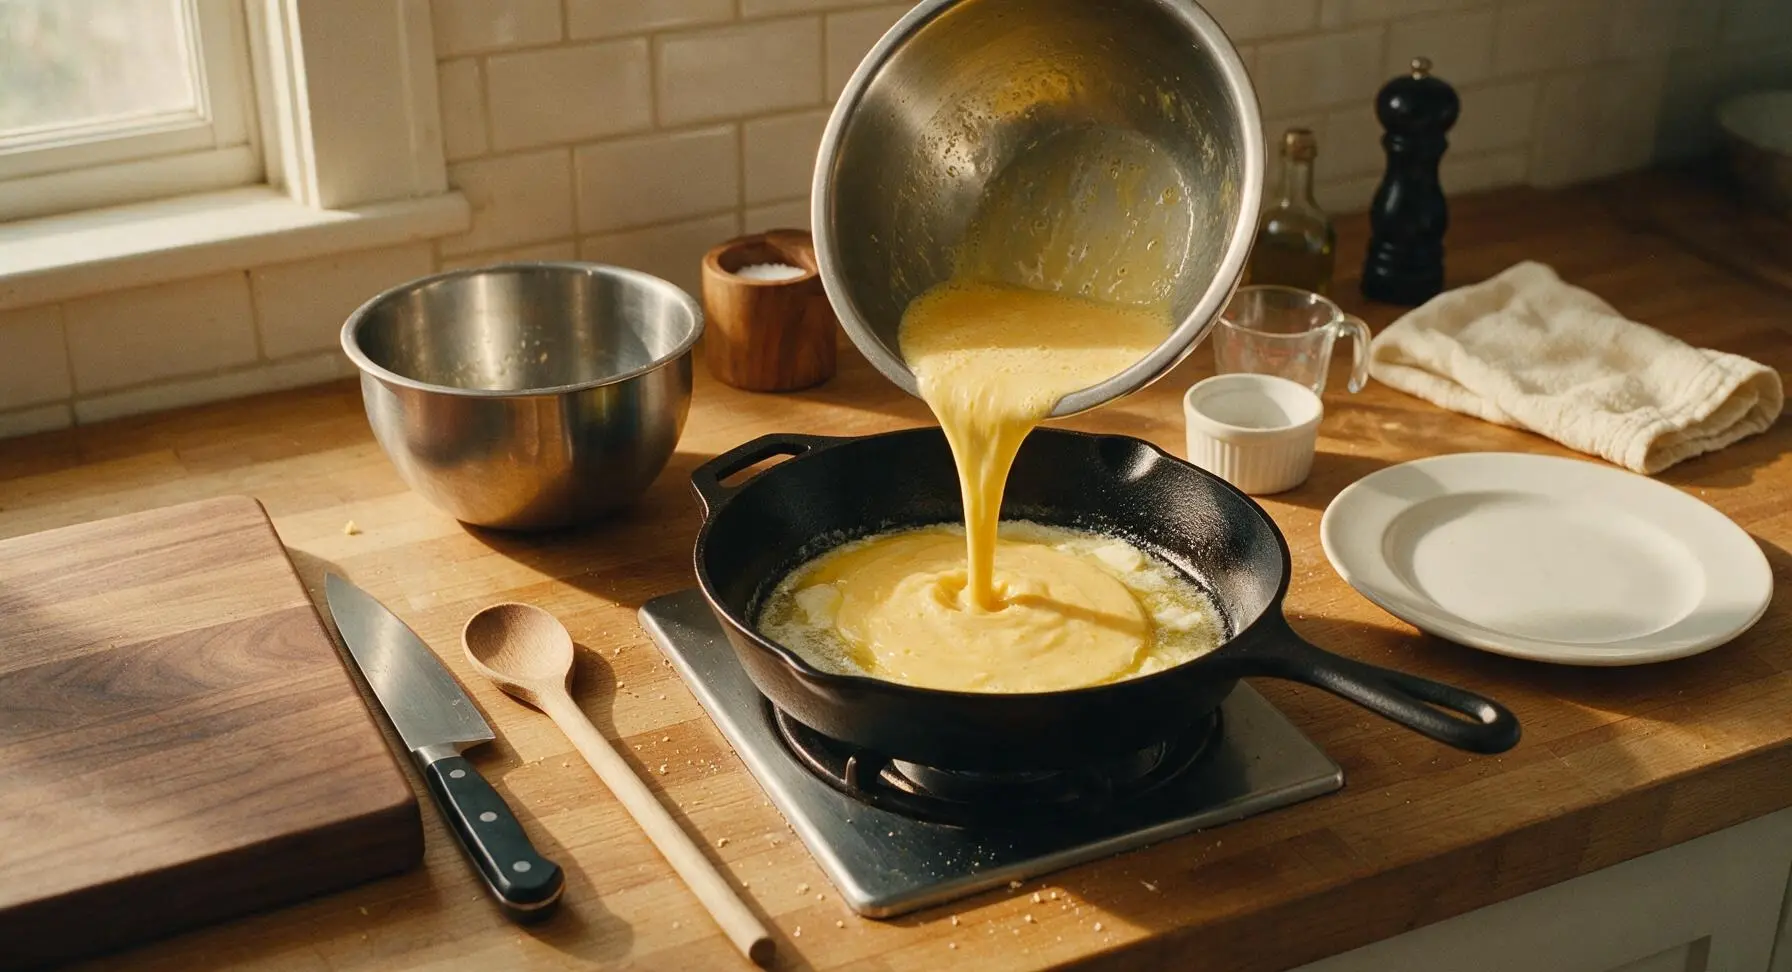
Pour the entire bowl of whisked egg mixture into the melted butter in the saucepan. Do not stir immediately; let the eggs rest undisturbed for 15 seconds until a paper-thin, soft layer of set egg forms across the entire pan bottom. This initial thin layer prevents eggs from sticking and creates the base for large, tender curds.
Stir Gently Continuously
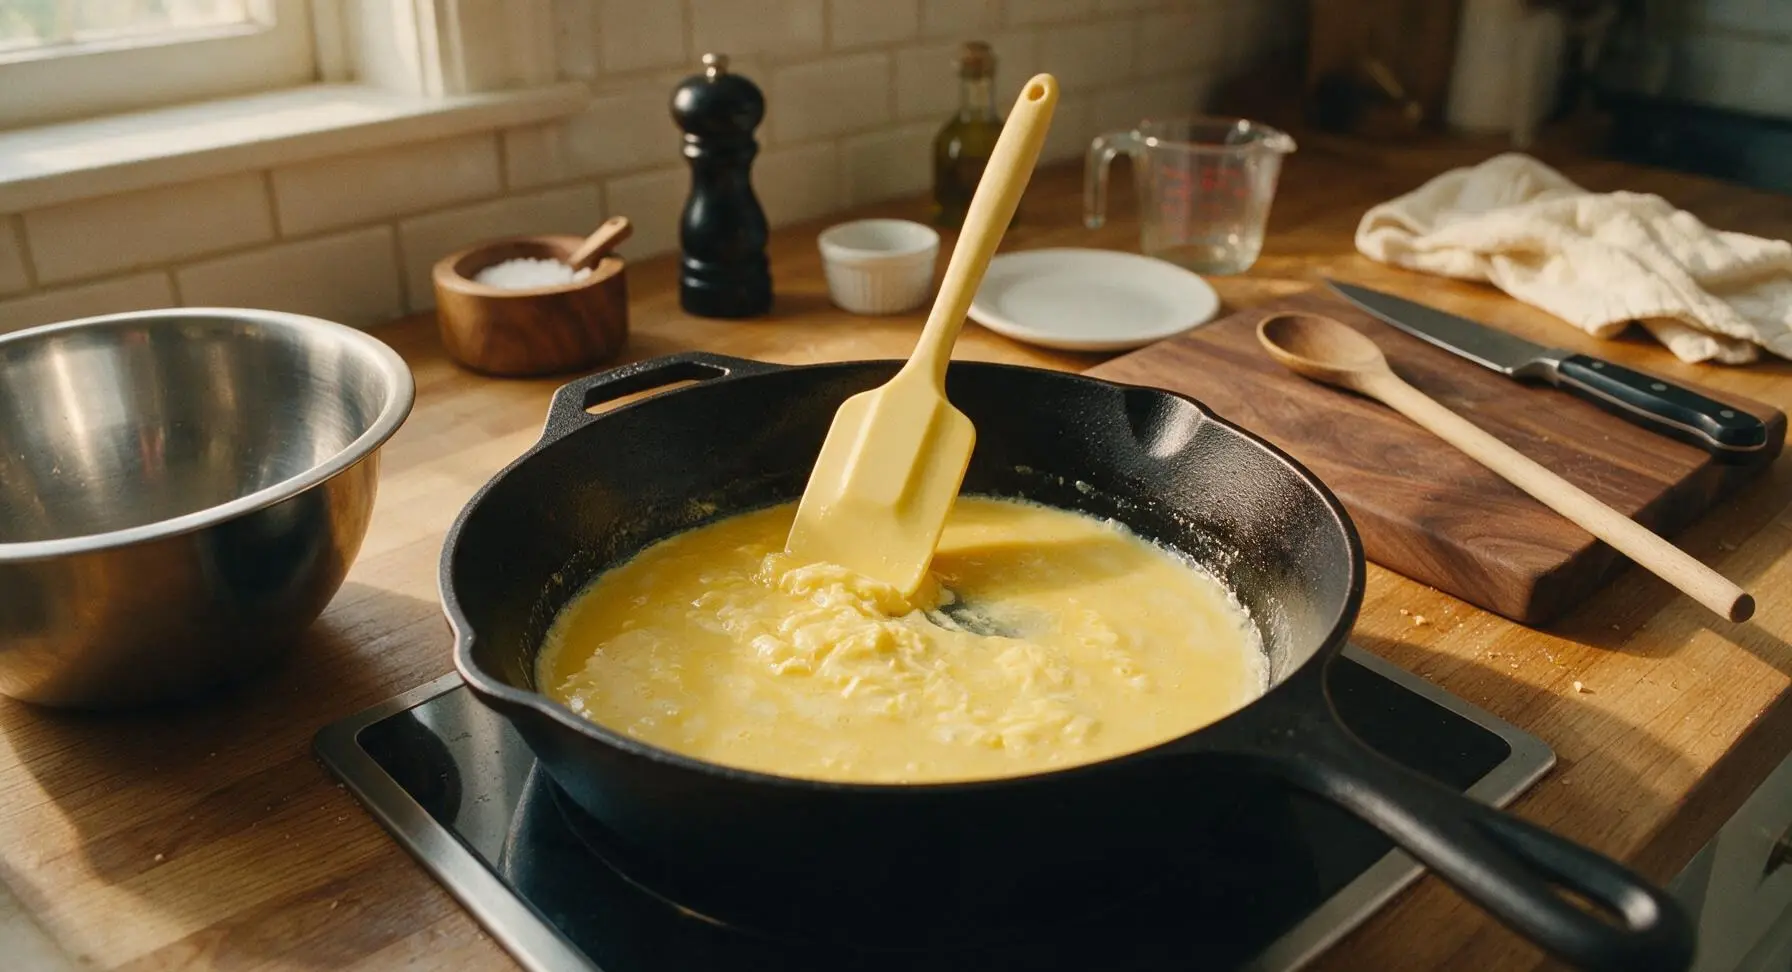
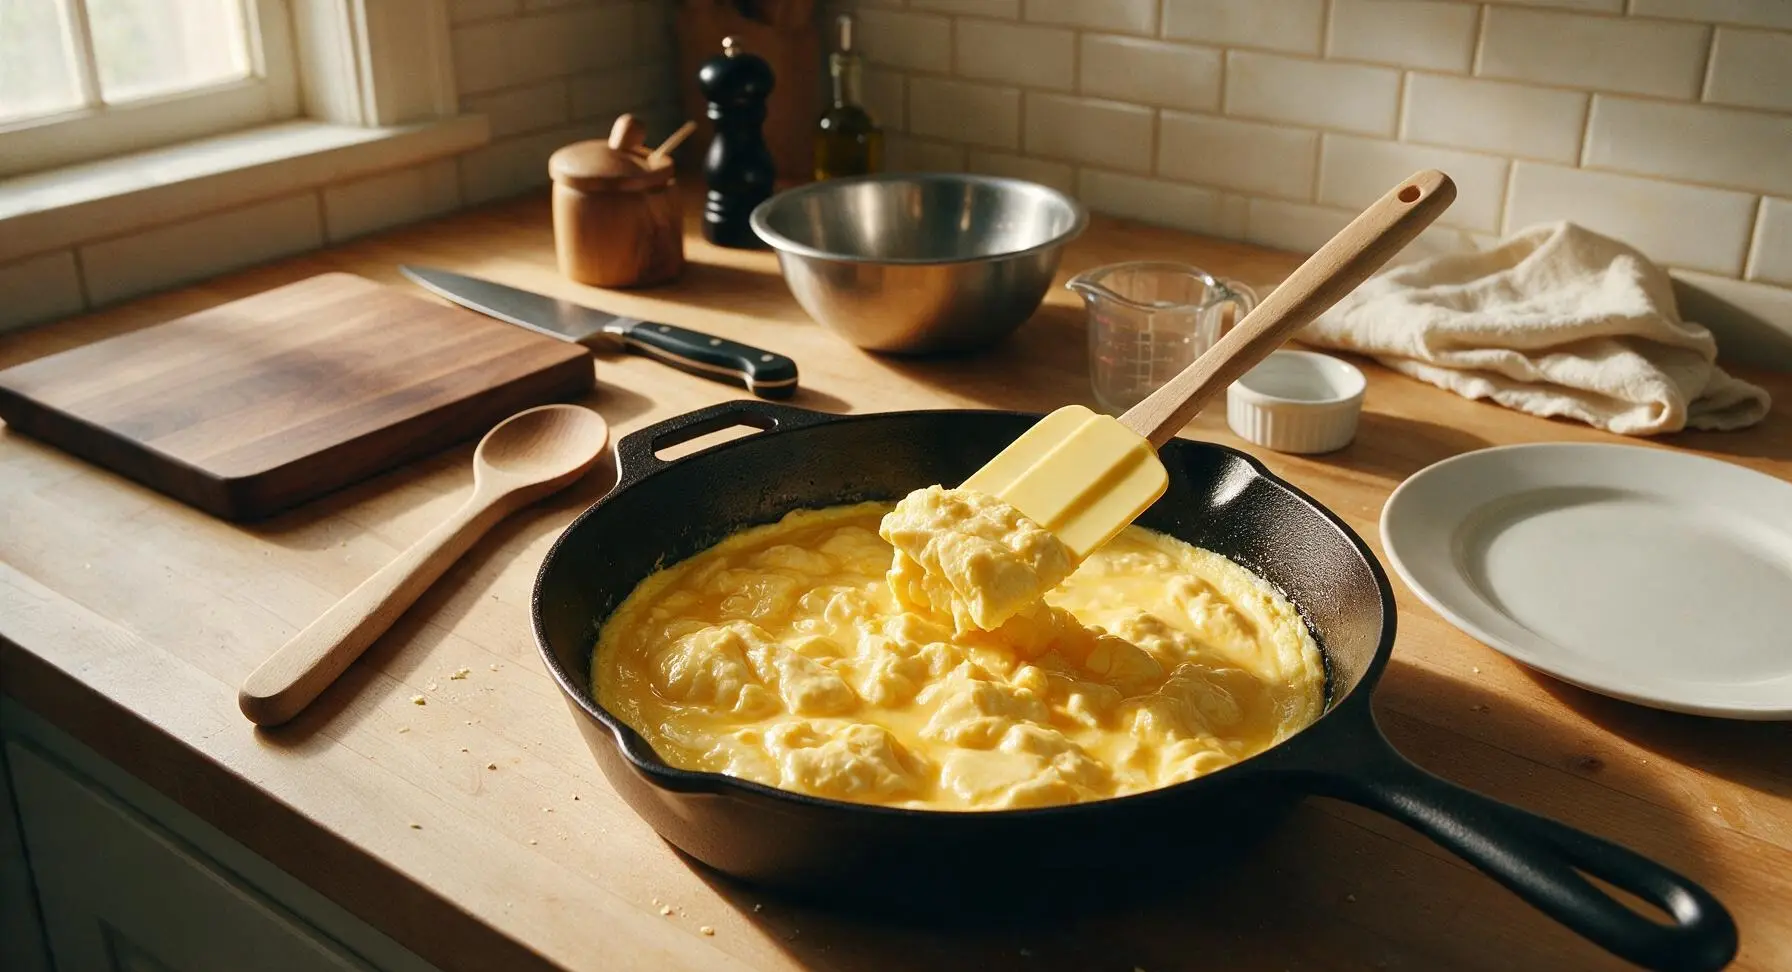
Use the pale butter yellow silicone spatula to stir the eggs slowly and constantly, scraping the entire bottom and curved sides of the pan every 2-3 seconds to prevent any egg from setting too quickly or browning. Maintain the same low heat for 8-10 minutes total, as soft, large, custardy curds slowly form. The eggs will look slightly runny and under-set for most of the cooking time; resist the urge to turn up the heat to speed the process, as this causes tight, rubbery curds.
Finish with Cold Butter
When the eggs are 90% set, with only a small amount of loose liquid egg remaining between soft curds, turn off the induction burner. Cut the remaining 0.5 tablespoon of cold unsalted butter into small 5mm cubes, add to the pan, and stir gently to incorporate. The residual heat of the pan will melt the butter and finish cooking the eggs without overheating, creating a glossy, rich texture. Add 1/4 teaspoon freshly ground black pepper and stir once lightly to distribute.
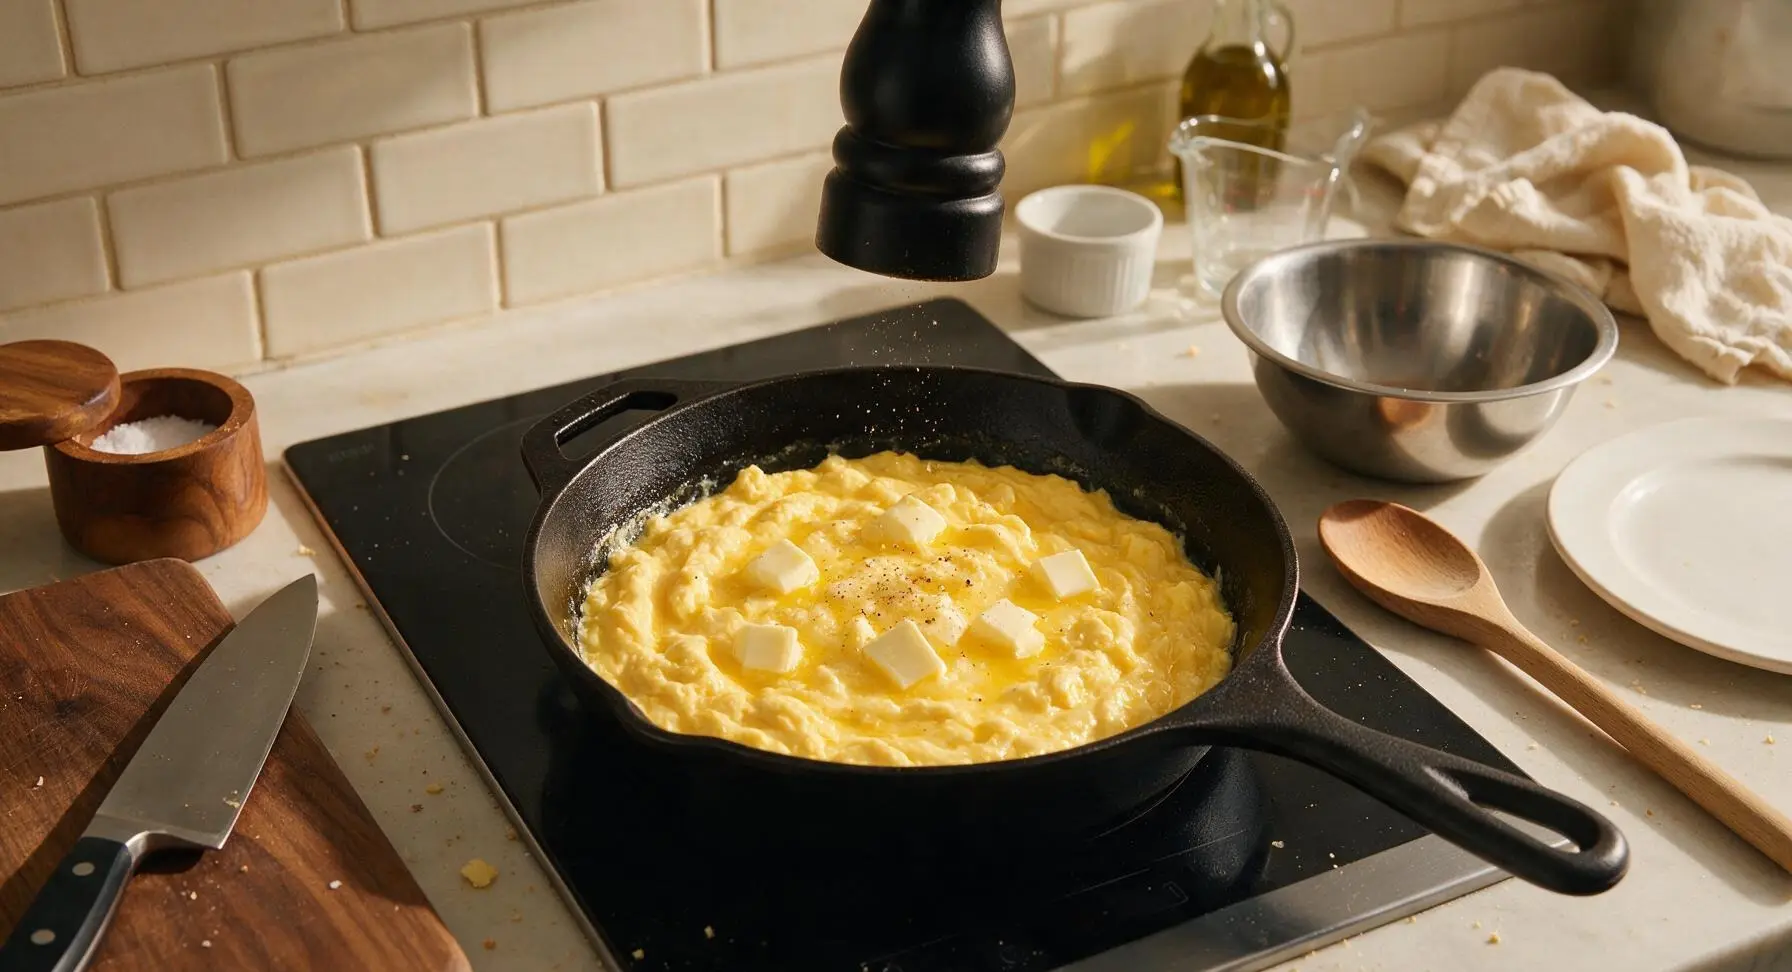
Plate and Garnish
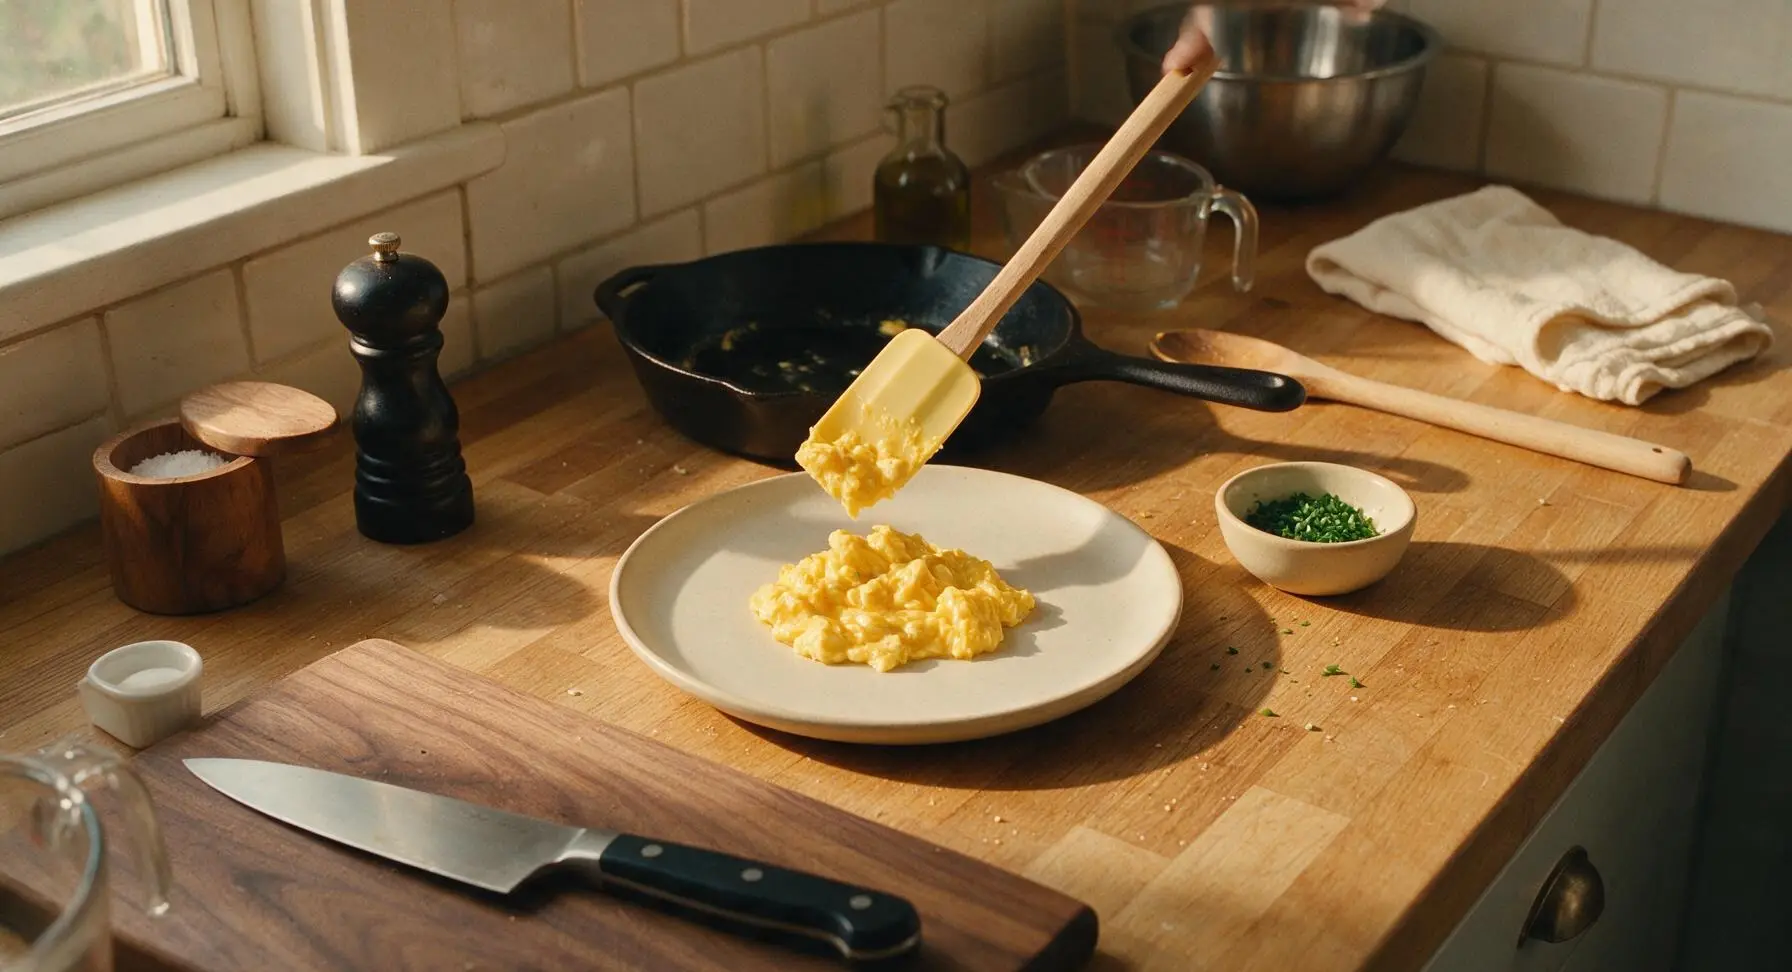
Spoon the finished scrambled eggs gently onto the matte off-white ceramic breakfast plate, mounding them softly in the center. Do not press or pack the eggs down, as this will squeeze out moisture and create a dense, dry texture. Sprinkle the reserved snipped chives evenly over the top of the eggs, adding one tiny pinch of flaky sea salt if desired. Serve immediately, as eggs will continue to set if left in the hot pan.
Tips
2.Never use high heat for scrambled eggs: egg proteins coagulate and tighten rapidly at temperatures above 140°F (60°C), squeezing out moisture and resulting in dry, rubbery curds; low, steady heat is the only way to achieve a custard-like consistency.
3.Pull the eggs off the heat before they look fully done: residual heat from the pan and plate will continue to cook the eggs for 1-2 minutes after serving, so stopping when eggs are slightly under-set ensures you won’t end up with dry, overcooked eggs by the time you take the first bite.






OMG these slow cooked scrambled eggs are a GAME CHANGER. I’ve been overcooking my eggs for years trying to rush them on high heat, and these came out so creamy and fluffy? My kids devoured an entire batch before I even got a second serving! So easy to whip up on school mornings too, no fancy skills needed.
Made these for our weekend camping breakfast (brought my portable camp stove that can hold a steady low heat) and everyone at the campsite was asking for the recipe. SO good, way better than the rubbery charred eggs I usually make over the open campfire. Skipped the extra salt since we topped ours with crumbled bacon and shredded cheddar, perfect combo.
Perfect for my weekly meal prep! I make a big batch on Sunday, portion them out with whole grain toast and avocado slices, and they reheat way better than I thought scrambled eggs could. Only tiny note is I wish the recipe specified what exact heat setting counts as “low” — I have an old gas stove and was nervous I had it cranked too high the whole time.
Tried these for my friend’s potluck brunch last weekend and people were raving! I mixed in a little chive cream cheese at the end and it was chef’s kiss. Cook time was spot on 12 minutes for me, no guesswork. 10/10 will be my go-to scrambled egg recipe from now on.
Super easy recipe even for a terrible cook like me lmao. I only have a tiny dinky dorm hot plate and I could make these no problem, no burnt edges, no weird rubbery texture. Doused them in hot sauce and they hit so different. Way better than the sad rubbery microwave eggs I was surviving on for breakfast every morning.
Takes me right back to the soft scrambled eggs my grandma used to make for Sunday breakfast when I was a kid! I forgot how good eggs taste when you don’t crank the heat to rush them through cooking. Cook time was exactly 12 minutes for me on my old beat-up electric stovetop, came out perfect every single time I’ve made it this week. Only tiny hack is I add a tiny splash of half and half instead of regular milk for extra richness.