
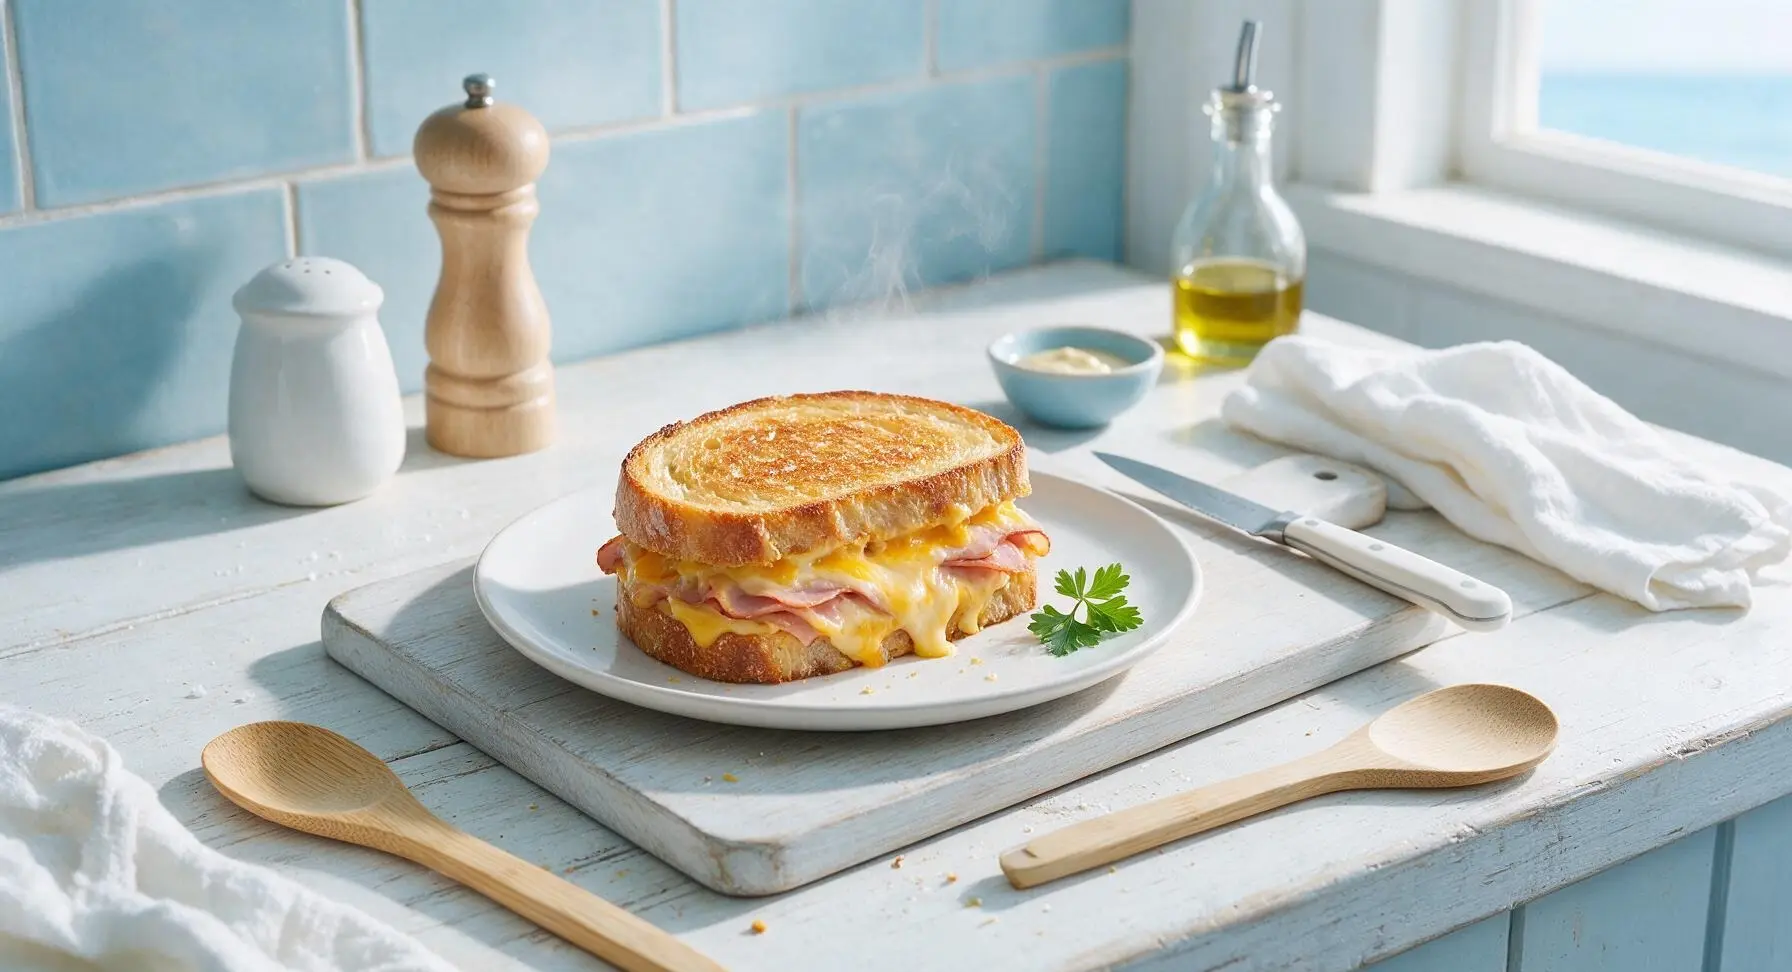
toastie sandwich

title 1
toastie sandwich
⏱️ cook time 12 minutes
🍽️ servings 2
⚡ Difficulty easy

intro

Golden buttery crisp sourdough pressed around oozing melted sharp cheddar, smoky ham, and a hint of tangy dijon for a fast, cozy, satisfying bite.

Ingredients
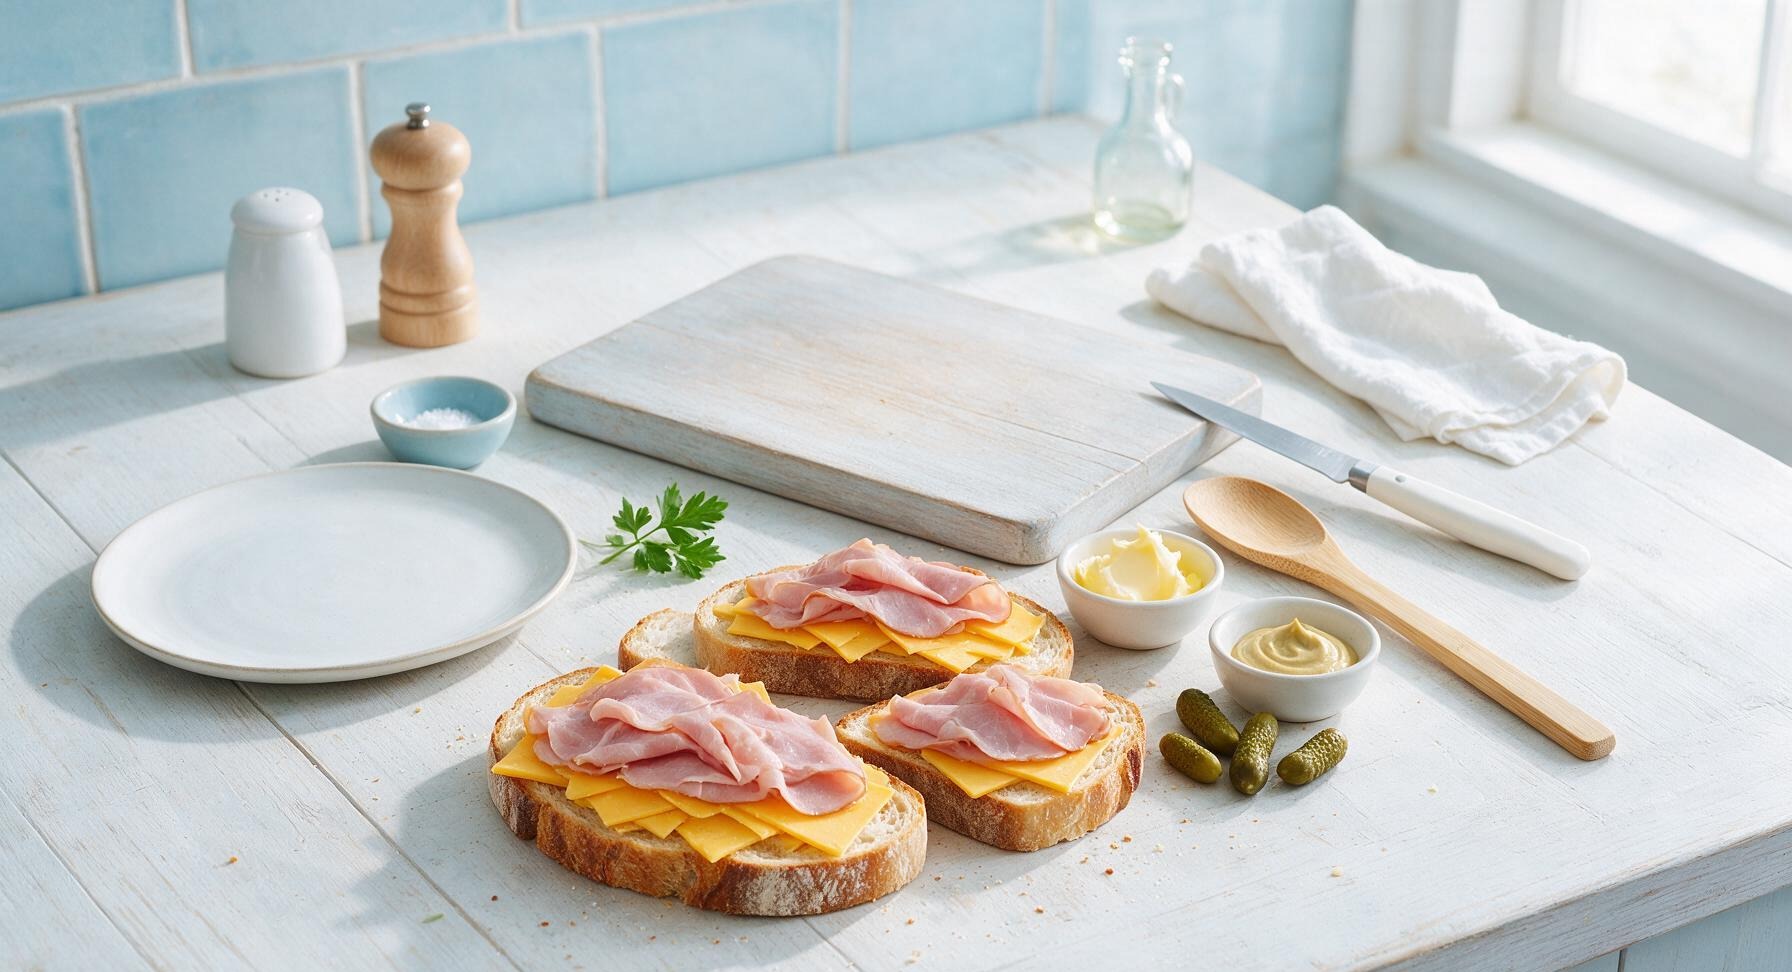
Thick-cut sourdough bread 4 slices (240g total, 1.5cm thick)
Sharp yellow cheddar cheese 120g, thinly sliced
Thinly sliced smoked deli ham 80g
Salted butter, softened 30g
Dijon mustard 2 tsp
Cornichons (for garnish) 4 pieces

Steps

1

Butter Bread Exteriors

Place the 4 thick sourdough slices on the honey oak cutting board. Use the small stainless steel butter spreader to apply 5g of softened salted butter evenly across one full side of each slice, spreading all the way to the crust edges to prevent dry, untoasted spots. Keep the butter layer thin enough that it does not drip when heated.
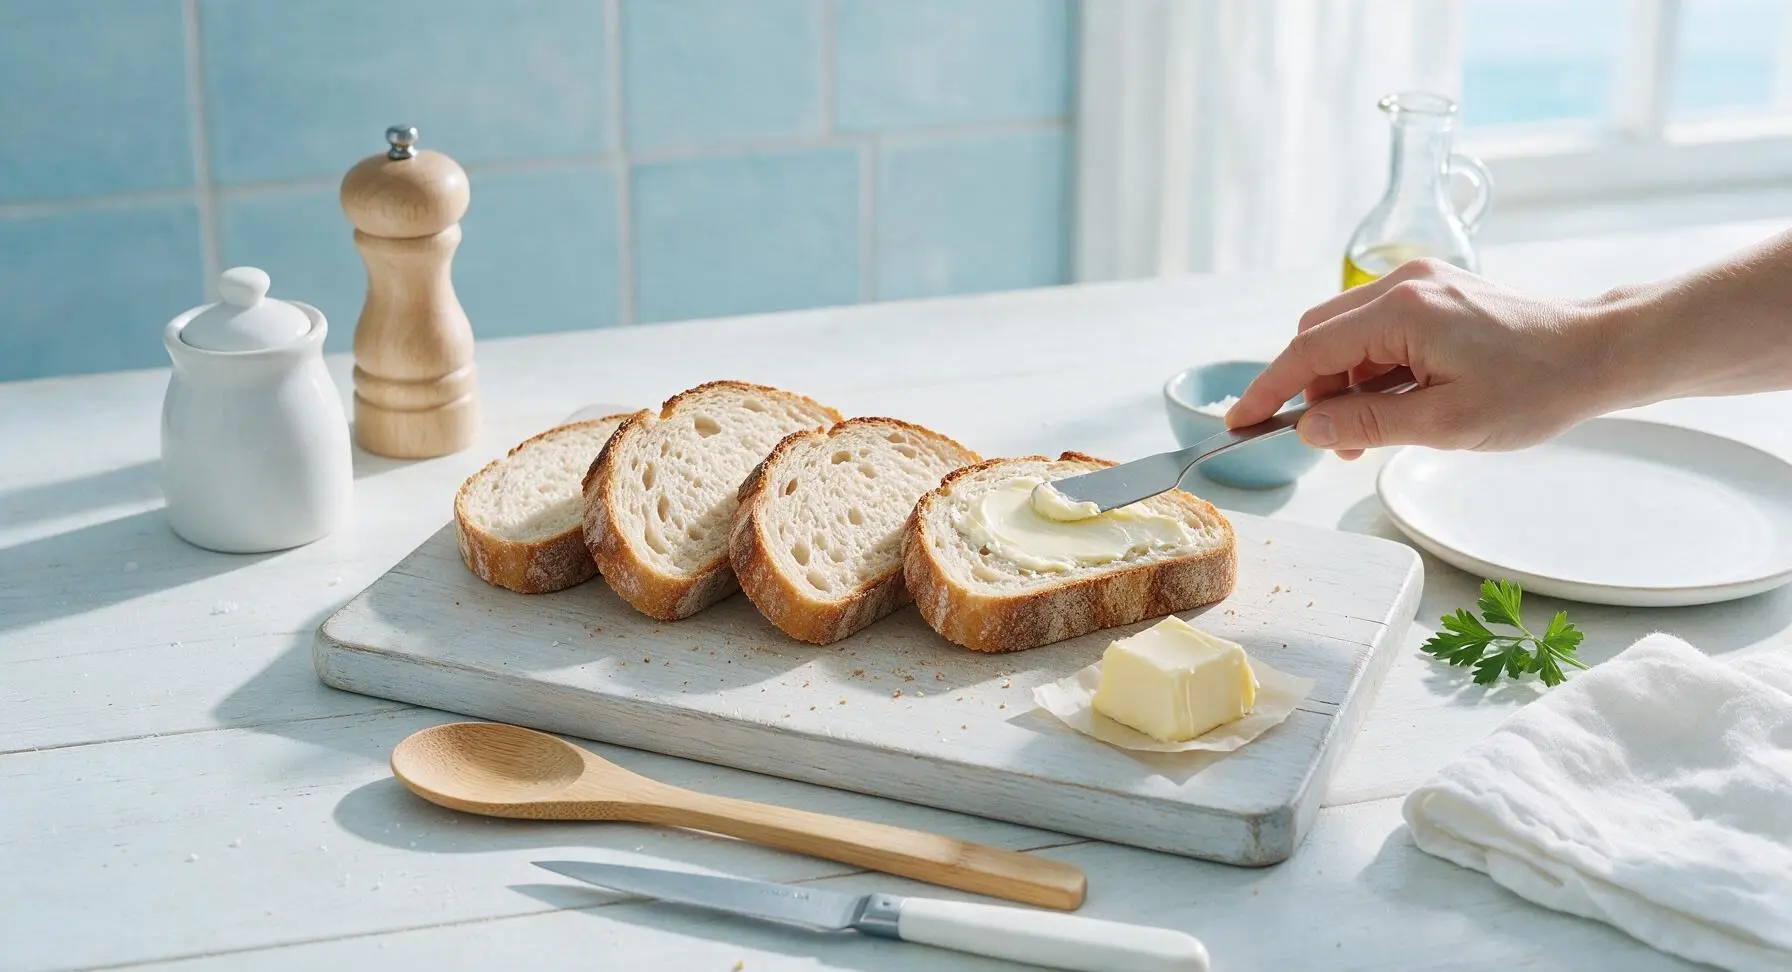
Step 1
step1:Butter Bread Exteriors
2

Add Dijon Spread

Flip all 4 bread slices so the buttered side faces down against the cutting board. Use the same butter spreader to spread 0.5 tsp of dijon mustard evenly across the unbuttered side of 2 slices, keeping the layer thin to avoid soggy bread. The remaining 2 slices will sit against the top layer of cheese.
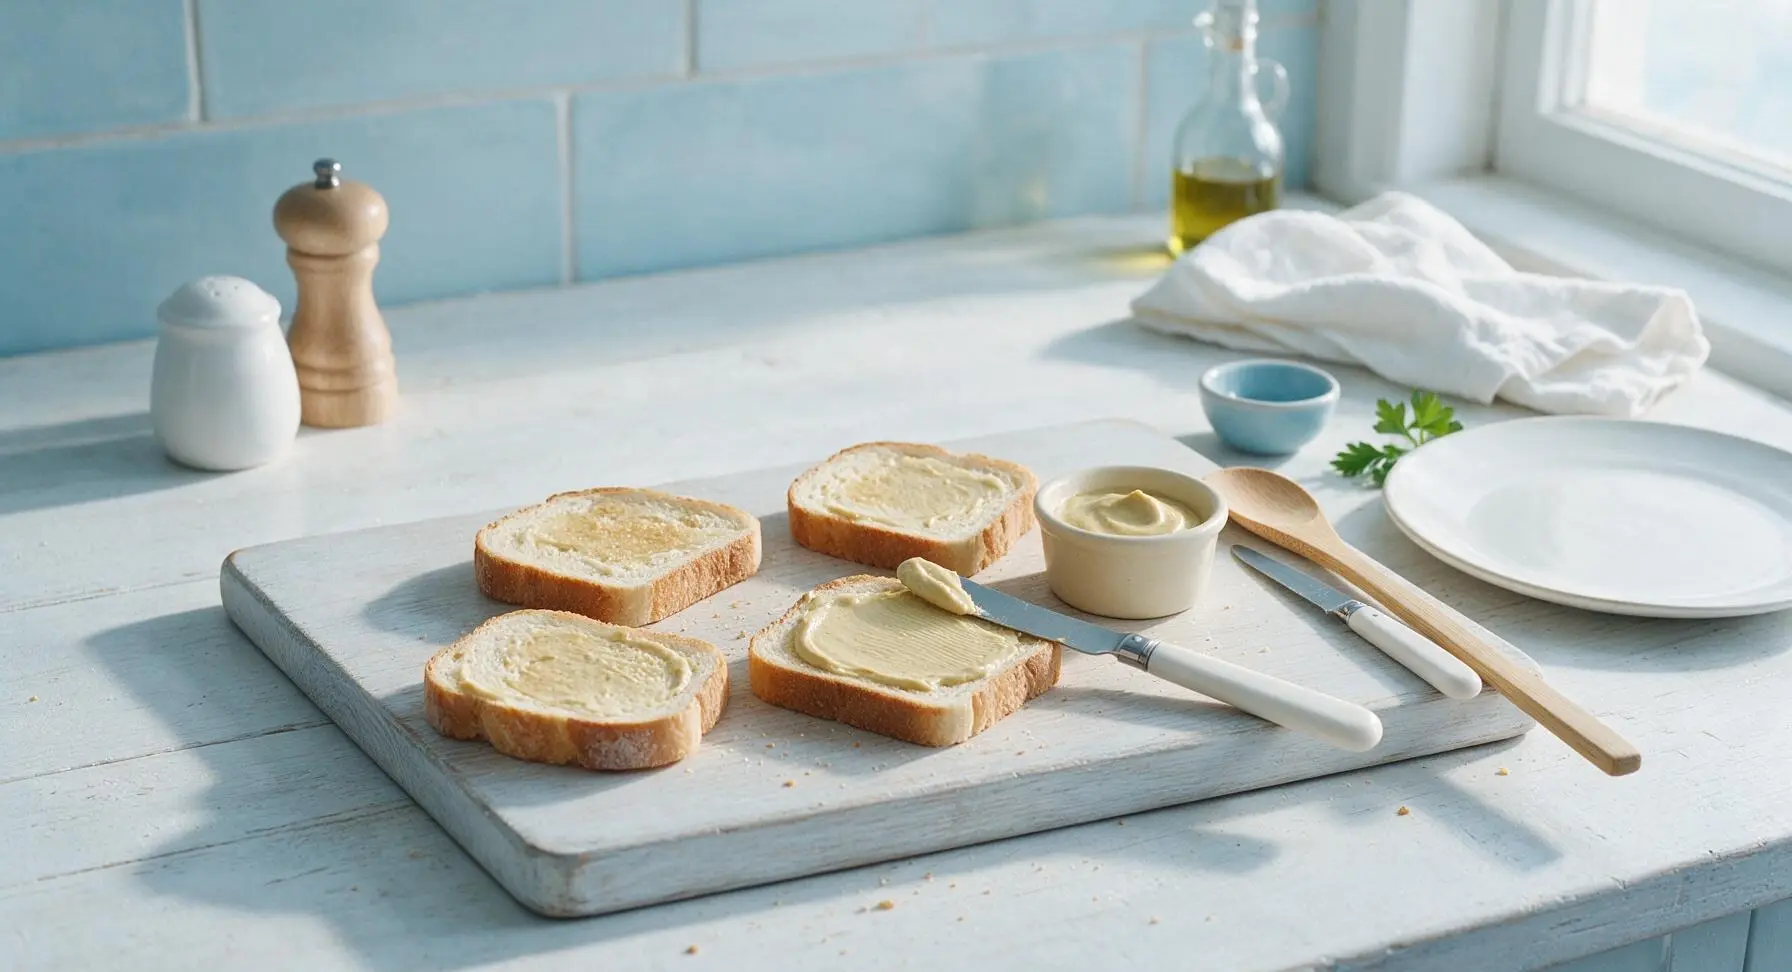
Step 2
step2:Add Dijon Spread
3

Layer Cheese and Ham

Divide 80g of the thinly sliced sharp cheddar evenly across the 2 dijon-spread bread slices, spreading cheese all the way to the crust edges to create a melted cheese seal when cooked. Top the cheese with 40g of folded smoked ham per sandwich, then cover the ham with the remaining 40g of cheddar (20g per sandwich) to help the top bread slice adhere. Do not overstuff, as excess filling will ooze out during cooking.
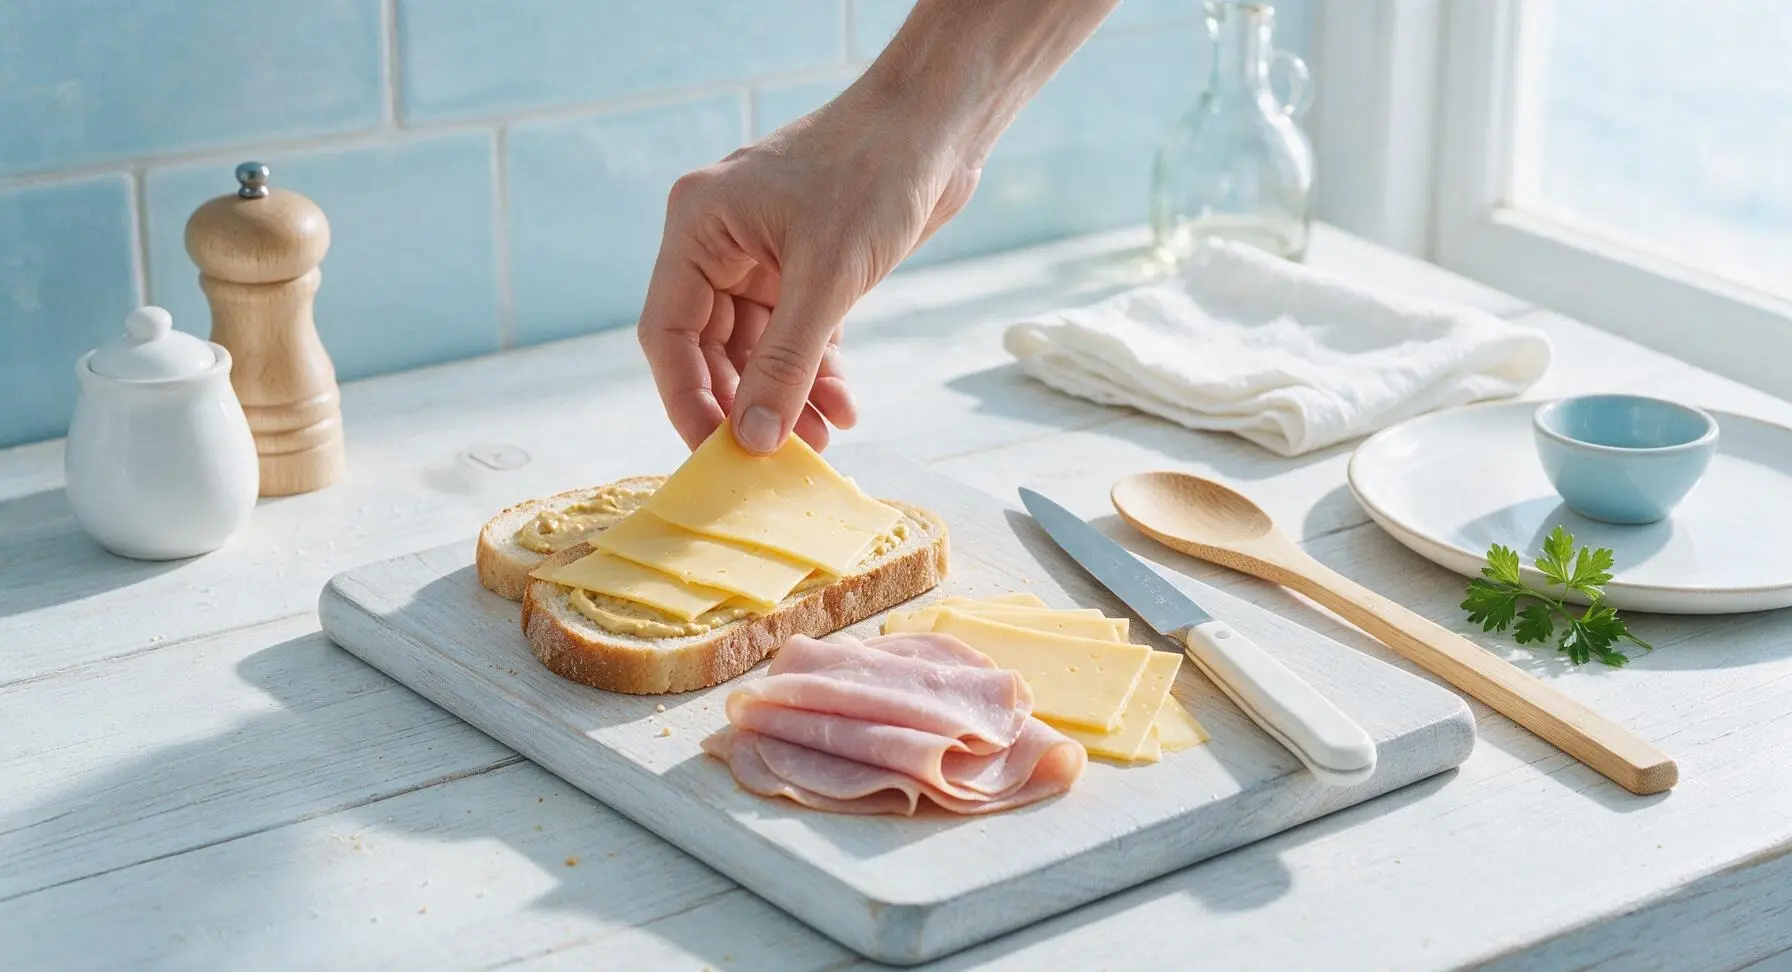
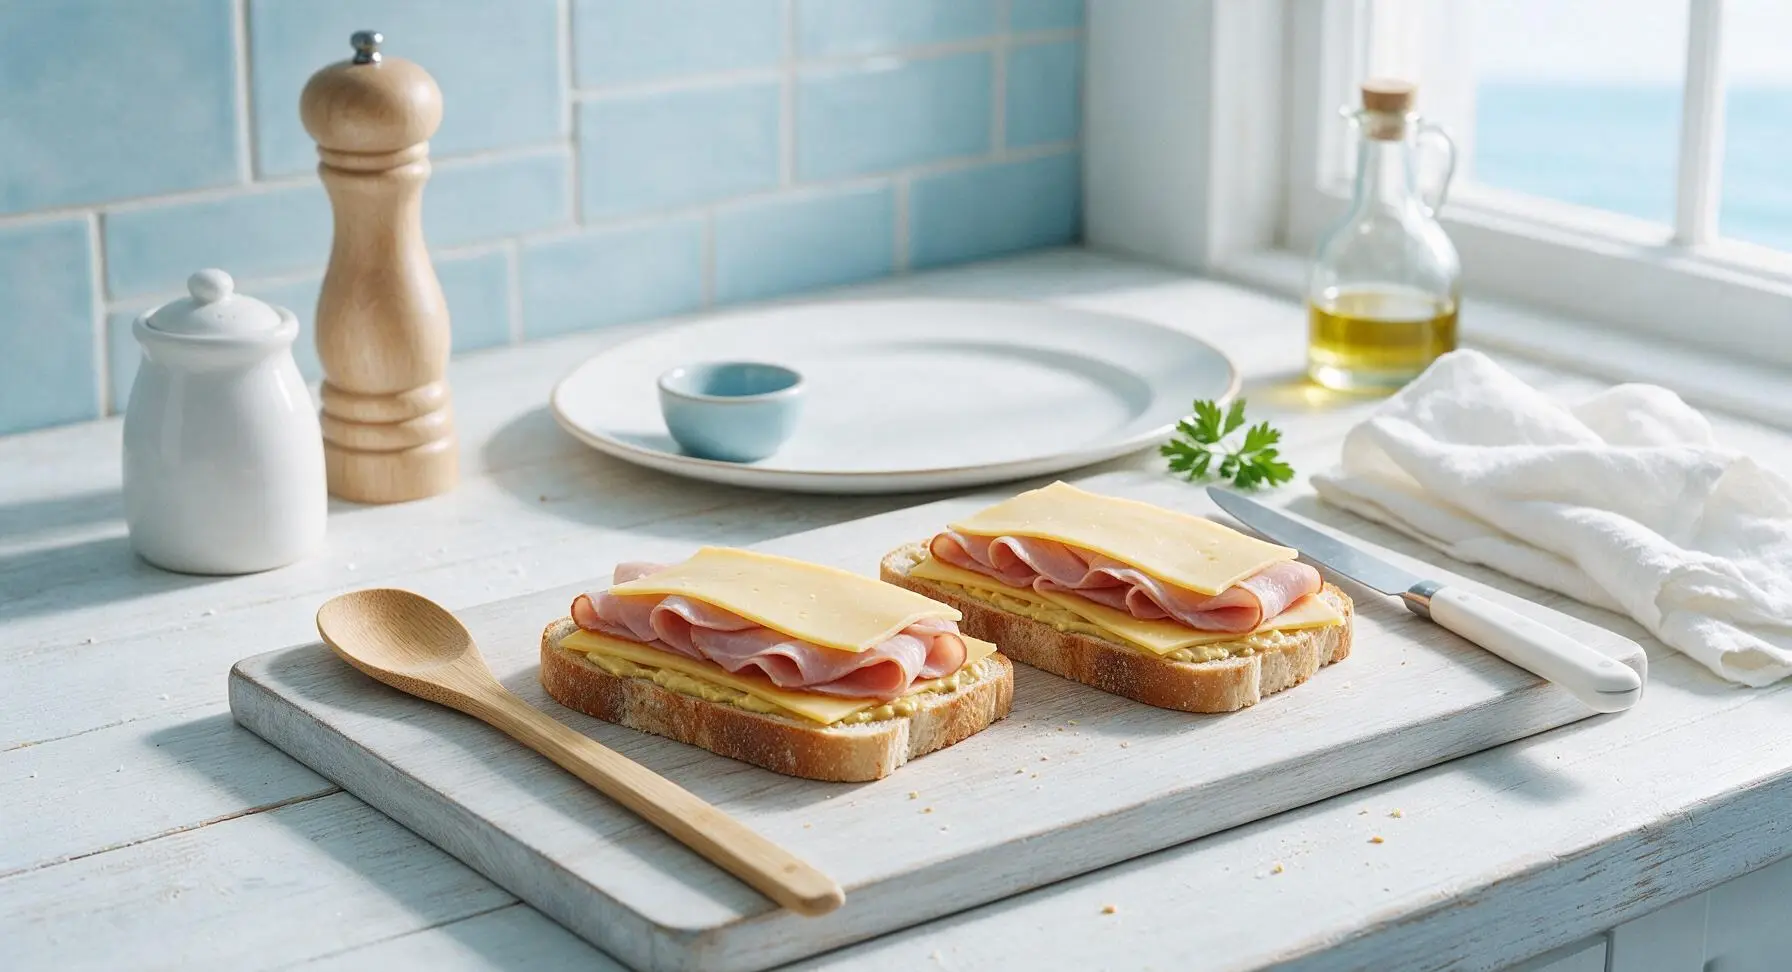
Step 3
step3:Layer Cheese and Ham
Step 3
step3:Layer Cheese and Ham
4

Seal Sandwich Halves

Place the remaining 2 bread slices on top of the filled stacks, with the unbuttered plain side facing the filling so the buttered side of the top slice faces outward. Press down gently on each sandwich with the palm of your hand to compact layers slightly, so the sandwich holds its shape when moved to the pan.
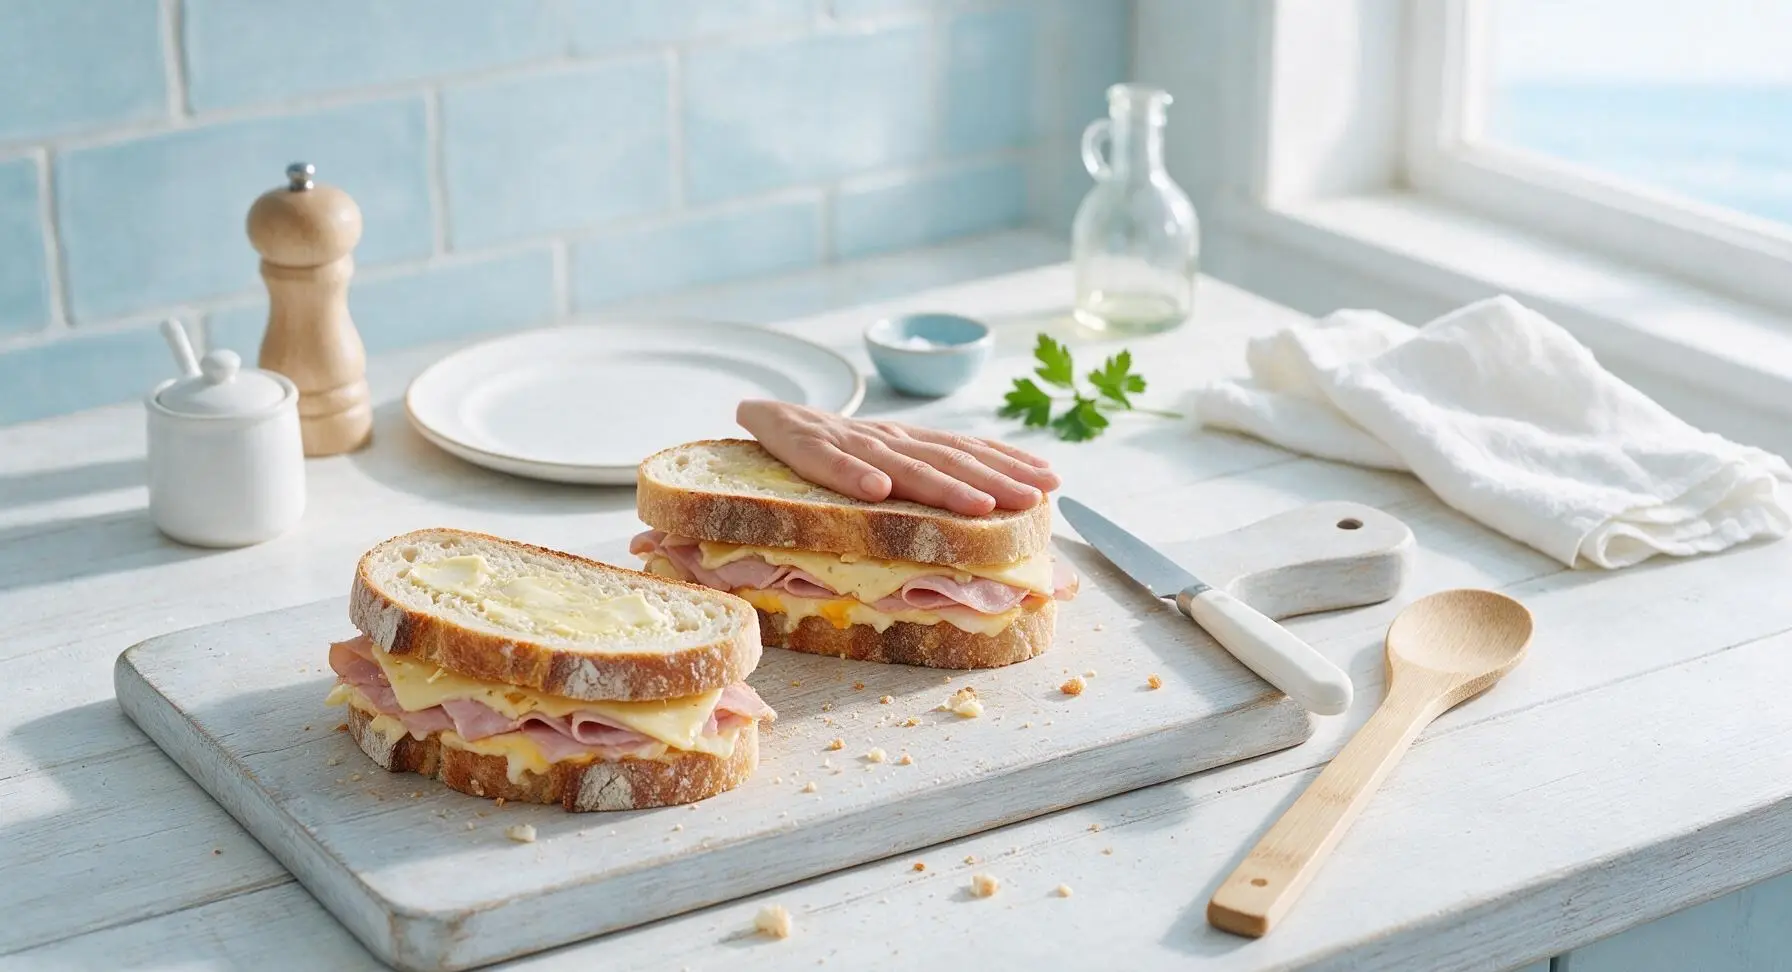
Step 4
step4:Seal Sandwich Halves
5

Preheat Cooking Skillet

Place the 20cm heavy-based non-stick skillet on the stovetop over medium-low heat (160C/320F) and preheat for 2 minutes. Test heat by sprinkling a single drop of water on the surface: it should sizzle and evaporate slowly over 3 seconds, not dance violently or evaporate instantly (a sign the pan is too hot and will burn bread before cheese melts). Set the preheated skillet on the counter just in front of the cutting board.
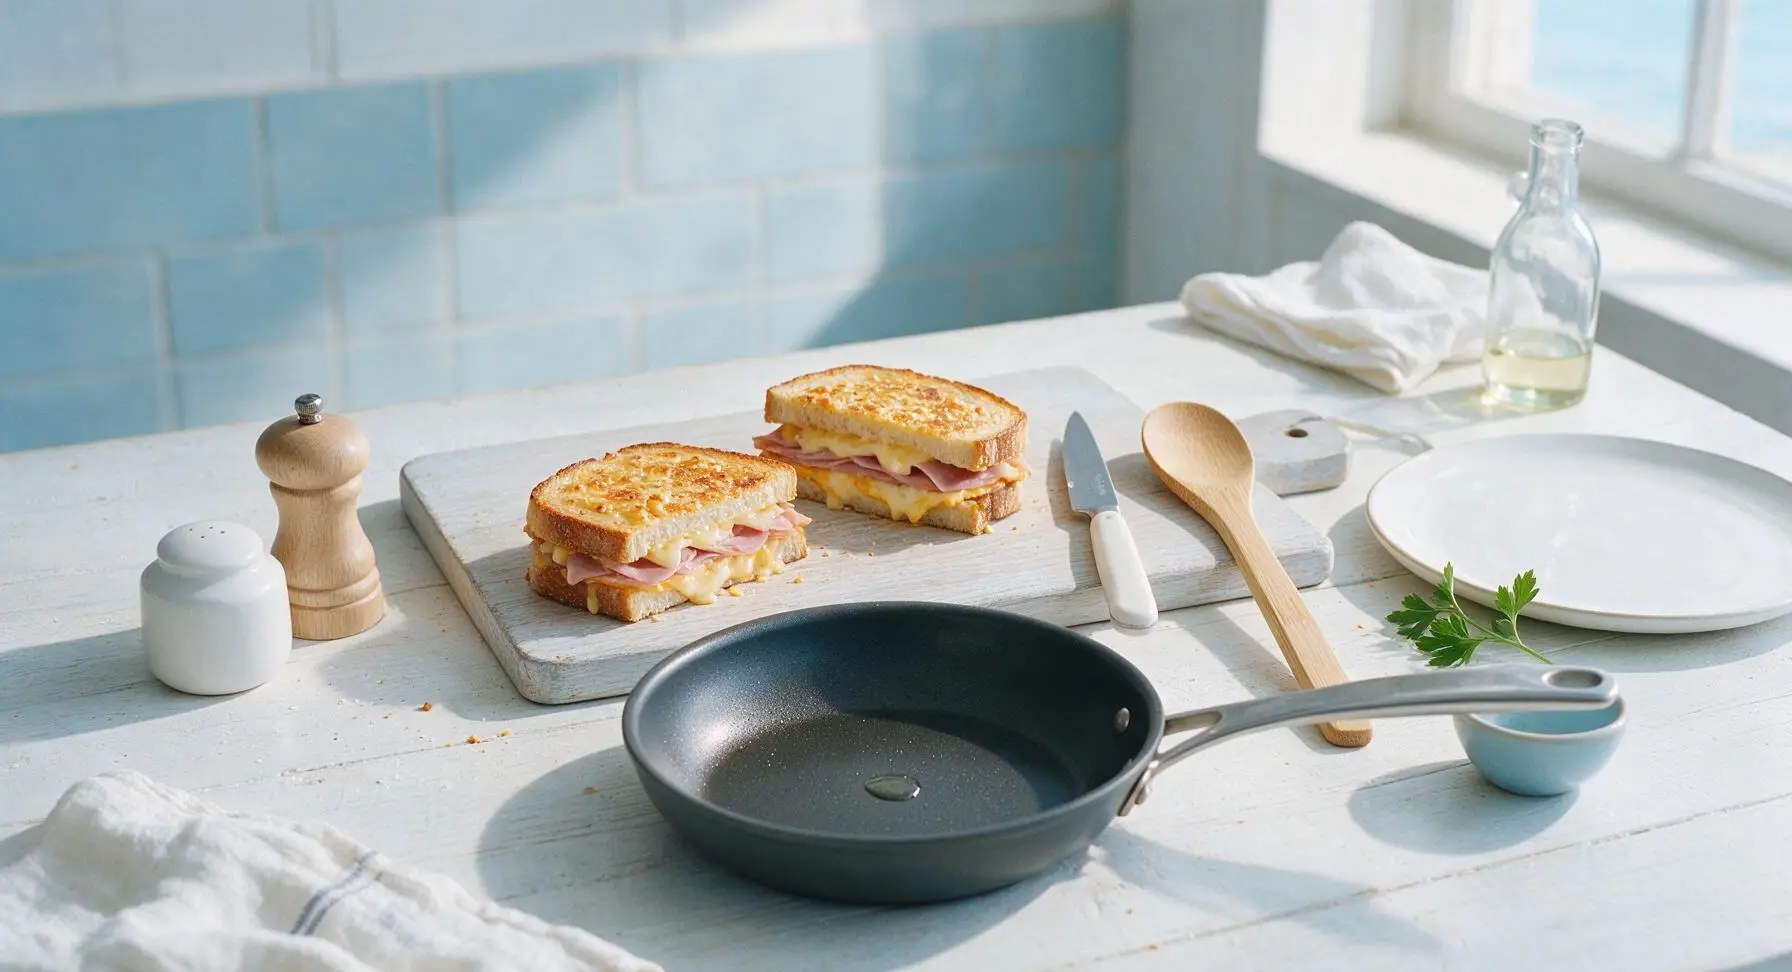
Step 5
step5:Preheat Cooking Skillet
6

Cook First Sandwich Side

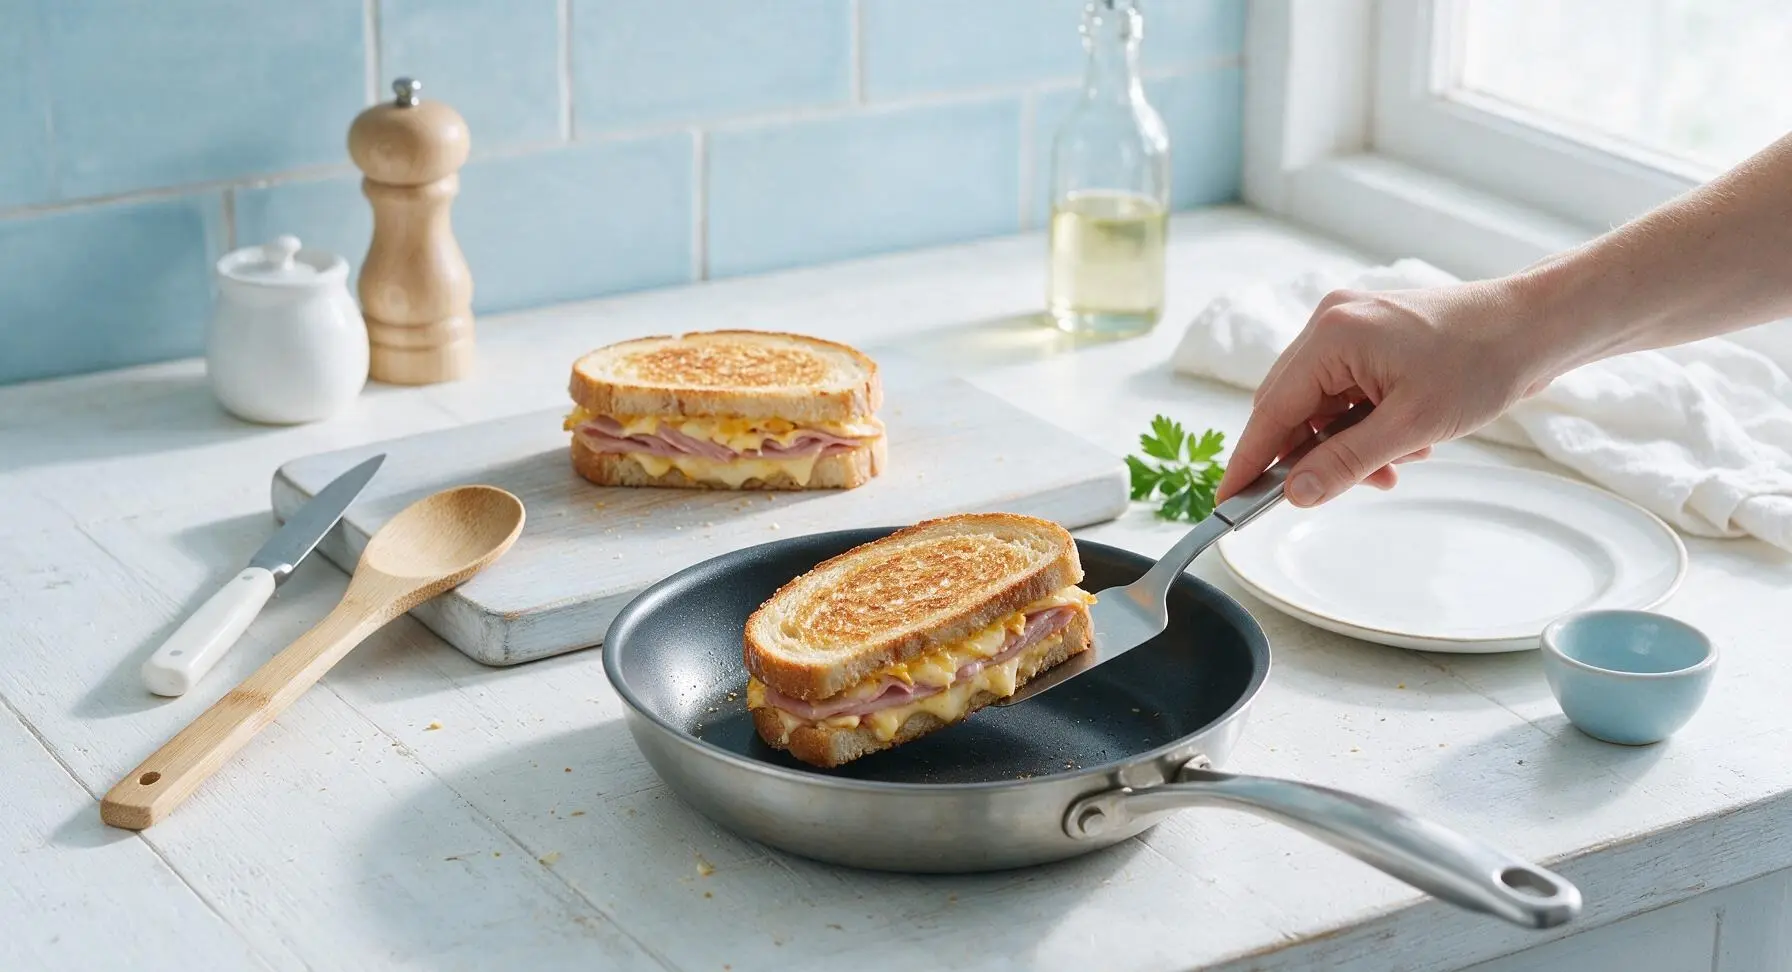
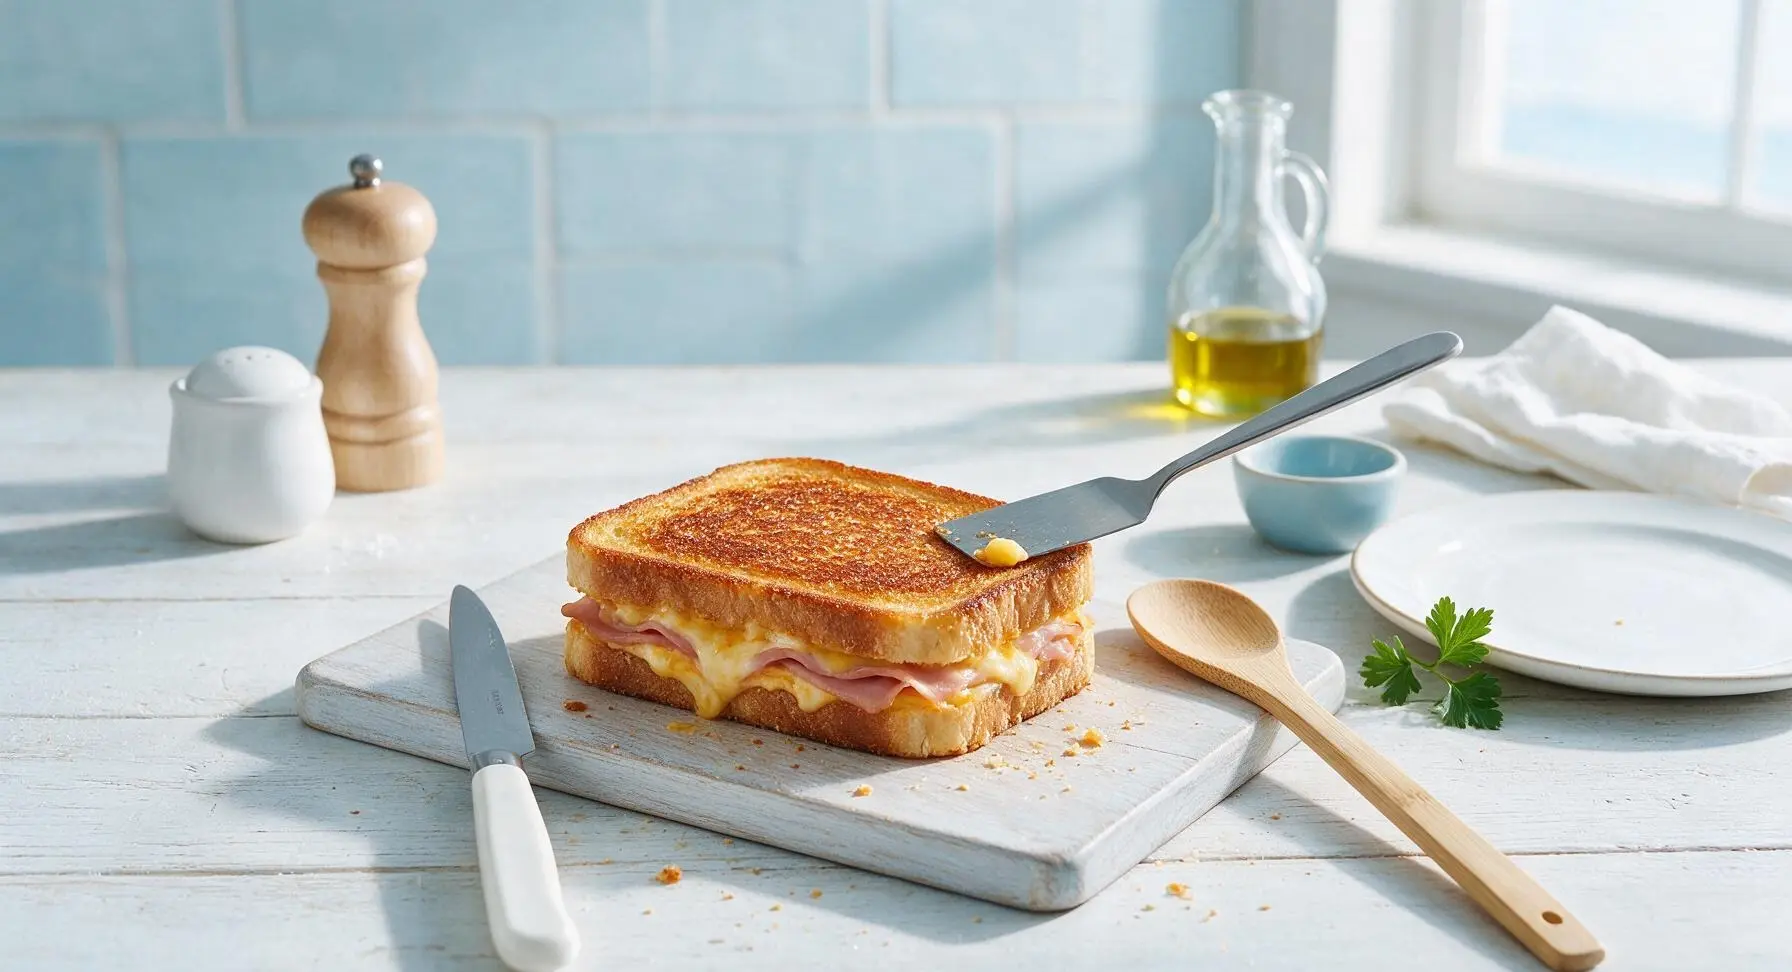
Carefully lift one assembled sandwich from the cutting board using the small offset stainless steel spatula, and lower it gently into the preheated skillet. Cook for 3 minutes over medium-low heat, pressing down firmly with the spatula for 2 seconds every 30 seconds to ensure even pan contact and uniform crispness. Do not shift the sandwich around the pan during this time. When ready, the bottom surface will be an even deep golden brown, with a crisp, audible crunch when tapped lightly with the spatula.
Step 6
step6:Cook First Sandwich Side
Step 6
step6:Cook First Sandwich Side
7

Flip, Cook Second Side

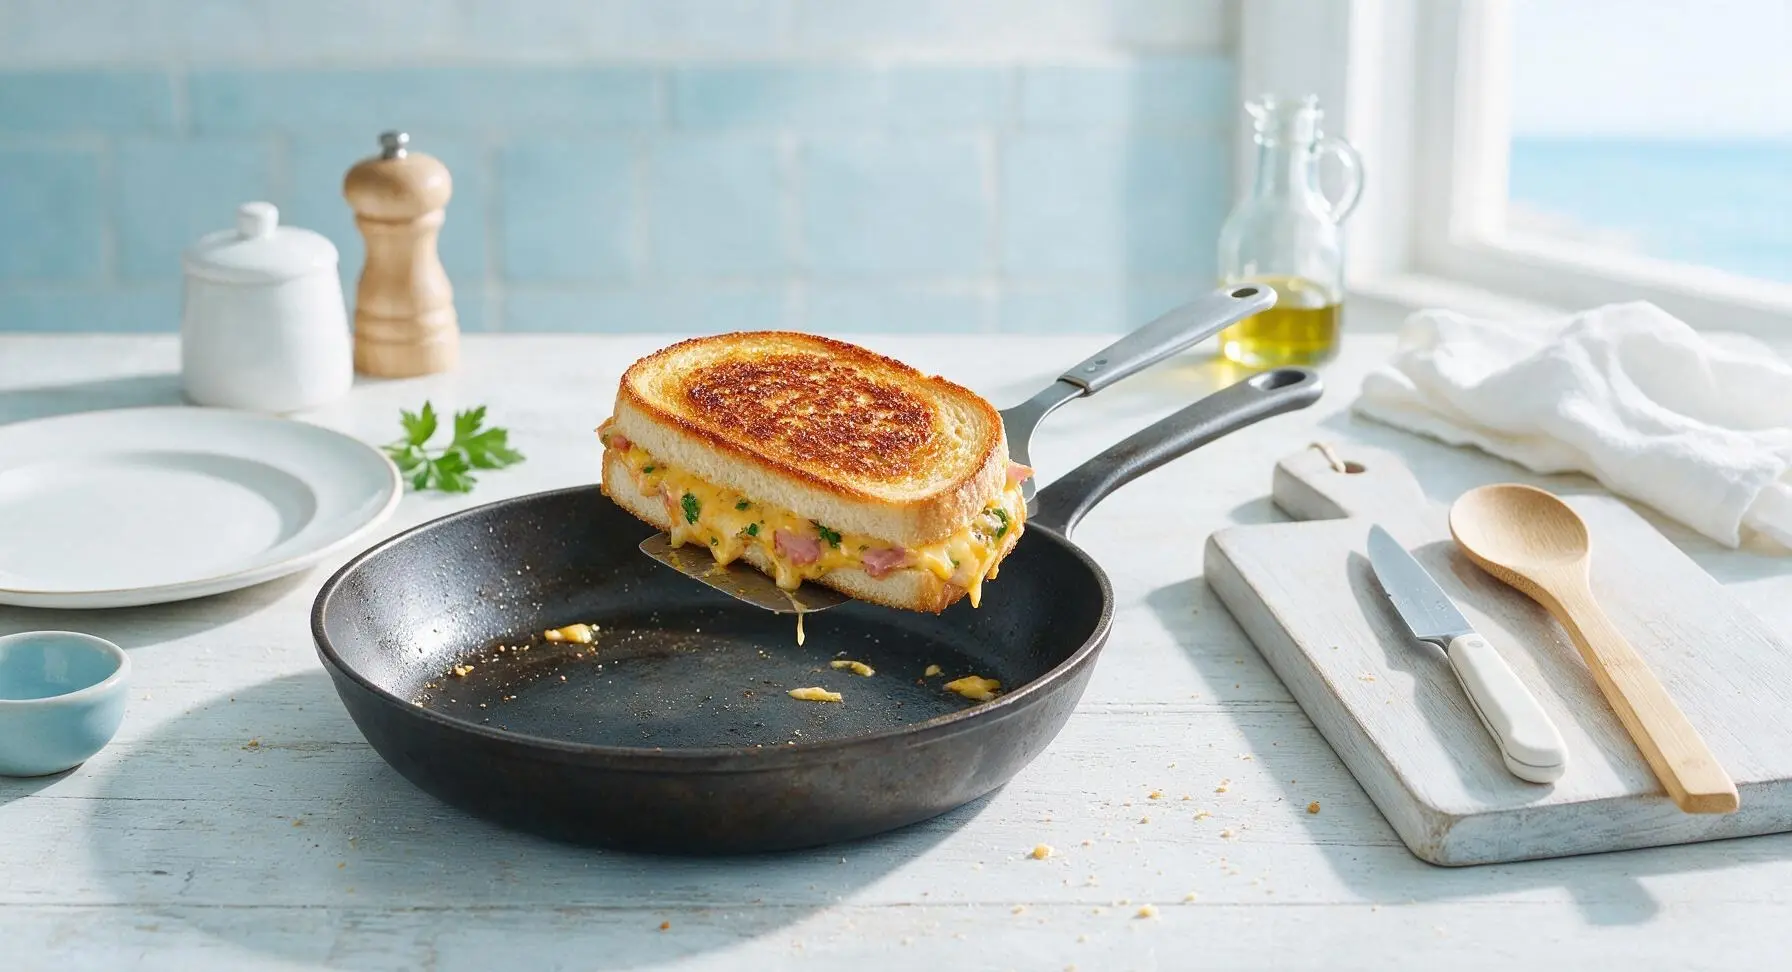
Slide the offset spatula fully under the cooked sandwich, lift it 2cm above the pan, and flip it gently in one smooth motion to avoid tearing bread or squeezing out filling. Cook the second side for 3 minutes, pressing gently with the spatula every 30 seconds, until the surface is evenly deep golden brown and crisp. Watch for small bubbles of melted cheddar seeping out the sandwich edges, which confirms the cheese is fully melted through the center. Transfer the finished first sandwich to the serving plate, then repeat the two-sided cooking process for the second sandwich.
Step 7
step7:Flip, Cook Second Side
8

Cut, Plate, and Serve

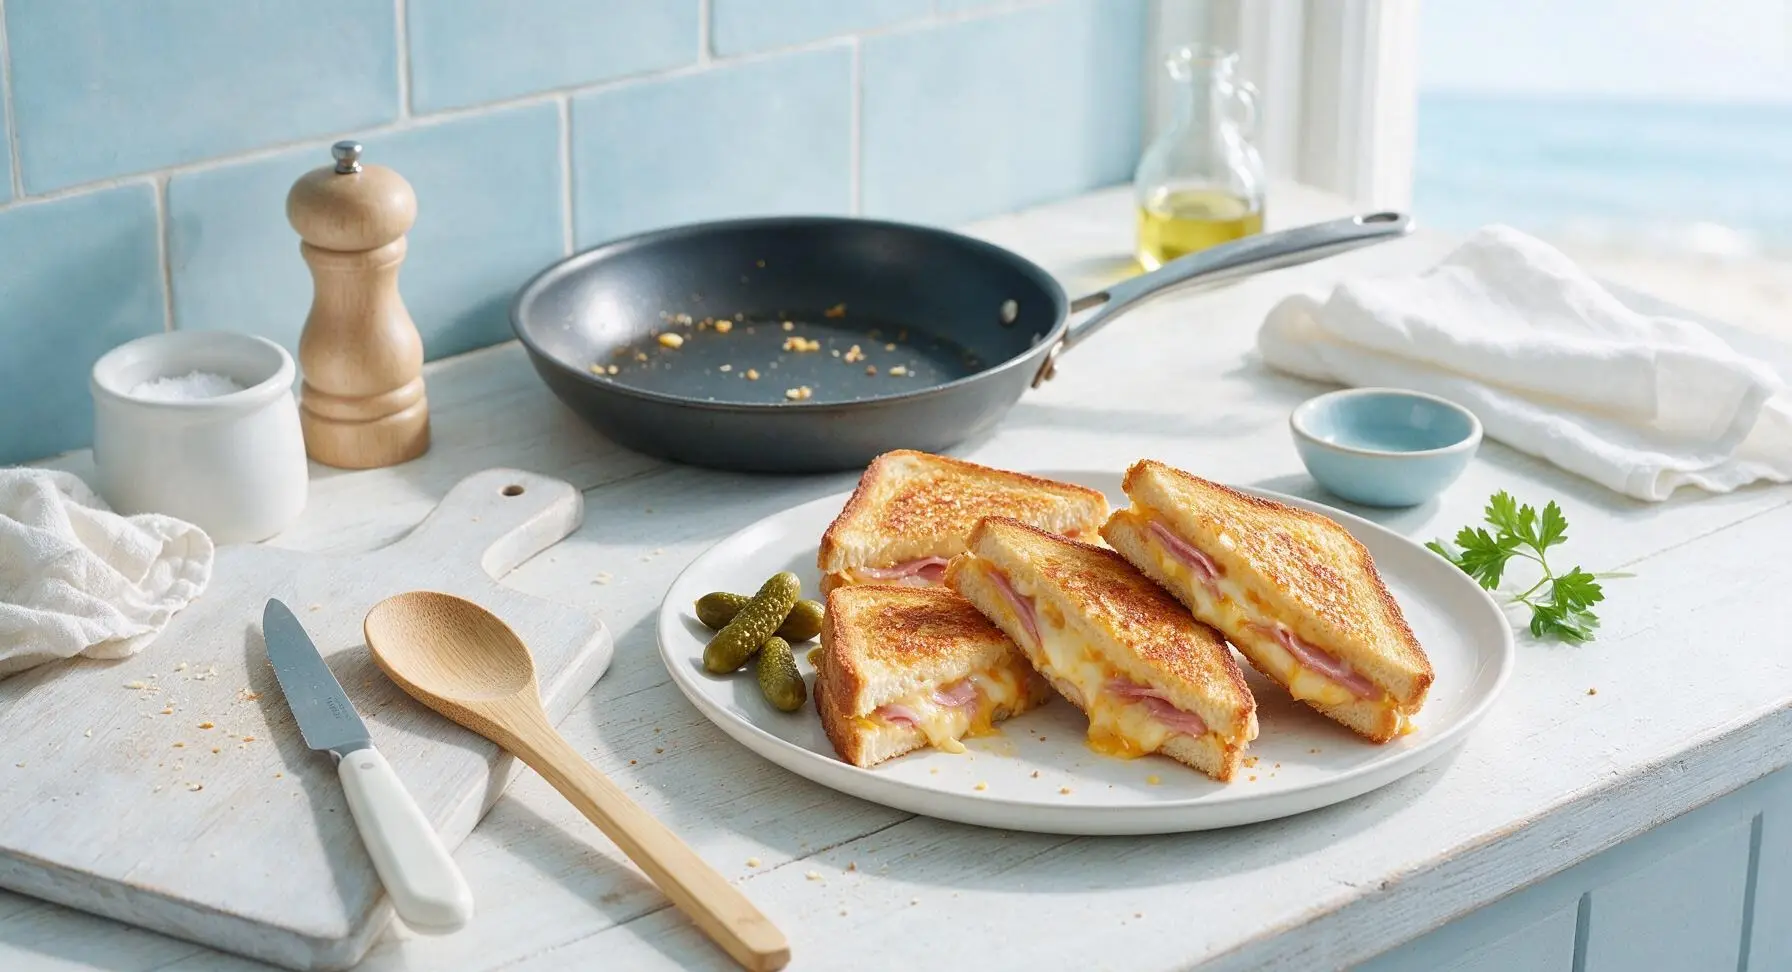
Transfer both fully cooked toasties from the skillet back to the honey oak cutting board. Use the serrated stainless steel bread knife to cut each sandwich diagonally into two triangular halves, using a gentle sawing motion to avoid squeezing out melted filling. Arrange the four triangles on the matte cream ceramic serving plate, cut sides angled outward to show the melted cheese filling, tuck 4 cornichons alongside the sandwiches as a tangy garnish. Serve immediately while hot and crisp.

Step 8
step8:Cut, Plate, and Serve
Step 8
step8:Cut, Plate, and Serve

Tips

1.Cook over medium-low heat (160C/320F) rather than high heat: High temperatures will burn the bread exterior to a bitter char before the cheese in the center has time to fully melt, leaving you with a crunchy outside and cold, un-melted filling.
2.Spread butter all the way to the very edges of each bread slice: Unbuttered crust edges will turn pale, tough, and dry instead of developing an even golden, crisp texture across the entire sandwich surface.
3.Avoid overstuffing with fillings: Piling too much cheese or ham will prevent the two bread slices from sealing together as the cheese melts, leading to filling oozing out onto the pan and a sandwich that falls apart when picked up to eat. Stick to the measured 60g cheese and 40g ham per serving for the ideal ratio.


✨ You May Also Like

Main Course
🍜 United Kingdom

A showstopping classic of tender seared beef, savory mushroom duxelles, and crisp prosciutto wrapped in flaky golden puff pastry, baked to juicy perfection.

⏱️ 2 hours 1Main Course ★ 4.7
Main Course
🍜 India

Tender charred marinated chicken simmered in a rich, spiced creamy tomato sauce, this iconic Anglo-Indian curry pairs perfectly with basmati rice or warm naan.

⏱️ 50 minuteMain Course ★ 4.6
Main Course
🍜 Thailand

Classic tangy, sweet, and savory Thai stir-fried rice noodles with shrimp, tofu, and crunchy garnishes, balancing all five core Thai flavor profiles.

⏱️ 30 minuteMain Course ★ 4.5
Main Course
🍜 United Kingdom

Crispy golden beer-battered cod and fluffy double-fried chips, served with tangy tartar sauce and malt vinegar: the timeless, beloved British pub comfort classic.

⏱️ 45 minuteMain Course ★ 4.7
Main Course
🍜 Mexico

Smoky, chile-marinated pork tacos with caramelized pineapple, fresh cilantro, and lime: a beloved classic Mexican street food perfect for casual summer gatherings.

⏱️ 1 hour 45Main Course ★ 4.8
Main Course
🍜 United States

Crunchy Fritos corn chips layered with savory beef chili and melted cheddar, topped with cool, zesty fixings for a beloved, cozy Tex-Mex comfort food.

⏱️ 35 minuteMain Course ★ 4.8

toastie sandwich:Frequently Asked Questions

1.What’s the best bread to use if I don’t have thick-cut sourdough on hand? ▾
Opt for another sturdy, 1-inch thick-cut artisan loaf like crusty country white, light rye, or whole grain if you don’t have sourdough. Skip thin, soft pre-sliced sandwich bread—it gets soggy fast under pressure and won’t develop that signature shatteringly crisp crust. Use evenly cut slices so the toastie presses uniformly for even browning.
2.Can I use pre-shredded cheddar instead of cheese I grate myself from a block? ▾
You can in a pinch, but freshly grated sharp yellow cheddar melts far smoother for that perfect oozing cheese pull. Pre-shredded cheddar is coated in anti-caking potato starch that makes it melt grainier and less evenly. For better results with pre-shredded cheese, toss it with a tiny pinch of cornstarch to improve its melt.
3.How do I keep my toastie from getting soggy instead of perfectly crispy? ▾
Sogginess usually comes from too much wet filling or incorrect bread prep. Spread softened salted butter all the way to the edges of every outer bread slice, don’t overstuff with ham, and go light on thick Dijon. Cook over medium-low heat so the bread crisps before cheese melts out, pressing firmly as it cooks.
4.Do I need a special panini press to make this toastie? ▾
No fancy equipment is required at all! A regular cast iron or nonstick skillet works perfectly. Once you assemble the sandwich, cook it over medium-low heat, and press down firmly with a heavy spatula, or set a smaller weighted skillet (top it with a couple canned goods for heft) on top, flipping halfway through cooking.
5.What kind of ham works best if I don’t have thinly sliced smoked deli ham? ▾
Stick to low-moisture, smoky, thinly sliced cooked ham for the best results. Shaved thick leftover holiday ham, Black Forest ham, Virginia baked ham, or even mild honey ham are all great swaps. Avoid wet, heavily glazed hams with runny sauce or watery canned ham, as those will turn your crisp bread soggy fast.
6.How much Dijon mustard should I use so it doesn’t overpower the cheese and ham? ▾
Stick to about ½ teaspoon per slice of bread, spread in a thin, even layer on the inner sides of the sourdough before adding fillings. That amount adds just a subtle bright tang that cuts through rich cheese and salty ham without taking over. If you love bold mustard flavor, you can bump that up to 1 teaspoon per slice.
7.How do I get the cheese fully melted without burning the bread crust? ▾
Cook over steady medium-low heat, not high! High heat will scorch the buttered bread before the center cheese has time to melt. Plan for 3-4 minutes per side to get a golden crisp crust and fully oozing cheese. If bread browns too fast, turn heat down and cover the pan for 1 minute to trap heat to melt the center faster.
8.Can I add extra fillings to this toastie without ruining its crispy texture? ▾
You can add small amounts of low-moisture extras without sogginess—think thin slices of tart apple, a sprinkle of crispy cooked bacon, a few caramelized onion bits, or a pinch of smoked paprika. Skip high-moisture add-ins like fresh tomato, wet briny pickles straight from the jar, or runny sauces, which make crisp crusts soggy fast.
9.Is there a good substitute for salted butter if I only have unsalted on hand? ▾
Unsalted butter works perfectly as a swap—you’ll just want to add a tiny pinch of flaky sea salt to the outer buttered sides of the bread before cooking to get that same savory, seasoned buttery crust. Don’t use olive oil as a full replacement, since it has a lower smoke point and won’t deliver that rich, classic buttery crispness.
10.How much cheese should I use per sandwich for perfect melt without a messy pan? ▾
Aim for about 2 ounces (roughly ½ cup freshly grated) of sharp cheddar per sandwich, split evenly between both inner sides of the bread to act as a 'glue' holding the ham in place. Piling on more than that will lead to most cheese oozing out the sides and burning on your pan instead of staying in the sandwich.
11.Why does my butter tear the sourdough when I try to spread it? ▾
That happens when your butter is still cold straight from the fridge, instead of softened to room temperature. Let butter sit out for 15-20 minutes before making toasties so it spreads smoothly without pulling or tearing the soft sourdough crumb. If you’re in a rush, melt a small amount of butter and brush it evenly across slices instead.
12.Can I make these toasties ahead of time for meal prep or a party? ▾
These taste best eaten fresh off the pan for maximum crispness, but you can prep components a day ahead: grate cheese, slice ham, and butter bread slices stored in an airtight container in the fridge. To hold cooked toasties for a crowd, set them on a wire rack over a baking sheet in a 200°F oven for up to 20 minutes—don’t stack them, or they’ll get soggy.
13.What’s the best way to cut a toastie so fillings don’t fall out everywhere? ▾
Let the cooked toastie rest for 1 full minute after you take it off the heat—this lets the melted cheese set just enough so it doesn’t gush out when you cut it. Use a sharp serrated knife to cut it diagonally into two triangles, pressing down gently instead of sawing roughly, for clean cuts that hold every bite together.
14.Is sharp yellow cheddar the only cheese that works for this recipe? ▾
Sharp yellow cheddar gives that classic tangy, bold flavor that pairs perfectly with smoky ham, but you can swap up to half of it for other well-melting cheeses if you’d like. Gruyère, fontina, or a little smoked gouda work beautifully, but avoid crumbly non-melting cheeses like feta as the main cheese, since they won’t give that oozing texture.
15.How thin should the deli ham be sliced for the best toastie texture? ▾
Ask for your smoked deli ham to be sliced paper-thin, roughly 1/16 of an inch thick, for the best bite. Thin slices stack evenly, warm through fast, and don’t pull out in one big clump when you take a bite. If ham is sliced too thick, it will be chewy, create gaps between cheese layers, and keep the sandwich from pressing into a tight, crisp package.

Comments (9)

2 days ago

OMG this toastie is a total game changer for our busy weeknights! Threw this together after my kid’s soccer practice last night, used some leftover holiday ham and sharp cheddar, and both my boys devoured it in 5 minutes flat. The crispy crust is *chef’s kiss*—who knew a little butter on the outside of the bread made such a huge difference? 10/10, will be making this on repeat for school lunches too!

yesterday

Right?! I’ve been making these for my kid’s lunch boxes all week and they don’t even come home soggy! I add a little smear of dijon to the bread and it takes it to the next level.

yesterday

So glad this worked for your busy schedule, Dave! The dijon add-in sounds delicious—feel free to mix in a little smoked paprika on the bread crust too for an extra savory kick if you’re feeling fancy!

30 minutes ago

Super easy to make in my dorm room’s tiny sandwich press! Only thing I messed up was using pre-shredded cheddar that had that anti-caking coating, so it didn’t melt quite as smooth as I wanted. Still tasted SO good though, perfect for a late night study snack instead of ordering takeout.

5 minutes ago

Great call making this in your dorm! Pro tip: shred your own block cheddar if you can, it melts way creamier without that potato starch coating pre-shredded cheese uses. Glad it still hit the spot for your study session!

1 week ago

I’ve been making ham and cheese sandwiches for my grandkids for 40 years, and this crispy method is the best upgrade I’ve ever tried! Made a whole platter of these for our Sunday potluck after church, and not a single one was left. Everyone was asking for the recipe, even the ladies from my bridge club! The buttery crispy edges remind me of the grilled cheese my own mom used to make when I was little.

3 days ago

Added this to my weekly meal prep rotation! I assemble these the night before, wrap them in parchment, and then crisp them up in a skillet for 3 minutes each side when I get to work. Way cheaper and tastier than the paninis from the café down the street that charge $12 a pop. Saved me so much money on lunch this week!

2 days ago

Wait, do they get soggy if you assemble them the night before? I’ve been scared to try pre-making grilled cheese type sandwiches for meal prep because I thought they’d turn mushy!

yesterday

Made this for lunch today with sourdough bread, black forest ham, and a mix of sharp cheddar and a little pepper jack for heat. OH MY GOD it was so crispy and cheesy, the cheese oozed out the sides and got all crispy on the skillet—those little cheese crisps are the best part! 12 minute cook time is no joke, I was eating before my Zoom call even started.

2 hours ago

The crispy oozed cheese bits are literally the reason I make any kind of grilled cheese or toastie! I save those little bits and snack on them while the sandwich finishes cooking, no shame.

30 minutes ago

Love the pepper jack addition! Those crispy cheese frico bits on the edge are 100% the chef’s reward for cooking, no judgment here for snacking on them mid-make.

5 days ago

Solid recipe! Only note is that I cooked mine on a little too high heat the first time, so the bread got darker than I wanted before the cheese was fully melted in the middle. Turned the stove down to medium low the second time and it came out perfect, crispy outside, fully melted cheesy inside. Tasted great with a cup of tomato soup for dipping, total comfort food.

2 weeks ago

Made these for a casual weekend brunch with my roommates! We set up a little toastie bar with different cheeses, ham, turkey, even some sliced apple and caramelized onions to add in, and this cheddar and ham version was the clear fan favorite. So easy to throw together even when you’re half asleep on a Saturday morning, no fancy equipment needed.

1 week ago

A toastie bar is such a fun brunch idea! The sliced apple add-in sounds incredible with salty ham and sharp cheddar—sweet and savory perfection, I’ll have to try that at my next weekend gathering.

2 hours ago

Hearty, quick, and filling—exactly what I need after a long morning on the job site. Threw this together on my lunch break, used thick cut ham and extra cheddar, and it kept me full all the way through quitting time. Way better than the sad fast food burgers I usually grab on my break. Will be packing the ingredients to make this at work from now on!

30 minutes ago

Fellow construction worker here, can confirm these travel great if you keep the bread and fillings separate until you’re ready to cook on the little camp stove I keep in my work truck. Total game changer for site lunches!

just now

Just pulled these off the skillet and WOW, I should have doubled the recipe! My twin toddlers are obsessed, they kept pointing at the pan asking for ‘more cheese bread’. I added a tiny sprinkle of garlic powder to the butter on the outside and it smelled so good the neighbor knocked on the door asking what I was making. 10/10, new household staple.



