
Tzatziki Turkey
intro
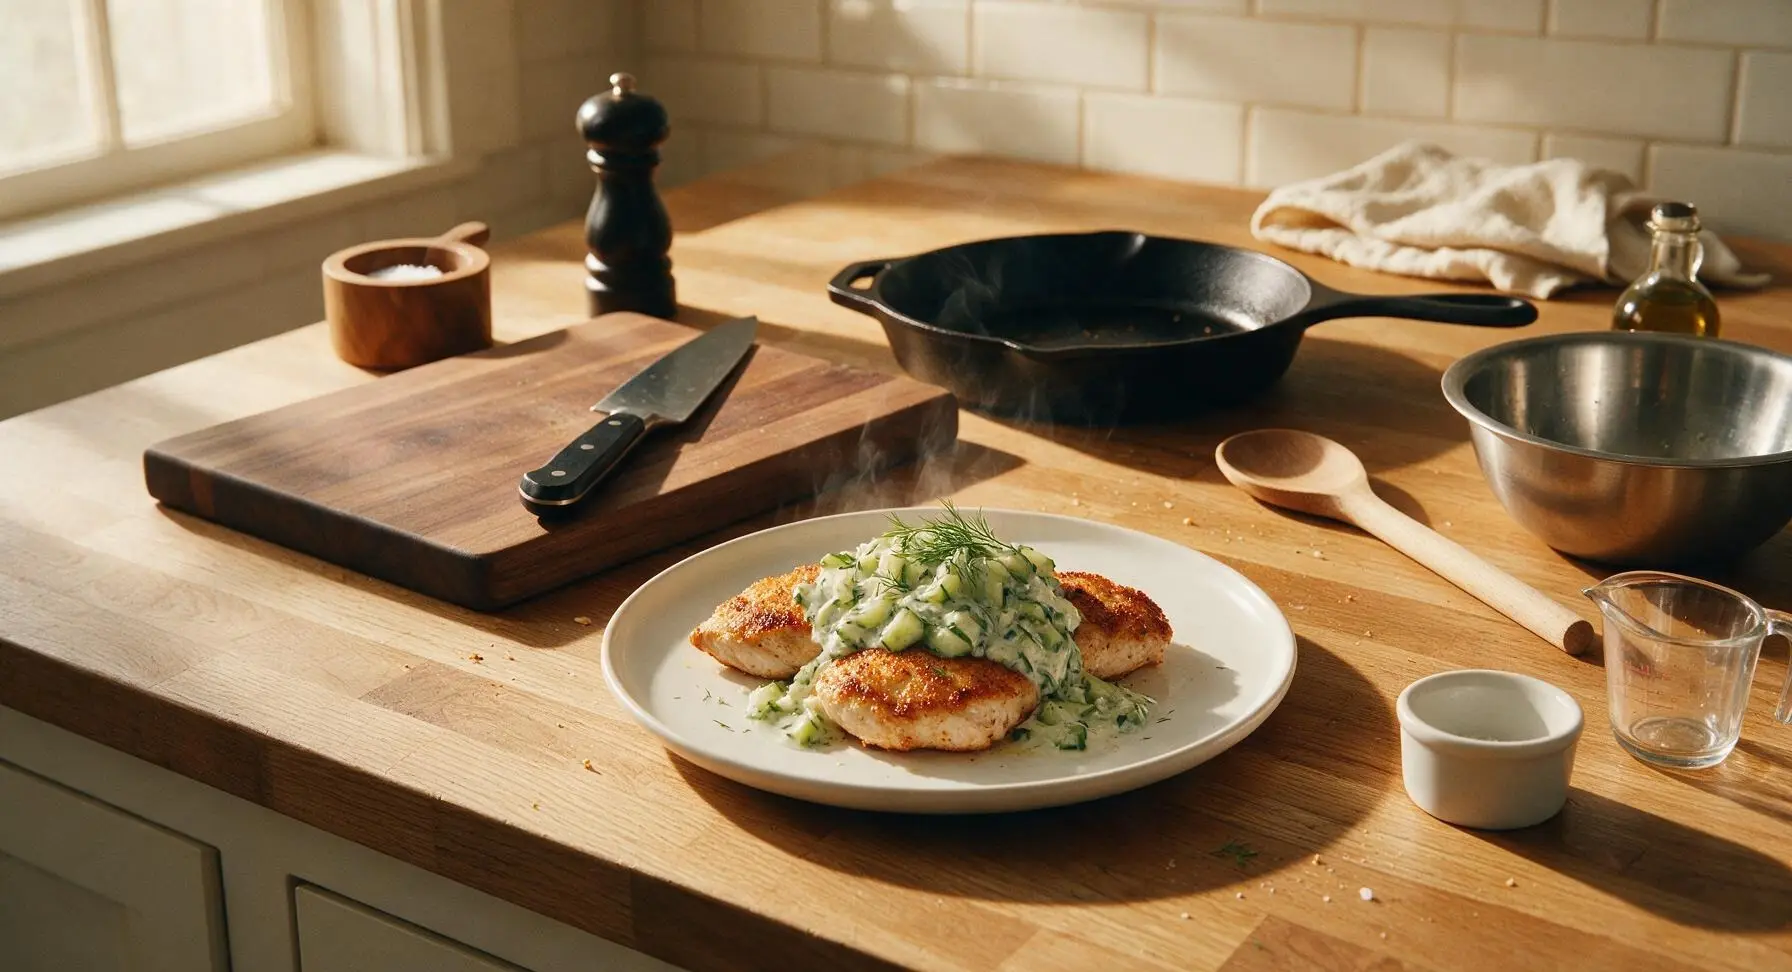
Juicy, crisp-seared turkey cutlets topped with cool, garlicky cucumber tzatziki and fresh dill—light, high-protein, and ready in under 30 minutes for a bright, satisfying warm-weather meal.
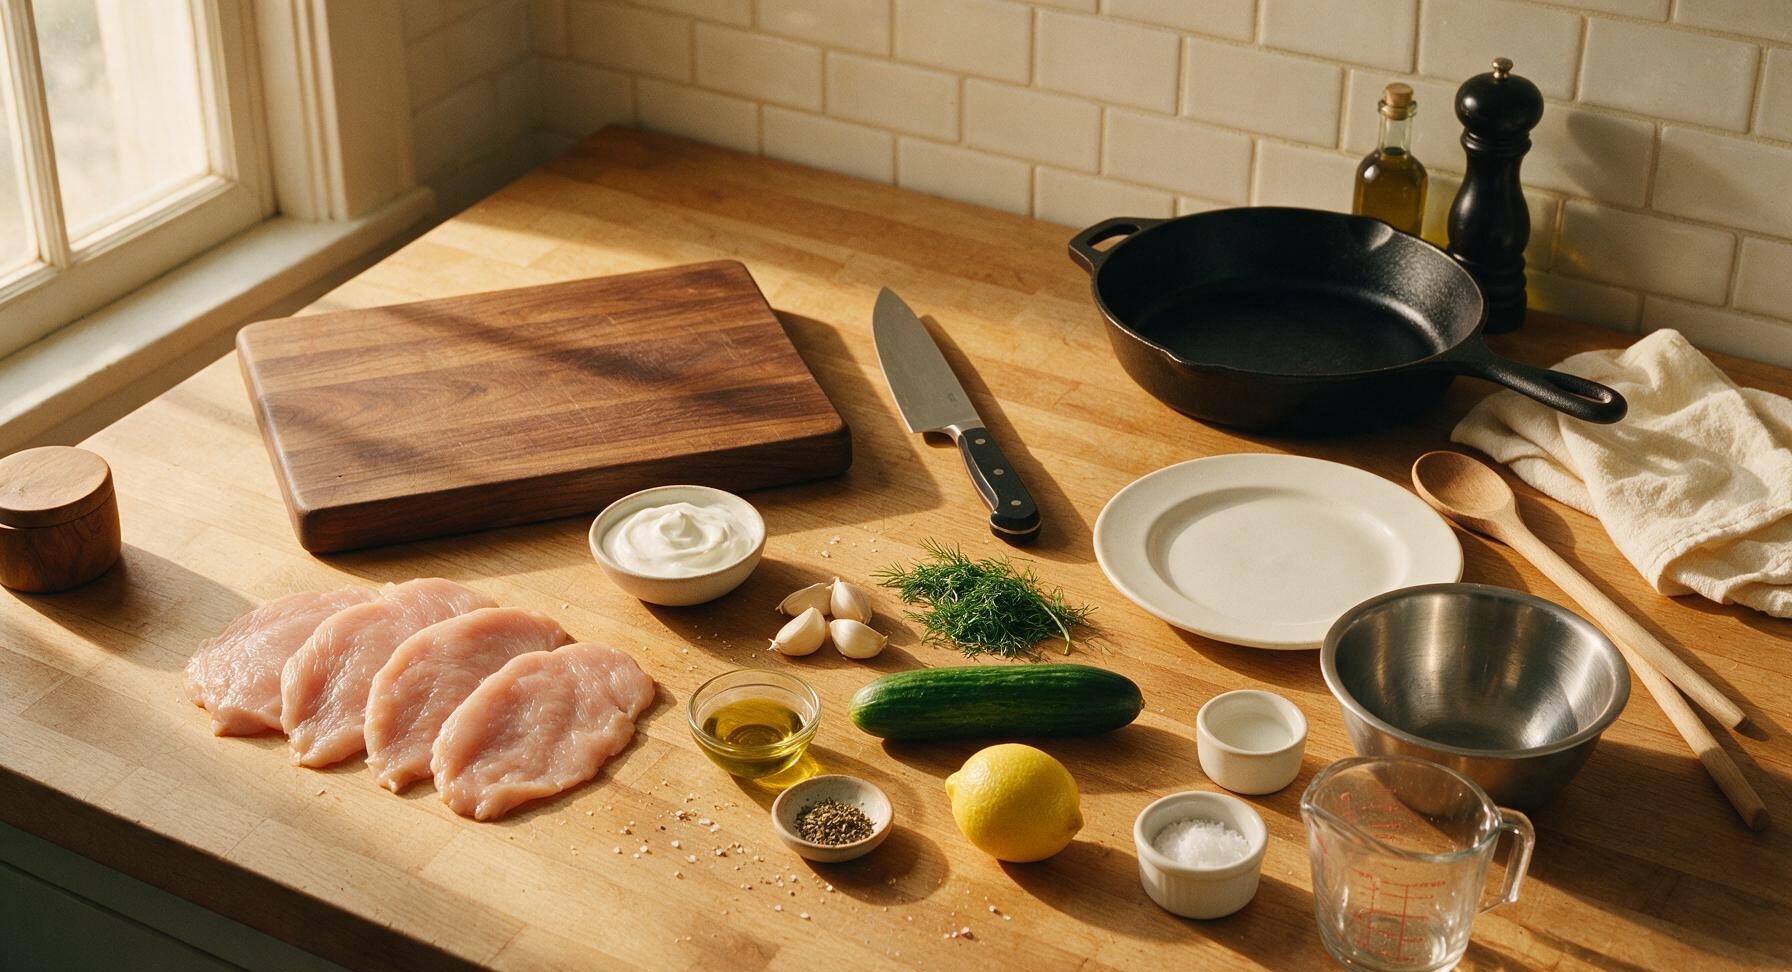
Ingredients
Steps
Prep and season turkey
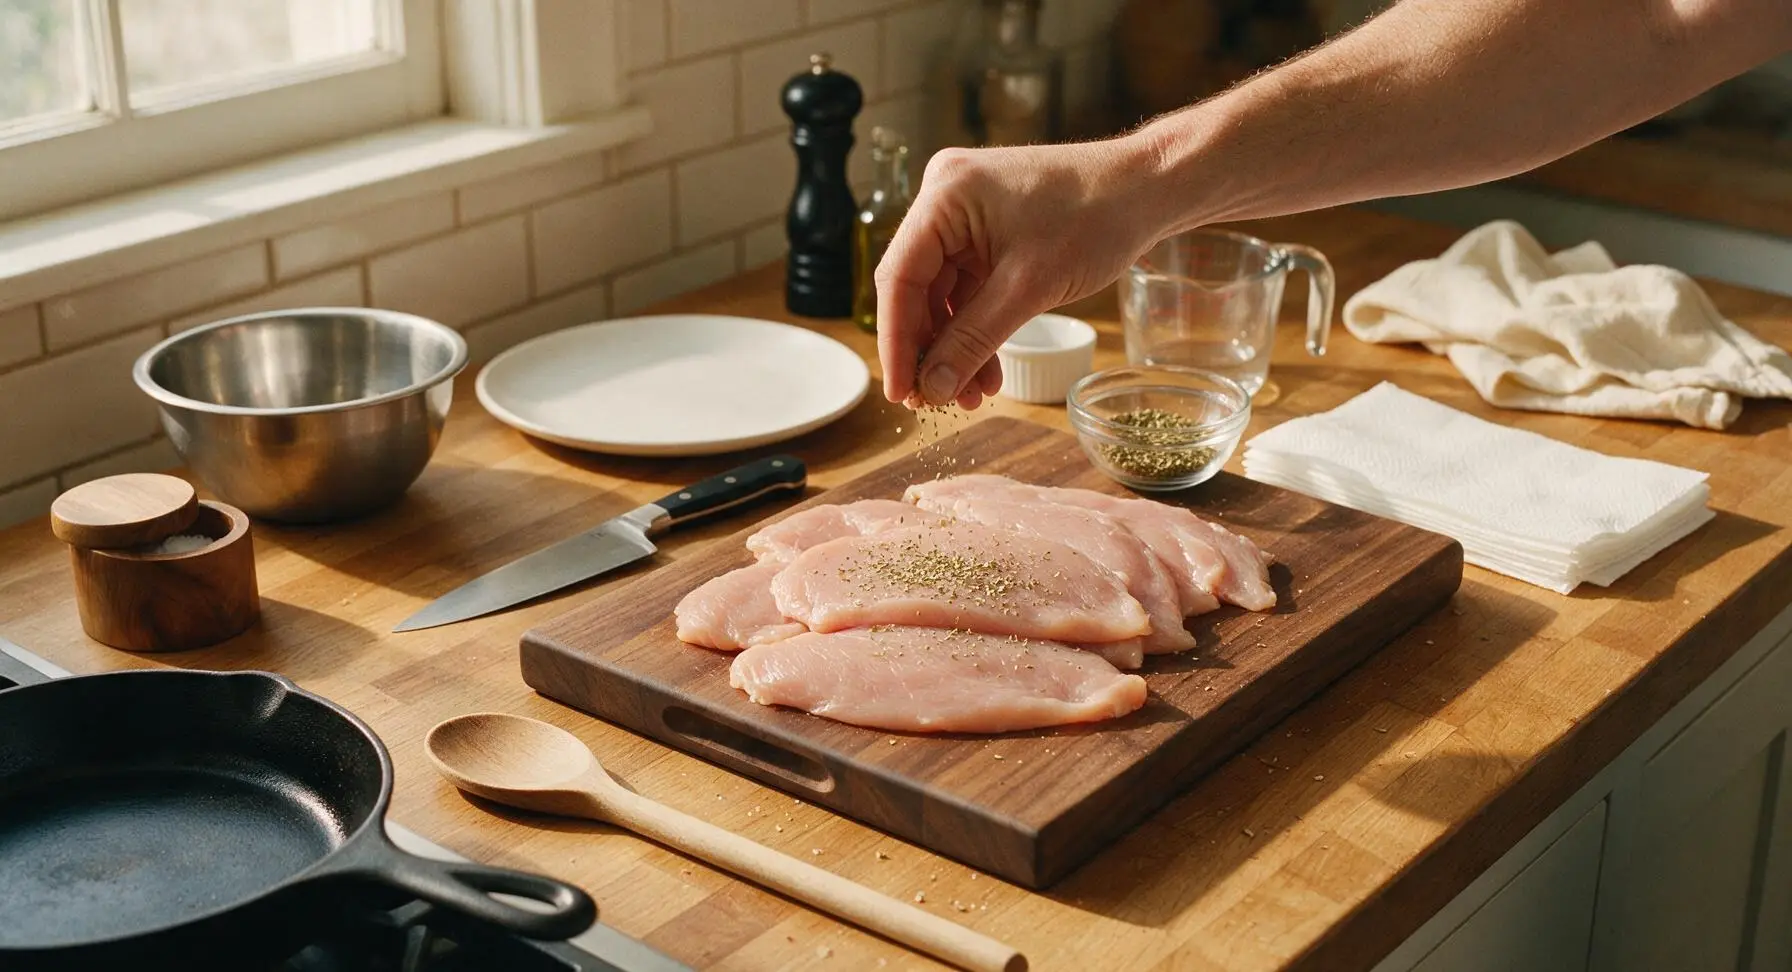
Place turkey cutlets on the acacia wood cutting board. Pat both sides completely dry with paper towels, then season evenly on all sides with ½ teaspoon flaky sea salt, ½ teaspoon black pepper, and 1 teaspoon dried oregano held in the small glass prep bowl. Press seasoning gently into the meat so it adheres, then set cutlets aside to rest for 5 minutes at room temperature while you prep tzatziki components.
Grate and drain cucumber
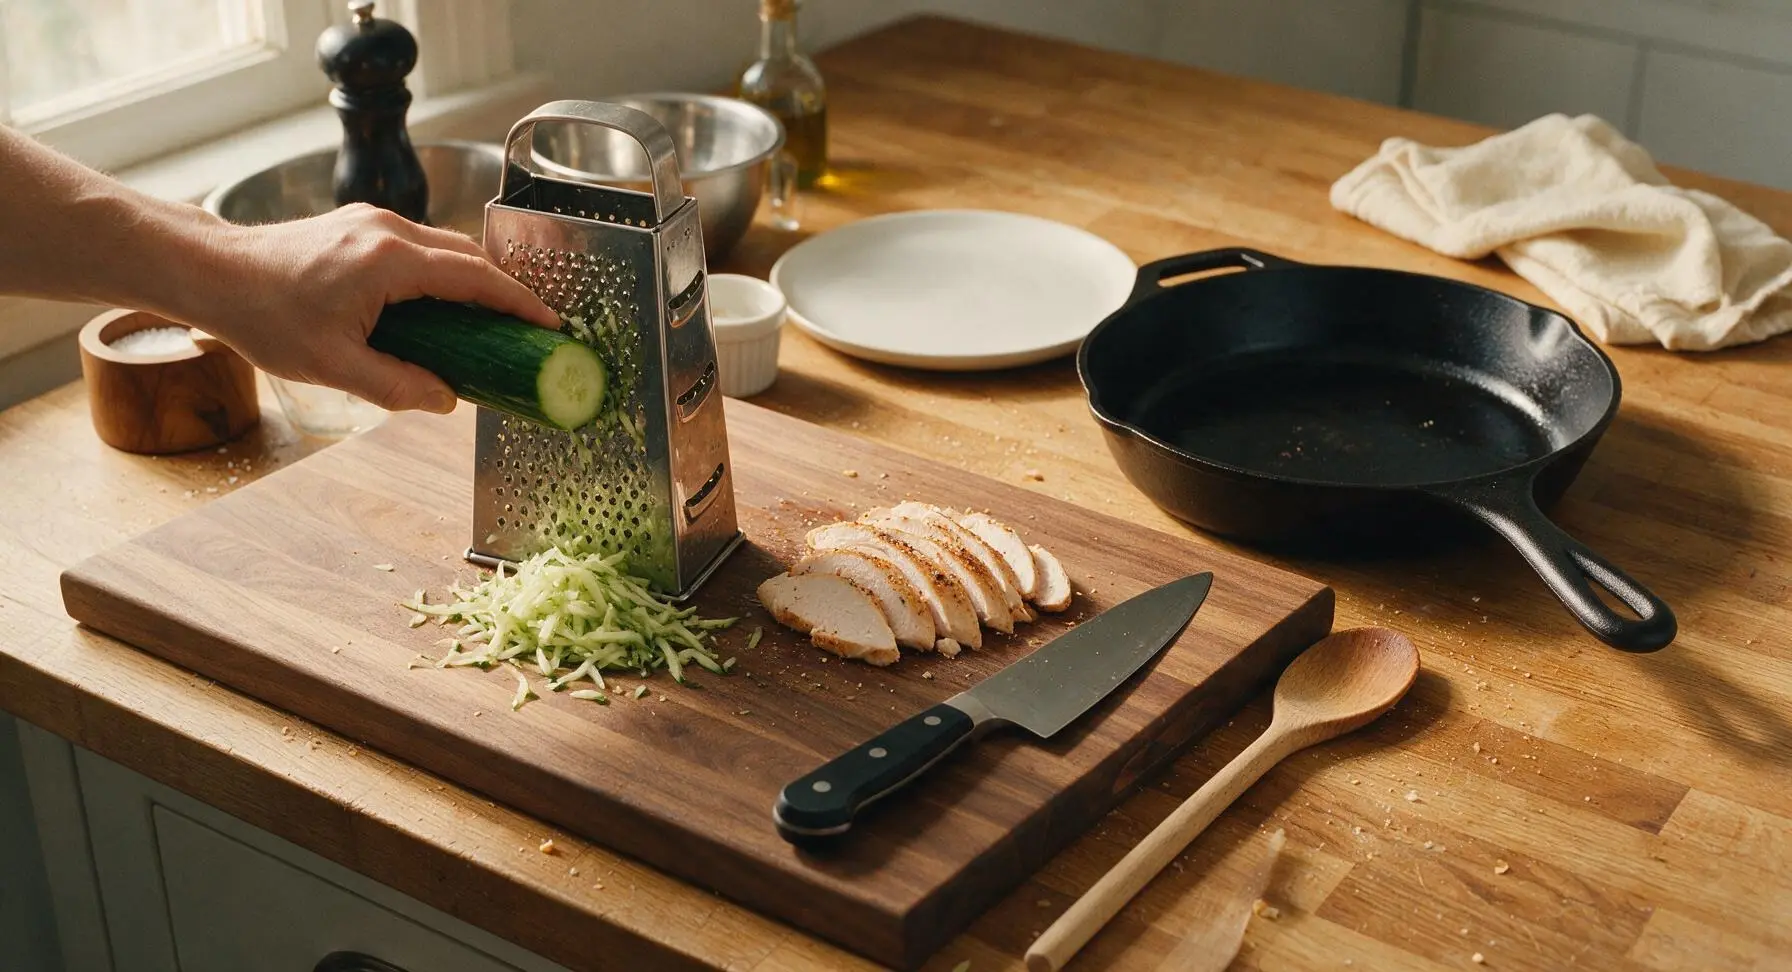
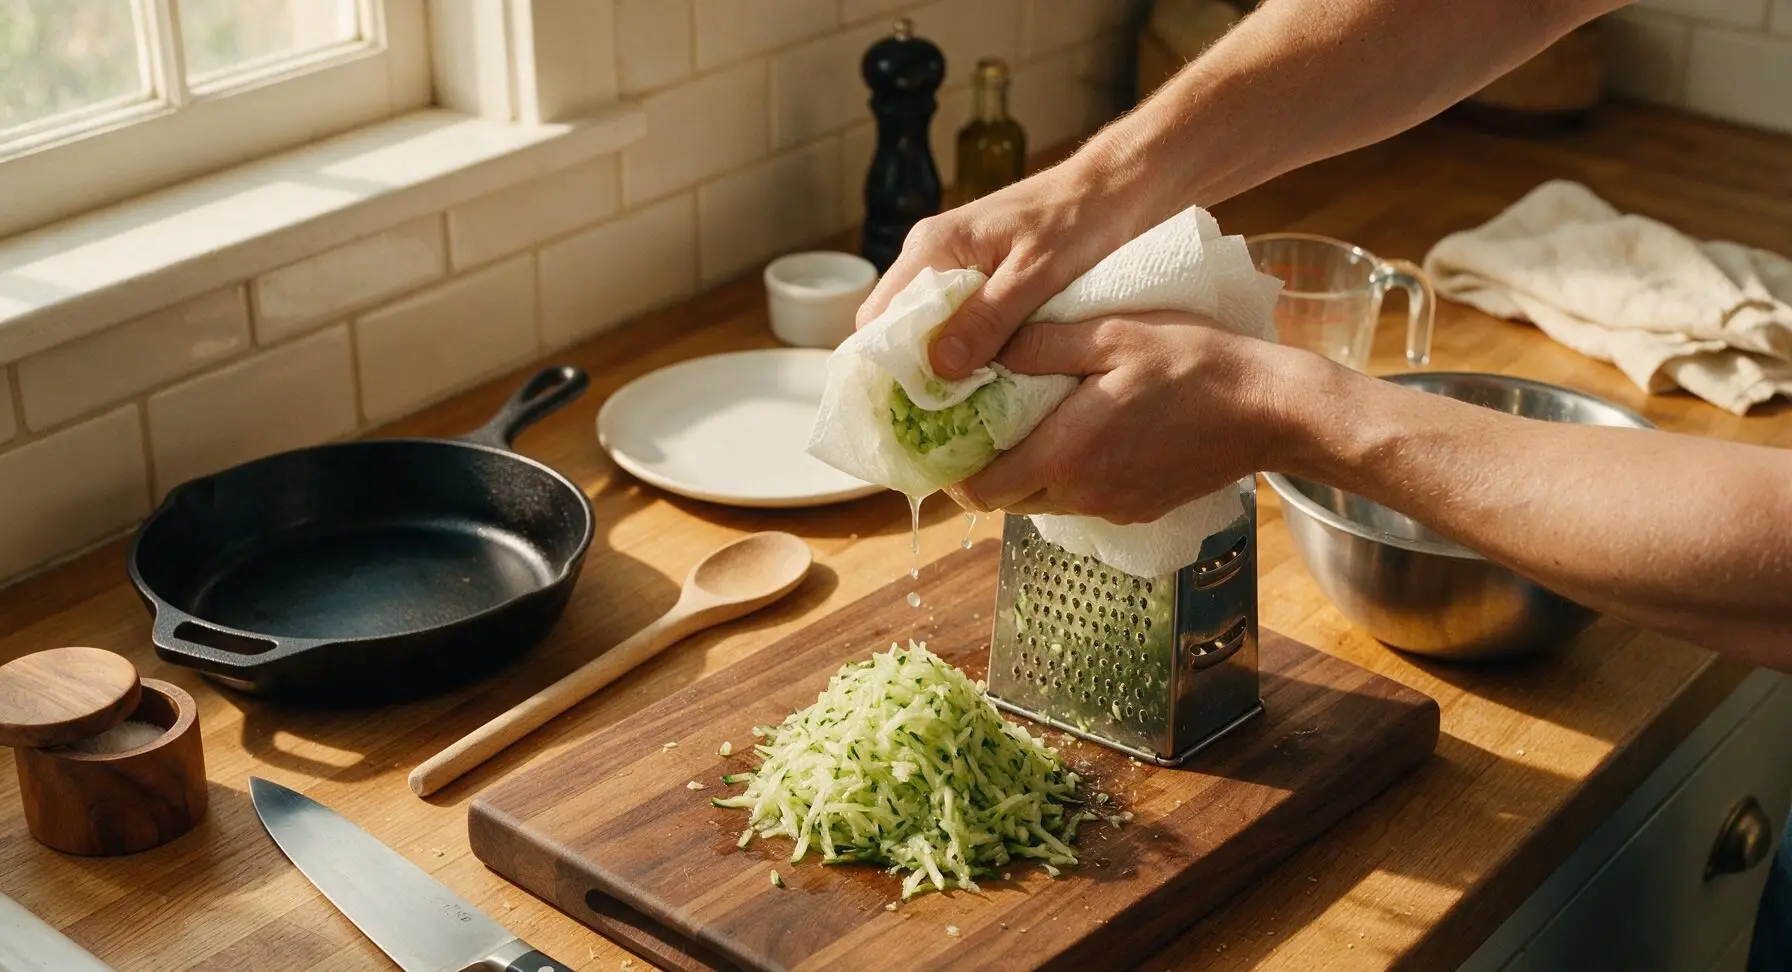
Set the box grater on the acacia cutting board, and use its medium-coarse side to grate the entire unpeeled English cucumber into a loose pile. Gather grated cucumber into the center of a double layer of paper towel, wrap tightly, and squeeze firmly to remove all excess water—properly squeezed cucumber will feel damp but not wet, with no dripping liquid when pressed, to prevent runny tzatziki.
Mix tzatziki base
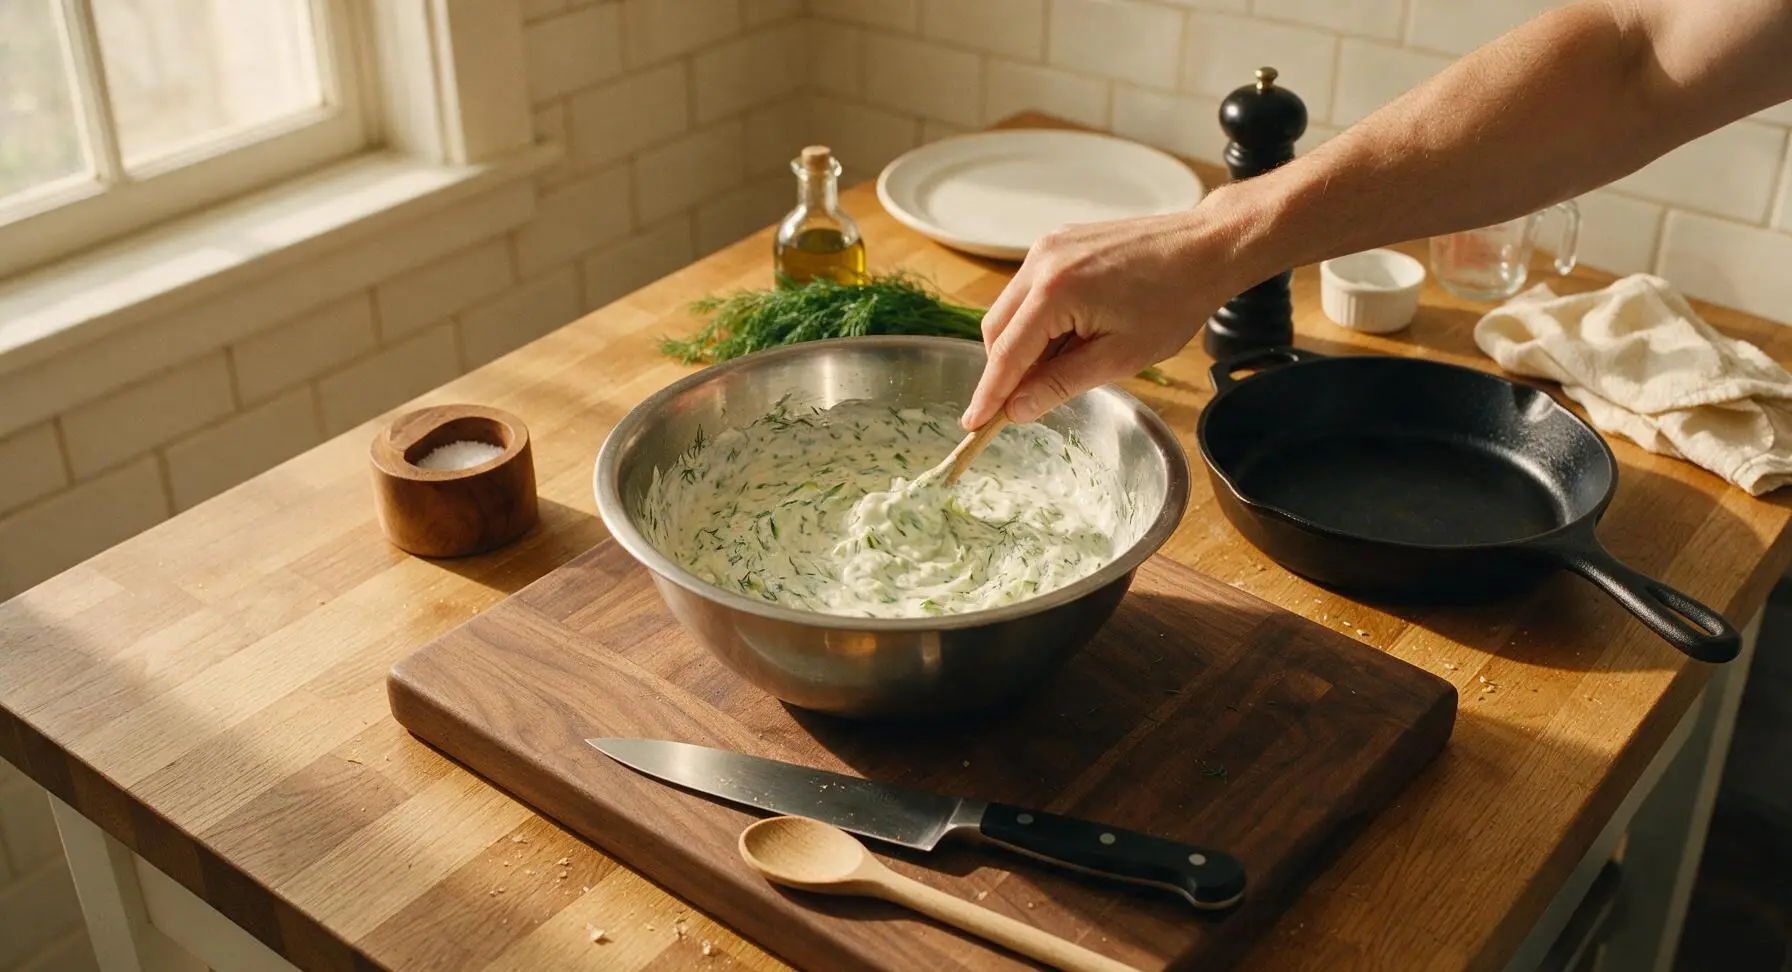
In the medium stainless steel mixing bowl, combine the 200g full-fat Greek yogurt, squeezed grated cucumber, 3 finely minced garlic cloves (chopped with the chef knife), 1 tablespoon extra virgin olive oil, 2 tablespoons fresh lemon juice, 1 teaspoon lemon zest, and 2 tablespoons finely chopped fresh dill. Stir gently until fully combined, then season with ¼ teaspoon flaky sea salt and a pinch of black pepper. Set tzatziki aside to chill while you cook the turkey.
Heat skillet for searing
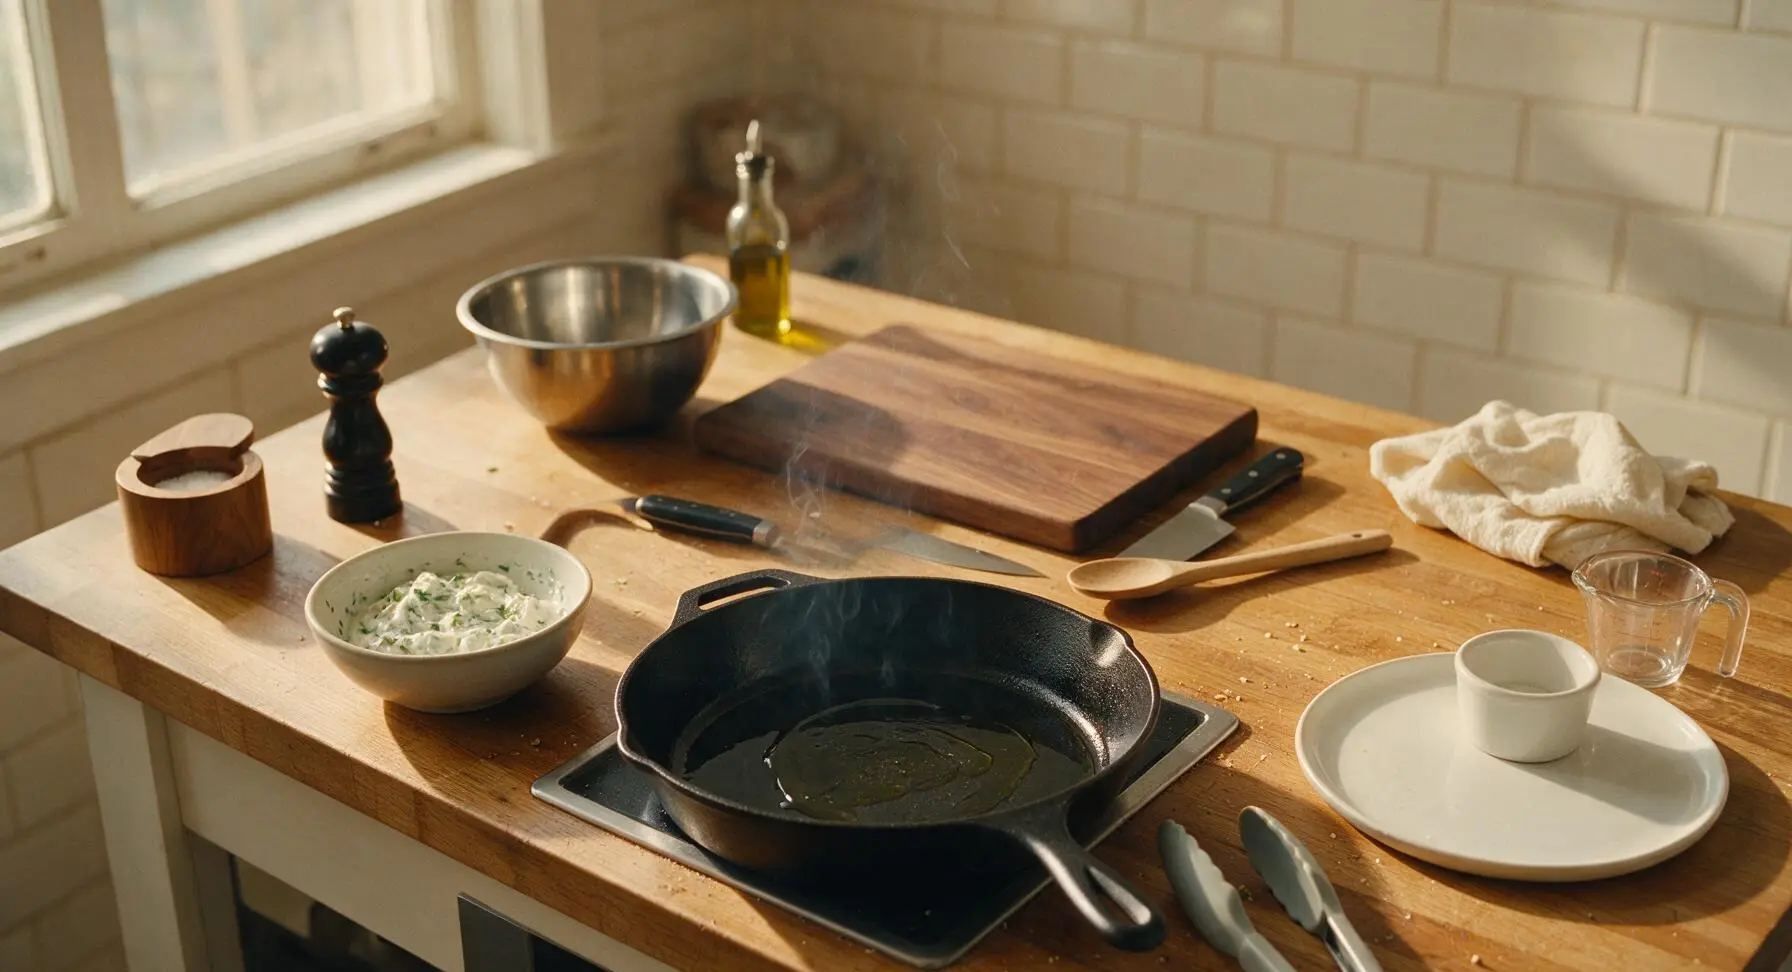
Place the 12-inch hard-anodized non-stick skillet on the stovetop work area over medium-high heat. Add 1 tablespoon of extra virgin olive oil, and heat for 2 minutes until the oil shimmers and sends up thin, wispy trails of heat—do not let the oil darken or smoke heavily, as this will burn the turkey seasoning.
Sear turkey first side
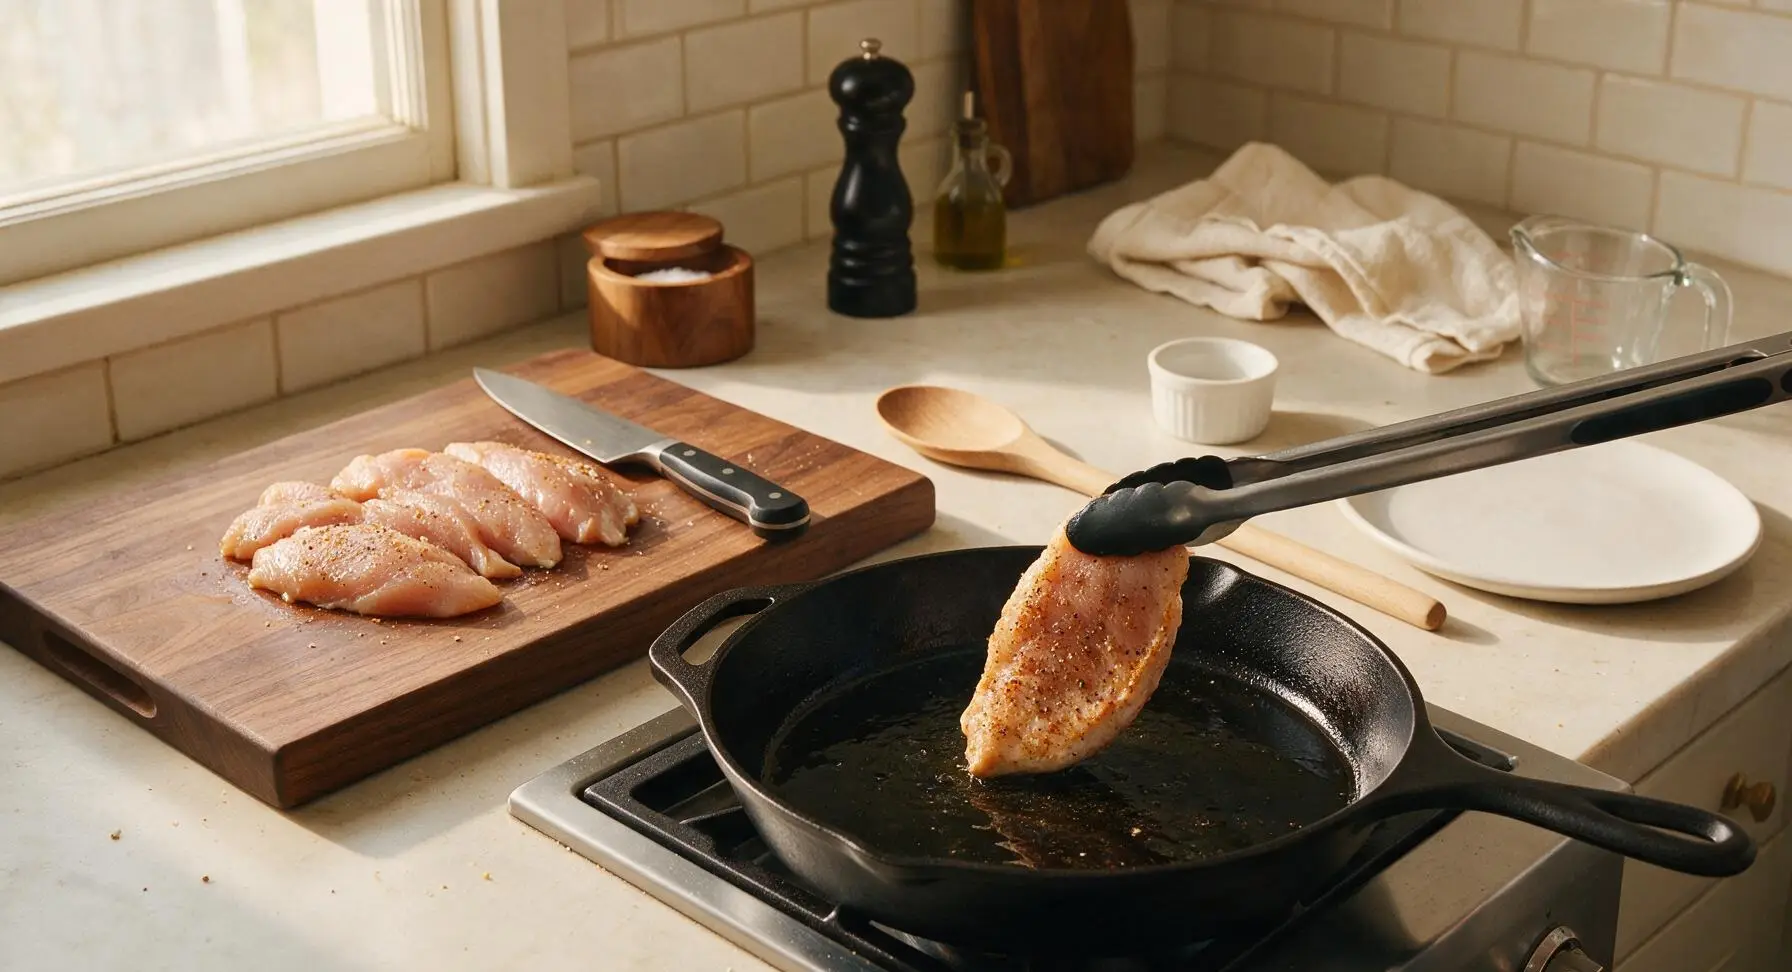
Use the silicone tongs to carefully place seasoned turkey cutlets into the hot skillet in a single layer, working in two batches if needed to avoid overcrowding (overcrowding causes steaming instead of crisp searing). Sear undisturbed for 3 minutes on the first side, until the bottom is deep golden brown and releases easily from the pan without sticking.
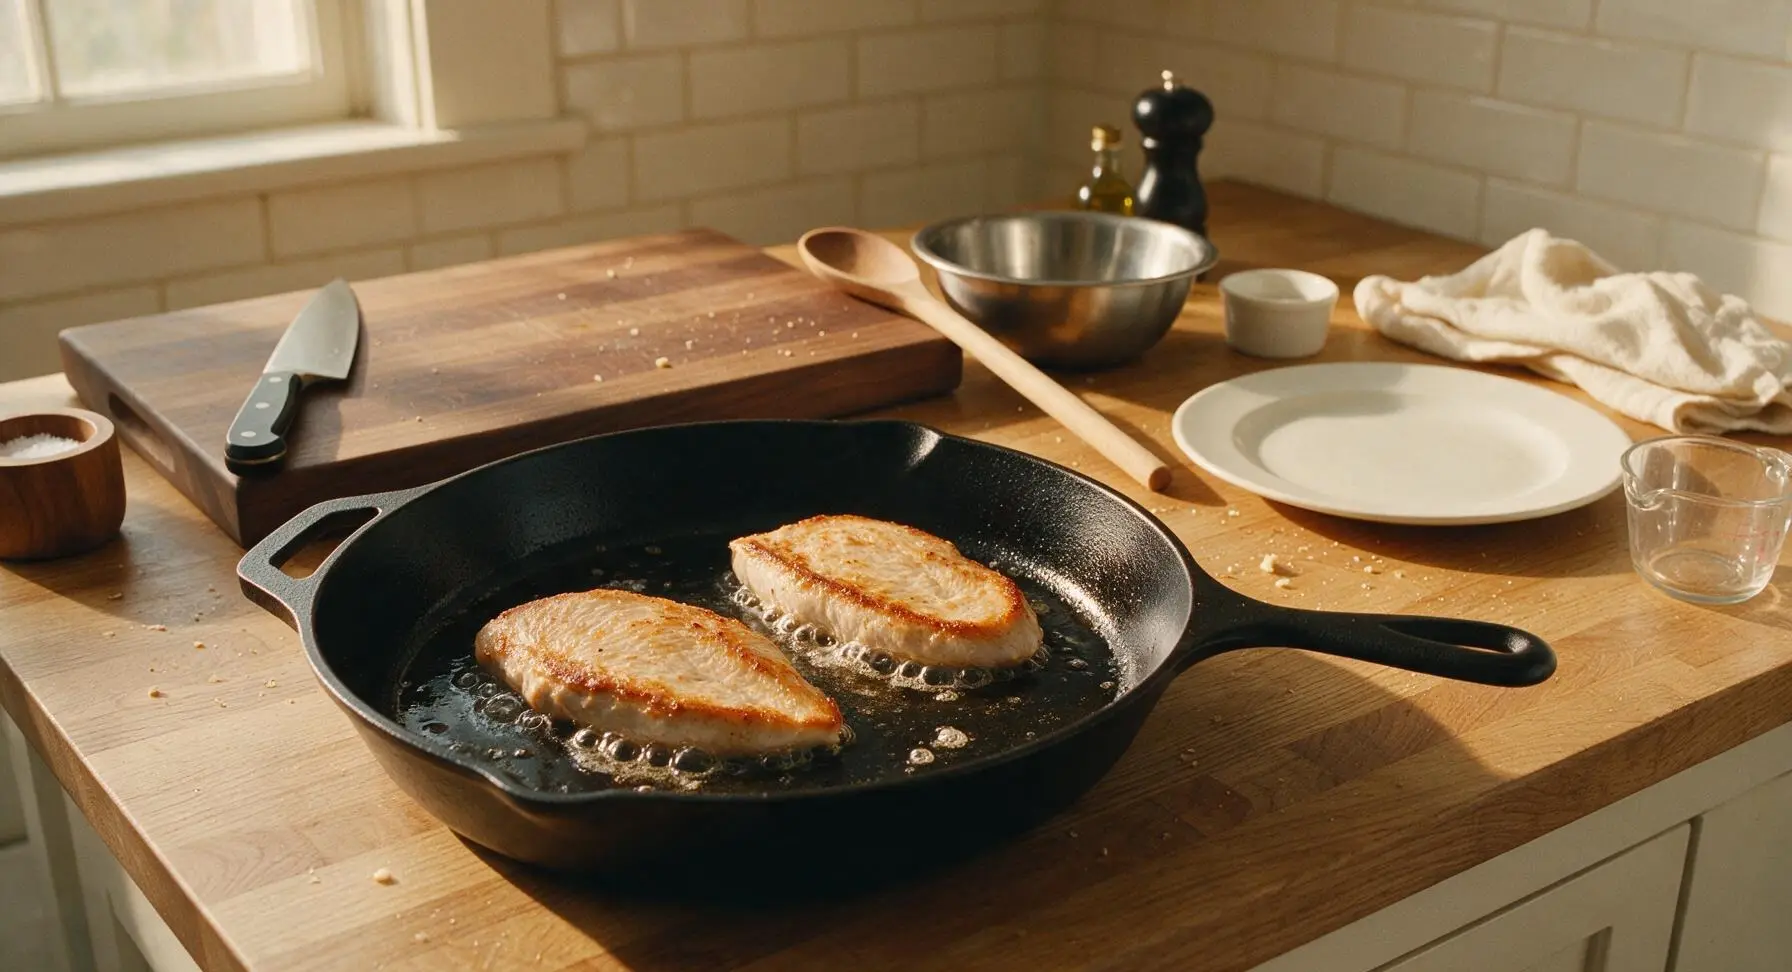
Flip and finish cooking
Use the tongs to flip each cutlet to the second side, and cook for an additional 2-3 minutes, until internal temperature reaches 74°C (165°F) and the second side is evenly golden brown. Remove cutlets from the skillet and let them rest on the acacia cutting board for 2 minutes to allow juices to redistribute, which prevents dry meat.
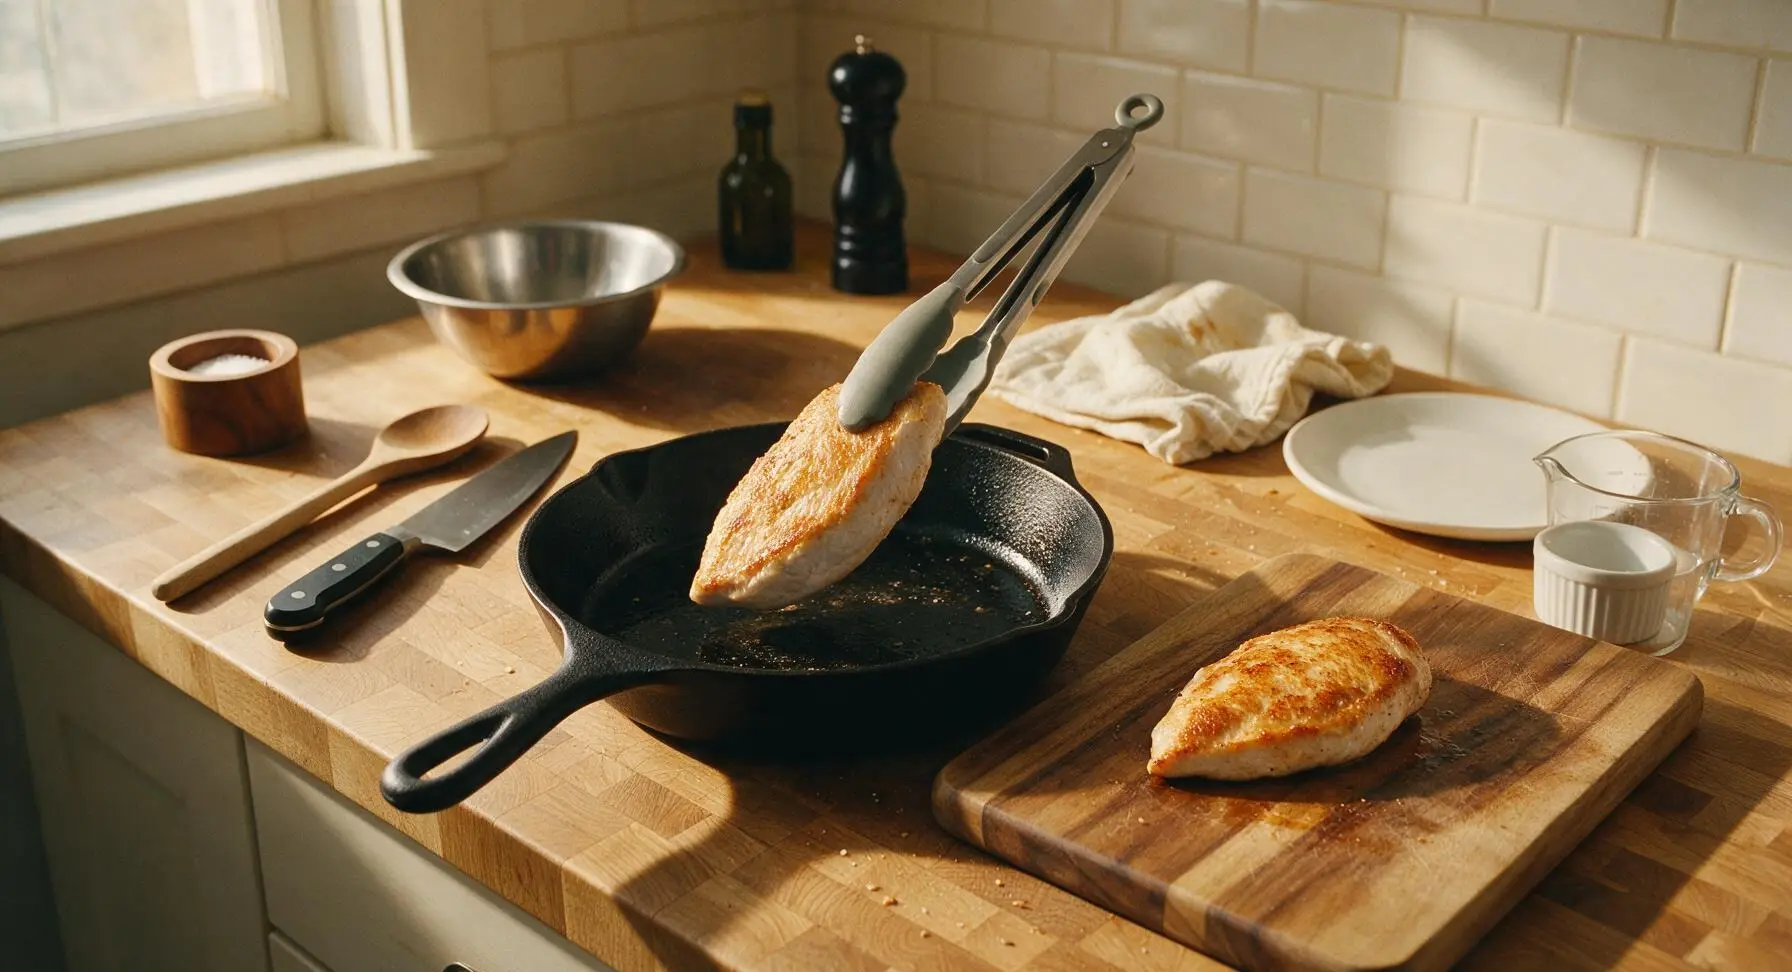
Plate seared turkey
Place the two rested seared turkey cutlets slightly overlapping on the matte off-white ceramic dinner plate, positioning them so the most evenly browned, crisp seared sides face up, with the prettiest golden edge angled toward the front of the plate for presentation.
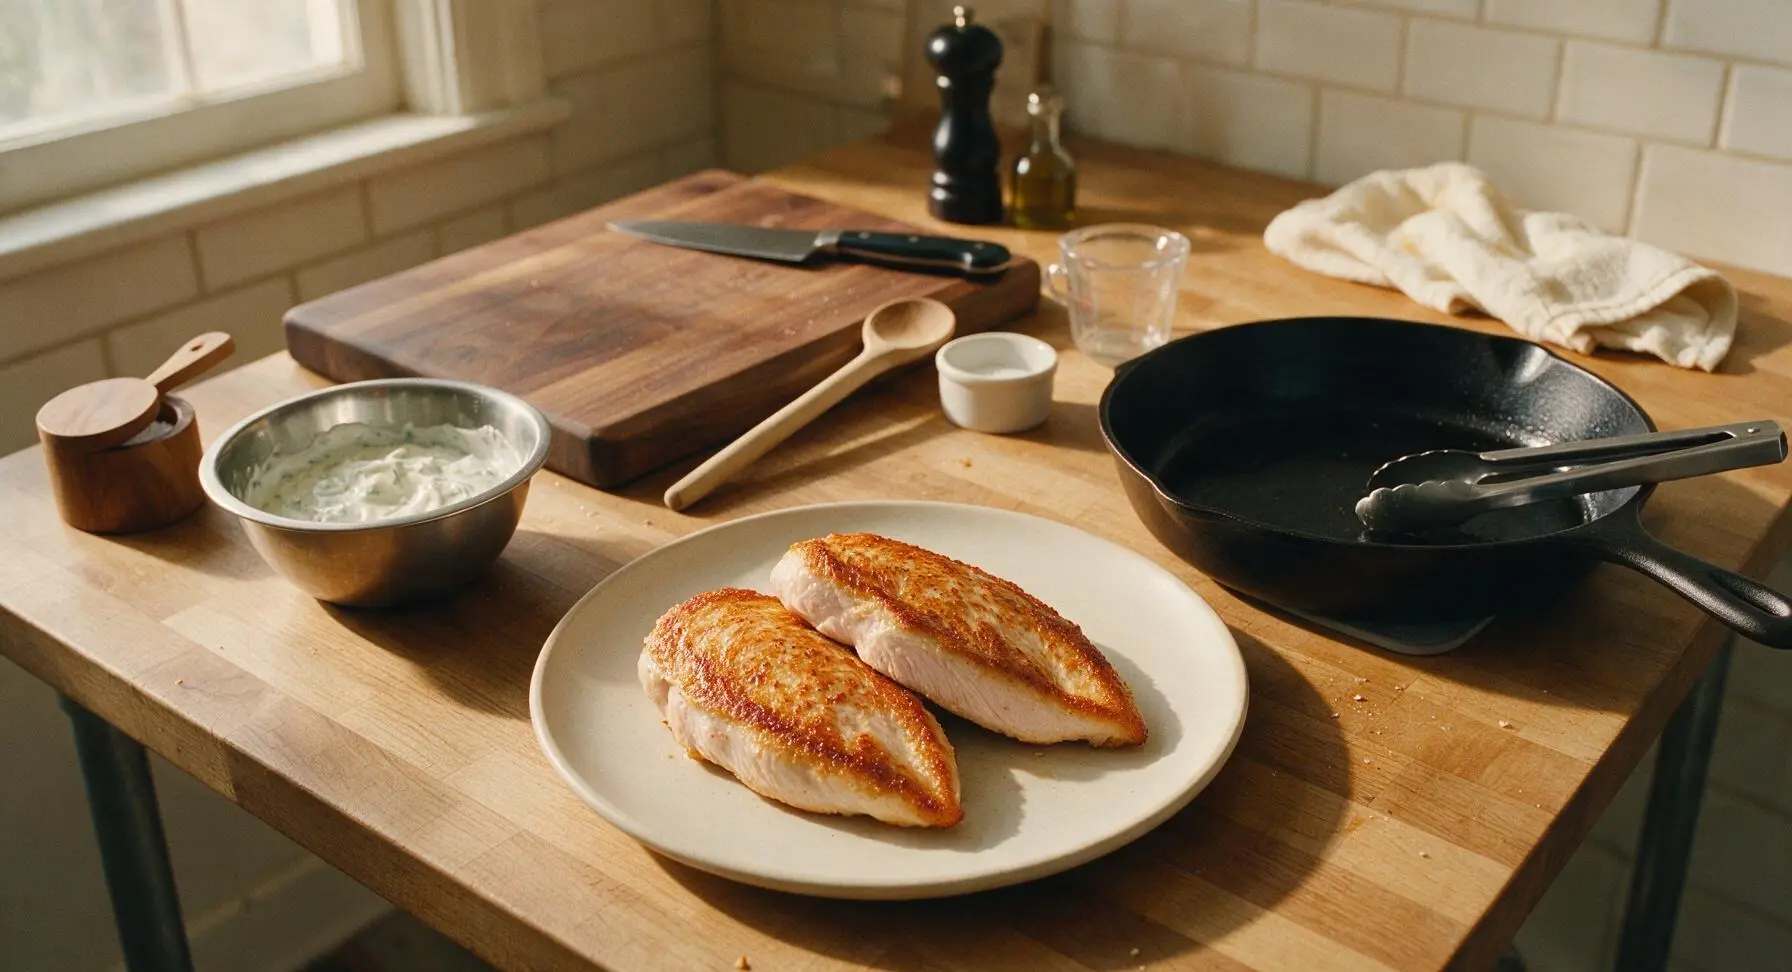
Add tzatziki and garnish
Scoop a generous ¼ cup of chilled tzatziki on top of the turkey cutlets, swirling it slightly with the back of a spoon so it drips gently down the cutlet sides. Garnish with a light drizzle of remaining extra virgin olive oil, a sprinkle of reserved chopped dill, a few thin fresh cucumber slices, and a tiny pinch of flaky sea salt. Serve immediately while turkey is warm.
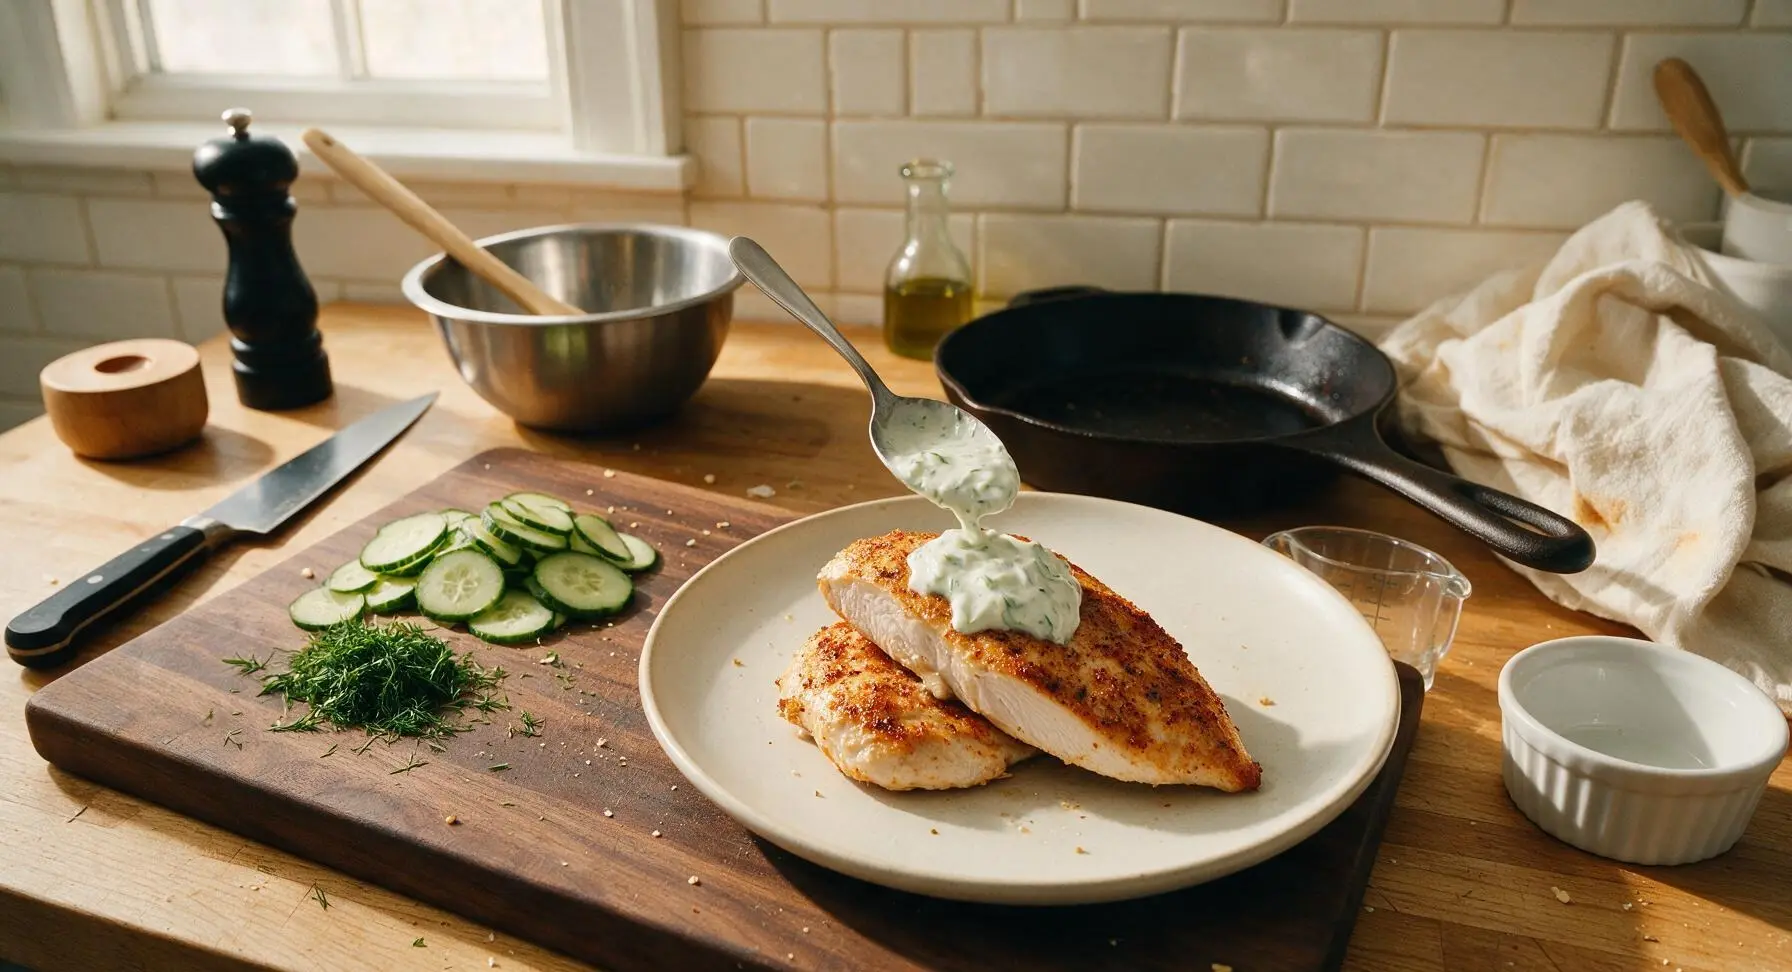
Tips
2.Let turkey cutlets rest at room temperature for 5 minutes after seasoning before searing: this takes the chill off refrigerated meat, so cutlets cook evenly edge to edge without burning the exterior before the center reaches a safe 74°C (165°F) temperature.
3.Resist the urge to move turkey cutlets while they sear on the first side: leaving them undisturbed for the full 3 minutes builds a crisp, golden, flavorful crust that releases easily from the pan without sticking.






OMG this was SO good! I threw this together on a busy weeknight when I had zero dinner plans, and I couldn’t believe it only took 12 minutes total? My kids devoured the turkey and kept asking for seconds, even my picky 7 year old who turns his nose up at anything with yogurt. Total game changer for our weekly meal rotation!
Made this for a backyard potluck last weekend and everyone was asking for the recipe! The tzatziki adds such a bright, fresh kick to the ground turkey that keeps it from tasting bland, which is my usual complaint with turkey dishes. I served it in warm pita pockets with a little extra cucumber and feta, chef’s kiss.
Quick question before I make this for my Sunday meal prep — can I cook the turkey ahead and store it with the tzatziki for 3-4 days in the fridge, or does the tzatziki get watery if it sits too long? Super excited to try this, I’ve been looking for easy high-protein lunches!
Wow, this is way easier than I thought it would be! I used ground turkey breast instead of the darker meat and it still came out super juicy, no dry bland turkey here. Paired it with roasted veggies and rice for a post-hike dinner and it hit every spot. Will definitely be making this again.
I was a little skeptical at first because I usually find turkey recipes boring, but the tzatziki flavor combo here is unreal! I added a little extra garlic to mine because I’m a garlic fiend, and it was chef’s kiss. My husband said it’s better than the Greek takeout we get down the street.
Uh oh, I messed up! I accidentally used regular plain yogurt instead of Greek yogurt for the tzatziki, and it’s super runny. Is there any way to fix this, or do I have to start over? The turkey itself smells amazing though, can’t wait to eat it once I sort the sauce out!
Made this for my book club potluck last night and people were raving! I set up little tzatziki turkey sliders on mini brioche buns with a slice of tomato and red onion, and they were gone in 10 minutes flat. Love that it’s such a low-effort recipe that tastes like you spent hours in the kitchen. 10/10!
12 minute cook time? Sold. I’m a single dad with two kids in travel soccer, so weeknights are chaotic and I never have time for complicated recipes. This came together so fast, tasted fresh, and I didn’t have a pile of dishes to clean up after. Absolute staple for us now.
This is perfect for my gluten free diet! I served it over a quinoa bowl with roasted zucchini, cherry tomatoes, and a sprinkle of olives, and it was so light but filling. I’ve already shared the recipe with my whole gluten free friend group, everyone needs to try this.