
chaffle

intro
Crispy, lacy, cheese-forward zero-grain waffles (chaffles) ready in 15 minutes total. Perfect for quick low-carb breakfasts, sandwich bases, or fast satisfying weeknight bites.
Ingredients
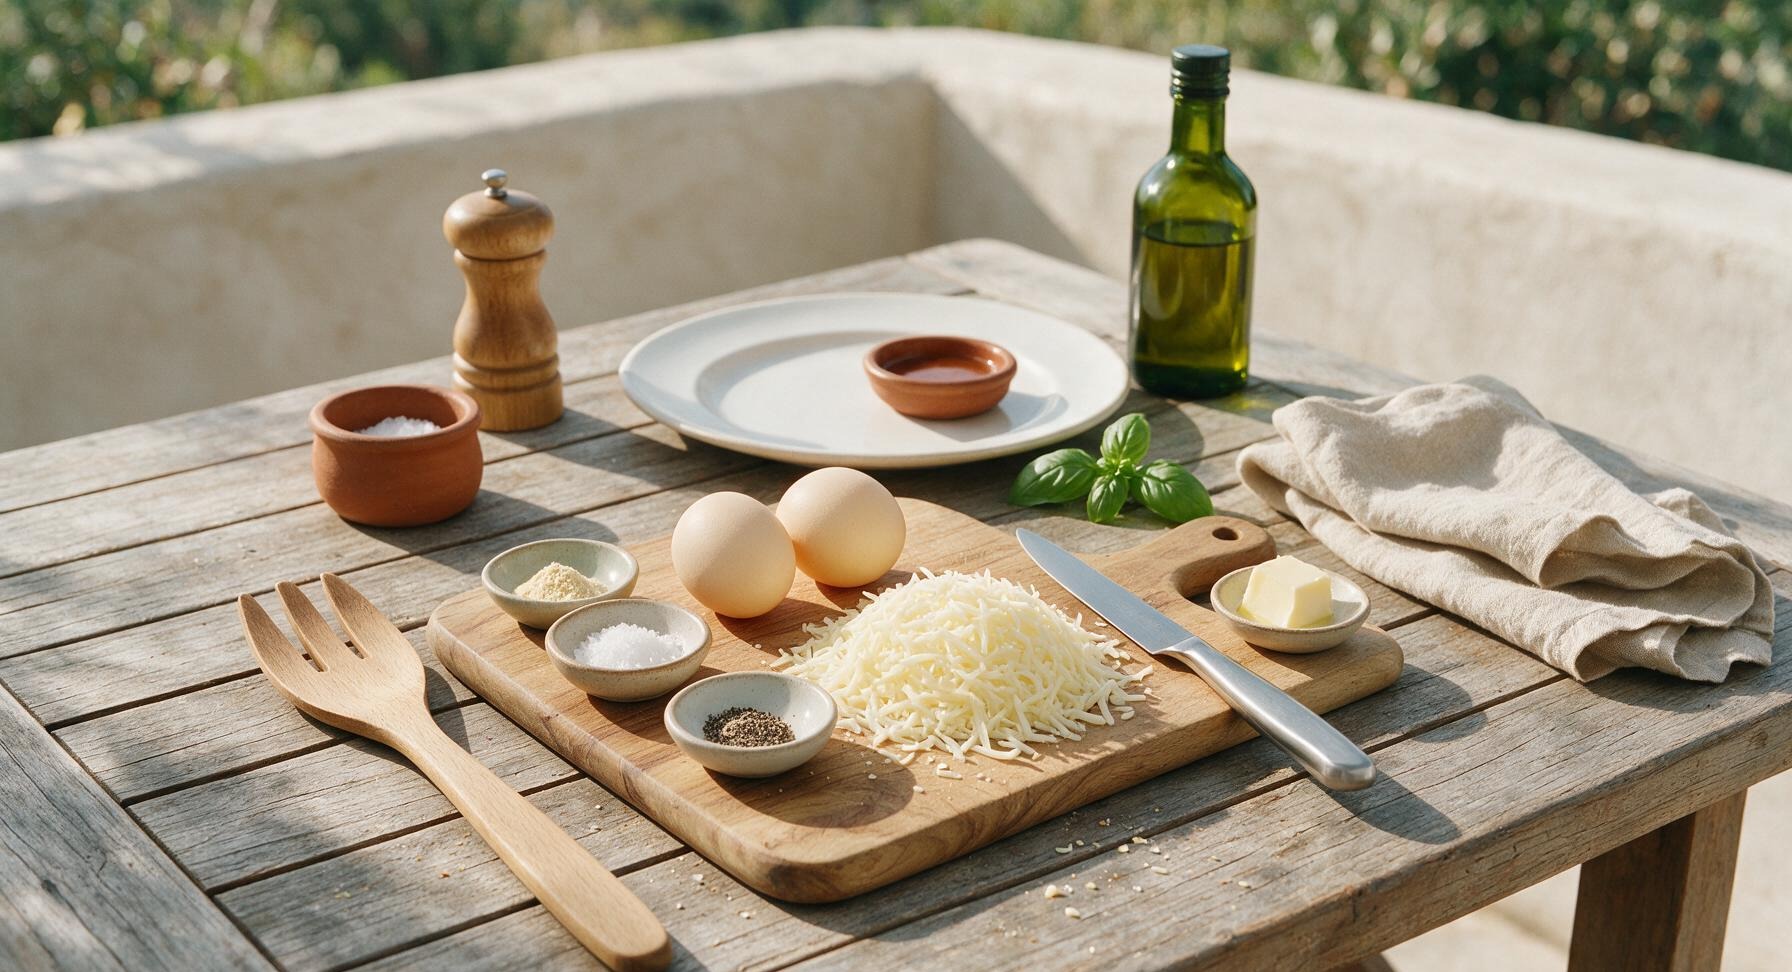
Steps
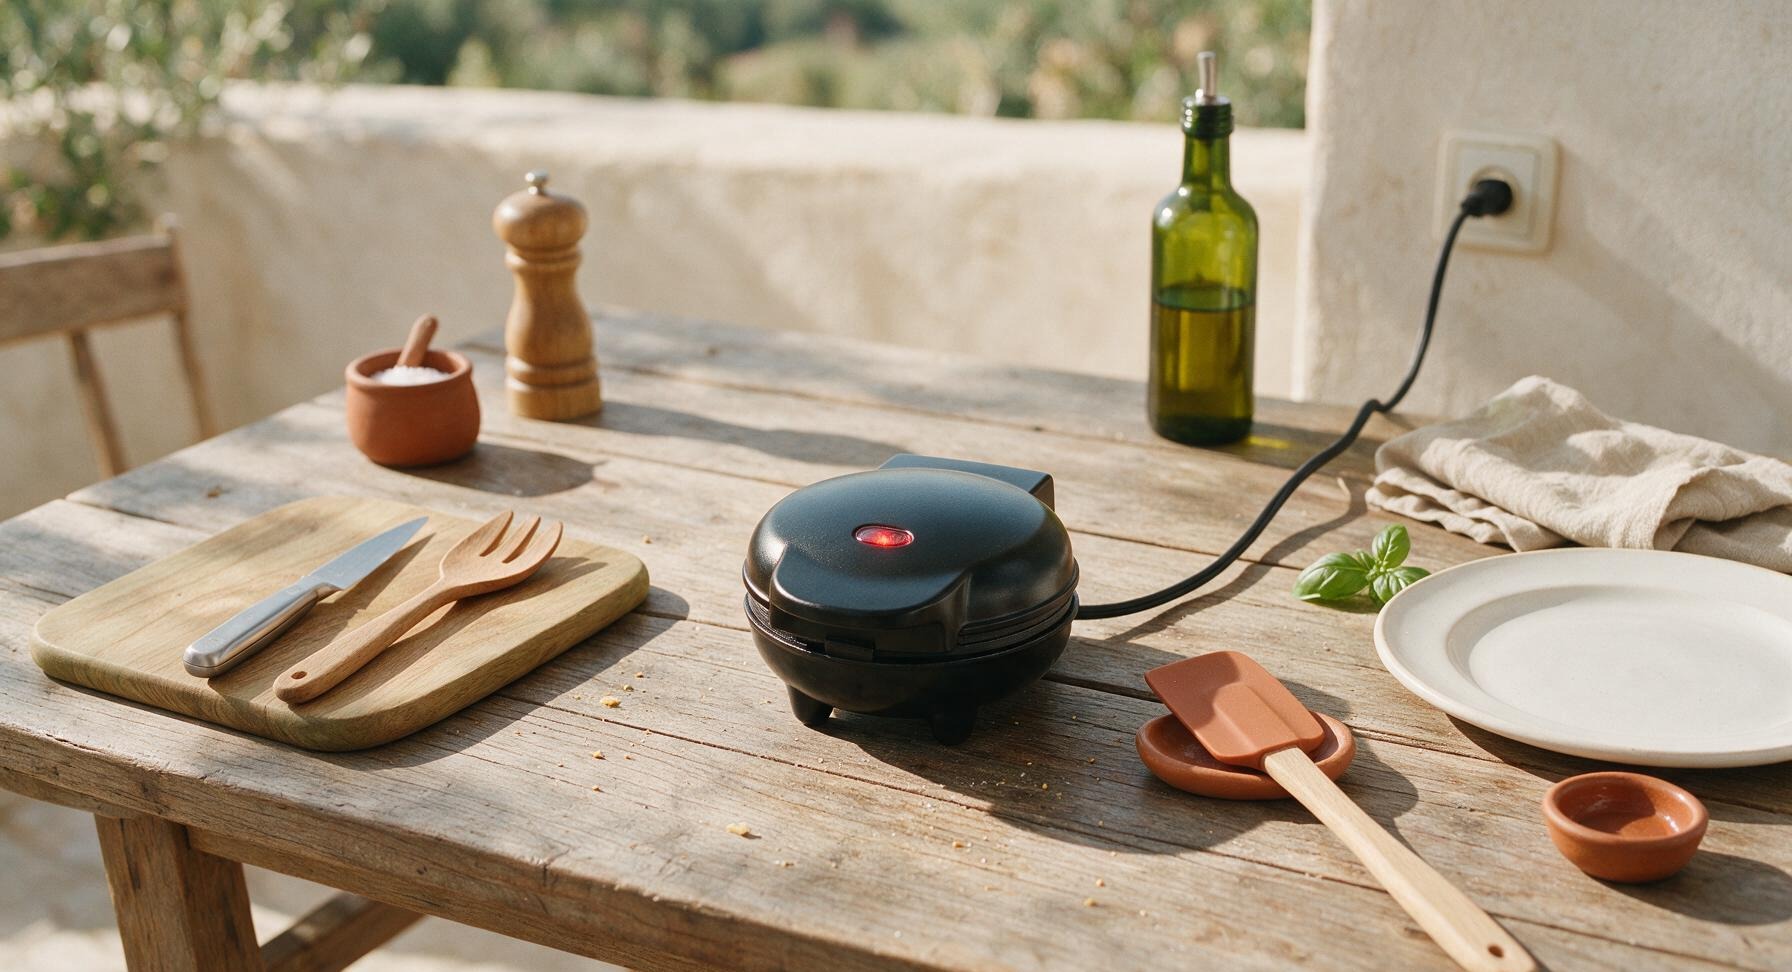
Preheat Waffle Maker
Pull the matte black mini waffle maker from its back right storage position to the center work area, plug it in, and preheat for 3 minutes until it reaches 400°F (200°C), indicated by the built-in ready light turning on. Do not apply non-stick cooking spray at this stage, as rendered cheese fat will prevent sticking.
Shred Mozzarella Cheese
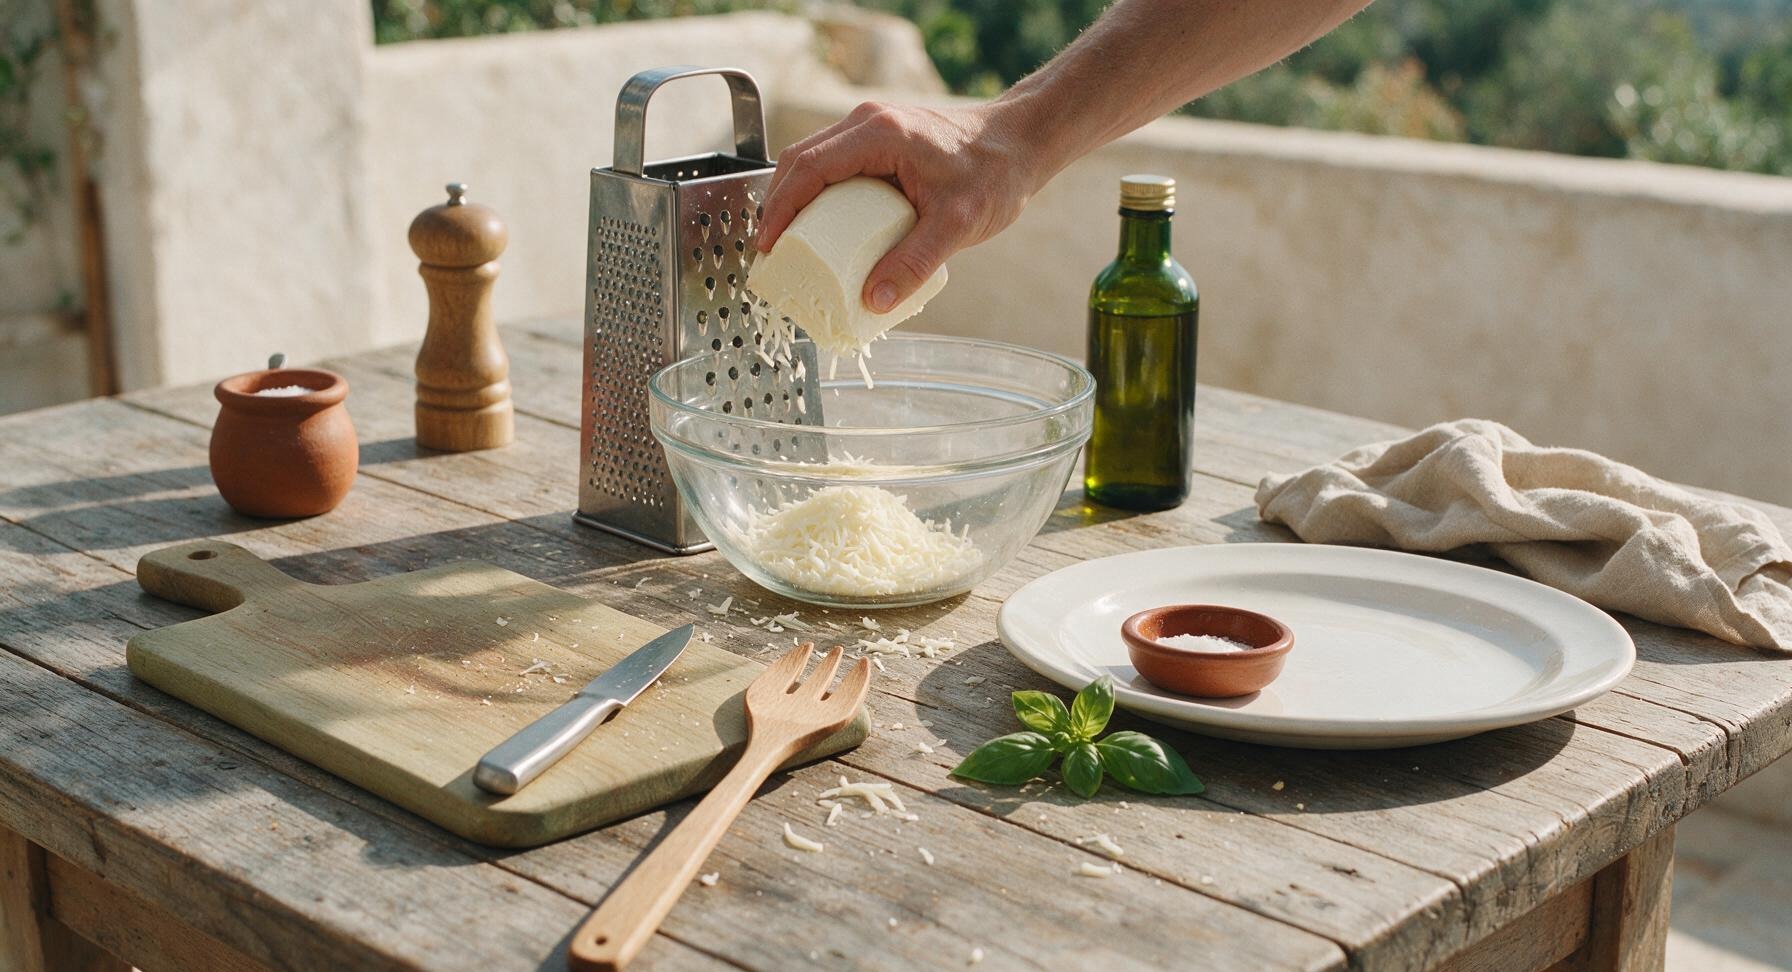
Hold the block of low-moisture mozzarella against the medium-sized holes of the stainless steel box grater, applying gentle pressure to shred light, fluffy pieces directly into the clear glass mixing bowl until you have exactly 1 cup. Pre-shredded mozzarella may be used as a shortcut, but freshly shredded cheese melts more evenly for crispier lacy edges. Avoid high-moisture fresh mozzarella, as it will create soggy chaffles.
Mix Egg Batter
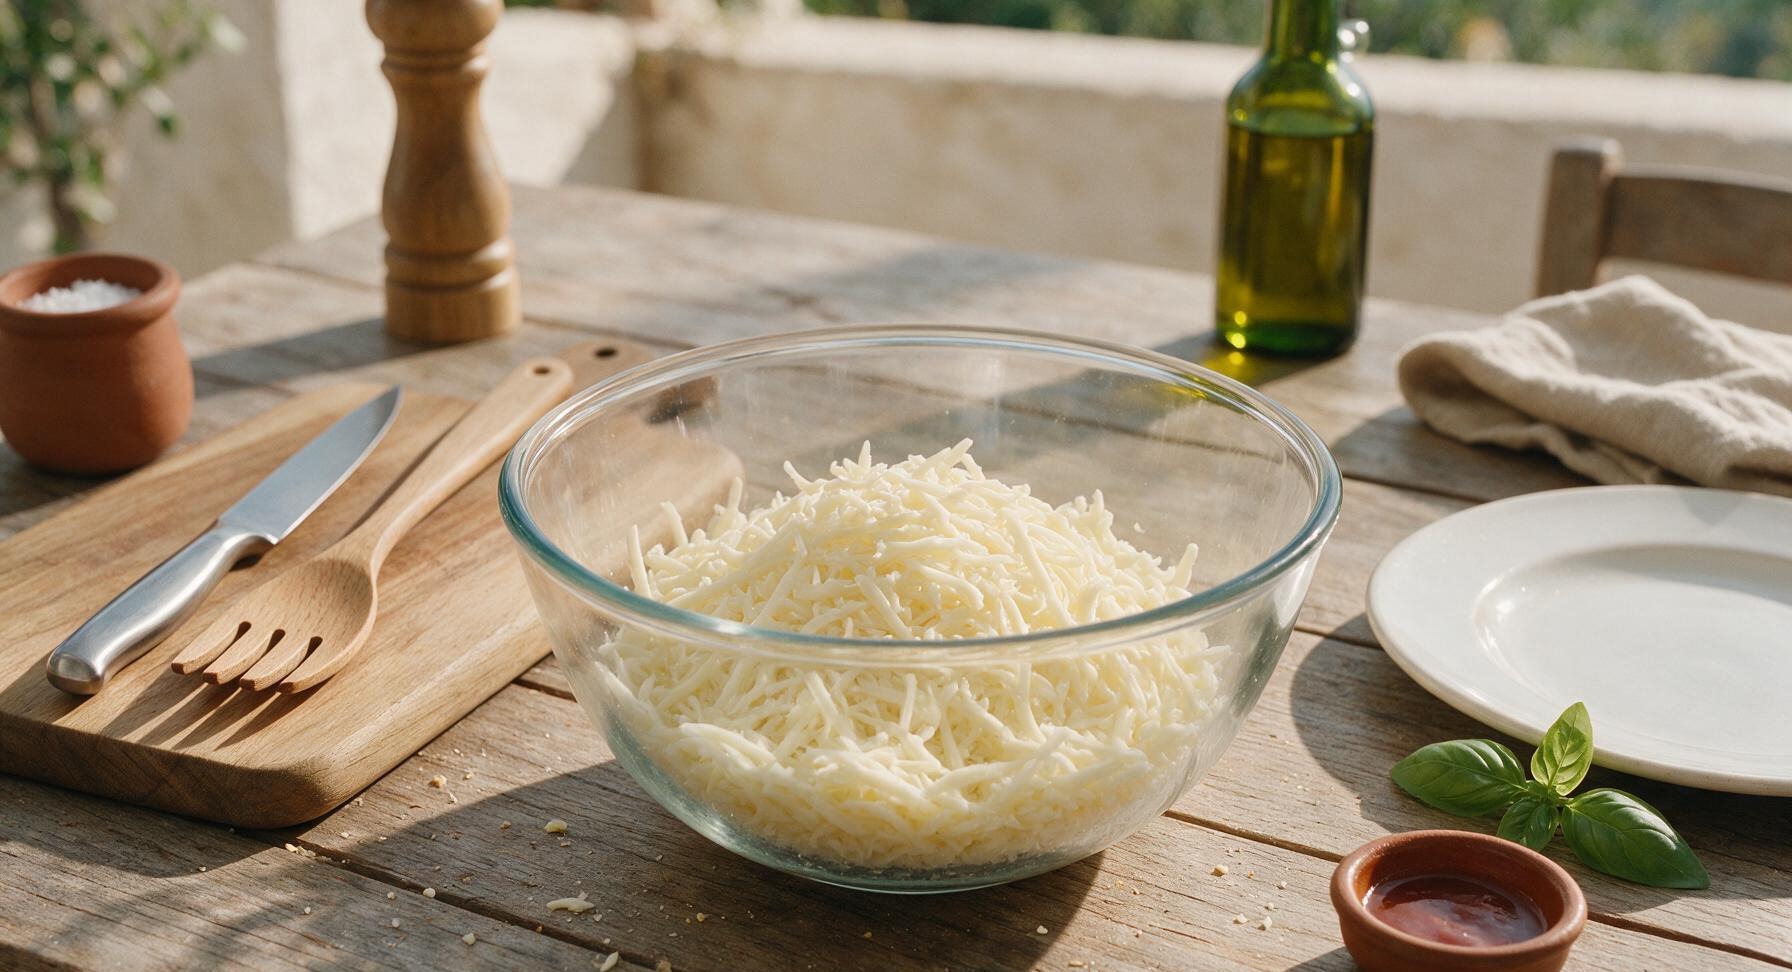
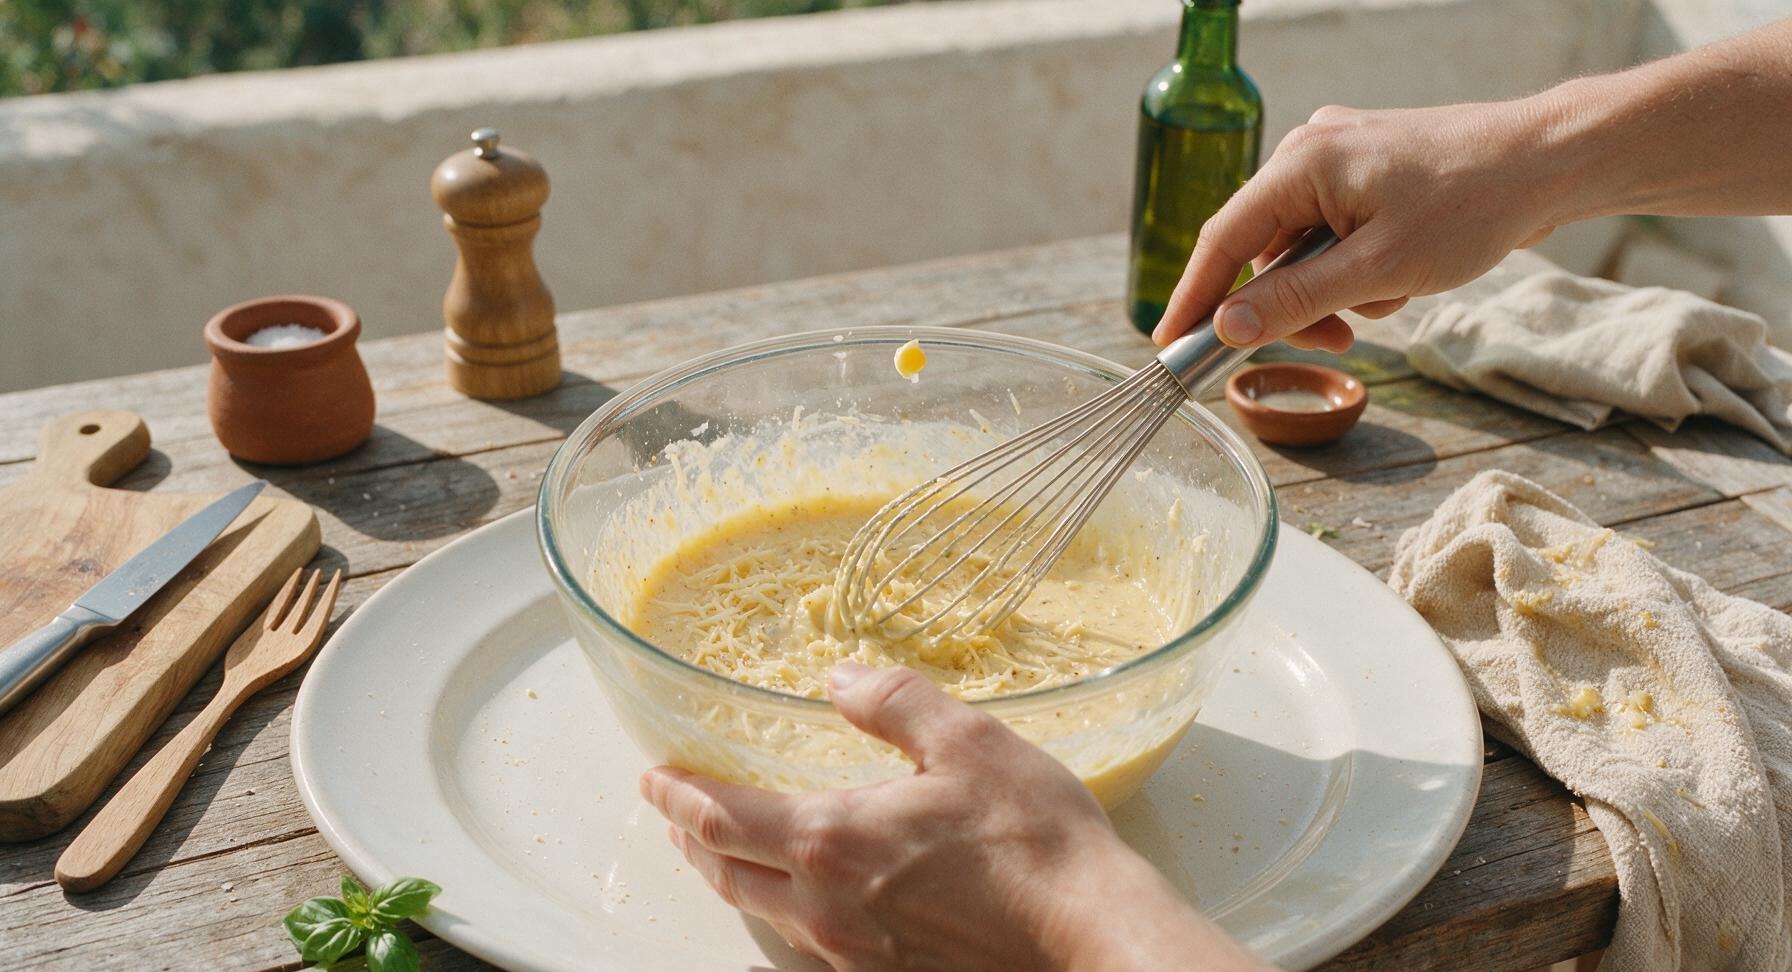
Crack both large eggs into the mixing bowl with the shredded mozzarella. Add the measured sea salt, garlic powder, and black pepper from the small white ramekin. Use the stainless steel wire whisk to stir the mixture until fully combined, with no separate streaks of egg white visible. Stop mixing as soon as the batter is uniform— overmixing creates air bubbles that lead to fragile, less crisp chaffles.
Portion Batter Onto Iron
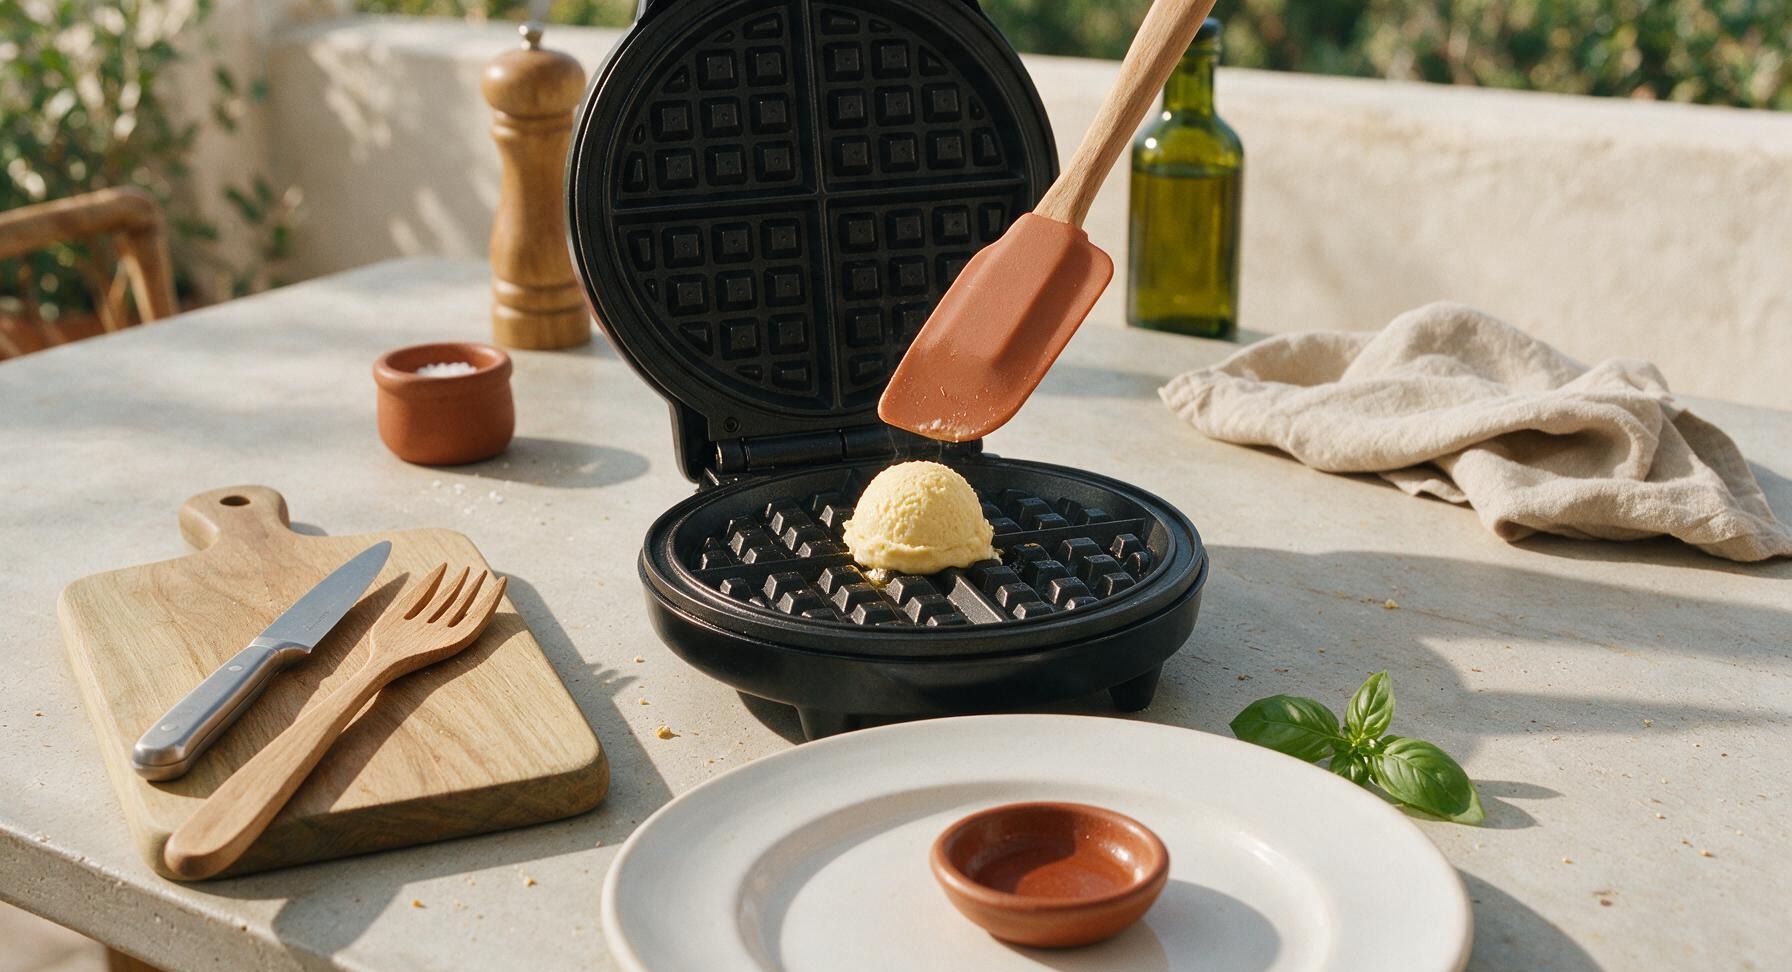
Once the waffle maker is fully preheated, use the terracotta silicone spatula to scoop exactly 1/4 cup of batter directly into the center of the hot waffle grid. Do not spread the batter across the grid— it will spread evenly on its own when you close the lid to form a perfect 4-inch round chaffle.
Cook Until Crispy
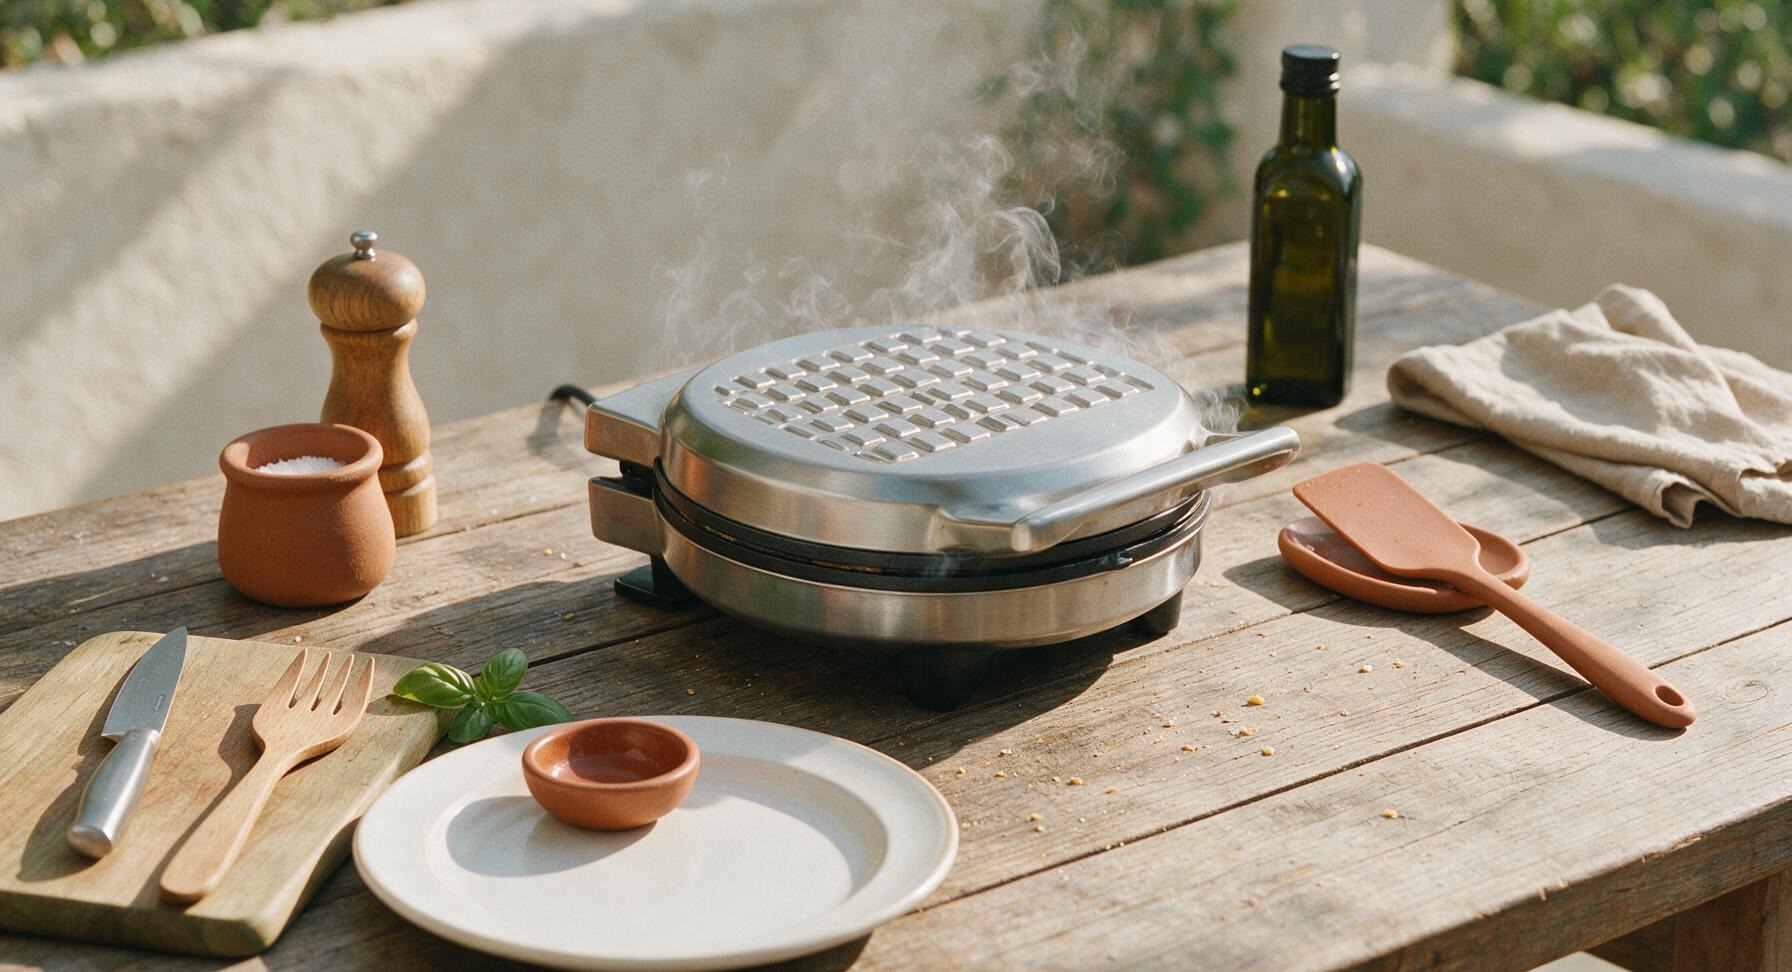
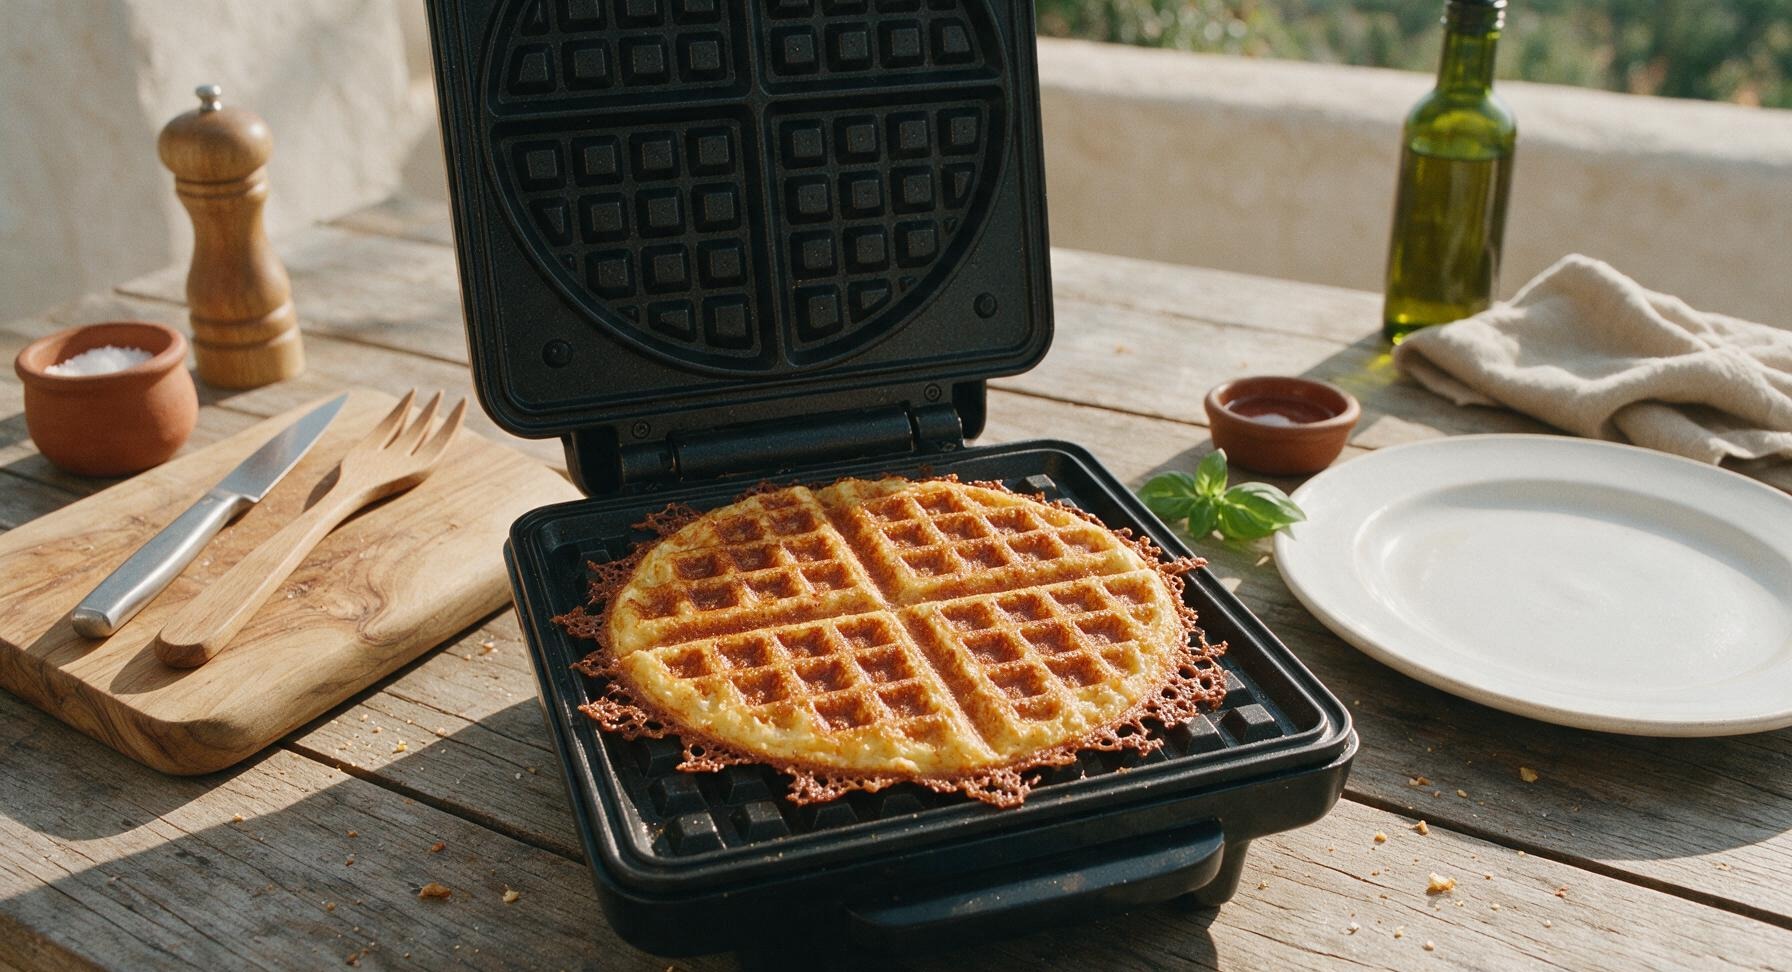
Close the waffle maker lid and cook for 2.5 to 3 minutes per chaffle, without lifting the lid early. The chaffle is fully cooked when thin wispy steam stops escaping from the edges of the waffle maker, and the edges are deep golden brown. Lifting the lid too early will cause the unset cheese to stick and split the chaffle.
Rest Cooked Chaffles
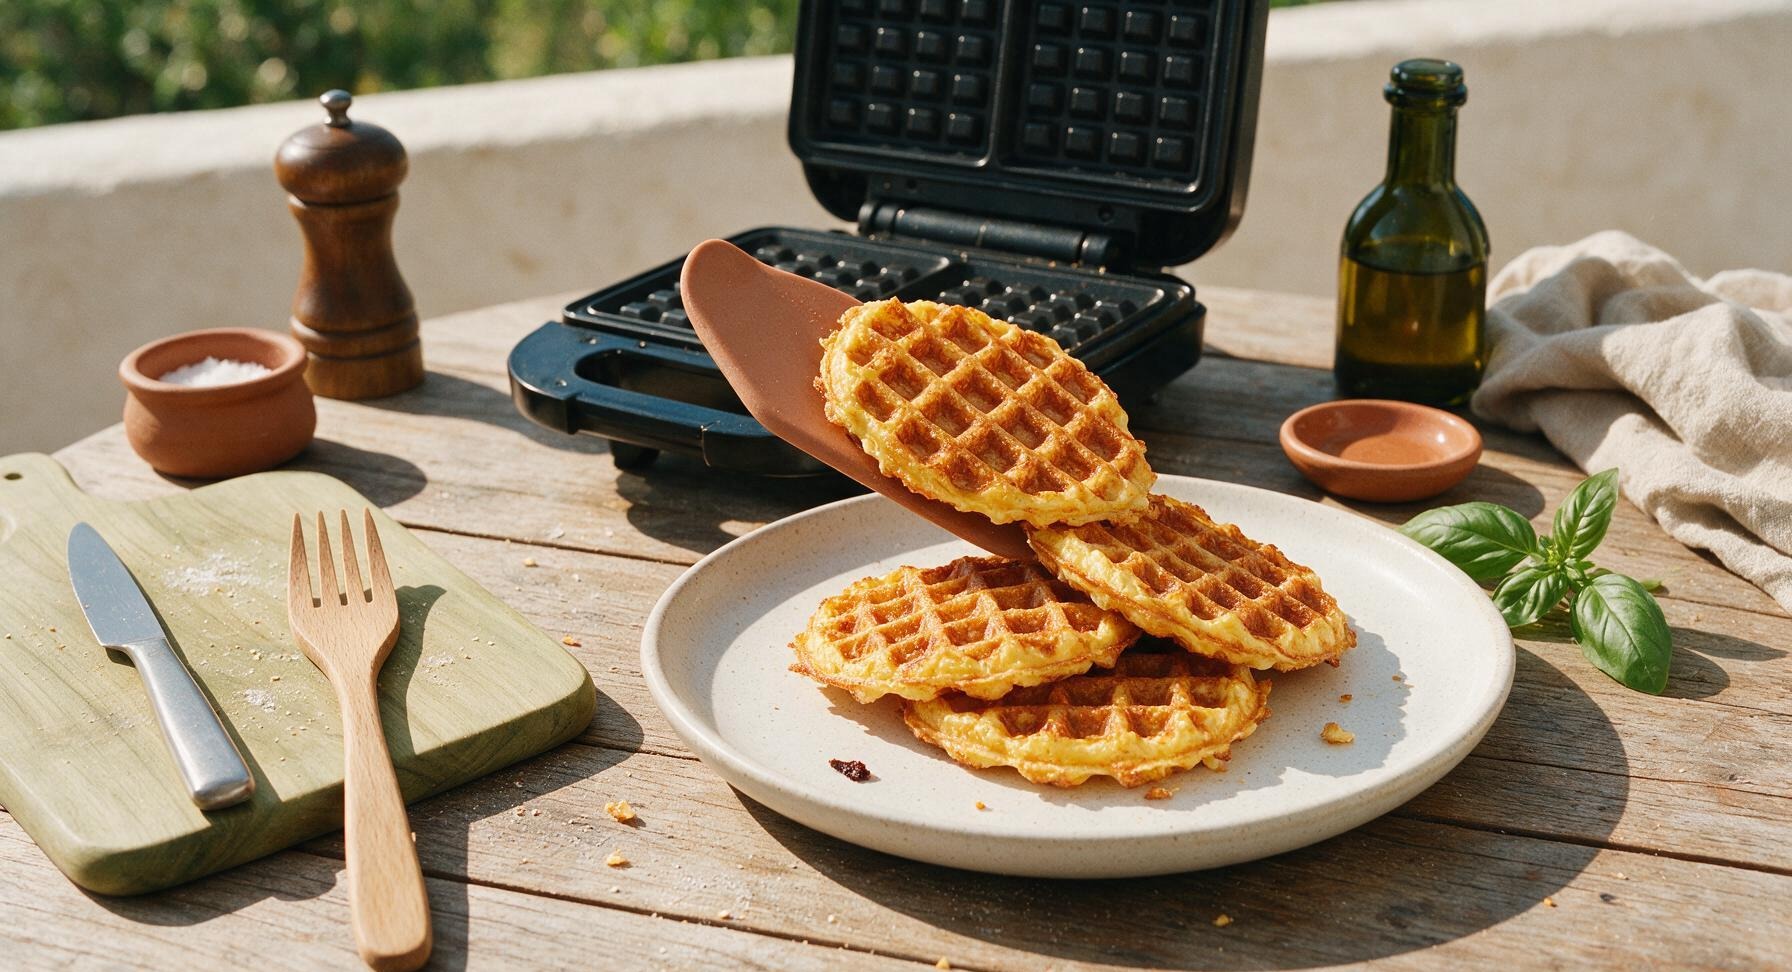
Slide the silicone spatula under the cooked chaffle to lift it gently from the waffle iron, then transfer it to the matte cream ceramic dinner plate. Repeat the portioning and cooking process with the remaining 3 portions of batter, stacking cooked chaffles loosely on the plate. Let chaffles rest for 1 full minute before serving— they will crisp up further as they cool slightly.
Garnish and Serve
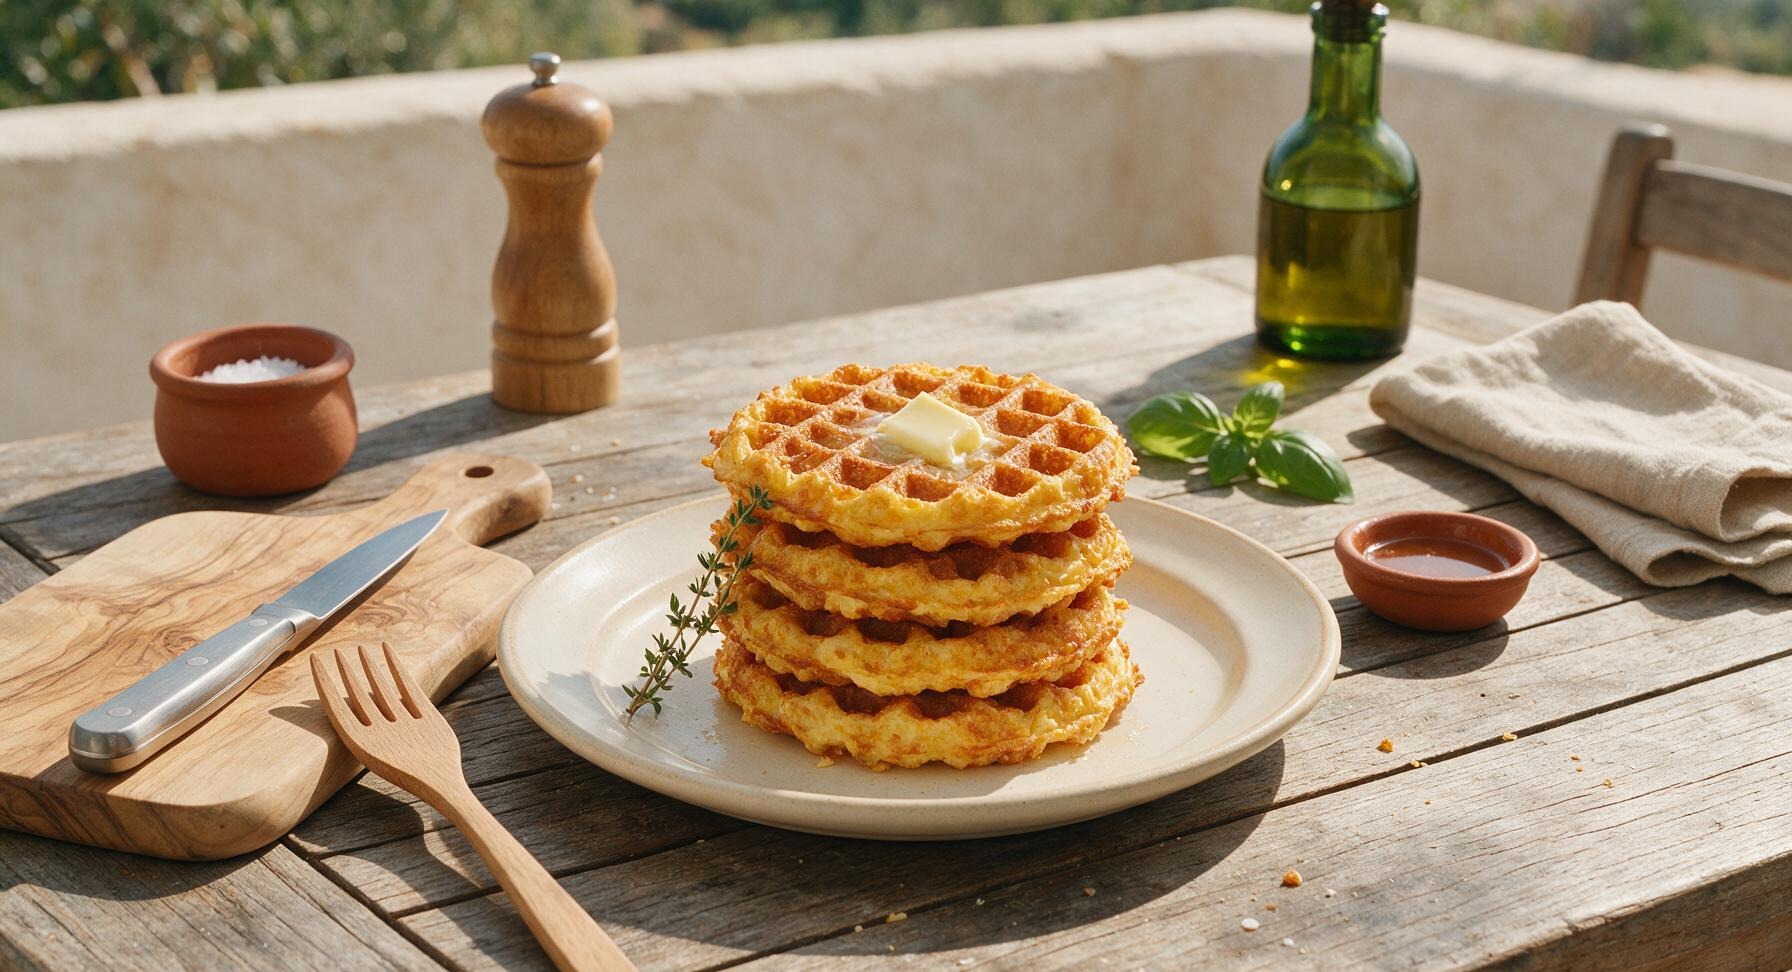
After chaffles have rested for 1 minute, top the stack with a tiny 1/4 tsp pat of unsalted butter if desired, tuck a small sprig of fresh thyme next to the stack for a bright herbal garnish, and serve warm. Chaffles work perfectly as a low-carb bread substitute for breakfast sandwiches, or can be topped with avocado, fried eggs, or sugar-free syrup.
Tips
2.Resist the urge to open the waffle maker early: if you lift the lid before the 2.5 minute mark, the melted cheese will not have set, and the chaffle will split apart and stick to the grid. Wait until steam stops escaping before checking for doneness.
3.Let chaffles rest for 60 seconds on the plate before eating: straight from the waffle maker, the cheese is molten and the chaffle will be soft and bendable. The short rest lets the cheese set, creating a crisp, sturdy texture that holds up to toppings or sandwich fillings.






OMG this chaffle recipe is a total game changer! I’ve tried like 4 other chaffle recipes that came out soggy or weirdly eggy, but these get SO crispy just like the name says. My 8 year old even asked for seconds for breakfast this morning, and he usually turns his nose up at anything low-carb. Threw a little cheddar and a fried egg on top and it was better than the fast food breakfast sandwiches I used to grab on my way to work. 10/10 will be making these for weekly meal prep!
Made these for my buddy’s potluck last weekend to go with the chili we made, and everyone was asking for the recipe! Even the people who make fun of my keto diet went back for a second one. Super easy to whip up even when you’re juggling a million other dishes for a crowd. Only note: I left mine in the waffle maker an extra 45 seconds because I like mine extra crunchy, worked like a charm.
SO good. I’ve been making these every morning before work all week. They take literally no time at all, way faster than making toast even. I keep a bag of pre-shredded cheese in the fridge now just for these. Last night I made a couple to use as burger buns for dinner and my wife thought I picked up special keto buns from the grocery store. Total win.
Wait is this recipe supposed to work in a regular mini waffle maker? I tried it last night and half the batter oozed out the sides when I closed the lid, made a huge mess on my counter. Did I put too much in? Flavor was good once I scraped it off though, just messy.
Game. Changer. I have celiac so I’m always looking for easy gluten free bread substitutes that don’t taste like cardboard, and this is it! I sprinkled a little garlic powder and parmesan in the batter today and it tasted just like the garlic breadsticks I used to get at my favorite Italian place. My husband said he’d choose these over regular garlic bread any day, which is saying something because he’s a total white bread fanatic.