
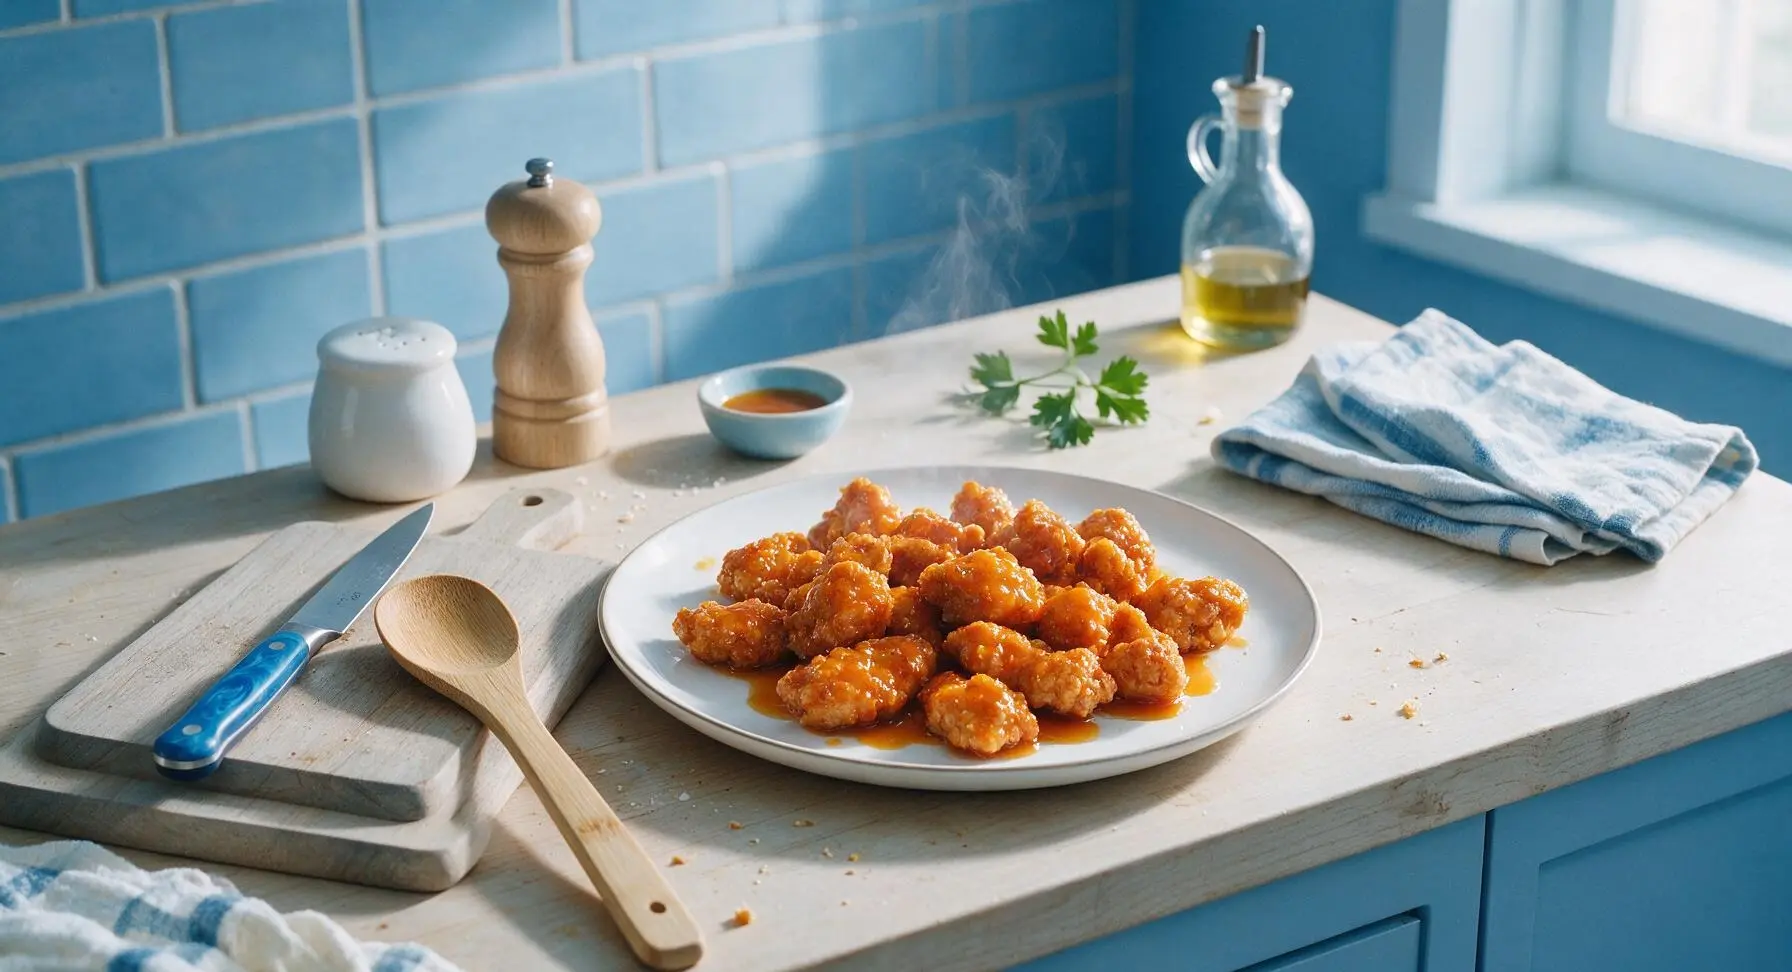
air fryer orange chicken

title 1
air fryer orange chicken
⏱️ cook time 20 minutes
🍽️ servings 4
⚡ Difficulty easy

intro

Crispy, tangy-sweet air fryer orange chicken delivers classic takeout flavor with 70% less oil than deep-fried versions, coated in bright fresh orange glaze for a satisfying quick weeknight dinner.

Ingredients
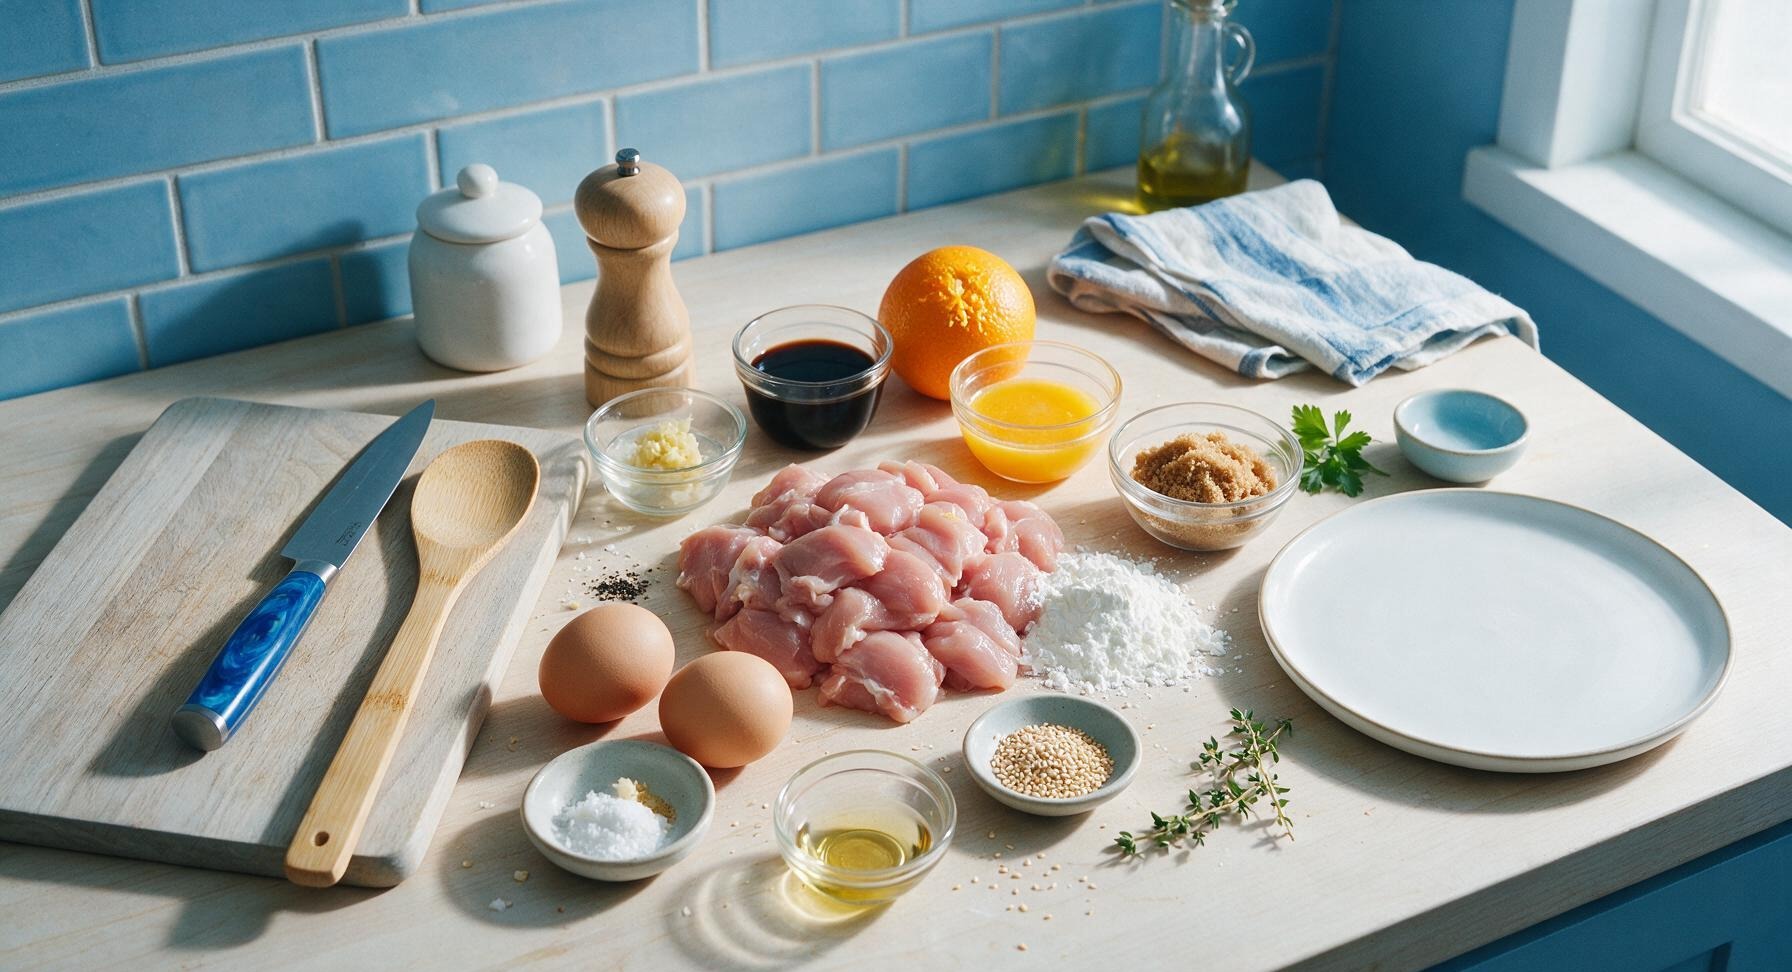
Boneless skinless chicken thighs 500g, cut into 3cm chunks
Cornstarch (for chicken coating) 60g (1/2 cup)
Large eggs 2
Kosher salt 1 tsp, divided
Freshly ground black pepper 1/2 tsp, divided
Avocado oil spray for coating basket and chicken
Navel oranges 2 medium (120ml juice + 1 tbsp zest)
Low-sodium soy sauce 45ml (3 tbsp)
Unseasoned rice vinegar 30ml (2 tbsp)
Light brown sugar 40g (3 tbsp, packed)
Fresh ginger 1 tbsp (10g, finely grated)
Garlic cloves 3 (10g, minced)
Toasted sesame oil 5ml (1 tsp)
Cornstarch (for sauce) 3g (1 tsp)
Toasted sesame seeds 1 tsp, for garnish
Fresh thyme sprigs 2, for garnish

Steps

1

Cut Chicken Chunks

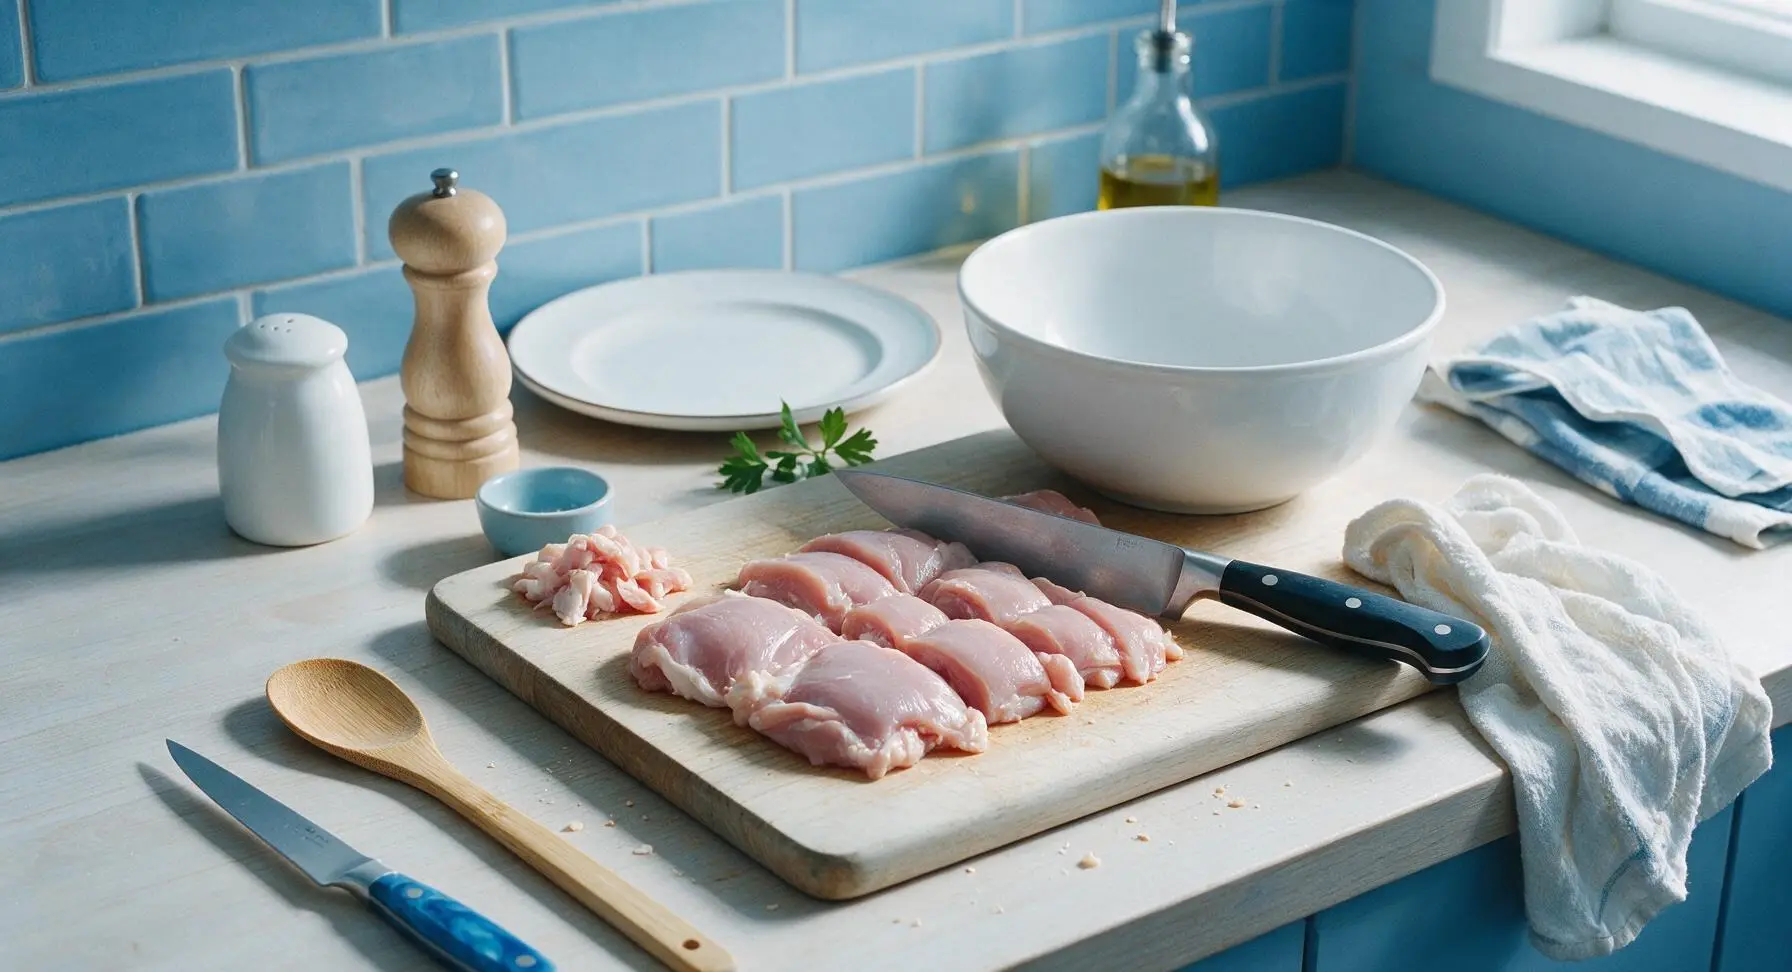
Place 500g boneless, skinless chicken thighs on the acacia wood cutting board. Use the 8-inch chef knife to trim any visible excess fat or thin silver skin, then cut the chicken into uniform 3cm (1.25 inch) chunks. Pat all chicken pieces completely dry with a corner of the cotton kitchen towel; a fully dry surface ensures the cornstarch coating adheres properly and crisps well. Season lightly with 1/2 tsp kosher salt and 1/4 tsp black pepper.
Step 1
step1:Cut Chicken Chunks
2

Coat Chicken Evenly

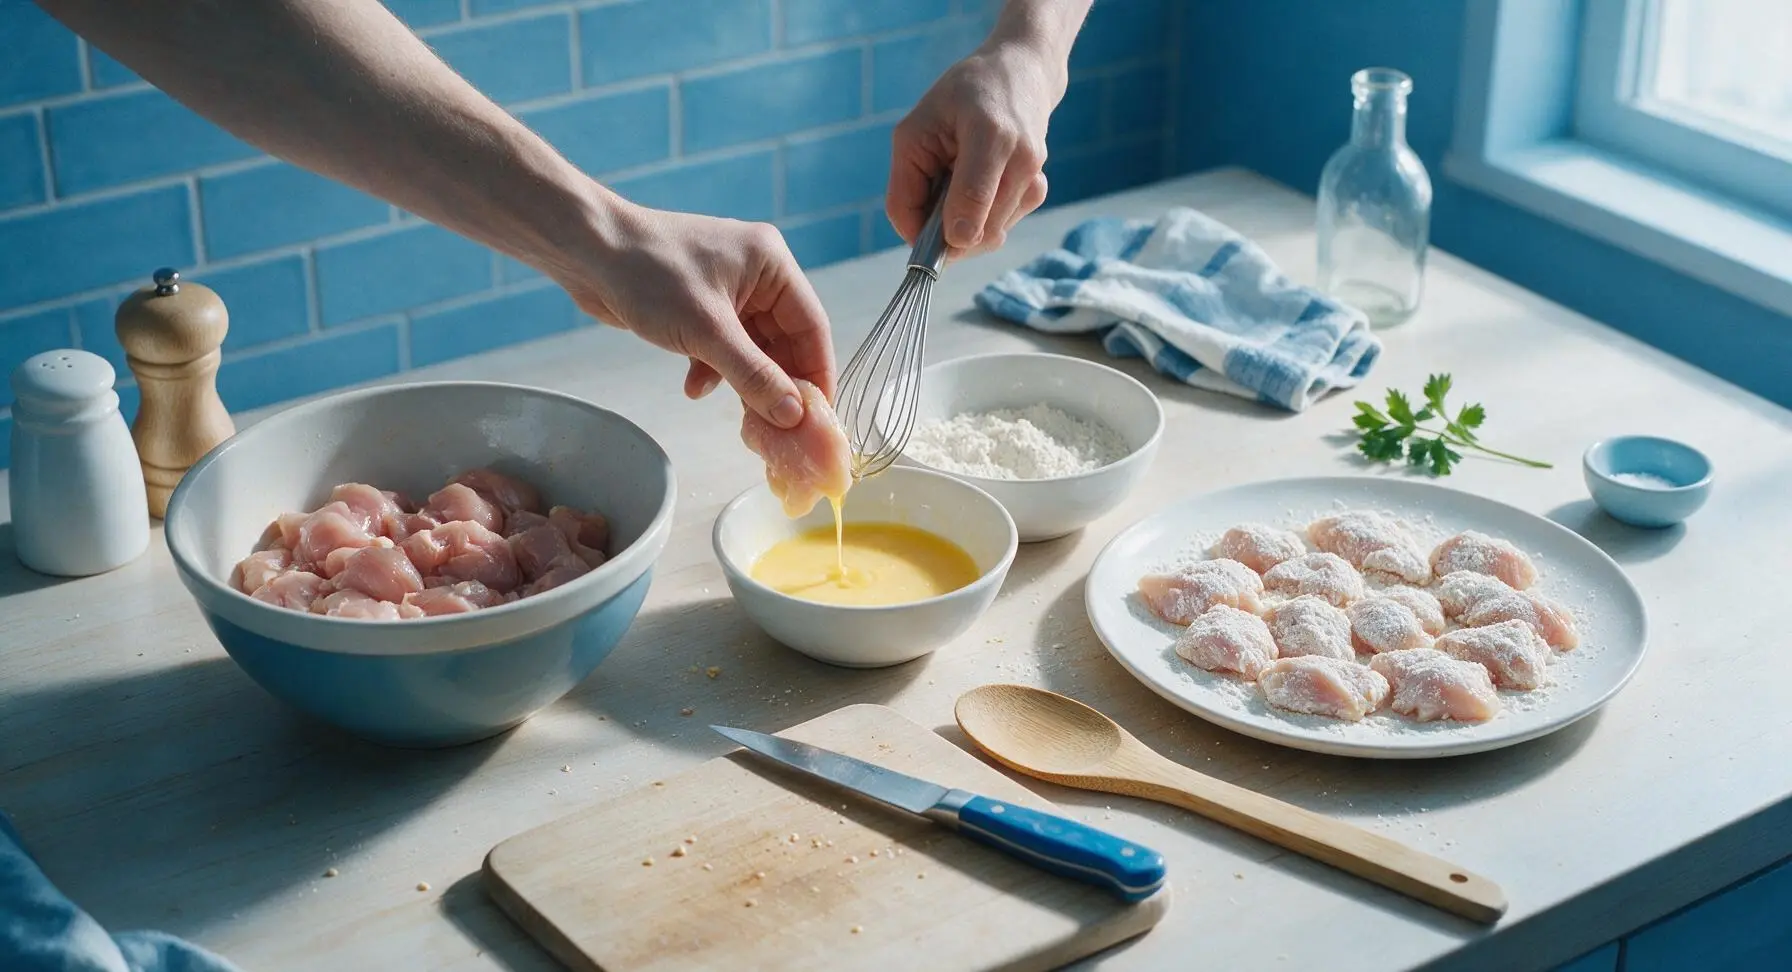
Crack 2 large eggs into the small white ceramic mixing bowl and whisk lightly with the small stainless steel whisk until smooth, no streaks of egg white remaining. Combine 60g cornstarch with the remaining 1/2 tsp salt and 1/4 tsp pepper in the medium mixing bowl, stir to combine. Working in 5-6 piece batches, dip chicken chunks first in egg to fully coat, let excess egg drip off for 2 seconds, then toss in cornstarch until every piece is covered in a thin, dry, powdery coating. Transfer coated pieces to the white dinner plate as you work, taking care not to stack pieces.
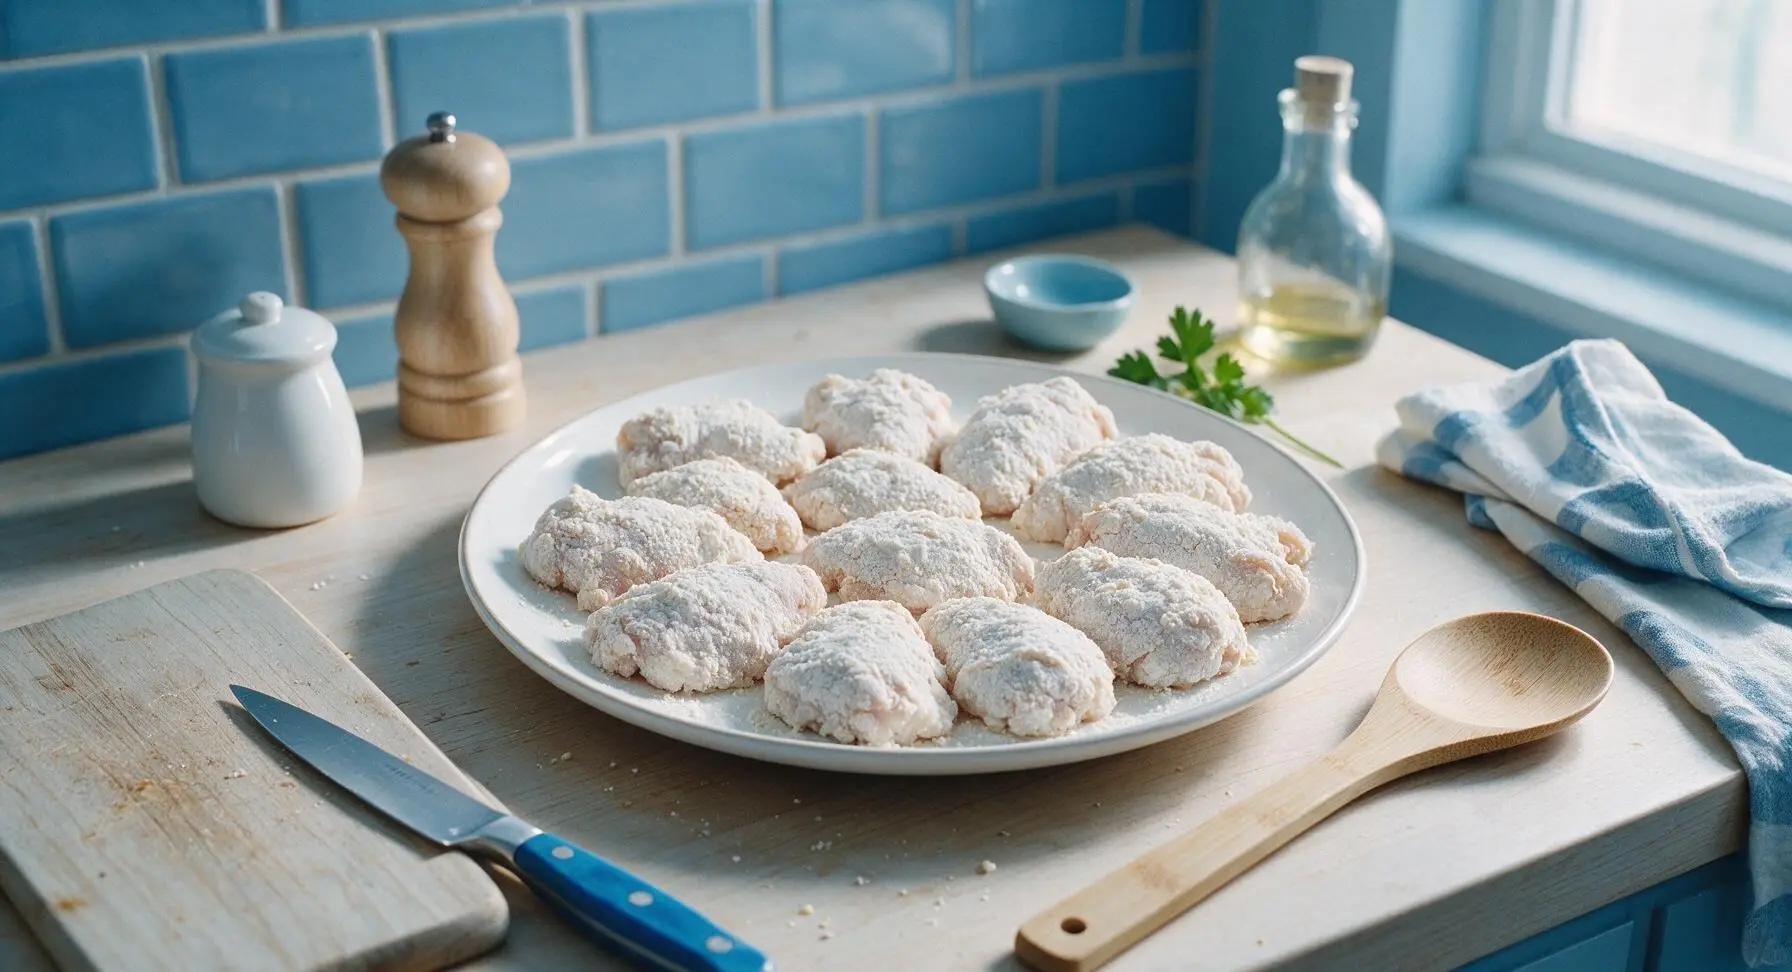
Step 2
step2:Coat Chicken Evenly
Step 2
step2:Coat Chicken Evenly
3

Preheat Air Fryer

Move the 5.8 quart matte black air fryer to its working position on the counter to the right of the cutting board. Preheat to 200C (400F) for 3 minutes. Once preheated, pull the basket out and lightly coat the mesh surface with avocado oil spray to prevent chicken from sticking during cooking.
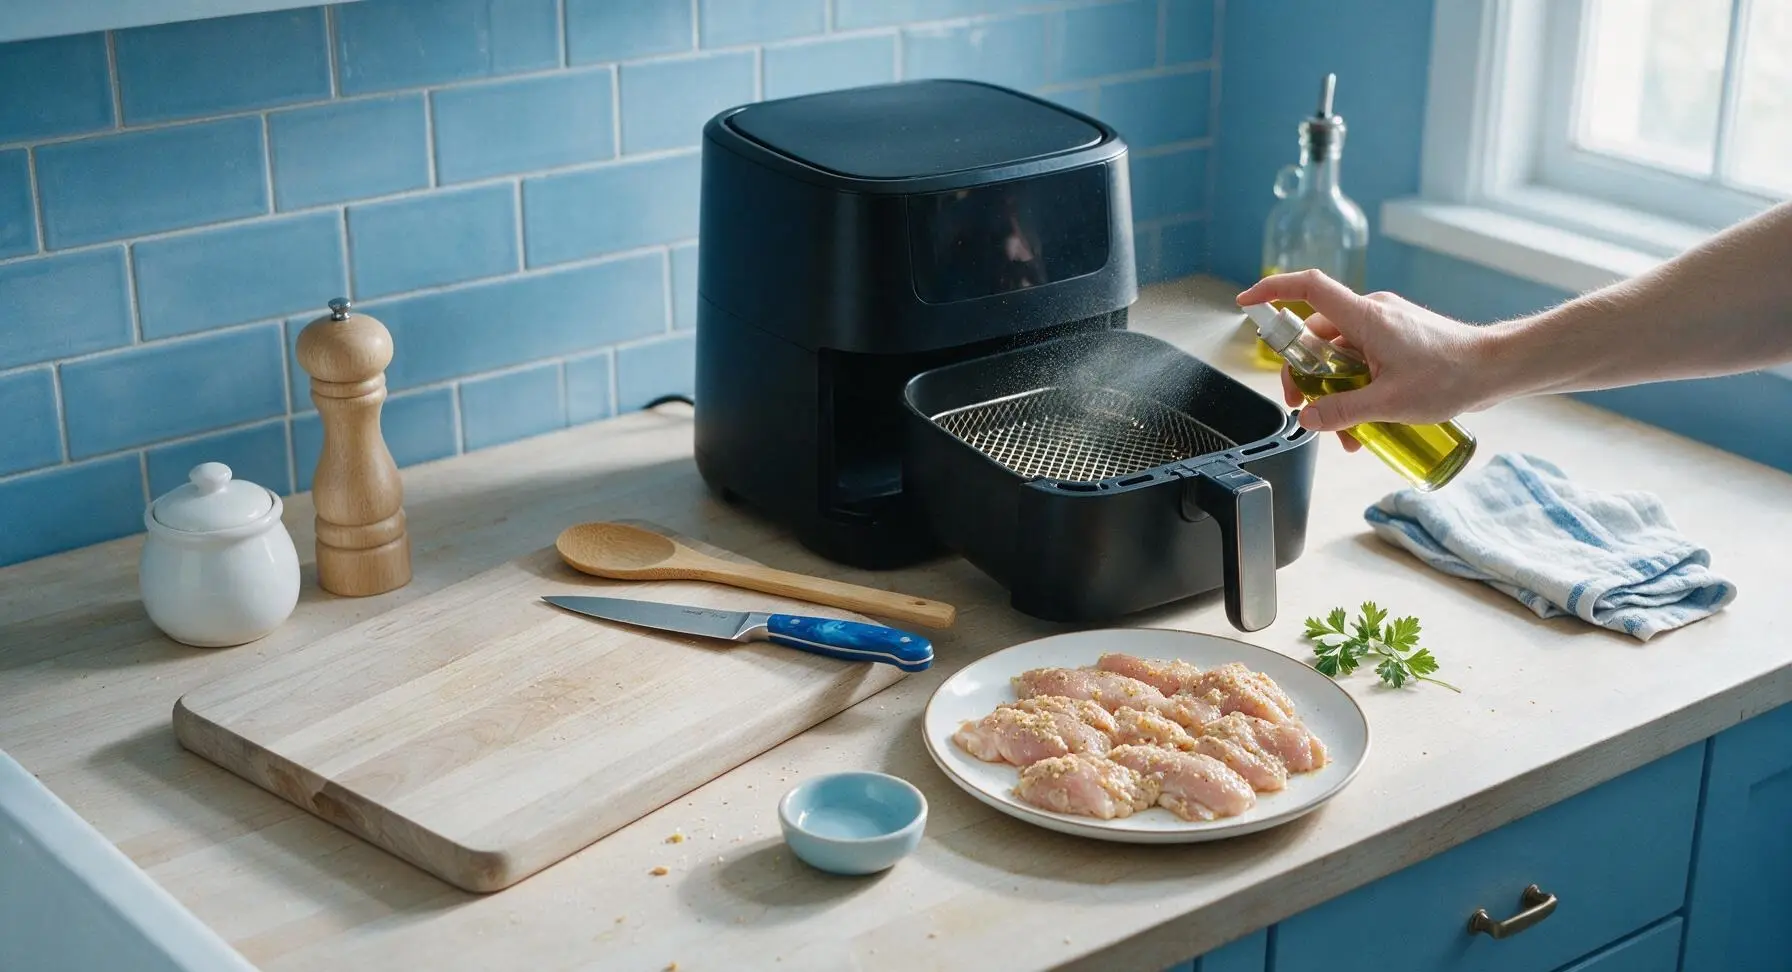
Step 3
step3:Preheat Air Fryer
4

Arrange First Batch

Use the silicone tongs to arrange half the coated chicken pieces in a single, uncrowded layer in the preheated air fryer basket, leaving 1cm gaps between pieces to allow hot air to circulate. Lightly spray the tops of the chicken with a thin layer of oil. Slide the basket back into the air fryer and cook for 8 minutes at 200C (400F).
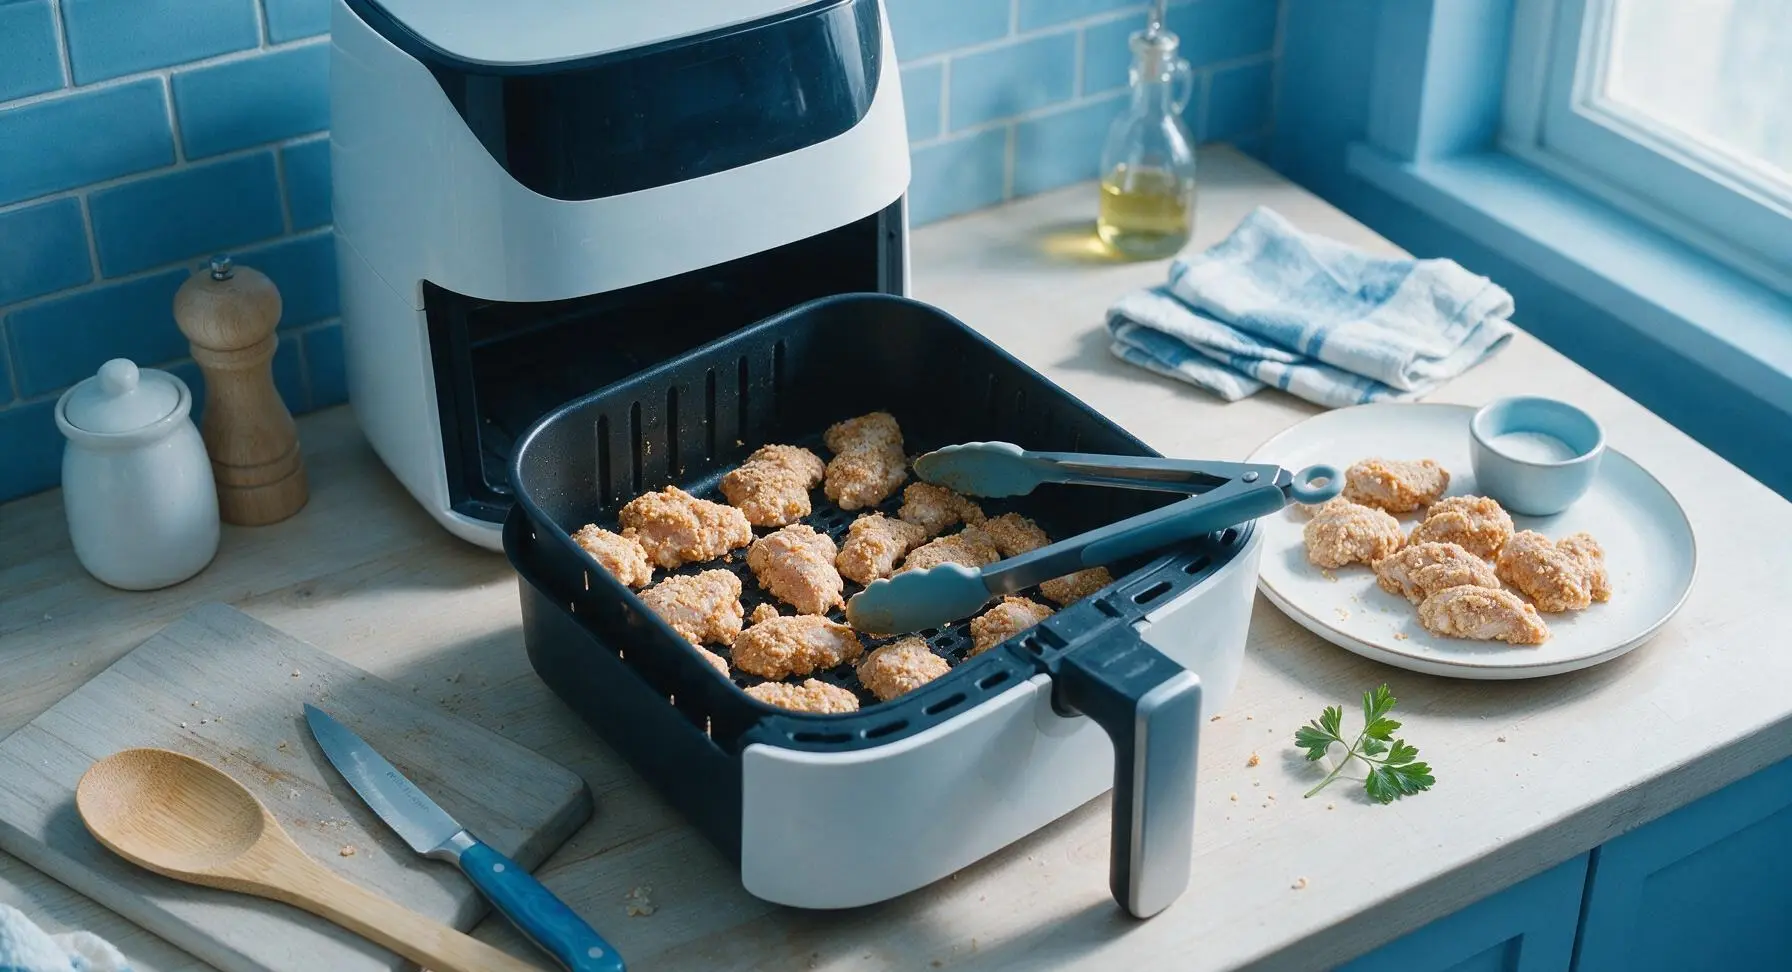
Step 4
step4:Arrange First Batch
5

Flip and Crisp Chicken

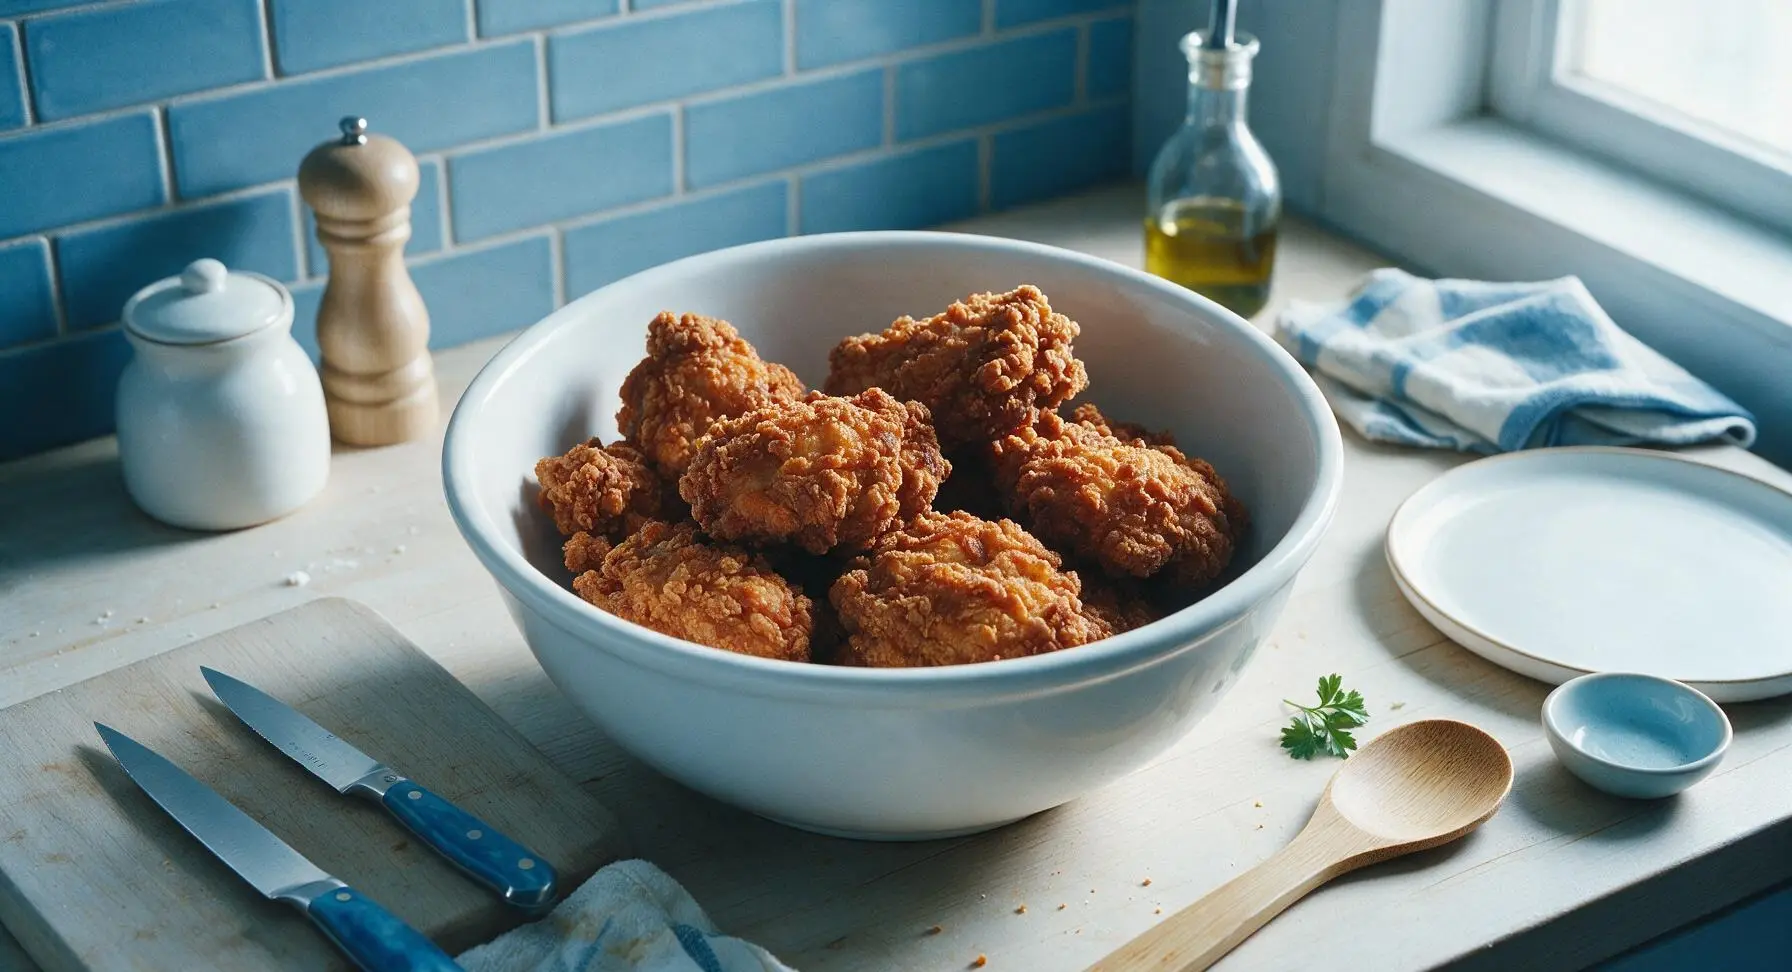
After 8 minutes of cook time, pull the air fryer basket out. Use silicone tongs to flip every chicken piece, then spray the newly exposed sides lightly with oil. Slide the basket back in and cook for an additional 6-7 minutes at 200C (400F), until chicken is deep golden, crispy all over, and reaches an internal temperature of 75C (165F) when checked with the digital instant-read thermometer. Transfer cooked chicken to the large mixing bowl, then repeat the same cooking process for the remaining half batch of coated chicken.
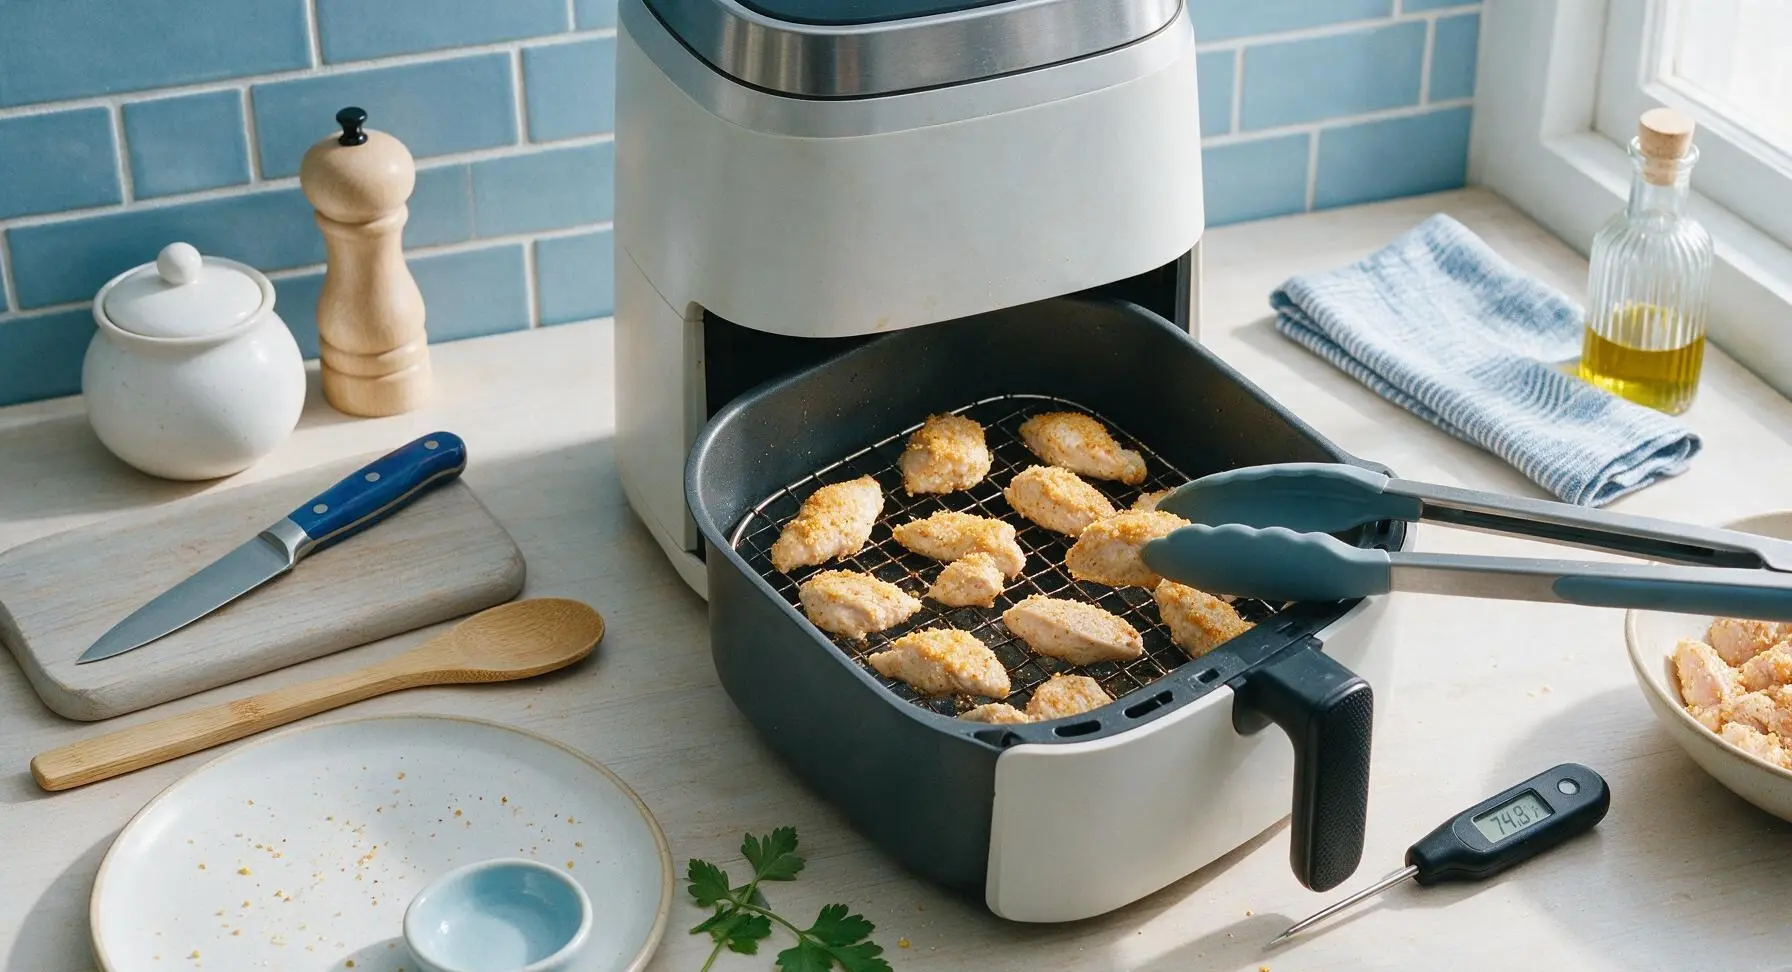
Step 5
step5:Flip and Crisp Chicken
Step 5
step5:Flip and Crisp Chicken
6

Mix Orange Sauce Base

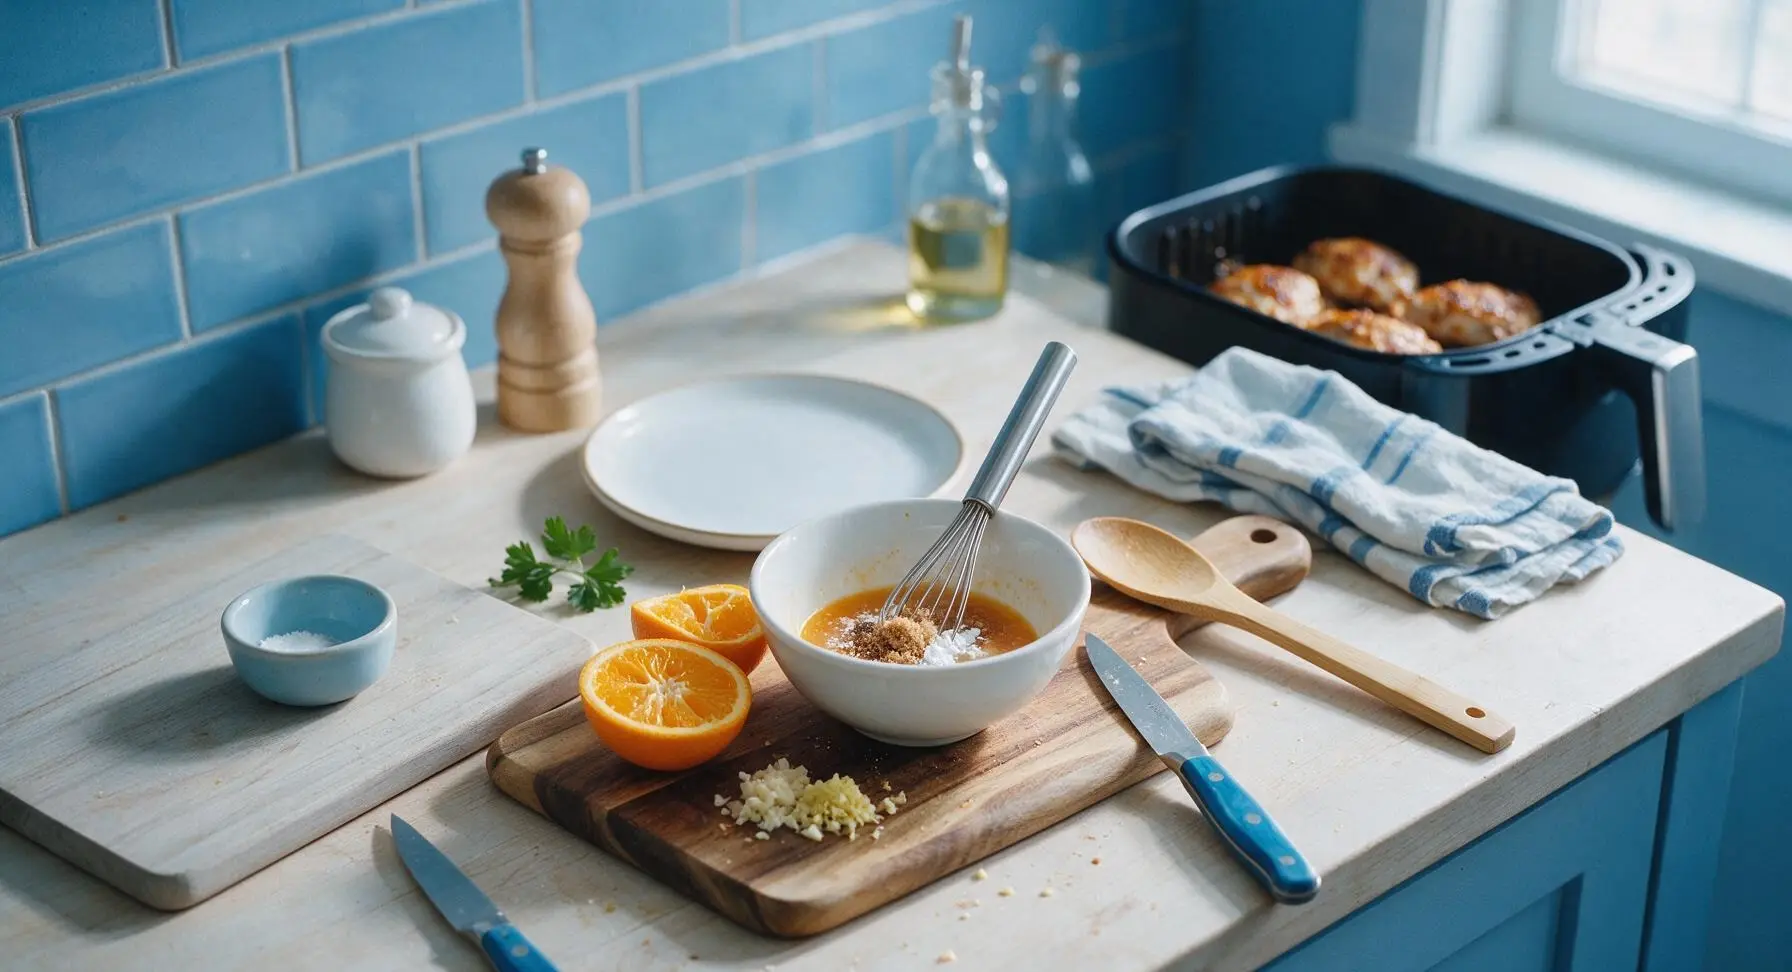
While the second batch of chicken cooks, prep the sauce ingredients. Use the chef knife to mince garlic and finely grate ginger, then zest 1 navel orange to collect 1 tbsp of fine zest, and squeeze both oranges to yield 120ml (1/2 cup) of fresh juice, picking out any seeds. In the wiped-clean small mixing bowl, whisk together orange juice, 2 tsp of the orange zest (reserve the remaining zest for garnish), soy sauce, rice vinegar, packed brown sugar, grated ginger, minced garlic, toasted sesame oil, and 1 tsp cornstarch until completely smooth, with no visible cornstarch lumps.
Step 6
step6:Mix Orange Sauce Base
7

Thicken Orange Glaze

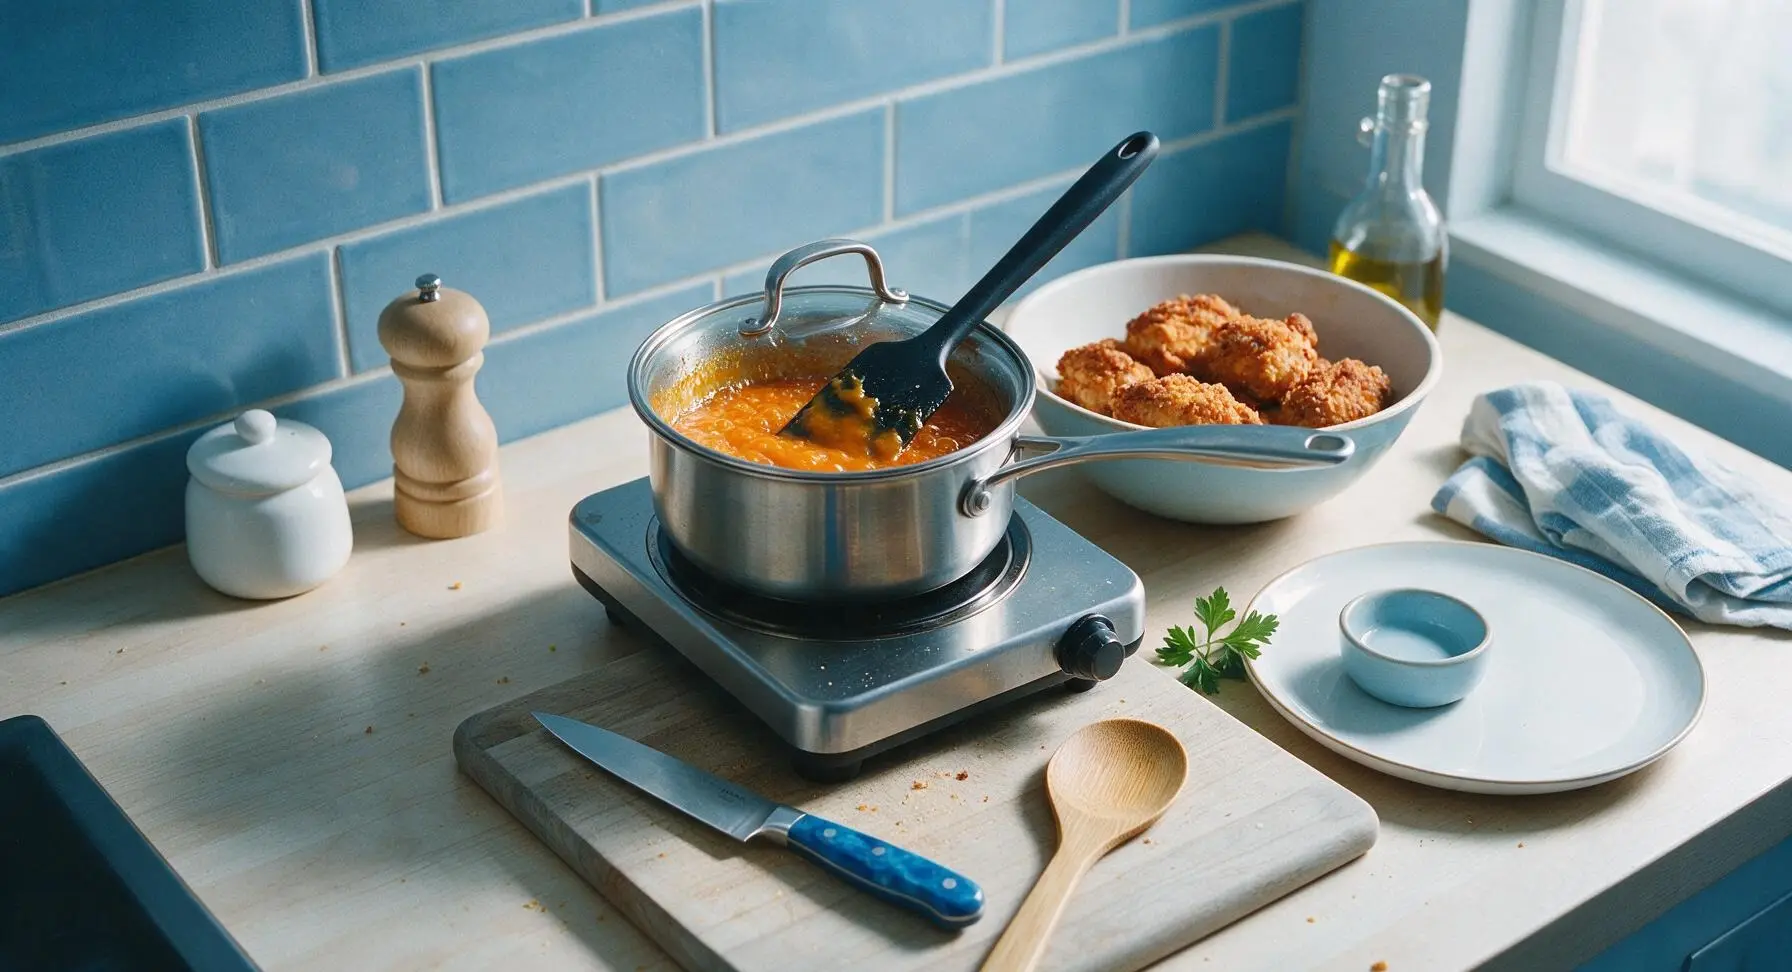
Once the second batch of chicken is fully cooked and transferred to the large mixing bowl, pour the smooth sauce mixture into the small stainless steel saucepan set on the induction cooktop. Heat over medium heat, stirring constantly with the black silicone spatula, for 2-3 minutes until the sauce comes to a gentle simmer. Cook for 1 additional minute until the sauce thickens to a glossy, syrupy consistency that coats the back of the spatula, then remove the pan from heat immediately to avoid over-thickening.
Step 7
step7:Thicken Orange Glaze
8

Toss Chicken in Glaze

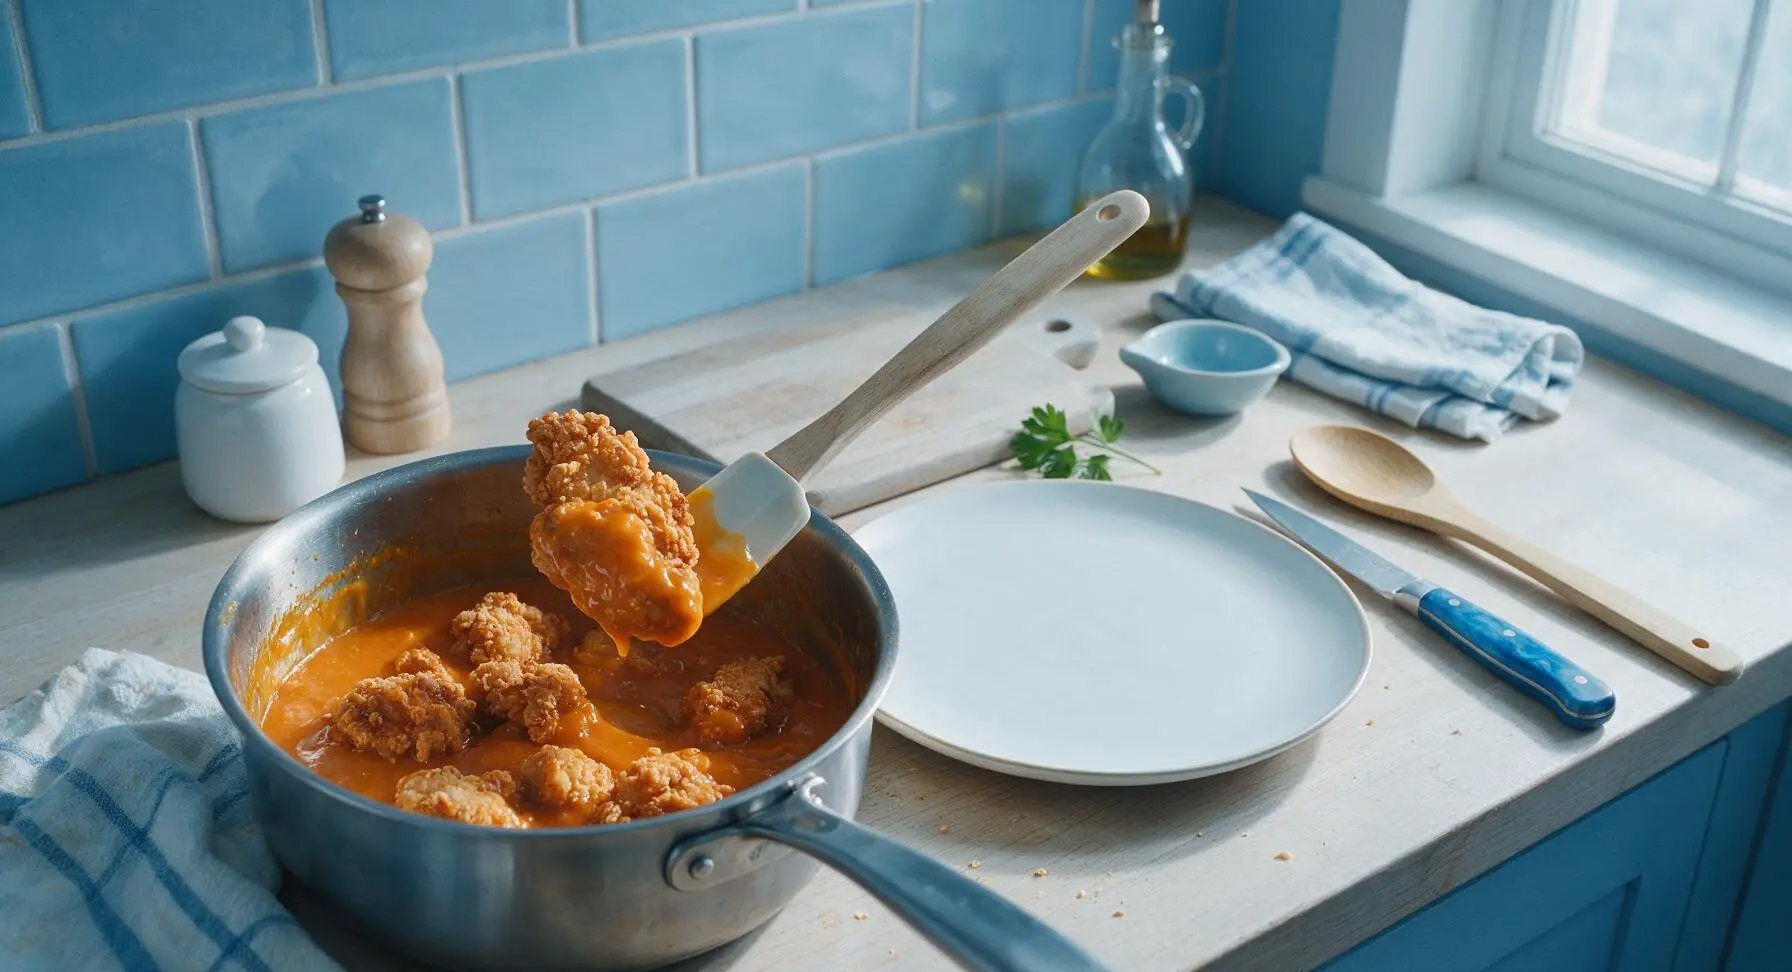
Add all the crispy cooked chicken pieces to the saucepan with the thickened orange glaze. Toss gently with the silicone spatula for 30 seconds, until every piece of chicken is evenly coated in the glossy glaze, taking care not to scrape the crispy coating off the chicken. The sauce will cling tightly to the rough crispy surface of the chicken when ready. Pile coated chicken onto the waiting white dinner plate to serve.
Step 8
step8:Toss Chicken in Glaze

Tips

1.Choose chicken thighs over breast: Thighs have a slightly higher fat content that keeps them juicy through the high-heat air fryer cook time, while lean chicken breast often dries out before the cornstarch coating reaches ideal crispness.
2.Never overcrowd the air fryer basket: Leaving 1cm gaps between chicken pieces lets hot air circulate fully around every side, creating an all-around crispy crust instead of soggy, steamed patches where pieces touch.
3.Toss and serve immediately: The crispy cornstarch coating will start to absorb the orange glaze and soften after 3-5 minutes, so plate and serve right after tossing for the best crunchy, saucy texture.


✨ You May Also Like

Main Course
🍜 United Kingdom

A showstopping classic of tender seared beef, savory mushroom duxelles, and crisp prosciutto wrapped in flaky golden puff pastry, baked to juicy perfection.

⏱️ 2 hours 1Main Course ★ 4.7
Main Course
🍜 India

Tender charred marinated chicken simmered in a rich, spiced creamy tomato sauce, this iconic Anglo-Indian curry pairs perfectly with basmati rice or warm naan.

⏱️ 50 minuteMain Course ★ 4.6
Main Course
🍜 Thailand

Classic tangy, sweet, and savory Thai stir-fried rice noodles with shrimp, tofu, and crunchy garnishes, balancing all five core Thai flavor profiles.

⏱️ 30 minuteMain Course ★ 4.5
Main Course
🍜 United Kingdom

Crispy golden beer-battered cod and fluffy double-fried chips, served with tangy tartar sauce and malt vinegar: the timeless, beloved British pub comfort classic.

⏱️ 45 minuteMain Course ★ 4.7
Main Course
🍜 Mexico

Smoky, chile-marinated pork tacos with caramelized pineapple, fresh cilantro, and lime: a beloved classic Mexican street food perfect for casual summer gatherings.

⏱️ 1 hour 45Main Course ★ 4.8
Main Course
🍜 United States

Crunchy Fritos corn chips layered with savory beef chili and melted cheddar, topped with cool, zesty fixings for a beloved, cozy Tex-Mex comfort food.

⏱️ 35 minuteMain Course ★ 4.8

air fryer orange chicken:Frequently Asked Questions

1.Why does this recipe use boneless skinless chicken thighs instead of chicken breast? ▾
Boneless skinless chicken thighs stay far juicier in the air fryer’s high heat than lean breast meat, with a richer, savorier flavor that pairs perfectly with bright orange glaze. If you prefer breast, cut it into 1-inch cubes, watch cook time closely, and pull it as soon as it hits 165°F to avoid dry, tough bites.
2.How much less oil does this air fryer version use compared to traditional deep-fried orange chicken? ▾
This recipe uses roughly 70% less oil than standard deep-fried takeout orange chicken, which requires submerging coated chicken in 3-4 cups of hot oil. You’ll only need a light 1-2 teaspoon spritz of oil on cornstarch-coated chicken to get that shatteringly crisp exterior, cutting excess grease without sacrificing classic takeout texture.
3.Why do you use cornstarch for the chicken coating instead of all-purpose flour? ▾
Cornstarch creates a lighter, crispier, less bready coating than all-purpose flour in the air fryer, and it doesn’t get soggy as quickly when tossed with orange glaze. It also adheres really well to egg wash, so you won’t lose coating bits in the air fryer basket as chicken cooks, for evenly crisp bites every time.
4.Do I need to spray oil on the chicken before air frying? ▾
Yes, a light, even spritz of high-smoke-point oil (like avocado or canola oil) on coated chicken right before air frying is key to getting that golden, crispy takeout-style exterior. Skip the dousing—you only need enough to lightly coat the cornstarch, or you’ll end up with greasy, overly dark spots on your chicken.
5.Can I make this recipe gluten-free? ▾
Absolutely! This recipe is easily adaptable for gluten-free diets. The base coating of cornstarch, eggs, salt, and pepper is naturally gluten-free—just make sure your cornstarch is certified gluten-free to avoid cross-contamination, and swap any soy-based glaze ingredients for tamari or coconut aminos to keep the whole dish gluten-free.
6.What temperature do I set my air fryer to for the crispiest chicken? ▾
Set your air fryer to 400°F for the best results, and preheat it for 2-3 minutes first before adding chicken. This high, even heat quickly sets the cornstarch coating so it gets crispy instead of gummy, cooking thighs through in 10-12 minutes total for a fast, low-fuss weeknight meal.
7.Why is my chicken coating coming out soggy instead of crispy? ▾
Soggy coating usually stems from one of three easy-to-fix issues: overcrowding the air fryer basket (which steams chicken instead of crisping it), skipping the light oil spritz, or not shaking the basket halfway through cook time. Keep chicken in a single layer, spritz lightly, and shake at the 6-minute mark for even crispness.
8.Do I need to flip the chicken while it air fries? ▾
Yes, give the air fryer basket a good shake, or flip individual chicken pieces, halfway through total cook time (around the 5-6 minute mark at 400°F). This ensures every side gets exposed to circulating hot air, so you get evenly golden, crispy bites instead of soft, pale spots where pieces touched the basket.
9.Can I use pre-squeezed bottled orange juice for the glaze instead of fresh? ▾
You can use 100% unsweetened bottled orange juice in a pinch, but fresh-squeezed orange juice (plus a little zest) gives the glaze that bright, zingy, non-artificial flavor that makes this dish feel lighter than heavy takeout. If you use bottled juice, add a splash of fresh lemon juice to brighten its flat, muted taste.
10.How do I keep the chicken crispy after tossing it in the orange glaze? ▾
Toss the crispy cooked chicken in warm glaze right before serving, not ahead of time. Don’t douse every piece in excess glaze—add it a little at a time, tossing gently, so each bite gets a light coating instead of sitting in a pool of sauce that will soften the crisp cornstarch exterior within minutes.
11.What internal temperature should the chicken reach to be safe to eat? ▾
Cook the chicken until it reaches a safe internal temperature of 165°F, measured with an instant-read thermometer stuck into the thickest part of the largest piece. Since chicken thighs have a higher fat content, they’ll stay juicy even at this temp, unlike breast meat which turns dry if cooked a few degrees over.
12.Can I prep the chicken ahead of time for faster weeknight cooking? ▾
Yes! You can cut chicken thighs into 1-inch cubes, toss them in egg wash and cornstarch coating, then arrange them in a single layer on a tray and refrigerate for up to 12 hours before air frying. Don’t toss chicken in glaze ahead of time, though—cook chicken and make glaze fresh right before serving for best texture.
13.Why do you use eggs in the chicken coating? ▾
Beaten large eggs act as a sticky binder that helps the cornstarch coating adhere tightly to chicken pieces, so coating doesn’t slide off or blow around in the air fryer’s circulating air. It also creates a light, tender layer under the crisp cornstarch that locks in chicken moisture as it cooks at high heat.
14.How should I season the chicken itself, beyond the orange glaze? ▾
Keep the chicken seasoning simple so it doesn’t compete with the bright orange glaze: a generous pinch of kosher salt and a few grinds of freshly ground black pepper mixed right into the cornstarch coating is all you need. Skip heavy spice blends, as they can burn easily at 400°F and leave a bitter aftertaste.
15.Can I cook frozen chicken for this recipe without thawing it first? ▾
I don’t recommend cooking frozen uncoated chicken for this recipe, as excess ice melt will make the cornstarch coating gummy and prevent crisping. If you have pre-coated, frozen breaded chicken bites, you can air fry them at 400°F for 12-15 minutes until crisp, then toss in fresh orange glaze for a quick shortcut.
16.How do I prevent the chicken from sticking to the air fryer basket? ▾
First, give your air fryer basket a light spritz of oil before adding coated chicken pieces, and don’t move the chicken for the first 5 minutes of cook time so the coating can set. Don’t overcrowd the basket, either—cook in batches if needed, so pieces don’t stick to each other or the basket.
17.What side dishes pair best with this air fryer orange chicken? ▾
This tangy-sweet chicken pairs perfectly with quick weeknight sides like steamed white rice, jasmine rice, or cauliflower rice for a lower-carb option. Add a side of roasted broccoli, air-fried snap peas, or a simple cucumber salad to cut glaze richness and round out the meal with fresh, crisp texture.
18.How should I store leftovers, and how do I reheat them without getting soggy? ▾
Store leftover cooked chicken (separate from extra glaze, if possible) in an airtight container in the fridge for up to 3 days. Reheat in the air fryer at 375°F for 3-4 minutes, shaking halfway, until coating is crisp again, then toss with warm glaze right before eating. Skip the microwave, which turns coating soggy.
19.Can I make this recipe without eggs for an egg-free version? ▾
Yes, you can swap the eggs for a commercial vegan egg substitute, or use ¼ cup of whole milk or buttermilk mixed with 1 tablespoon of cornstarch to create a sticky binder for the coating. The coating won’t be quite as thick and puffy as the egg-washed version, but it will still crisp up nicely with a light oil spritz.
20.What consistency should the fresh orange glaze be? ▾
The fresh orange glaze should be thick enough to coat the back of a spoon, so it sticks to crispy chicken without running off and making the coating soggy. If your glaze is too thin, simmer it for 2-3 extra minutes to reduce; if it’s too thick, stir in a teaspoon of fresh orange juice at a time to adjust.

Comments (11)

2 days ago

OMG this air fryer orange chicken is a GAME CHANGER for weeknight dinners! I was so sick of takeout that tastes greasy and leaves me bloated, but this came out crispy, the orange sauce is perfectly tangy-sweet, no weird gloopy texture. My kids devoured it in 10 minutes flat and asked for seconds before I even sat down. Cook time was exactly 20 minutes like the recipe says, super easy even when I’m running on 3 hours of sleep between school dropoffs and work. 10/10 will be adding this to our weekly meal rotation!

yesterday

Wait did you use fresh orange juice or the bottled stuff? I only have bottled at home and don’t wanna run to the store tonight!

yesterday

Great question! Bottled 100% orange juice works totally fine here — I’ve tested it both ways and you honestly can barely tell the difference. If you want a little extra zing, toss in a tiny pinch of orange zest if you happen to have an orange on hand, but it’s totally not required!

3 days ago

Wow, this was so much easier than the stovetop orange chicken I used to make! I prepped a double batch on Sunday, portioned it out with rice and steamed broccoli for my work lunches all week, and it held up perfectly. The air fryer gets the chicken so crispy without having to pan fry in a ton of oil — total win. Only tiny tweak I made was adding a pinch of red pepper flakes for a little heat, would highly recommend if you like a tiny kick.

2 days ago

Love the red pepper flakes idea! That’s such an easy way to customize the flavor for people who like a little heat — I’ll have to add that as a variation note in the recipe. So glad it worked for your meal prep!

1 week ago

Made this for our neighborhood potluck last weekend and people were hounding me for the recipe all night! I was worried it wouldn’t stay crispy in the serving dish, but even 45 minutes after cooking it still had that perfect crunch, and the orange flavor was bright enough that it didn’t get soggy or dull. Even the picky teens at the potluck went back for thirds. SO good, will absolutely make this again for our next get together.

30 minutes ago

Uh, quick question — I’ve only had my air fryer for a week, am I supposed to spray the basket with oil first? I tried making chicken wings last week and they stuck so bad I had to scrub the basket for 20 minutes. Don’t wanna mess this up because I’m making it for date night tonight 😅

5 minutes ago

Dude definitely spray the basket! I also toss the chicken pieces in a tiny bit of cornstarch and oil before air frying, they don’t stick at all and get extra crispy. Good luck on date night!

just now

Great question! Yes, a light spritz of nonstick spray on the air fryer basket works perfectly, and tossing the chicken in a light coating of cornstarch is exactly what the recipe calls for to get that crispy, non-sticky exterior. You’ve got this — date night is gonna be a hit!

5 days ago

So happy I found this! I swapped the regular soy sauce for tamari and used gluten free cornstarch, and it turned out absolutely perfect. I’ve been missing takeout orange chicken since going gluten free 2 years ago, and this tastes even better than the Chinese restaurant down the street from my apartment. No weird aftertaste, perfect texture, my roommate even said she’d pay me to make it for her every week lmao.

3 days ago

So glad this worked for your gluten free diet! The tamari swap is such a great call — I actually make it that way for my sister who’s gluten free too, and it’s totally indistinguishable from the regular version. Tell your roommate she’s got great taste 😉

2 weeks ago

Was skeptical that air fryer orange chicken could be as good as deep fried, but color me wrong. The crust gets perfectly crispy, the sauce coats every piece without making it soggy, and I didn’t have to deal with a pot of hot oil on my stove or the lingering fried smell in my house for 3 days. My wife said this is better than our usual takeout order, so that’s the highest possible praise if you ask me. 10/10, easy enough to make even after a long day at work.

yesterday

Made this last night and the flavor was incredible! Only thing is my sauce came out a little thinner than I expected, did I do something wrong? I followed the measurements exactly as written, but it didn’t stick to the chicken super well. Still tasted amazing, just wanted that thick, glossy takeout texture.

2 hours ago

I had the same problem the first time I made it! I let the sauce simmer on the stovetop for an extra 2 minutes after mixing the cornstarch slurry in, and it thickened right up to that perfect glossy consistency. Just don’t walk away from it because it thickens fast!

30 minutes ago

Great tip! The cornstarch slurry needs to come to a gentle simmer to fully activate the thickening power — if it’s just warmed through it will stay thin. Next time, let it bubble for 1-2 minutes while stirring, and you’ll get that perfect sticky, glossy coating that sticks to every piece. So glad the flavor was spot on for you though!

1 week ago

Bro this is so easy to make in my tiny dorm air fryer!!! I don’t have access to a full kitchen, just a mini fridge and my dinky 2-quart air fryer, and this came out perfect. I cut up chicken tenders I grabbed from the campus grocery store, mixed up the sauce with random stuff I had in my dorm snack bin, and it tasted exactly like actual takeout. Way cheaper than ordering delivery every night — saved me like $15 this week already lmao.

5 days ago

Love that this works in dorm kitchens! It’s such a budget-friendly alternative to takeout, and I’m thrilled it turned out well even with minimal equipment. Pro tip: if you only have a small air fryer, cook the chicken in batches so you don’t overcrowd the basket — that keeps it extra crispy!

2 weeks ago

Added extra sriracha and a sprinkle of sesame seeds on top, and this is hands down my new favorite air fryer recipe. It’s so fast, barely any cleanup, and the flavor is balanced so well — not too sweet, not too tangy, the sriracha adds just the right amount of heat. I made extra sauce to dip my egg rolls in, 10/10 no notes. Already sent the recipe to my whole family group chat.

yesterday

Y’all. My husband swears he hates any ‘homemade takeout’ recipes and says they never taste like the real thing. I made this last night without telling him it was homemade, and he goes ‘wow did you get this from that new place downtown? It’s way better than our usual spot.’ When I told him I made it in the air fryer in 20 minutes he didn’t believe me, asked to see the recipe so he could make it himself this weekend. Win for me!!

2 hours ago

This is the exact same thing that happened with my husband! He turns his nose up at every fake takeout recipe I try, but he ate two full plates of this and asked for it again for his birthday dinner. It’s foolproof!

2 days ago

This fits perfectly into my high protein meal plan! I used chicken breast instead of thighs (personal preference), sprayed it with a little olive oil spray, and the whole serving is like 35 grams of protein for under 300 calories. It doesn’t taste like ‘diet food’ at all, I don’t feel deprived, and it’s so quick to make after my evening gym sessions. Obsessed!

yesterday

Wait how did the chicken breast turn out? I always find chicken breast gets dry in the air fryer if I don’t watch it like a hawk. Did you adjust the cook time at all when you used breast instead of thighs?

yesterday

Great question! If you’re using chicken breast, I recommend cutting it into 1-inch cubes (same size as the thigh pieces in the recipe) and checking for doneness at the 15 minute mark, since breast can cook a little faster than thighs. As long as you don’t overcook it, it stays nice and juicy! So glad this fits into your meal plan.



