1.Why does this recipe use boneless skinless chicken thighs instead of chicken breast?
▾
Thighs stay reliably juicy even after high-heat frying for crispness, unlike lean breast which easily turns dry and tough. Their subtle, rich savoriness also balances the bright tangy-sweet sauce far better than mild breast. If you must use breast, cut 1.25-inch cubes and pull them from heat 30 seconds early to avoid dry, tough bites.
2.How big should I cut the chicken cubes to get the perfect crisp-to-juice ratio?
▾
Stick to the recommended 1-inch (2.5cm) cube size, measured after trimming any excess hard fat from the thighs. This size cooks all the way through in the short frying time, develops an even, thick crispy crust, and gets fully coated in sauce without turning soggy too quickly after tossing.
3.Can I use all-purpose flour instead of cornstarch for the crispy coating?
▾
Cornstarch creates that light, shatteringly crisp takeout-style crust that stays crunchy even when tossed in glossy sauce, which flour cannot match. Flour makes a denser, chewier coating that softens much faster once mixed with sauce. If you’re in a pinch, use a 3:1 cornstarch to flour mix at minimum for decent crunch.
4.Do I really need to beat the eggs before coating the chicken?
▾
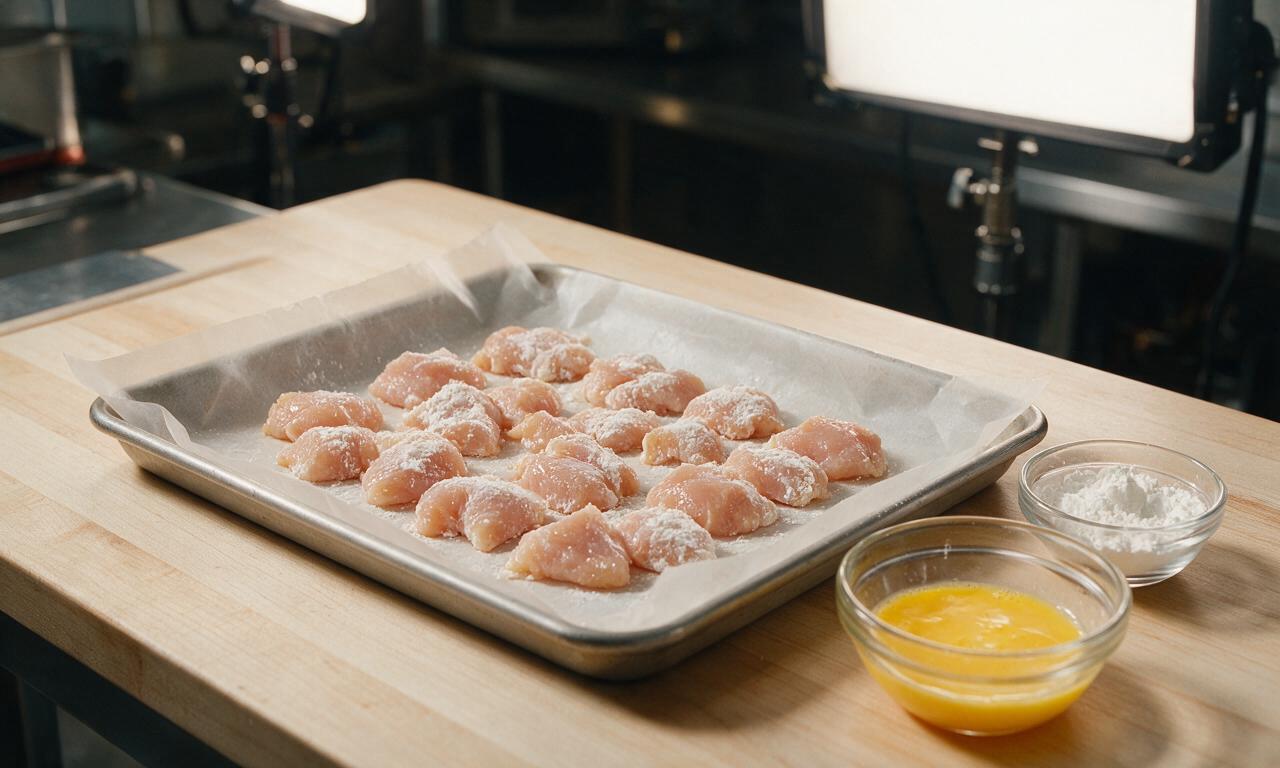
Yes, lightly beaten eggs act as the perfect “glue” to help cornstarch adhere evenly to every chicken cube, eliminating bare spots that leak juice during frying. Don’t overbeat eggs to a froth, though—this creates uneven, bubbly coating that falls off during frying; just whisk until yolks and whites are fully combined.
5.What oil is best for frying this chicken, and can I reuse it?
▾
Stick to neutral, high-smoke-point oils like canola or sunflower as recommended, since they won’t add off-flavors when heated to frying temperature. You can reuse cooled, strained oil 2-3 more times for savory frying: strain out all food bits, store in a sealed jar in a cool dark spot, and discard if it smells rancid or smokes at low heat.
6.How do I get that shatteringly crisp chicken crust just like my local takeout spot?
▾
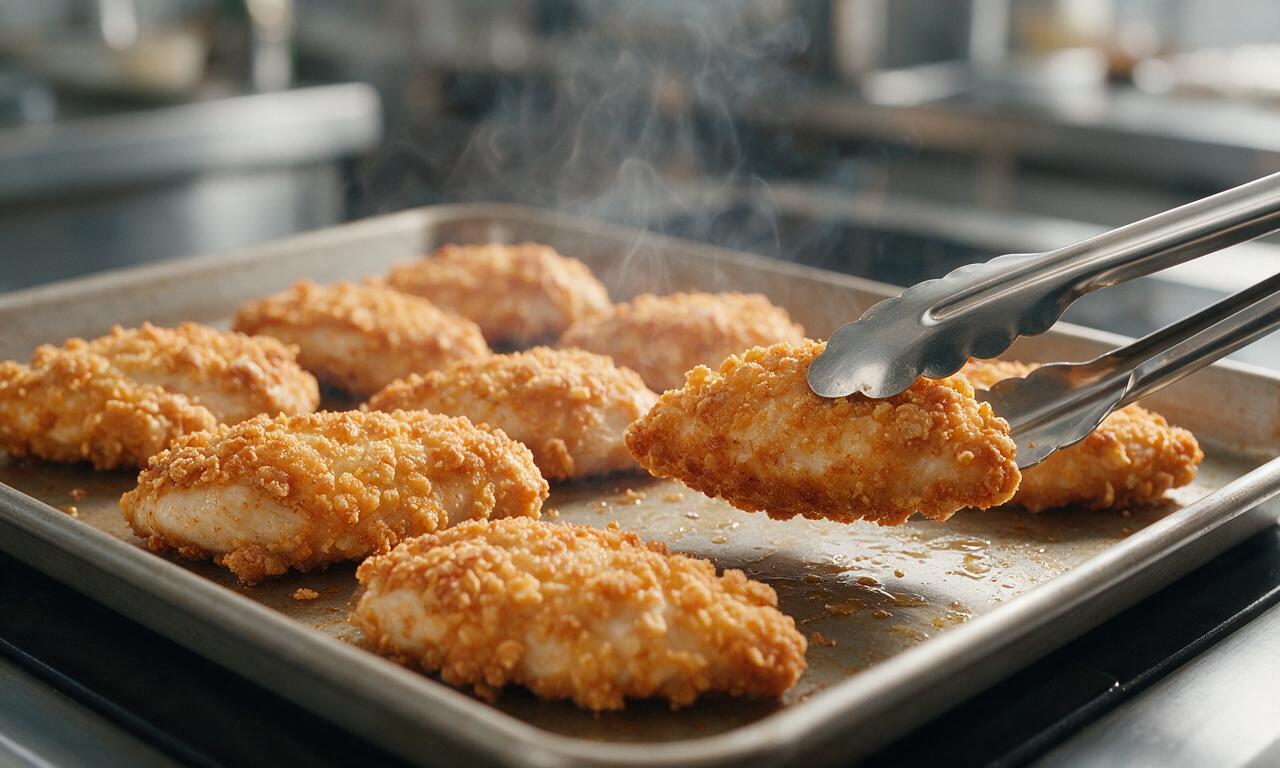
The pro secret is double-frying: first fry coated chicken at 325°F for 3 minutes to cook the meat through, then pull it out, crank oil to 375°F, and fry a second time for 1-2 minutes until deep golden. This drives off excess surface moisture, puffs the cornstarch coating, and creates crunch that holds up to sauce.
7.Why does my crispy coating fall off the chicken when I fry it?
▾
This usually happens if your oil isn’t hot enough when you add chicken, or if you overcrowd the pan which drops oil temperature fast. Add chicken in small batches, don’t stir it for the first 45 seconds after adding to let the crust set, and pat chicken dry before dipping in egg and cornstarch to help coating stick.
8.Can I bake the chicken instead of frying it to cut down on oil?
▾
You can, for a lighter version: arrange coated chicken on a wire rack set over a baking sheet, spray generously with oil, and bake at 425°F for 20 minutes, flipping halfway, until crisp and cooked through. Note the crust won’t be quite as shatteringly crisp as fried, but it will still hold up well to the sweet and sour sauce.
9.Do I have to use red bell pepper, or can I swap in other veggies?
▾
Red bell pepper adds a bright, sweet crunch and pop of color that pairs perfectly with the sauce, but you can absolutely swap in green, yellow, or orange bell peppers, blanched broccoli florets, snap peas, or cubed yellow onion if you prefer. Just cut all veggies to 1-inch chunks so they cook evenly and match the chicken bite size.
10.The recipe mentions pineapple—what kind works best, and do I cook it?
▾
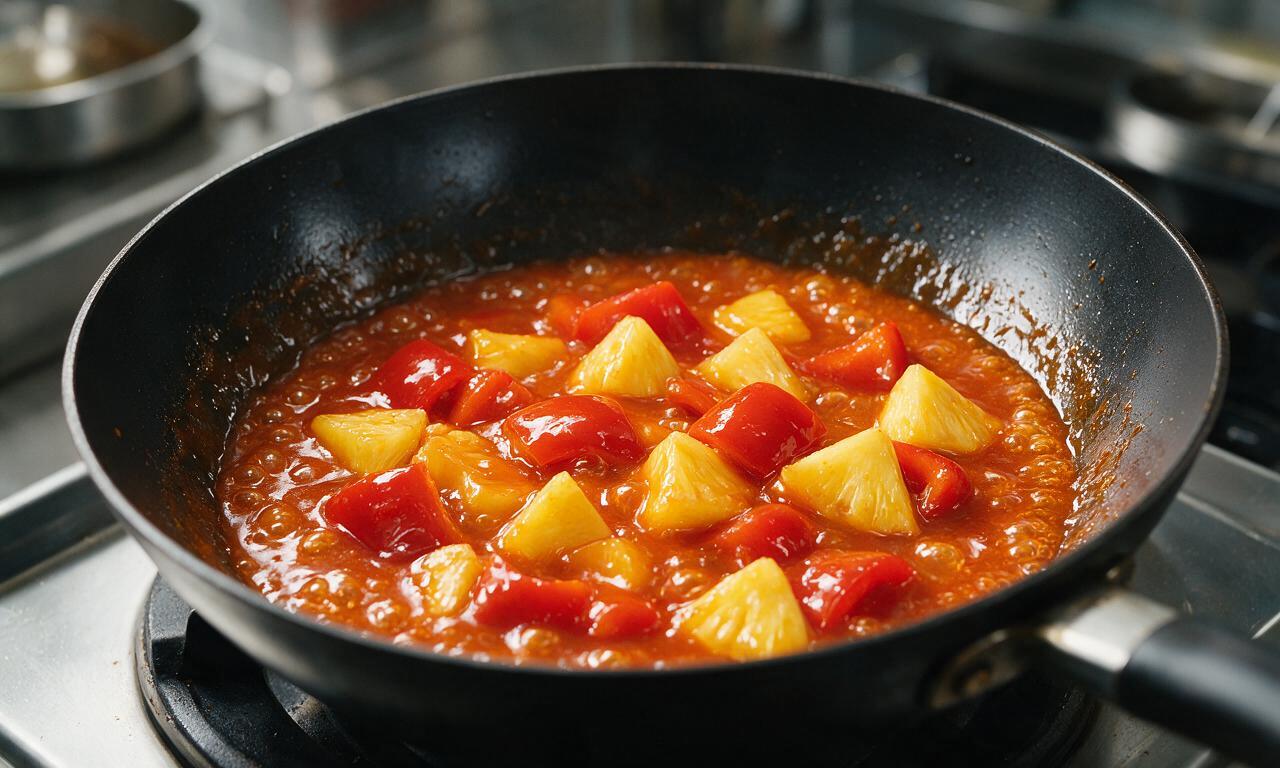
Use either fresh pineapple cut into 1-inch chunks, or canned pineapple chunks drained very well (reserve a splash of the juice for the sauce if you like extra fruitiness!). Toss the raw pineapple into the sauce with the bell pepper for 1 minute right before adding chicken, so it stays juicy and firm instead of mushy.
11.How do I keep the chicken from getting soggy after I toss it in sauce?
▾
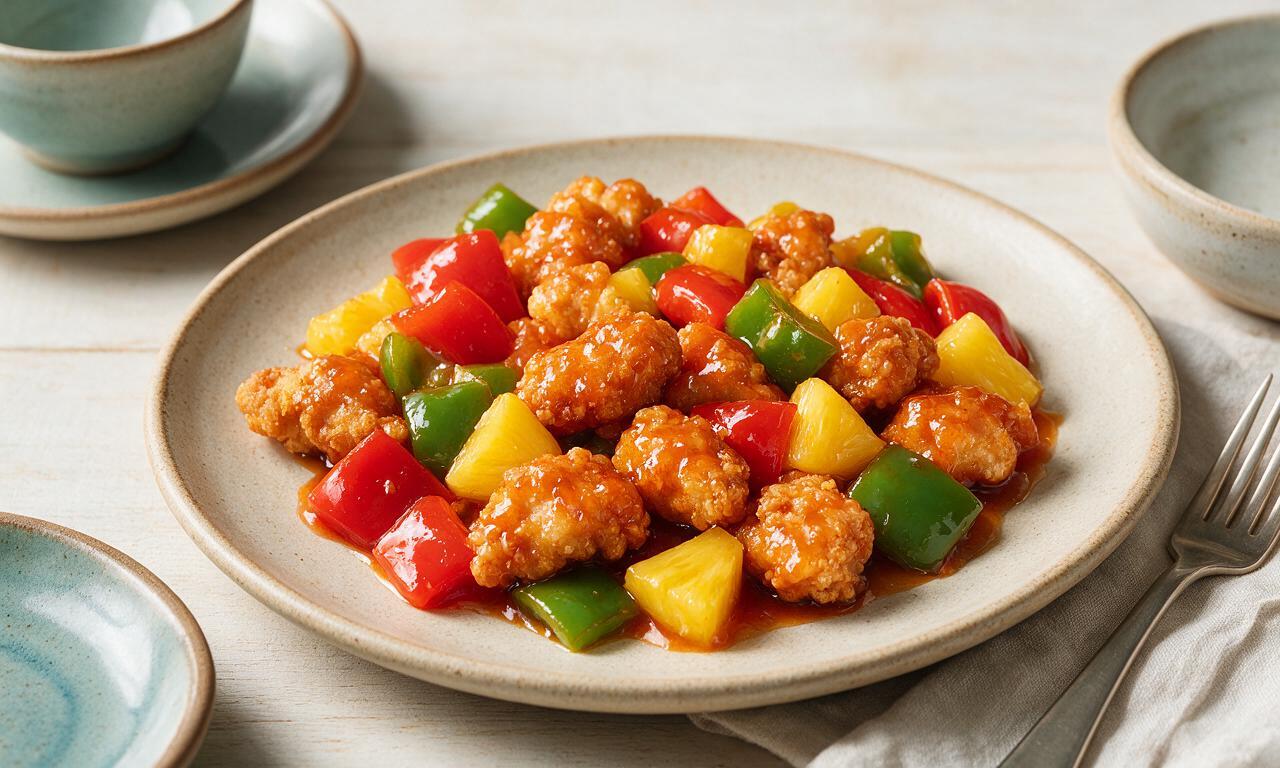
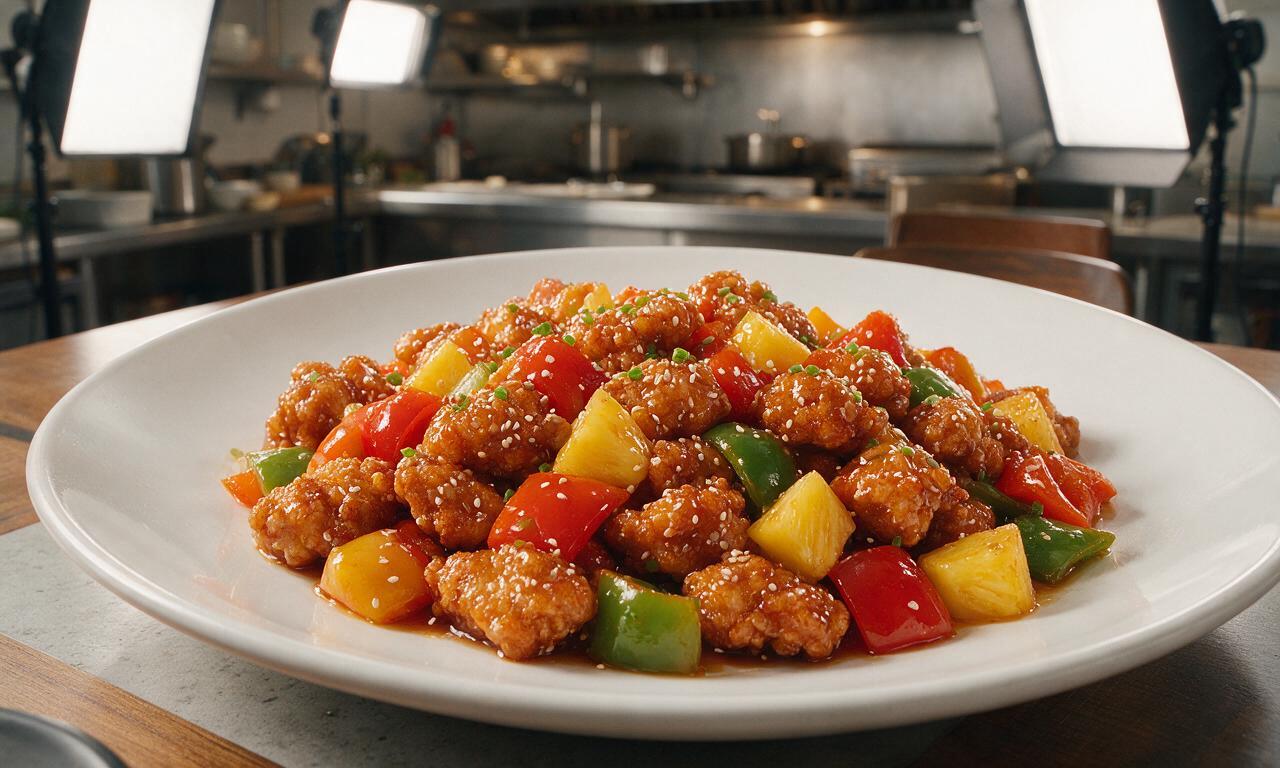
First, make sure your sauce is thickened to a glossy, syrupy consistency that coats the back of a spoon—watery sauce will immediately soften the crust. Toss the fried chicken and veggies in sauce right before serving, never ahead of time, and use just enough sauce to coat every bite, not drown the chicken.
12.What’s the right sweet-to-tangy ratio for that classic takeout sauce flavor?
▾
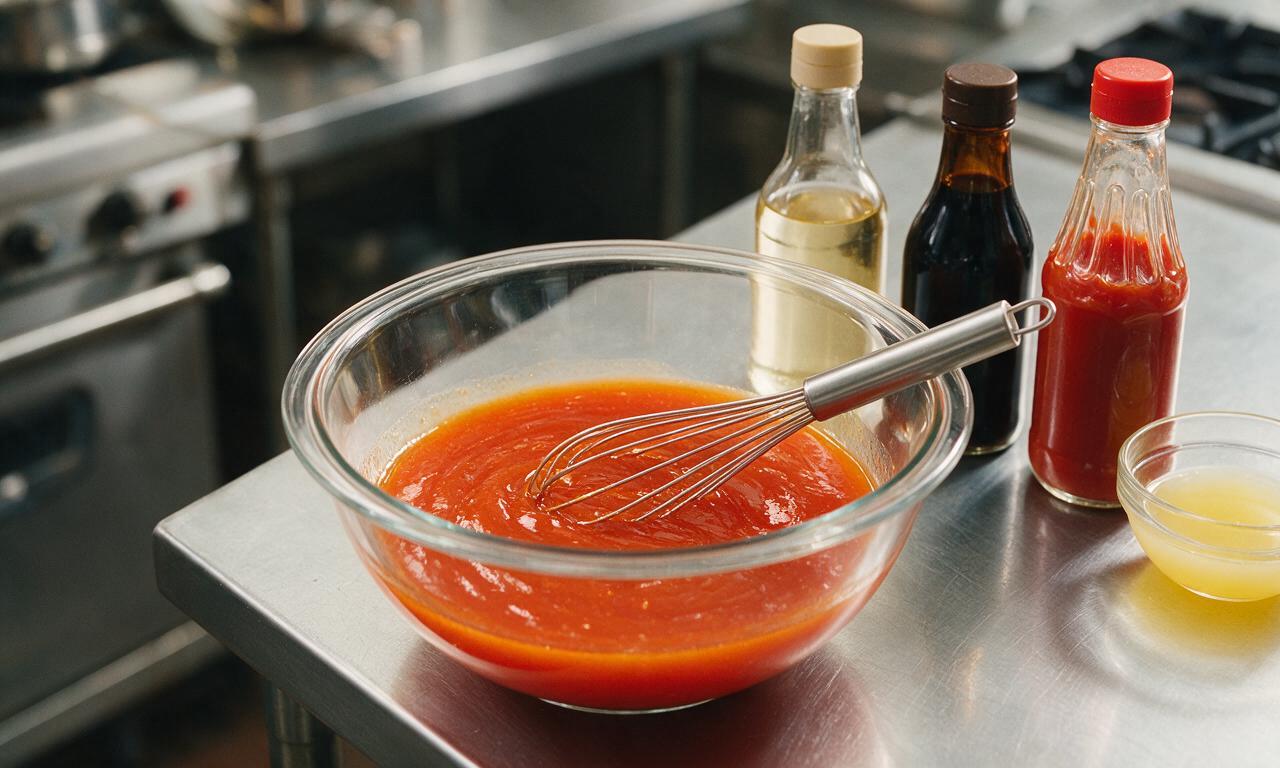
Aim for a 2:1 sweet to sour balance to match nostalgic takeout flavor: use 2 parts sweetener (sugar or pineapple juice) to 1 part rice vinegar, plus a small splash of soy sauce for savoriness and a pinch of ketchup for that signature bright red color and subtle depth. Adjust to taste as you go.
13.How long should I cook the bell peppers so they have the ideal texture?
▾
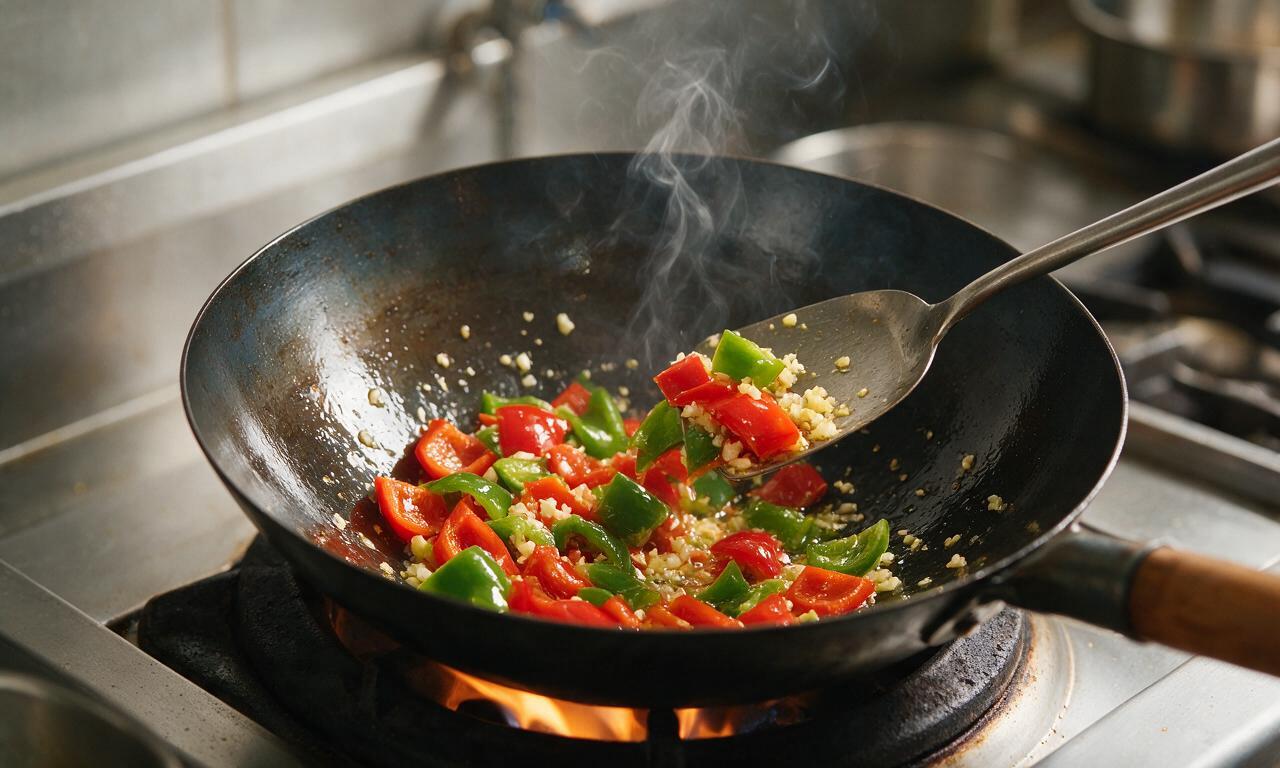
Cook the 1-inch bell pepper chunks in the sauce for just 1 to 2 minutes over medium heat before adding the fried chicken. You want them to be tender-crisp, with a slight snap when you bite into them, not soft and mushy. Overcooked peppers release excess water that thins sauce and makes chicken soggy.
14.Can I prep components of this dish ahead of time for quick weeknight meals?
▾
You can cut the chicken thighs into 1-inch cubes, prep your veggies, and mix the sauce base up to 2 days ahead, stored in separate sealed containers in the fridge. Wait to coat the chicken in egg and cornstarch until right before frying, though, as pre-coating leads to a gummy, soggy crust that won’t crisp up properly.
15.Why is my fried chicken greasy instead of light and crisp?
▾
Greasy chicken almost always comes from frying at too low a temperature, which lets oil soak into the cornstarch coating instead of searing it crisp. Use a clip-on thermometer to keep oil steady between 325-375°F during frying, and drain fried chicken on a wire rack instead of paper towels to avoid steaming the crust.
16.Can I make this recipe gluten-free for friends with dietary restrictions?
▾
Absolutely! The base recipe is almost gluten-free as written—just swap any regular soy sauce you use in the sauce for tamari or certified gluten-free soy sauce, and confirm your cornstarch and vinegar are gluten-free (most are, but it never hurts to check labels). The cornstarch coating is naturally gluten-free, no extra swaps needed.
17.How do I get that glossy, restaurant-style sheen on the finished sauce?
▾
Make a quick cornstarch slurry (1 part cornstarch mixed with 2 parts cold water) and stir it into your simmering sauce base a little at a time, until it thickens to a consistency that coats the back of a spoon. That glossy, clingy texture comes from gelatinized cornstarch, which helps sauce stick to every crispy chicken bite.
18.What should I serve with crispy sweet and sour chicken to make a full meal?
▾
The classic pairing is fluffy steamed white or jasmine rice, which soaks up any extra sweet and sour sauce perfectly. For a lighter option, serve it over cauliflower rice, or pair it with quick stir-fried bok choy, vegetable chow mein, or crispy fried wonton strips for a full takeout-style spread at home.
19.Can I freeze leftovers, and how do I reheat them to keep the chicken crisp?
▾
You can freeze leftovers for up to 3 months in an airtight container, though the crust will soften a bit in storage. For the best texture when reheating, spread chicken and veggies on a baking sheet and bake at 400°F for 10-12 minutes until heated through; skip the microwave, which turns the coating chewy and soggy.







OMG this was a total game changer for our weekly family dinner! My two picky kids went back for seconds, and even my husband who swears he hates takeout fake-out recipes asked when I’m making this again. The chicken stayed crispy even after I tossed it in the sauce, which never happens with other sweet and sour recipes I’ve tried! 10/10, already added to the regular meal rotation.
Made this for my potluck with friends last weekend and it was gone in 10 minutes flat. Everyone was asking for the recipe! Only thing I changed was adding a little extra pineapple because I love that sweet tang, and it worked perfectly. SO good, way crispier than the takeout spot down the block from my apartment.
Super easy to make in my tiny dorm kitchen! I didn’t have a deep fryer so I used my air fryer for the chicken and it still got super crispy, no mess. Total win for a weeknight when I’m sick of dining hall food. Will definitely make this again when my roommates are around to split it with me.
I’ve been making sweet and sour chicken for my grandkids for over 40 years, and this recipe is hands down the best version I’ve ever tried. The cornstarch coating is genius for getting that perfect shatteringly crisp crust, even when coated in sauce. I served it with steamed rice and roasted broccoli for our Sunday supper and everyone left with full bellies and leftovers to take home.
Solid recipe, super quick to throw together after a long day on the trails. Cook time was right at 35 minutes like it says, which is perfect for when I’m exhausted and don’t want to spend hours in the kitchen. Only knock is I wish the sauce had a little more kick to it, so next time I’ll add a pinch of red pepper flakes. Otherwise, great base recipe!
I swapped the regular soy sauce for tamari and used gluten-free cornstarch to make this for my celiac sister, and it turned out perfectly! She said it’s the first sweet and sour chicken she’s been able to eat at a family gathering that didn’t make her feel like she was missing out. The chicken was so crispy no one even noticed it was gluten free. Obsessed!
I was nervous to make this for my office potluck because I’ve had so many sweet and sour chicken recipes turn out soggy, but this one did NOT disappoint. I kept the sauce on the side in a little crockpot and let people toss their own chicken in it right before eating, and it stayed crispy the whole time. Multiple coworkers asked if I catered it, lmao. 10/10 will make again.
Meal prep win! I made a double batch of this on Sunday and it’s lasted me and the kids all week for quick dinners between soccer practice and work meetings. The recipe says easy difficulty and they aren’t lying — I’m not the best cook and I pulled this off without burning anything, which is a miracle in my house. The sauce is the perfect balance of sweet and tangy, not cloying like some takeout versions.