
Kung Pao Chicken
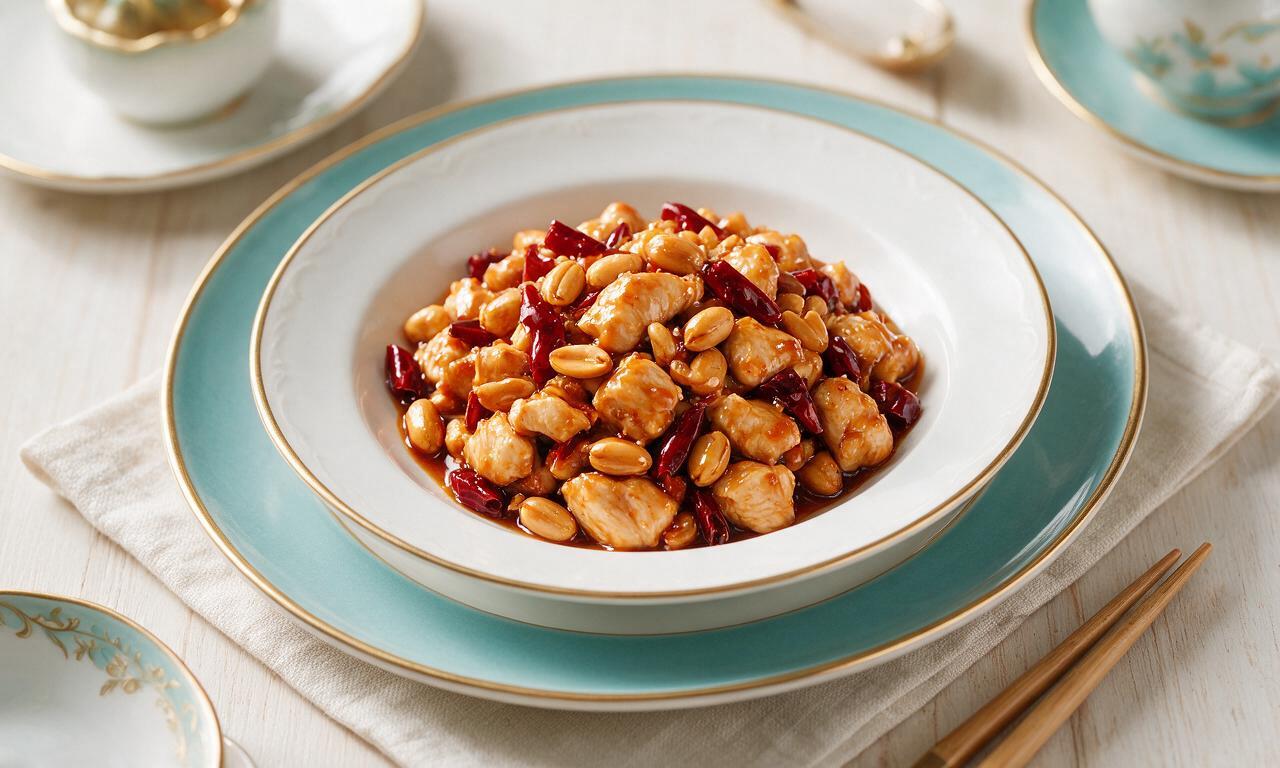
intro
Spicy, numbing, tangy Sichuan stir-fry with tender chicken, crispy peanuts, and dried chilis, coated in glossy savory-sweet sauce for a fast, satisfying meal.
Ingredients
Steps
Marinate the chicken
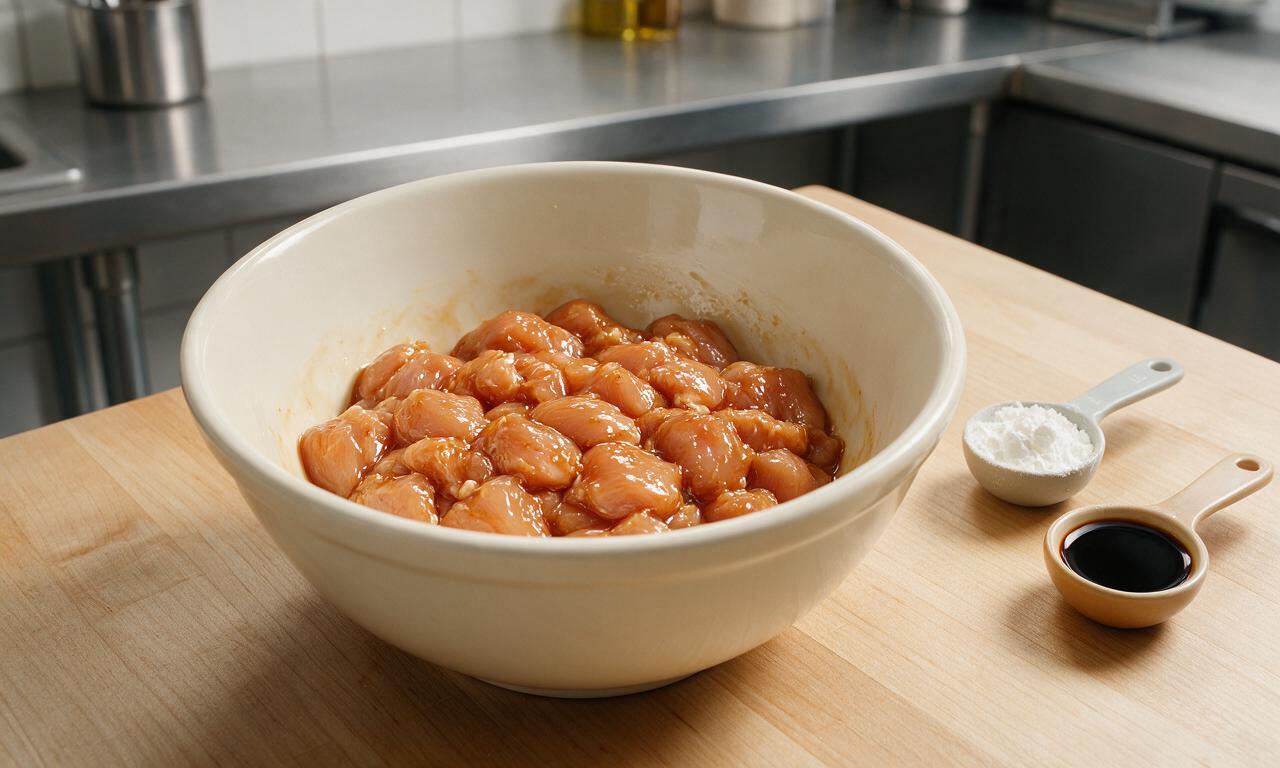
Pat 450g cubed chicken thighs completely dry with paper towels, then toss with 1 tbsp (15ml) Shaoxing rice wine, 1 tbsp (15ml) light soy sauce, and 1 tbsp (8g) cornstarch in a medium bowl. Mix until every cube is evenly coated in the starchy marinade, then let rest at room temperature for 15 minutes to tenderize and lock in juiciness.
Make the Kung Pao sauce
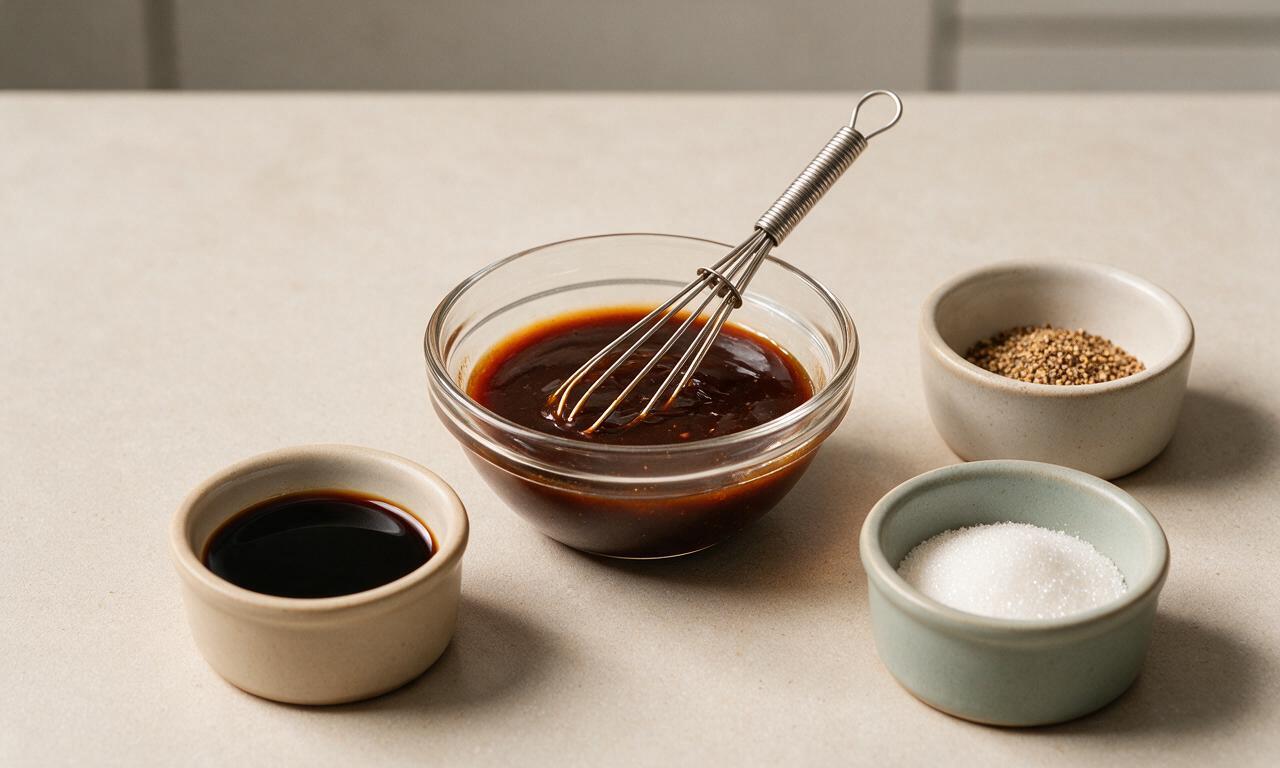
In a small glass bowl, whisk together the remaining 1 tbsp (15ml) Shaoxing rice wine, remaining 1 tbsp (15ml) light soy sauce, 2 tbsp (30ml) Chinkiang black vinegar, 1 tbsp (12g) granulated sugar, 1 tsp (5ml) dark soy sauce, and 1g finely ground Sichuan peppercorns (half the total amount). Stir until the sugar fully dissolves, then set the bowl within arm’s reach of the stovetop for quick access during stir-frying.
Toast chilis and aromatics
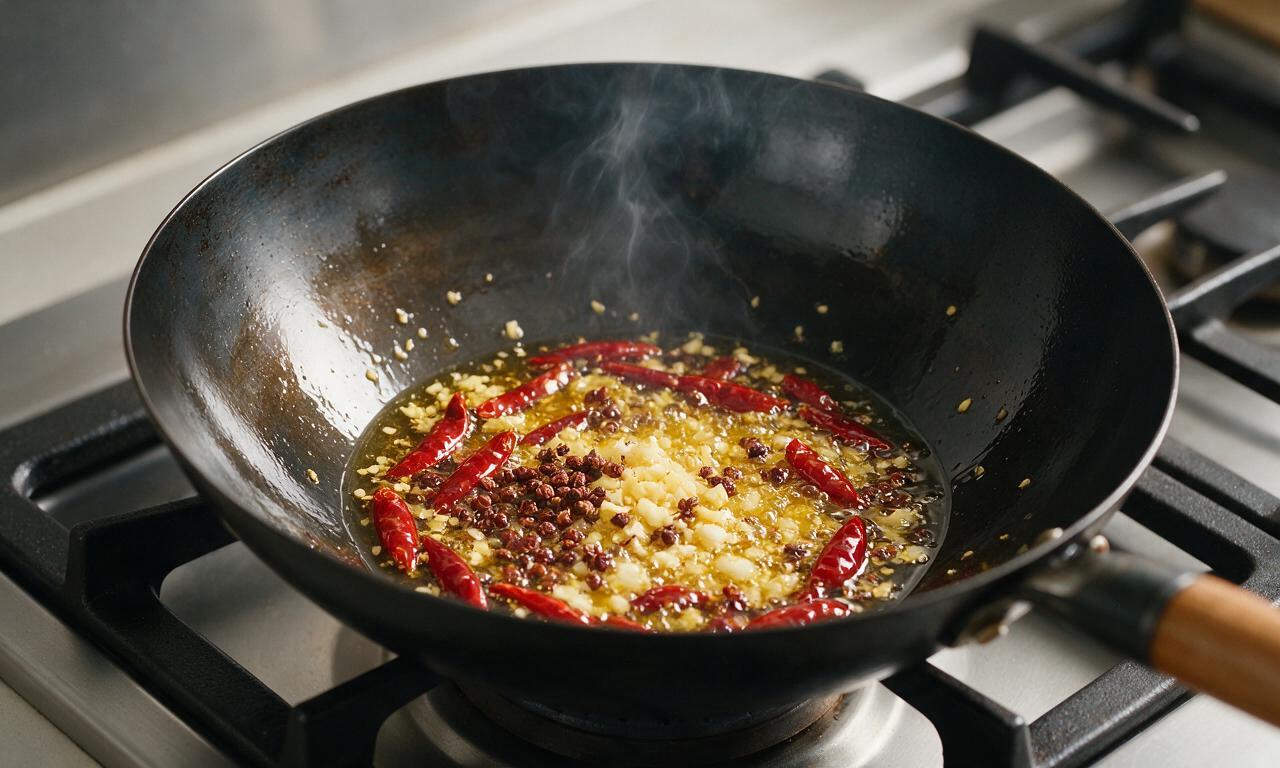
Heat 1 tbsp (15ml) neutral oil in a carbon steel wok or large deep skillet over medium heat (160°C/320°F). Add 15g cut dried red chilis and the remaining 1g whole Sichuan peppercorns, toast for 30 seconds until fragrant and chilis darken slightly to a deep ruby red, taking care not to burn them. Add minced ginger, minced garlic, and white scallion pieces, stir-fry for another 15 seconds until bright and aromatic.
Sear the marinated chicken
Turn heat up to high (200°C/390°F), then add the remaining 2 tbsp (30ml) neutral oil to the wok. Add marinated chicken in a single, even layer with small gaps between cubes, and sear undisturbed for 1 minute to develop a light golden crust. Toss and stir-fry the chicken for another 2 minutes, until cubes are 80% cooked (pale golden outside, faint pink center remaining) to avoid tough, overcooked meat.
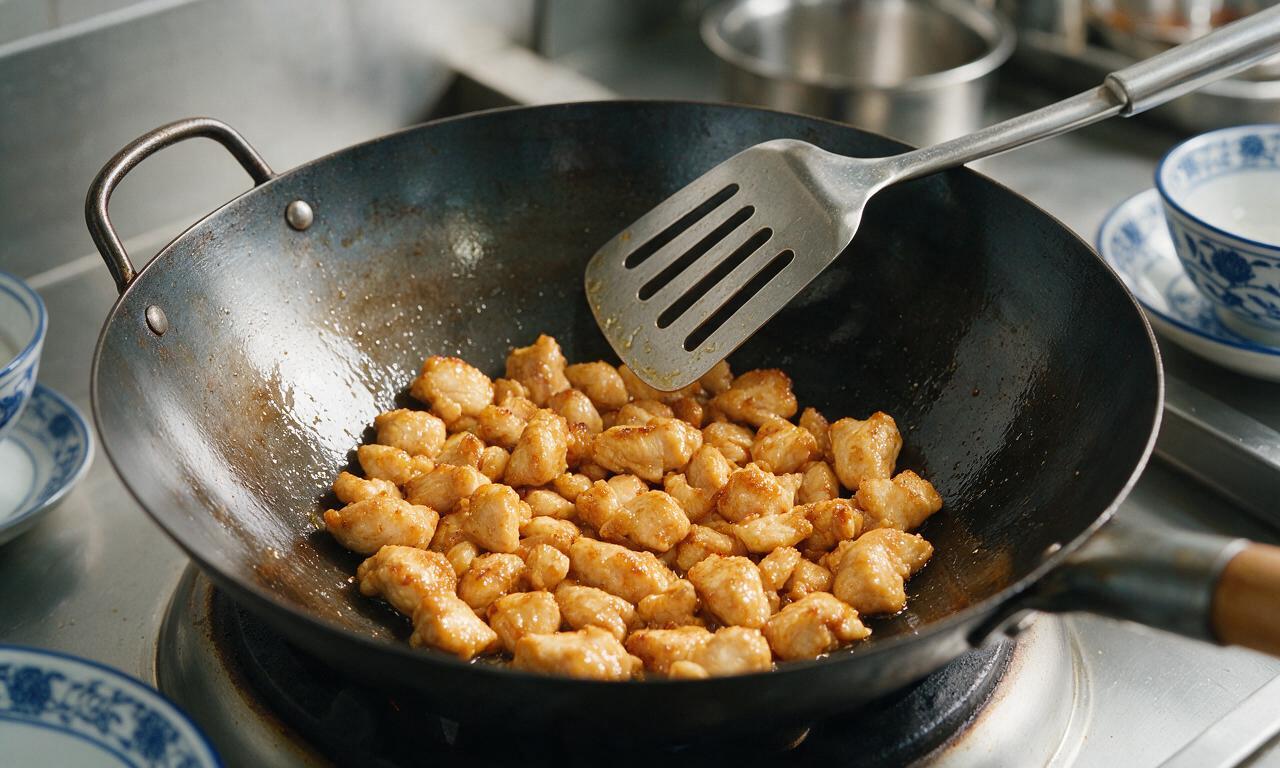
Toss with sauce and peanuts
Give the pre-mixed sauce a quick re-whisk to re-incorporate any settled starch, then pour the full amount into the wok with the chicken. Stir continuously over high heat for 45 seconds, until the sauce thickens to a glossy, clingy coating that covers every chicken cube. Add 80g roasted unsalted peanuts, toss for 15 seconds to evenly distribute and warm the peanuts through.
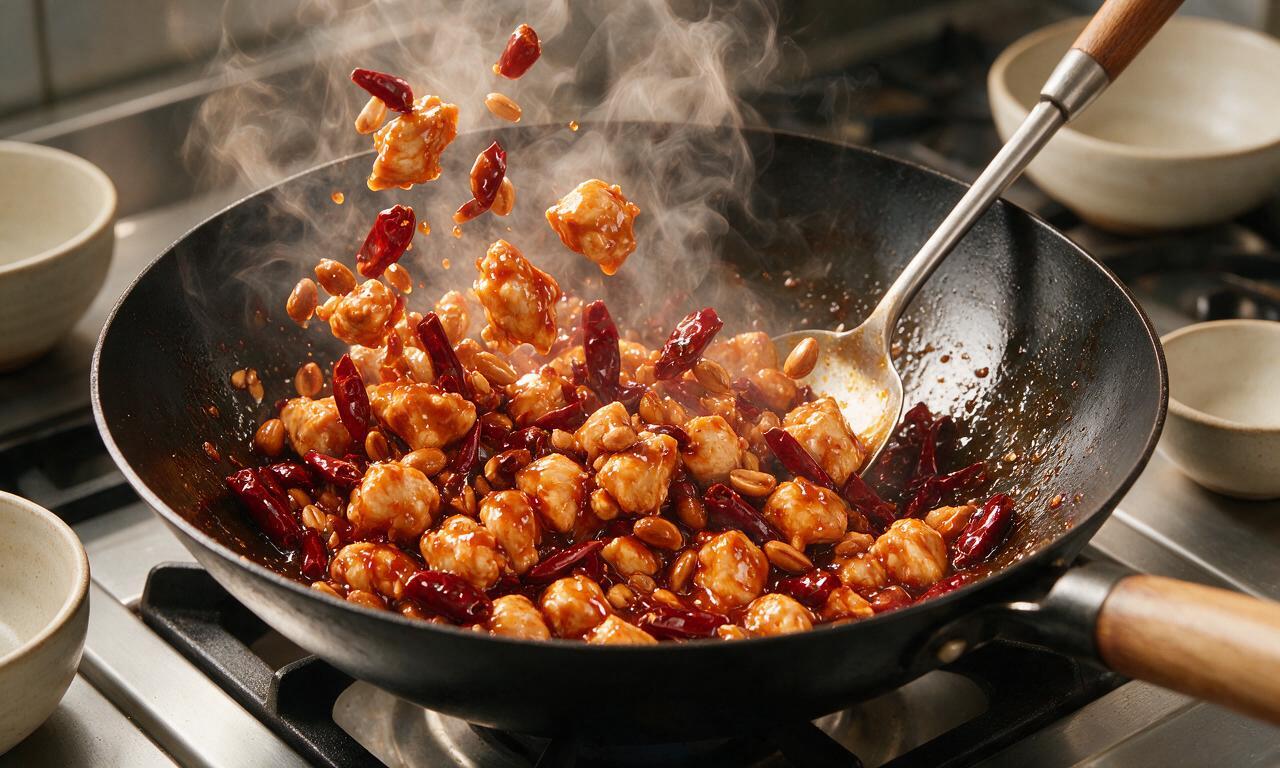
Garnish and serve hot
Turn off the stovetop heat, transfer the finished Kung Pao Chicken to a wide serving platter, and top with the reserved sliced green scallion parts and an optional light pinch of extra ground Sichuan peppercorn for added numbing flavor. Serve immediately while hot, alongside steamed white jasmine rice.
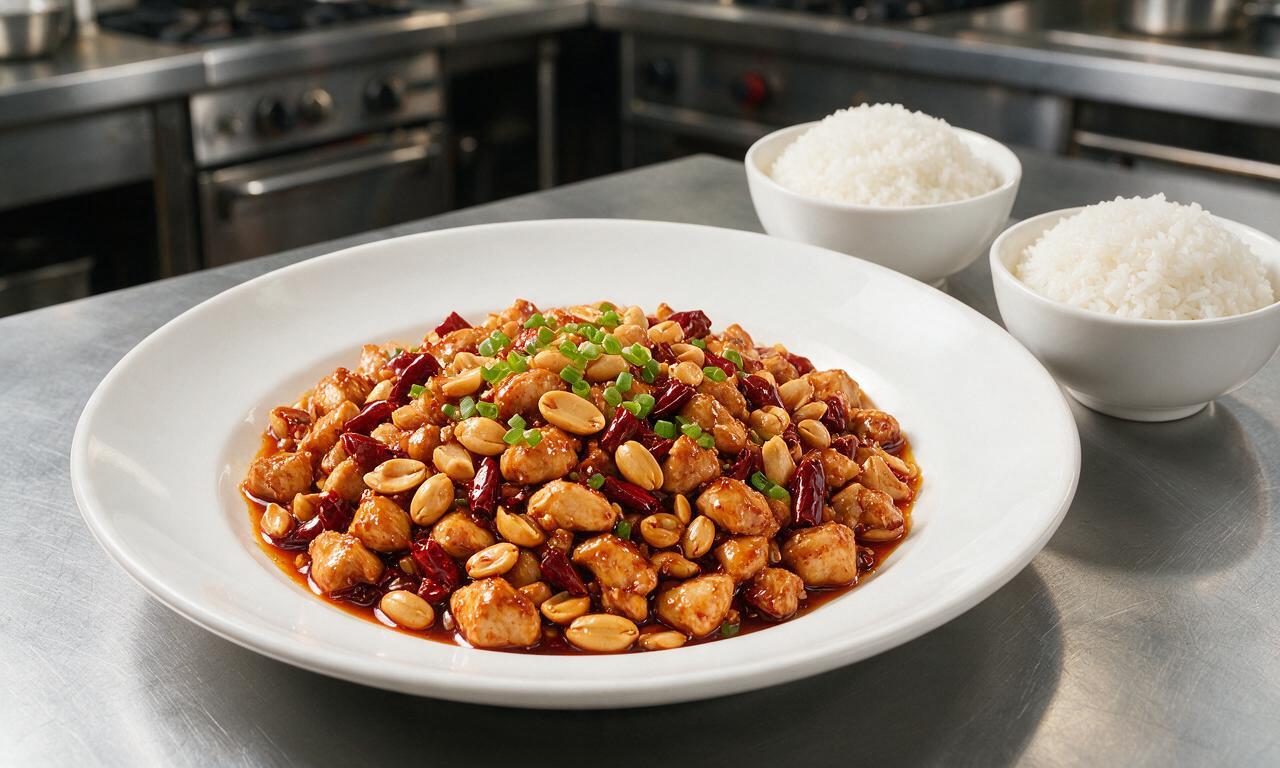
Tips
2.Never leave the wok unattended while toasting dried chilis and Sichuan peppercorns: these spices burn in as little as 10 seconds over high heat, which will give the finished dish a harsh, bitter flavor instead of a warm, fragrant spice note.
3.Practice 'mise en place' before turning on the heat: measure and prep all ingredients, and set them within arm’s reach of the stovetop—stir-frying moves very quickly, and there will be no time to grab missing ingredients once cooking starts.






OMG this is SO good! I’ve tried so many takeout-style kung pao recipes that taste nothing like the actual Sichuan version I had on a trip to Chengdu a few years back, and this one is dead on. The numbing tingle from the Sichuan peppercorns is perfect, not overpowering, and the sauce balances sweet, sour, and salty exactly right. My husband and two kids devoured the whole batch at dinner last night, even my picky 8 year old asked for seconds! Total game changer for our weeknight meal rotation.
Really solid recipe overall! Cook time was pretty spot on for me, which I appreciate because so many medium-difficulty recipes lie about how long they take. I only gave it 4 stars because I didn’t have any roasted peanuts on hand so I subbed cashews, and I think I added a touch too much chili oil so it was a little spicier than my partner could handle. Will definitely make it again with the right ingredients next time though, the flavor profile is chef’s kiss.
Made this for my weekly Sunday family dinner and everyone went back for thirds! I did the meal prep for this on Sunday morning — chopped the chicken, mixed the sauce, prepped the veggies all ahead of time so it came together in literally 15 minutes when it was time to cook. The crunchy peanuts and tender chicken are such a perfect texture combo, I’ll be adding this to my regular rotation for sure. 10/10, way better than takeout!