
Authentic Sichuan Kung Pao Chicken
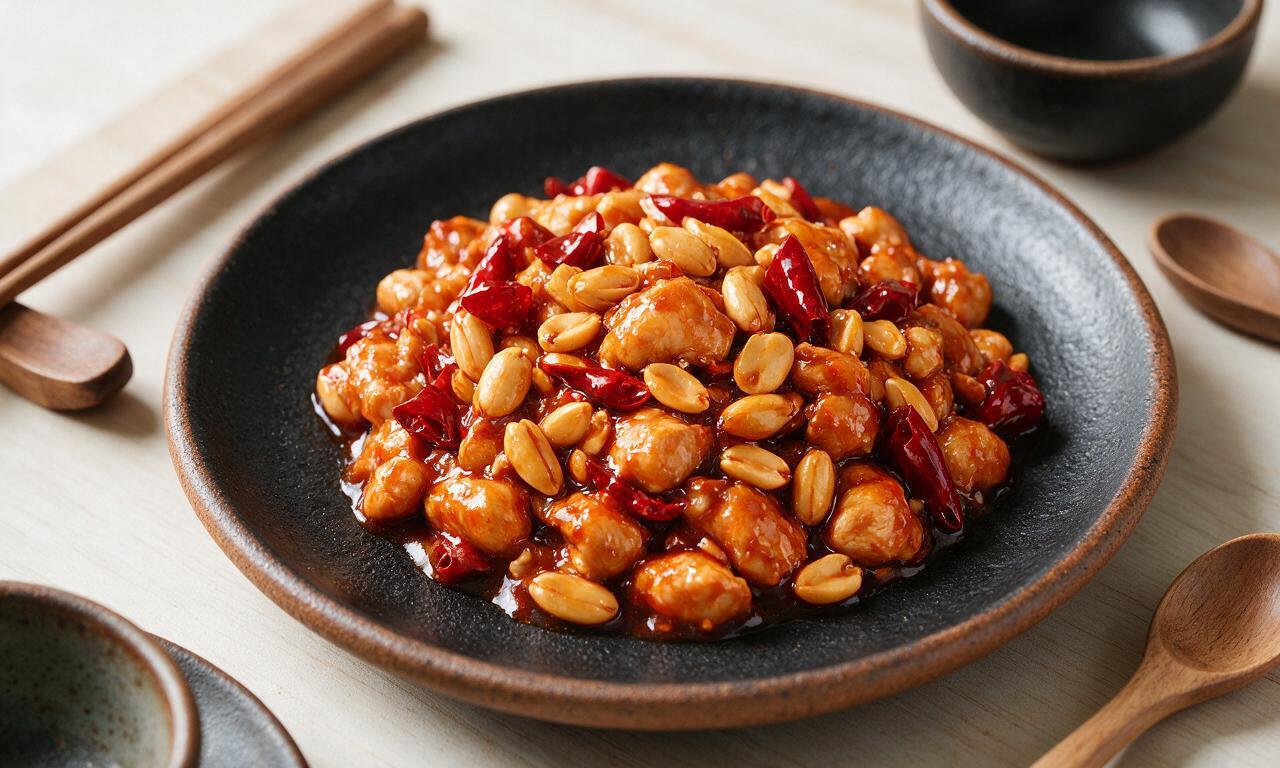
intro
A classic numbing-spicy Sichuan stir-fry with tender chicken, crisp peanuts, and dried chilis, coated in a tangy-savory balanced sauce for fast, flavorful weeknight meals.
Ingredients
Steps
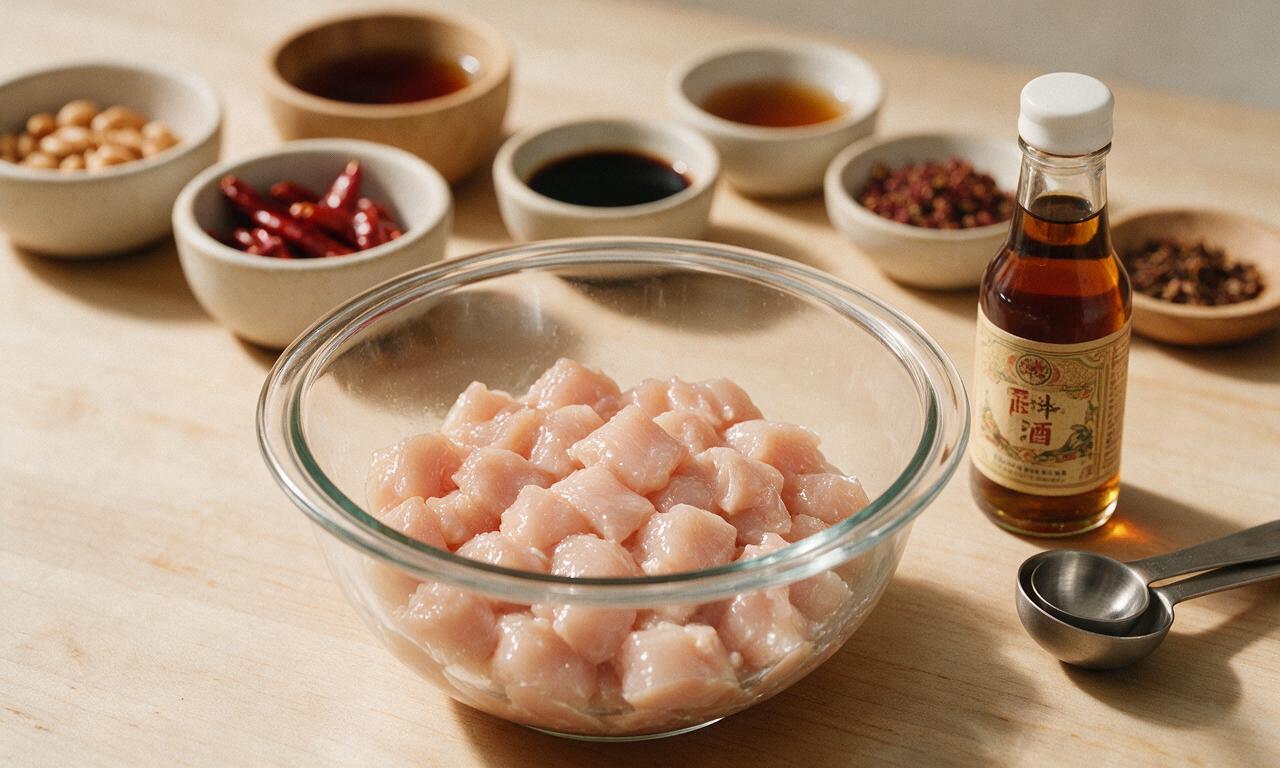
Marinate the chicken
Cut 450g boneless, skinless chicken thighs into uniform 1.5cm cubes. Toss with 15ml (1 tbsp) Shaoxing wine, 10ml (2 tsp) light soy sauce, 1g (1/4 tsp) salt, and 8g (1 tbsp) cornstarch until every piece is fully coated. Let rest at room temperature for 15 minutes to velvet, which locks in juiciness and prevents sticking during stir-fry.
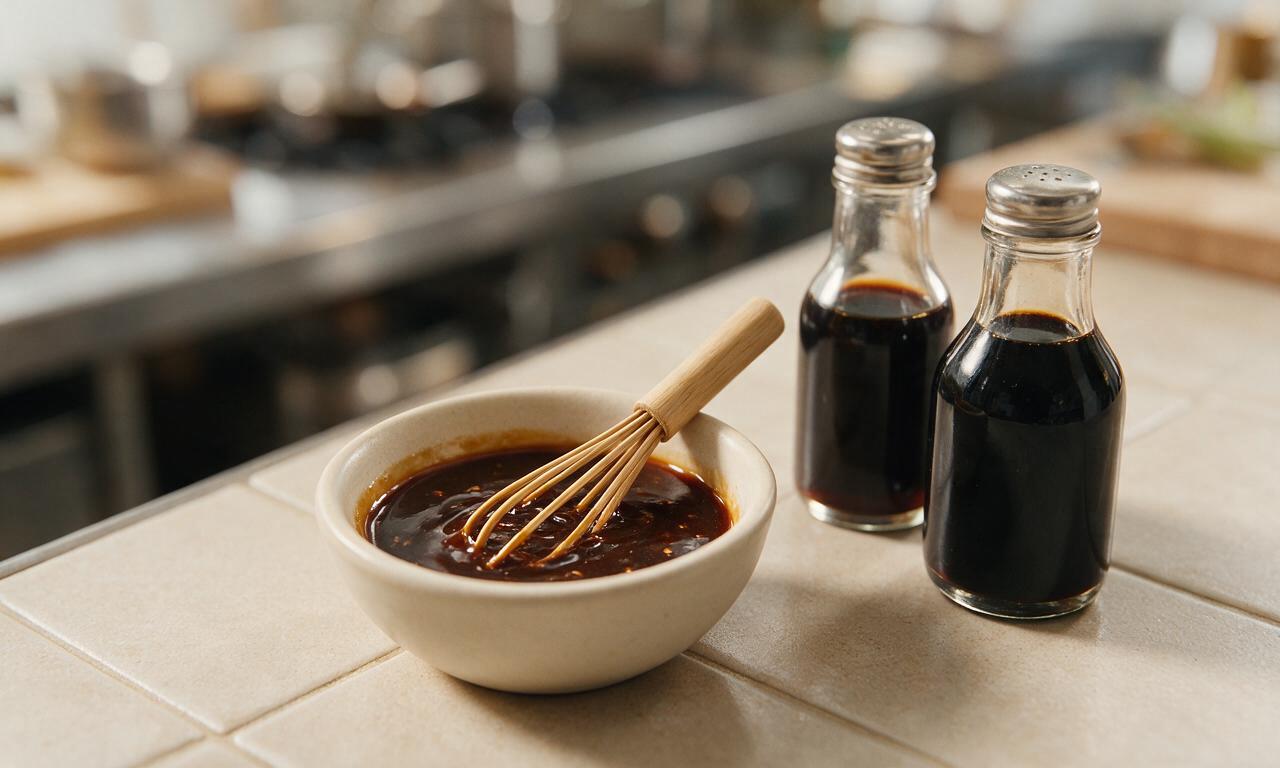
Mix the stir-fry sauce
In a small ceramic bowl, whisk together 30ml (2 tbsp) Chinkiang black vinegar, 12g (1 tbsp) granulated sugar, the remaining 15ml (1 tbsp) Shaoxing wine, remaining 15ml (1 tbsp) light soy sauce, and 5ml (1 tsp) dark soy sauce. Whisk for 30 seconds until sugar fully dissolves, then set the bowl within arm’s reach of the stovetop for quick access during fast-paced stir-frying.
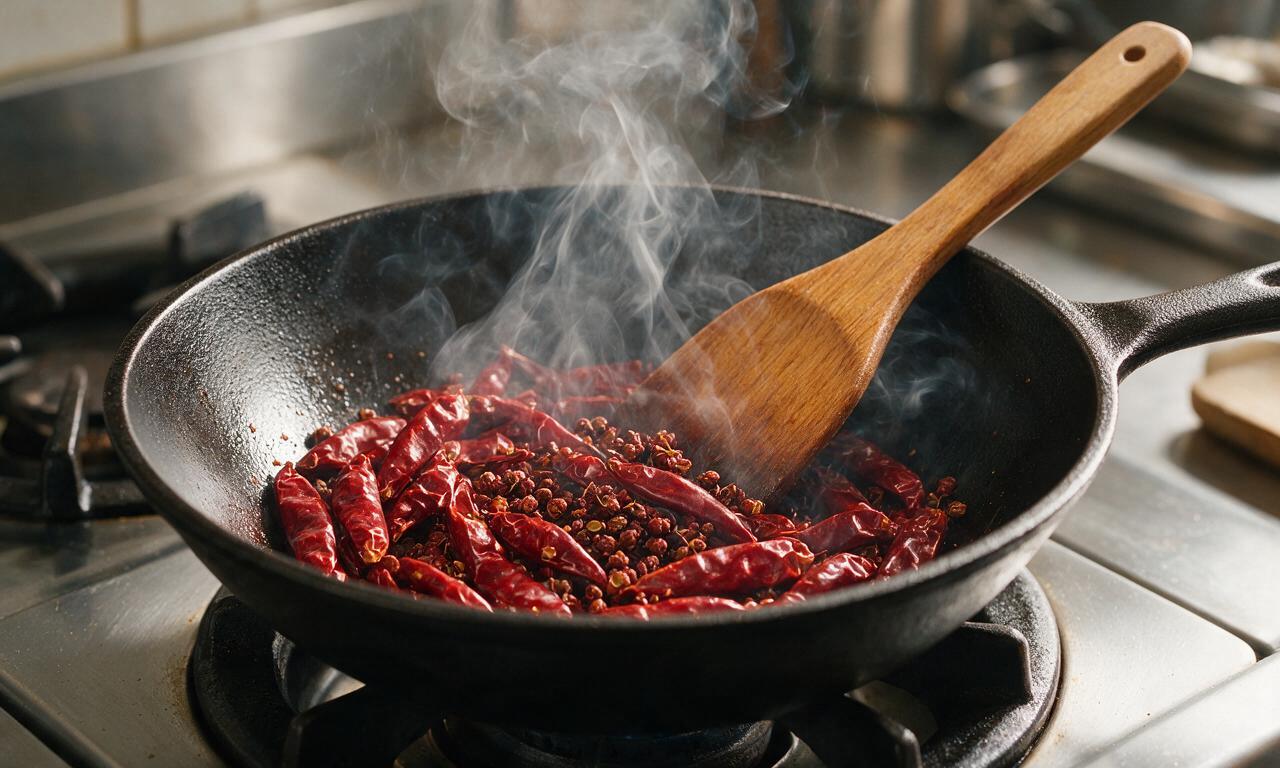
Toast spice aromatics
Place a dry carbon steel wok or large heavy skillet over medium-low heat (130°C / 265°F). Add 15g cut dried Sichuan chilis (seeds shaken out) and 3g Sichuan peppercorns. Toast for 45 seconds, stirring constantly with a wooden spatula, until chilis turn a deep brick red and release a bright, spicy-numbing aroma. Immediately transfer toasted spices to a small plate to avoid burning, which creates bitter flavor.
Sear the chicken cubes
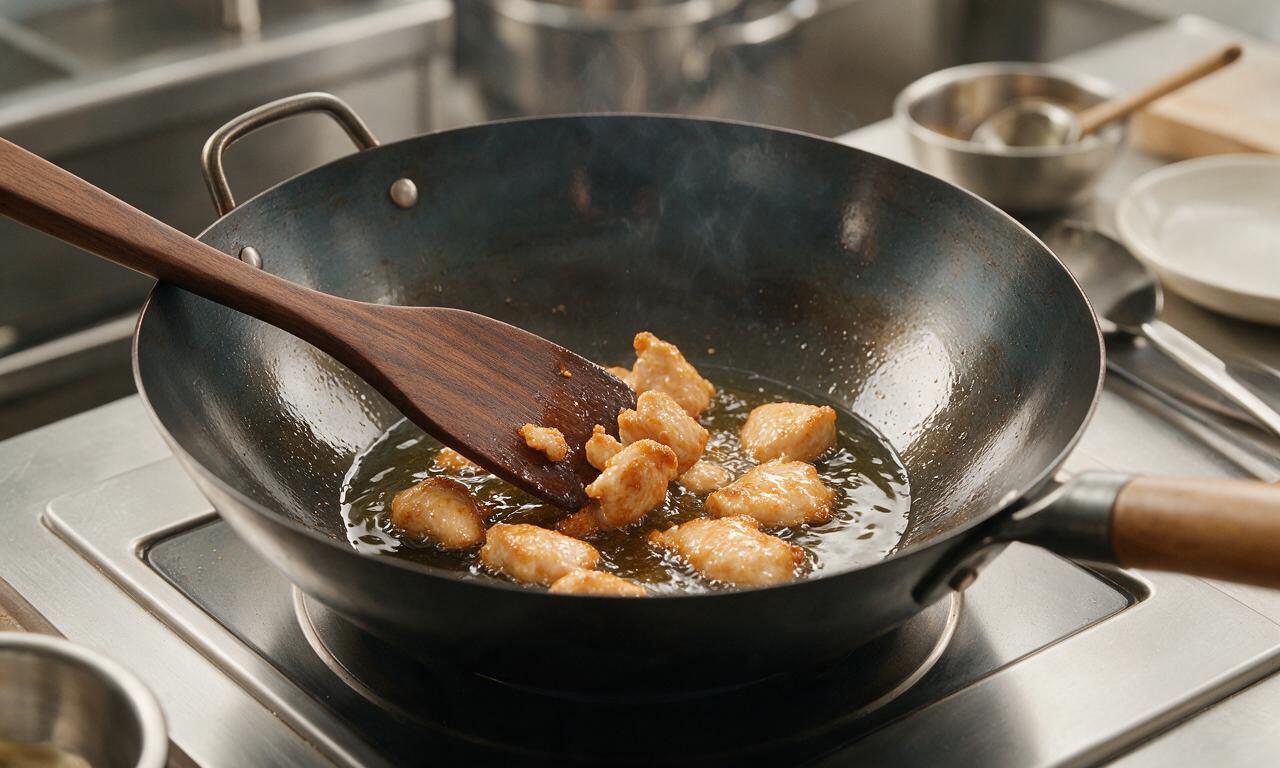
Turn stovetop heat up to high (200°C / 390°F), pour 45ml (3 tbsp) neutral oil into the wok. Wait 30 seconds until oil shimmers and just starts to send up faint wisps, then add marinated chicken in a single, even layer with space between pieces. Sear undisturbed for 90 seconds, then stir-fry for an additional 60 seconds until chicken is 90% cooked, with pale golden edges and no large patches of raw pink visible.
Cook fresh aromatics
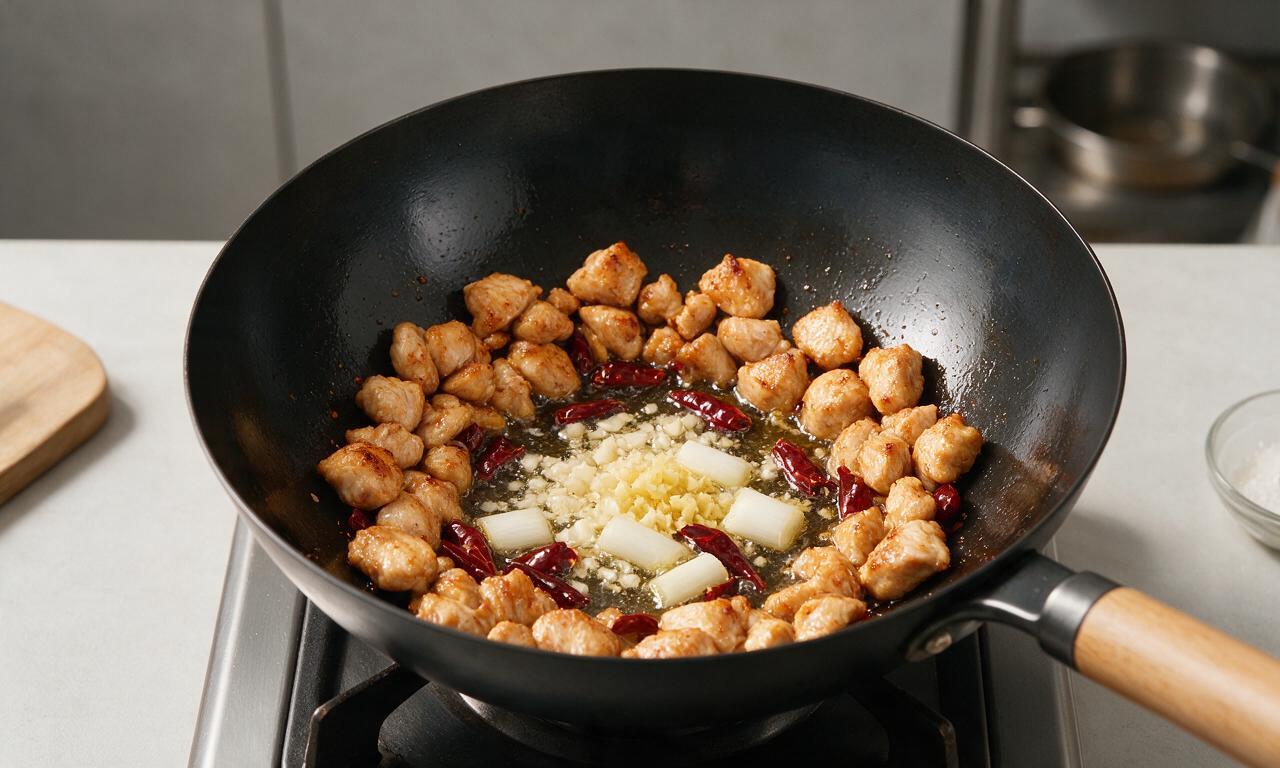
Push seared chicken to the outer edges of the wok, lower heat to medium (160°C / 320°F). Add 15g minced garlic, 10g minced ginger, and the white portions of the cut scallions to the empty center of the wok, along with the pre-toasted chilis and Sichuan peppercorns. Stir-fry for 20 seconds, tossing constantly, until the garlic and ginger release a sharp, fragrant aroma and mix evenly with the chicken.
Toss with sauce and serve
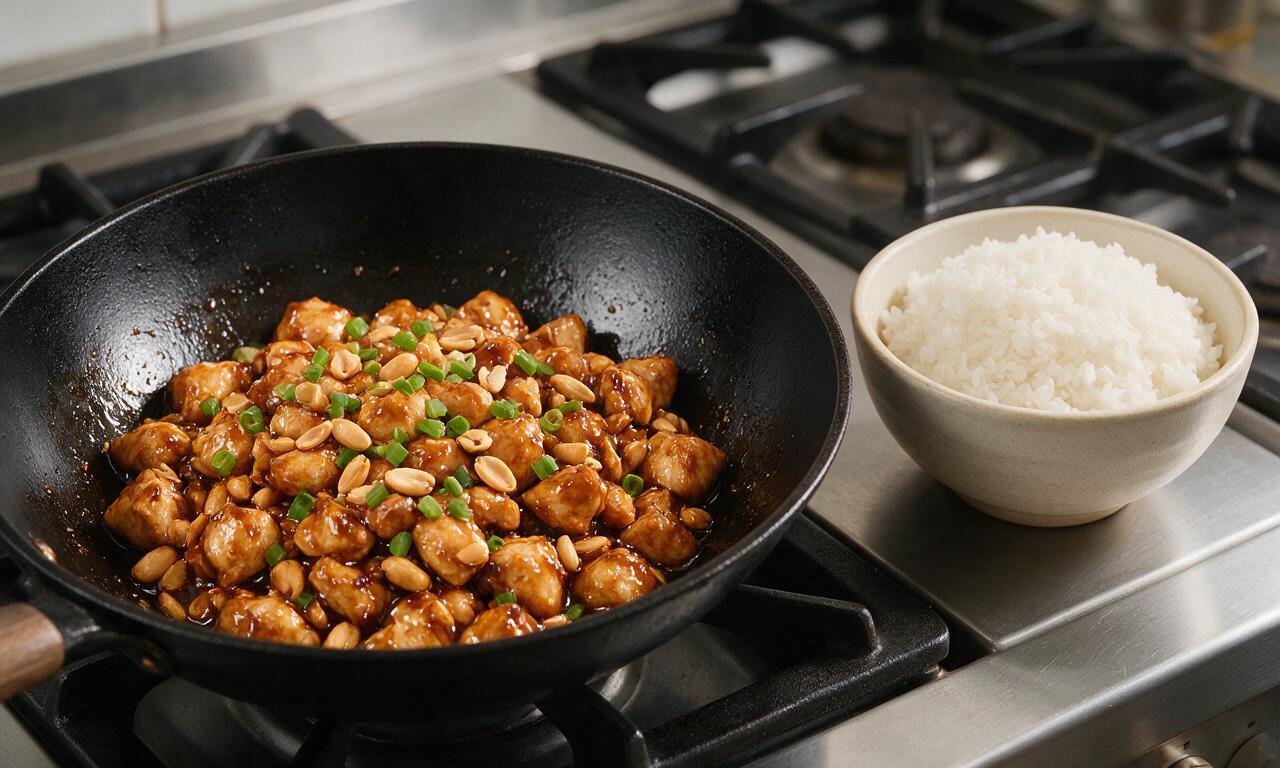
Give the pre-mixed sauce a quick 5-second re-whisk to re-incorporate any settled ingredients, then pour it evenly over the wok contents. Turn heat back to high, stir-fry constantly for 60 seconds until the sauce thickens into a clear, glossy coating that clings tightly to every chicken piece. Add 80g roasted peanuts and the green scallion pieces, toss for 15 seconds to combine, then turn off heat immediately to keep peanuts crisp. Serve hot alongside steamed jasmine rice.
Tips
2.Always toast Sichuan peppercorns and dried chilis over low, gentle heat: high heat will burn them quickly, leaving a harsh, bitter taste instead of their signature warm, numbing aroma.
3.Add roasted peanuts in the final 15 seconds of cooking: adding them earlier will let them absorb sauce and lose their crisp, crunchy texture.






OMG this is SO good! I’ve been searching for a Kung Pao Chicken recipe that actually tastes like the stuff I get at my local Sichuan spot in Oakland, and this nails it. The Sichuan peppercorn kick is exactly right, not that weird overly sweet takeout knockoff. Made it for family dinner last night and my husband went back for thirds. Game changer for weeknight meals!
Pretty solid recipe, cook time was exactly 25 minutes like it says which is perfect for meal prep Sunday. I doubled the batch so I have lunches for the whole work week, held up great in the fridge. Only note is I went a little heavy on the dried chilis because I love extra heat, would recommend for fellow spice heads.
Wait, quick question — I don’t have any Chinese black vinegar on hand, can I substitute regular balsamic? I really want to make this tonight for my potluck tomorrow but don’t have time to run to the Asian market!
My kids loved this!!! I was worried the Sichuan peppercorns would be too weird for them (they’re super picky) but they thought the tingly sensation was fun, and they ate every bite on their plates. Served it with jasmine rice and some steamed broccoli, super easy weeknight win.
Tried this last week and it was good, but I messed up the cornstarch slurry so the sauce was way too runny. My bad, not the recipe’s fault! I’m gonna try again this weekend and make sure I mix the slurry properly before adding it in. Flavor was on point even with the texture issue, so I know it’ll be perfect next time.
Medium difficulty was accurate — I’m a pretty new cook and I only messed up one thing: I burned the peanuts the first time I toasted them, oops. Flavor was still great once I tossed in a new batch of peanuts, but man I wish I’d paid more attention to them while they were in the pan. Would 100% make again.
This is the only Kung Pao recipe I will ever use from now on, no cap. I brought it to my friend’s game night potluck last weekend and everyone was asking for the recipe before the night was over. The balance of sweet, salty, tangy, and spicy is absolute perfection.
Decent recipe, but I wish it had more veggies in it. I tossed in some diced bell pepper and zucchini when I made it to bulk it up a little, and that worked really well. Might add some water chestnuts next time for extra crunch. Flavor base was great though, super easy to tweak to your own tastes.
Pro tip for anyone meal prepping this: don’t mix the peanuts in until you’re ready to eat! I made the mistake of tossing them in with the whole batch on Sunday and they got soggy by Wednesday. Still tasted good, but missed that crunchy peanut texture. Otherwise 10/10.
Wait, how spicy is this supposed to be? I used the amount of dried chilis the recipe called for and my mouth was ON FIRE, like I was sweating through my shirt by the second bite. I love spicy food but this was next level, did I get extra hot chilis or something?
Just made this for dinner tonight and wow, it’s better than takeout! I’ve tried so many copycat recipes that are too gloopy or too sweet, but this one has that perfect complex flavor. 10/10, will be making this at least twice a month from now on.
Cooked this for my girlfriend’s birthday dinner since she’s obsessed with Sichuan food, and I was so nervous I’d mess it up! But the recipe steps were super clear, and she said it was better than the Kung Pao we had on our trip to Chengdu last year. Win for me!
Quick question: can I make this nut-free? My son has a severe peanut allergy so I can’t use the peanuts, and I want to make sure it’ll still taste good without them!
I’ve been making this recipe once a week for the past month, it’s my new go-to. I love that it comes together so fast after work, I don’t have to spend an hour in the kitchen to get a really good, flavorful meal. Even my roommate who hates “ethnic food” (his words, not mine) asked for seconds last time I made it.
I added extra scallions and a little splash of sesame oil at the end when I made this, and *chef’s kiss*. So good, I’ve already shared the recipe with my whole family group chat, my mom and sister both made it this week and texted me to say it was incredible.