
bacon back
intro
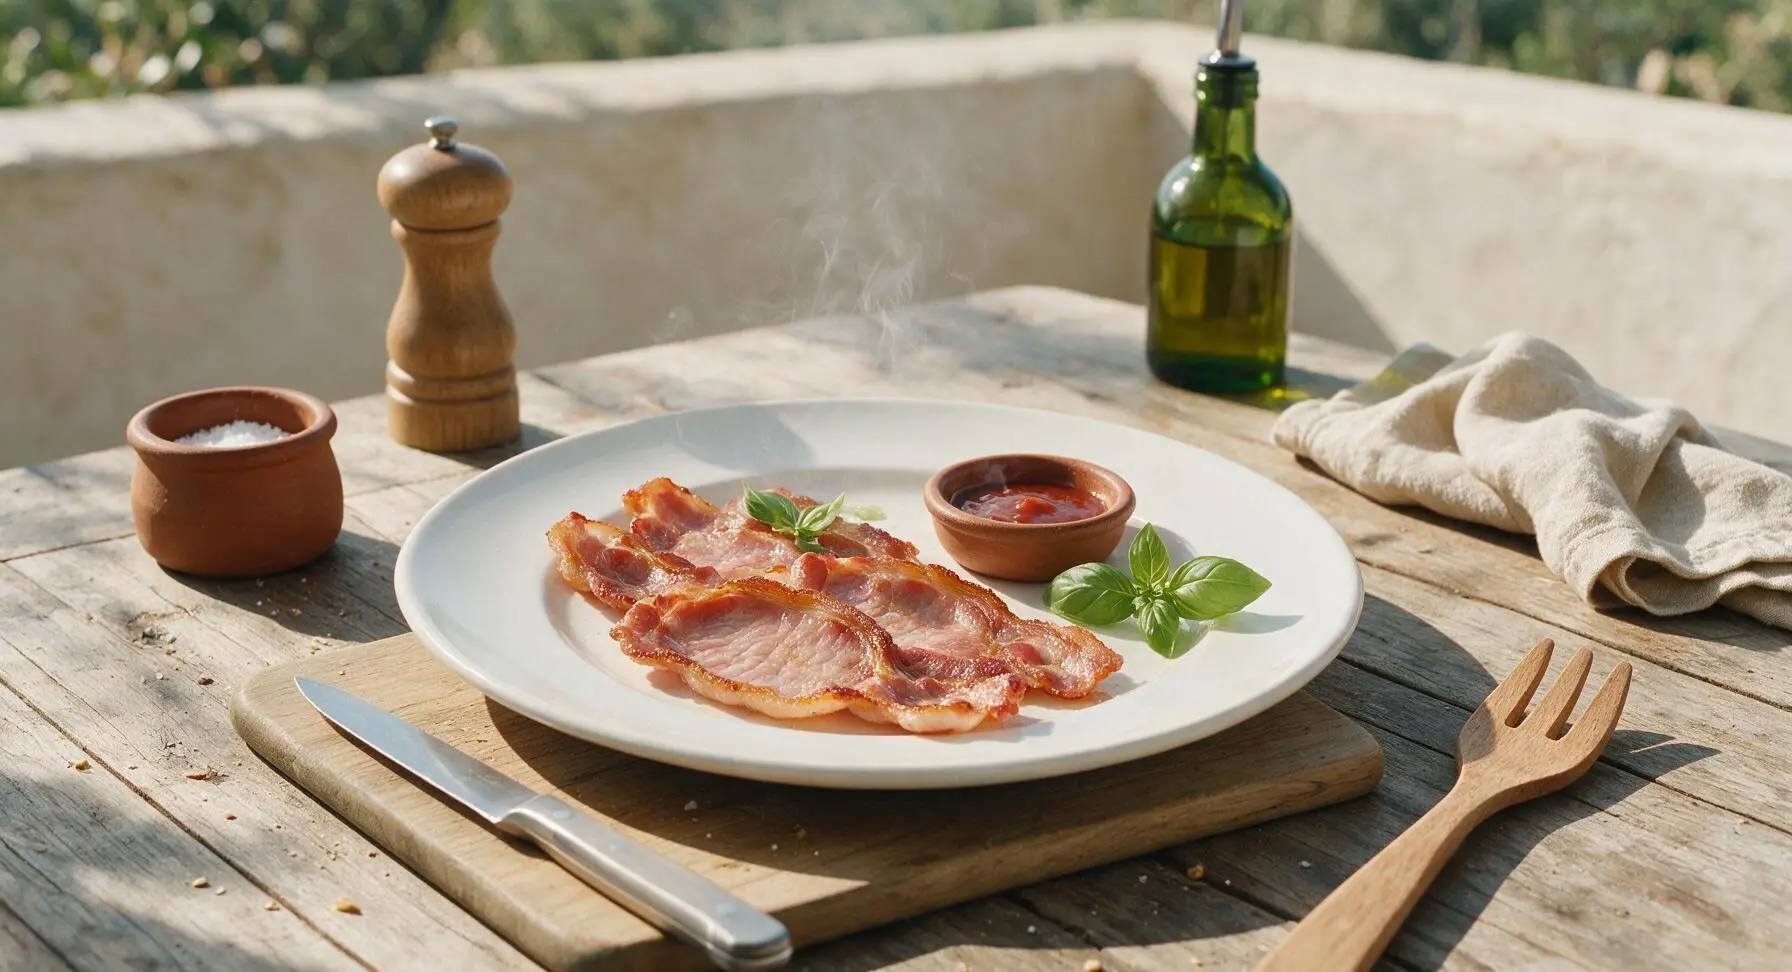
Juicy, lean cured back bacon, pan-fried to golden crisp edges, less fatty than streaky bacon, for fast, satisfying meals ready in minutes.
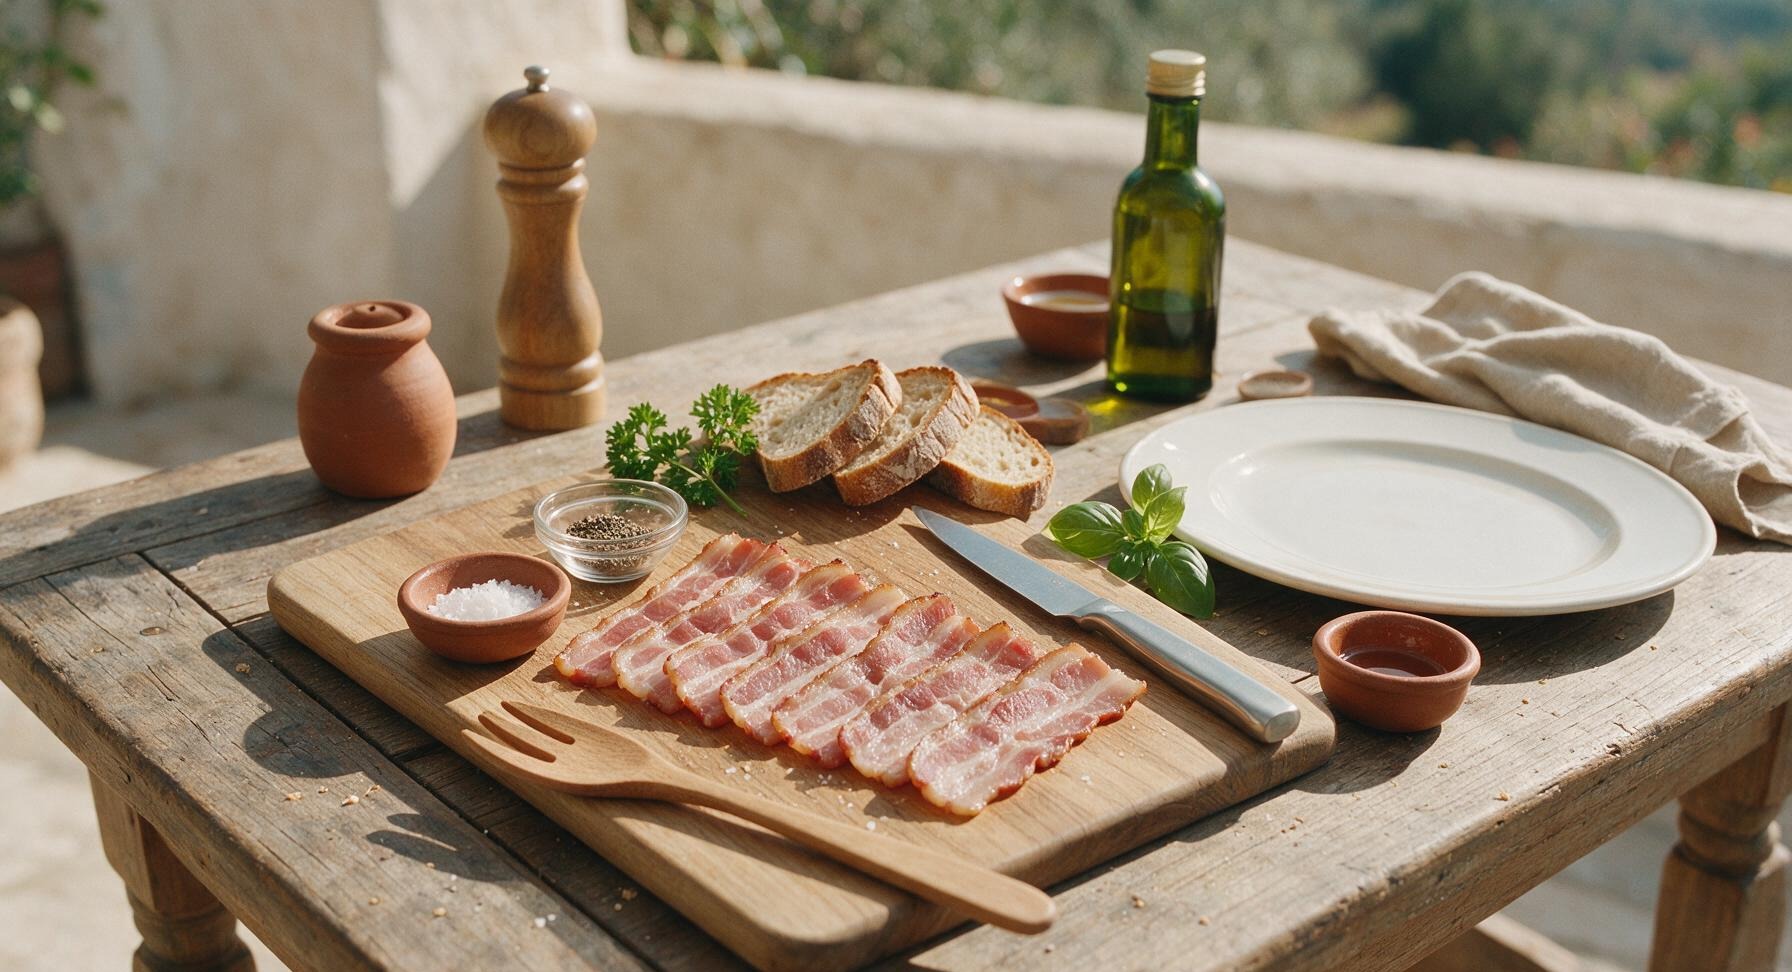
Ingredients
Steps
Pat Bacon Dry
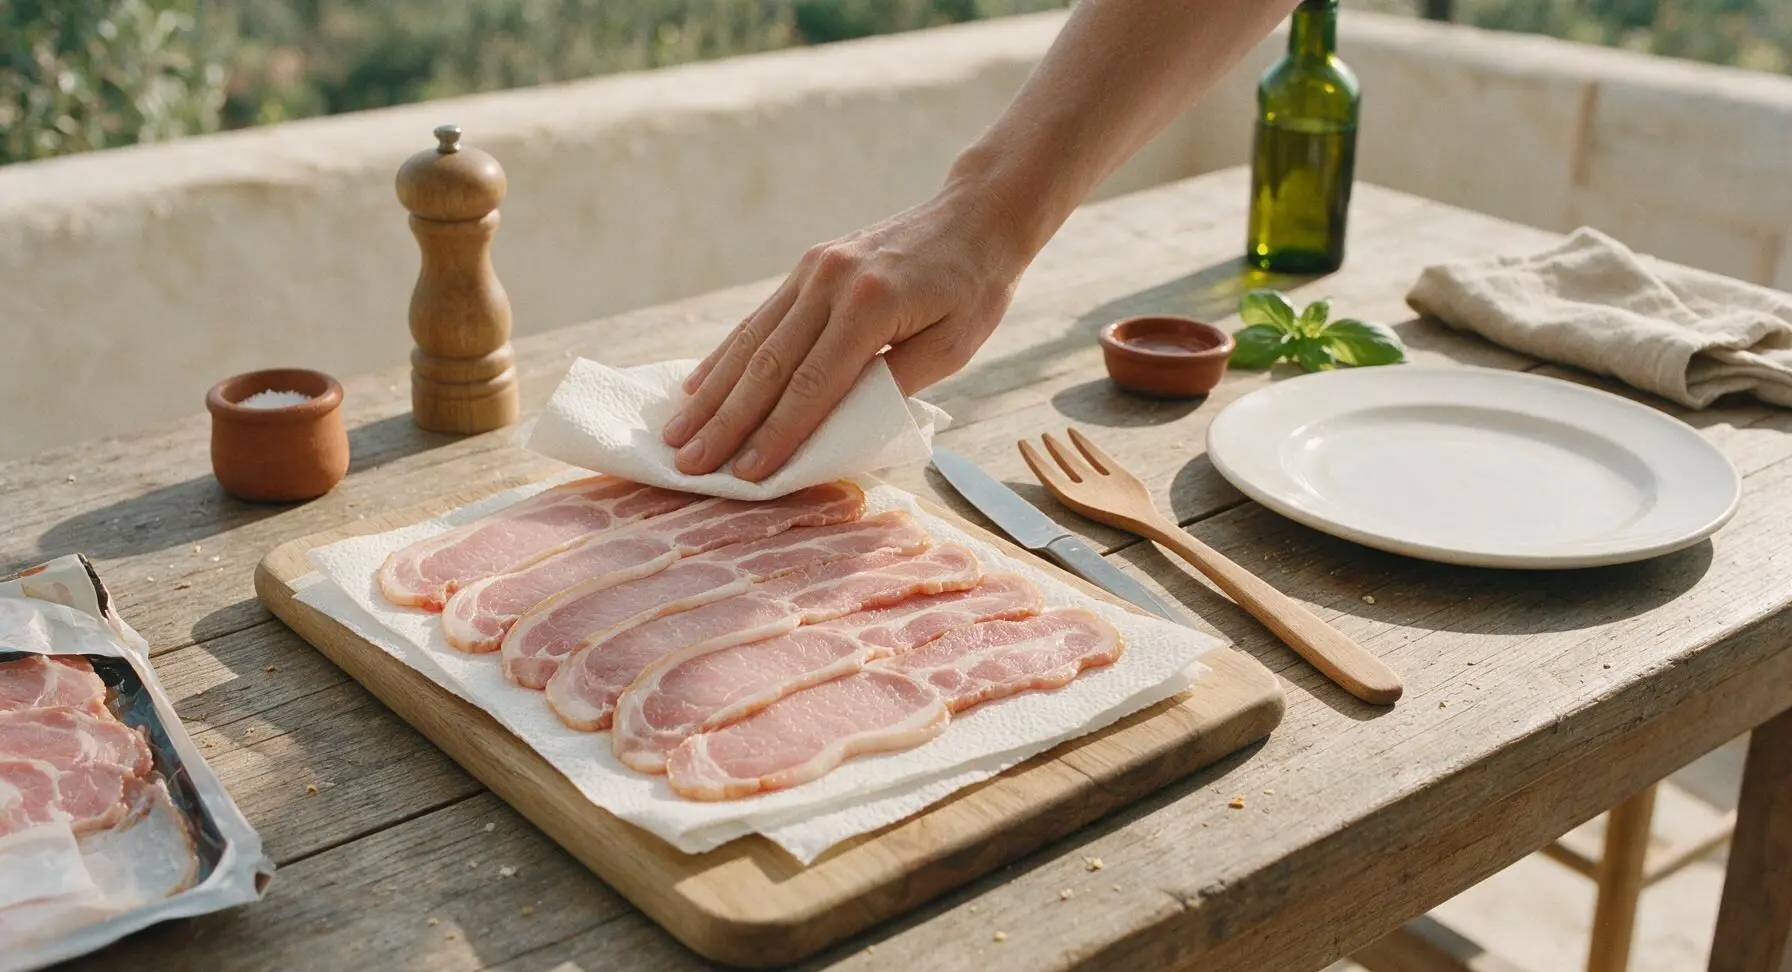
Remove the 8 thick-cut back bacon rashers from their packaging, discarding any plastic wrapping. Arrange the rashers in a single layer on the pre-torn paper towel sheets from the back left counter. Pat the top surface of the bacon thoroughly with a second paper towel to remove all surface moisture, which ensures crisp edges instead of steamed, soggy bacon. Do not remove the thin fat rind along the edge of each rasher.
Preheat Dry Pan
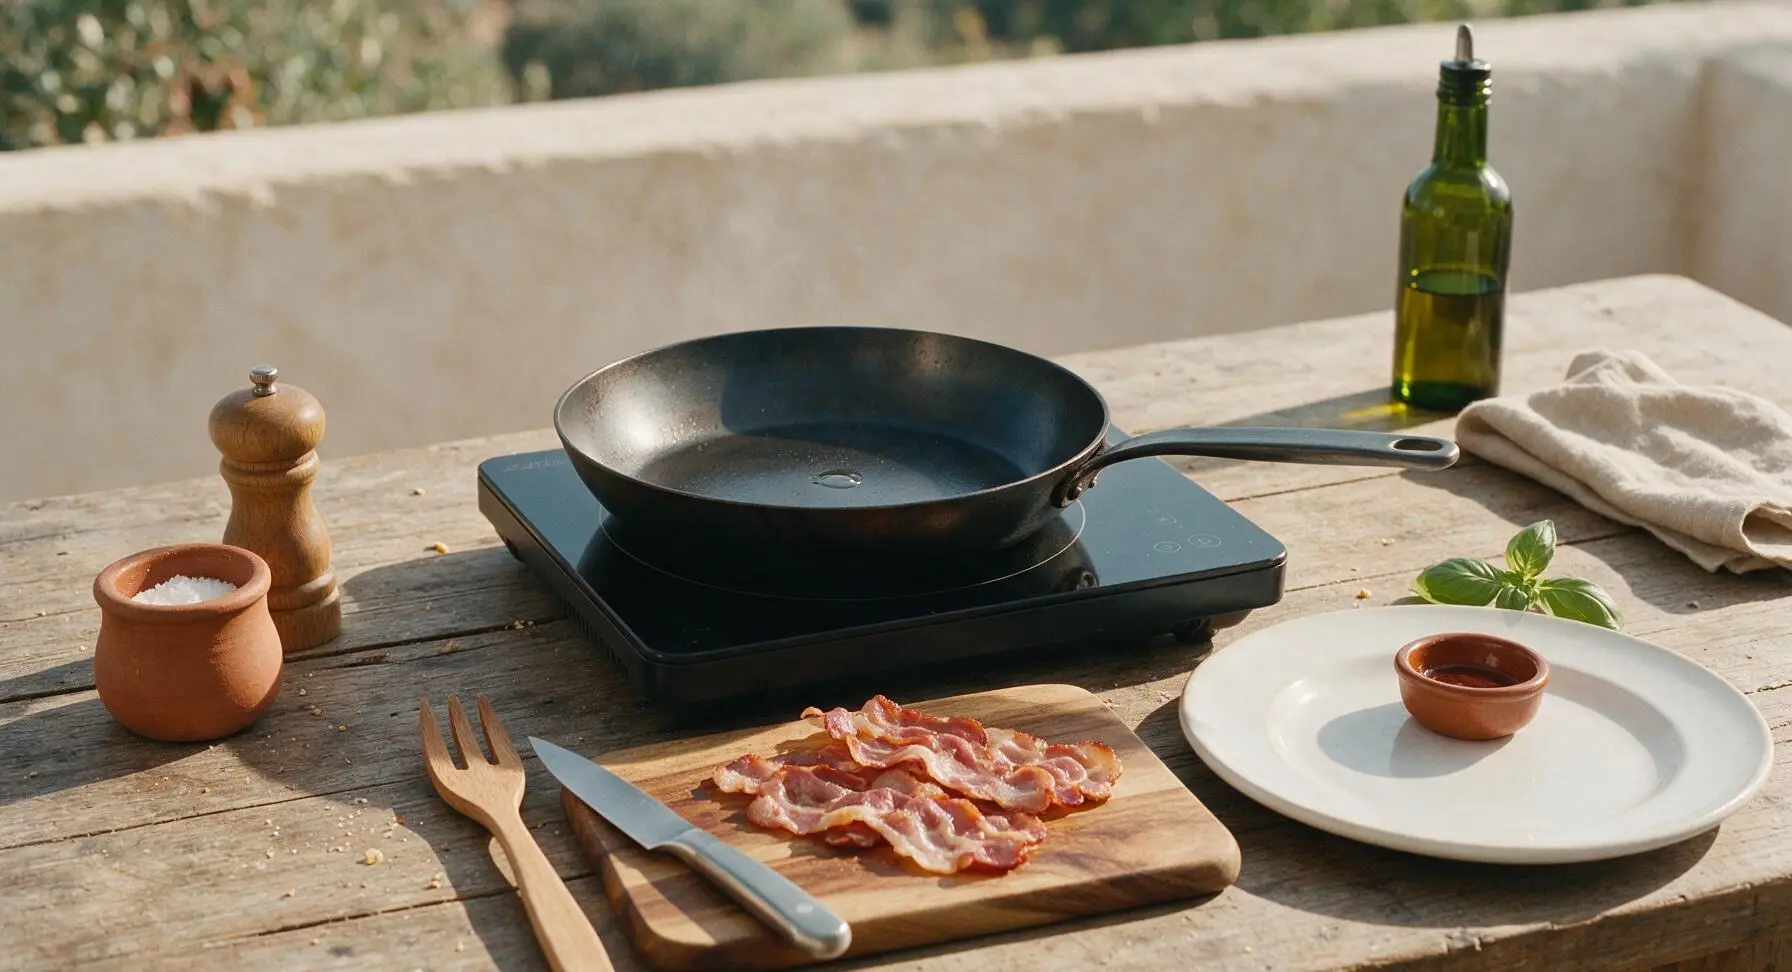
Place the 10-inch carbon steel frying pan on the induction burner over medium heat (160C / 320F). Allow the pan to preheat for 3 full minutes, until a drop of water flicked onto the surface beads up and skitters across the pan immediately. Do not add any oil or butter to the pan, as the bacon will render its own fat as it cooks.
Lay Bacon in Pan
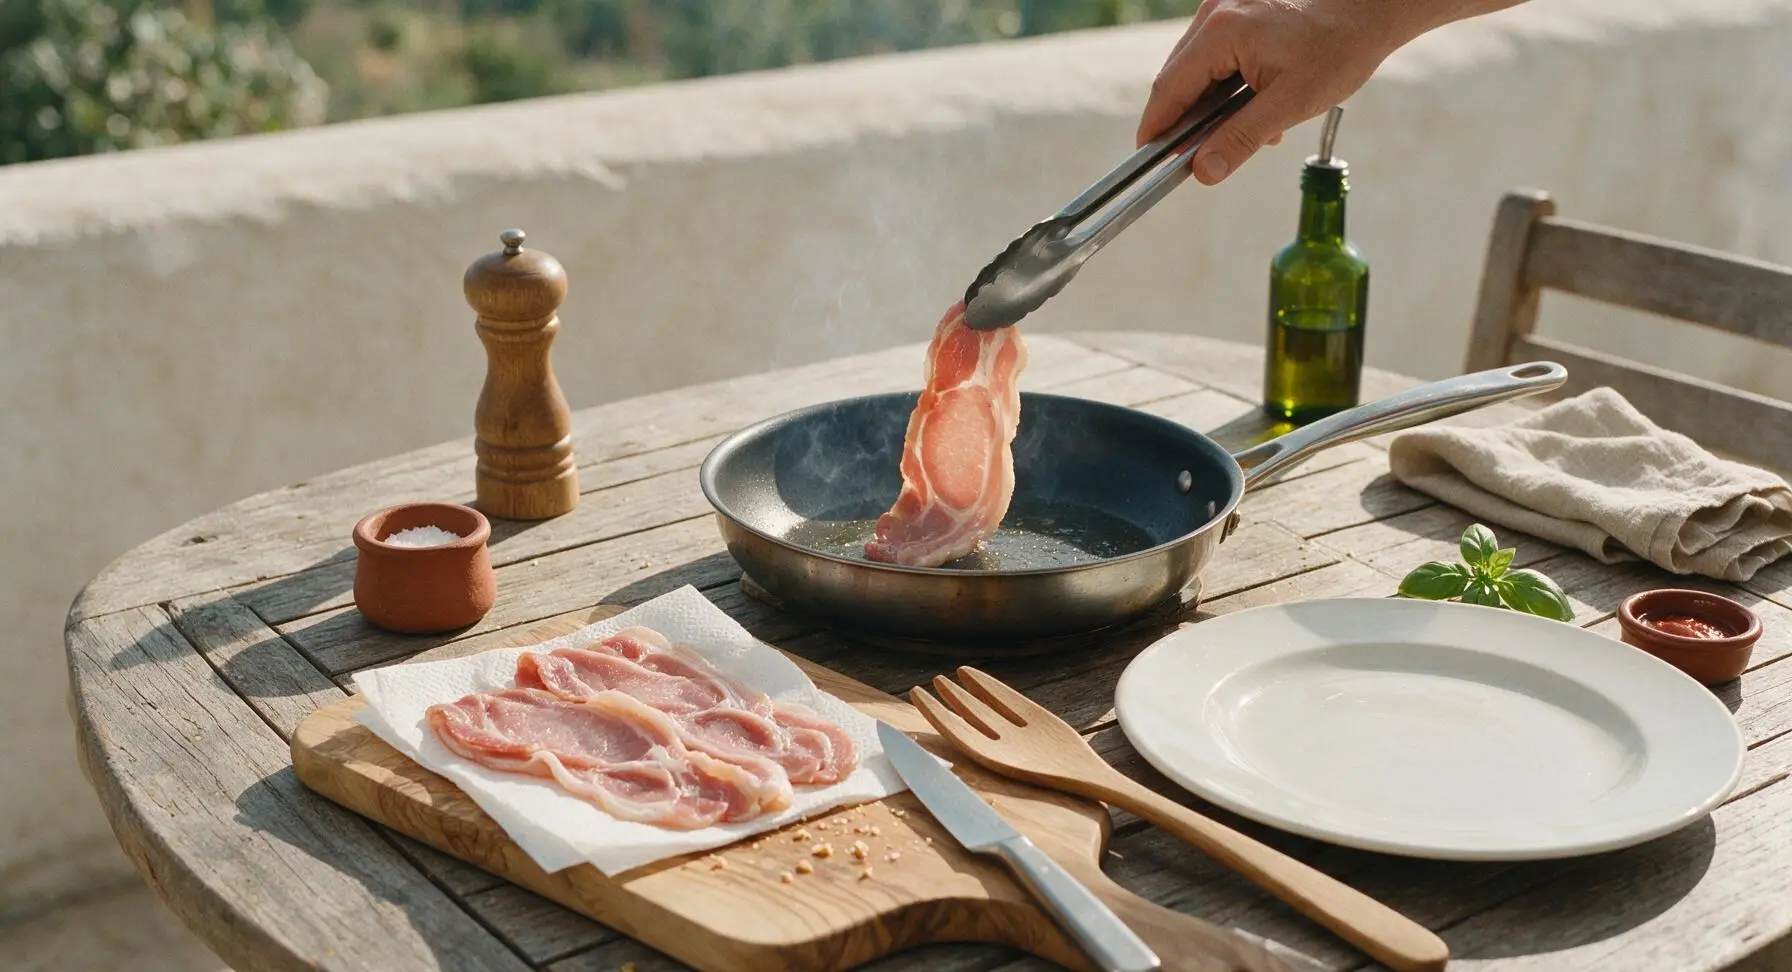
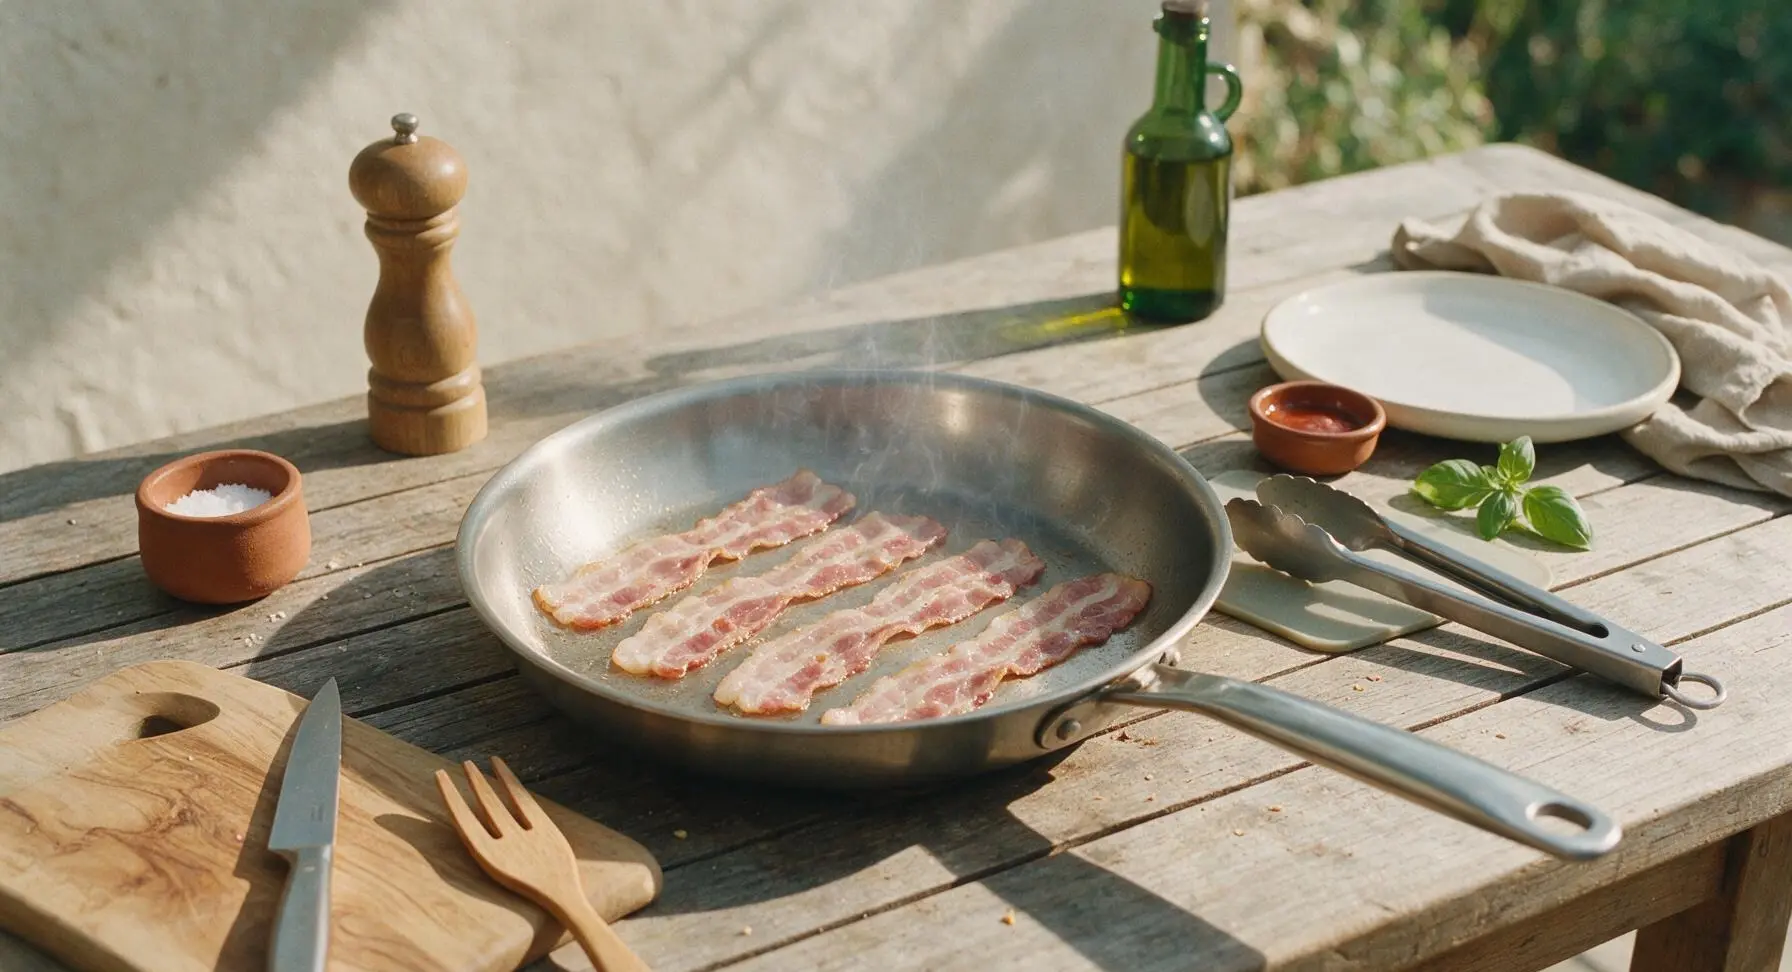
Using the stainless steel tongs, lay the patted-dry bacon rashers in the preheated pan in a single layer, making sure no rashers overlap. Work in 2 batches (4 rashers per batch) if necessary to avoid crowding the pan—overcrowding drops the pan temperature and causes steaming instead of crisping. You will hear a gentle, steady sizzle as the bacon hits the hot pan; if there is no sizzle, wait 30 more seconds for the pan to heat before adding remaining rashers.
Cook First Side
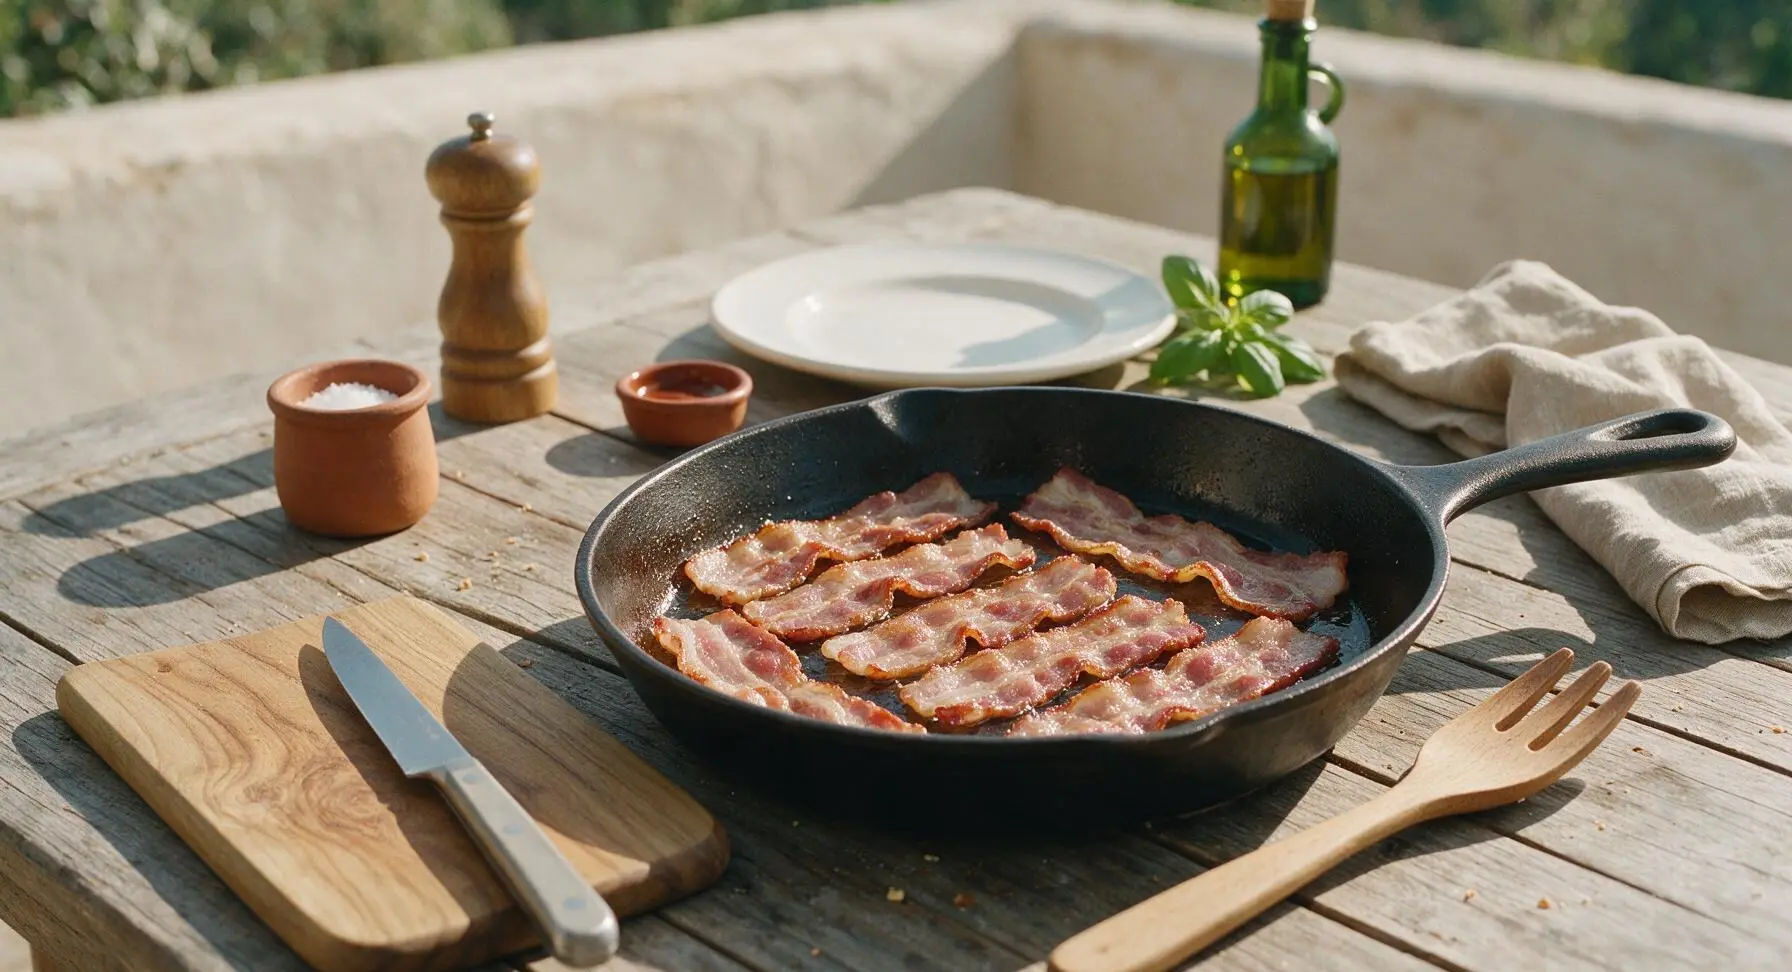
Let the bacon cook undisturbed on the first side for 4 minutes, until the fat along the edge turns translucent and golden, and the surface touching the pan develops light crisp, browned edges. Resist the urge to move or press the bacon with the tongs during this time, as pressing squeezes out juicy fat and leads to dry, tough bacon.
Flip Bacon Evenly
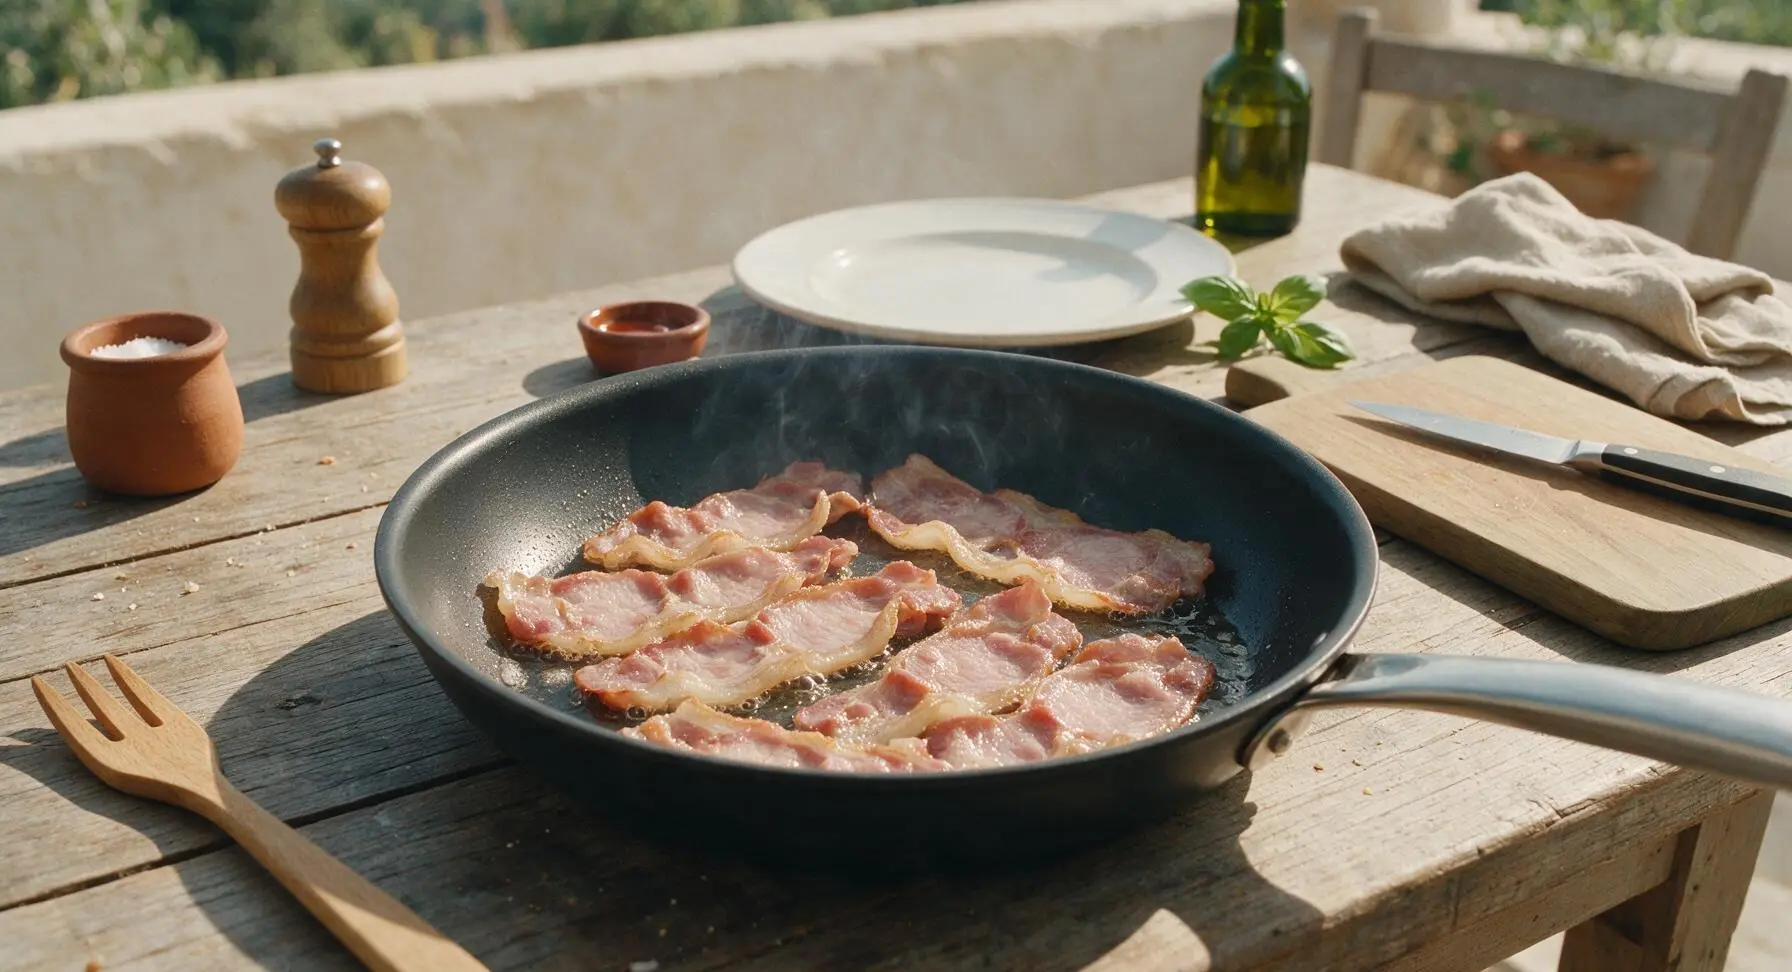
After 4 minutes, use the tongs to gently flip each rasher to the second side. Tilt the pan slightly to let rendered fat flow evenly across the pan surface. Cook the second side for 3 to 4 minutes, until the bacon is golden brown on both sides, with crisp edges but still soft and juicy in the thick meaty center—do not cook until hard and brittle, as back bacon is leaner than streaky bacon and will dry out quickly.
Check Doneness
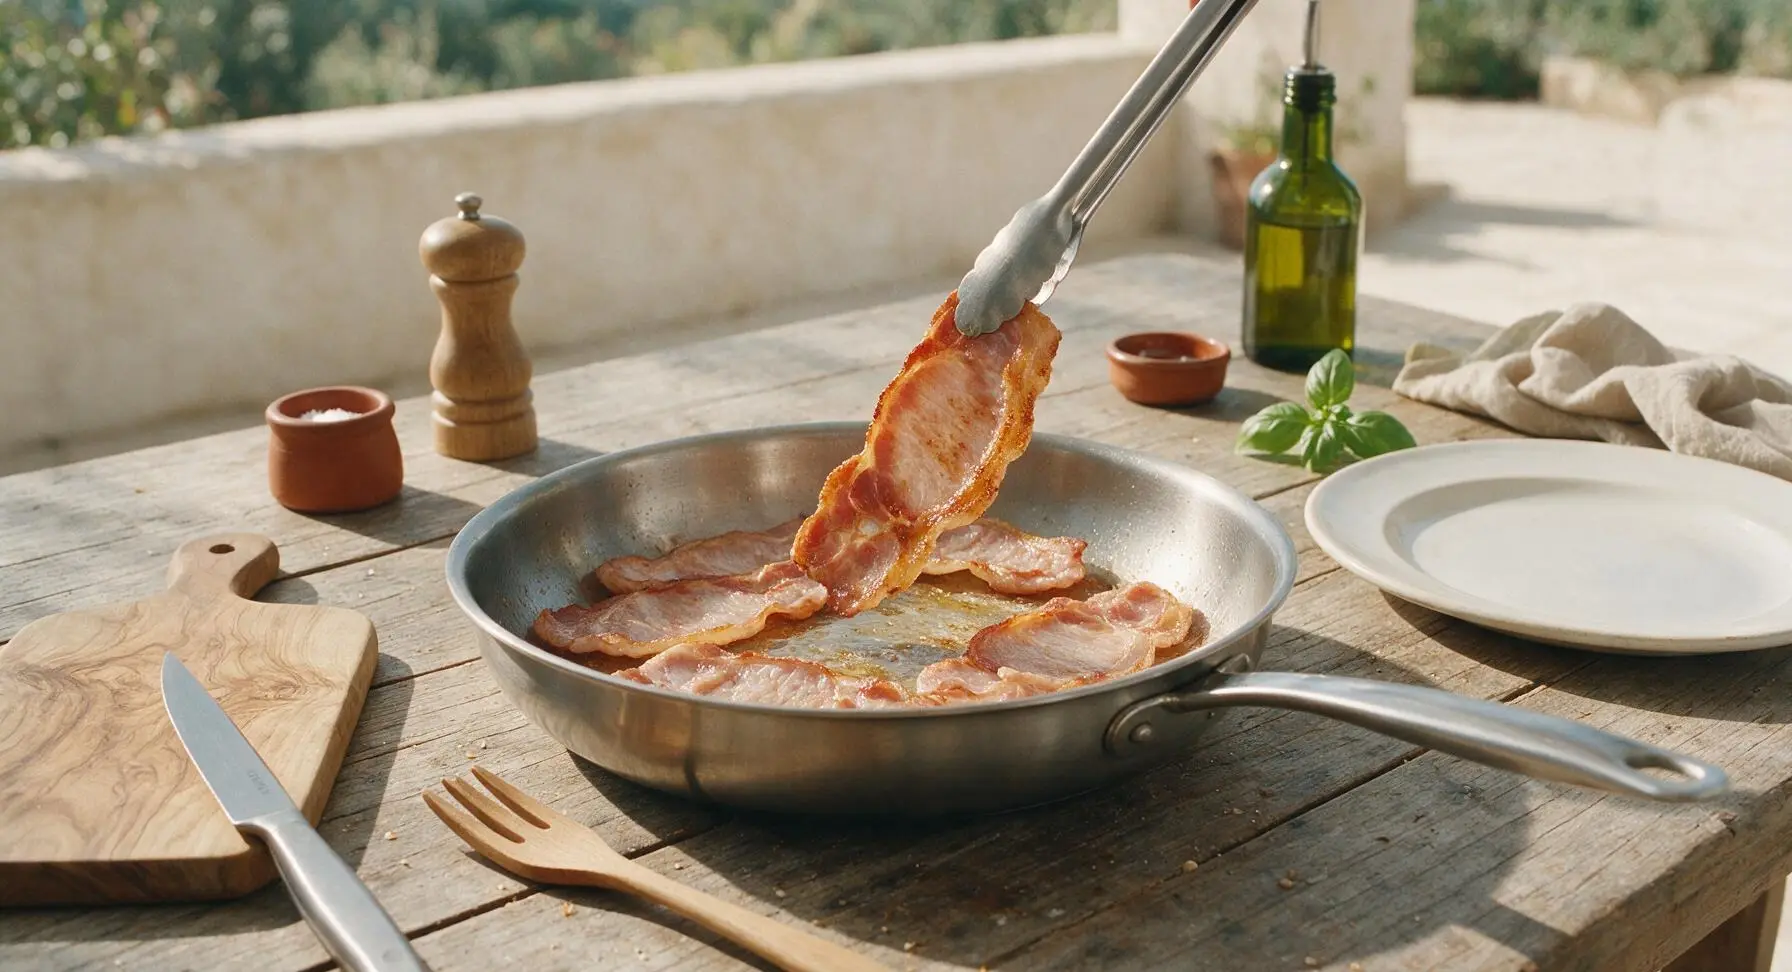
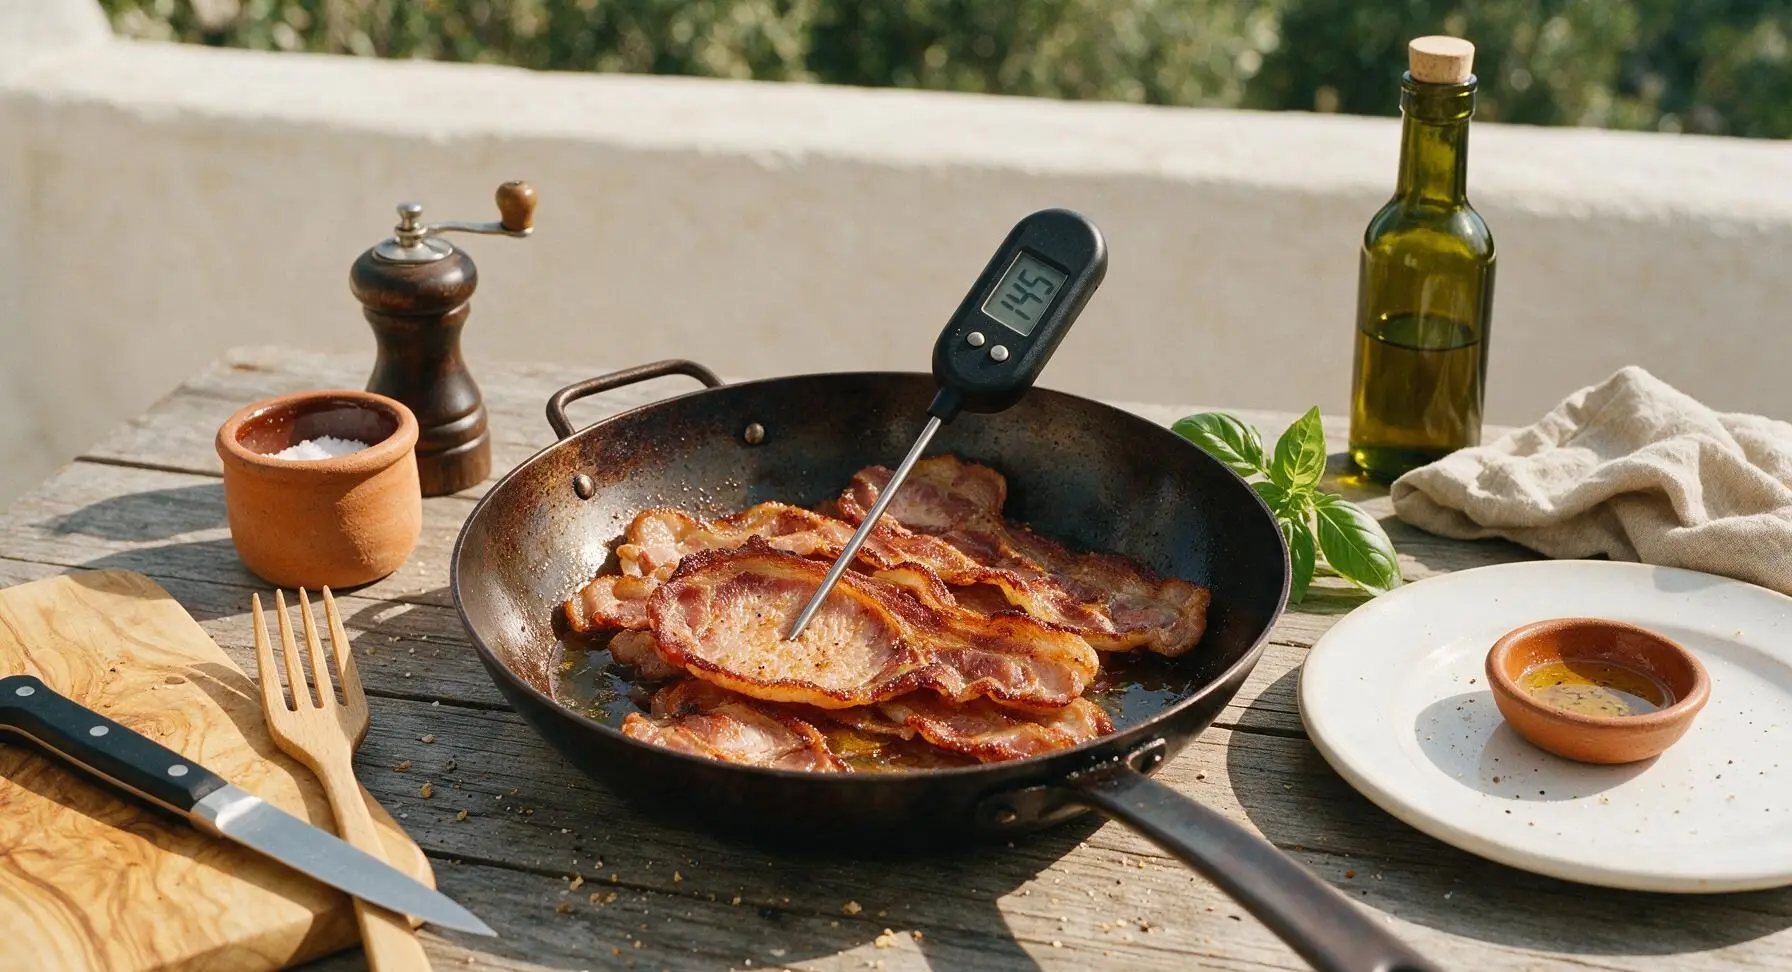
Use the instant-read digital thermometer to check the thickest part of a rasher: it should reach 63C / 145F for safe, juicy doneness. If you prefer extra-crispy edges, cook for 1 additional minute, but watch closely to avoid burning the thin fat rind.
Drain Cooked Bacon
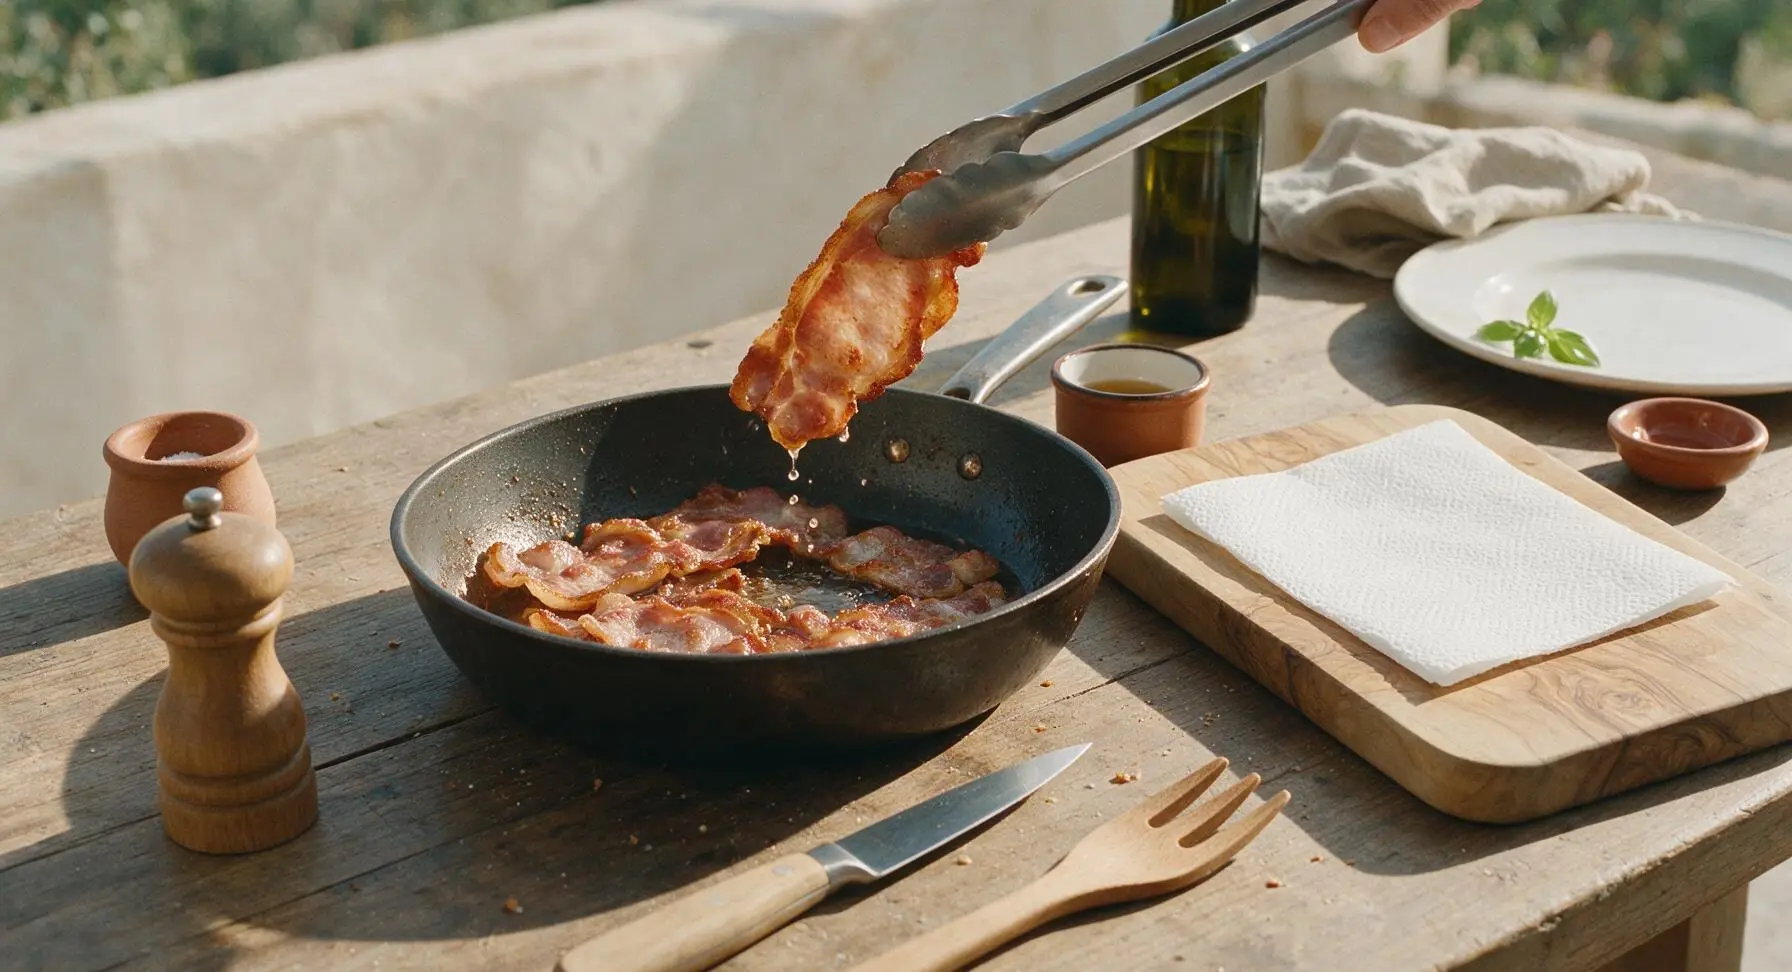
Use the tongs to lift the cooked bacon rashers out of the pan, letting excess rendered fat drip back into the pan for 2 seconds per rasher. If cooking in batches, transfer the first batch to a clean plate tented with a small piece of foil to keep warm while cooking the second batch. For the final drain, transfer cooked bacon to a clean layer of paper towel on the acacia cutting board to drain for 1 minute—do not let the bacon sit on the paper towel for longer than 1 minute, as it will stick as it cools. Pour the collected rendered fat from the pan into the matte terracotta ramekin to save for future cooking if desired.
Season and Serve
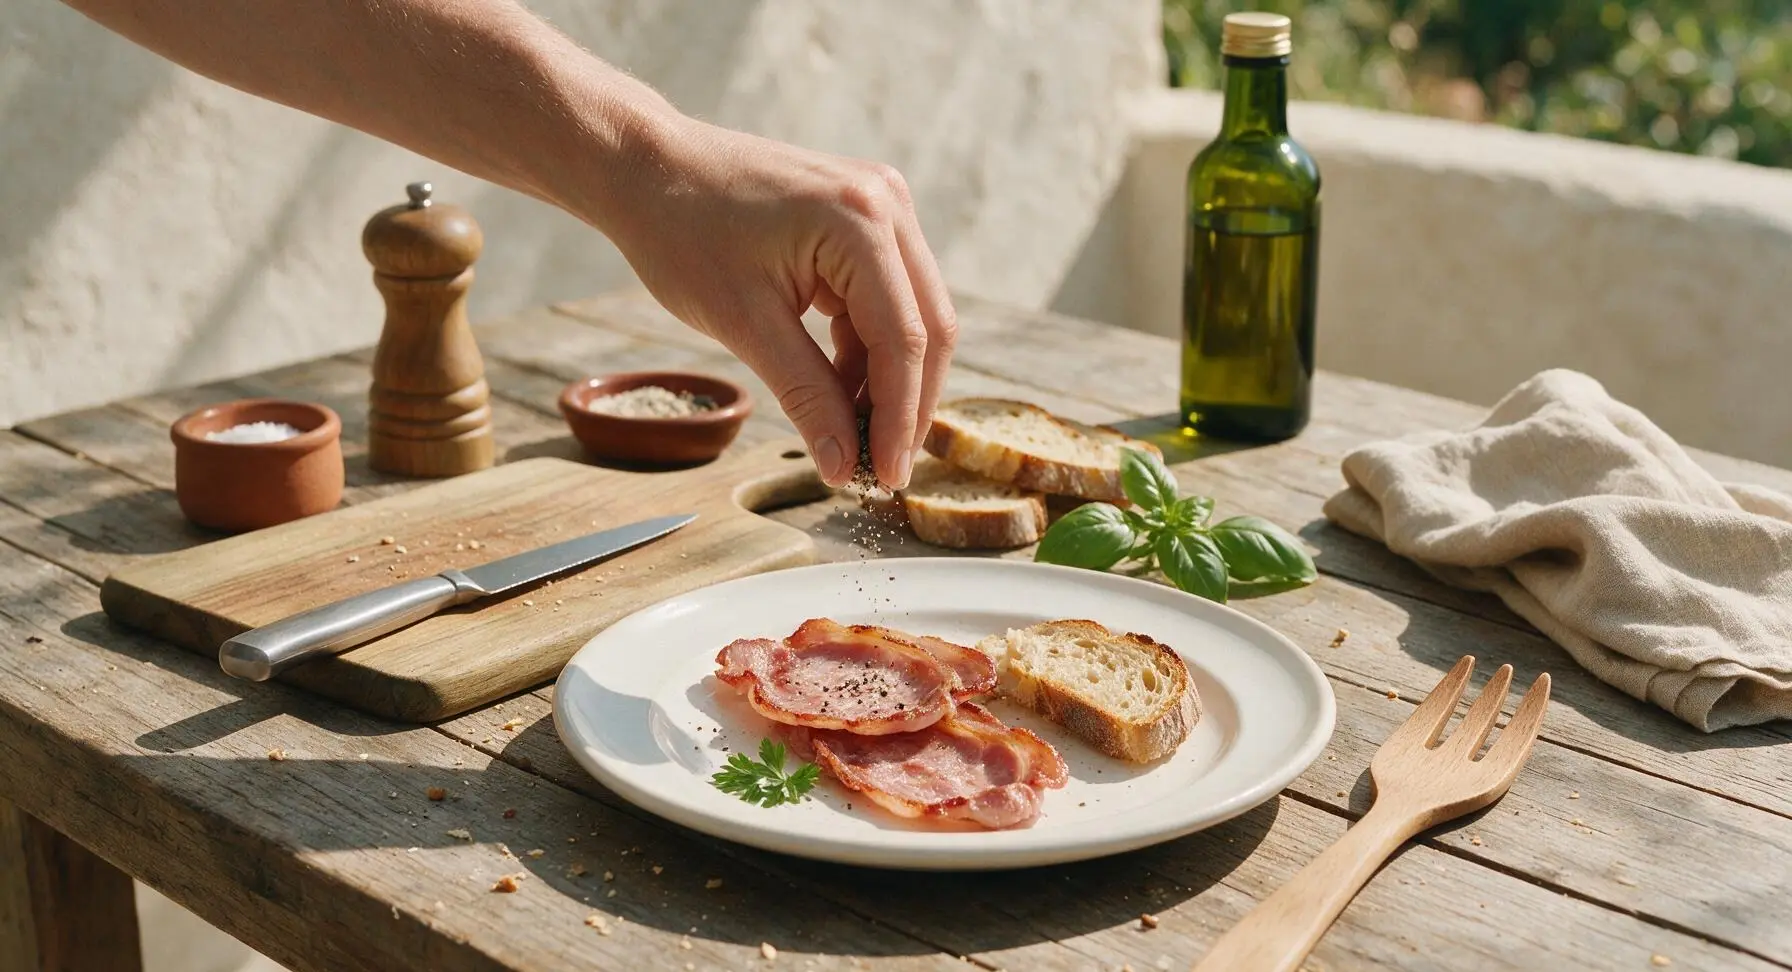
Lightly season the drained bacon with a tiny pinch of flaky sea salt and a light grind of fresh black pepper (go light, as cured bacon is already salty). Arrange 2 rashers per cream white ceramic dinner plate, garnish with a small sprig of fresh parsley, and serve immediately with toasted sourdough if desired.
Tips
2.Never cook back bacon over high heat: the thin fat rind will burn and turn bitter in as little as 2 minutes before the thick, lean meaty center cooks through. Steady medium heat delivers even fat rendering, gentle browning, and juicy, tender meat.
3.Save the clear rendered bacon fat collected in the terracotta ramekin: strain out any small burnt bits, store it in a sealed jar in the fridge for up to 2 weeks, and use it to fry eggs, roast potatoes, or sauté greens for a rich, smoky depth of flavor.






OMG this back bacon recipe is a total game changer! I’ve been overcooking my bacon for years until I tried this method — it came out perfectly crispy around the edges but still chewy in the middle, no burnt bits at all. My kids devoured half a pack before I even got the eggs on the plate for Sunday brunch. 10/10 will be making this every weekend from now on!
Super easy recipe that fits perfectly into my Sunday meal prep rotation! I make a big batch of this back bacon on Sunday to toss into breakfast sandwiches, salads, and even pasta dishes throughout the week. Cooks up in 10 minutes flat, zero fuss, way better than the microwave bacon I used to buy. SO good.
I brought this pan-fried back bacon to our neighborhood potluck last weekend and people were asking me for the recipe before we even finished serving brunch! I was worried it would get soggy sitting on the buffet table but it stayed perfectly crisp the whole time. Total hit.
Wait, is this the same back bacon they use for Canadian bacon? I’ve been trying to find a way to cook it that doesn’t make it tough and rubbery like the stuff I get on breakfast sandwiches from the bodega. This method worked perfectly! Tender, flavorful, no weird chewy bits.
As someone who can barely boil water without messing it up, I was shocked how easy this was. 10 minutes, no fancy ingredients, just bacon and a pan, and it came out perfect first try. No splatters all over my stovetop either? Wild. Will make again.
Made this for my kid’s post-practice breakfast this morning and they said it’s the best bacon they’ve ever had. Even my picky 7 year old who turns his nose up at most proteins asked for seconds. Win for mom!
This is my new go-to protein for keto breakfasts! No added sugar, no weird processed coatings, just perfectly cooked bacon that pairs amazing with eggs and avocado. I’ve tried baking bacon in the oven before but this pan-fry method is way faster and tastes better in my opinion.
Wait, has anyone tried this method on a camp stove? We’re going car camping next weekend and I want to make back bacon for the group over the fire, wondering if the same heat rules apply.
Made this in my tiny dorm kitchen on my single burner hot plate and it turned out perfect! I was worried the hot plate would run too hot and burn it but following the cook time exactly worked. Way cheaper than buying breakfast at the dining hall every day.
Hosted brunch for my friends last weekend and made this back bacon alongside pancakes and mimosas. Every single person asked how I got the bacon so perfectly cooked, no raw spots no charred bits. Told them all about this recipe! Absolute crowd pleaser.
Tried this last night and my first batch came out a little too crispy for my taste — did I leave it on too long? I cooked it for the full 10 minutes but my stove runs pretty hot I think.
Who says bacon is only for breakfast? I made this last night for breakfast for dinner night with scrambled eggs, hash browns, and toast. It was so satisfying after a long day of work, way better than the fast food breakfast I usually grab on late nights. 10 minutes is all it takes, no excuses!
So happy this recipe is just plain back bacon with no weird add-ins! My kid has soy and gluten sensitivities so it’s hard to find pre-made or restaurant bacon that’s safe for him. This method makes the most delicious bacon with zero cross-contamination risks from my kitchen. Total win for our family.
This tastes exactly like the crispy back bacon I used to get at the old diner my grandma took me to as a kid! I’ve been chasing that flavor for years and every other method I tried was either too greasy, too burnt, or too chewy. This one nailed it, I almost cried when I took my first bite. SO nostalgic.