
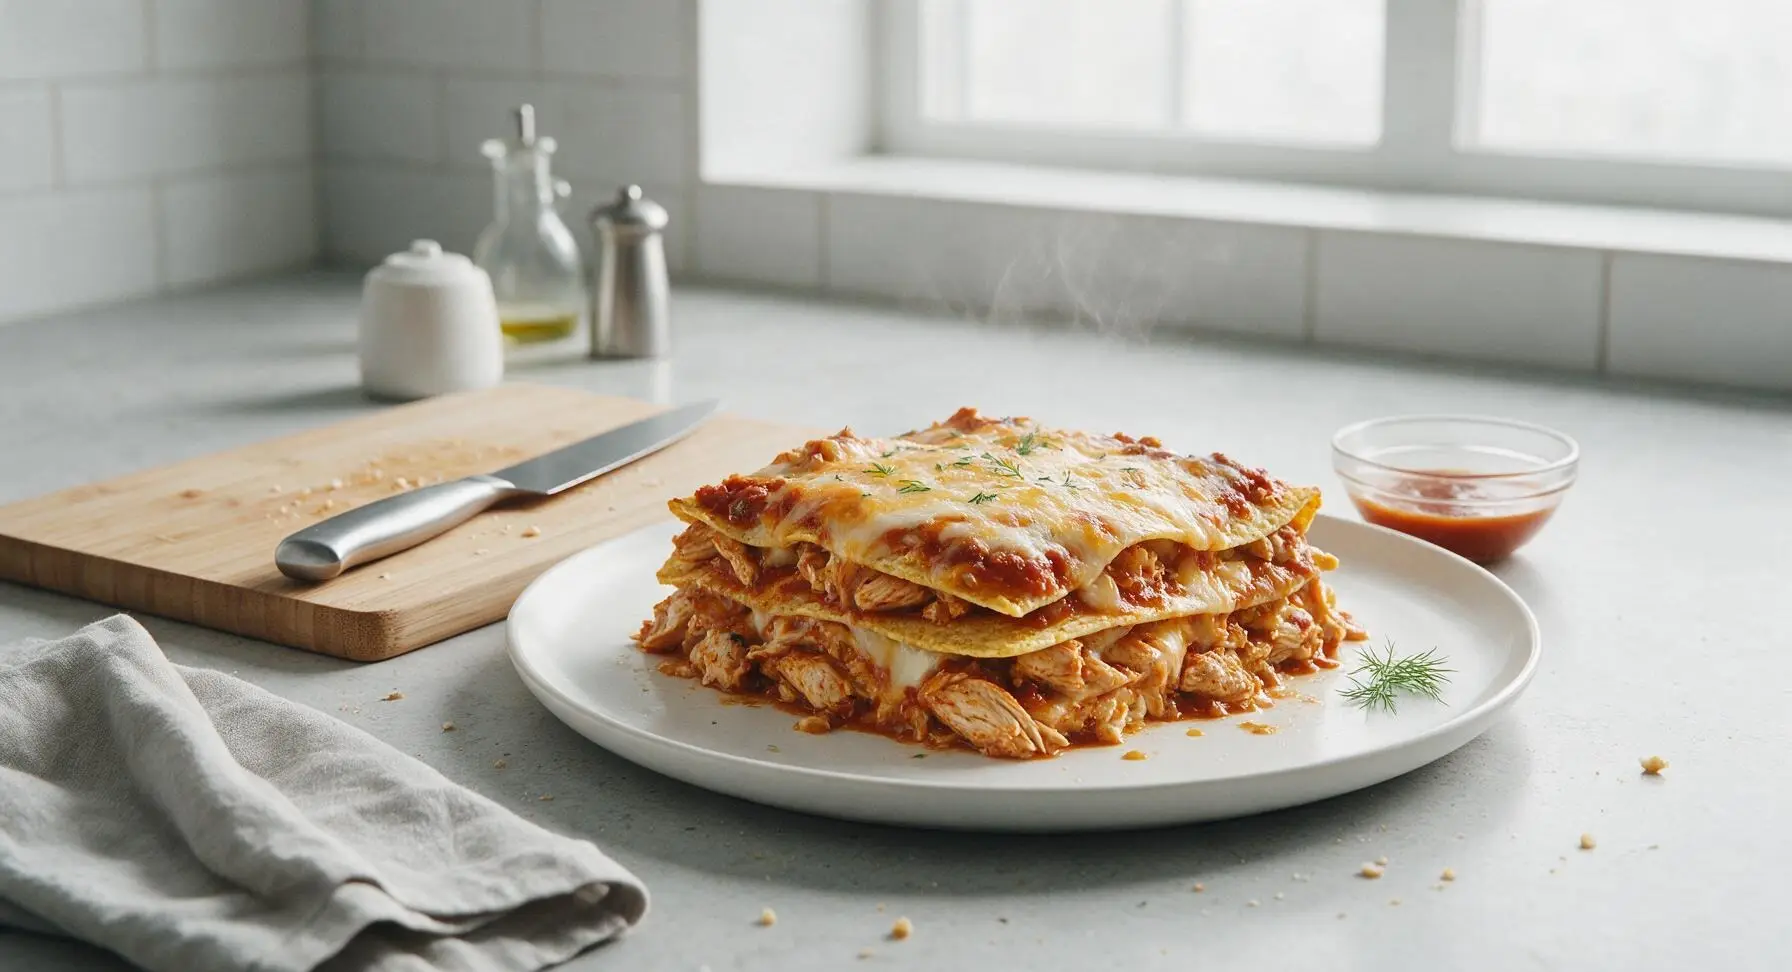
mexican chicken casserole with tortillas

title 1
mexican chicken casserole with tortillas
⏱️ cook time 45 minutes
🍽️ servings 6
⚡ Difficulty easy

intro

Warm, layered Tex-Mex comfort stacked with tender spiced chicken, melty cheese, zesty enchilada sauce, and soft corn tortillas, baked to bubbly perfection for a cozy, shareable meal.

Ingredients
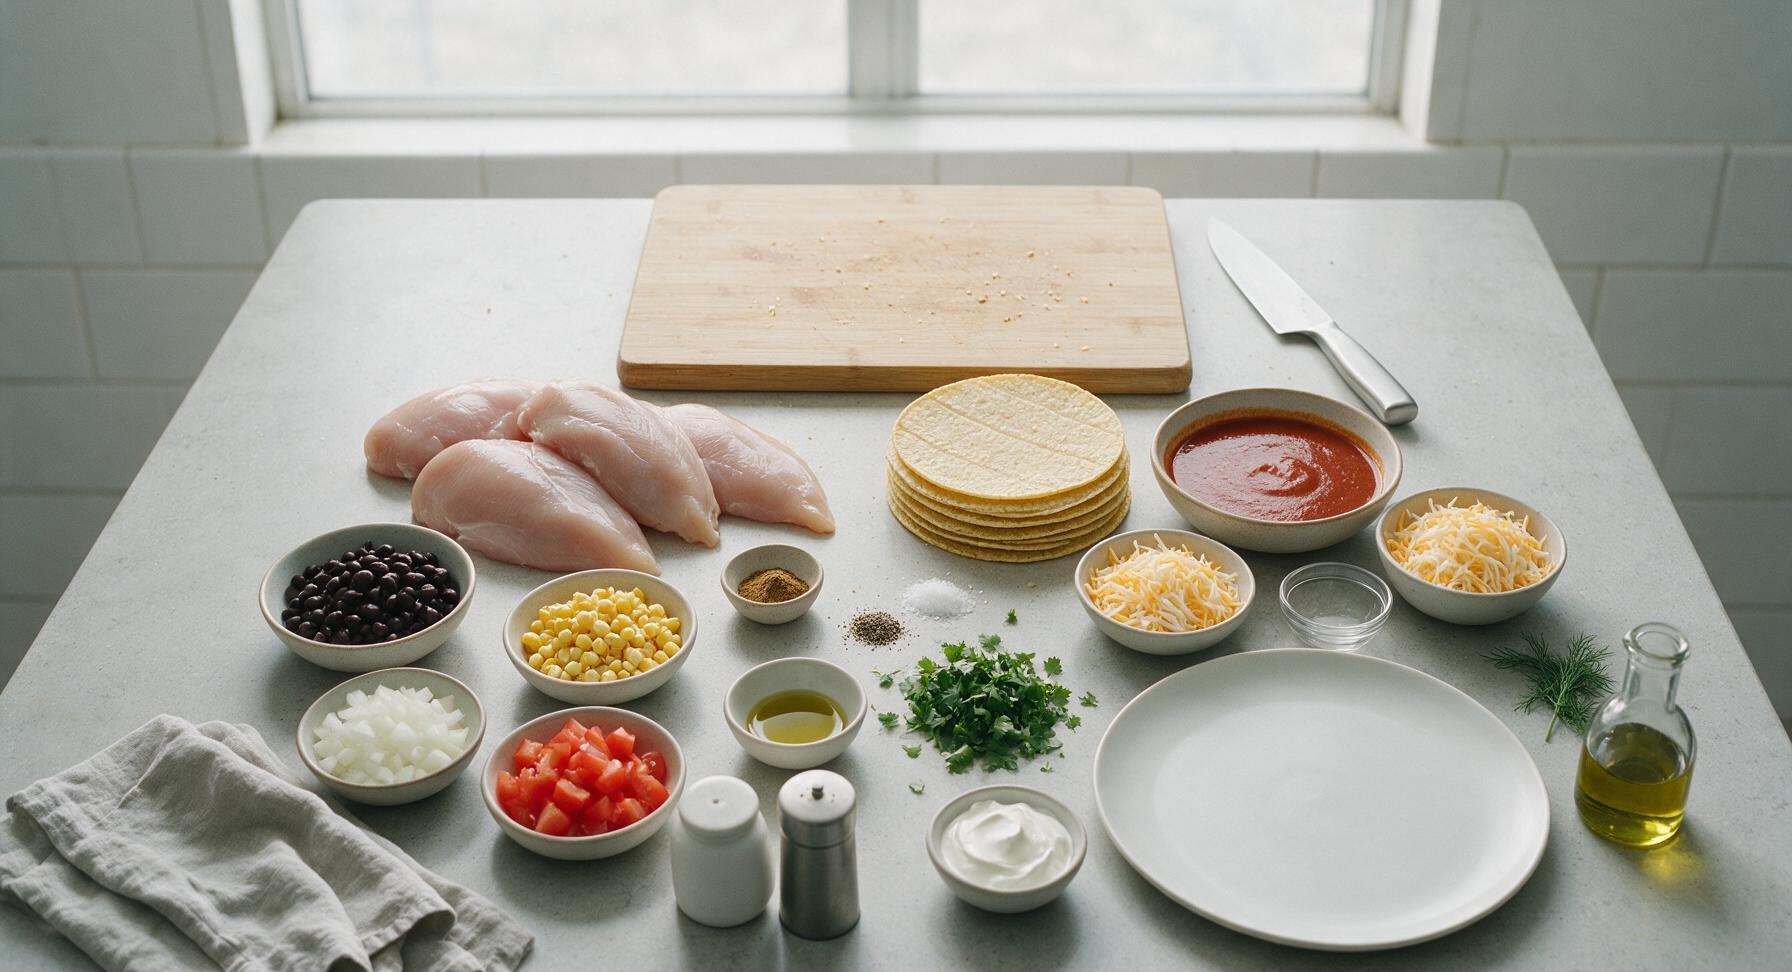
Boneless, skinless chicken breasts 500g (3 medium)
6-inch corn tortillas 8 pieces
Red enchilada sauce 400g (1.75 cups)
Shredded cheddar-jack cheese blend 220g (2 cups, divided)
Canned black beans, rinsed and drained 150g (1 cup)
Frozen sweet corn, thawed 120g (1 cup)
Yellow onion, diced 1 medium (150g)
Roma tomatoes, diced 2 medium (180g)
Ground cumin 1 tsp
Kosher salt 1 tsp
Freshly ground black pepper 1/2 tsp
Fresh cilantro, chopped 15g (1/4 cup)
Olive oil 1 tbsp
Sour cream (for serving) 120g (1/2 cup)

Steps

1

Sauté Spiced Onions

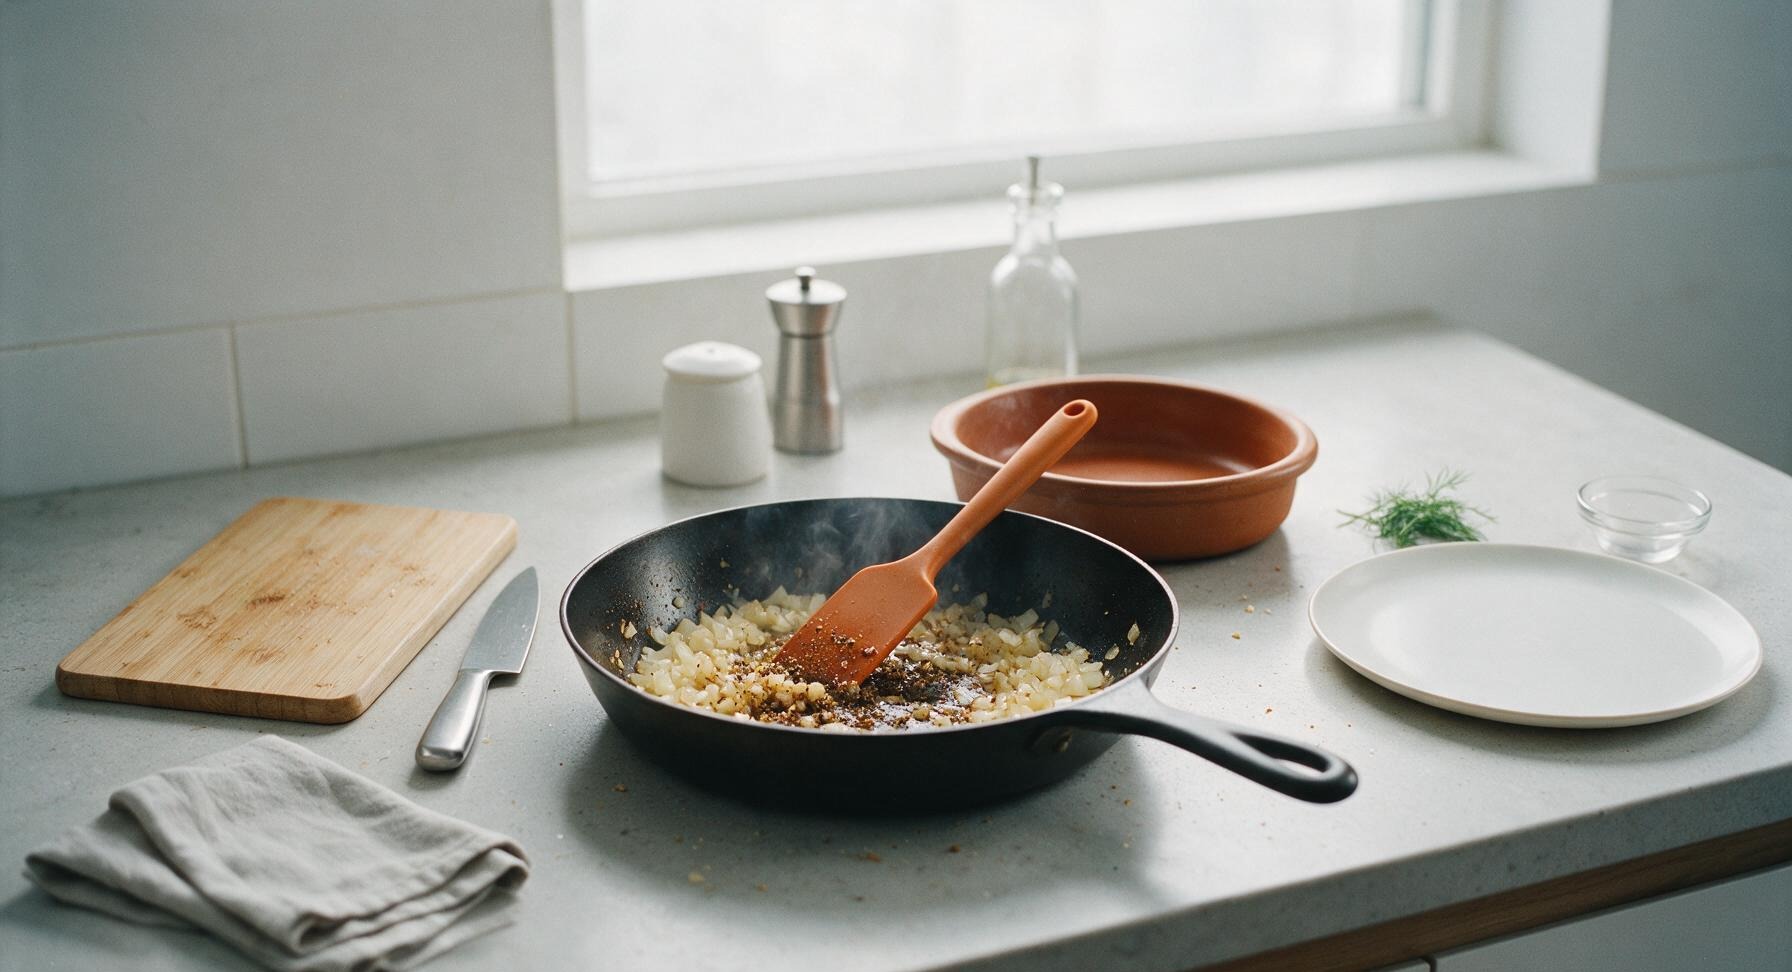
Preheat your oven to 190°C (375°F). Place the 10-inch matte black carbon steel skillet over medium heat, add 1 tablespoon olive oil, then sauté the diced yellow onion for 3 minutes until soft and translucent. Stir in 1 teaspoon ground cumin, 1 teaspoon kosher salt, and 1/2 teaspoon freshly ground black pepper, cooking for 30 seconds until the spices release a warm, earthy aroma.
Step 1
step1:Sauté Spiced Onions
2

Cook Chicken Breasts

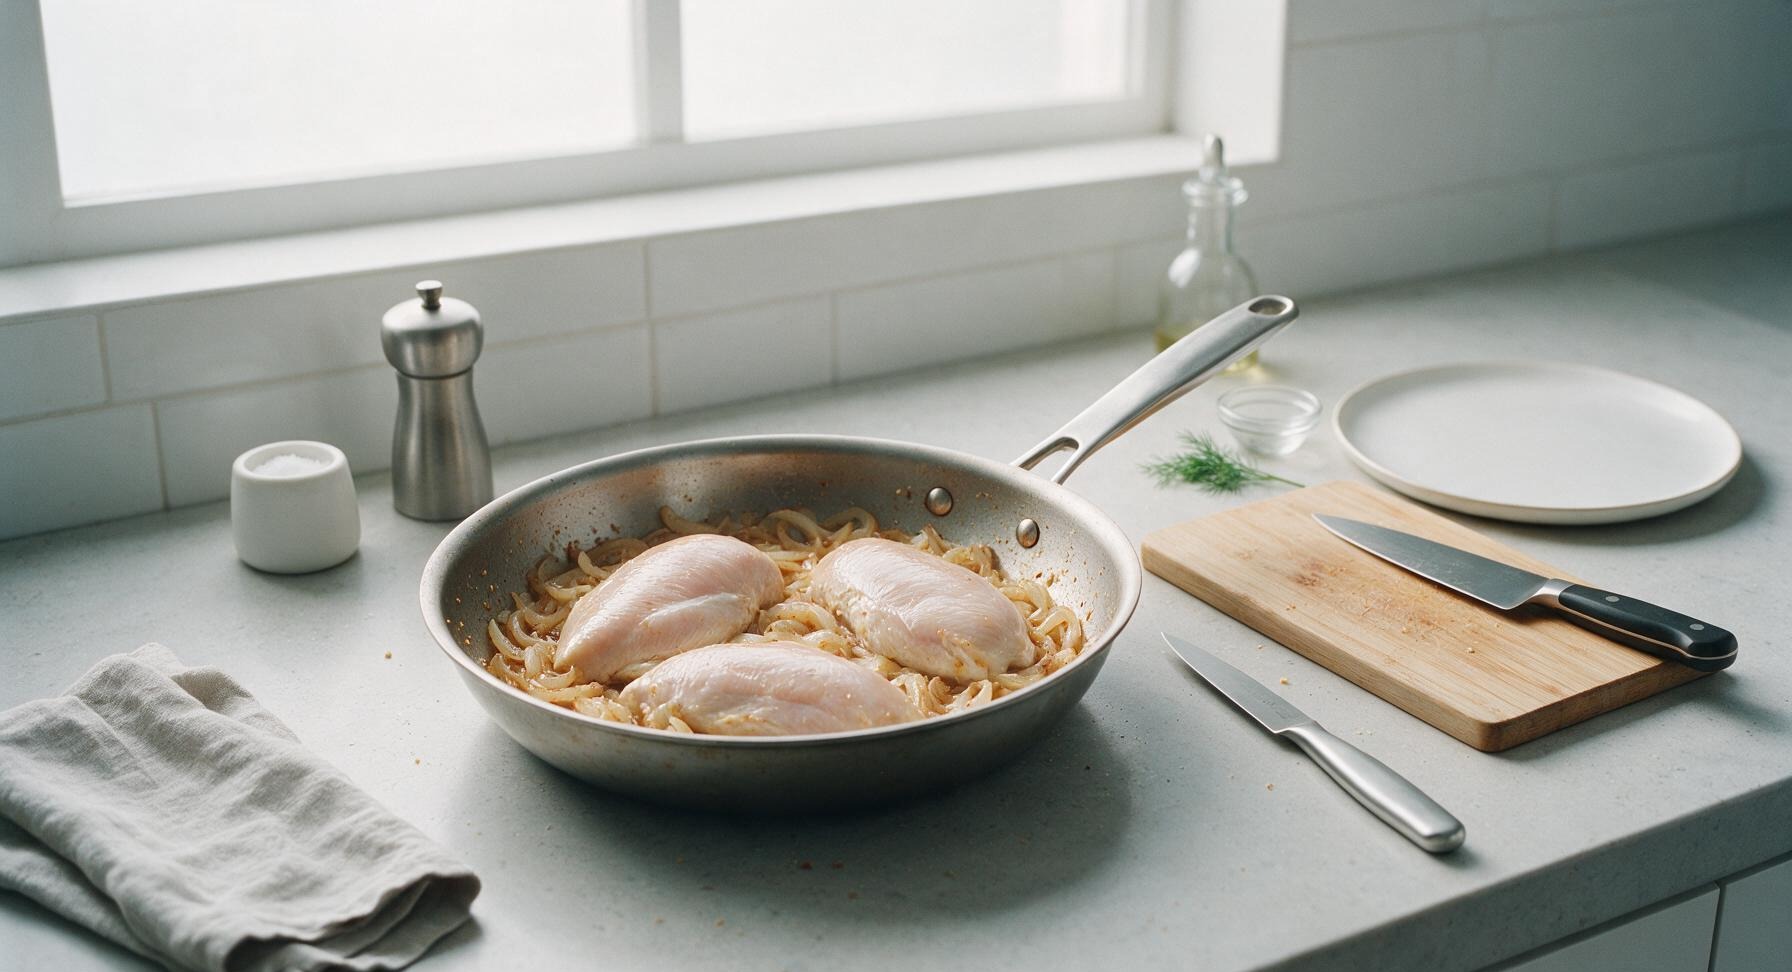
Nestle the 3 boneless, skinless chicken breasts into the skillet with the spiced onions, cooking for 6 minutes per side over medium heat until the exterior is lightly golden and the internal temperature reaches 74°C (165°F). Transfer the cooked chicken to the acacia wood cutting board to rest for 5 minutes to lock in juices.
Step 2
step2:Cook Chicken Breasts
3

Shred and Mix Filling

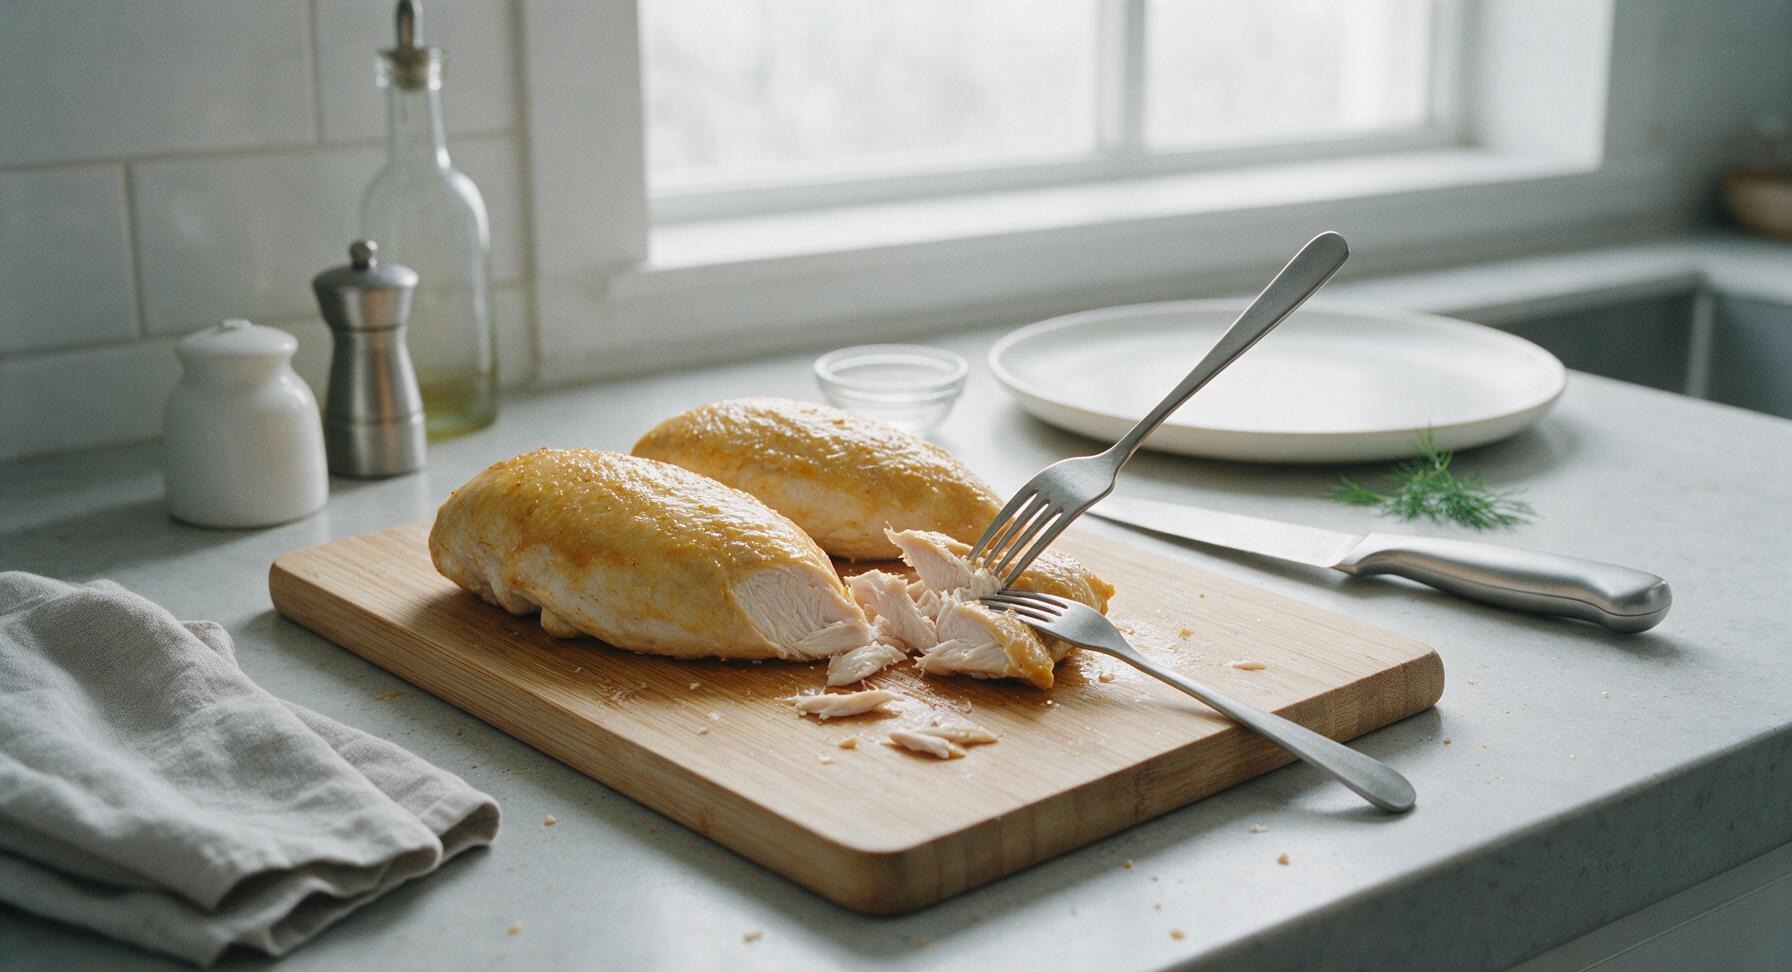
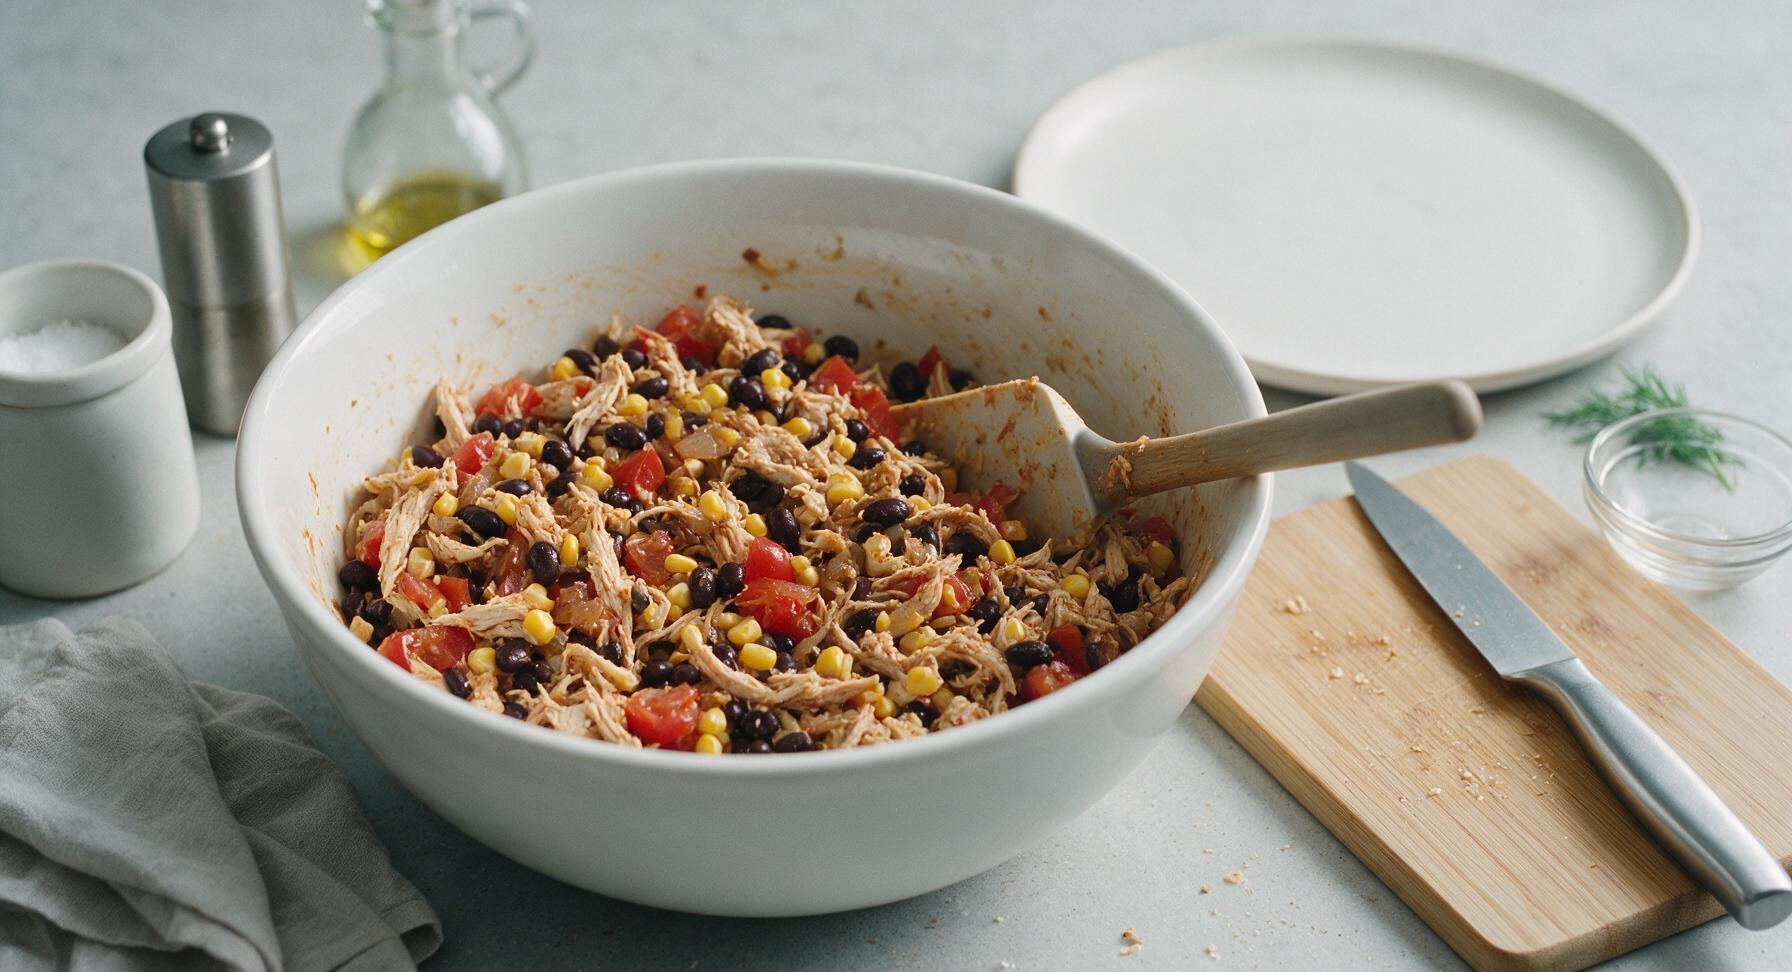
Use two forks to pull the rested chicken apart into 2-inch bite-sized shreds across the grain, discarding any tough connective tissue. Transfer the shredded chicken to the 4-quart white ceramic mixing bowl, then add the cooked spiced onions from the skillet, rinsed black beans, thawed sweet corn, and diced Roma tomatoes. Toss with the silicone spatula until all ingredients are evenly combined.
Step 3
step3:Shred and Mix Filling
Step 3
step3:Shred and Mix Filling
4

Layer Tortilla Base

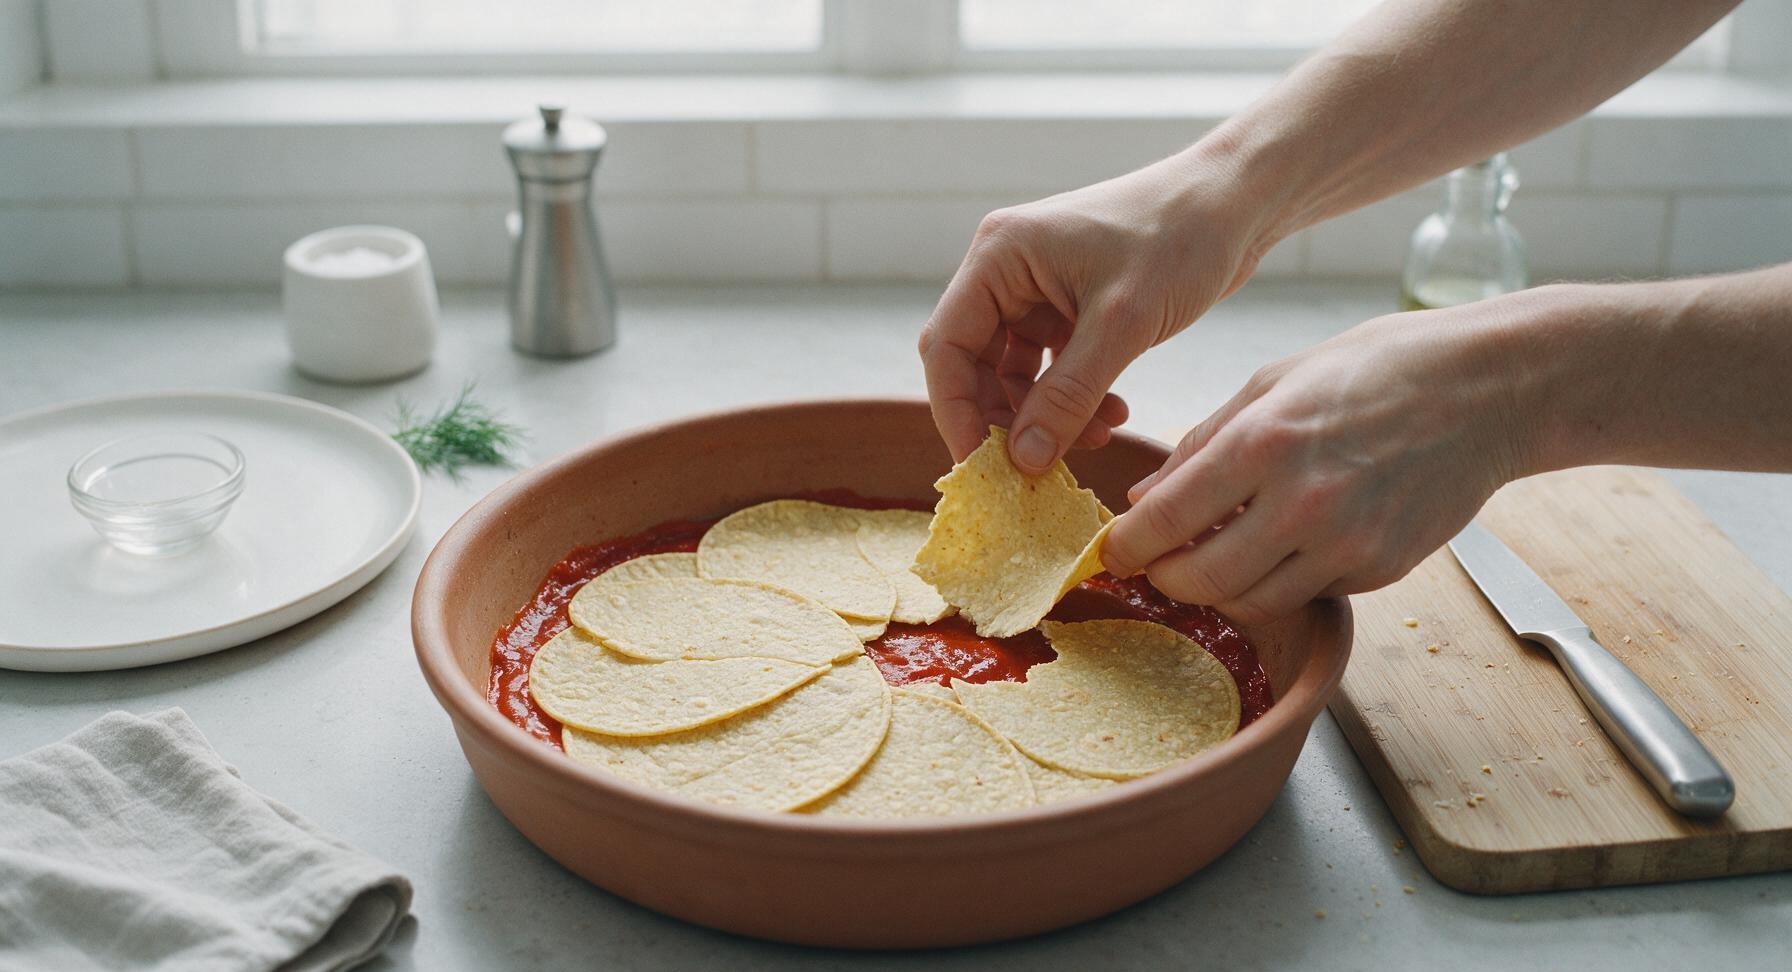
Pour 1/2 cup of red enchilada sauce into the bottom of the terracotta baking dish, spreading it into a thin, even layer with the silicone spatula. Arrange 4 of the 6-inch corn tortillas over the sauce, overlapping slightly and tearing pieces as needed to fully cover the bottom of the dish with no gaps.
Step 4
step4:Layer Tortilla Base
5

Add Filling and Cheese

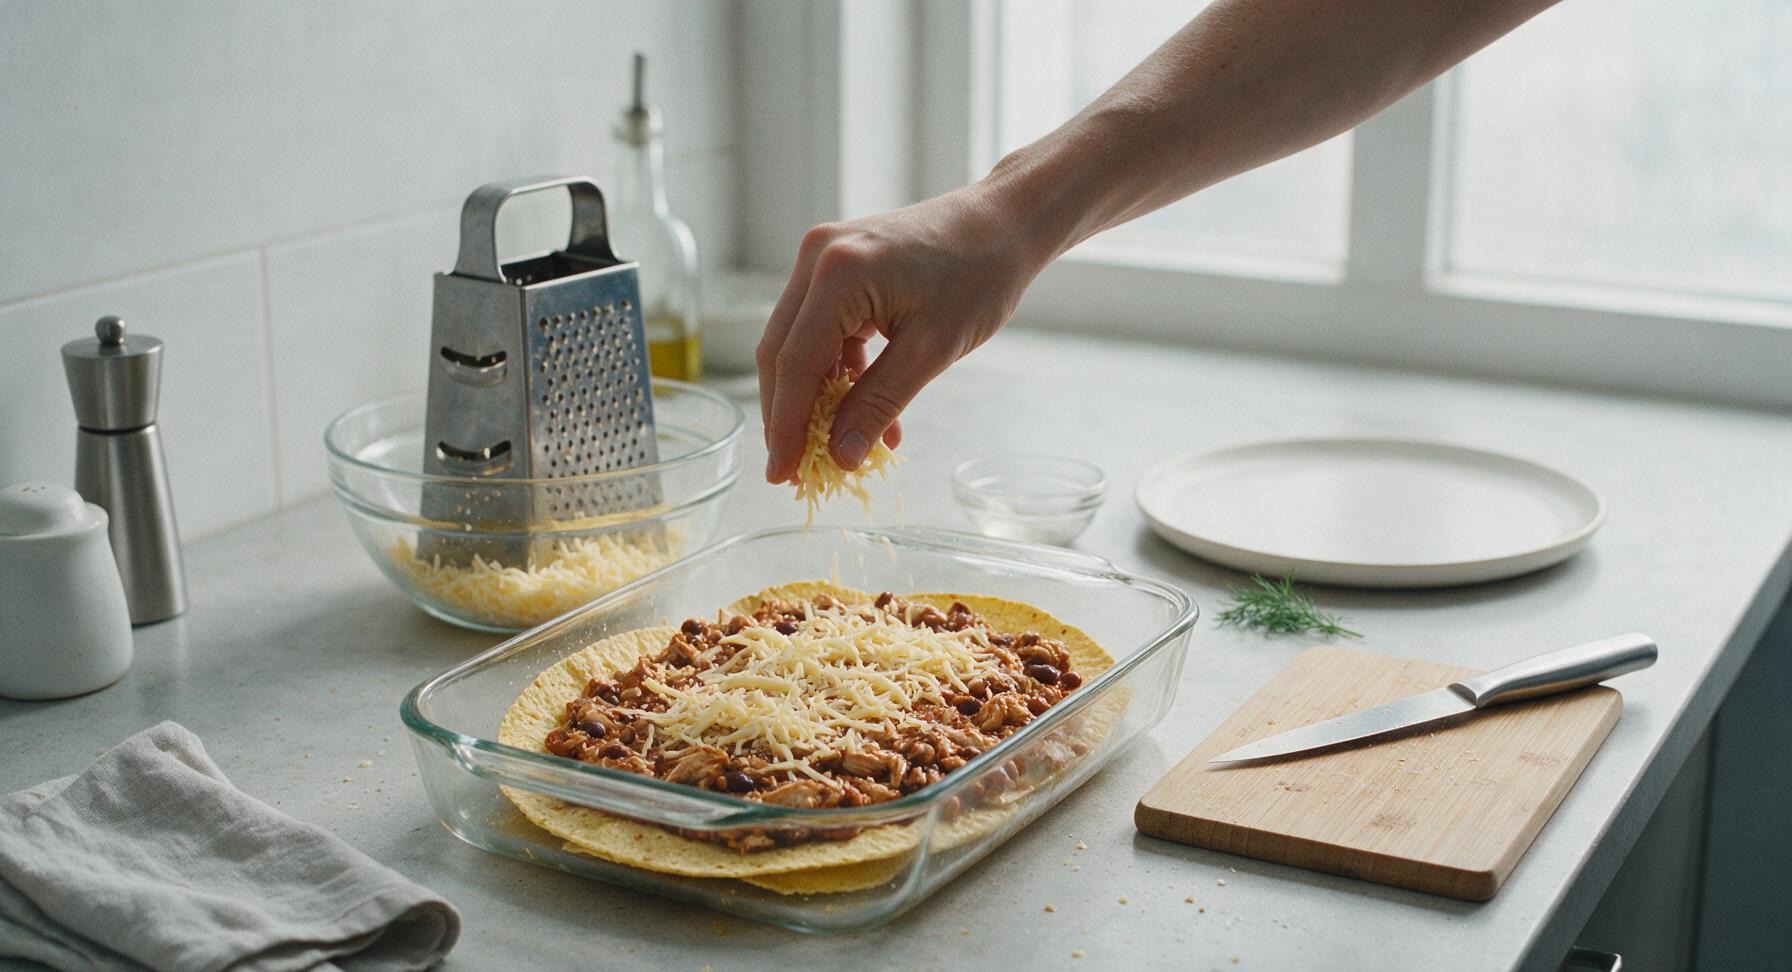
Spoon half of the chicken and vegetable filling over the tortilla base, spreading it into a uniform 1-inch thick layer. Sprinkle 1 cup of the shredded cheddar-jack cheese evenly over the filling, then drizzle 1/2 cup of enchilada sauce over the cheese, spreading gently to avoid disturbing the layers below.
Step 5
step5:Add Filling and Cheese
6

Stack Remaining Layers

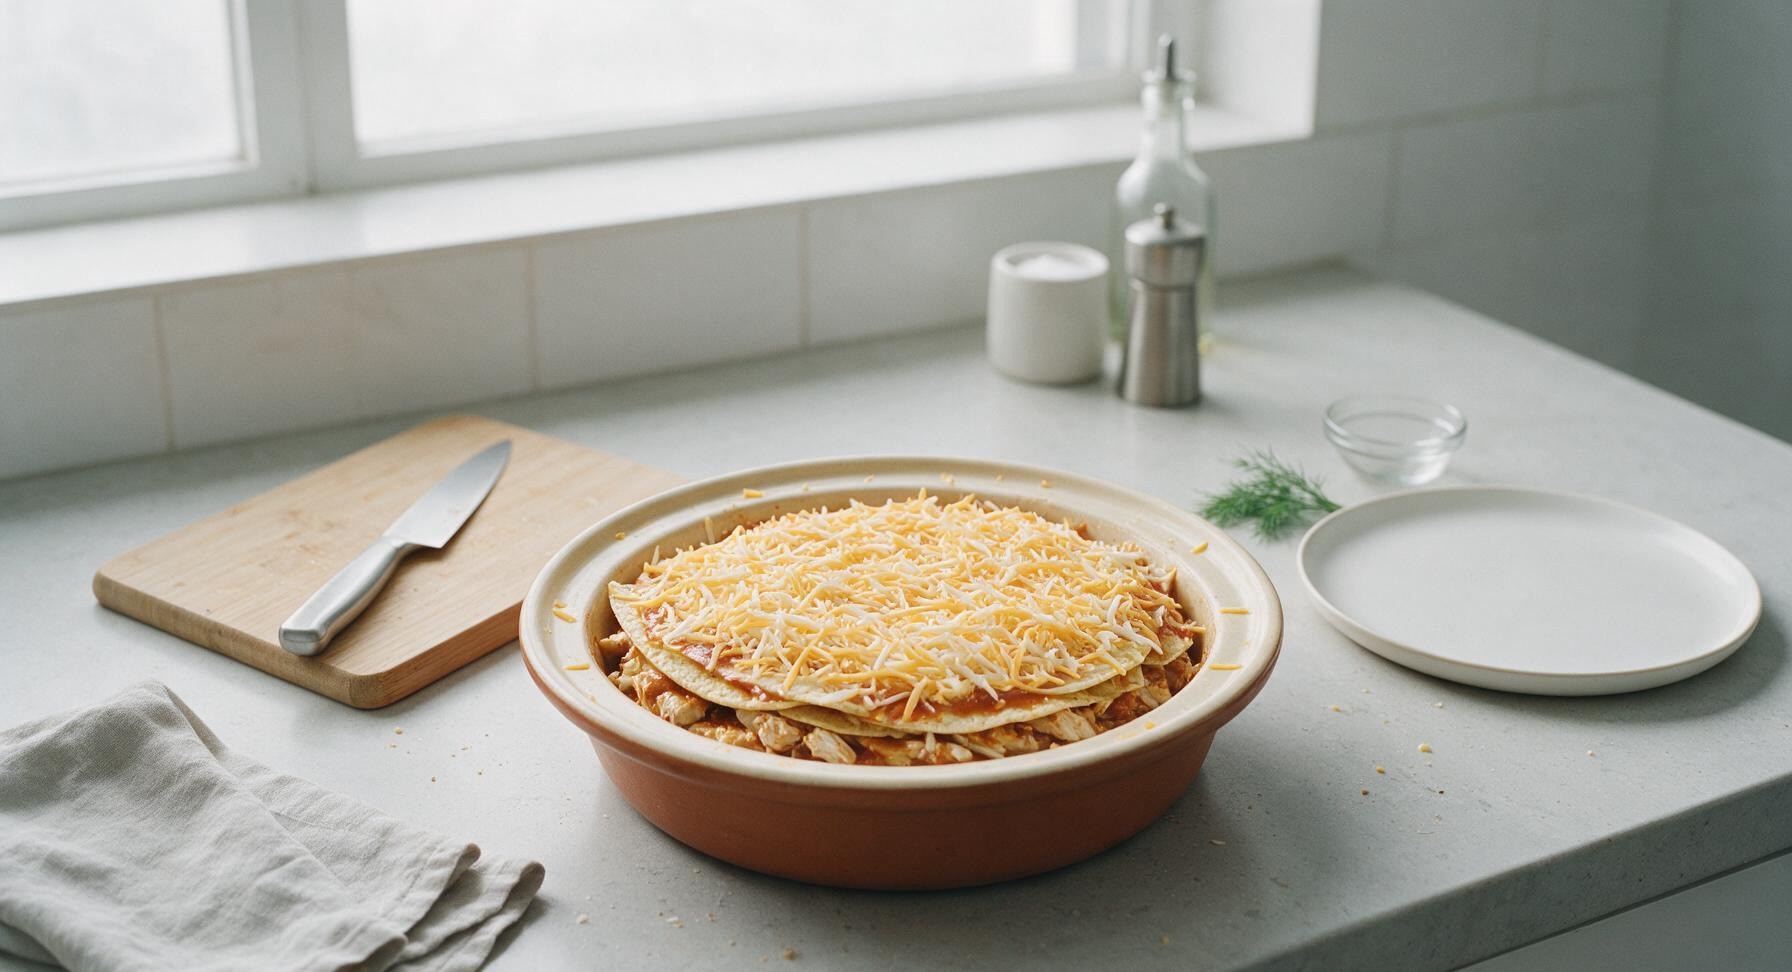
Repeat the layering sequence to build the top of the casserole: arrange the remaining 4 corn tortillas over the cheese layer, top with the remaining half of the chicken filling, 1/2 cup of remaining enchilada sauce, and the final 1 cup of shredded cheddar-jack cheese. Ensure the top cheese layer covers all exposed tortilla edges to prevent them from drying out and burning during baking.
Step 6
step6:Stack Remaining Layers
7

Bake Until Bubbly

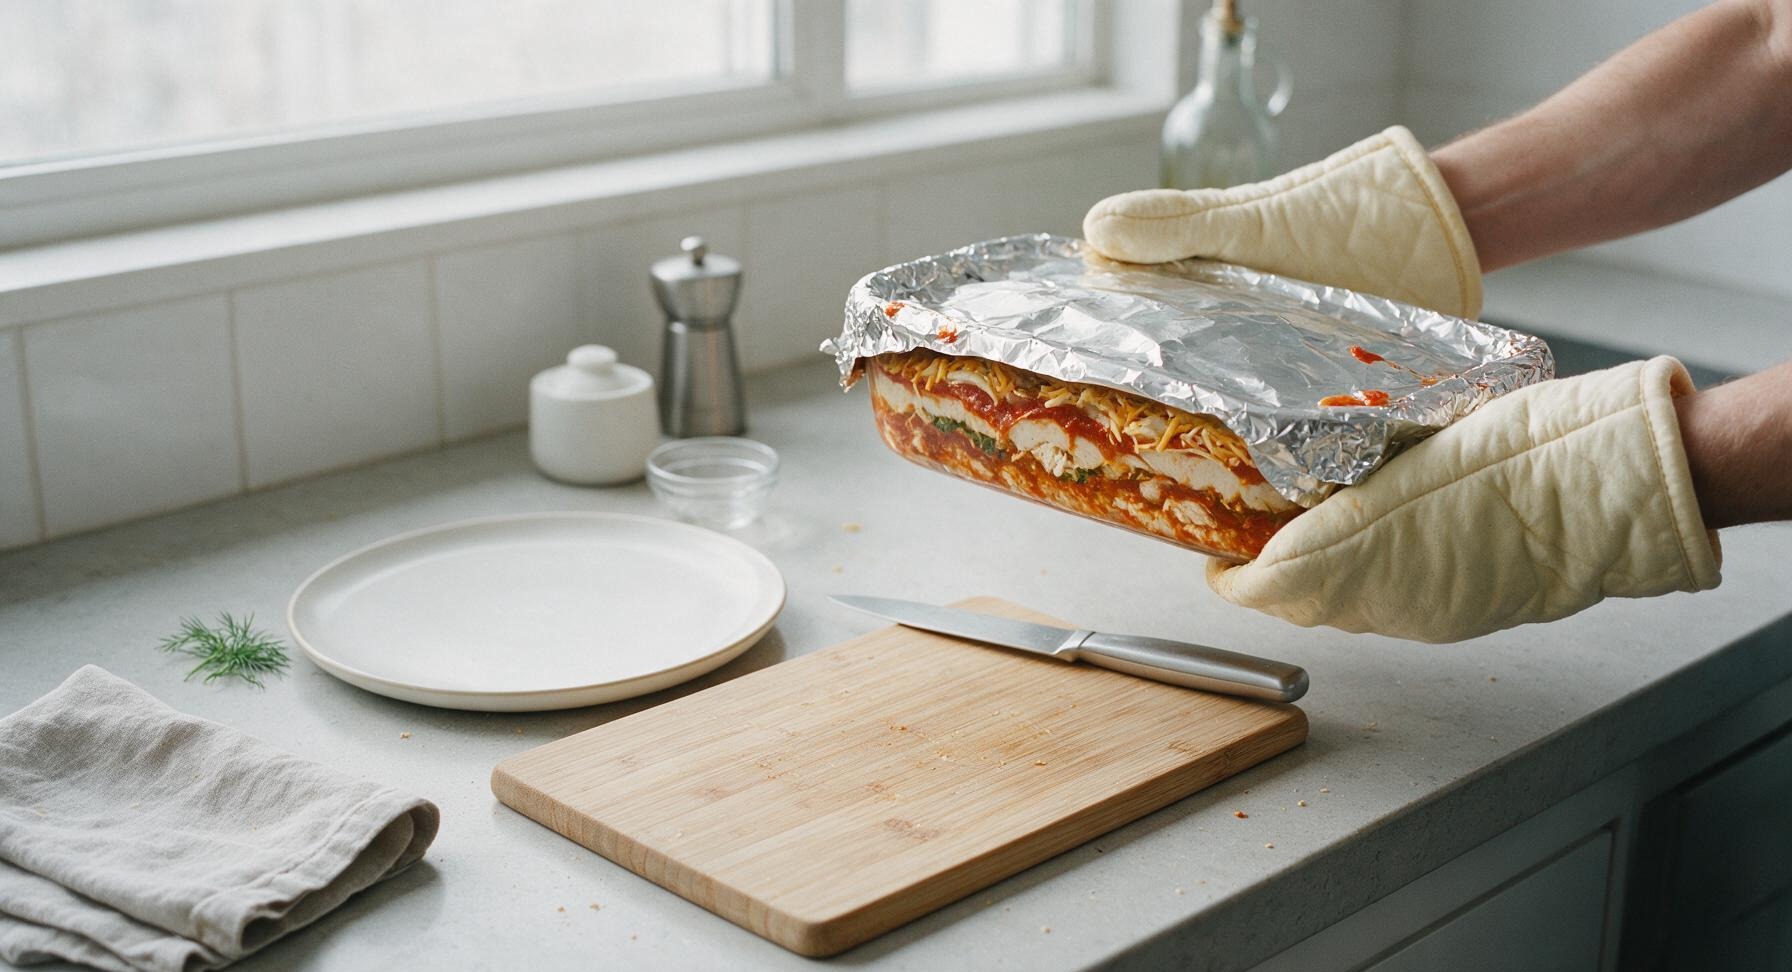
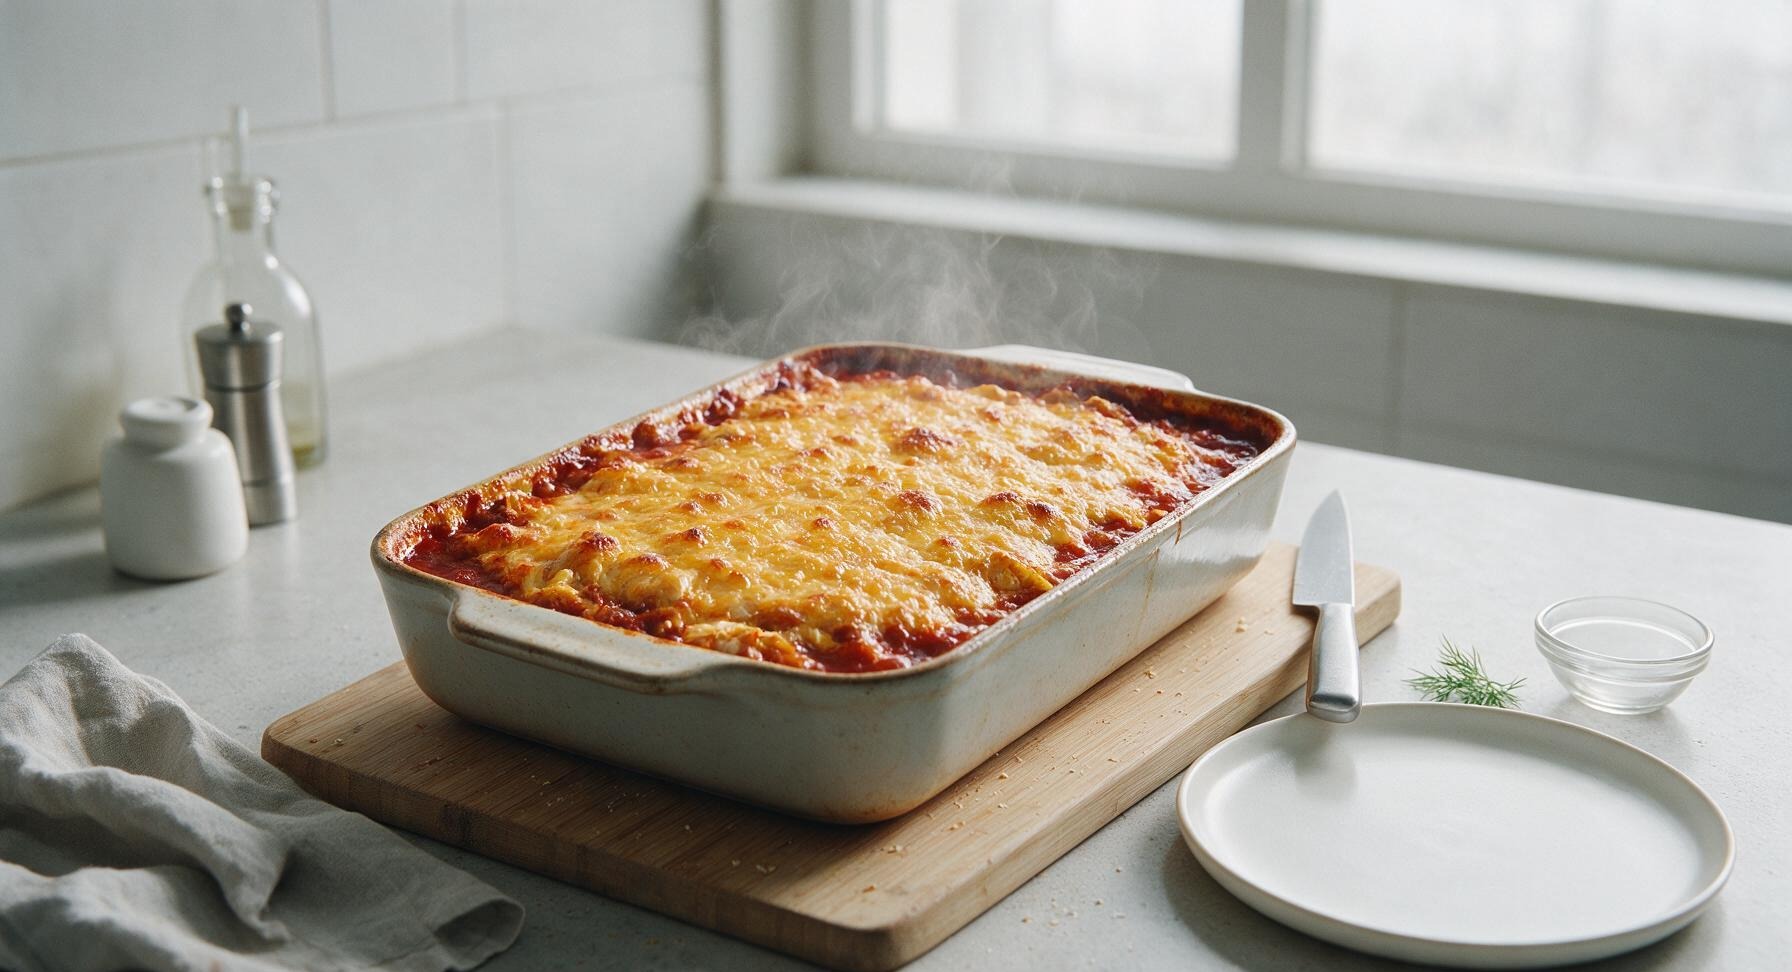
Cover the baking dish tightly with aluminum foil, place on the middle rack of the preheated oven, and bake for 20 minutes. Remove the foil, then bake for an additional 10 minutes until the cheese is fully melted, lightly golden around the edges, and the red sauce bubbles vigorously around the sides of the dish. Remove from the oven and let rest for 10 minutes before serving to allow layers to set.
Step 7
step7:Bake Until Bubbly
Step 7
step7:Bake Until Bubbly

Tips

1.Warm corn tortillas for 10 seconds in the microwave before layering: this softens them to prevent cracking as you overlap and arrange them in the dish, ensuring a solid, even tortilla layer that holds filling without breaking apart when served.
2.Let the baked casserole rest for the full 10 minutes after removing it from the oven: this allows the melted cheese and sauce to set, so each slice holds its neat layered shape instead of sliding apart when scooped.
3.For make-ahead convenience, assemble the full unbaked casserole, cover tightly, and refrigerate for up to 24 hours: add 5 minutes to the covered baking time to account for the cold dish, for a ready-to-bake meal with no last-minute prep.


✨ You May Also Like

Main Course
🍜 United Kingdom

A showstopping classic of tender seared beef, savory mushroom duxelles, and crisp prosciutto wrapped in flaky golden puff pastry, baked to juicy perfection.

⏱️ 2 hours 1Main Course ★ 4.7
Main Course
🍜 India

Tender charred marinated chicken simmered in a rich, spiced creamy tomato sauce, this iconic Anglo-Indian curry pairs perfectly with basmati rice or warm naan.

⏱️ 50 minuteMain Course ★ 4.6
Main Course
🍜 Thailand

Classic tangy, sweet, and savory Thai stir-fried rice noodles with shrimp, tofu, and crunchy garnishes, balancing all five core Thai flavor profiles.

⏱️ 30 minuteMain Course ★ 4.5
Main Course
🍜 United Kingdom

Crispy golden beer-battered cod and fluffy double-fried chips, served with tangy tartar sauce and malt vinegar: the timeless, beloved British pub comfort classic.

⏱️ 45 minuteMain Course ★ 4.7
Main Course
🍜 Mexico

Smoky, chile-marinated pork tacos with caramelized pineapple, fresh cilantro, and lime: a beloved classic Mexican street food perfect for casual summer gatherings.

⏱️ 1 hour 45Main Course ★ 4.8
Main Course
🍜 United States

Crunchy Fritos corn chips layered with savory beef chili and melted cheddar, topped with cool, zesty fixings for a beloved, cozy Tex-Mex comfort food.

⏱️ 35 minuteMain Course ★ 4.8

mexican chicken casserole with tortillas:Frequently Asked Questions

1.Can I use store-bought rotisserie chicken instead of cooking raw chicken breasts for this recipe? ▾
Absolutely! Rotisserie chicken is a fantastic time-saver here—shred 3 cups of it, toss with a light sprinkle of cumin and chili powder to match the spiced chicken profile, and layer it right in. It cuts prep time by nearly 20 minutes, and its juicy, pre-seasoned flavor fits the Tex-Mex vibe perfectly.
2.Do I need to fry the corn tortillas before layering them in the casserole? ▾
No frying required! Unlike traditional rolled enchiladas, you can use soft 6-inch corn tortillas straight out of the package. For extra texture and sogginess protection, you can quickly toast them 30 seconds per side on a dry skillet, but this step is totally optional for a fast, low-mess weeknight meal.
3.Can I make this casserole ahead of time and bake it later? ▾
Definitely! Assemble the full casserole, cover it tightly with plastic wrap, and store it in the fridge for up to 24 hours before baking. When you’re ready to cook, remove the plastic, cover with foil, and add 10 to 15 minutes to the bake time to account for the chilled starting temperature.
4.What’s the best way to keep the corn tortillas from getting soggy in the casserole? ▾
A few easy tricks prevent sogginess! First, don’t douse lower tortilla layers in too much sauce—reserve a third of the enchilada sauce for the very top. A quick pan toast for tortillas creates a moisture barrier, and make sure rinsed black beans are fully drained so excess water doesn’t seep into the layers.
5.Can I substitute flour tortillas for the corn tortillas in this recipe? ▾
You can, but note it will change the final texture and flavor. Flour tortillas are softer and milder, so you won’t get that signature earthy corn taste that pairs so well with enchilada sauce. If you swap, use 8-inch flour tortillas cut into quarters to fit, and reduce bake time by 5 minutes since flour tortillas soften faster.
6.How do I store leftover casserole, and how long will it keep? ▾
Let leftover casserole cool completely to room temperature within 2 hours of baking, then transfer it to an airtight container or cover the baking dish tightly with foil. It will stay fresh in the refrigerator for 3 to 4 days, and you can reheat individual portions in the microwave or a 350°F oven until warmed through.
7.Can I freeze this casserole for later make-ahead meals? ▾
Yes, this casserole freezes beautifully! Assemble it unbaked, wrap it tightly in two layers of plastic wrap and one layer of foil, and freeze for up to 3 months. Thaw it in the fridge overnight before baking, or bake straight from frozen, covered, for 1 hour and 20 minutes, then uncover for the final 10 minutes to melt the cheese.
8.What add-ins work well if I want to bulk up the casserole? ▾
There are tons of tasty, complementary add-ins! Try mixing in half a cup of drained fire-roasted corn, diced pickled jalapeños for a kick, sliced black olives, or a layer of sautéed bell peppers and onions. Just make sure any added veggies are cooked down first to remove excess moisture that could make the casserole soggy.
9.I don’t have a pre-shredded cheddar-jack blend—what other cheeses work well? ▾
No problem! You can mix equal parts shredded sharp cheddar and Monterey Jack at home to replicate the blend, swap in pepper Jack for a spicy kick, use Oaxaca for ultra-stretchy melty texture, or sprinkle crumbled cotija on top after baking for salty, tangy flavor. Skip anti-caking coated pre-shredded cheese for the smoothest melt.
10.Do I need to cover the casserole with foil while it bakes? ▾
Cover it for the first 30 minutes of baking to trap steam and make sure the chicken heats through evenly without the top cheese burning. Then remove the foil for the final 10 to 15 minutes of bake time so the cheese gets bubbly and slightly golden around the edges, and the top tortilla layer gets a tiny bit crisp.
11.Can I use boneless, skinless chicken thighs instead of chicken breasts? ▾
Absolutely! Boneless, skinless chicken thighs are actually juicier and more flavorful than breasts for this recipe. Cook and shred them the same way you would breasts, and you won’t have to worry about them drying out during baking, even if you leave the dish in the oven a couple minutes too long.
12.How spicy is this casserole as written, and how can I adjust the heat level? ▾
As written, this casserole is very mild, made with standard red enchilada sauce and mild cheddar-jack cheese with no added chiles. To turn up the heat, mix a diced chipotle in adobo into the sauce, use pepper Jack cheese, or add sliced jalapeños between layers. For zero heat, stick to mild red enchilada sauce and skip all spicy add-ins.
13.What size baking dish works best for this layered casserole? ▾
A standard 9x13-inch glass or ceramic baking dish is perfect for this recipe, as it gives you enough room to stack 3 full layers of tortillas, chicken, beans, sauce, and cheese without overflowing as it bubbles. If you use a slightly smaller dish, place a baking sheet under it to catch any bubbled-over drips during baking.
14.What are the best fresh toppings to serve with this casserole right after baking? ▾
Top slices right before serving with bright, fresh add-ons to cut through the rich, cheesy layers: a dollop of sour cream or Mexican crema, chopped fresh cilantro, diced ripe tomato, a squeeze of fresh lime juice, sliced avocado, or a spoonful of pico de gallo. These toppings balance the warm, baked savory flavors perfectly.

Comments (16)

2 days ago

OMG this was such a game changer for our weekly taco night! I was so tired of the same old hard shell tacos, and this layered casserole came together in literally no time. My 7 and 9 year old went back for SECONDS, which never happens. Used rotisserie chicken to cut down even more on prep, 10/10 will make again for the next soccer team potluck!

yesterday

Rotisserie chicken hack is genius! I did that last time too and it saved me so much time on a busy weeknight, no dry chicken at all.

yesterday

Great call using rotisserie chicken! That’s one of our favorite shortcuts for this recipe — it cuts prep time nearly in half without skimping on flavor. So glad your kids loved it!

30 minutes ago

Pretty solid casserole! I added a can of black beans and a little extra taco seasoning because my family likes extra spice. Cook time was exactly what the recipe said, which is rare for weeknight meals I find online. Only knocked a star because I wish the tortillas got a little crispier on top, but overall super tasty.

5 minutes ago

I’m literally a total beginner in the kitchen and I pulled this off?! I was so nervous to make something for my roommate’s birthday dinner and it turned out SO good. Didn’t burn anything, layers stayed intact, everyone asked for the recipe. Who knew cooking could be this easy?!

just now

That makes us so happy to hear, Jake! This recipe is perfect for new cooks because it’s super forgiving — no fancy techniques required, just layer and bake. Hope your roommate had a great birthday!

1 week ago

So happy this uses corn tortillas instead of flour! I’ve been looking for a gluten-free Mexican casserole that doesn’t require weird specialty ingredients, and this checks every box. Made a big pan on Sunday for meal prep and it held up perfectly all week for lunches, even tasted better on day 3 tbh.

2 weeks ago

Brought this to our church potluck last Sunday and the entire pan was GONE in 15 minutes. Multiple people came up to ask me for the recipe before they even finished their first bite! I topped it with a little extra sour cream and cilantro before serving, absolute crowd pleaser.

1 week ago

I did the same thing for my neighborhood block party! I added a sprinkle of cotija cheese on top too, people were raving. So easy to transport too, no messy spills.

1 week ago

Cotija is such a perfect topper! We love that this travels so well, it’s one of our most recommended potluck picks for exactly that reason. Love that it was a hit!

yesterday

Really good base recipe! I threw in some pickled jalapeños and a dash of hot sauce in the chicken layer to kick the heat up, and it was chef’s kiss. My only note is that I would’ve layered a little more cheese between the tortillas next time, because who doesn’t love extra cheese?

yesterday

Same! I added an extra half cup of shredded Mexican blend between each layer last time I made it and it was perfectly gooey, no dry spots at all. 10/10 extra cheese move.

3 days ago

Meal prep win! I divided this into 8 individual containers after baking, added a side of tortilla chips and a little cup of salsa, and had lunch sorted for almost the whole work week. Reheats in the microwave in 2 minutes, no weird soggy texture even after a few days in the fridge. Absolute staple now.

5 days ago

Taste was great, but I messed up the layers I think? My tortillas got really soggy on the bottom, and the whole thing was a little runny when I pulled it out of the oven. Did I do something wrong? I used regular canned enchilada sauce like the recipe said.

3 days ago

I had that problem the first time too! I started lightly toasting the corn tortillas in a dry pan for 30 seconds per side before layering, and it stops them from getting soggy. Total game changer.

2 days ago

Great tip from Karen! Toasting the tortillas helps a ton, and we also recommend letting the casserole rest for 10 full minutes after pulling it out of the oven before slicing — that helps it set up so it’s not runny. Give it another try, we promise it’s worth it!

1 week ago

This recipe reminds me so much of the chicken tortilla casserole my mom used to make when I was a kid! I added a can of corn and a handful of black olives like she did, and it tasted exactly like I remembered. So easy to throw together even with my bad arthritis, no fancy chopping or complicated steps.

5 days ago

That is such a sweet compliment, Deb! We love when recipes feel like a little nostalgia. Adding black olives and corn sounds absolutely delicious, we might have to steal that tip for our next batch.

2 hours ago

Made this in my tiny dorm oven with a bunch of random ingredients I had lying around — leftover grilled chicken from the dining hall, corn tortillas I got on sale, a jar of salsa I had in my mini fridge, and shredded cheese. Turned out INSANE. My whole floor smelled like it and people kept knocking on my door asking for a bite. 10/10, so cheap to make too.

2 days ago

This is officially in our permanent weeknight dinner rotation! 45 minutes total time is so doable even after a long day at work, I don’t have to spend hours in the kitchen. We serve it with a little side of guac and chips, and my husband says it’s better than the Mexican restaurant down the street.

yesterday

Wait I was skeptical about that claim too, but I made it last night and my partner said the EXACT same thing. The layers of tortilla get all soft and soak up the sauce, it’s unreal. Way cheaper than takeout too!

3 days ago

Made this for my daughter’s high school graduation party over the weekend, and I’m pretty sure I’m the favorite parent now. Jokes aside, this was so easy to scale up — I made two full pans and it fed 20 people no problem. Already had three parents text me for the recipe this week.

2 days ago

I’m making this for our end of season soccer banquet next weekend! So good to hear it scales well for crowds. Did you adjust the bake time at all when you did two pans?

2 days ago

If you’re baking two pans at once, add about 10-12 minutes to the total cook time, and rotate the pans halfway through to make sure they bake evenly. It scales like a dream, perfect for big crowds! Congrats to your daughter, Steve!

yesterday

Super tasty, loved how easy it was! I used pre-shredded cheese and pre-cooked chicken strips from the grocery store to make it even faster, and it still turned out great. Only thing is I felt like it needed a little more seasoning, so next time I’ll add some cumin and chili powder to the sauce.

2 hours ago

Love those time-saving shortcuts, Liz! If you like a little extra warmth, adding a half teaspoon of cumin and a quarter teaspoon of smoked paprika to the sauce is such a good call — we do that all the time when we’re craving extra flavor.

5 days ago

I swapped the chicken for roasted sweet potato and black beans to make it vegetarian, and it was INCREDIBLE. The flavors work so well even without the meat, my meat-loving boyfriend didn’t even notice it was meatless until I told him. Great versatile base recipe, will be experimenting with more swaps soon.

1 week ago

Has anyone tried freezing this? I’m stocking my freezer before the baby comes and this looks like the perfect easy meal to pull out on nights we don’t have time to cook.

5 days ago

I froze half a pan after making it last month! I let it cool completely, wrapped it tight in foil and a freezer bag, and it kept great for 3 weeks. Let it thaw in the fridge overnight then bake for 20 minutes covered, 10 uncovered, and it tasted just as good as fresh. Perfect for new mamas!

3 days ago

Flavor was 10/10, but my whole family hates soggy tortillas so this was just okay for us. Is there a way to make this so the tortillas have a little crunch? I followed the recipe exactly, baked it for 45 minutes like it said, but the middle layers were all soft.

2 days ago

I had the same issue until I started putting a layer of crushed tortilla chips on the very top for the last 10 minutes of baking! It gets all crispy and crunchy, and adds great texture. I also toast the tortillas before layering like someone mentioned earlier, helps a ton.

yesterday

Carl’s tips are spot on! Toasting the tortillas first cuts down on sogginess, and adding a crunchy top layer of chips or even fried onion strings is such a fun twist. If you want extra crunch all around, you can also bake it uncovered for the last 15 minutes instead of 10!



