
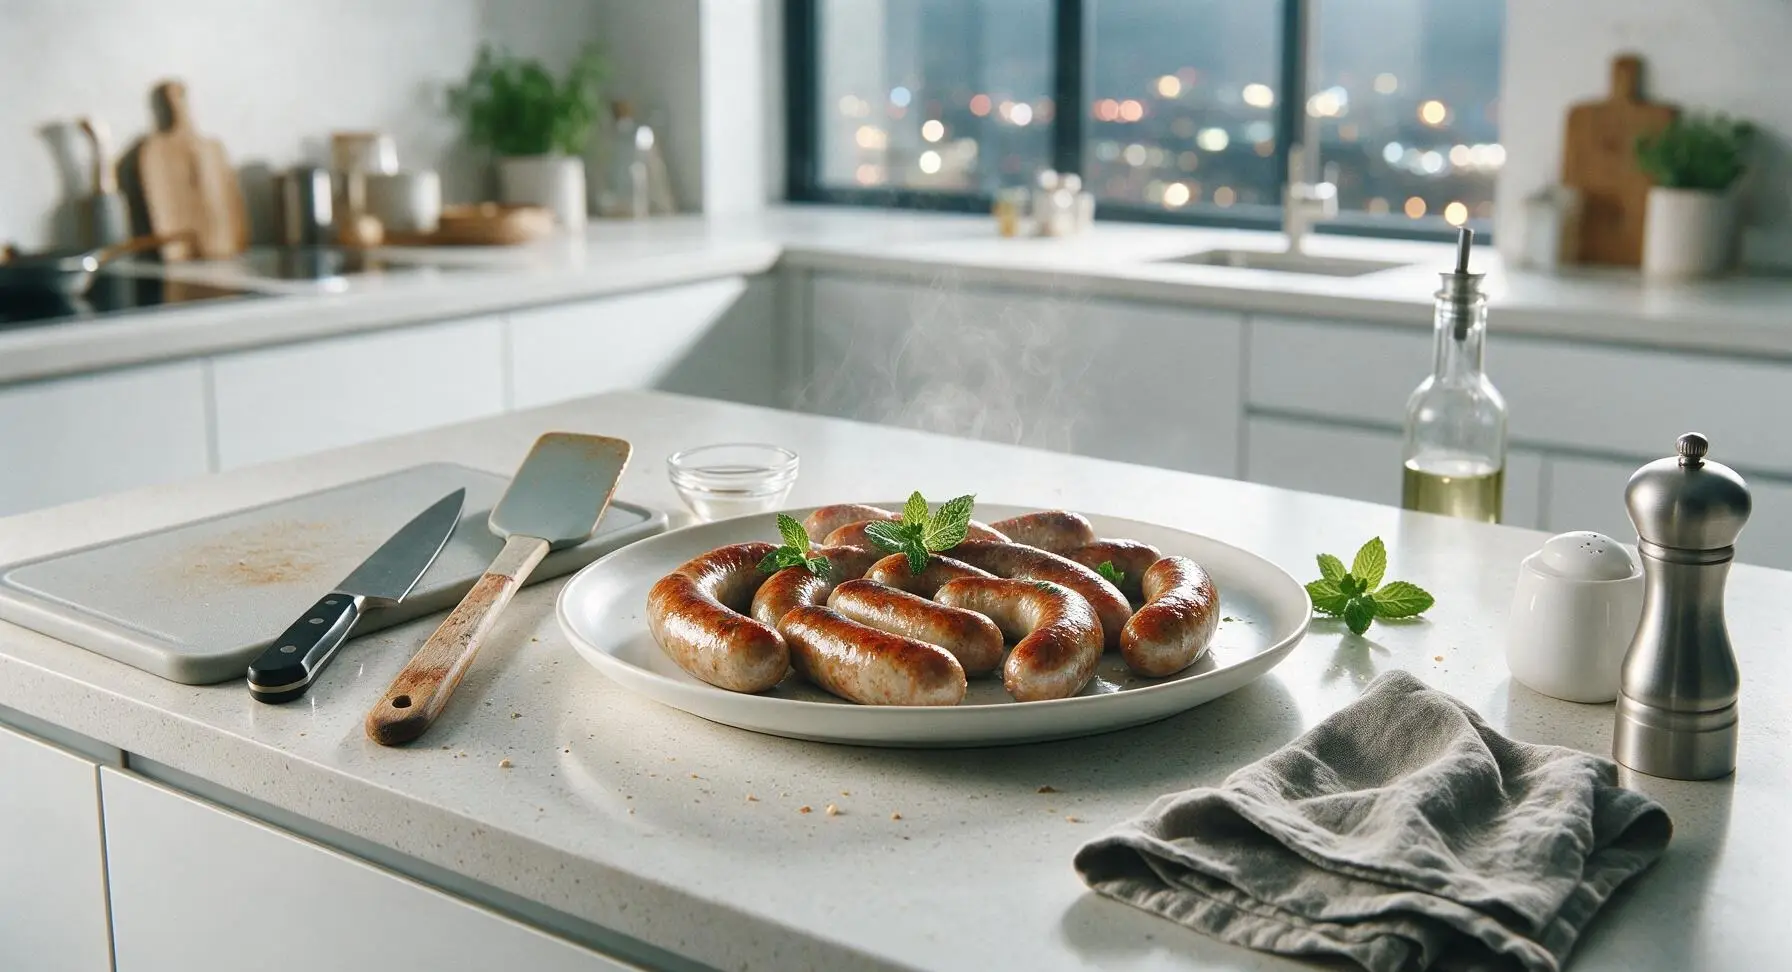
baked sausages

title 1
baked sausages
⏱️ cook time 25 minutes
🍽️ servings 4
⚡ Difficulty easy

intro

Juicy, snappy-cased baked sausages with golden crisp exteriors and tender, flavorful centers, made in one pan for minimal cleanup, perfect for fast, cozy weeknight meals.

Ingredients
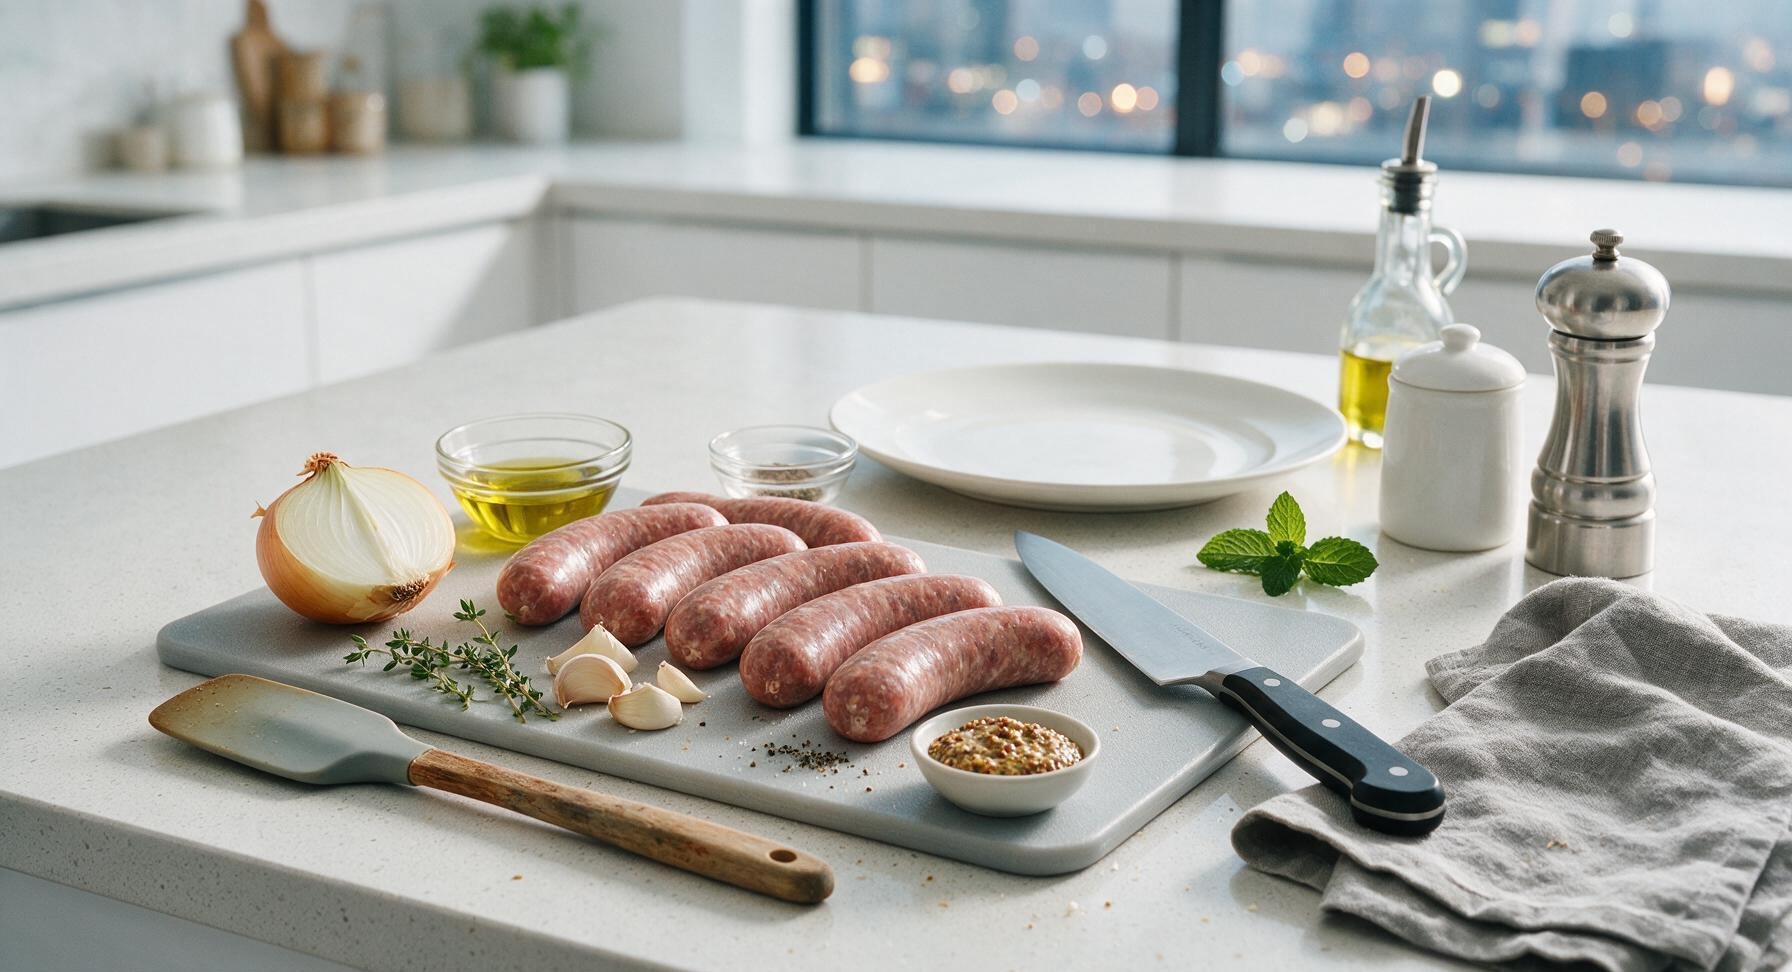
Natural-casing pork sausages 680g (8 links)
Extra-virgin olive oil 1 tablespoon
Large yellow onion 1 (220g, cut into 8 wedges)
Garlic cloves 4 (unpeeled, lightly crushed)
Fresh thyme sprigs 4
Freshly cracked black pepper 1/2 teaspoon
Whole grain mustard 2 tablespoons (for serving)

Steps

1

Preheat and Line Tray

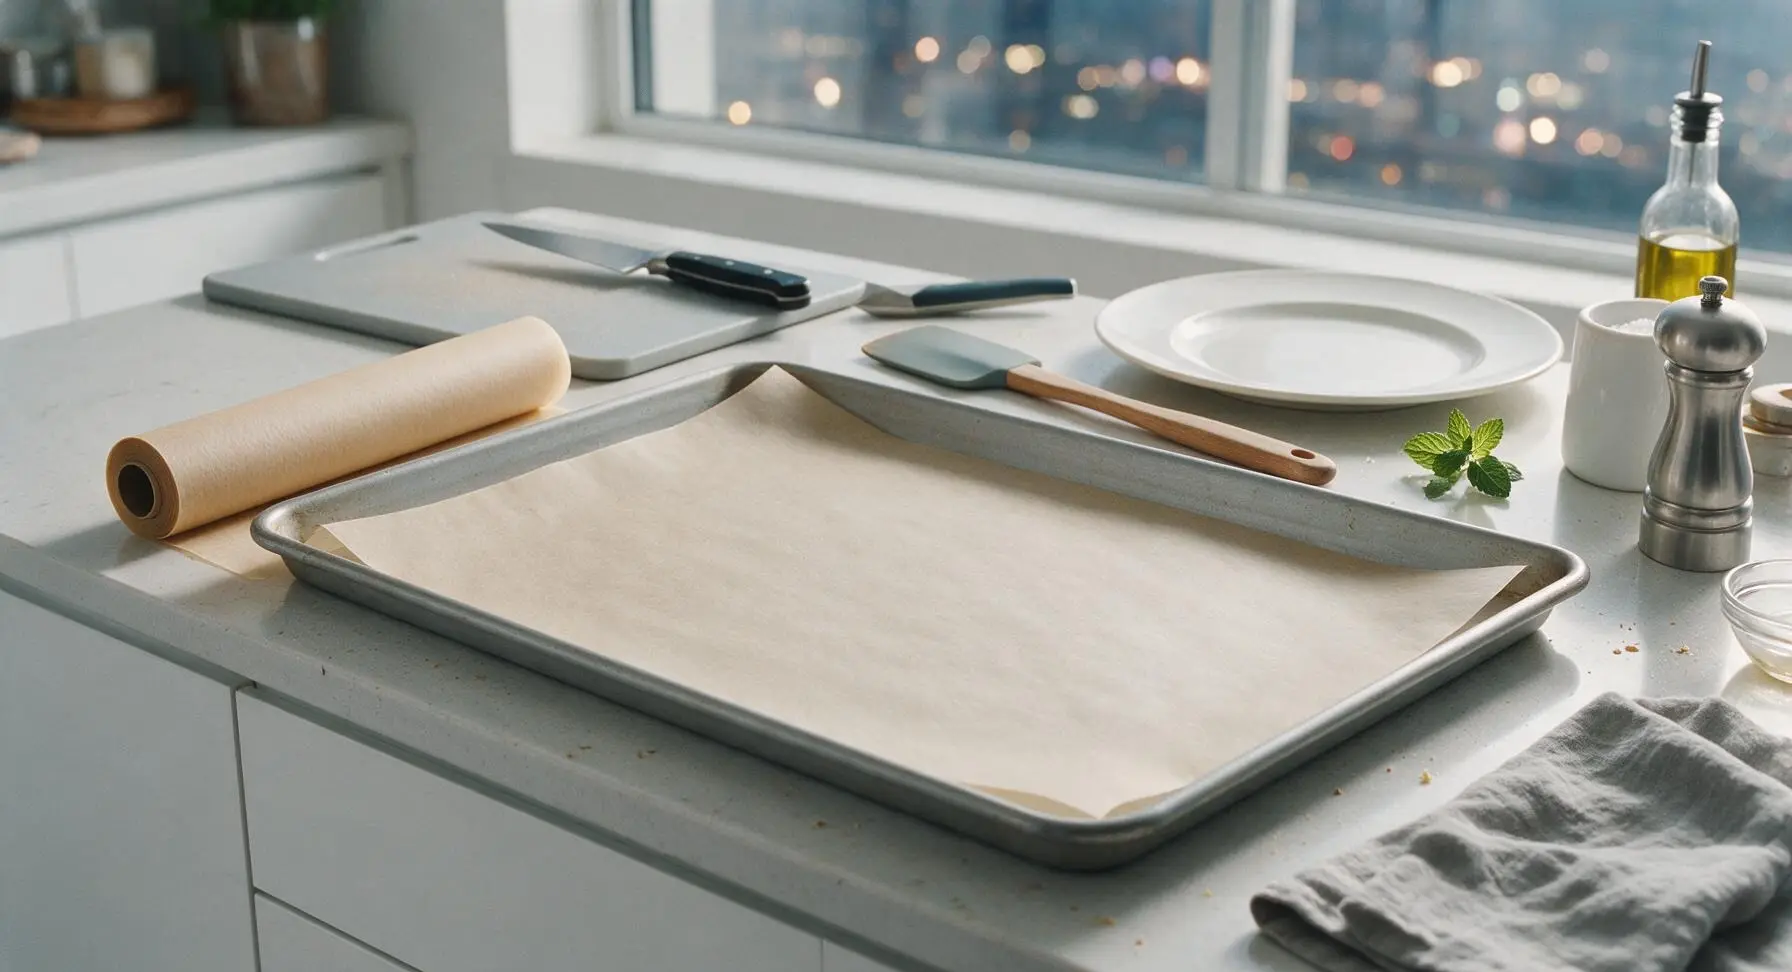
Adjust your oven rack to the middle position, then preheat the oven to 200°C (400°F). Tear a sheet of unbleached parchment paper from the roll to fit the rimmed light grey carbon steel baking sheet, laying it flat to cover the entire tray base with no more than 2cm of overhang to prevent paper burning during baking. Do not add oil to the tray at this stage.
Step 1
step1:Preheat and Line Tray
2

Arrange Sausages Evenly

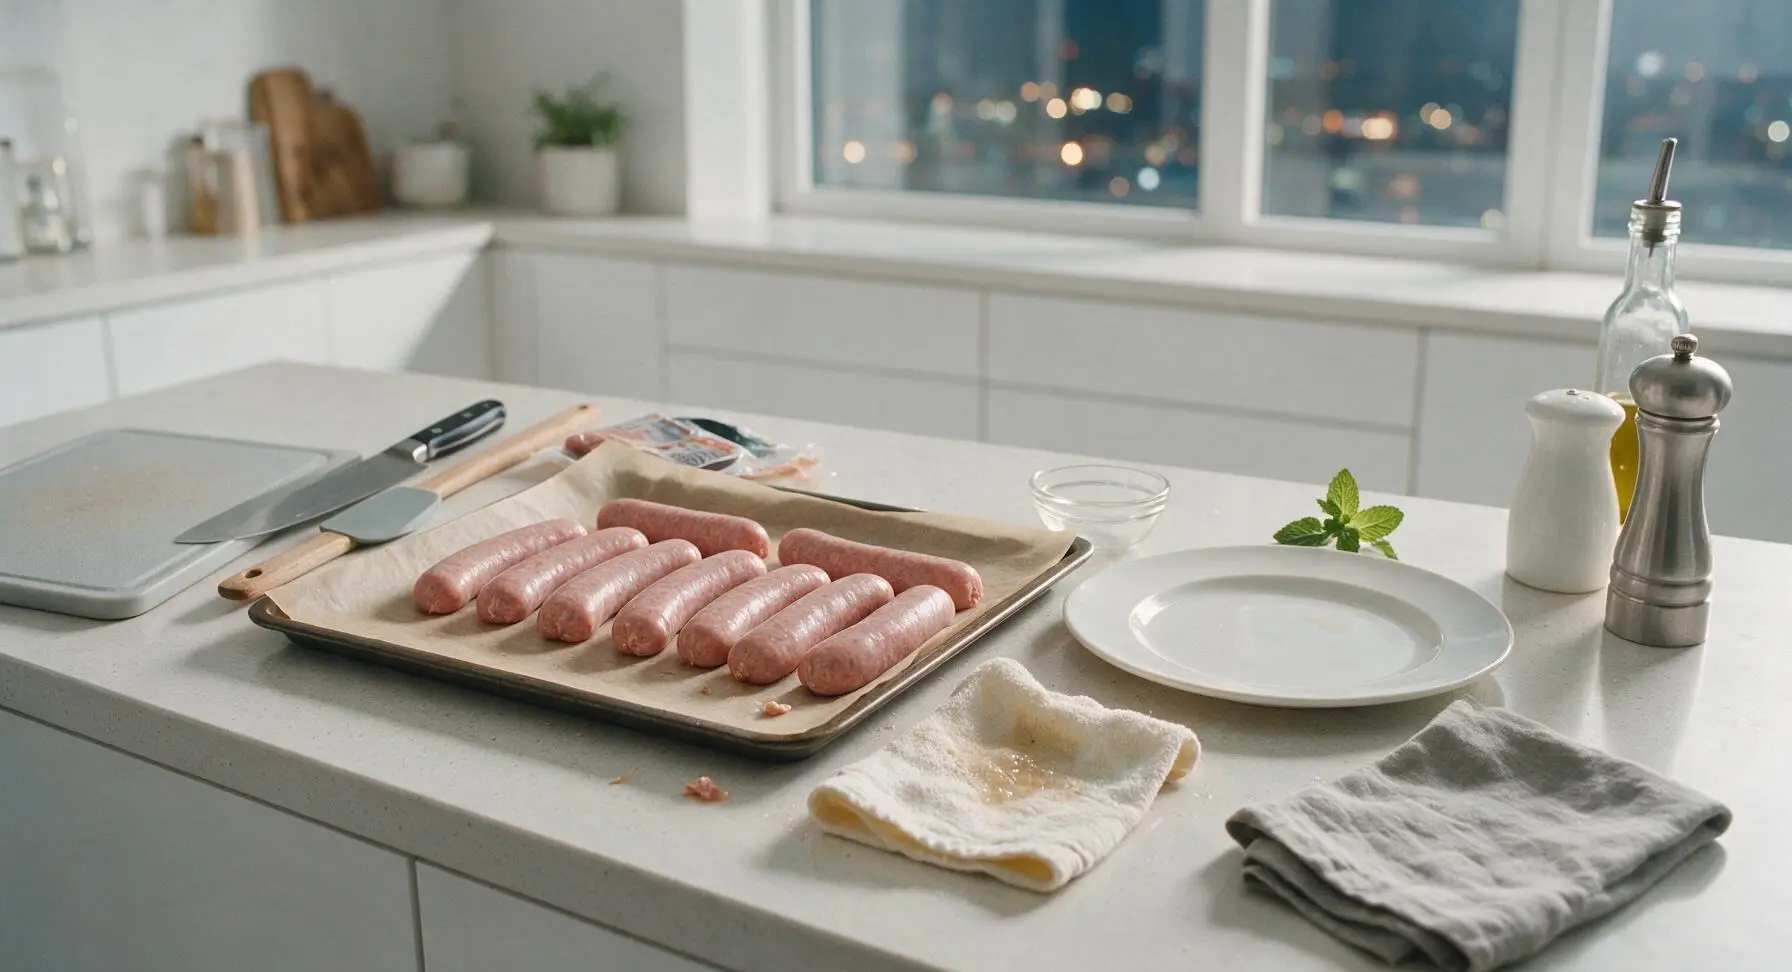
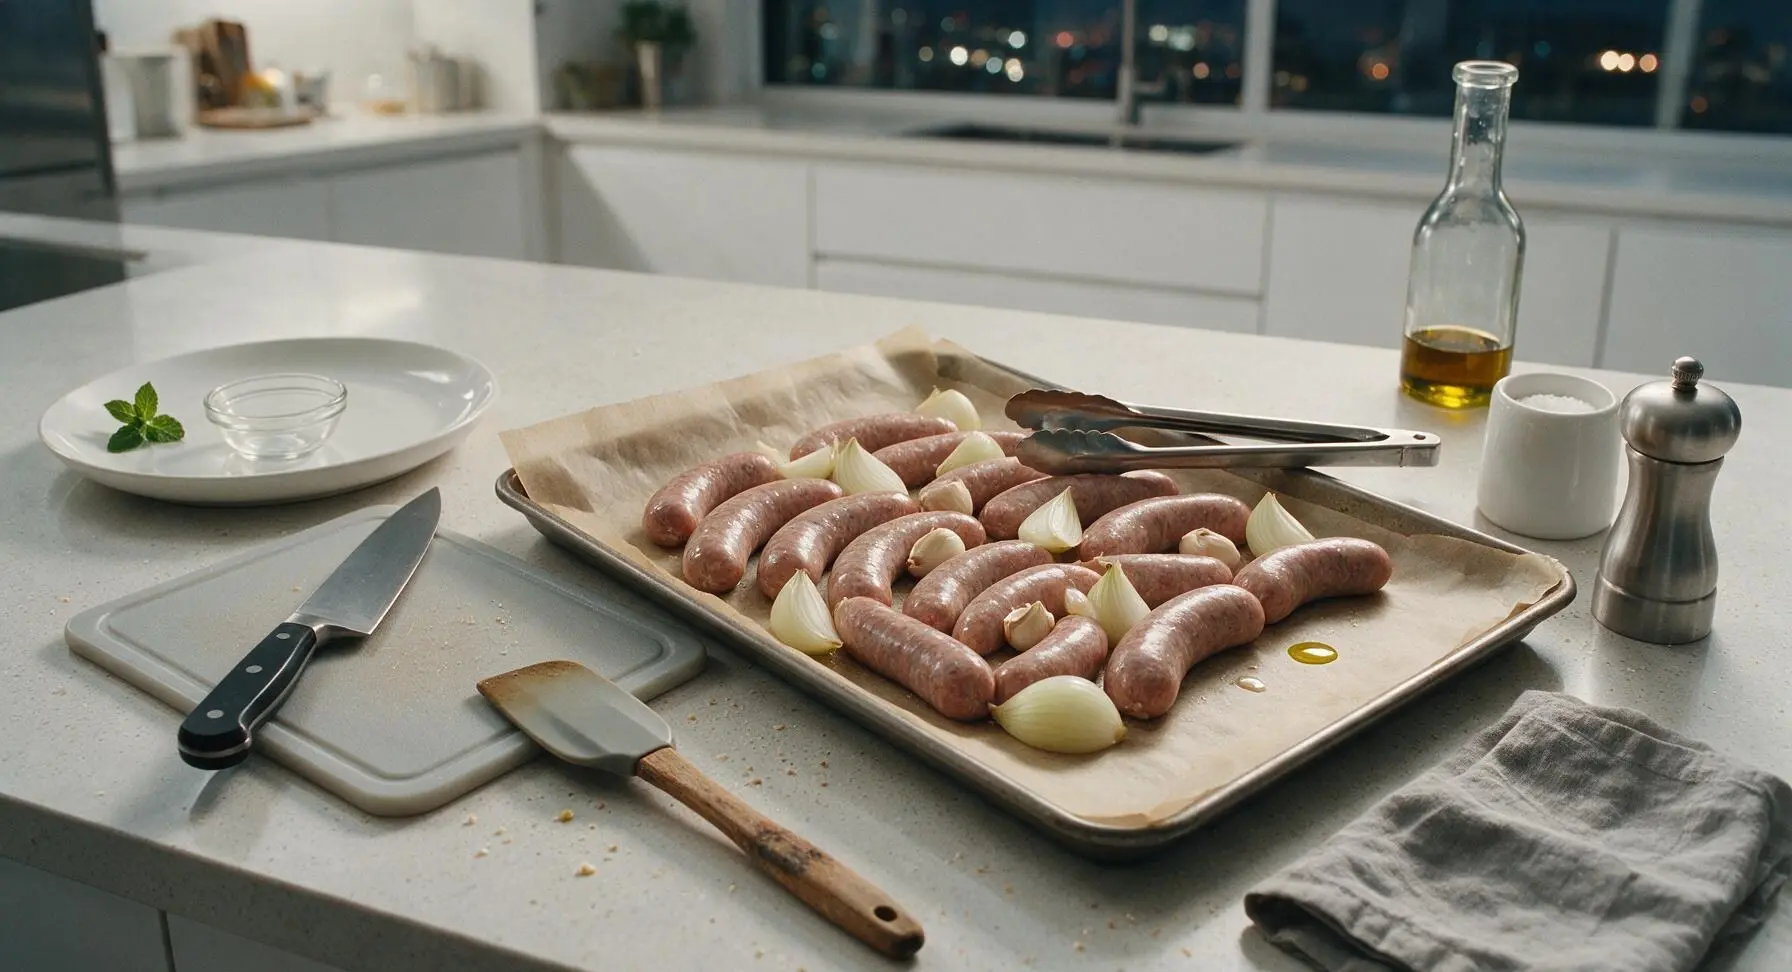
Remove the pork sausages from their packaging. Pat sausages very lightly dry with a corner of the fixed cream kitchen towel if they feel damp on the surface—this helps casings crisp evenly in the oven. Place sausages on the parchment-lined baking sheet, leaving 2cm of space between each link to allow hot air circulation, with no overlapping sausages.
Step 2
step2:Arrange Sausages Evenly
3

Add Aromatics and Oil

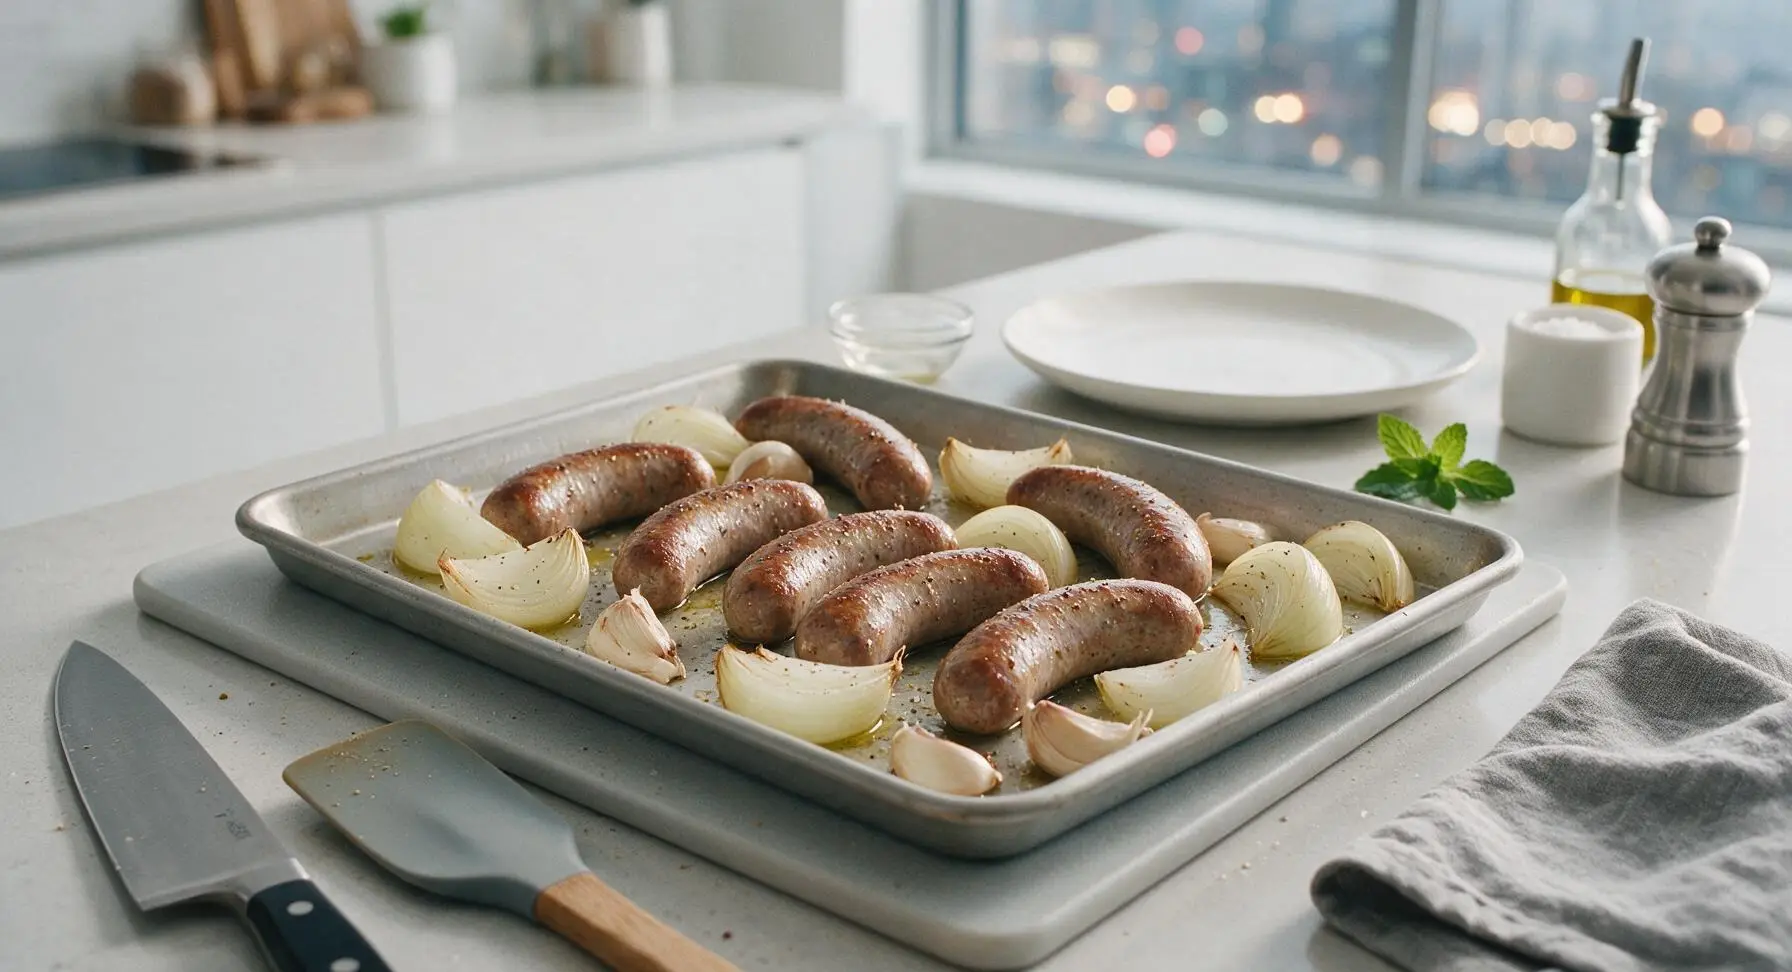
Tuck the 8 yellow onion wedges and 4 lightly crushed unpeeled garlic cloves into the gaps between the sausages. Drizzle the entire tray with 1 tablespoon of extra-virgin olive oil, then use the silicone-tipped stainless steel tongs to turn the sausages and vegetables until every piece is lightly coated in oil. Sprinkle 1/2 teaspoon of freshly cracked black pepper evenly over the tray; do not add salt, as sausages contain sufficient built-in seasoning.
Step 3
step3:Add Aromatics and Oil
Step 3
step3:Add Aromatics and Oil
4

Bake First 15 Minutes

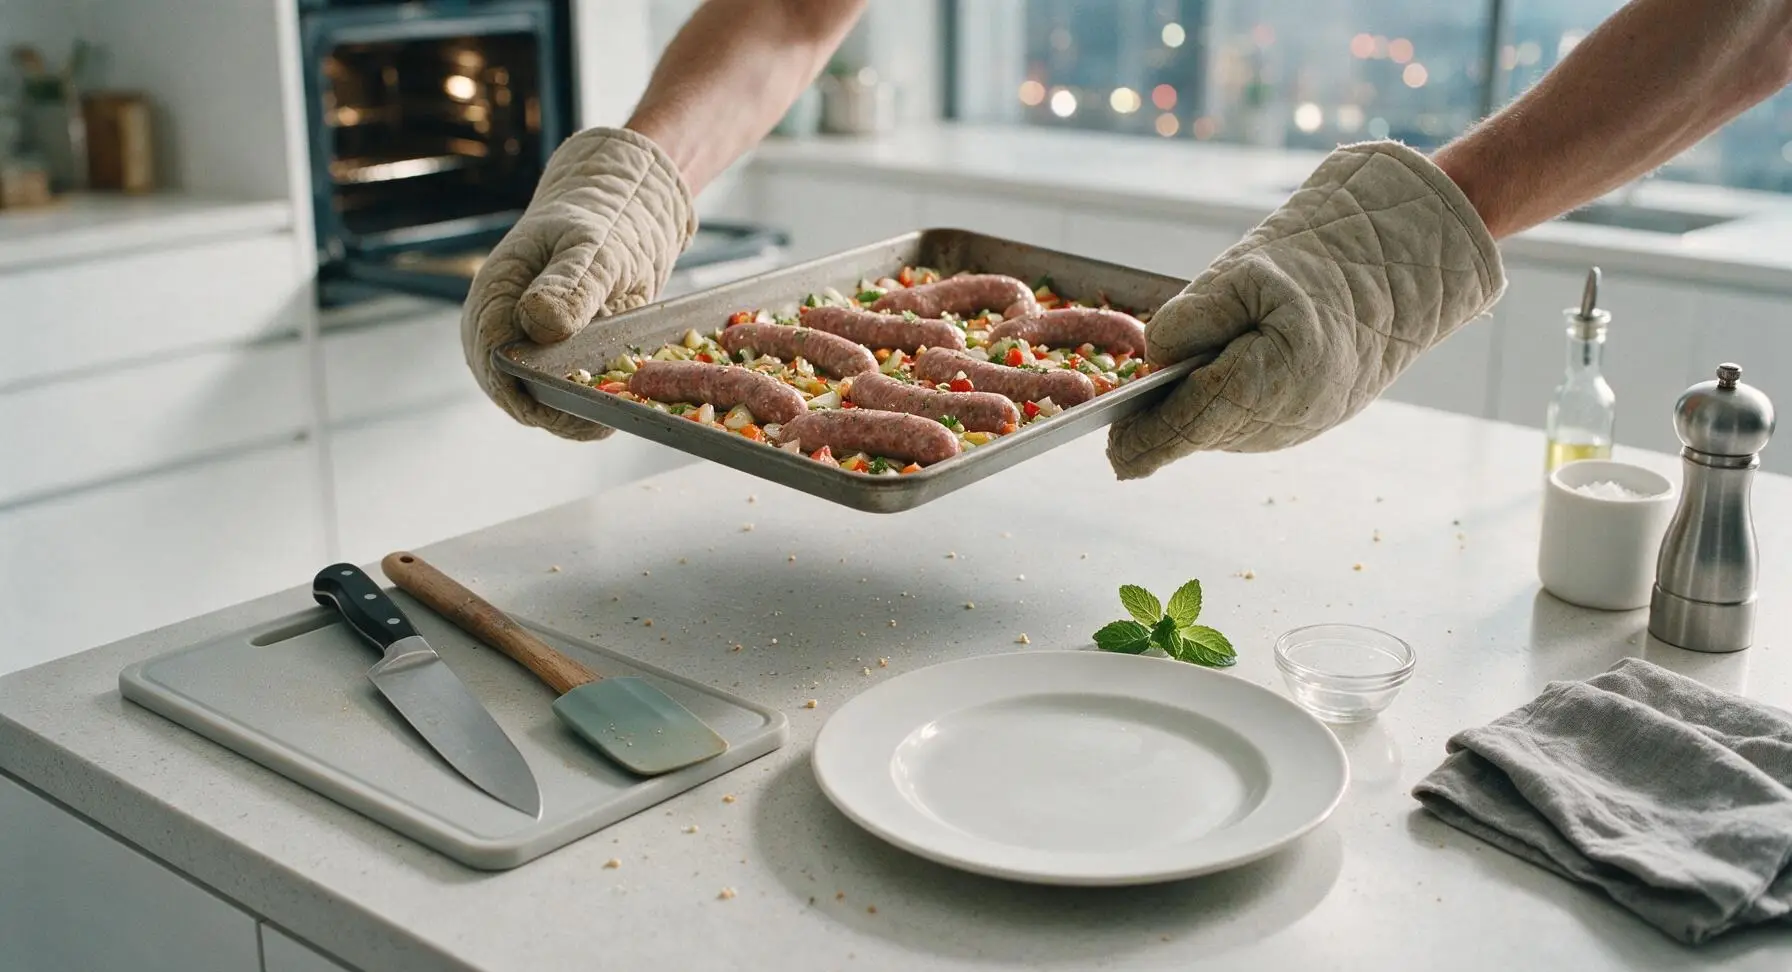
Carefully slide the prepared baking sheet onto the middle rack of the preheated oven. Bake for 15 minutes completely undisturbed; do not open the oven door during this window, as a temperature drop will prevent sausage casings from crisping properly and lead to uneven browning.
Step 4
step4:Bake First 15 Minutes
5

Flip Sausages Mid-Bake

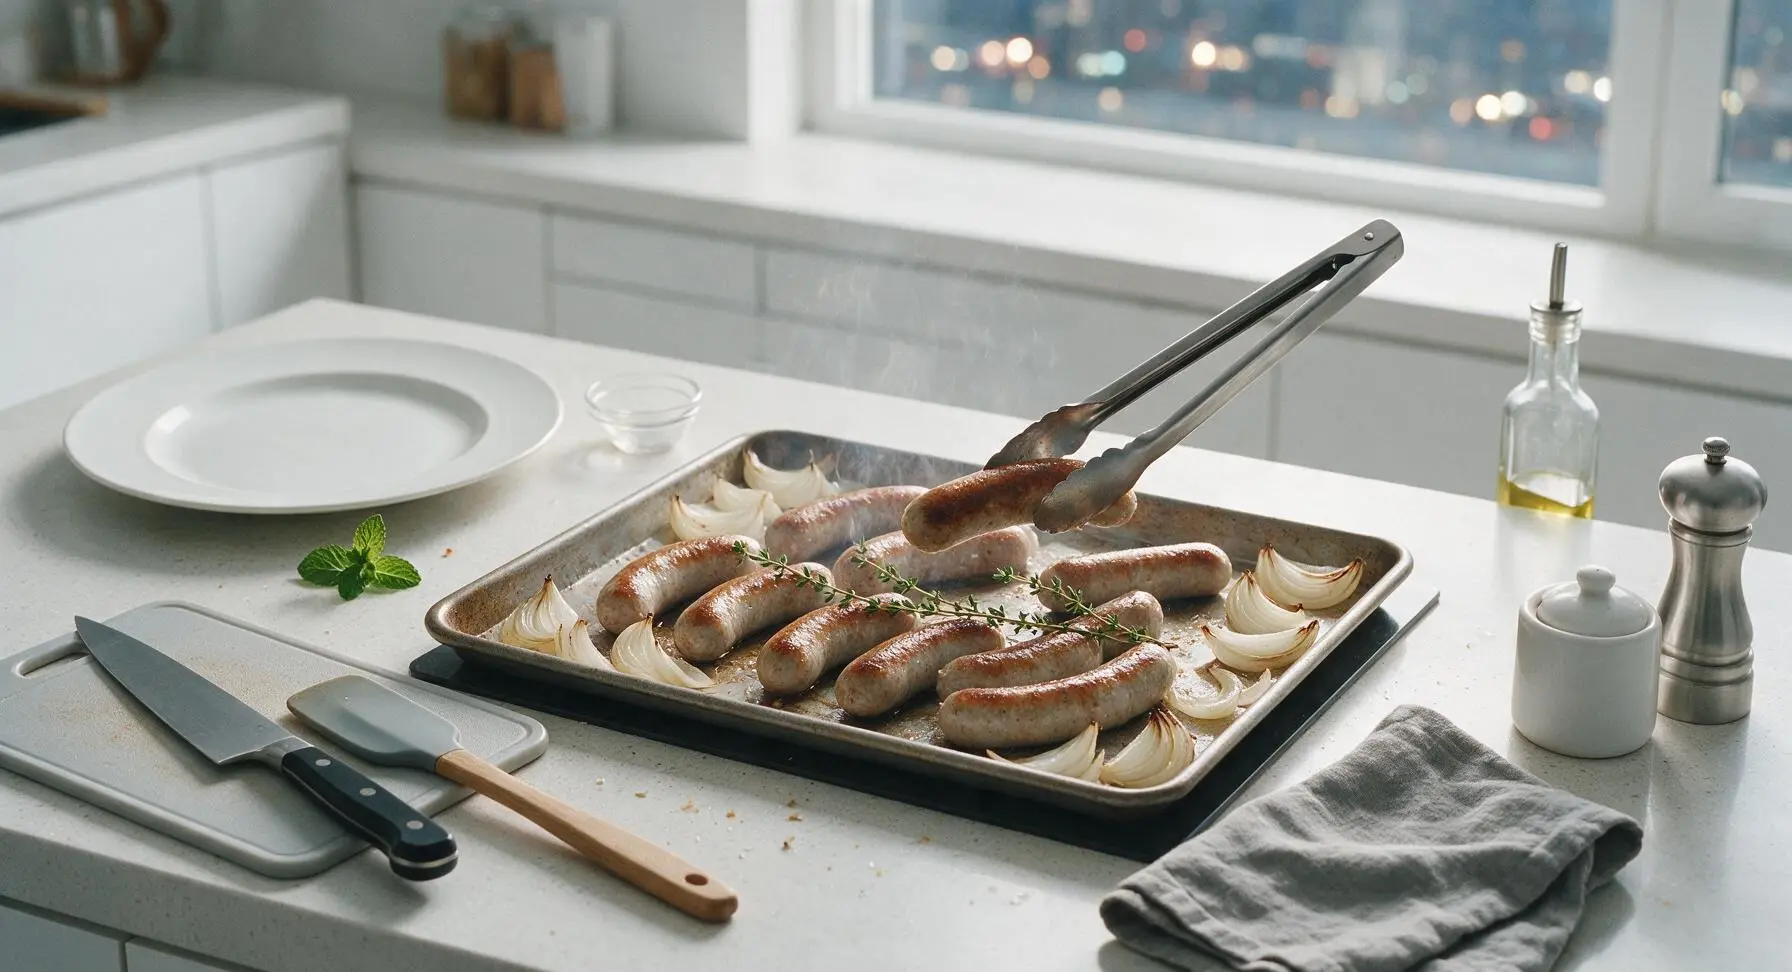
After the full 15 minutes of baking, carefully pull the baking sheet out of the oven and set it back in its centered position on the counter. Use the stainless steel tongs to flip every sausage and turn every onion wedge, so the pale, less-cooked side of each piece faces up. Tuck the 4 fresh thyme sprigs across the top of the sausages at this stage.
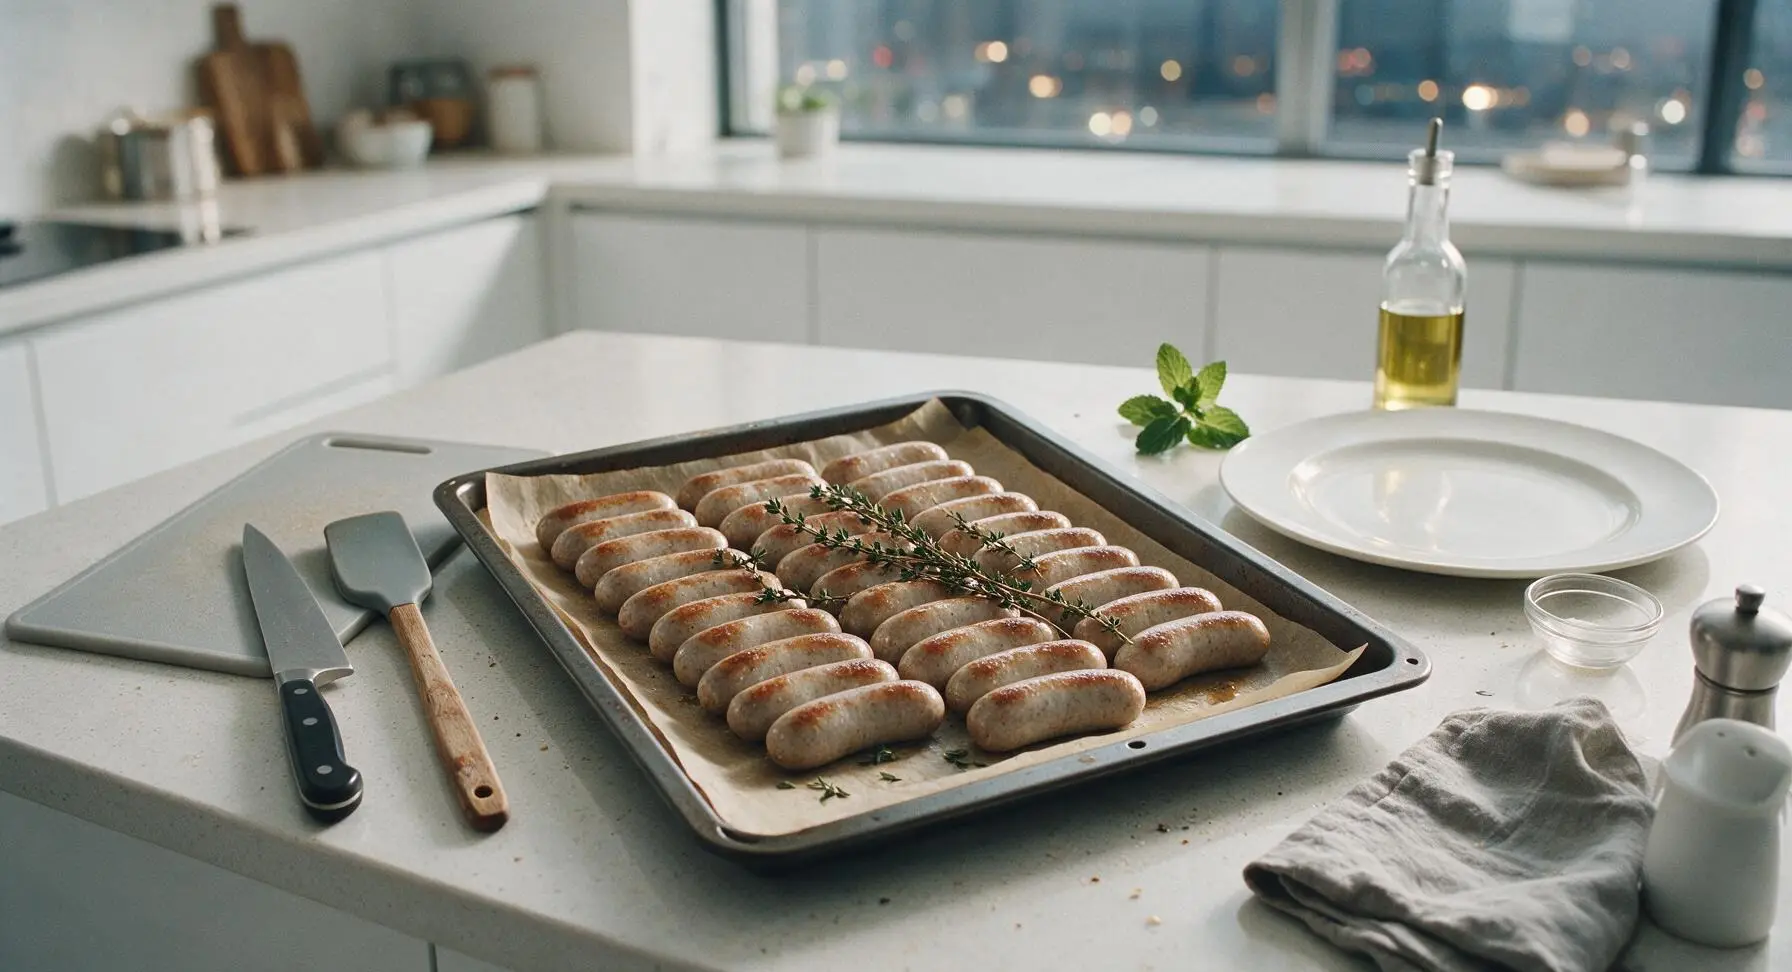
Step 5
step5:Flip Sausages Mid-Bake
Step 5
step5:Flip Sausages Mid-Bake
6

Finish Baking Until Crisp

Return the baking sheet to the middle oven rack, and bake for an additional 10 minutes, until sausages reach an internal temperature of 71°C (160°F), casings are deep golden brown and snappy, onion wedges are tender with caramelized edges, and garlic cloves are soft when squeezed. Total bake time is 25 minutes; avoid baking longer than 30 minutes, as sausages will dry out and casings may burst.
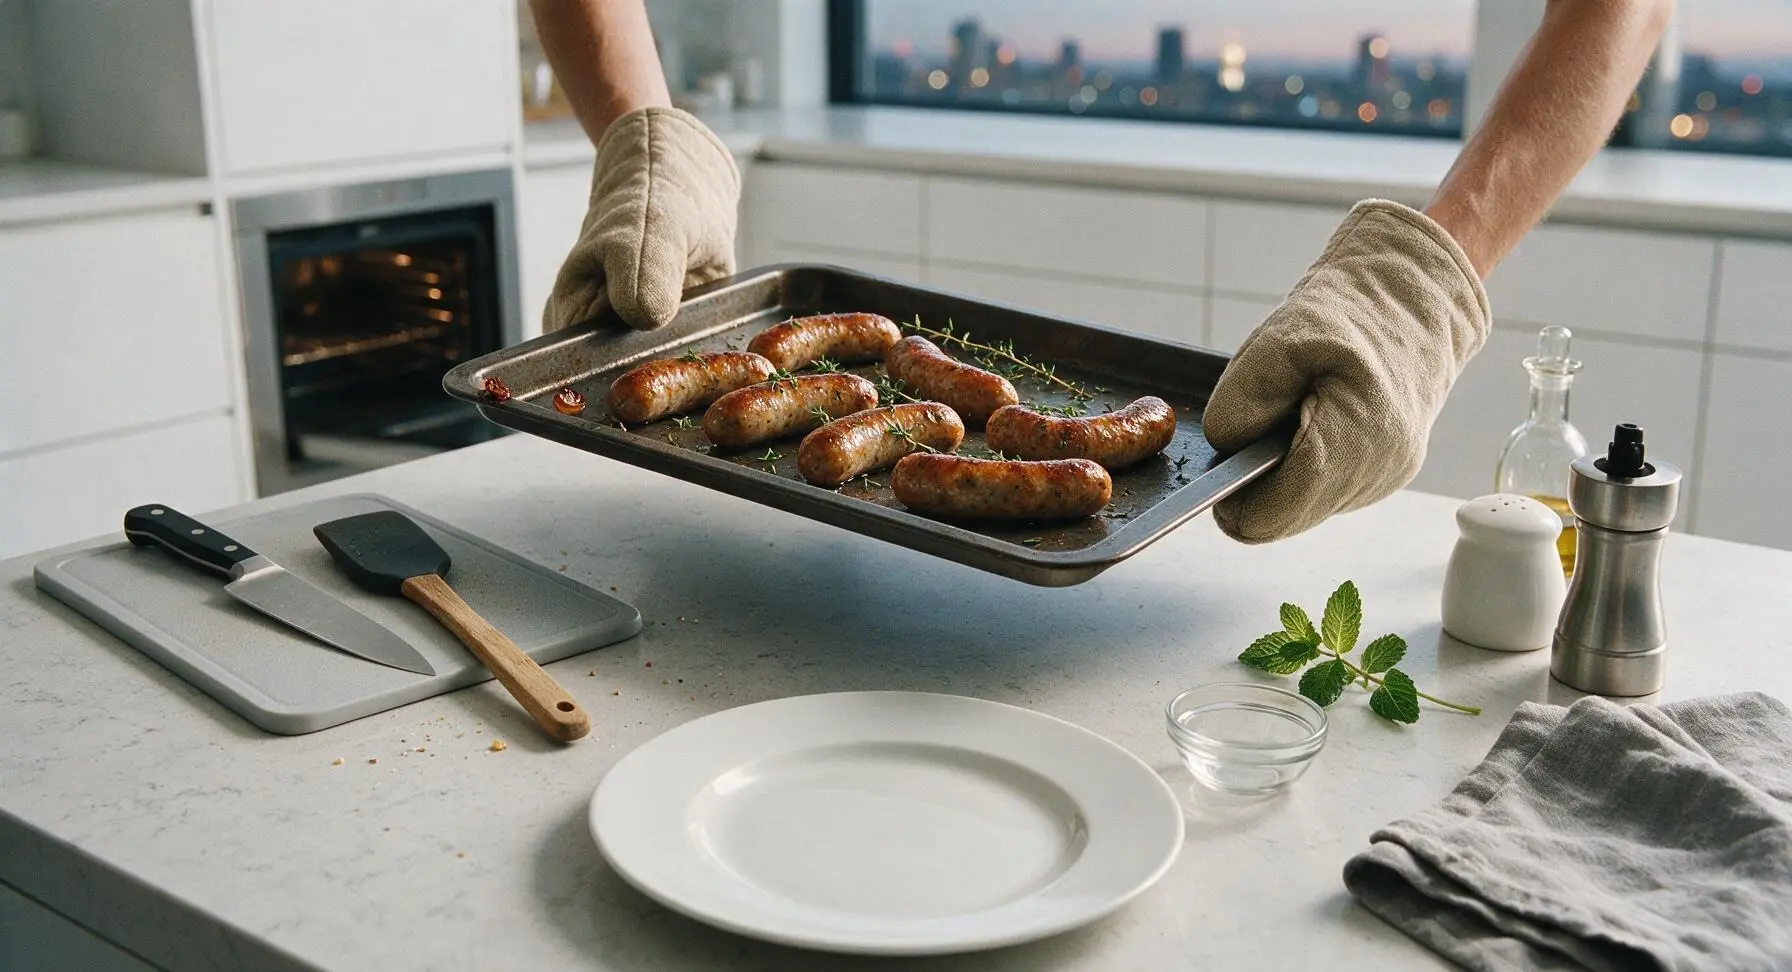
Step 6
step6:Finish Baking Until Crisp
7

Rest and Plate Sausages

Once fully baked, remove the tray from the oven and set it back on the counter to rest for 3 minutes—this short rest allows juices to redistribute inside the casings for juicier bites. Use the tongs to transfer sausages, roasted onion, and garlic to the matte off-white stoneware dinner plate, then spoon 2 tablespoons of whole grain mustard into the matching stoneware ramekin to serve alongside. Discard the used parchment paper after serving.
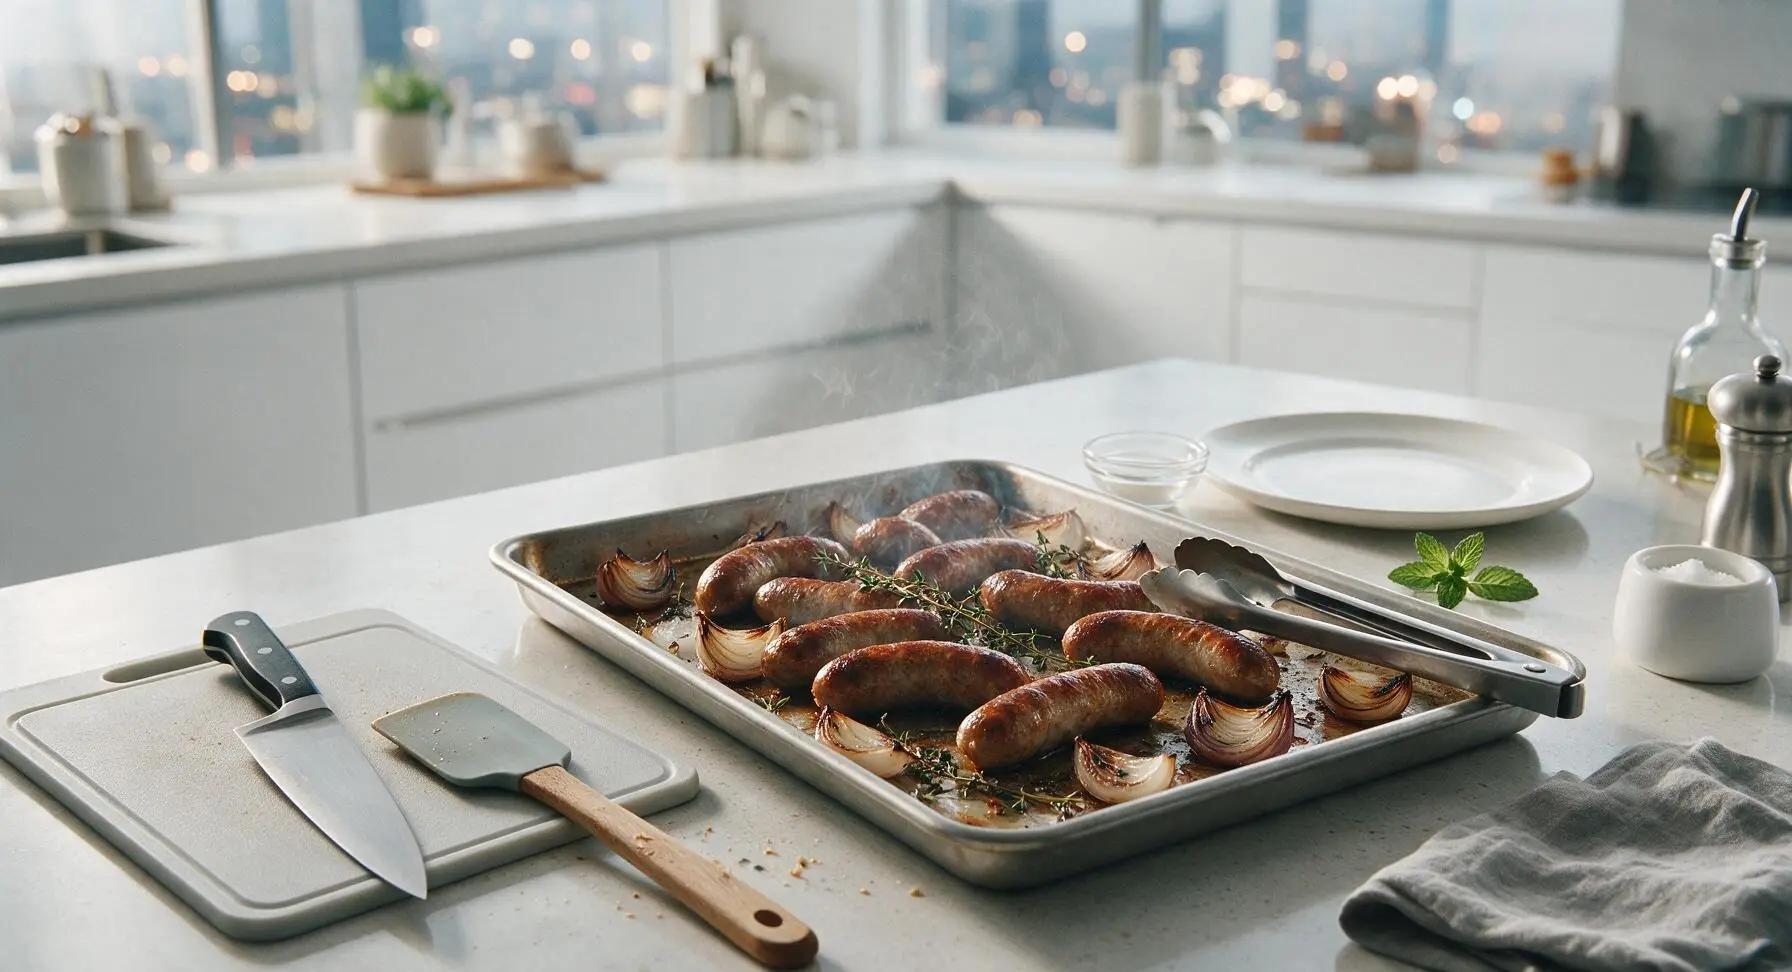
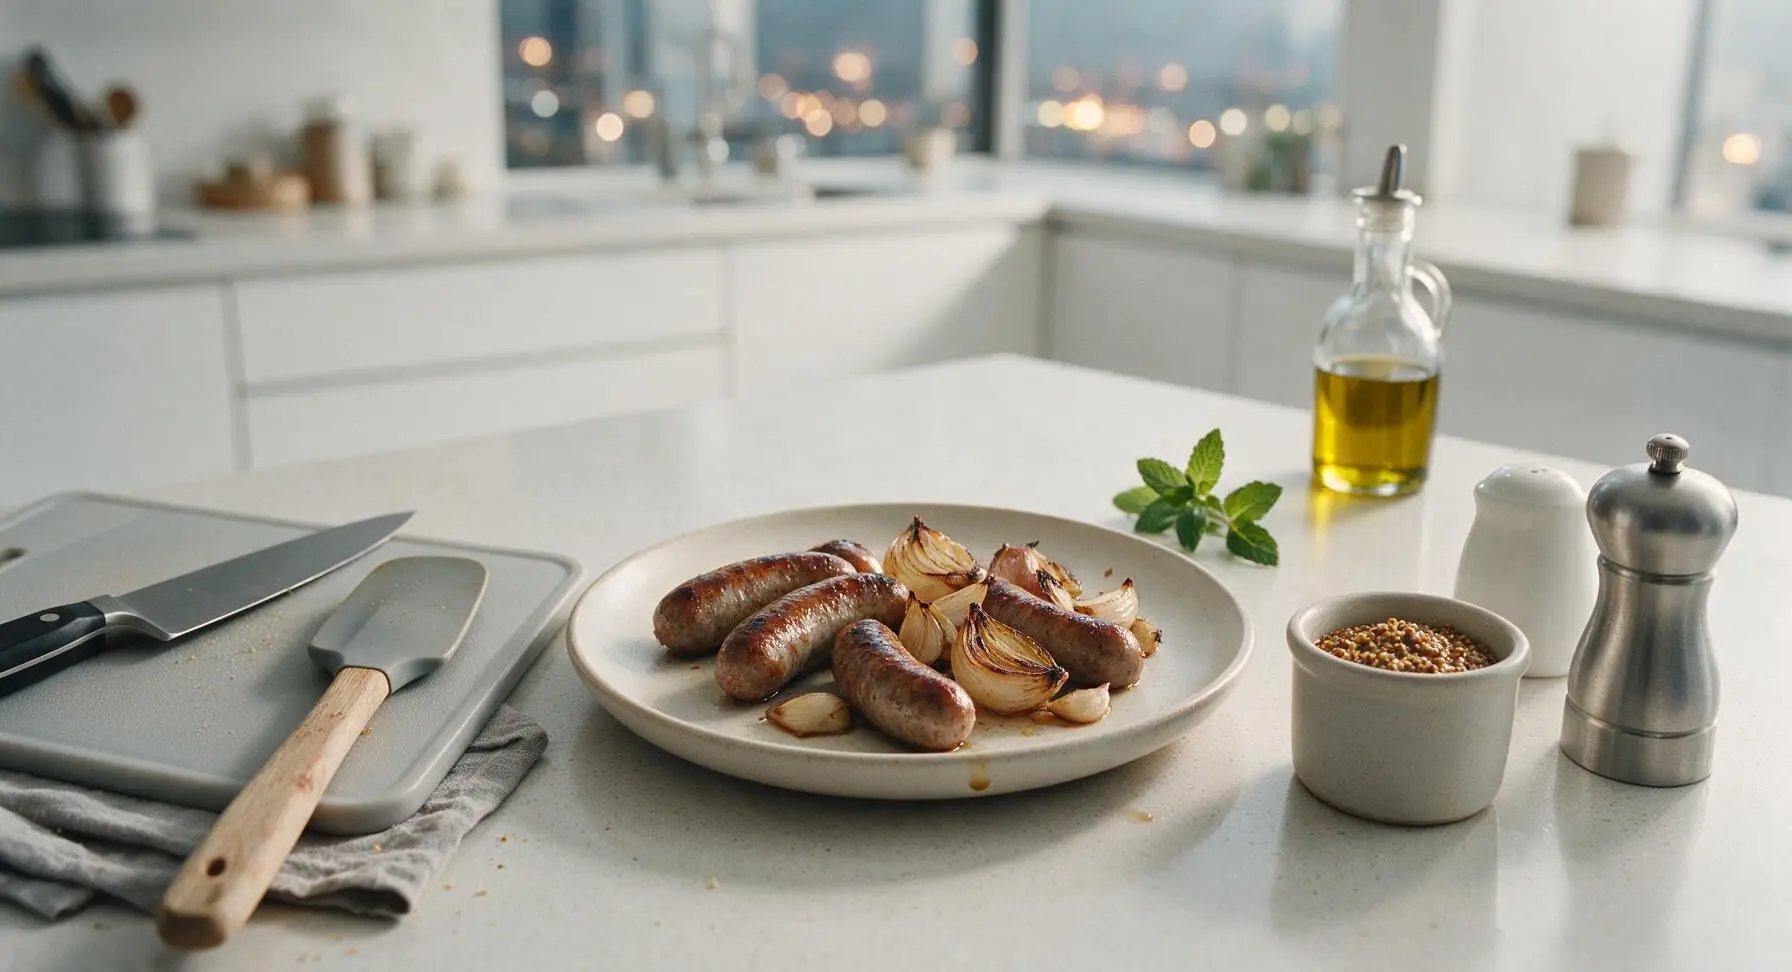
Step 7
step7:Rest and Plate Sausages
Step 7
step7:Rest and Plate Sausages

Tips

1.Leave 2cm of space between each sausage on the tray: overcrowding traps steam between links, which makes casings soft and chewy instead of crisp, and leads to uneven, pale browning.
2.Skip added salt for this recipe: most butcher and grocery store sausages are formulated with 1.5-2% salt for flavor and preservation, so extra salt will make the final dish unpalatably salty.
3.Always let baked sausages rest for 3 minutes before serving: like other cooked meats, this rest allows hot, rapidly moving juices inside the casing to settle back into the meat, so they don’t gush out onto your plate with the first bite.


✨ You May Also Like

Main Course
🍜 United Kingdom

A showstopping classic of tender seared beef, savory mushroom duxelles, and crisp prosciutto wrapped in flaky golden puff pastry, baked to juicy perfection.

⏱️ 2 hours 1Main Course ★ 4.7
Main Course
🍜 India

Tender charred marinated chicken simmered in a rich, spiced creamy tomato sauce, this iconic Anglo-Indian curry pairs perfectly with basmati rice or warm naan.

⏱️ 50 minuteMain Course ★ 4.6
Main Course
🍜 Thailand

Classic tangy, sweet, and savory Thai stir-fried rice noodles with shrimp, tofu, and crunchy garnishes, balancing all five core Thai flavor profiles.

⏱️ 30 minuteMain Course ★ 4.5
Main Course
🍜 United Kingdom

Crispy golden beer-battered cod and fluffy double-fried chips, served with tangy tartar sauce and malt vinegar: the timeless, beloved British pub comfort classic.

⏱️ 45 minuteMain Course ★ 4.7
Main Course
🍜 Mexico

Smoky, chile-marinated pork tacos with caramelized pineapple, fresh cilantro, and lime: a beloved classic Mexican street food perfect for casual summer gatherings.

⏱️ 1 hour 45Main Course ★ 4.8
Main Course
🍜 United States

Crunchy Fritos corn chips layered with savory beef chili and melted cheddar, topped with cool, zesty fixings for a beloved, cozy Tex-Mex comfort food.

⏱️ 35 minuteMain Course ★ 4.8

baked sausages:Frequently Asked Questions

1.What oven temperature gives me snappy, crisp sausage casings without drying out the tender center? ▾
Set your oven to 400°F (200°C) for perfect, consistent results. This high, even heat crisps natural pork sausage casings to that ideal snappy texture without blasting them so hard that flavorful juices leach out. Toss sausages with a light drizzle of extra-virgin olive oil, arrange in a single layer, and you won’t need to parboil first.
2.Do I need to prick my sausage casings with a fork before baking? ▾
Skip pricking natural-casing sausages entirely for this recipe. Pricking pokes small holes that let all the rich, flavorful fat and rendered juices escape as they cook, leading to dry, bland centers and less snappy casings. The steady, even oven heat keeps casings intact so they crisp without randomly bursting.
3.Can I use pre-cooked or skinless sausages instead of natural-casing pork sausages? ▾
You absolutely can, with a couple small adjustments. Skinless or pre-cooked sausages won’t develop that signature snappy casing, so cut total bake time by 8–10 minutes to avoid drying them out. Toss them with the onion, garlic, and thyme as directed, and pull them once they hit a 165°F internal temperature.
4.How do I keep cleanup as minimal as the recipe promises? ▾
Stick to a single rimmed baking sheet, lined with a sheet of parchment paper if you want even faster post-dinner cleanup. Toss your sliced yellow onion, crushed garlic, thyme, and oiled sausages directly on the pan with no extra mixing bowls required. Skip foil if you want the onion to caramelize evenly for deeper, sweeter flavor.
5.How long do the sausages need to bake, and do I have to flip them halfway? ▾
Plan for a total bake time of 20–25 minutes at 400°F, flipping the sausages once at the 12-minute mark. This ensures both sides crisp evenly, and gives the sliced yellow onion time to caramelize in the rendered sausage fat without burning. Pull them once they hit a 160°F internal temperature for juicy, food-safe results.
6.I don’t have fresh thyme sprigs. Can I use dried thyme instead? ▾
You can absolutely swap fresh thyme for dried, just use 1 teaspoon of dried thyme for every 3 fresh sprigs the recipe calls for, since dried herbs are far more concentrated. Add the dried thyme when you toss the sausages and veggies with olive oil, so it has time to bloom and release its aromatic flavor as everything bakes.
7.Why do my baked sausages always burn on the bottom but stay raw in the middle? ▾
That common issue almost always stems from overcrowding the pan, or using an oven that runs hotter than its dial reads. Arrange sausages in a single layer with ½ inch of space between each so hot air circulates evenly. Use an oven thermometer to confirm temp accuracy, and place the pan on the middle oven rack.
8.Can I add extra veggies to the pan to make this a full one-pan weeknight meal? ▾
Absolutely! This recipe is built to be flexible for fast, cozy weeknight dinners. Add cubed russet potatoes, sliced bell peppers, or halved Brussels sprouts to the pan with the onion, garlic, and thyme—just cut hardy veggies into 1-inch pieces so they cook in the same 25-minute window as the sausages.
9.How do I keep the garlic from burning and turning bitter while the sausages cook? ▾
Crush or roughly chop the garlic cloves instead of mincing them super fine, and tuck them into the sliced onion and under the sausages when you arrange the pan. This keeps the garlic coated in rendered sausage fat and away from direct, blistering hot pan contact, so it turns sweet and golden instead of bitter.
10.How should I store leftover baked sausages, and how long will they stay good? ▾
Let leftover sausages and cooked onion cool completely, then transfer them to an airtight container in the fridge for up to 4 days. Reheat them in a 350°F oven for 8–10 minutes (skip the microwave, which makes casings rubbery) to bring back that crisp exterior and juicy center for quick lunches.

Comments (11)

1 week ago

OMG this is such a game changer! I’ve been pan-frying sausages forever and dealing with splatters all over my stovetop, 25 minutes in the oven and they came out perfectly juicy, no mess at all. My kids devoured them with roasted veggies for family dinner last night, will 100% be adding this to our weekly rotation!

5 days ago

So glad this worked out for your family dinner, Becky! Pro tip: line your baking sheet with parchment paper for even less cleanup next time :)

3 days ago

Wait the parchment paper trick is chef’s kiss! I did that this Sunday for meal prep and the sausages held up perfect all week for quick lunches.

5 days ago

Was skeptical baking sausages would give them that nice crisp exterior I love from grilling, but wow, these were really solid! Only knock is I wish I’d flipped them halfway like I saw someone mention in another tip, the bottom side was a little softer than I like. Super easy for rainy days when I can’t fire up the grill though.

3 days ago

Great call out Jake! Flipping them at the 12-13 minute mark is the sweet spot to get even crispness on all sides, give that a shot next time and I bet you’ll get that perfect snap you’re looking for!

2 weeks ago

Made these for our neighborhood potluck last weekend and people kept asking where I got the sausages because they were SO good! I didn’t even do anything special, just followed the recipe exactly. SO much easier than trying to cook 2 packs of sausages on the stovetop for a crowd, will be my go-to for every cookout and potluck from now on.

2 days ago

As a college student with a tiny apartment and basically zero cooking skills, this recipe was made for me? 25 minutes, no fancy ingredients, no constant stirring, just pop them in the oven and go. I ate them with mac and cheese and it was the best meal I’ve made all semester lmao.

yesterday

Same! I do this with turkey sausages too and they turn out amazing, way better than the microwave garbage I used to eat.

2 hours ago

Love that this works for small kitchens! You can even toss a sheet pan of frozen veggies on the same tray the last 15 minutes for a full one-pan meal, no extra dishes required.

3 days ago

Used hot Italian sausages for this and the flavor was unreal! They didn’t dry out at all like every other time I’ve tried baking sausages, that temperature tip is dead on. Served them on hoagie rolls with peppers and onions for game night and my roommates lost their minds.

2 days ago

Oh the peppers and onions on the same sheet pan is such a move! I did that last week for my boyfriend’s watch party and nobody left hungry.

1 week ago

I make a big batch of these every Sunday for my husband’s work lunches and my quick breakfasts during the week. They reheat so well in the air fryer or even the microwave, no rubbery texture at all. This method saves me so much time during the busy work week, can’t recommend enough.

30 minutes ago

Uh, maybe I did something wrong? Mine came out a little undercooked in the middle after 25 minutes? I used thick bratwursts instead of regular breakfast sausages, does that make a difference? Flavor was good just had to pop them back in for 10 more minutes.

5 minutes ago

Oh yeah thick brats need a little extra time! I usually do 30-35 for those, same temp, and they come out perfect. Also make sure your oven is actually preheated all the way first, that trips me up all the time.

just now

Great advice from HomeCookHero! Thicker sausage varieties like bratwurst do need 5-10 extra minutes, and using a meat thermometer to check for an internal temp of 160°F takes all the guesswork out. Hope they turned out tasty after the extra cook time!

yesterday

Finally a sausage cooking method that doesn’t require any weird added oils or flours and still gives that perfect snap! I used gluten-free chicken apple sausages for this and they were so juicy, even my toddler who refuses most meat ate two whole links. Win for mom life!

2 hours ago

Toddler approval is the highest rating we can ask for! So happy this worked for your family, Gaby.

5 days ago

As a dad who’s in charge of weeknight dinners for three kids, I’m always looking for low-effort recipes that don’t taste like low effort. This checks every box: minimal prep, short cook time, zero mess, and everyone at the table cleaned their plates. 10/10, will be on repeat all school year.

yesterday

I was raised frying sausages in a cast iron skillet so I was convinced oven-baked wouldn’t measure up, but boy was I wrong! The outside got nice and caramelized, the inside was juicy, and I didn’t have to stand over the stove the whole time. Served them with biscuits and gravy for Sunday brunch and my husband said it was the best brunch I’ve made all year.

30 minutes ago

Brunch with biscuits and gravy sounds heavenly! I’m making these for my mom’s birthday brunch next weekend, so excited to try them.

2 hours ago

Great basic recipe! I used lean turkey sausages, tossed them with a little paprika and garlic powder before baking, and they came out super tasty. Only reason it’s not 5 stars is I wish the recipe noted that leaner sausages might need a quick spritz of cooking spray so they don’t stick to the pan. Otherwise, super easy and macro-friendly for meal prep!

30 minutes ago

Thanks for the honest feedback Fran! We’ll add that note about cooking spray for leaner sausage varieties to the recipe card right away, that’s a super helpful tip.

5 minutes ago

The paprika and garlic powder addition is genius! I’m always looking for ways to spice up my meal prep proteins, will definitely be stealing that trick.



