
ground beef and sausages

title 1
ground beef and sausages
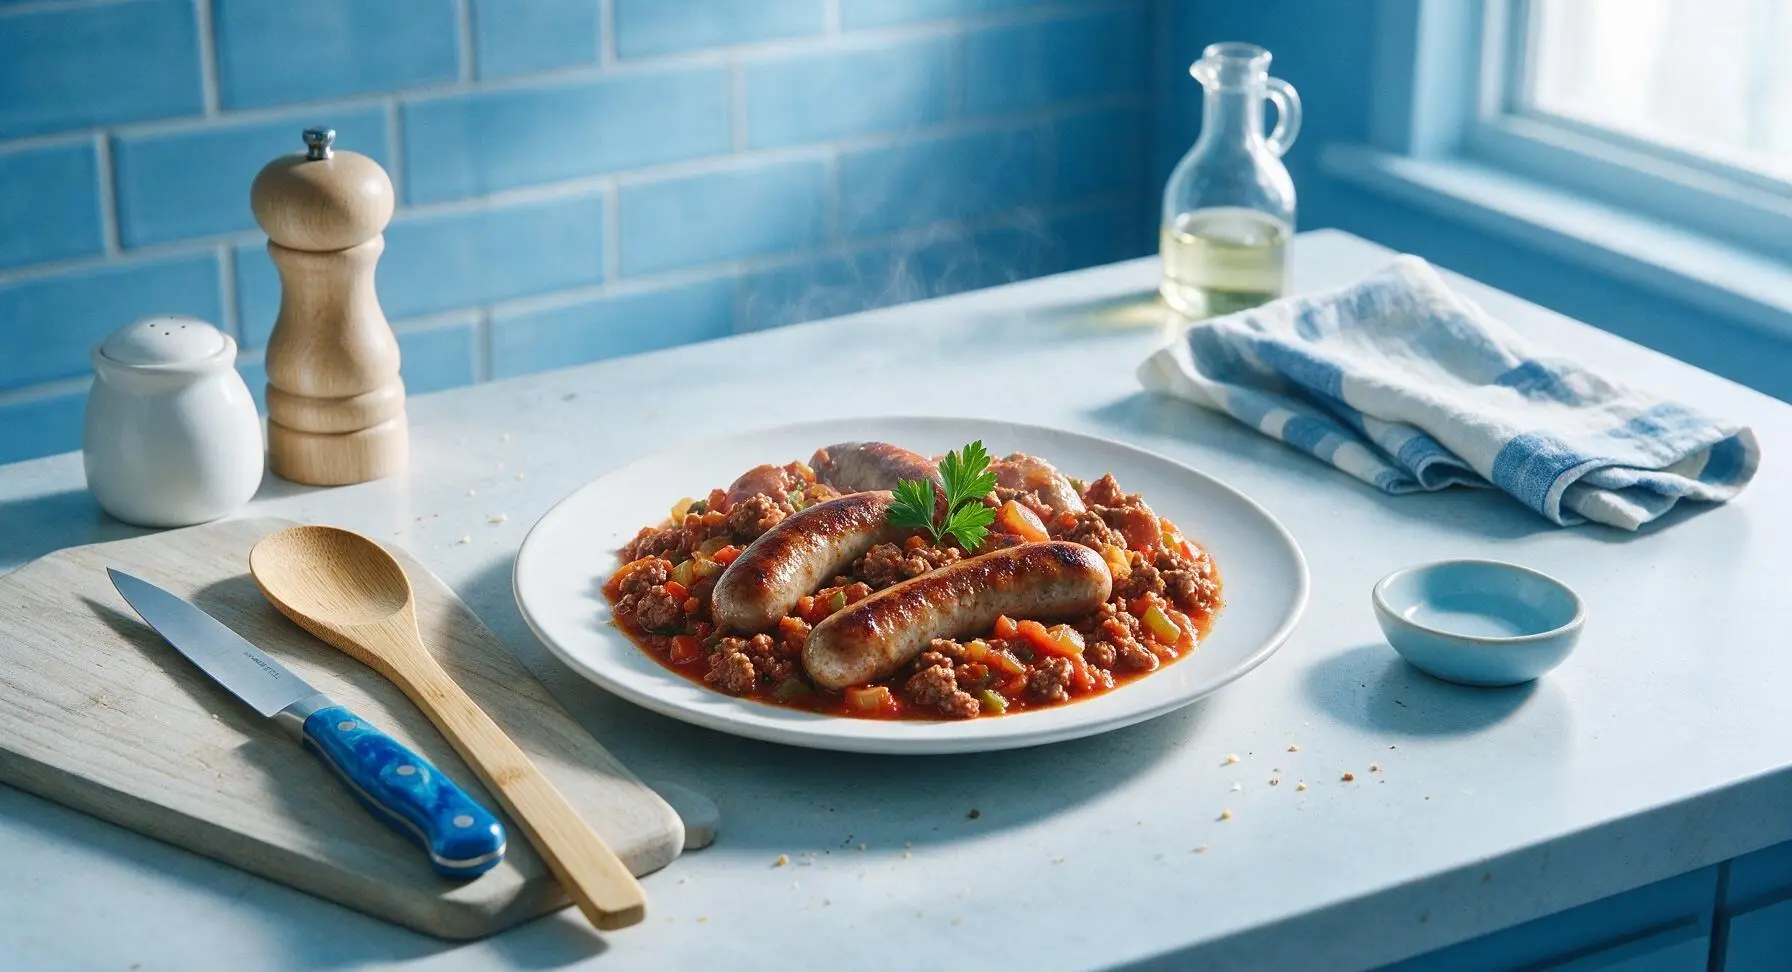
⏱️ cook time 30 minutes
🍽️ servings 4
⚡ Difficulty easy

intro

Juicy seared bratwurst and savory crumbled ground beef simmered with aromatic veggies and rich tomato gravy: a cozy, satisfying one-pan meal perfect for gathering around the Sunday table.

Ingredients
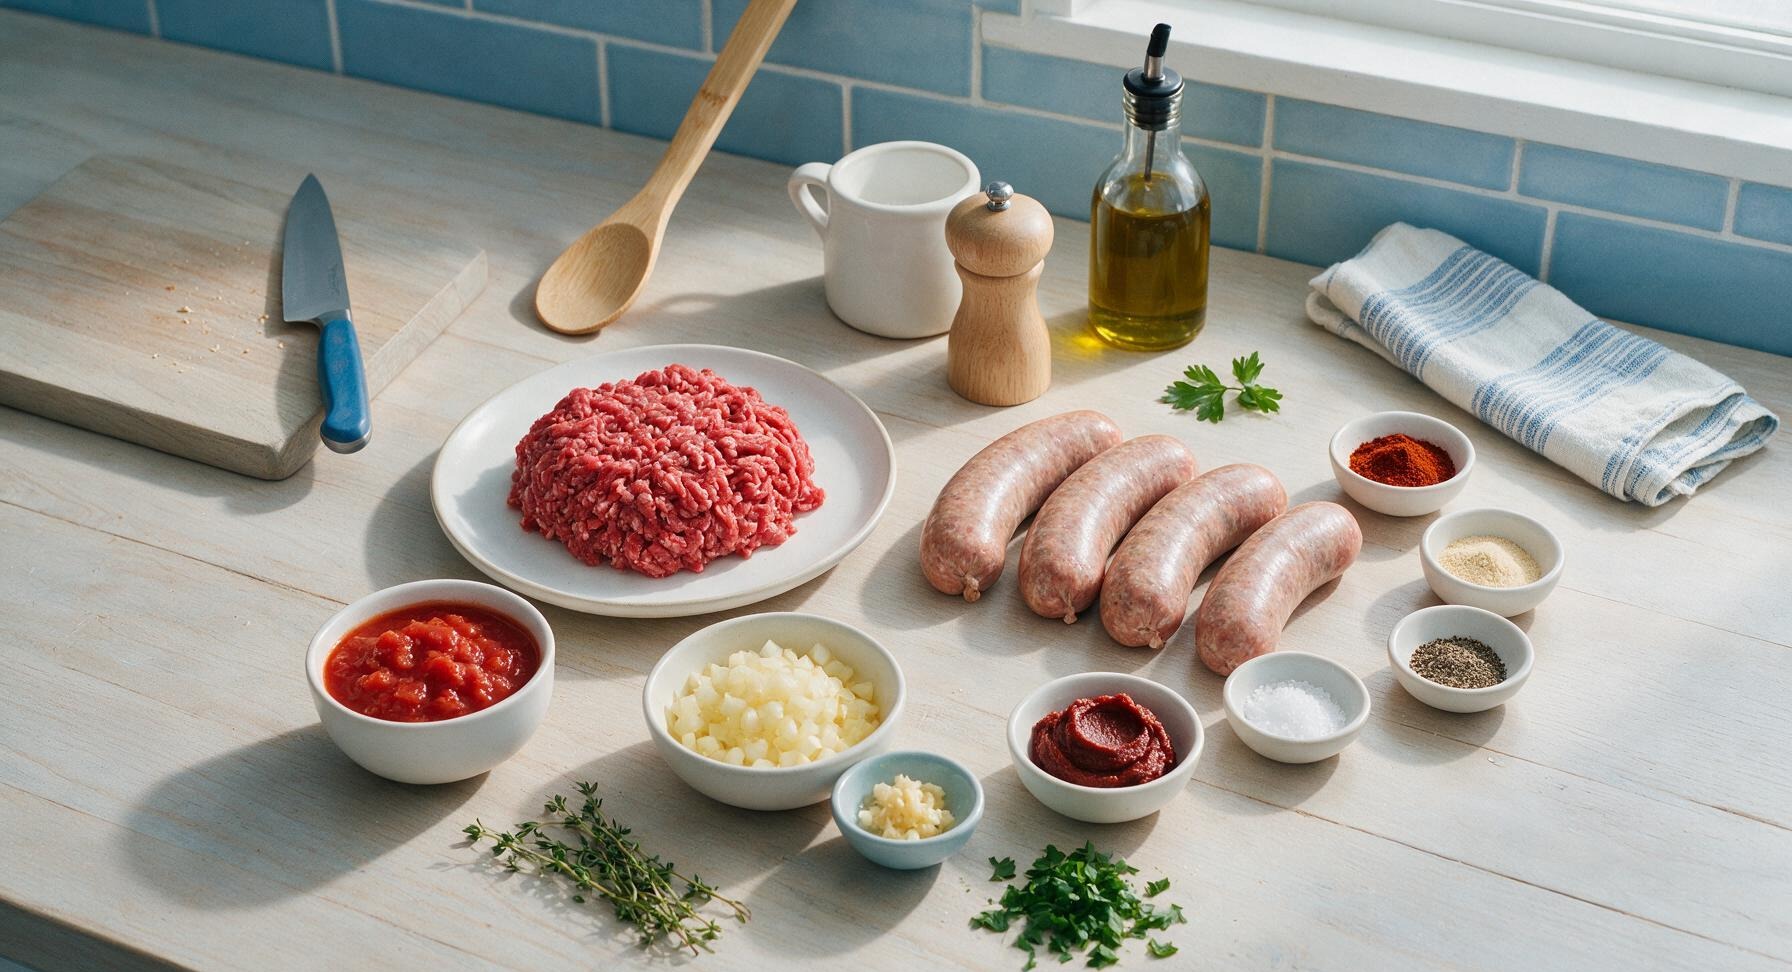
85/15 lean ground beef 450g (1lb)
Raw pork bratwurst sausages 4 links (340g total)
Yellow onion 1 medium (150g, diced)
Garlic cloves 3 (10g, minced)
No-salt-added crushed tomatoes 1 can (400g/14.5oz)
Tomato paste 2 tablespoons (30g)
Smoked paprika 1 teaspoon
Garlic powder 1 teaspoon
Kosher salt 1 teaspoon, divided
Freshly ground black pepper ½ teaspoon, divided
Extra-virgin olive oil 1 tablespoon
Fresh thyme 4 sprigs
Fresh flat-leaf parsley 2 tablespoons (chopped, for garnish)

Steps

1

Prep Aromatic Vegetables

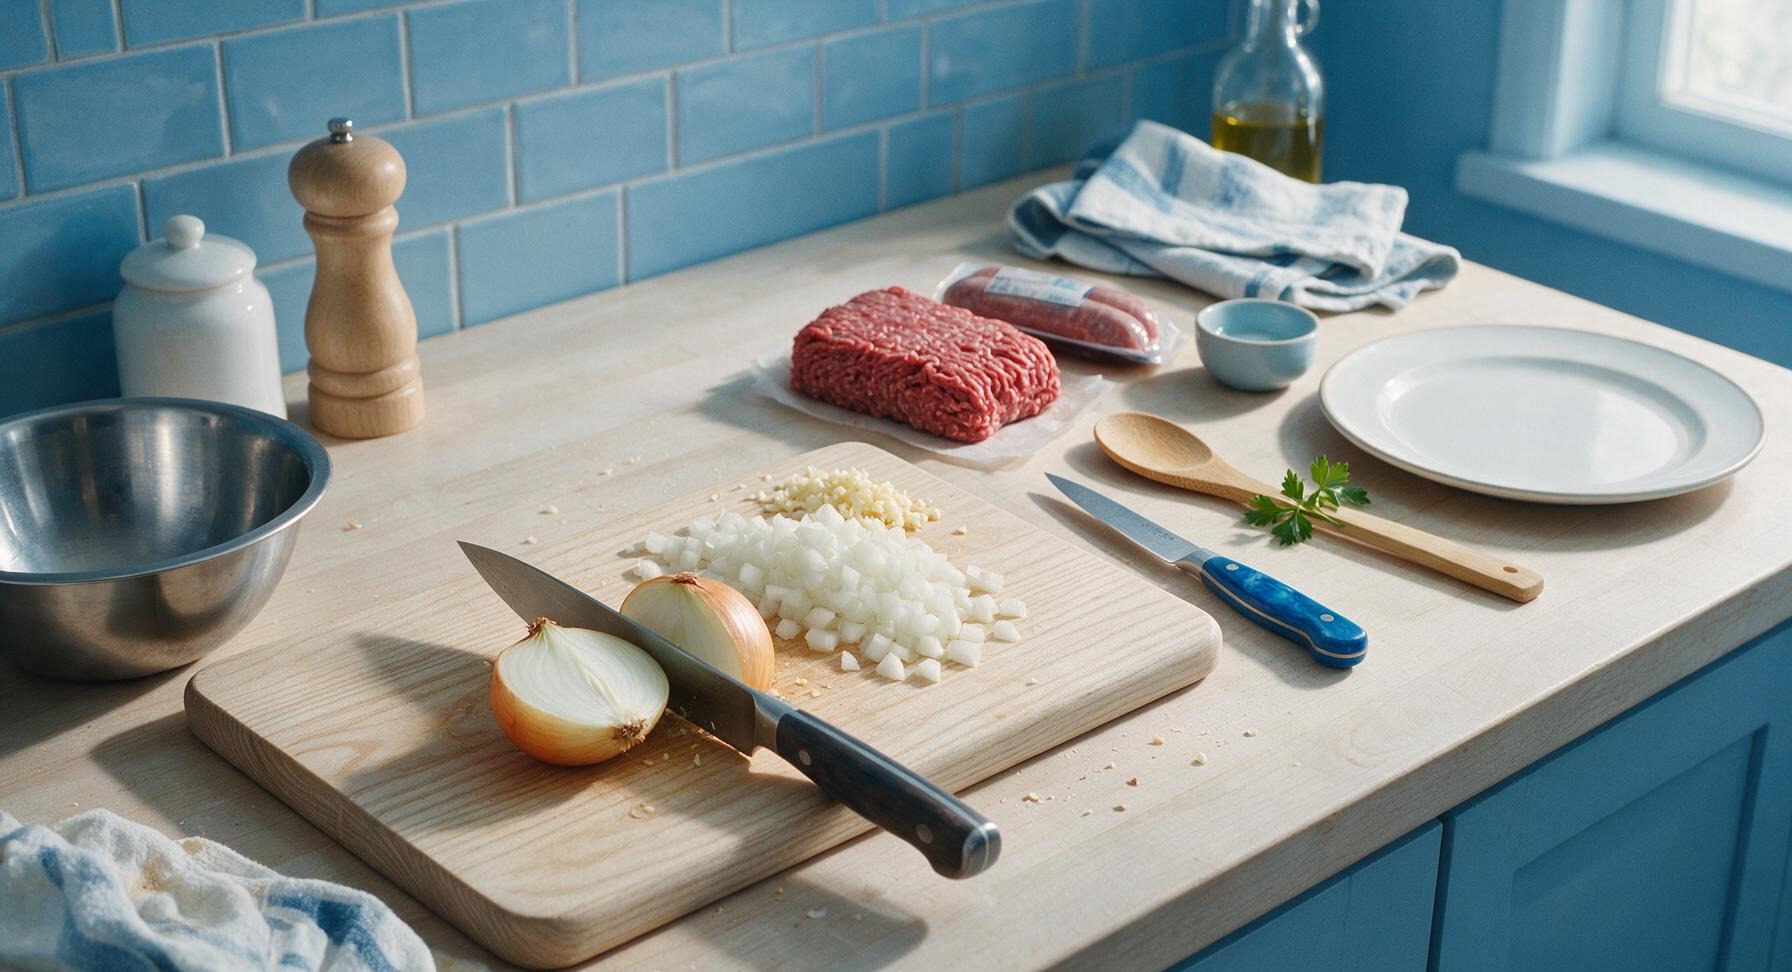
Place the yellow onion on the honey maple cutting board. Using the chef knife, dice the onion into ½cm uniform pieces, then mince the garlic cloves finely. Set diced onion and minced garlic aside in the stainless steel mixing bowl. This should take approximately 5 minutes, with no large onion chunks remaining.
Step 1
step1:Prep Aromatic Vegetables
2

Sear Whole Sausages

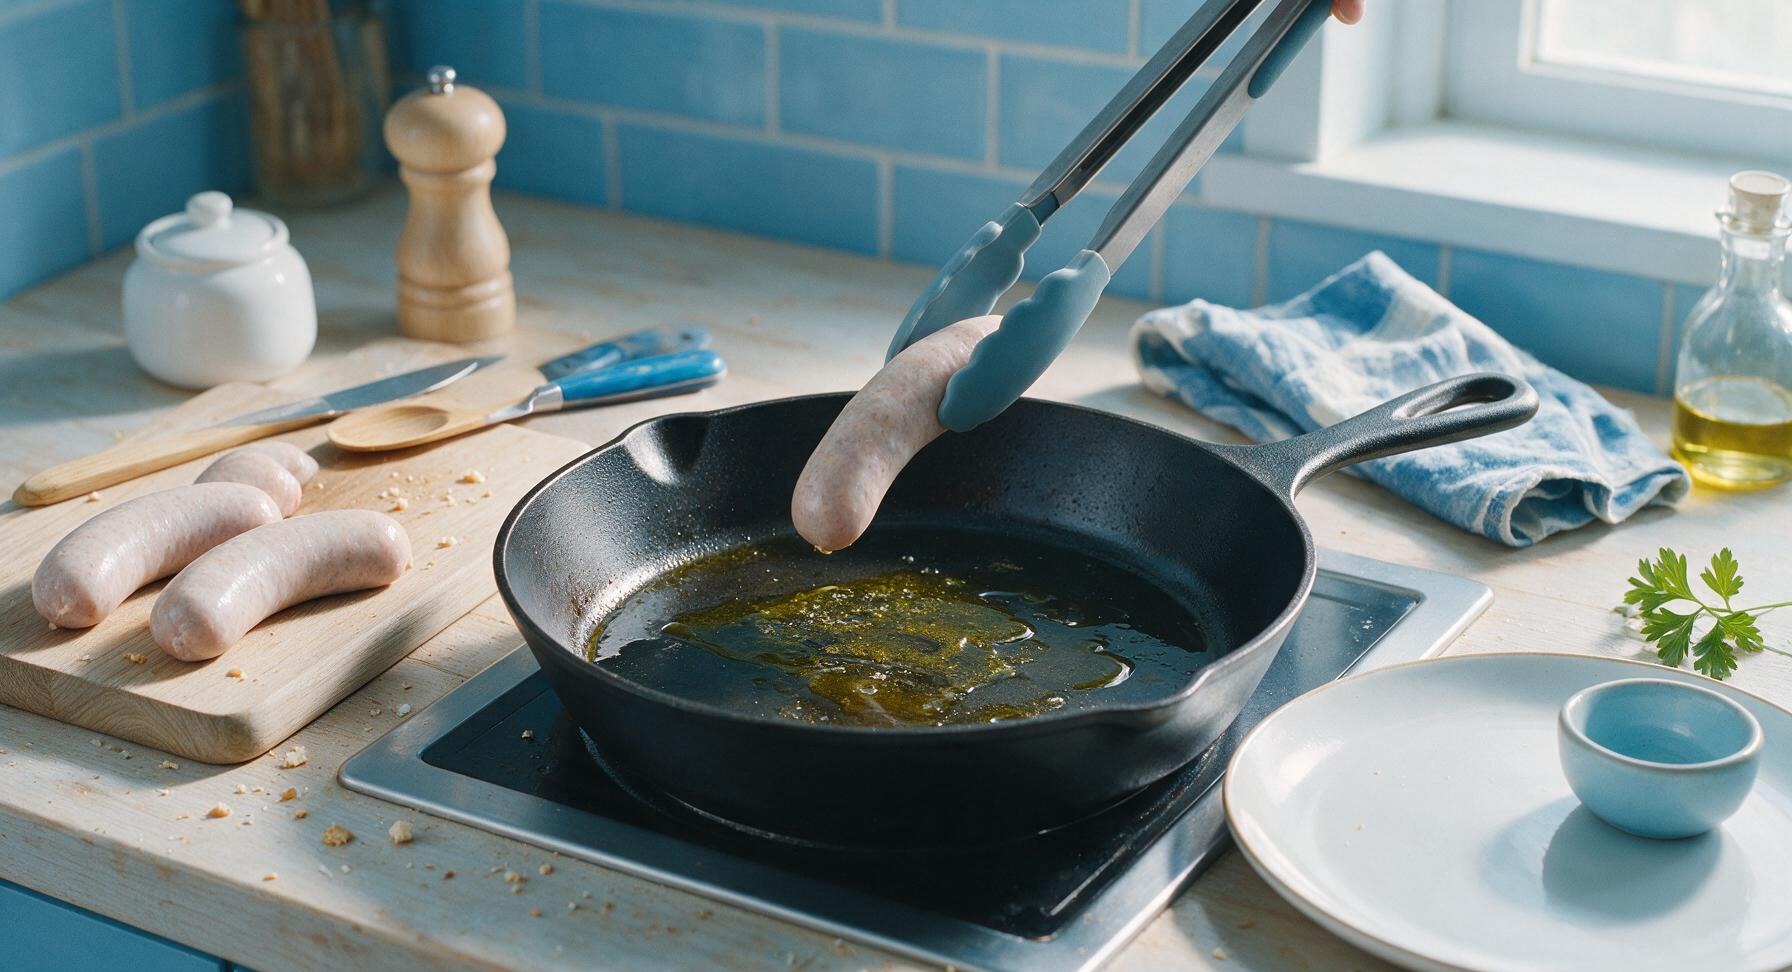
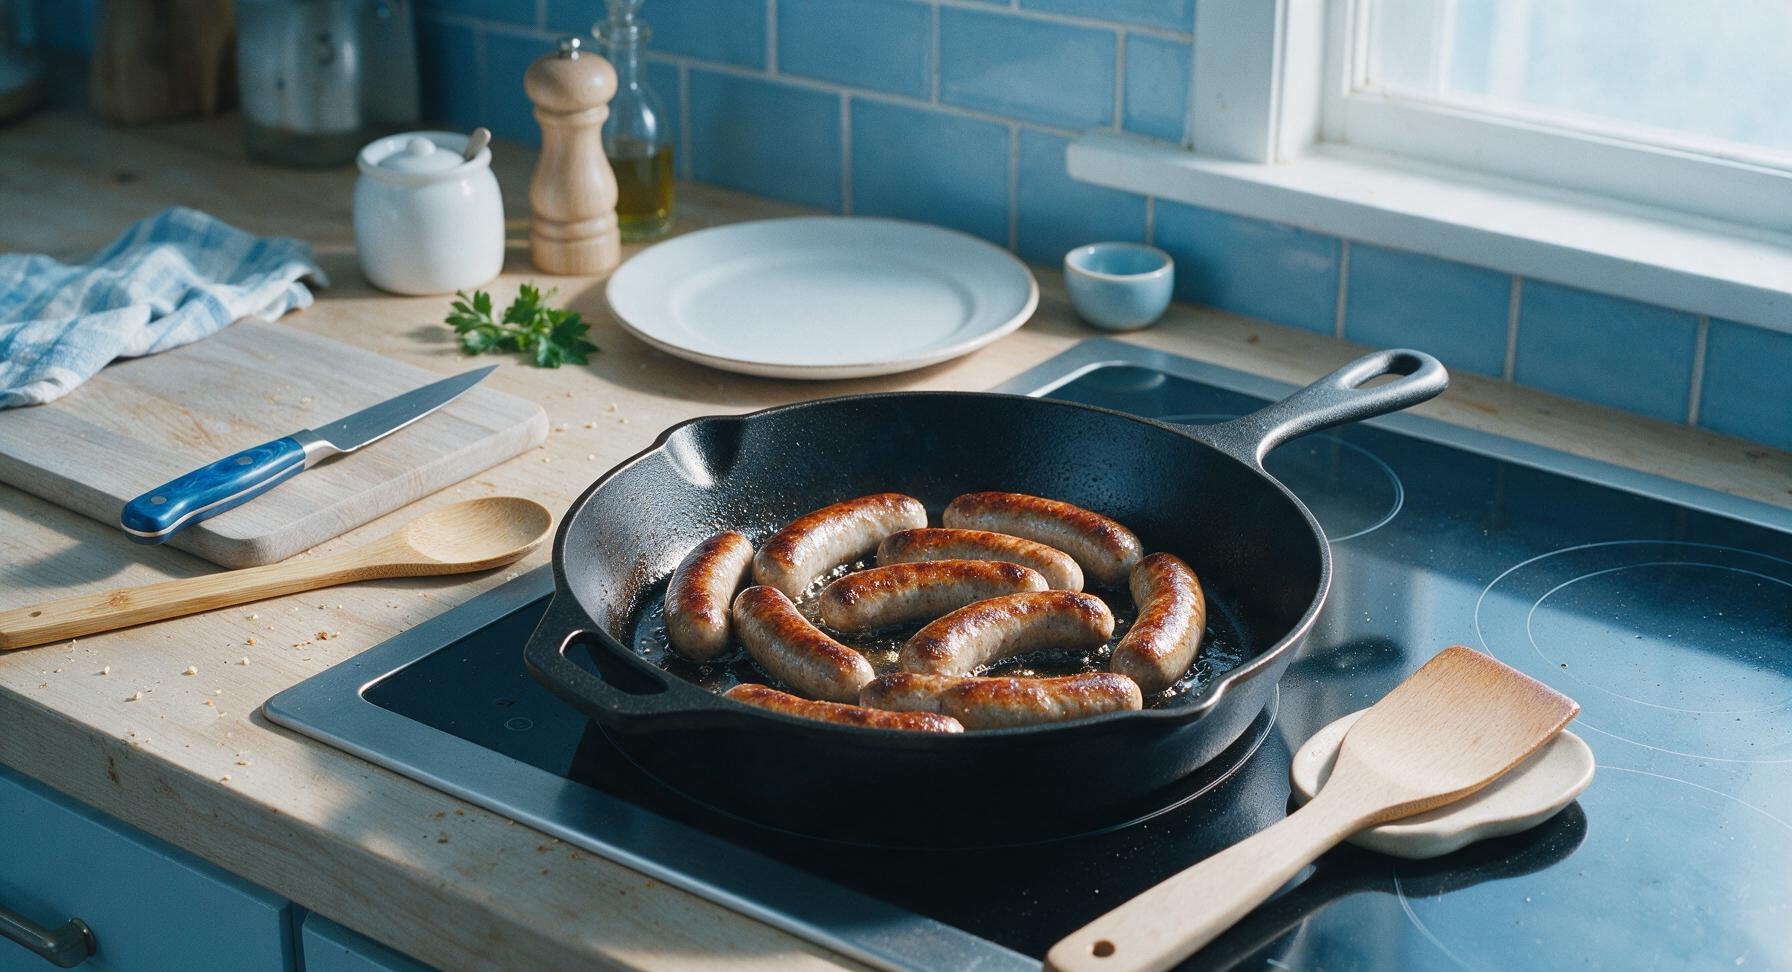
Retrieve the 12-inch matte black carbon steel skillet from its back right storage position, place it on the central induction stovetop zone over medium heat (175C/350F). Add 1 tablespoon olive oil, then place the whole bratwurst links in the pan in a single layer, leaving 2cm of space between links. Sear for 4 minutes per side, until deep golden brown with slightly crisped edges on all sides. Do not cook sausages all the way through at this stage—they will finish simmering later. Transfer seared sausages to a clean stoneware plate temporarily.
Step 2
step2:Sear Whole Sausages
Step 2
step2:Sear Whole Sausages
3

Brown Ground Beef

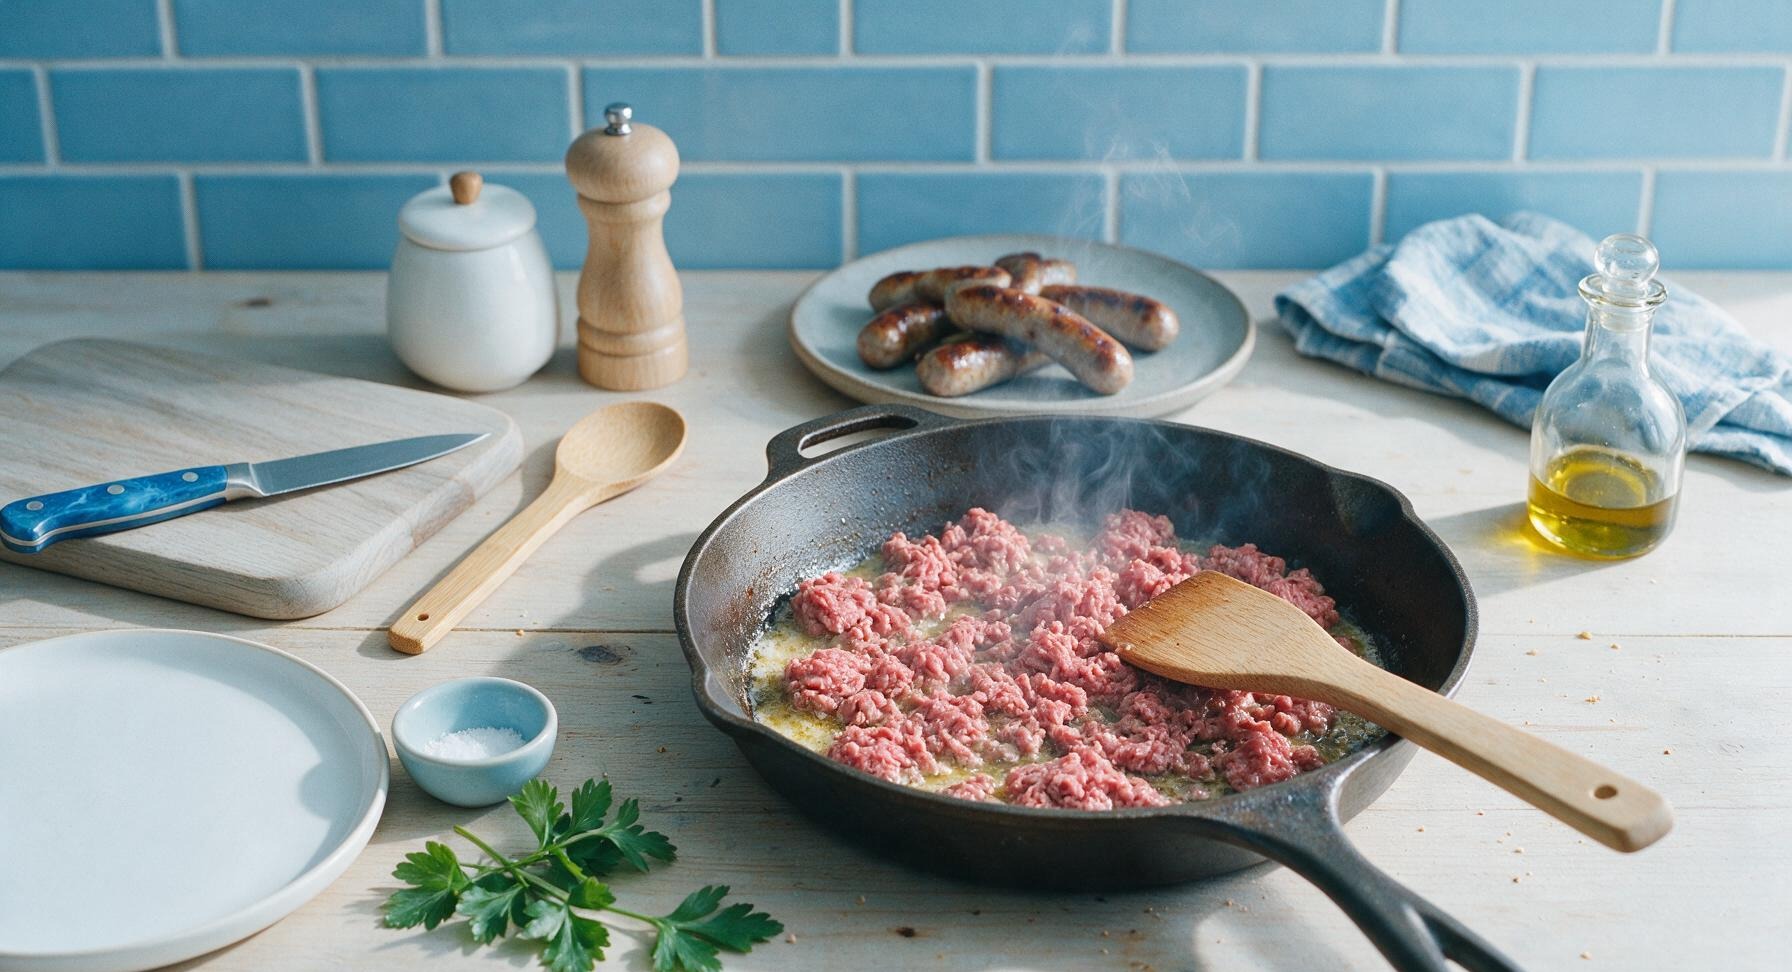
Leave the rendered sausage fat in the skillet—this adds deep flavor. Crumble the 450g ground beef into the hot pan in small chunks, using the beechwood spatula to break it apart into 1-2cm crumbles as it cooks. Season with ½ teaspoon kosher salt and ¼ teaspoon black pepper. Cook for 5-6 minutes over medium heat, until the beef is fully browned with no remaining pink spots, and any released liquid has evaporated. Do not stir constantly—let the beef sit for 1 minute at a time to develop a deep, savory brown crust on the crumbles.
Step 3
step3:Brown Ground Beef
4

Sauté Aromatics & Spices

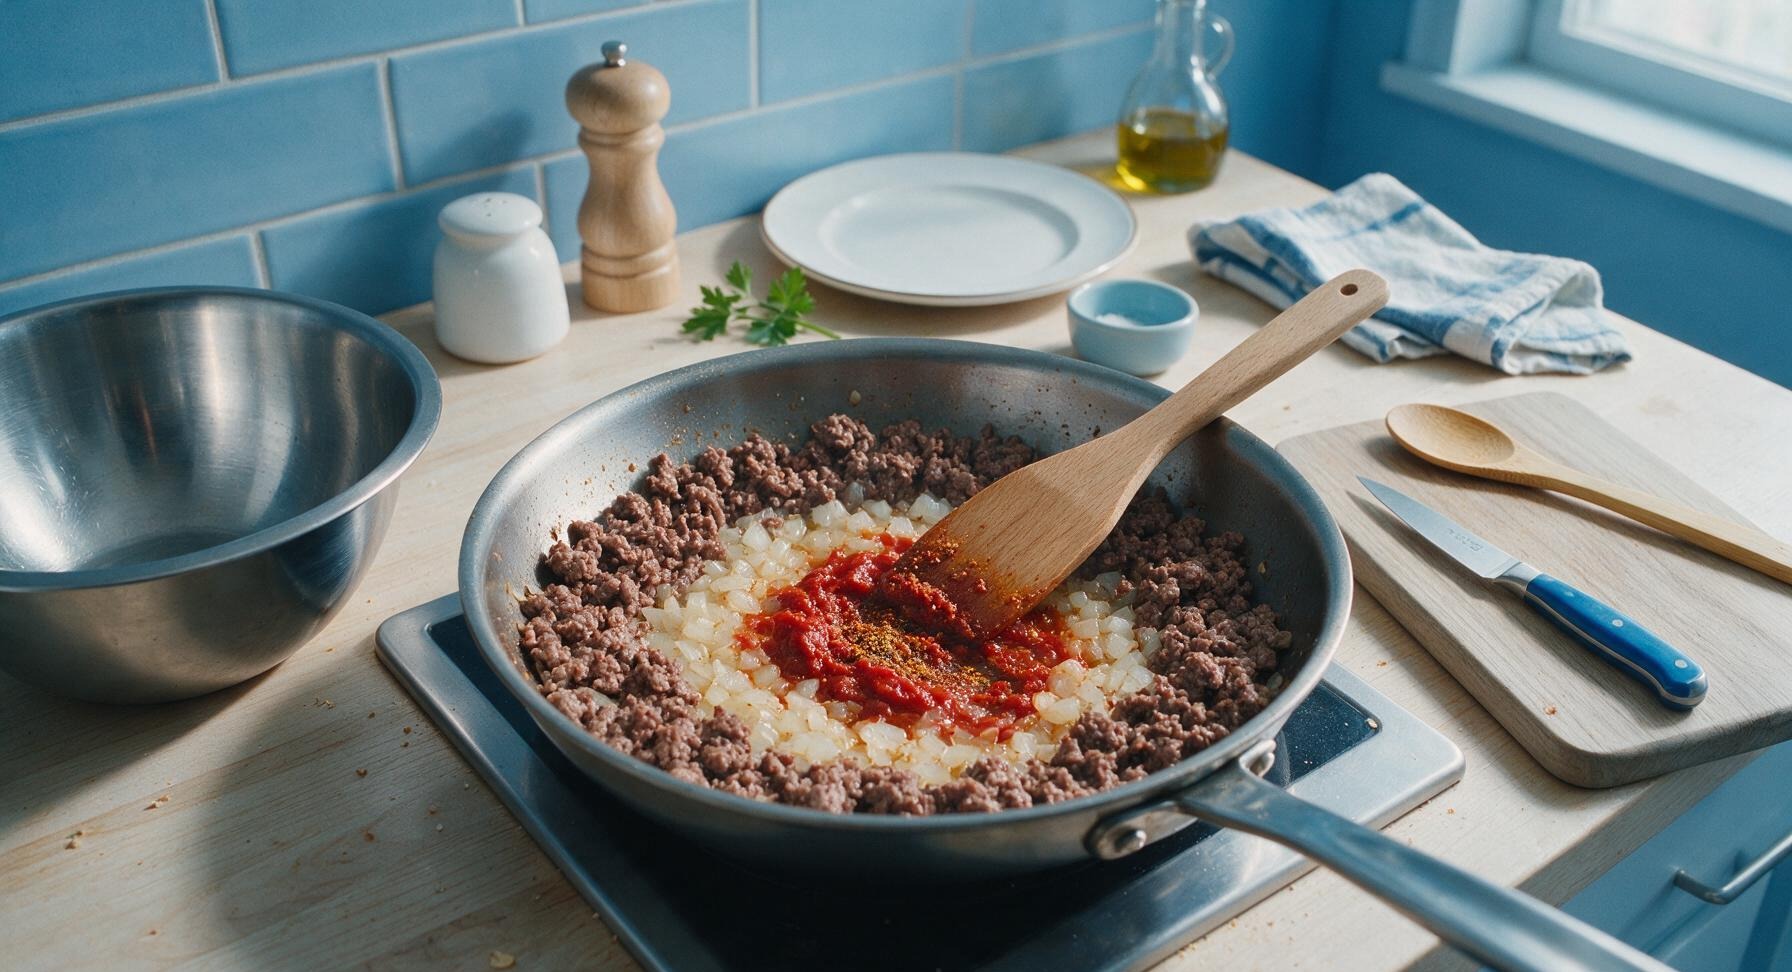
Push the browned ground beef to the edges of the skillet, creating a well in the center. Add the diced onion and minced garlic to the center of the pan, stirring to coat in the rendered fat. Cook for 3 minutes until the onion turns soft and translucent, then stir in the 2 tablespoons tomato paste, 1 teaspoon smoked paprika, and 1 teaspoon garlic powder. Cook the spice and tomato paste mixture for 1 minute, stirring constantly, until it turns a deep rust red and smells fragrant. This toasting step is critical to bring out the spices’ full flavor.
Step 4
step4:Sauté Aromatics & Spices
5

Simmer to Combine Flavors

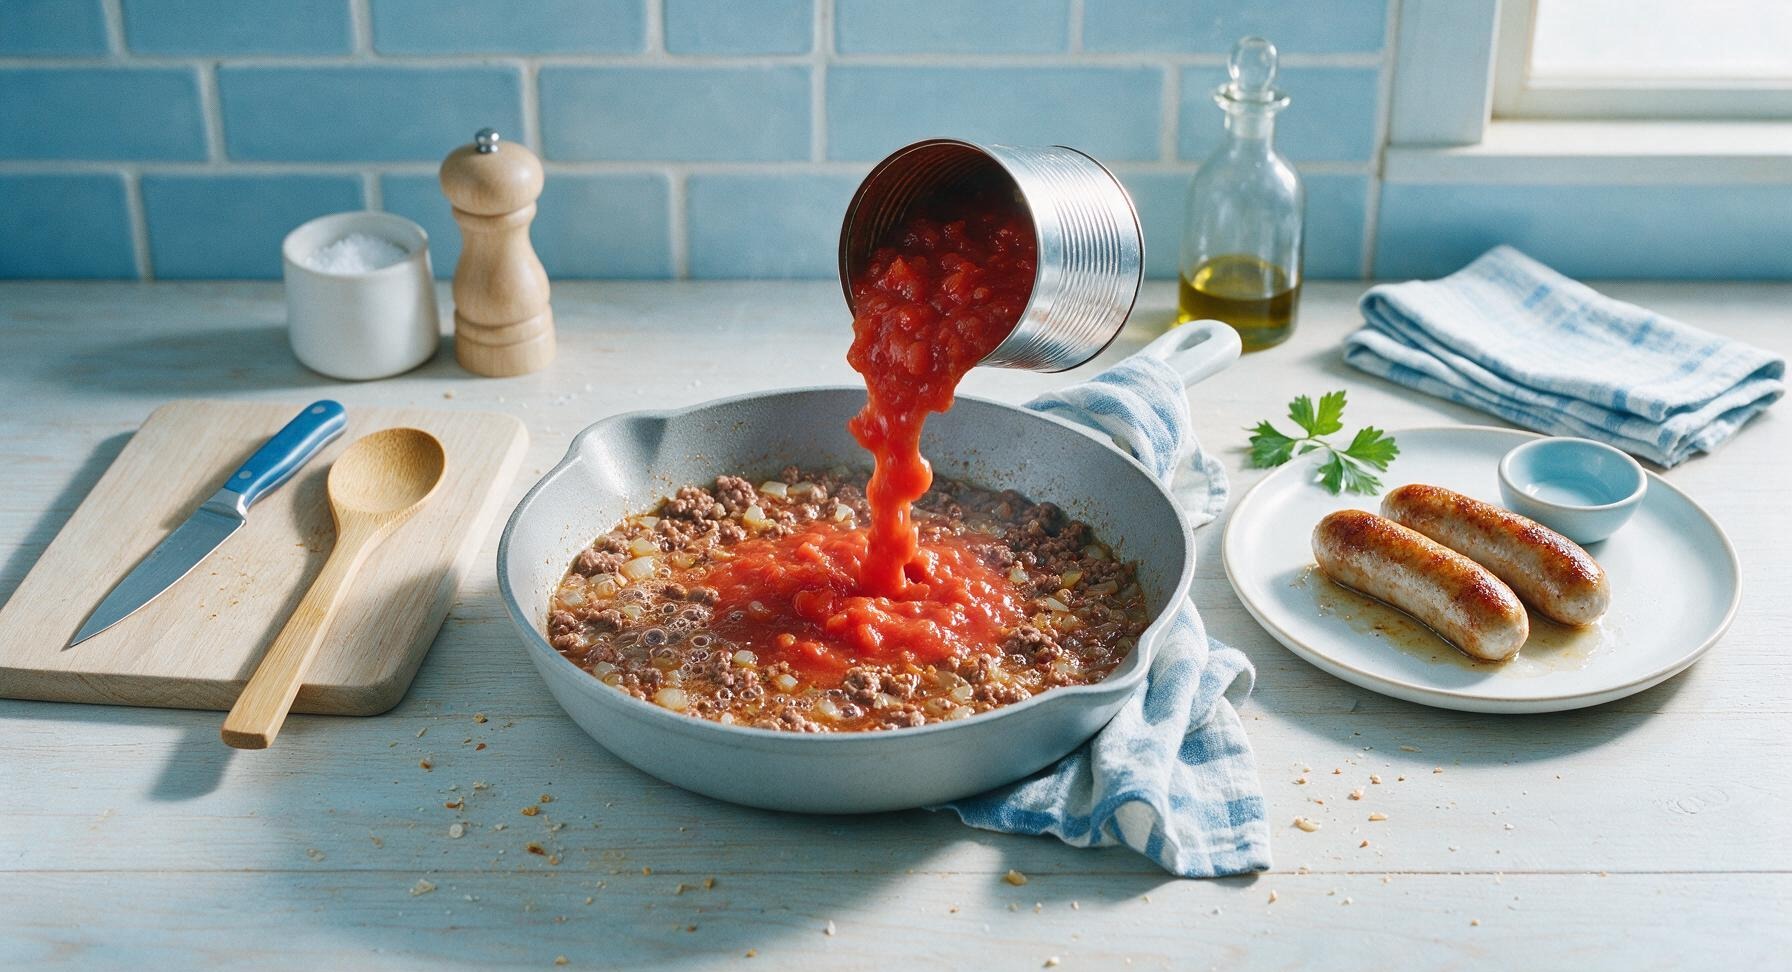
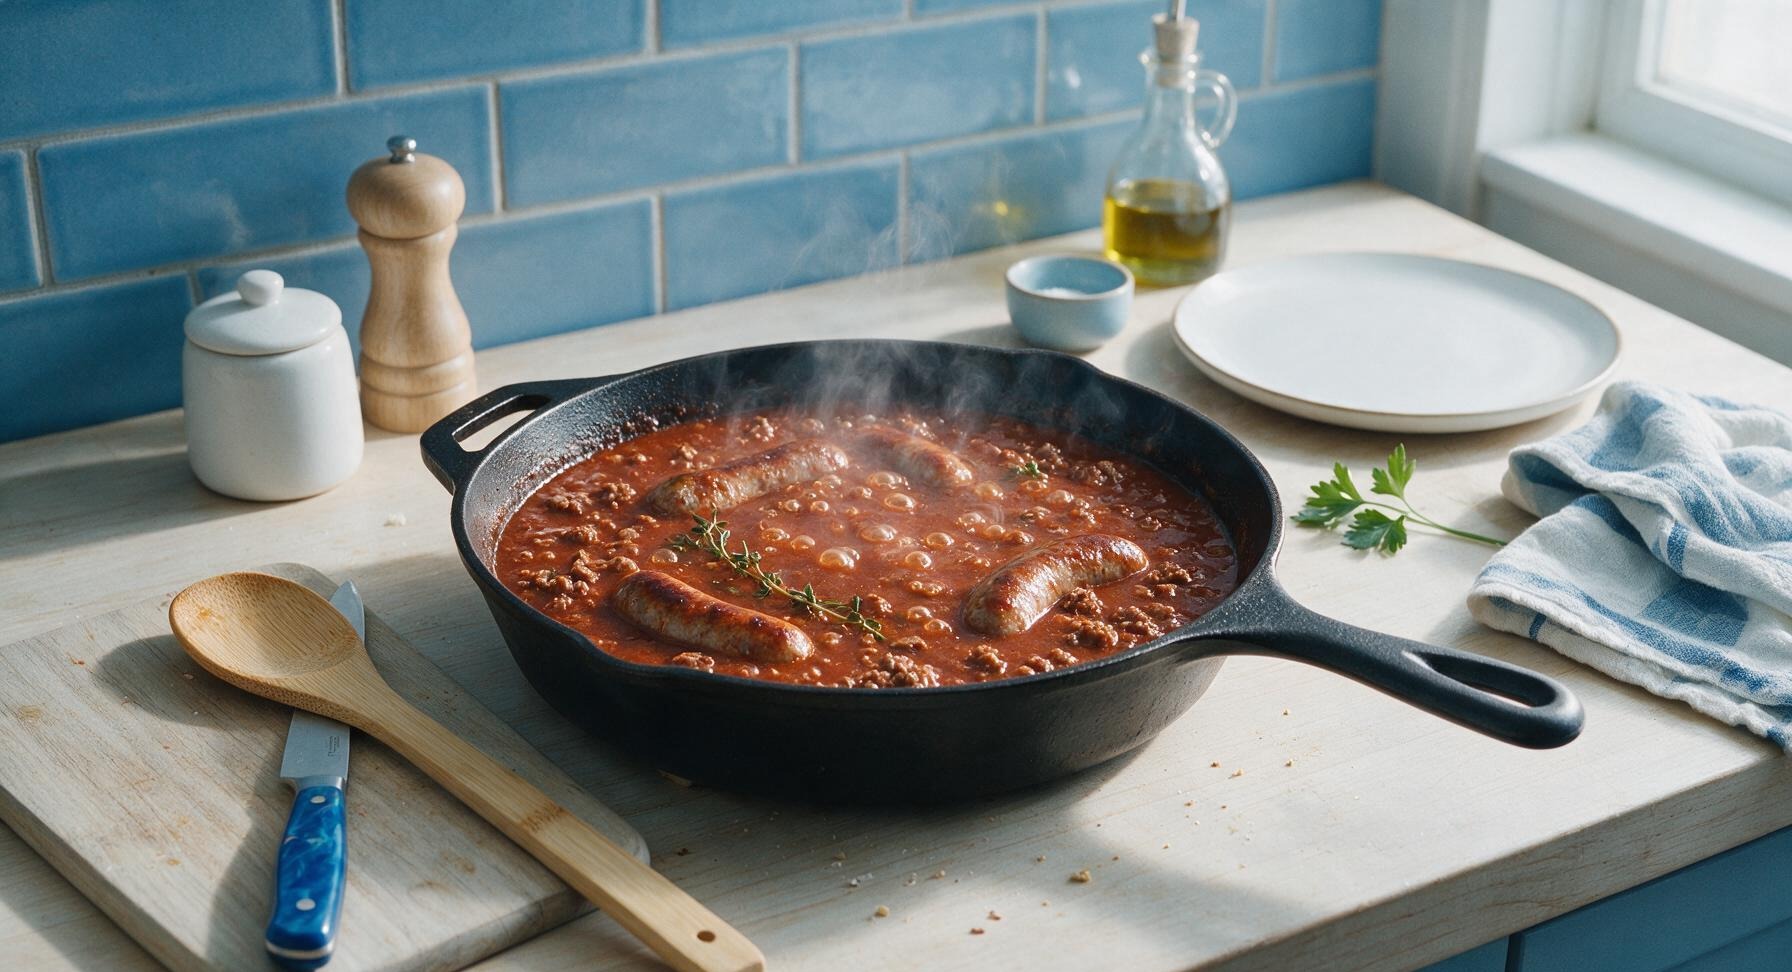
Pour the 400g crushed tomatoes into the skillet, stirring to combine all ingredients evenly. Nestle the seared sausages back into the beef and tomato mixture, then tuck the 4 fresh thyme sprigs into the liquid. Bring the mixture to a gentle simmer (small bubbles breaking slowly across the surface, not a rolling boil), then reduce heat to medium-low (135C/275F), cover, and cook for 12 minutes. Stir once halfway through to prevent sticking. The sauce will thicken slightly, and the sausages will reach a safe internal temperature of 74C/165F by the end of cooking.
Step 5
step5:Simmer to Combine Flavors
Step 5
step5:Simmer to Combine Flavors
6

Adjust Final Seasoning

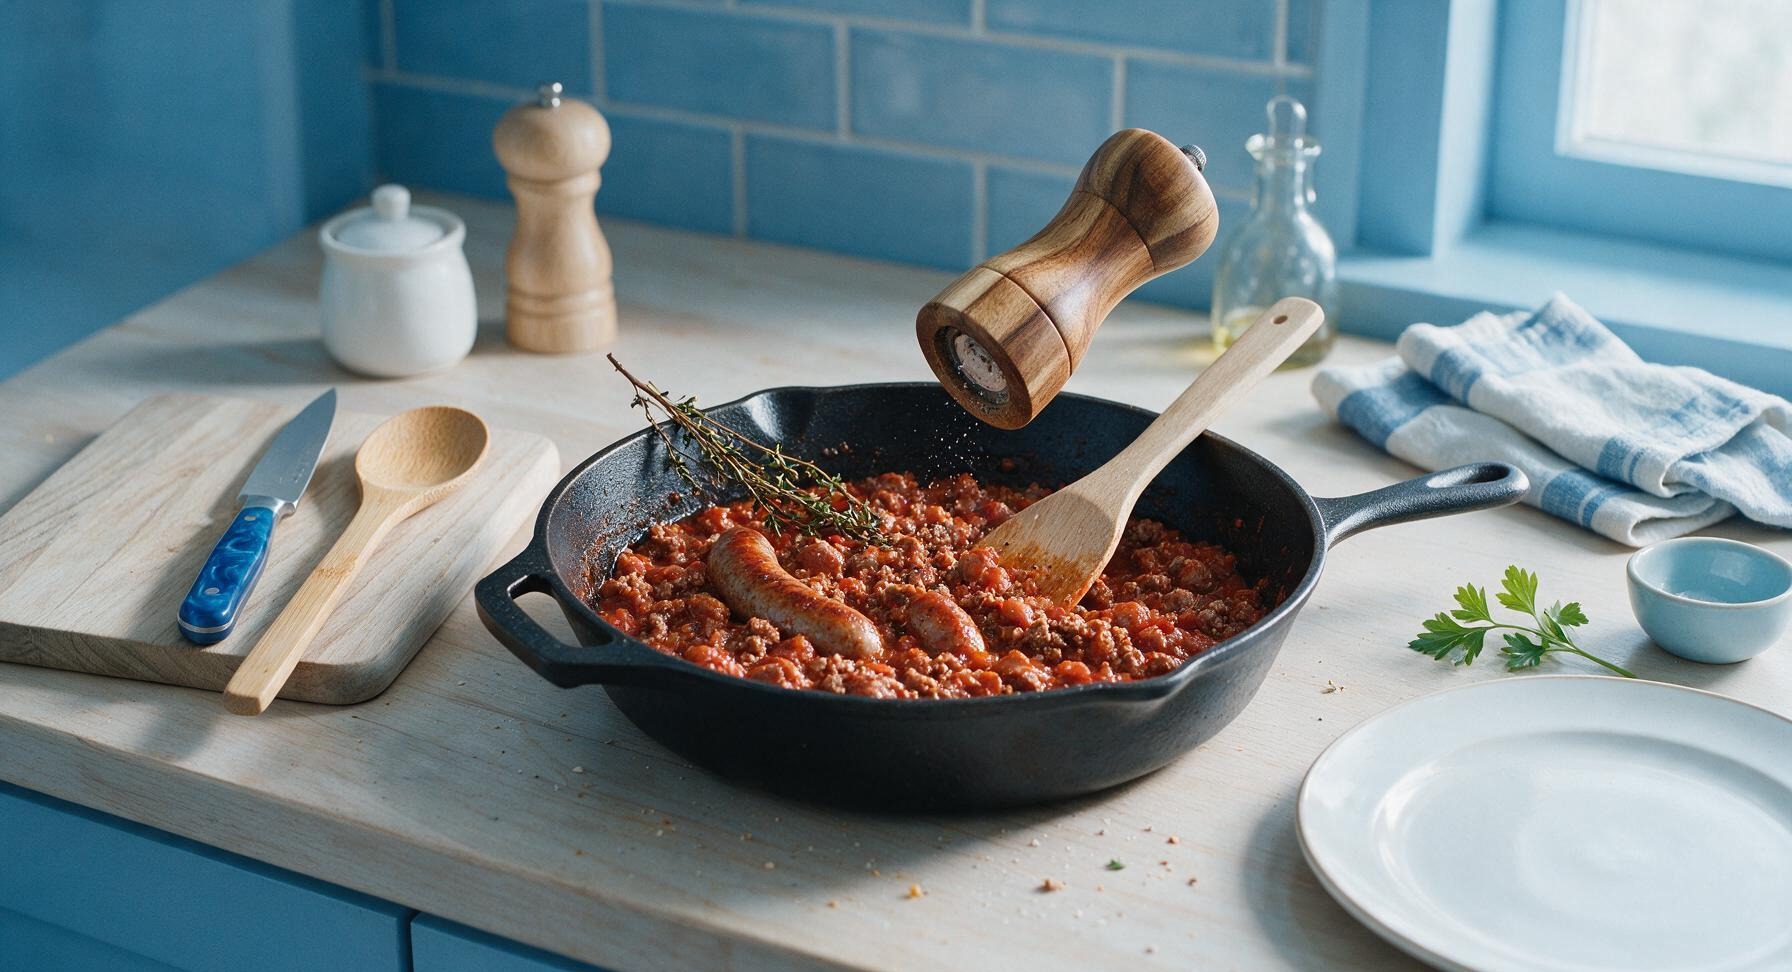
Remove the woody thyme sprigs from the skillet (their leaves will have fallen off into the dish during cooking). Taste the beef mixture, then add the remaining ½ teaspoon kosher salt and ¼ teaspoon black pepper as needed to balance flavor. Stir gently to distribute seasoning, then turn off the heat. Let the dish rest for 3 minutes to allow the flavors to meld before serving.
Step 6
step6:Adjust Final Seasoning
7

Plate and Garnish

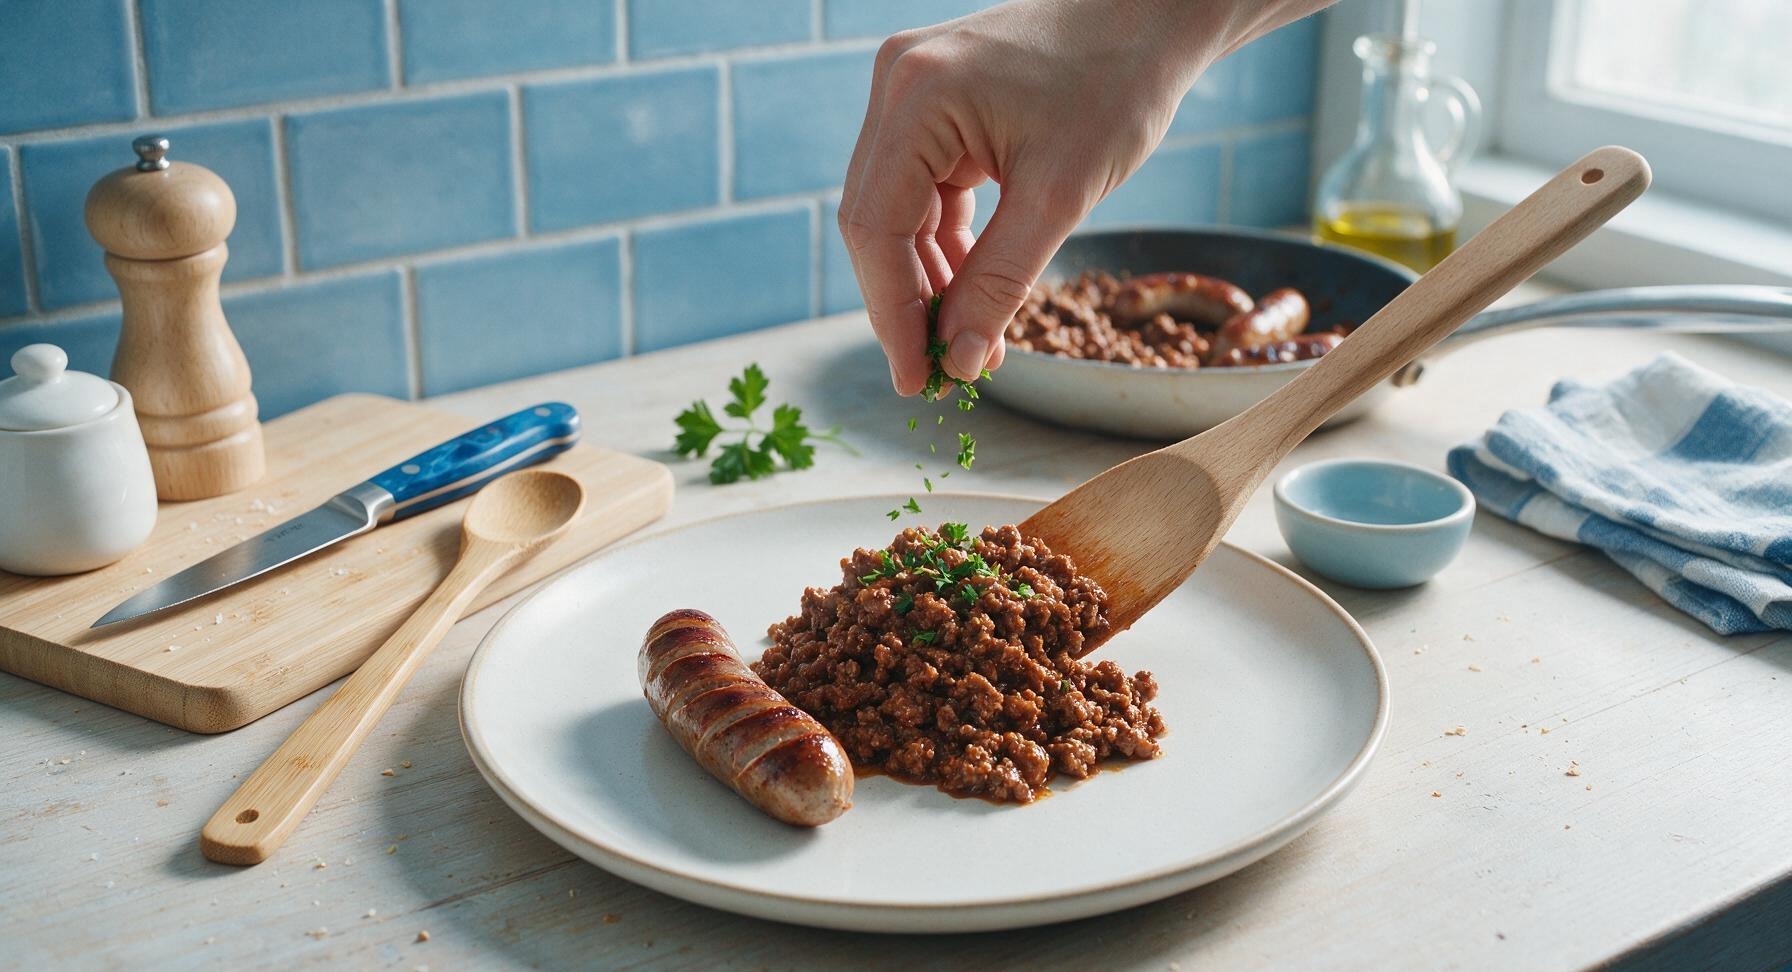
Scoop a generous portion of the ground beef and sauce onto the center of a cream white stoneware dinner plate. Place 1 seared sausage (sliced in half on the diagonal for easier eating, if preferred) on top of the beef. Sprinkle ½ tablespoon of chopped fresh flat-leaf parsley over the top of each serving for a bright, fresh contrast.
Step 7
step7:Plate and Garnish

Tips

1.Use 85/15 lean-to-fat ratio ground beef for this recipe: the 15% fat content adds deep, savory flavor without making the dish greasy, and you won’t need to drain excess drippings—those browned bits form the flavorful base of your tomato gravy.
2.Toast tomato paste and dry spices for 1 full minute before adding liquid: this short step caramelizes tomato sugars and releases aromatic oils from the spices, eliminating flat, raw tomato taste for a richer, more rounded sauce.
3.Resist the urge to stir ground beef constantly as it browns: letting crumbles sit undisturbed for 60 seconds at a time builds a deep, maillard-reaction crust on the meat, which adds far more flavor than constantly stirred, pale, steamed beef.


✨ You May Also Like

Main Course
🍜 United Kingdom

A showstopping classic of tender seared beef, savory mushroom duxelles, and crisp prosciutto wrapped in flaky golden puff pastry, baked to juicy perfection.

⏱️ 2 hours 1Main Course ★ 4.7
Main Course
🍜 India

Tender charred marinated chicken simmered in a rich, spiced creamy tomato sauce, this iconic Anglo-Indian curry pairs perfectly with basmati rice or warm naan.

⏱️ 50 minuteMain Course ★ 4.6
Main Course
🍜 Thailand

Classic tangy, sweet, and savory Thai stir-fried rice noodles with shrimp, tofu, and crunchy garnishes, balancing all five core Thai flavor profiles.

⏱️ 30 minuteMain Course ★ 4.5
Main Course
🍜 United Kingdom

Crispy golden beer-battered cod and fluffy double-fried chips, served with tangy tartar sauce and malt vinegar: the timeless, beloved British pub comfort classic.

⏱️ 45 minuteMain Course ★ 4.7
Main Course
🍜 Mexico

Smoky, chile-marinated pork tacos with caramelized pineapple, fresh cilantro, and lime: a beloved classic Mexican street food perfect for casual summer gatherings.

⏱️ 1 hour 45Main Course ★ 4.8
Main Course
🍜 United States

Crunchy Fritos corn chips layered with savory beef chili and melted cheddar, topped with cool, zesty fixings for a beloved, cozy Tex-Mex comfort food.

⏱️ 35 minuteMain Course ★ 4.8

ground beef and sausages:Frequently Asked Questions

1.Why do you call for 85/15 lean ground beef instead of a leaner 90/10 blend? ▾
That 15% fat content renders as the beef cooks, so you won’t need extra cooking oil to sear the meat or sauté veggies, and it keeps crumbled beef juicy instead of dry and crumbly. It balances the richer, fattier bratwurst perfectly without making the final dish feel overly greasy, and adds deep, beefy savoriness to the tomato gravy.
2.Do I need to remove the casings from the raw bratwurst before cooking? ▾
Yes, you’ll want to slip the casings off the raw bratwurst first for this recipe. Slice each sausage lengthwise with a sharp paring knife just through the casing, then peel it away and discard. You can either crumble the raw brat meat to cook alongside the ground beef, or cut it into 1-inch chunks if you prefer bigger, juicier sausage bites.
3.Can I use pre-cooked bratwurst instead of raw for this recipe? ▾
You can, but you’ll need to adjust the cook time to avoid overcooking and drying out the sausage. Add pre-cooked bratwurst slices during the last 5 minutes of simmering just to warm them through, instead of searing them at the start. Raw bratwurst renders flavorful fat that builds the gravy base, so pre-cooked will yield a slightly less rich final result.
4.Why do you specify no-salt-added crushed tomatoes instead of regular? ▾
Bratwurst is already well-seasoned with salt and spices like nutmeg, marjoram, and white pepper, so using no-salt-added crushed tomatoes lets you control sodium levels to taste, rather than ending up with an overly salty dish. You can always add a pinch of kosher salt at the end if needed, but it’s much harder to fix a dish that’s too salty once it simmers.
5.What size and type of pan works best for this one-pan recipe? ▾
Reach for a 12-inch heavy-bottomed skillet, preferably cast iron or enameled cast iron, for best results. That size gives you enough surface area to sear the bratwurst and brown the ground beef without overcrowding the pan (which causes steaming instead of crisp, flavorful browning), and has high enough sides to hold veggies and gravy without sloshing.
6.Do I have to drain all the fat after browning the meat? ▾
You only need to drain excess fat if you have more than 2 tablespoons left in the pan after searing the beef and bratwurst. That small amount of rendered fat is full of meaty, spiced flavor you’ll use to sauté the onion and garlic, so draining all of it will leave your gravy flat and less rich. Spoon out any extra beyond 2 tablespoons before adding veggies.
7.Can I add extra veggies to this dish to bulk it up? ▾
Absolutely! Diced bell pepper, sliced cremini mushrooms, cubed Yukon gold potato, or shredded cabbage all work beautifully here. Add heartier veggies like potatoes with the onion so they have time to cook through, and softer veggies like mushrooms or bell pepper about 5 minutes after the onion starts softening so they don’t turn mushy as the dish simmers.
8.How do I know when the bratwurst is fully cooked and safe to eat? ▾
Pork bratwurst needs to reach an internal temperature of 160°F as measured with an instant-read thermometer to be safe to eat. If you’re cooking crumbled brat meat, it will be fully opaque with no pink remaining after 8 to 10 minutes of cooking, and chunks will have pale centers with no trace of pink juice when sliced into.
9.Why is my ground beef turning gray instead of getting a nice brown sear? ▾
That almost always happens because you’re overcrowding the pan, which makes the meat steam instead of sear. If your skillet is too small, cook the beef and bratwurst in two separate batches, setting the first batch aside on a plate while the second cooks. Resist stirring constantly—let meat sit undisturbed for 2 to 3 minutes at a time to build that flavorful crust.
10.Can I make this recipe ahead of time for weekly meal prep? ▾
Yes, this dish holds up beautifully for meal prep. Let it cool completely after cooking, then portion it into airtight containers and refrigerate for up to 4 days. The flavors actually meld and get richer overnight, so it tastes even better the next day. Reheat portions in the microwave or a small skillet over medium-low heat until warmed through.
11.Can I freeze leftovers of this one-pan meal? ▾
Absolutely. Let the dish cool fully, then transfer it to freezer-safe airtight containers or heavy-duty freezer bags, pressing out as much excess air as possible to prevent freezer burn. It will keep in the freezer for up to 3 months. Thaw it overnight in the fridge before reheating, and add a splash of beef broth if the gravy feels too thick.
12.What sides pair best with this rich, meaty dish? ▾
This savory meal pairs perfectly with starchy sides that soak up the tomato gravy: buttery mashed potatoes, buttered egg noodles, crusty sourdough bread, or roasted root veggies all work great. For a lighter option, serve it over steamed green beans or a simple side salad tossed with bright vinaigrette to cut through the meat and gravy richness.
13.I don’t eat pork—can I swap the bratwurst for another type of sausage? ▾
You can easily swap pork bratwurst for chicken or turkey bratwurst for a pork-free version; just note these leaner sausages won’t render as much fat, so you may need to add a tablespoon of olive oil to the pan before sautéing veggies. You can also use beef bratwurst, which has a bolder, meatier flavor that pairs perfectly with the ground beef.
14.How long should I let the dish simmer once I add the crushed tomatoes? ▾
Let it simmer uncovered for 10 to 12 minutes over medium-low heat, stirring occasionally, until the gravy thickens slightly and the flavors meld together. You don’t need to cover the pan, because letting a little steam escape helps the tomato gravy reduce to the perfect rich, spoonable consistency instead of being thin and watery.
15.Can I add cheese to this recipe for extra richness? ▾
Absolutely! A sprinkle of shredded sharp cheddar, smoked gouda, or even crumbled blue cheese melted over the top in the last 2 minutes of cooking adds a delicious creamy, salty layer that pairs perfectly with spiced bratwurst and tangy tomato gravy. Just add the cheese once the gravy is fully thickened, and let it melt completely before serving.
16.My tomato gravy tastes too acidic—how do I fix that? ▾
Crushed tomatoes can sometimes have a sharp, acidic bite, but that’s an easy fix. Stir in a tiny pinch of baking soda (no more than 1/4 teaspoon) at the end of simmering to neutralize the acid, or stir in a teaspoon of sugar or a pat of unsalted butter to round out the flavor. Taste as you go, and add a little more if needed until the acidity feels balanced.
17.Do I need to use fresh garlic, or can I use jarred minced garlic? ▾
Fresh garlic will give you the brightest, most aromatic flavor for this dish, but jarred minced garlic works perfectly fine as a time-saver—use 1 teaspoon of jarred garlic for every fresh clove the recipe calls for. Just be careful not to burn the garlic when you sauté it, as burnt garlic will add a bitter, unpleasant flavor to the entire pan of gravy.
18.Can I make this in a sheet pan instead of a stovetop skillet? ▾
You can adapt it for a sheet pan, but you’ll need to adjust the method slightly. Roast crumbled beef, casing-free bratwurst, and diced onion at 400°F for 15 minutes, then drain excess fat, stir in garlic and crushed tomatoes, and roast 10 more minutes. The gravy won’t thicken quite as much as it does on the stovetop, but it will still be deeply flavorful.
19.The dish tastes a little bland when I make it—what’s the best way to boost the flavor? ▾
Start with a pinch of kosher salt first, since bratwurst seasoning can vary widely by brand, then add layers of flavor to taste: a half teaspoon of smoked paprika, a pinch of dried thyme or marjoram, a dash of Worcestershire sauce, or a grind of black pepper all complement the meat and tomato gravy perfectly. Add small amounts and taste as you go to avoid over-seasoning.

Comments (3)

2 days ago

OMG this one-pan meal was such a game changer for our chaotic weeknight dinner rotation! I swapped in cheddar brats since that’s what I had in the fridge, served it over buttered roasted potatoes, and my two super picky kids went back for SECONDS. Zero cleanup, done in 30 minutes flat? I’m already adding the ingredients to my regular meal prep list, it was SO good.

1 day ago

Cheddar brats sound like the absolute perfect swap! I’m planning to make this for our neighborhood block party potluck this weekend, do you think it holds up okay in a slow cooker on the warm setting for a couple hours?

2 hours ago

Love that cheddar brat swap, so glad your picky eaters enjoyed this! Hopping in to answer Tina’s question too—yes, this holds up great on a low warm setting for 2-3 hours, just give it a quick stir every 30 minutes or so to keep it from sticking to the insert. It’s such a great potluck pick, I hope your neighbors love it!

30 minutes ago

Threw this together after work today when I realized I had a pack of brats left from last weekend’s cookout and a pound of ground beef taking up space in the fridge. It was so easy—only had to chop one onion, didn’t make a mess of my whole kitchen which is a huge win for a weeknight. Only tiny tweak was I added an extra dash of smoked paprika because I like a little extra smoky kick. Will definitely make this again when my roommate gets back in town next week.

5 minutes ago

So glad this came together with ingredients you already had on hand! That extra smoked paprika tweak sounds amazing—if you want to bulk it up next time, feel free to toss in some diced bell peppers or sautéed mushrooms too, they pair perfectly with the beef and bratwurst flavor.

1 week ago

Total game changer for my Sunday meal prep routine! I portioned this out into 5 containers with a side of steamed green beans, and it reheated perfectly for work lunches all week. The mix of ground beef and bratwurst gives it so much more depth of flavor than the plain ground beef skillets I used to make—no sad desk lunch over here! It’s so easy even someone as culinarily challenged as me can’t mess it up, 10/10.



