
chickpea sandwich spread

title 1
chickpea sandwich spread
⏱️ cook time 0 minutes
🍽️ servings 4
⚡ Difficulty easy

intro

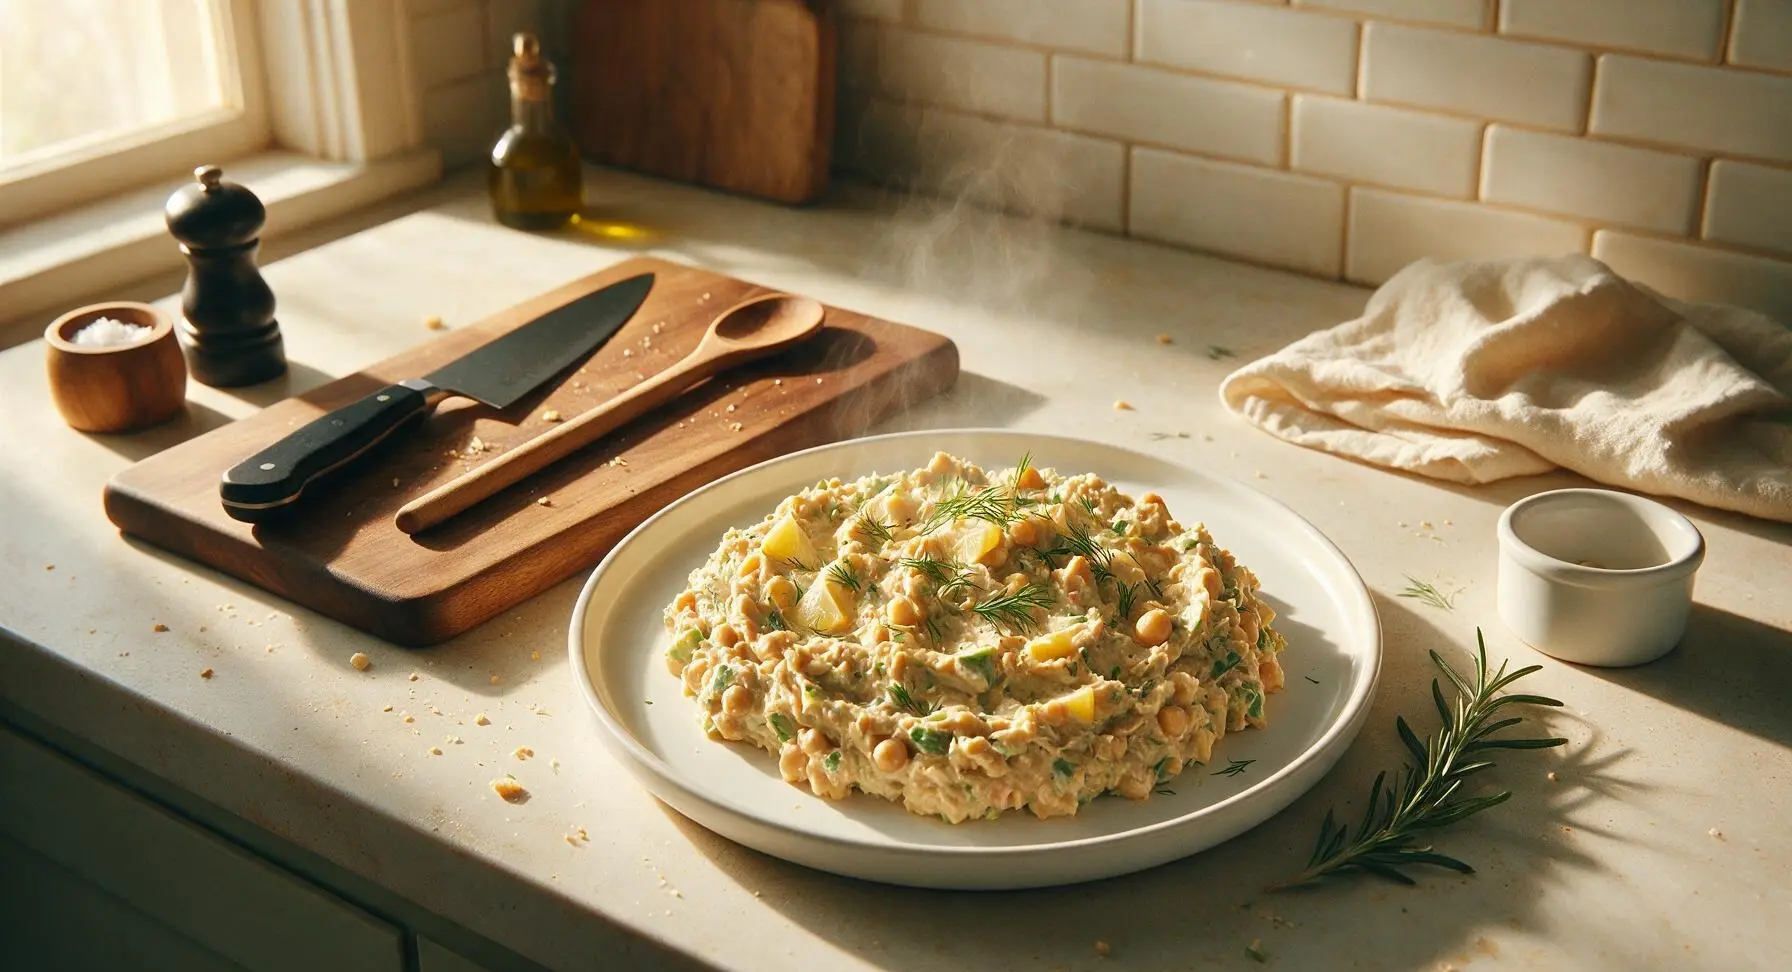
Creamy, chunky chickpea sandwich spread bright with lemon, dill, and crunchy veggies— a no-cook, plant-forward filling perfect for portable summer lunches and picnics.

Ingredients
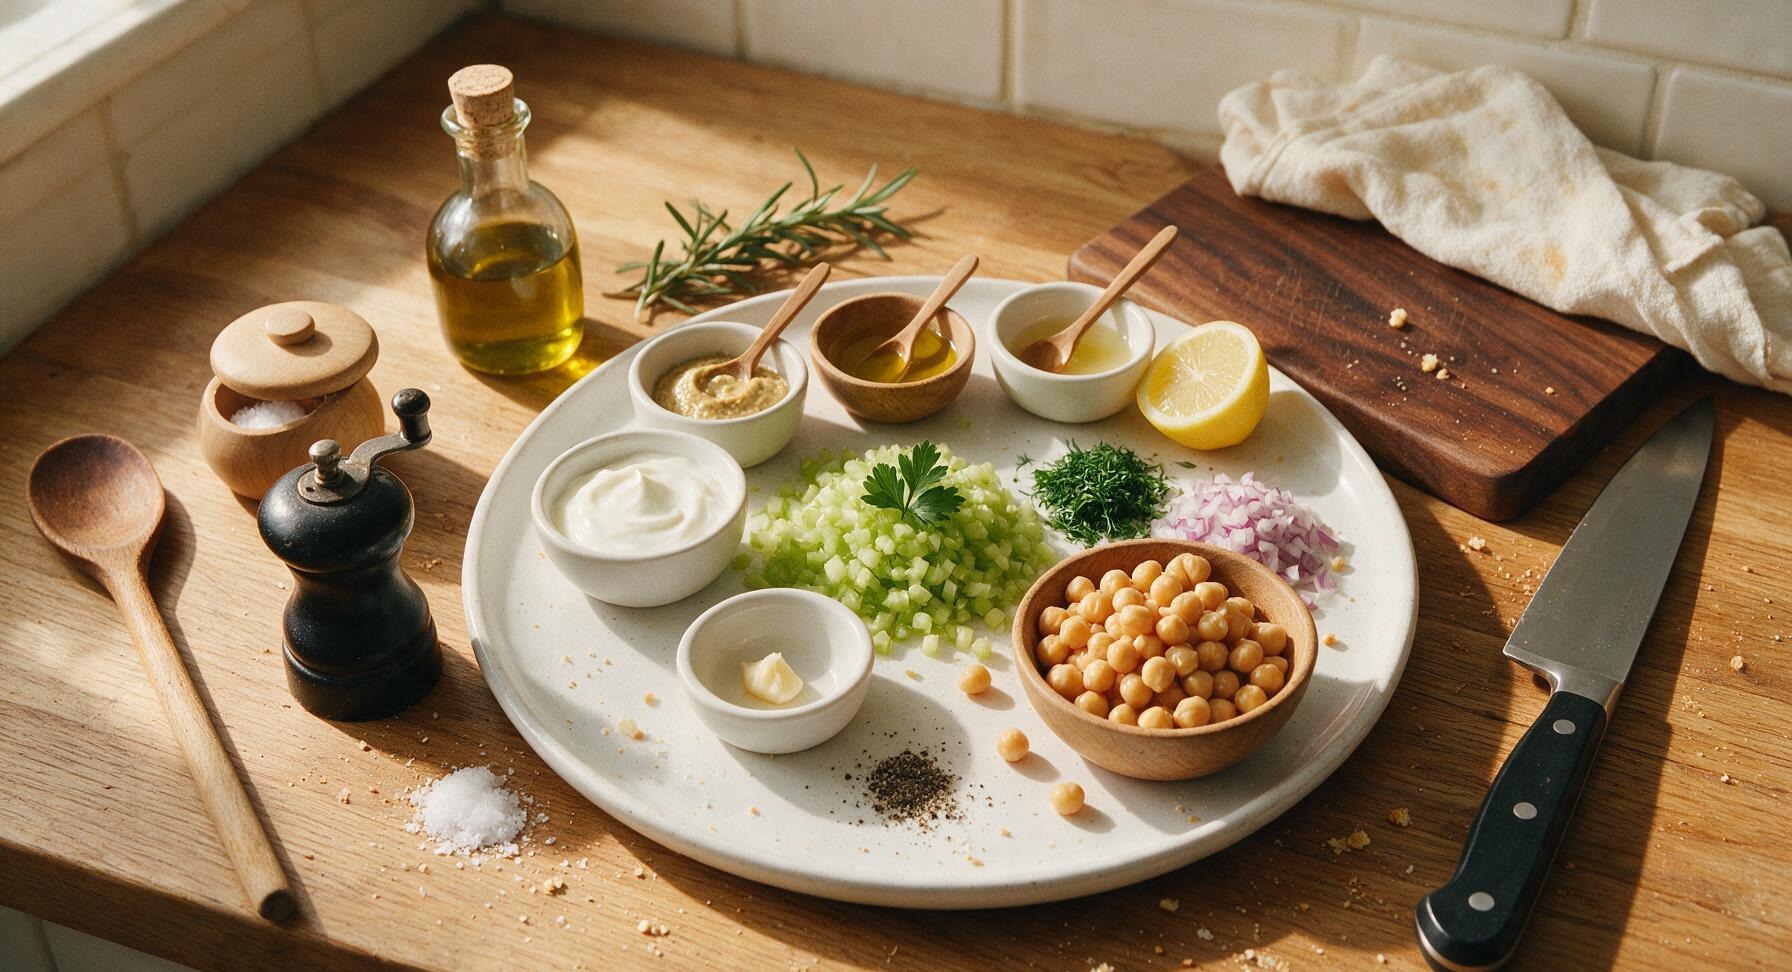
Canned chickpeas, drained and rinsed 425g (1 15oz can)
Plain whole-milk Greek yogurt 60g (1/4 cup)
Whole-grain Dijon mustard 1 tbsp
Fresh lemon juice 1 tbsp (from 1/2 small lemon)
Celery stalk, finely diced 1 medium (70g)
Red onion, finely diced 2 tbsp (25g)
Fresh dill, chopped 2 tbsp
Garlic clove, minced 1 small
Kosher salt 1/2 tsp
Freshly ground black pepper 1/4 tsp
Extra-virgin olive oil (for garnish) 1 tsp

Steps

1

Drain and rinse chickpeas

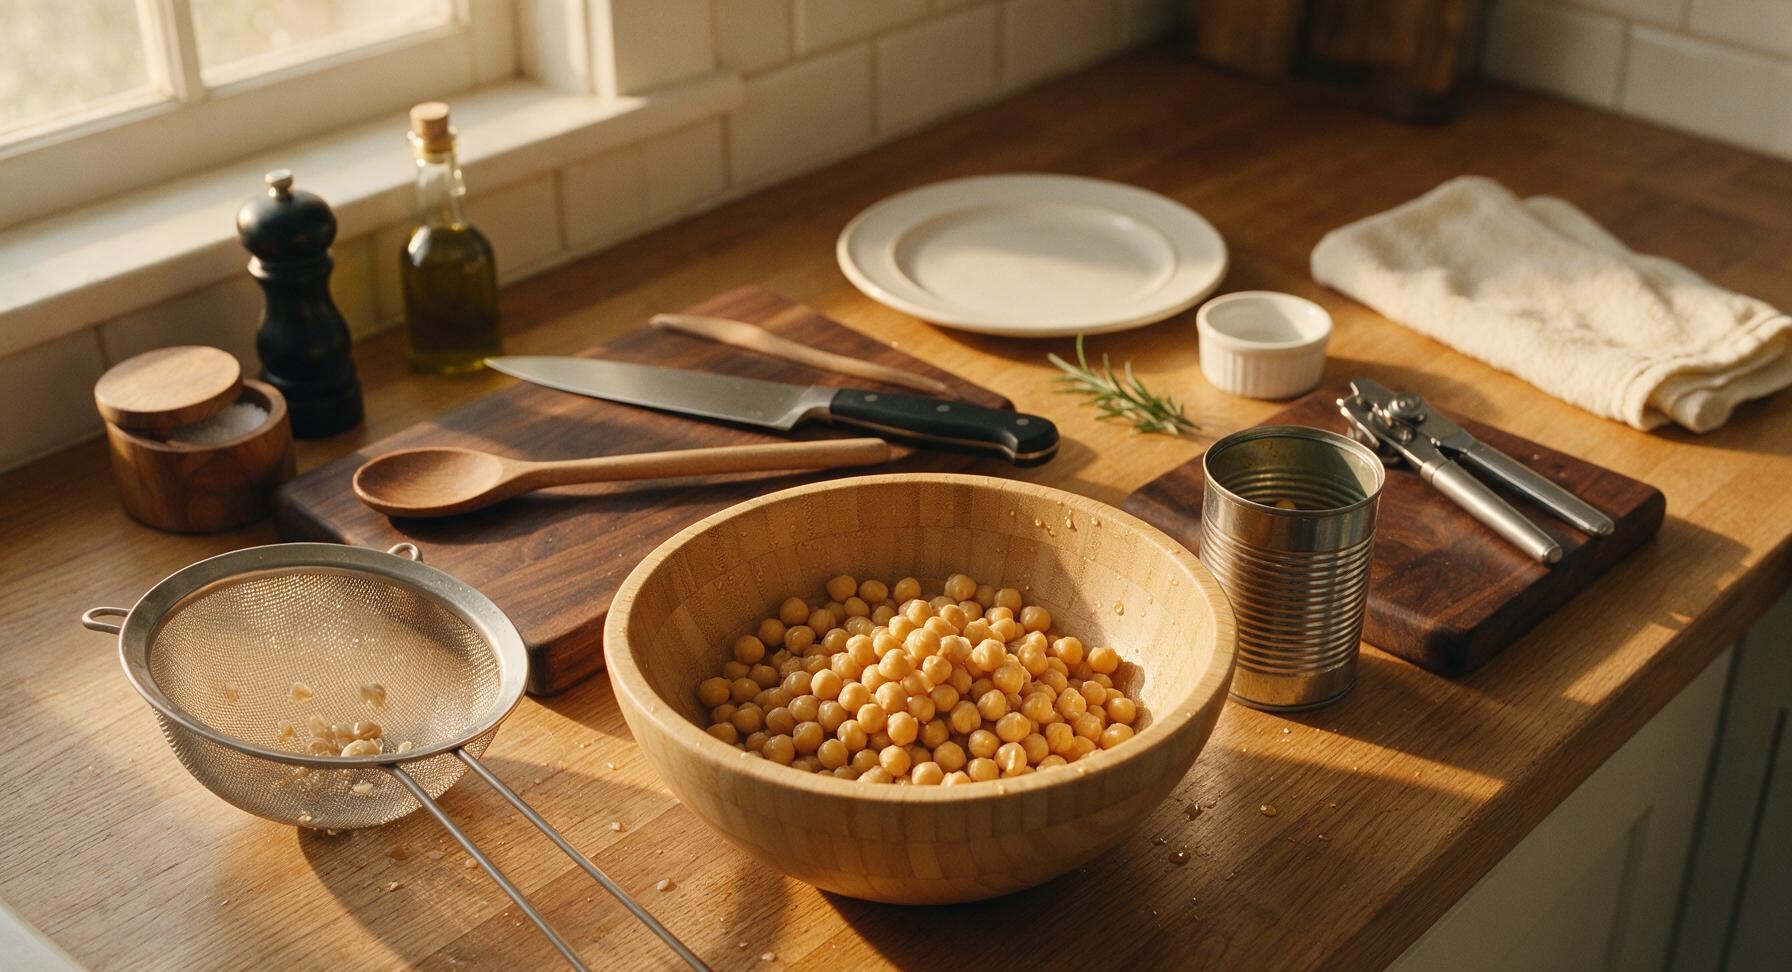
Use the stainless steel can opener to open the can of chickpeas. Pour chickpeas into the fine mesh stainless steel sieve, rinse thoroughly under cool running water for 30 seconds until all starchy can residue is washed away, then shake well to remove all excess water. Transfer the drained, rinsed chickpeas to the center of the light bamboo mixing bowl. Pat the top of the chickpeas lightly with a corner of the indigo linen towel to remove any remaining surface moisture, which prevents a watery, runny spread.
Step 1
step1:Drain and rinse chickpeas
2

Chop fresh vegetable mix-ins

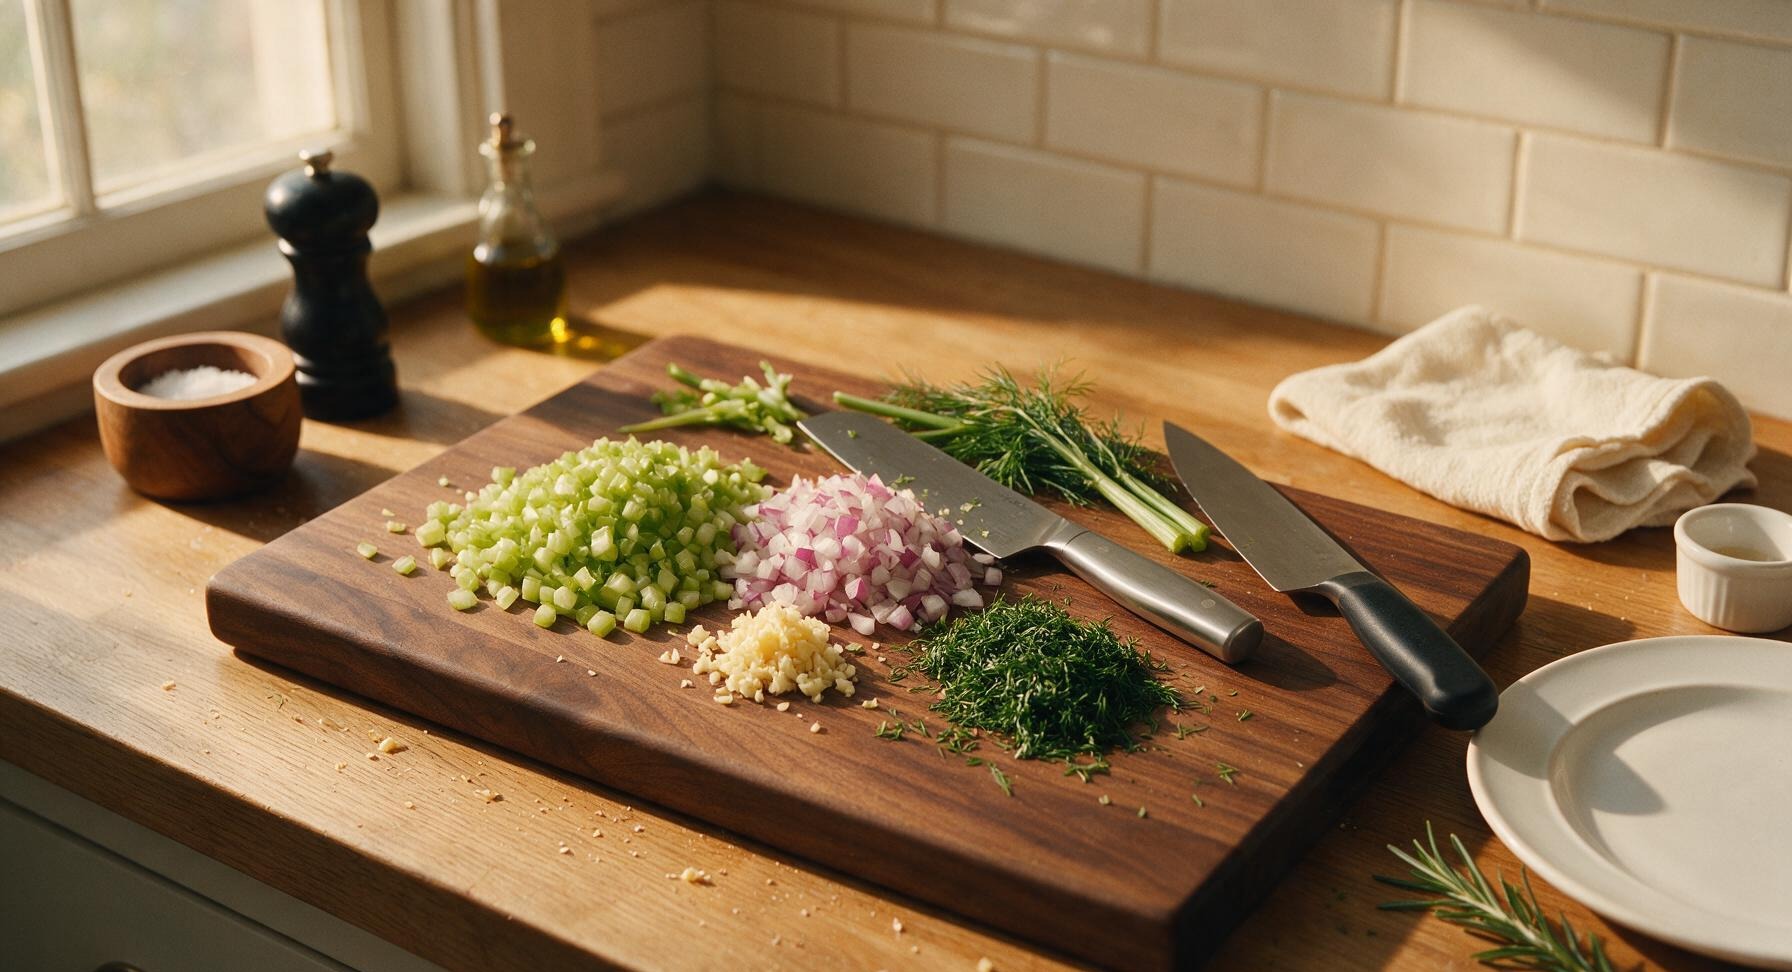
Use the 7-inch stainless steel santoku knife on the matte cream plastic cutting board to finely dice the celery stalk into 3mm pieces, finely dice the red onion, mince the small garlic clove, and chop the fresh dill fronds, discarding the thick, woody dill stems. Keep all chopped ingredients in separate small piles on the edge of the cutting board until ready to add, to ensure even distribution when mixing. Avoid dicing vegetables larger than 5mm, as oversized chunks will make the spread fall apart when used in sandwiches, creating a messy eating experience.
Step 2
step2:Chop fresh vegetable mix-ins
3

Mash chickpeas to texture

Use the stainless steel potato masher to press the chickpeas in the bamboo bowl, mashing to a coarse, chunky texture. Stop when about 70% of the chickpeas are broken down, leaving some whole and half chickpeas intact for texture—do not mash to a completely smooth hummus-like paste, as this will make the spread too mushy and likely to slip out of sandwich bread. Scrape the sides of the bowl with the light blue silicone spatula as needed to ensure even mashing.
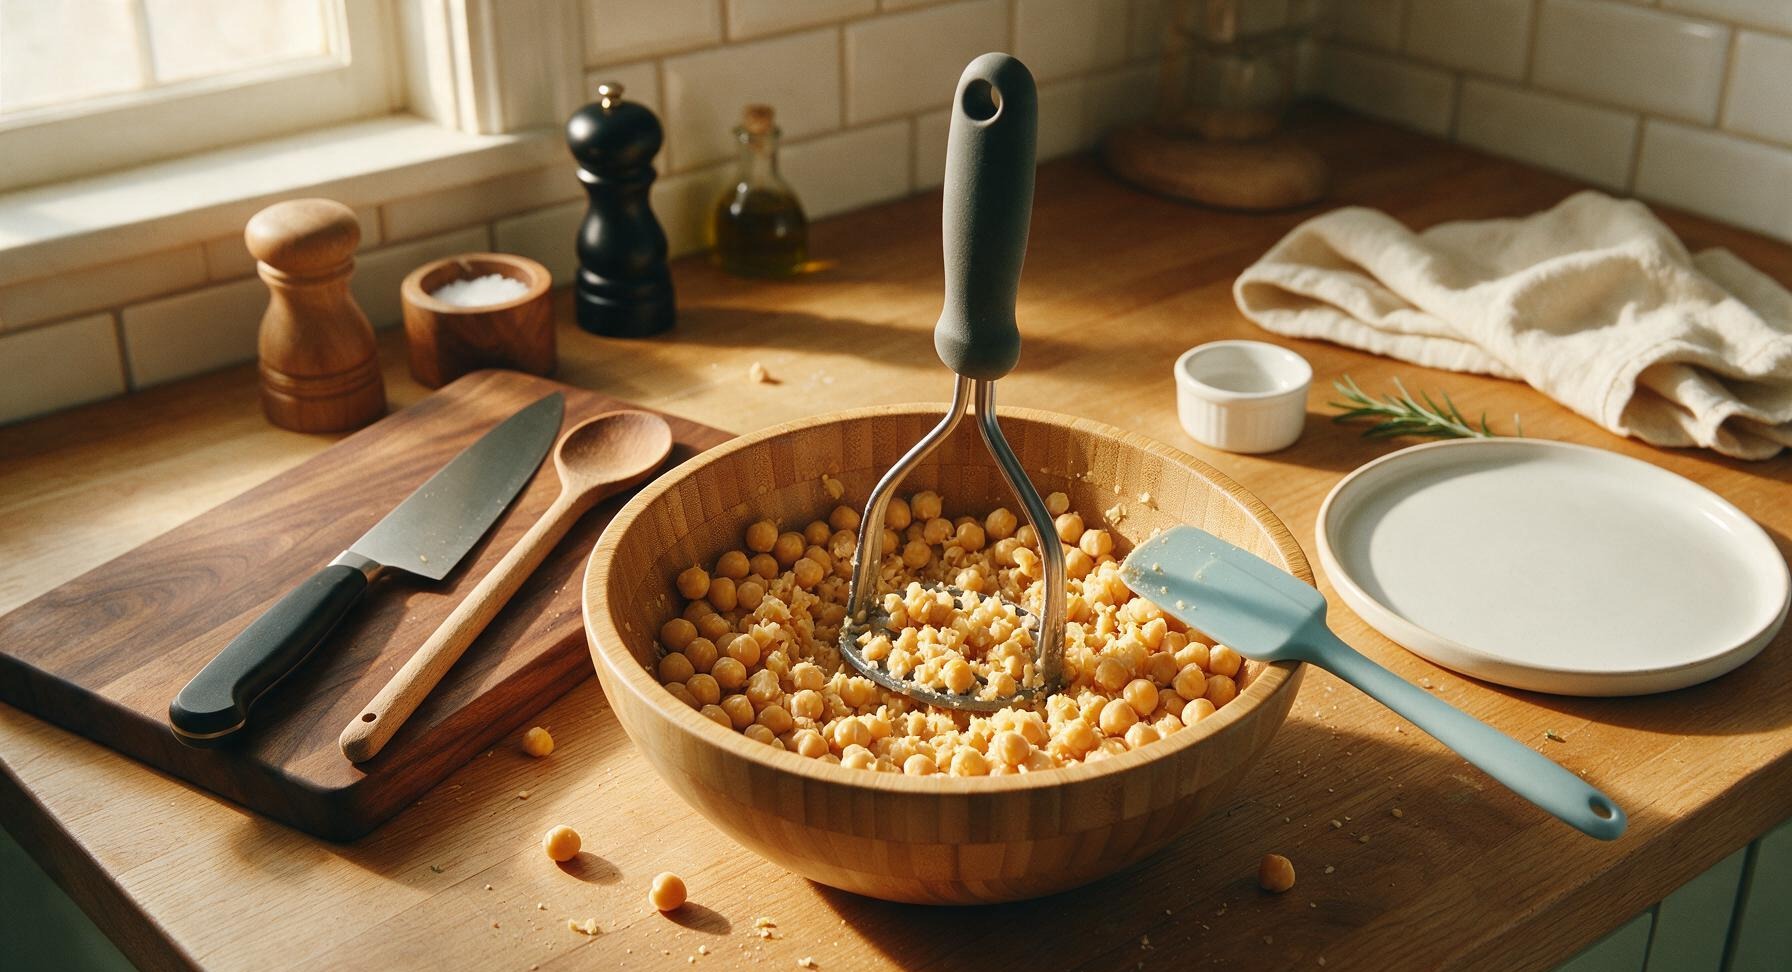
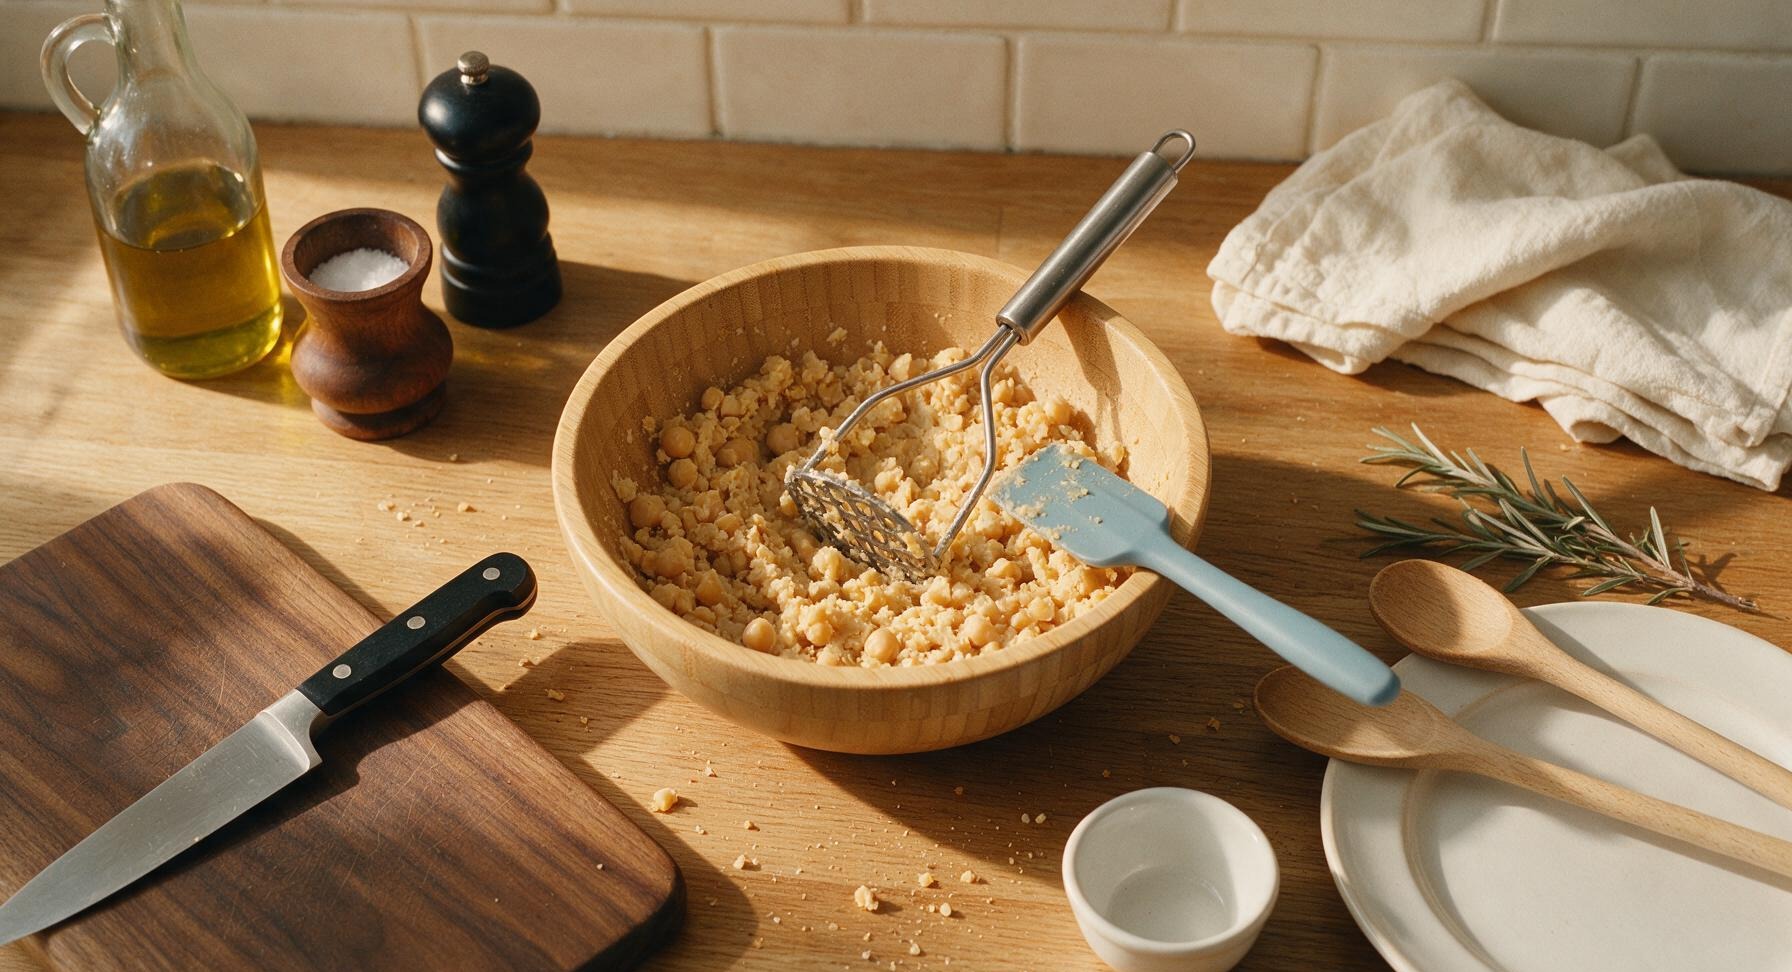
Step 3
step3:Mash chickpeas to texture
Step 3
step3:Mash chickpeas to texture
4

Add creamy base ingredients

Squeeze the half lemon using the stainless steel citrus reamer into the small clear glass catch cup, straining out all seeds. Add the 60g plain Greek yogurt, 1 tablespoon whole-grain Dijon mustard, strained fresh lemon juice, and minced small garlic clove to the bowl of mashed chickpeas.
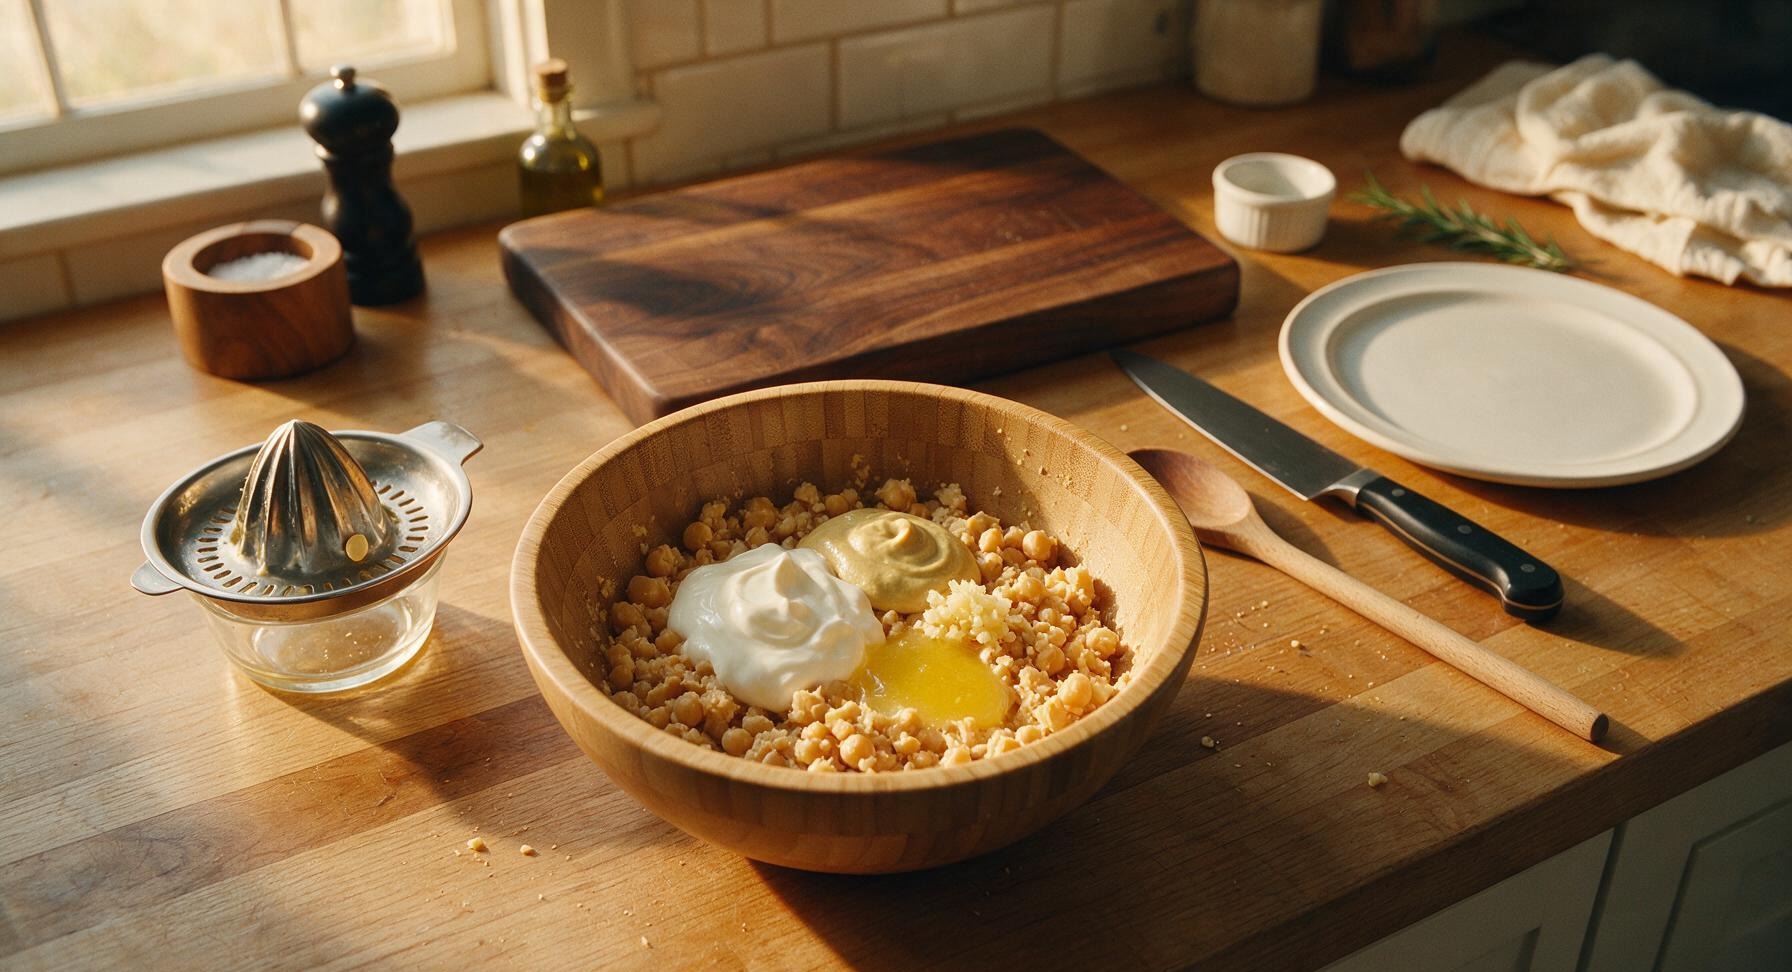
Step 4
step4:Add creamy base ingredients
5

Fold in crunchy vegetables

Add the pre-chopped finely diced celery, finely diced red onion, and chopped fresh dill from the cutting board to the bowl. Use the light blue silicone spatula to fold all ingredients together gently, taking care not to over-mix, which would break down the celery crunch and turn the spread mushy. Stir until all ingredients are evenly distributed throughout the mashed chickpea base, about 10-12 slow folds.
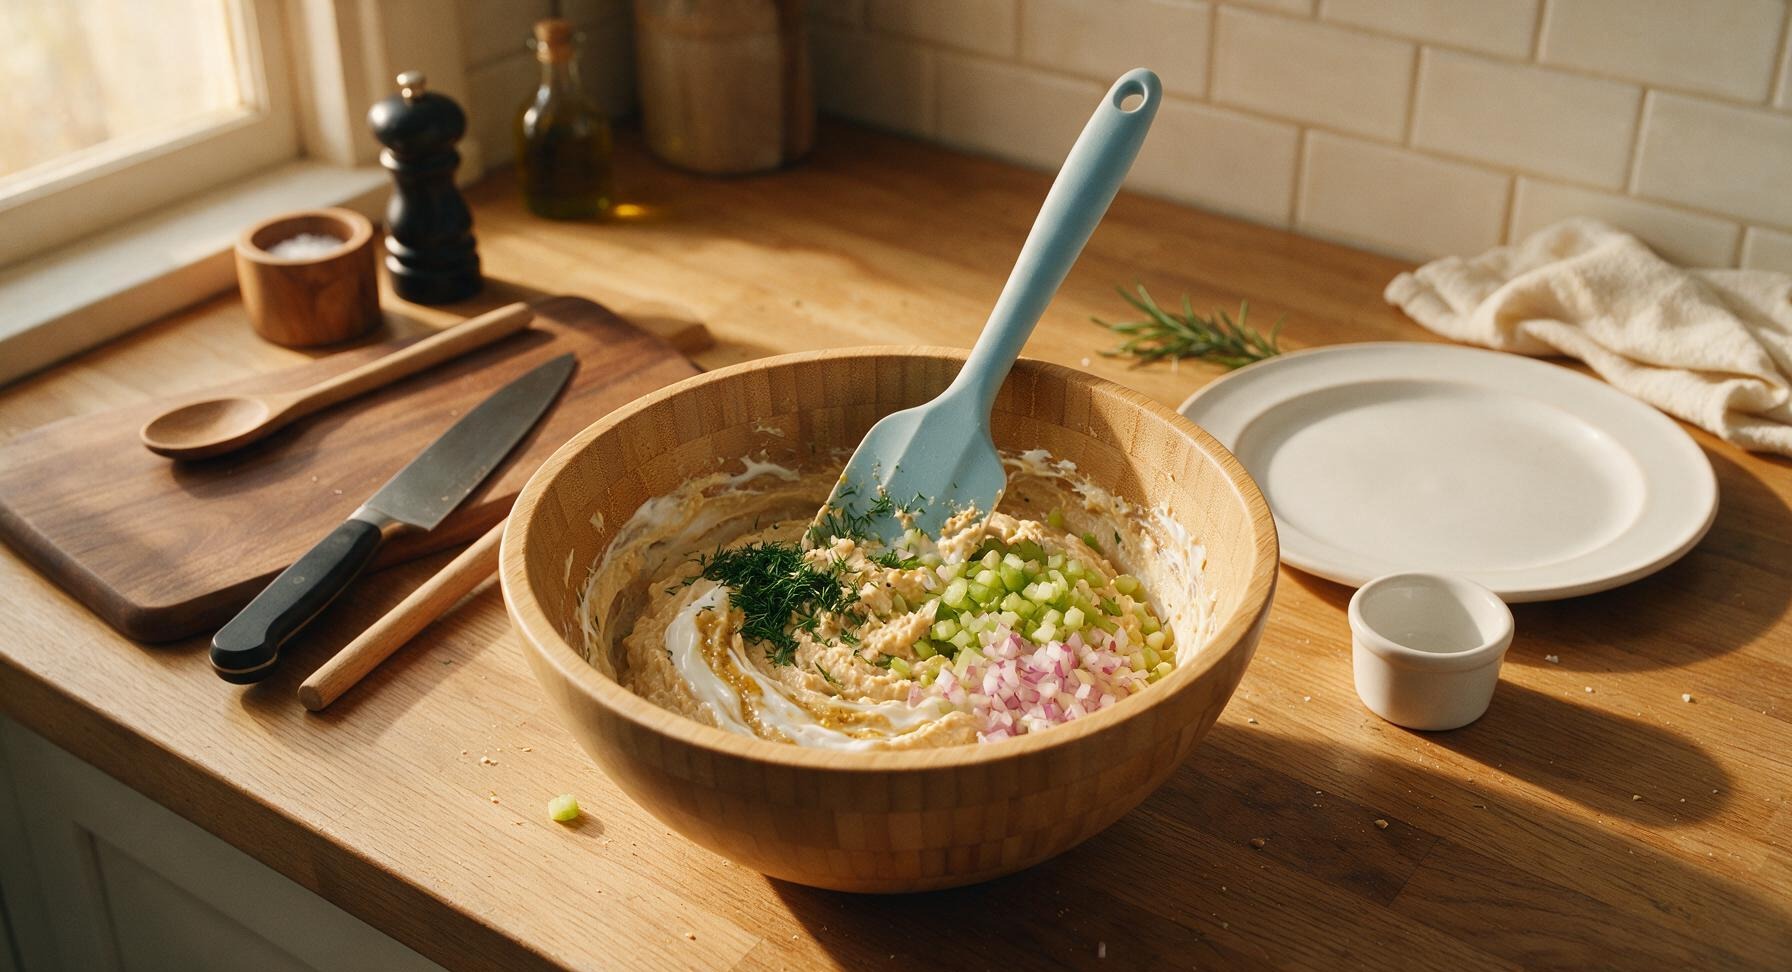
Step 5
step5:Fold in crunchy vegetables
6

Season and adjust flavor

Add 1/2 teaspoon kosher salt and 1/4 teaspoon freshly ground black pepper from the terracotta pinch bowls, stirring to combine. Use the small stainless steel tasting spoon to scoop a small bite of the spread, taste, and adjust seasoning as needed: add extra lemon juice for brightness, extra salt for savoriness, or a pinch more pepper for gentle heat. If the spread is too thick, stir in 1 teaspoon of cold water to reach a smooth, spreadable consistency.
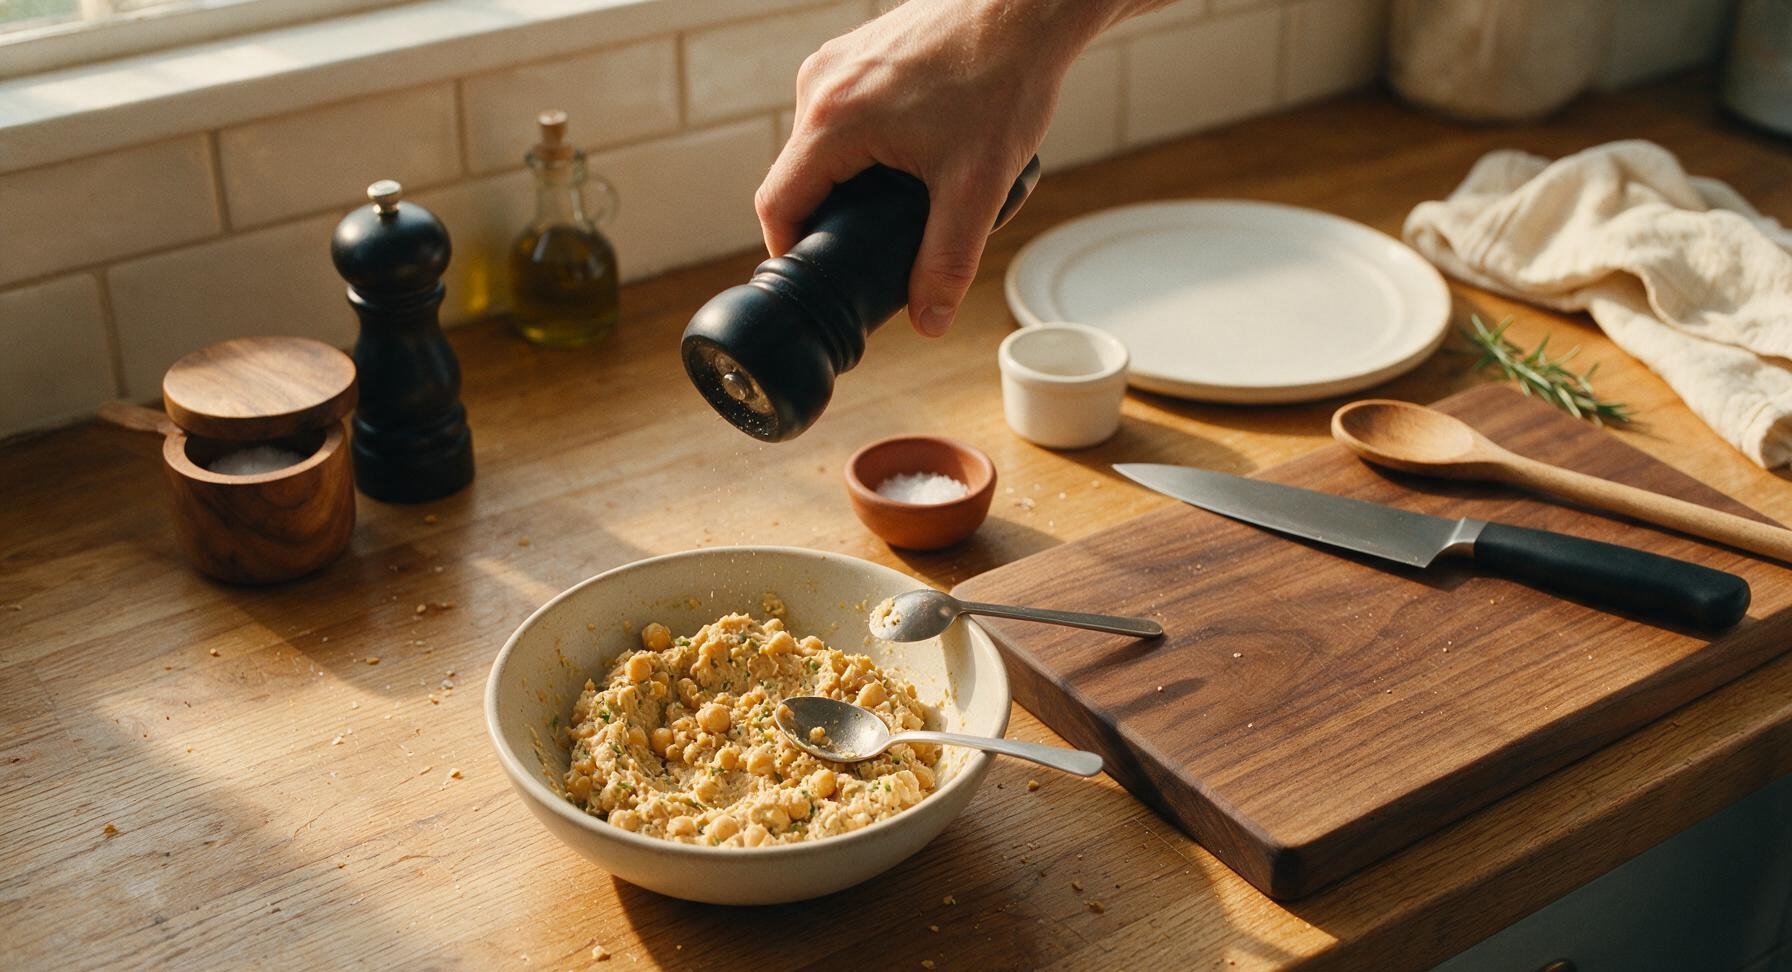
Step 6
step6:Season and adjust flavor
7

Chill to meld flavors

Cover the bowl of fully mixed spread tightly with a neutral beige beeswax wrap, and transfer to the refrigerator for 15 minutes to allow flavors to meld. Chilling is optional but recommended, as it softens the sharp bite of the raw red onion and lets the dill and garlic flavor infuse evenly through the spread. If serving immediately for a quick meal, you can skip this step.
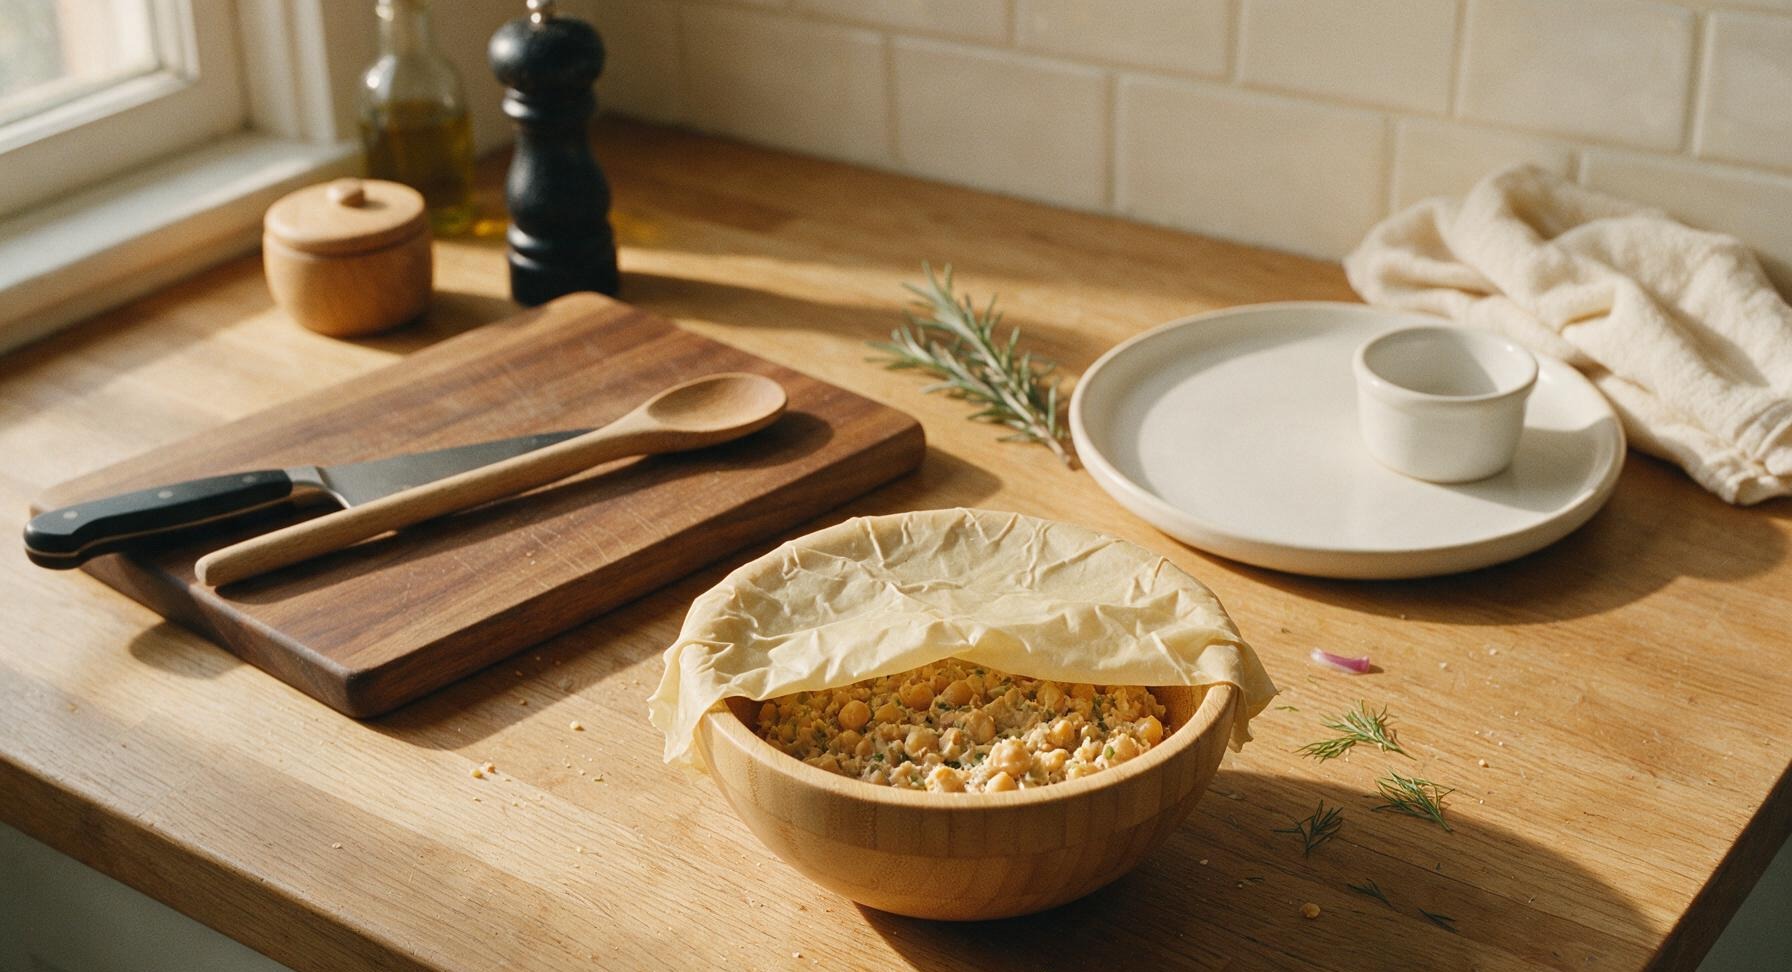
Step 7
step7:Chill to meld flavors
8

Plate and garnish spread

Remove the chilled spread from the refrigerator, discard the beeswax wrap, and give it one quick stir with the silicone spatula to recombine any slight separation. Scoop the spread into a soft, textured mound in the center of the matte cream ceramic lunch plate. Drizzle the top with 1 teaspoon extra-virgin olive oil, crack a light twist of fresh black pepper over top, and garnish with a small sprig of fresh dill. Serve alongside thick slices of crusty whole-grain sourdough for spreading, or use directly as a sandwich filling.
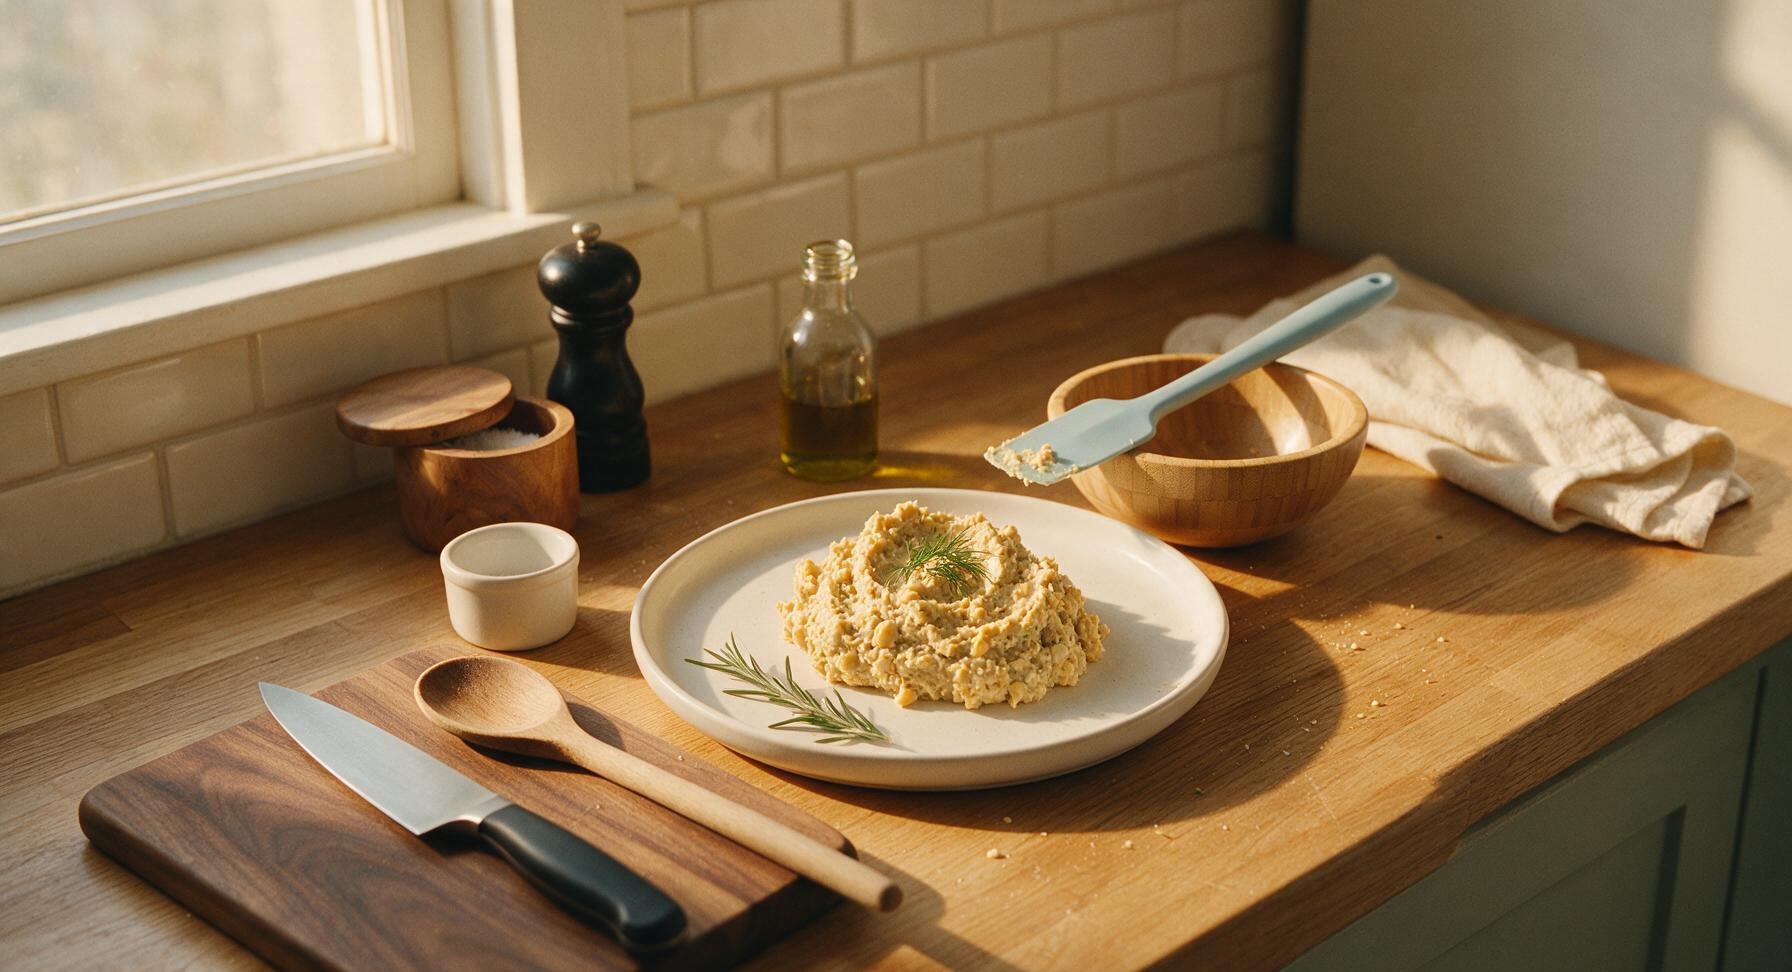
Step 8
step8:Plate and garnish spread

Tips

1.Skip the urge to mash chickpeas completely smooth: leaving 20-30% of chickpeas whole or halved creates a hearty, chicken-salad-like texture that holds up well between bread slices, instead of a thin, hummus-consistency spread that slips out of sandwiches when you take a bite.
2.For a 100% vegan version, swap the plain Greek yogurt for an equal amount of thick, unsweetened vegan mayo; avoid thin, runny plant-based yogurts, as their high water content will make the spread watery and lead to soggy sandwich bread after a few hours.
3.Store leftover spread in a tightly sealed glass container in the refrigerator for up to 4 days for quick weekday lunches; do not freeze the spread, as the high water content in celery and onion will turn mushy and grainy when thawed, ruining the crunchy texture.


✨ You May Also Like

Lunch
🍜 United States

Creamy, salty, tangy nostalgic Midwestern sandwich pairing rich peanut butter with crisp briny dill pickles for a fast, satisfying no-cook meal.

⏱️ 5 minutesLunch ★ 4.6
Lunch
🍜 United States

Crispy, melty pressed sandwich layered with savory roast pork, ham, Swiss cheese, pickles, and tangy mustard: a beloved Cuban-American comfort classic.

⏱️ 25 minuteLunch ★ 4.9
Lunch
🍜 United States

Hearty, briny New Orleans pressed sandwich stacked with cured Italian meats, provolone, and zesty olive salad, served cold for bold, portable flavor.

⏱️ 1 hour 20Lunch ★ 4.7
Lunch
🍜 United States

A tangy, creamy Southern American staple, this no-cook cheesy sandwich is packed with sharp cheddar and sweet pimentos for a satisfying, portable bite.

⏱️ 1 hour 15Lunch ★ 4.8
Lunch
🍜 United States

Crispy Cajun-spiced fried shrimp piled on crusty French bread with tangy remoulade and fresh toppings, the iconic Louisiana street food sandwich.

⏱️ 35 minuteLunch ★ 4.4
Lunch
🍜 United States

Stacked, savory deli-style corned beef sandwich with melted Swiss, tangy mustard, and crisp griddled rye— a fast, hearty, satisfying classic.

⏱️ 15 minuteLunch ★ 4.9

chickpea sandwich spread:Frequently Asked Questions

1.Is this spread really totally no-cook, or do I need to pre-cook any ingredients? ▾
It’s 100% no-cook when you use the canned chickpeas specified in the recipe! Just drain and rinse your canned chickpeas well—no boiling, roasting, or stovetop time required. The only prep is a quick dice of veggies, a partial mash of chickpeas, and stirring everything together, so it comes together in 10 minutes flat.
2.How chunky should I mash the chickpeas to get the right texture? ▾
Aim for a mixed, satisfying texture: mash roughly ⅔ of the rinsed chickpeas with a fork or potato masher until they hold together loosely, then leave the remaining ⅓ as whole or half chickpeas. Skip the food processor here—over-blending will turn the spread smooth and mushy instead of the signature chunky bite.
3.Can I use non-dairy yogurt instead of whole-milk Greek yogurt to make this spread vegan? ▾
Absolutely! Swap the whole-milk Greek yogurt for unsweetened plain thick non-dairy yogurt, like savory coconut or oat milk yogurt, to match the original rich, creamy texture. Skip thin, watery non-dairy yogurts—they’ll make the spread runny, so strain thinner store-bought versions for 10 minutes in a fine sieve first if needed.
4.How long will this chickpea spread stay fresh in the refrigerator? ▾
Stored in a tightly sealed airtight container in the coldest part of your fridge (usually the lower shelf, not the door), the spread will stay fresh for 3 to 4 days. Give it a quick stir before each use, as a tiny bit of liquid from the lemon and veggies may separate to the top during storage.
5.What if I don’t have whole-grain Dijon mustard on hand? ▾
You can swap whole-grain Dijon for regular smooth Dijon in a pinch, though you’ll miss the subtle, seedy crunch the whole-grain version adds to every bite. Avoid yellow ballpark mustard here—it has a much sharper, vinegar-forward flavor that will overpower the bright lemon and dill notes of the spread.
6.Is this spread sturdy enough to pack for picnics or work lunches without getting soggy? ▾
It’s ideal for portable summer meals! The thick Greek yogurt and partially mashed chickpeas create a sturdy, not-runny base that won’t soak through sandwich bread for 4 to 5 hours when kept cool in an insulated lunch bag. For extra sogginess protection, layer a thin slice of cheese or lettuce between the spread and bread when packing.
7.Do I need to peel the chickpeas for a smoother, less gritty texture? ▾
Peeling chickpeas is totally unnecessary for this chunky spread! The partial mash leaves plenty of hearty texture, and the tiny bit of outer chickpea skin blends right in without creating a gritty mouthfeel. Save yourself the 10+ minutes of tedious peeling time—you won’t notice a meaningful difference in the final result.
8.Can I add extra mix-ins to customize the spread to my taste? ▾
Definitely! The base recipe is super flexible. Try adding 2 tablespoons of finely diced red onion, a pinch of smoked paprika, a tablespoon of chopped capers, or even ¼ cup of crumbled feta for extra savoriness. Just skip watery mix-ins like fresh diced tomato, which will thin the spread and make it runny over time.
9.What are the best ways to serve this spread besides on sandwiches? ▾
It’s incredibly versatile! Pile it into whole-grain wraps, scoop it up with pita chips or cut veggie sticks for a quick high-protein dip, stuff it into halved cherry tomatoes for a simple party appetizer, or spoon it over green salads as a creamy, plant-forward topping. It also works perfectly in stuffed whole-wheat pita pockets.
10.Why does the recipe call for whole-milk Greek yogurt instead of non-fat? ▾
Whole-milk Greek yogurt has a rich, creamy texture and mild, tangy flavor that balances the bright lemon and earthy chickpeas perfectly. Non-fat Greek yogurt tends to have a chalky, thin texture and sharper, more tart aftertaste that will make the spread feel less satisfying, even with all the crunchy veggie add-ins.
11.Can I freeze this spread for later meal prep? ▾
I don’t recommend freezing this spread. The Greek yogurt and fresh celery will break down and become watery and mushy once thawed, leaving you with a grainy, unappetizing texture. It’s so quick to mix up fresh that it’s better to make small batches as you need it instead of freezing leftovers.
12.How finely do I need to dice the celery for this recipe? ▾
Dice your celery into ¼-inch pieces, about the size of a pencil eraser, so you get a satisfying crisp crunch in every bite without large, stringy celery chunks that overpower the other flavors. If your celery has tough outer strings, peel them off with a vegetable peeler first before dicing for the best texture.
13.Can I use home-cooked dried chickpeas instead of canned? ▾
You absolutely can! Use 1 ½ cups of cooked, cooled chickpeas (that’s roughly the yield from one standard 15-ounce can, drained) for the recipe. Just make sure your home-cooked chickpeas are tender but not mushy—overcooked chickpeas will turn the spread soft and make you lose that lovely signature chunky bite.
14.Can I use dried dill if I don’t have fresh on hand? ▾
Fresh dill is preferred for its bright, grassy, fresh flavor, but you can use dried dill in a pinch. Use 1 teaspoon of dried dill for every 1 tablespoon of chopped fresh dill, and stir it in 10 minutes before serving to give it time to rehydrate and release its flavor into the spread.

Comments (7)

2 days ago

OMG this chunky chickpea spread is a total game changer for my weekly meal prep! I tossed in a little extra fresh dill and a pinch of crushed red pepper, piled it high on sourdough with sliced cucumber and ripe tomato, and it kept me full straight through my back-to-back work meetings. My 10-year-old who turns her nose up at literally every bean dish asked for a SECOND sandwich at lunch today! Zero cook time? Absolute chef’s kiss for chaotic school mornings.

yesterday

Wait the red pepper flakes add so much! I did that too last time I made it, plus a tiny squeeze of lemon, and my roommates ate half the batch before I even got to make a sandwich for myself lmao

yesterday

So glad this worked for your busy schedule, Liz! Love the red pepper flake and dill add-in — a little bright heat goes such a long way here. Pro tip: it holds great in the fridge for up to 5 days for quick lunches all week!

1 week ago

Really solid spread! I used this for a potluck at my office last week and people kept asking who brought the “fancy chickpea salad”. Only reason I’m not giving 5 stars is I wish I’d mashed the chickpeas a little more than the recipe said — the super big chunks kept falling out of my sliders when people picked them up. Otherwise super tasty, way better than the tuna salad I usually make for events.

5 days ago

Thanks so much for the honest feedback, Jake! Great call on mashing to your preferred texture — if you’re making it for sliders or small bites, mashing a bit more makes it way less messy. So happy it was a hit at your office potluck!

3 days ago

SO good! I packed this on whole wheat wraps with shredded carrots and spinach for a day hike last weekend, and it didn’t get soggy at all even after being in my pack for 4 hours. Way lighter than the heavy cheese and meat sandwiches I usually bring, didn’t leave me feeling sluggish halfway up the trail. 10/10 will be making this for all my upcoming outdoor trips.

5 days ago

This has become my go-to cheap lunch for work! A can of chickpeas is like 80 cents, I already have all the other condiments in my fridge, and it tastes way better than the $12 deli sandwiches I used to grab every day. I make a big batch on Sunday and eat it all week, I swear I’ve saved like $40 this month already lmao

3 days ago

Oh my gosh same! I’m a broke college student and this is way cheaper and tastier than the campus food. I add a little chopped celery for extra crunch, *chef’s kiss*

2 weeks ago

Y’all, I was so sick of the same old hummus and veggie sandwiches for lunch, and this spread absolutely delivered. I swapped the regular mayo for vegan mayo to match my diet, added a little chopped celery and red onion for crunch, and my husband who swears he “hates vegan food” ate two sandwiches for dinner last night. Game. Changer.

1 week ago

How long does this stay good in the fridge? I wanna make it but I’m cooking for one and don’t want it to go bad before I can eat it all!

1 week ago

Love the vegan mayo swap, Gabi — it works perfectly here! To answer your question @AllergicToEverything, this stays fresh in an airtight container in the fridge for 4-5 days, so it’s perfect for portioning out for single-serve lunches all week!

yesterday

Brought this to my neighborhood block party last weekend and people were hovering around the platter! I served it on little crostini bites with a sprinkle of paprika on top, and I had multiple neighbors beg me for the recipe. So easy to throw together right before the party too, no cooking required means I didn’t have to heat up my kitchen in that 90 degree heat we had last Saturday.

2 hours ago

The crostini serving idea is brilliant, Patty! So glad it was a hit at the block party — no-cook recipes are total lifesavers when the summer heat is brutal, right?

just now

Super easy to throw together, tastes great! I will say I dumped way too much yellow mustard in on my first batch, which totally overpowered the mild chickpea flavor, so definitely start light on the mustard and add to taste. Fixed it on my second batch by mashing in an extra half can of chickpeas and a little extra mayo, and it was perfect. Such a solid base recipe to tweak to your own preferences!



