
Basil Ribs
intro
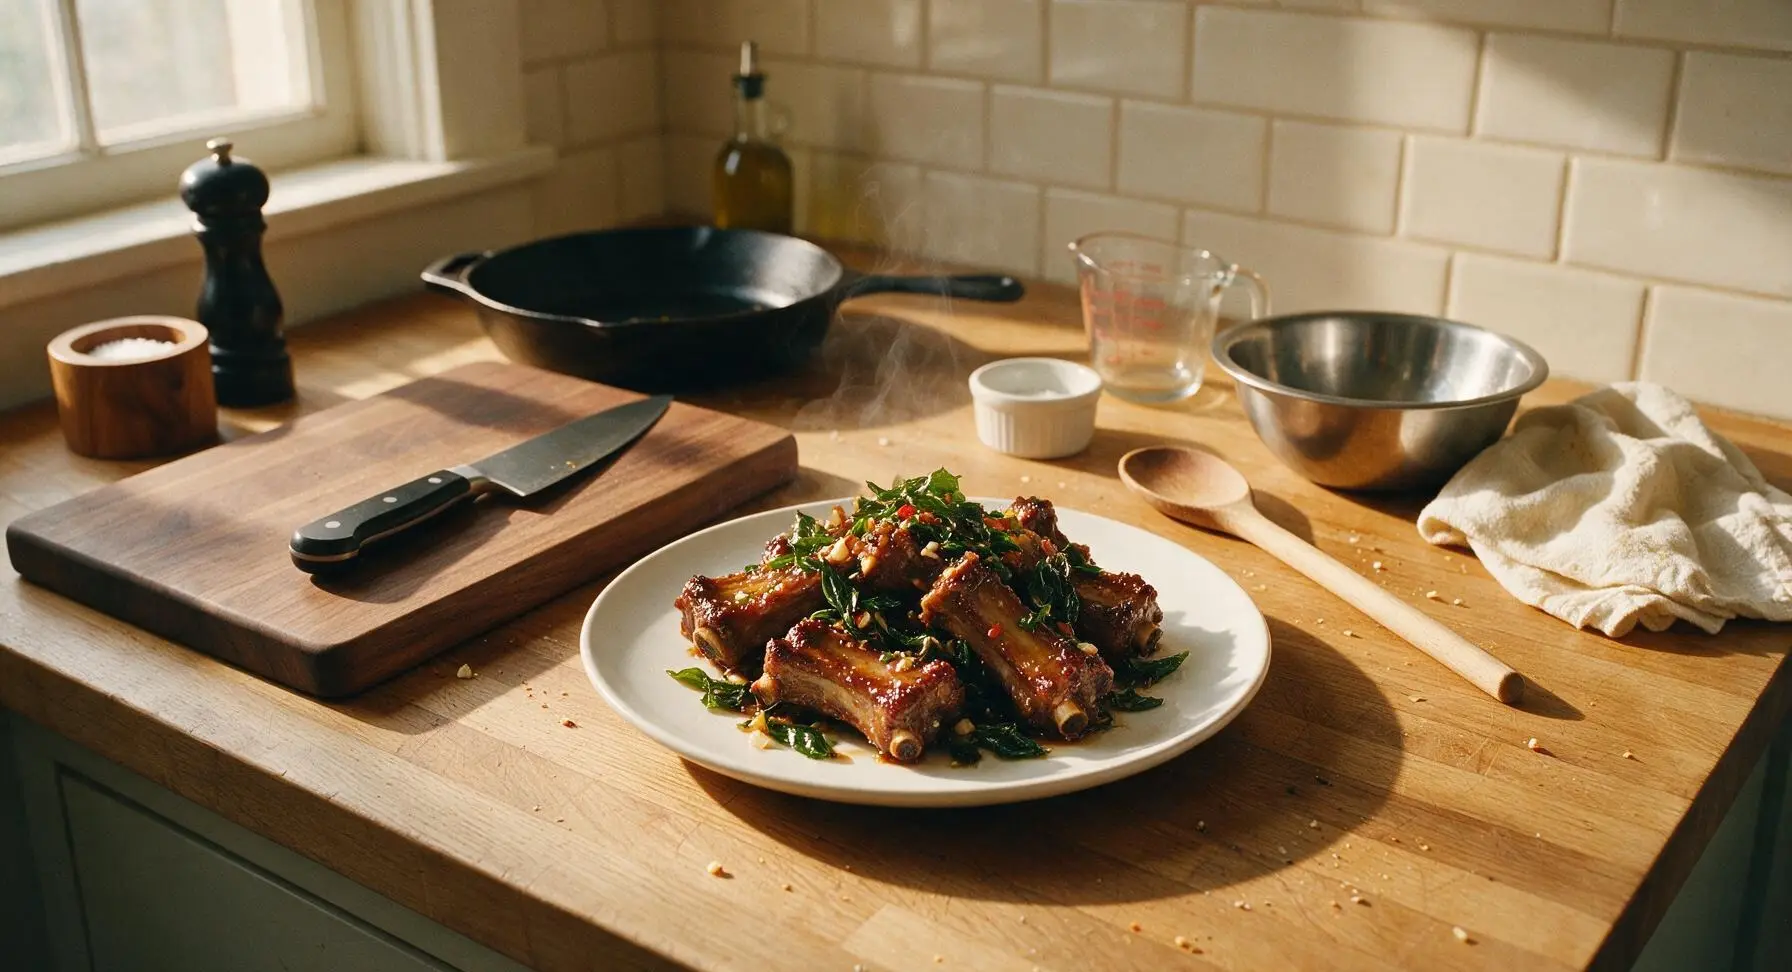
Fall-off-the-bone tender pork ribs coated in savory-sweet umami glaze, tossed with crispy Thai basil, garlic, and a gentle chili kick, made for shared meals.
Ingredients
Steps
Prep the Pork Ribs
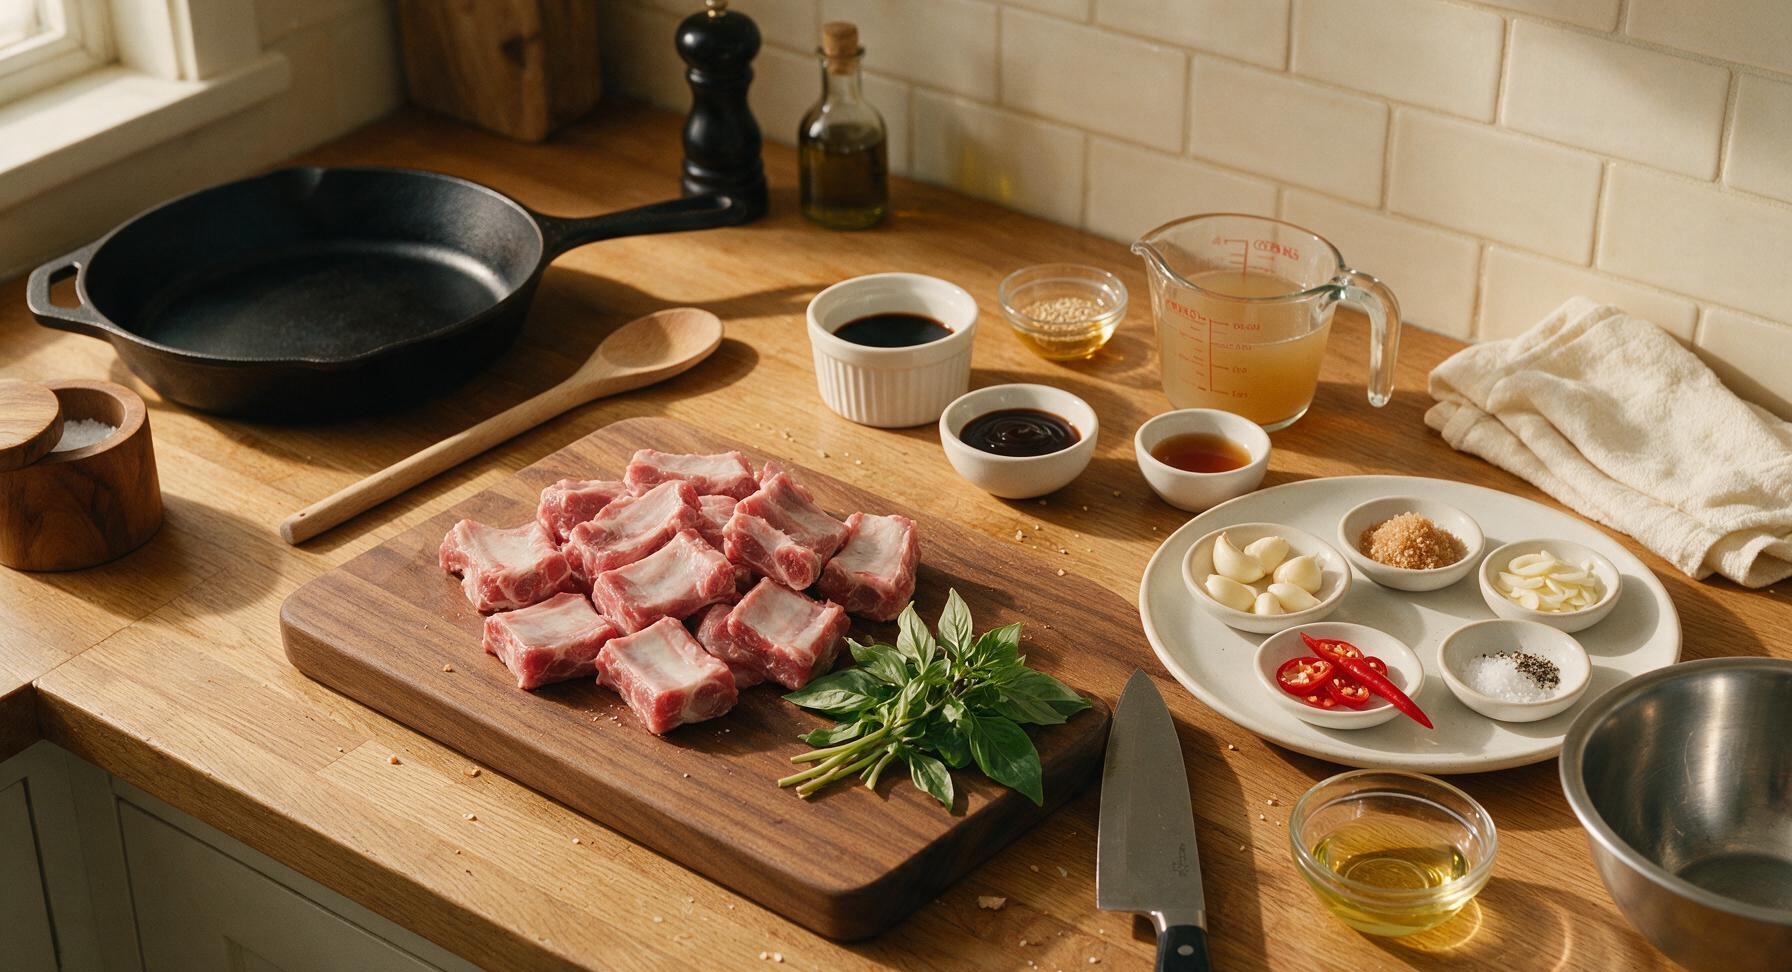
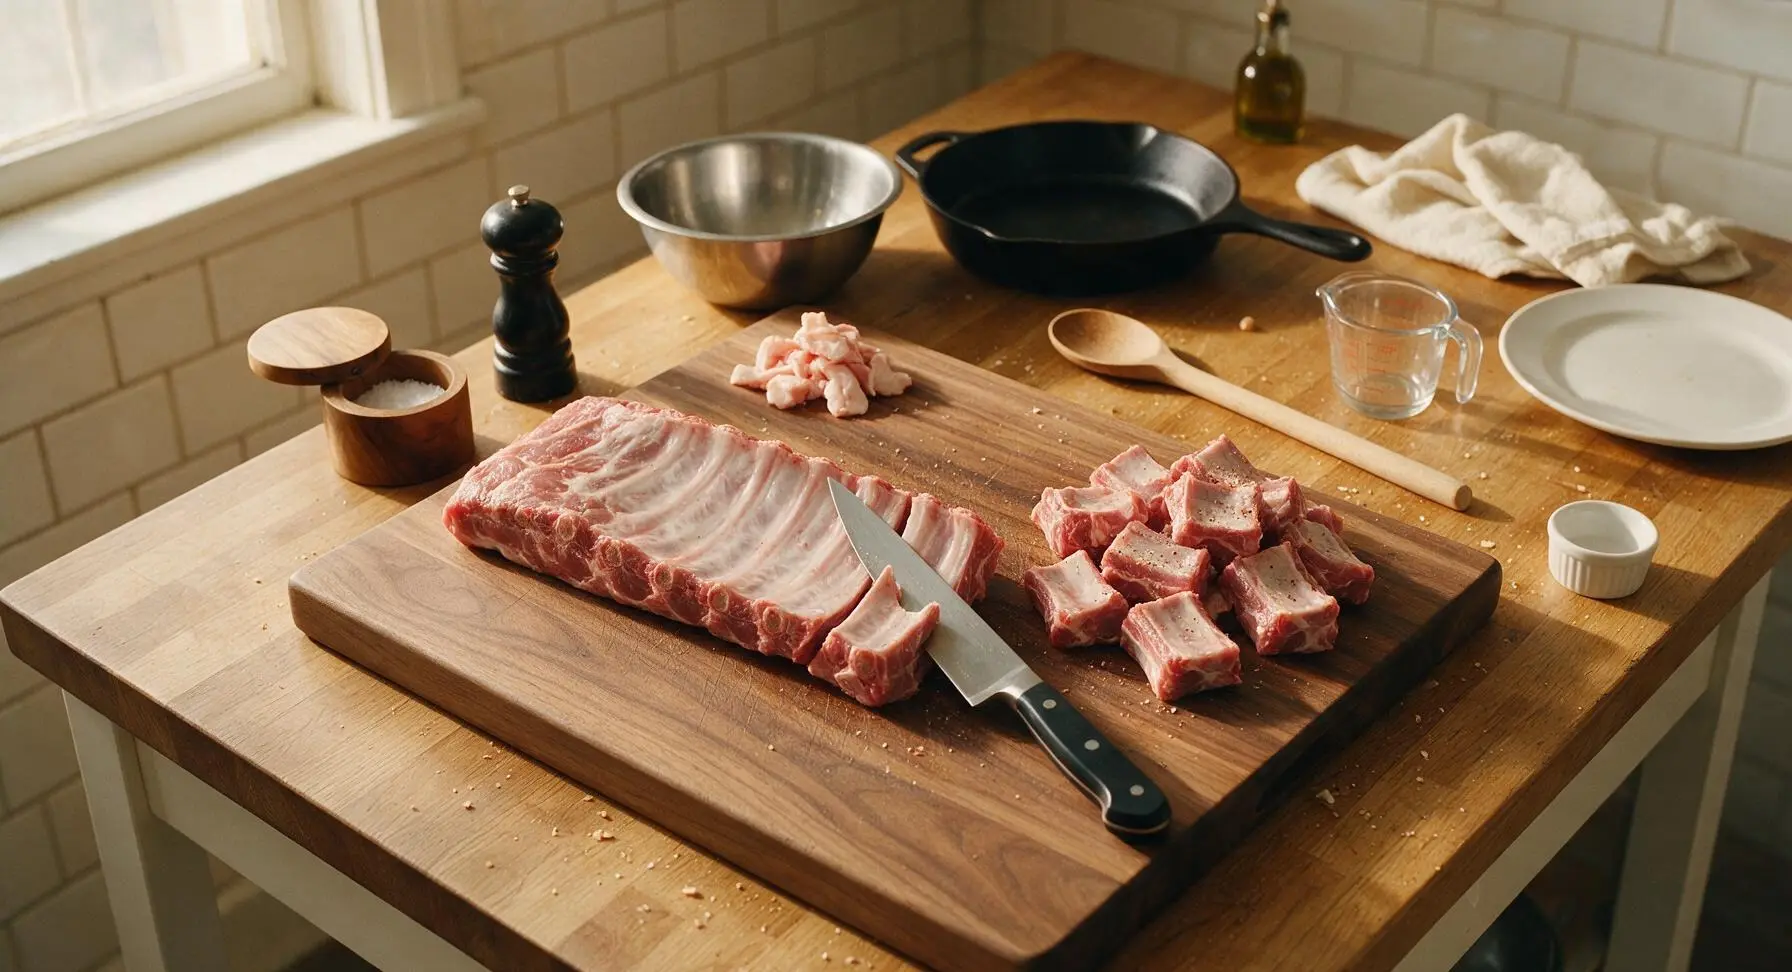
Place the 1kg pork spare rib rack on the acacia cutting board. Use the chef knife to trim any excess loose fat and silver skin from the rib surface, then cut the rack into individual 5cm-long rib pieces, cutting cleanly between each bone. Pat rib pieces completely dry with a corner of the oatmeal linen towel, then season lightly with 1 tsp coarse sea salt and 1/2 tsp black pepper, tossing to coat evenly.
Sear Ribs Until Golden
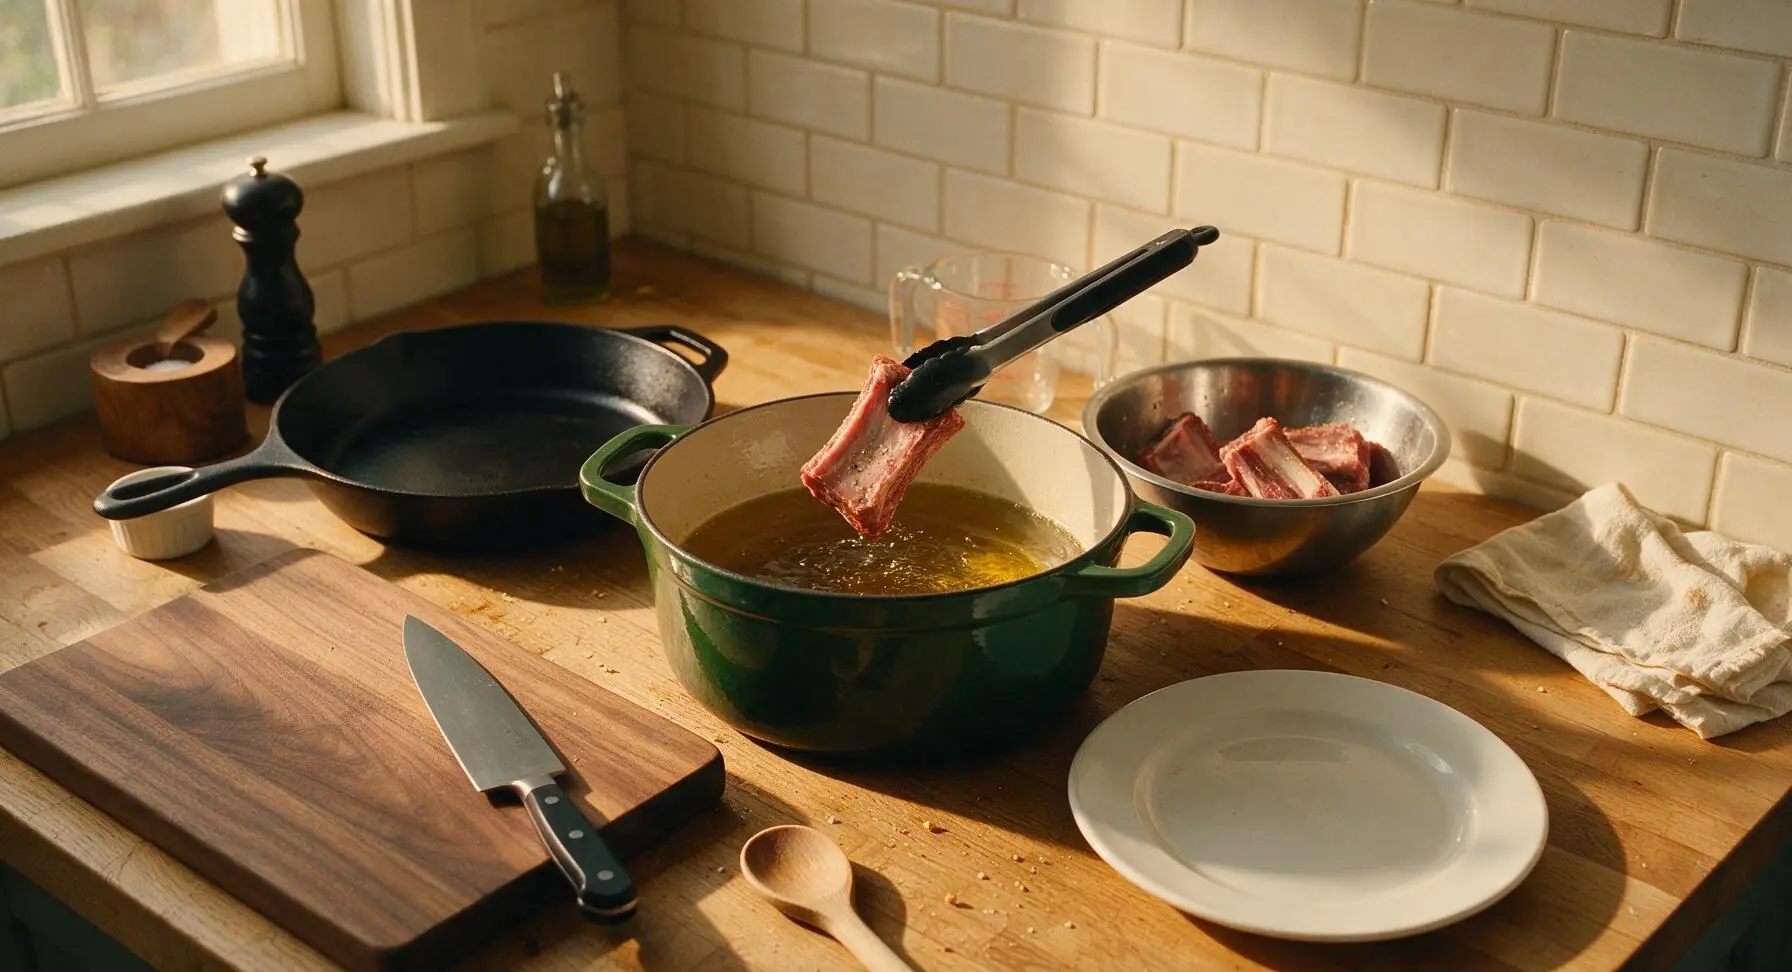
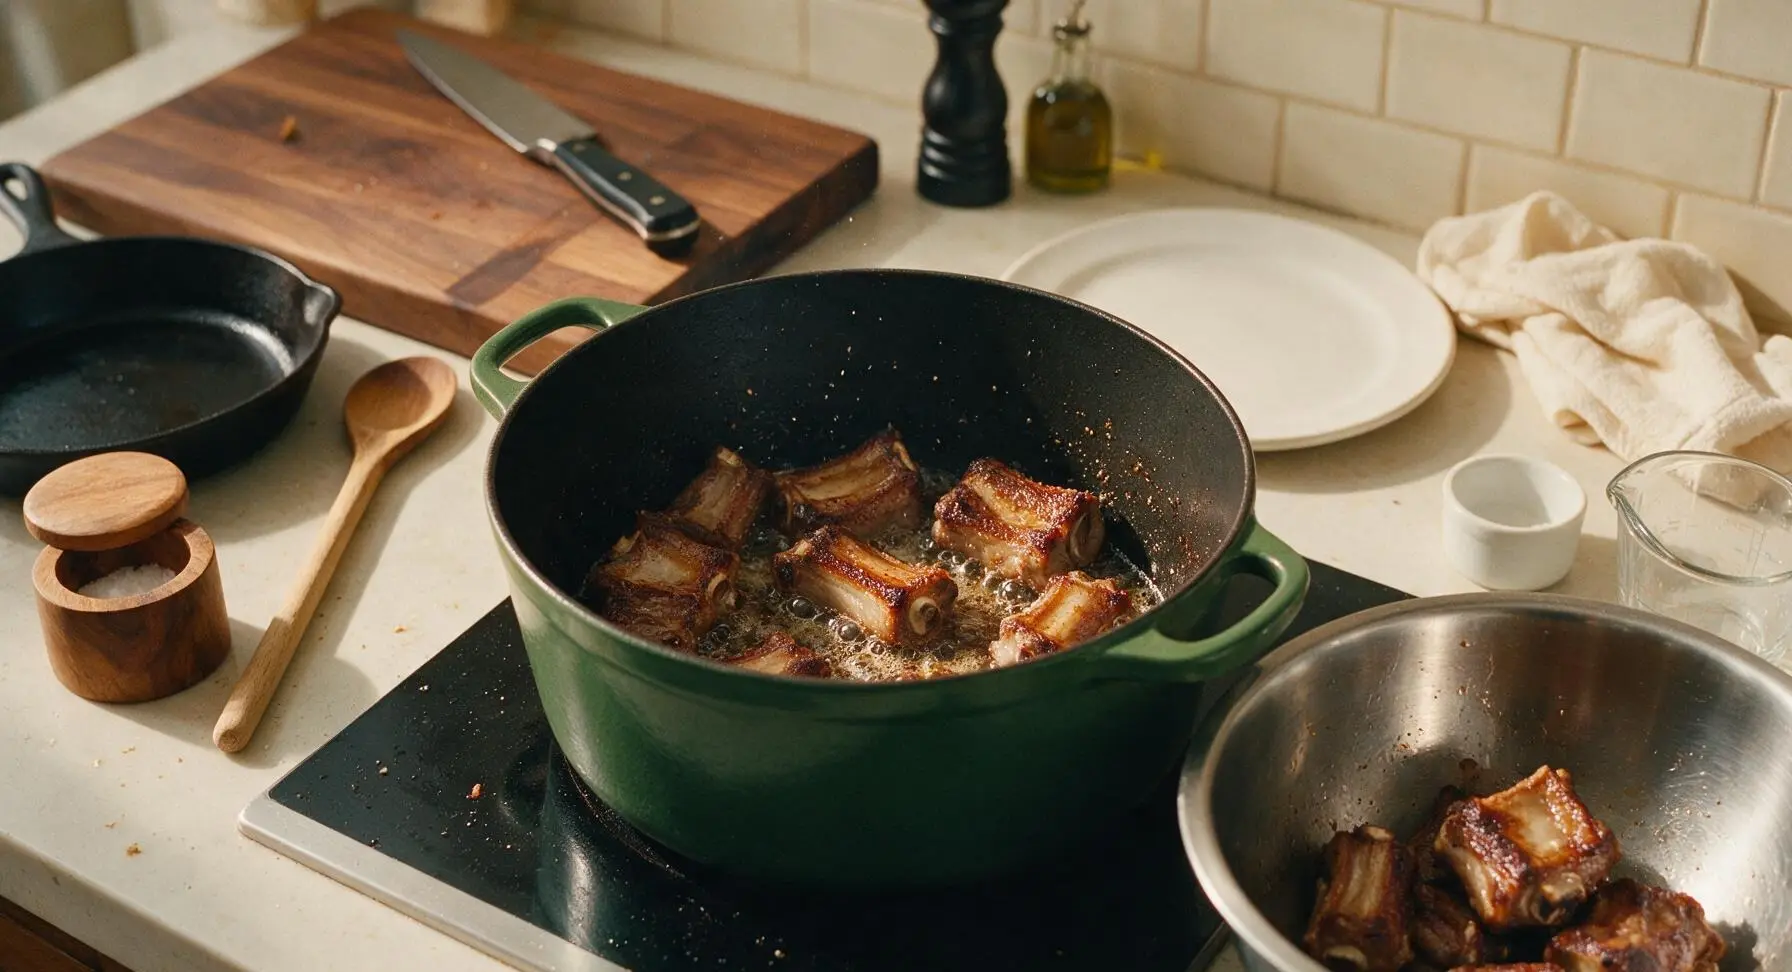
Heat 1 tbsp neutral oil in the forest green Dutch oven over medium-high heat (180C/350F). Working in 2 batches to avoid crowding the pot, use the black-handled tongs to place rib pieces in the pot, searing for 2-3 minutes per side until deep golden brown on all surfaces. Transfer seared ribs to the stainless steel mixing bowl temporarily, leaving rendered fat and browned bits in the Dutch oven.
Braise Ribs Until Tender
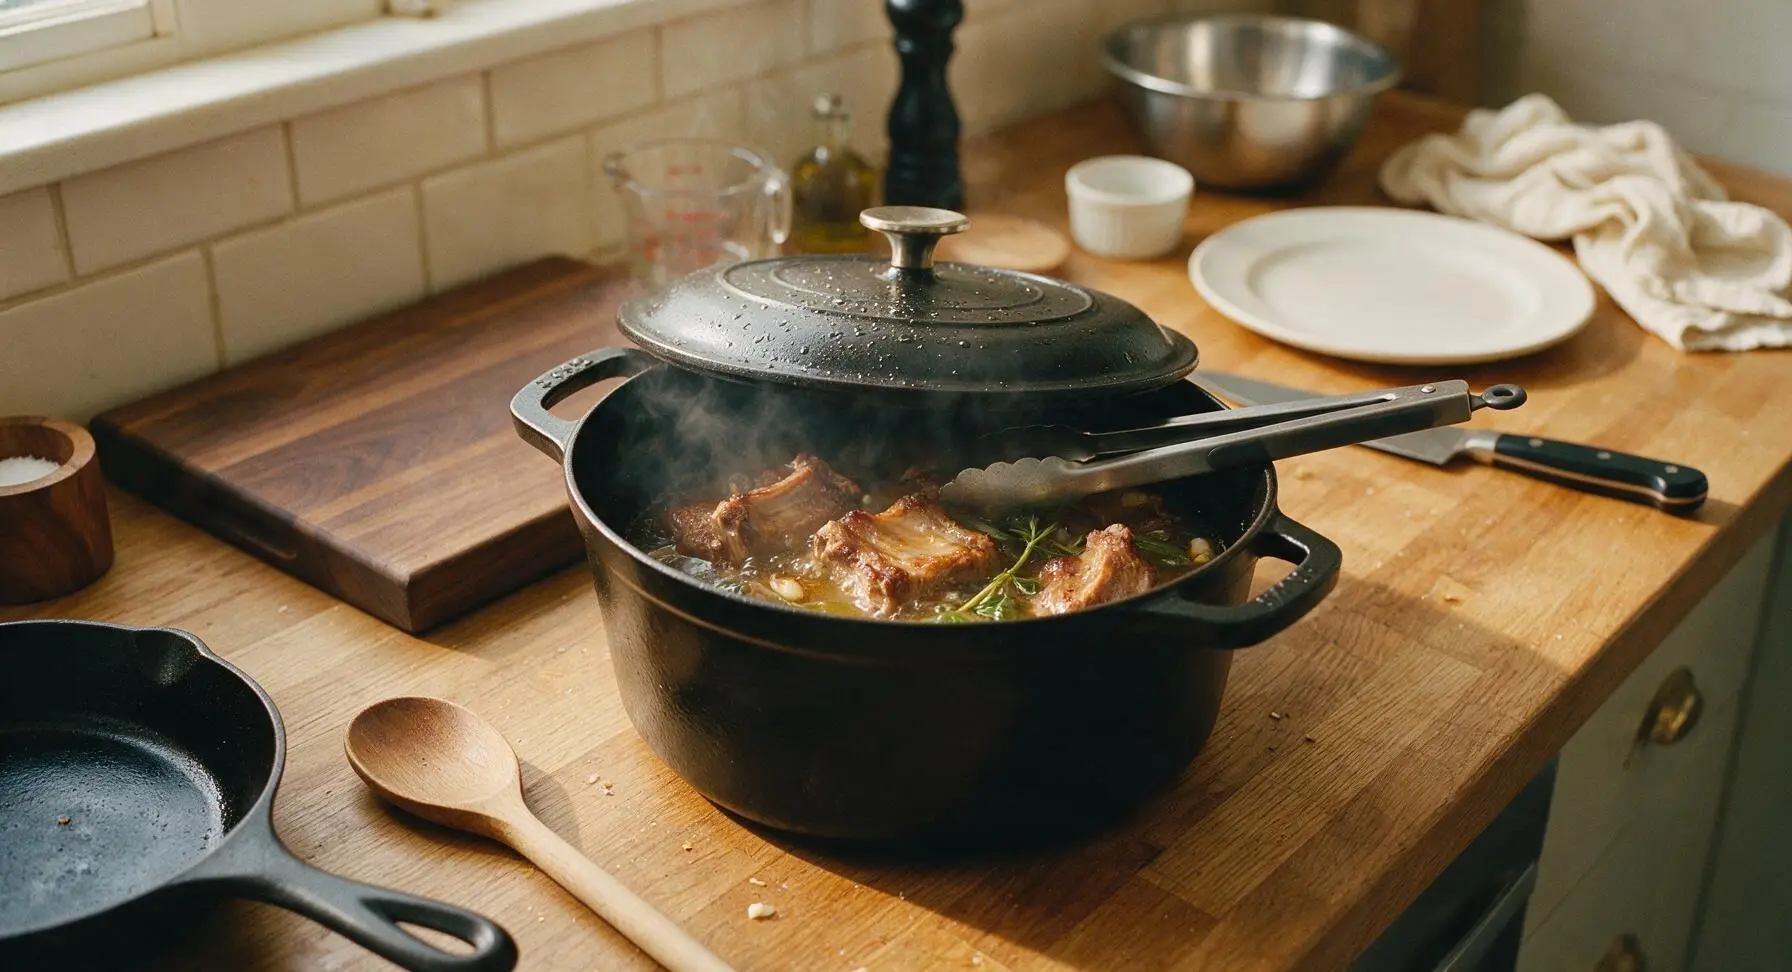
Return all seared ribs to the Dutch oven. Pour in 250ml chicken stock, 1 tbsp light soy sauce, 4 crushed garlic cloves, and reserved Thai basil stems. Bring the liquid to a gentle simmer, then reduce heat to low (120C/250F), cover with the tight-fitting lid, and braise for 55 minutes. The ribs should be tender when pierced with a fork, but not falling completely off the bone to hold their shape during glazing.
Make Sticky Basil Glaze
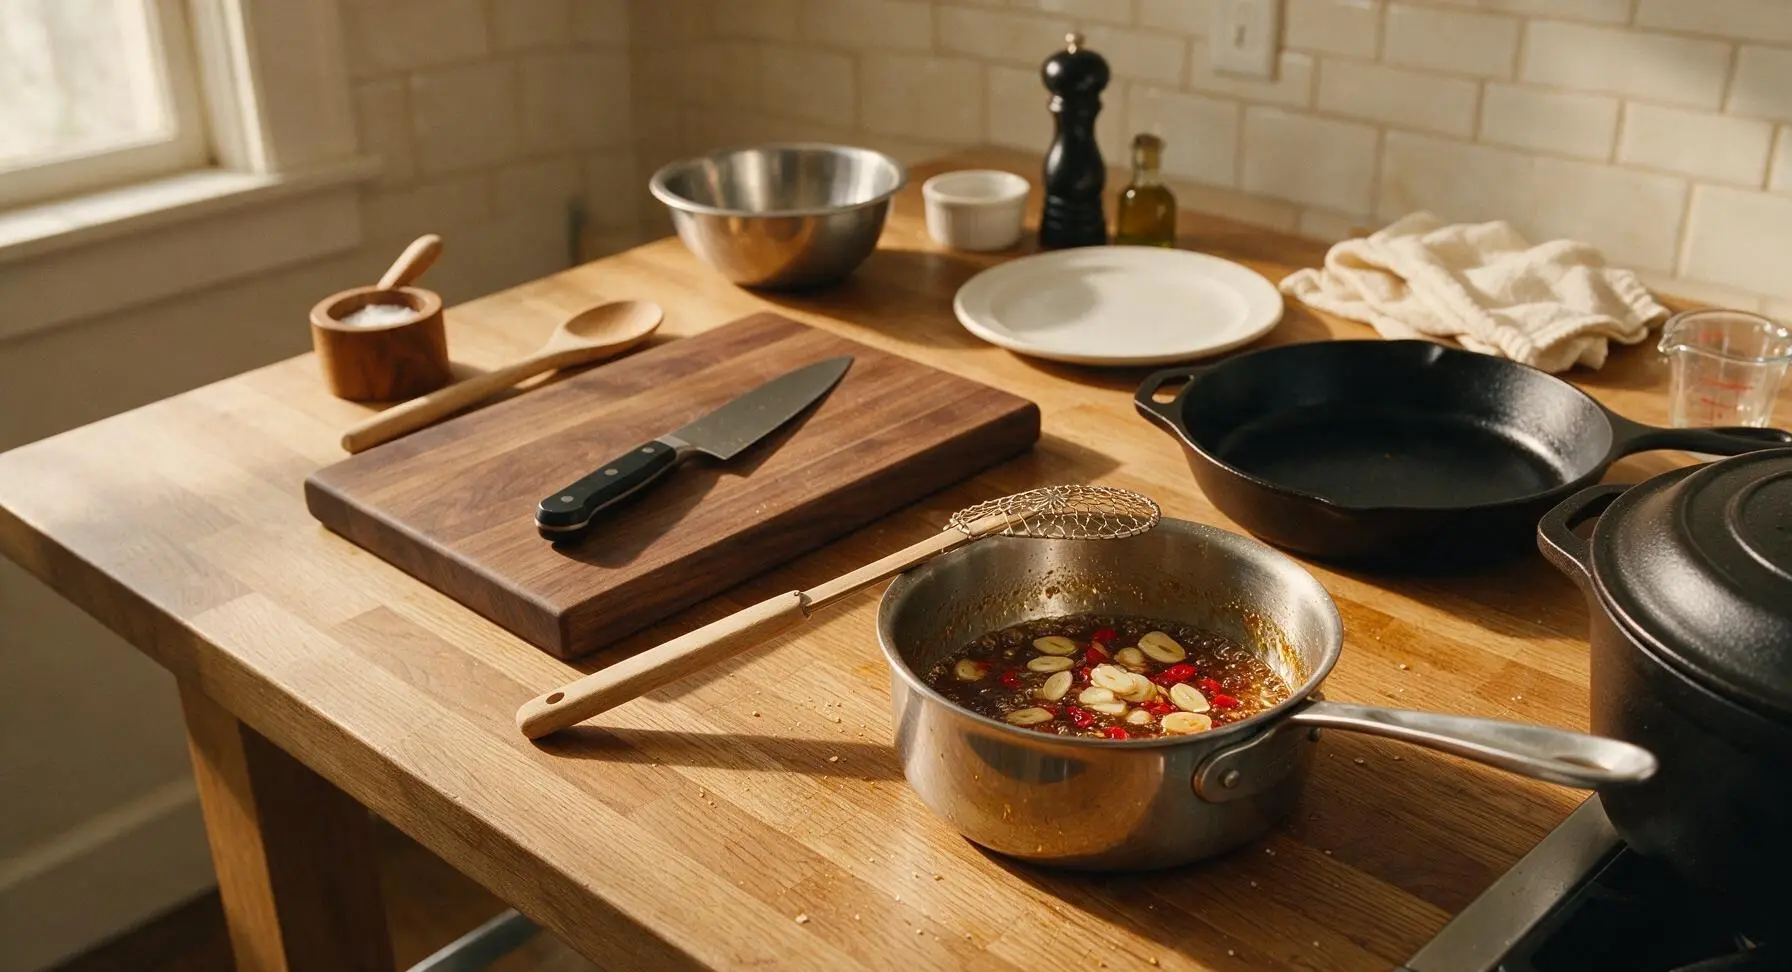
While ribs braise, place the small stainless steel saucepan over medium heat. Add 2 tbsp grated palm sugar, remaining 2 tbsp light soy sauce, 2 tbsp oyster sauce, 1 tbsp fish sauce, 1 tsp toasted sesame oil, 4 thinly sliced garlic cloves, and sliced red chilies. Simmer for 6-8 minutes, stirring occasionally with the beech wood skimmer handle, until the sugar dissolves and the glaze thickens to a syrupy consistency that coats the back of a spoon. Set aside.
Fry Crispy Thai Basil
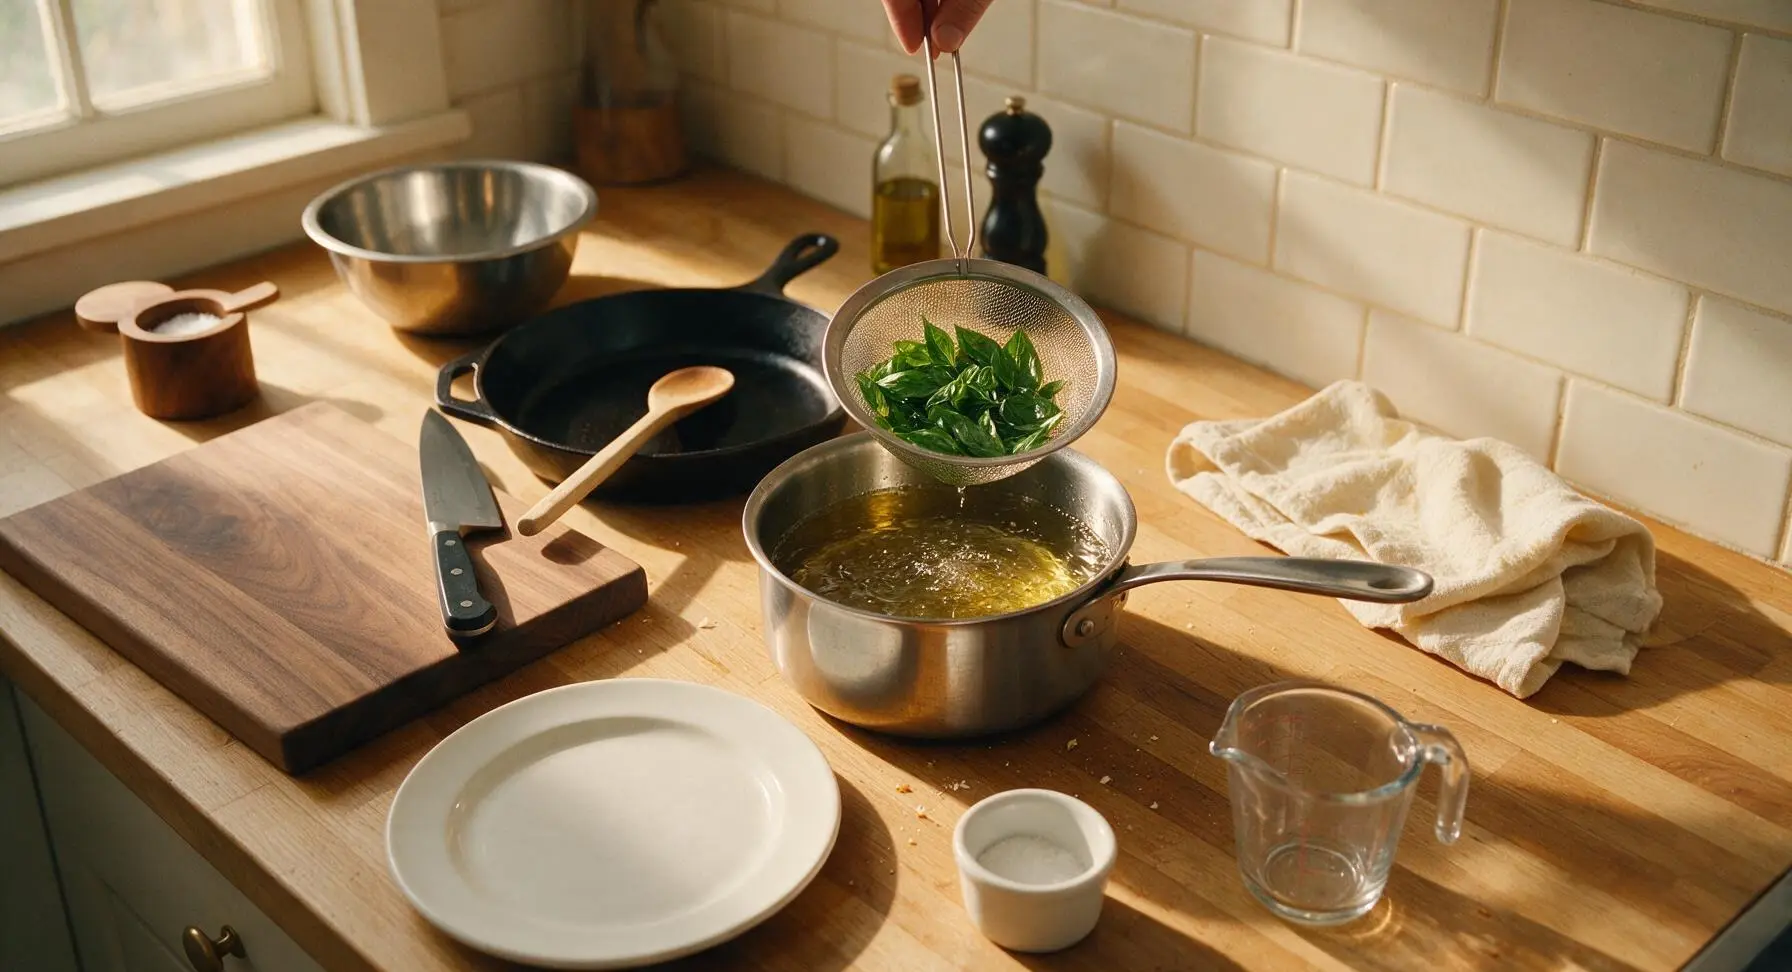
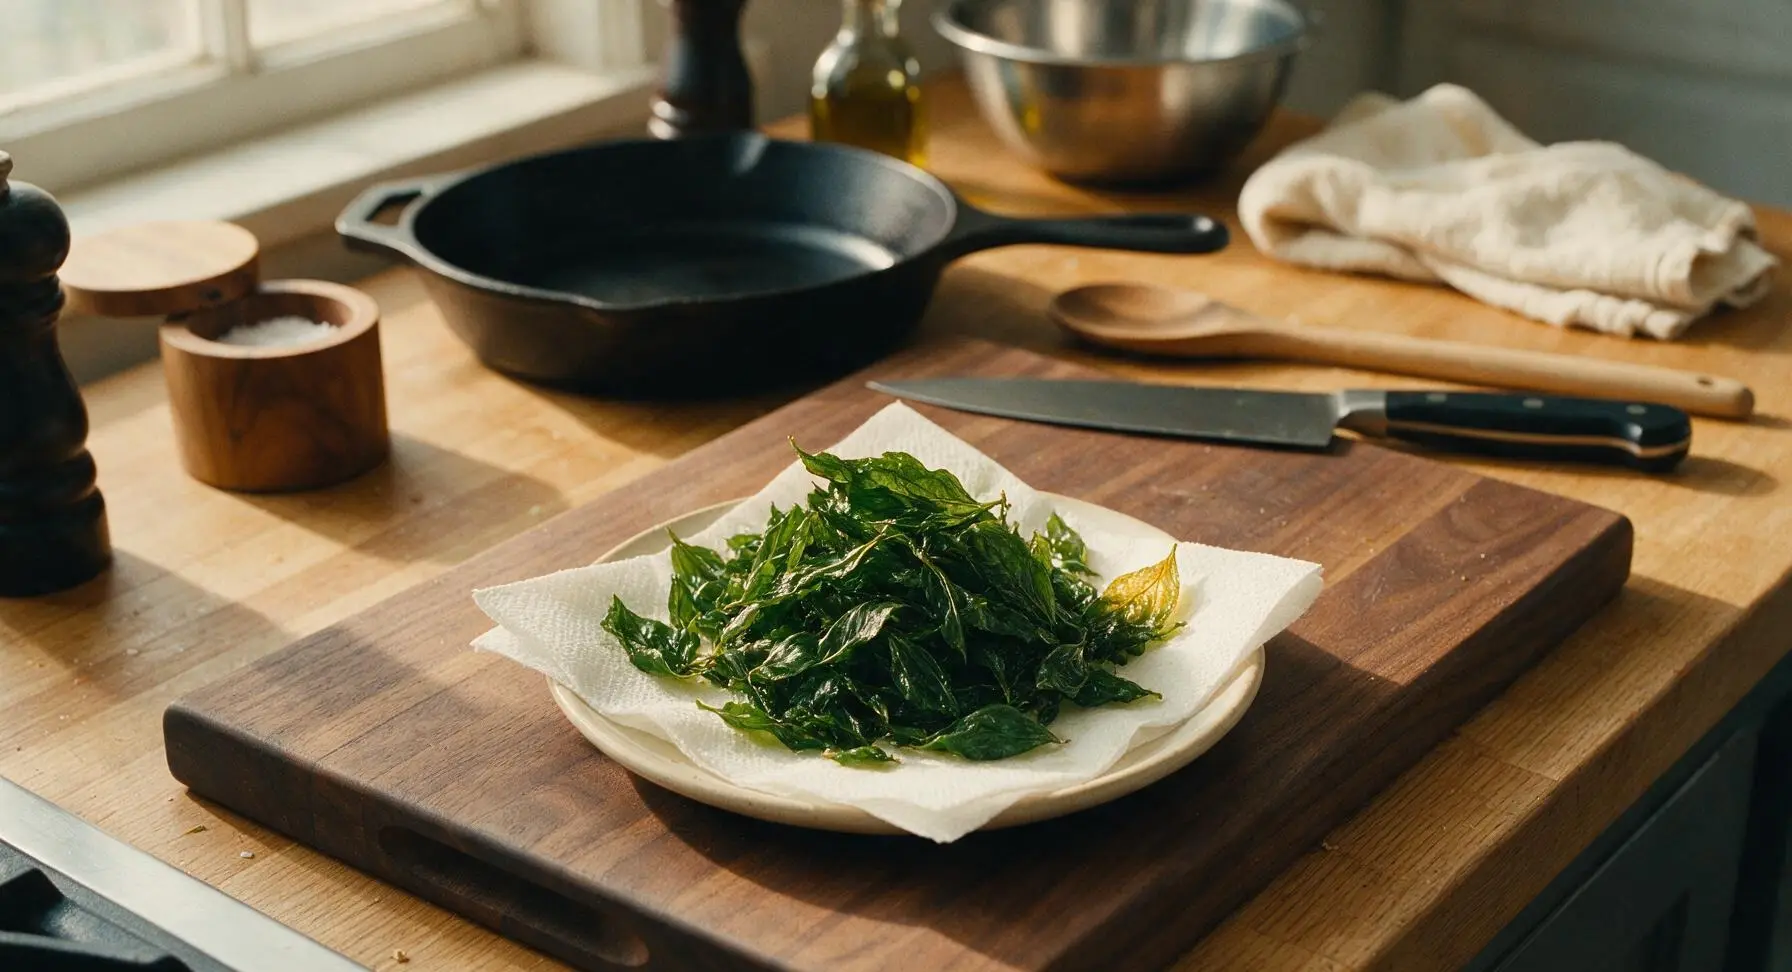
Heat remaining 3 tbsp neutral oil in the small saucepan over medium heat (170C/340F). Working in small batches, drop picked Thai basil leaves into the hot oil using the skimmer, frying for 10-15 seconds until leaves turn bright translucent green and stop sizzling. Immediately lift leaves out with the skimmer and transfer to the paper-towel lined small off-white side plate to drain, sprinkling with a tiny pinch of salt. Reserve the basil-infused oil for tossing.
Toss Ribs in Glaze
Once ribs are done braising, use tongs to transfer them from the Dutch oven directly into the stainless steel mixing bowl. Pour the prepared sticky basil glaze and 1 tsp of the basil-infused frying oil over the hot ribs, tossing thoroughly for 1-2 minutes until every rib piece is evenly coated in glossy glaze, and the garlic and chili pieces are distributed across all ribs.
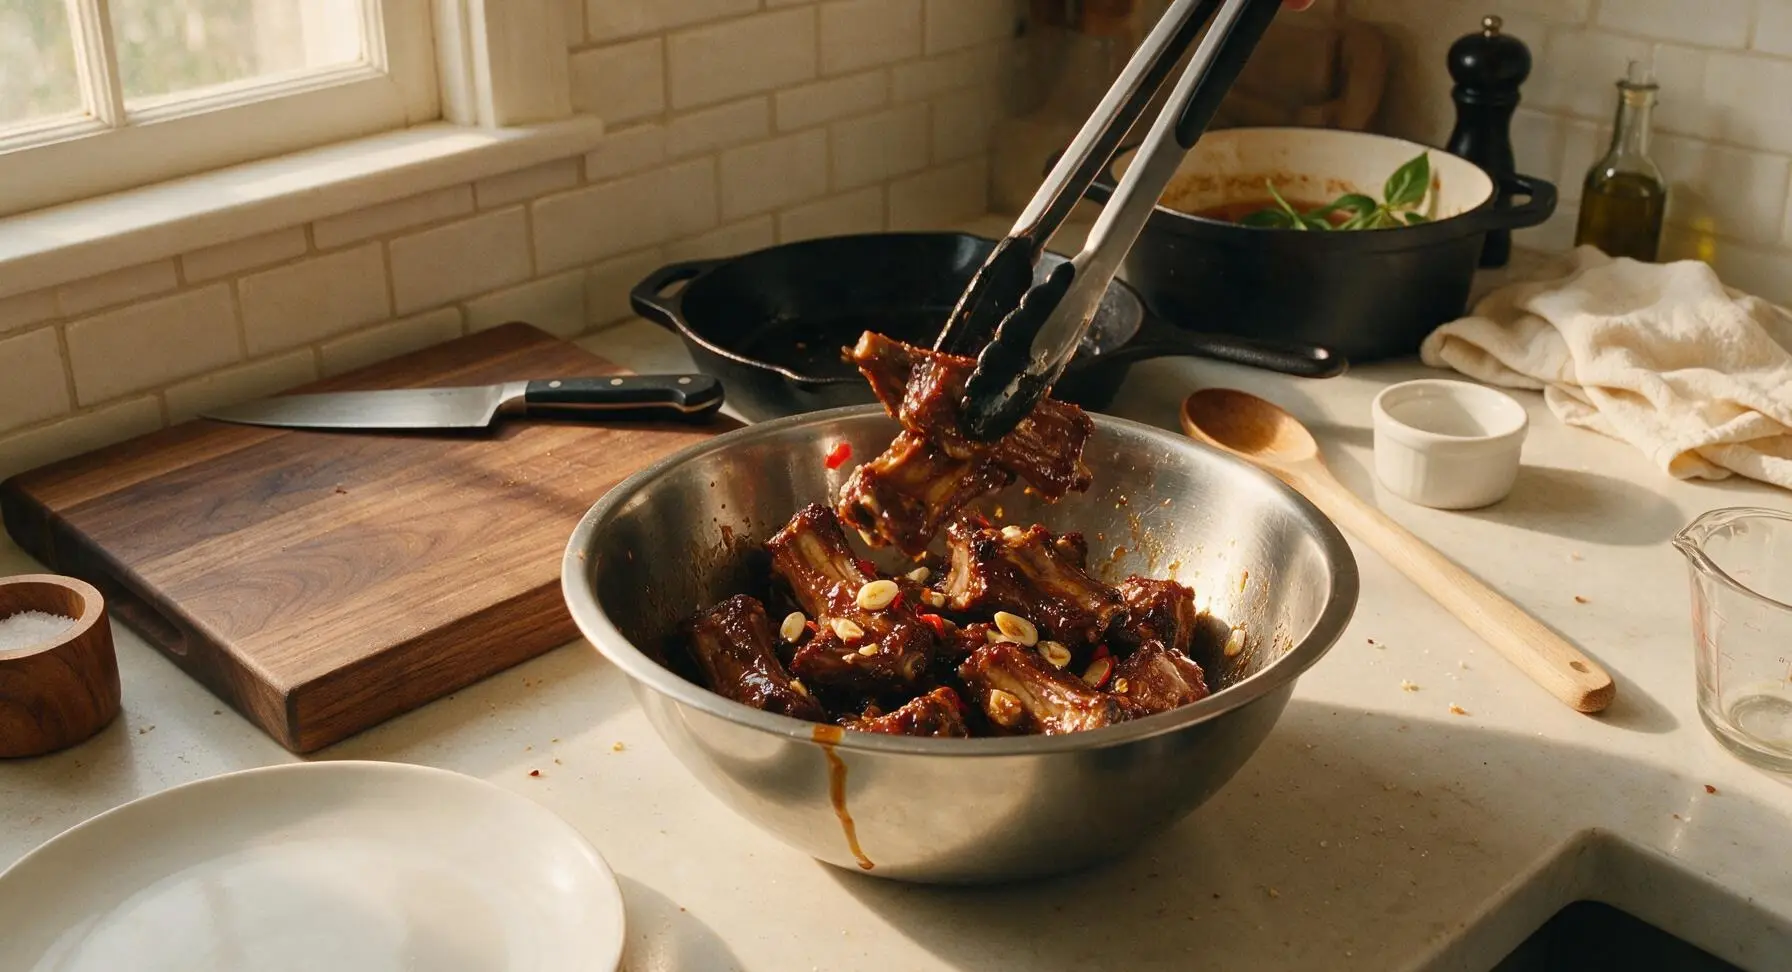
Plate and Garnish Ribs
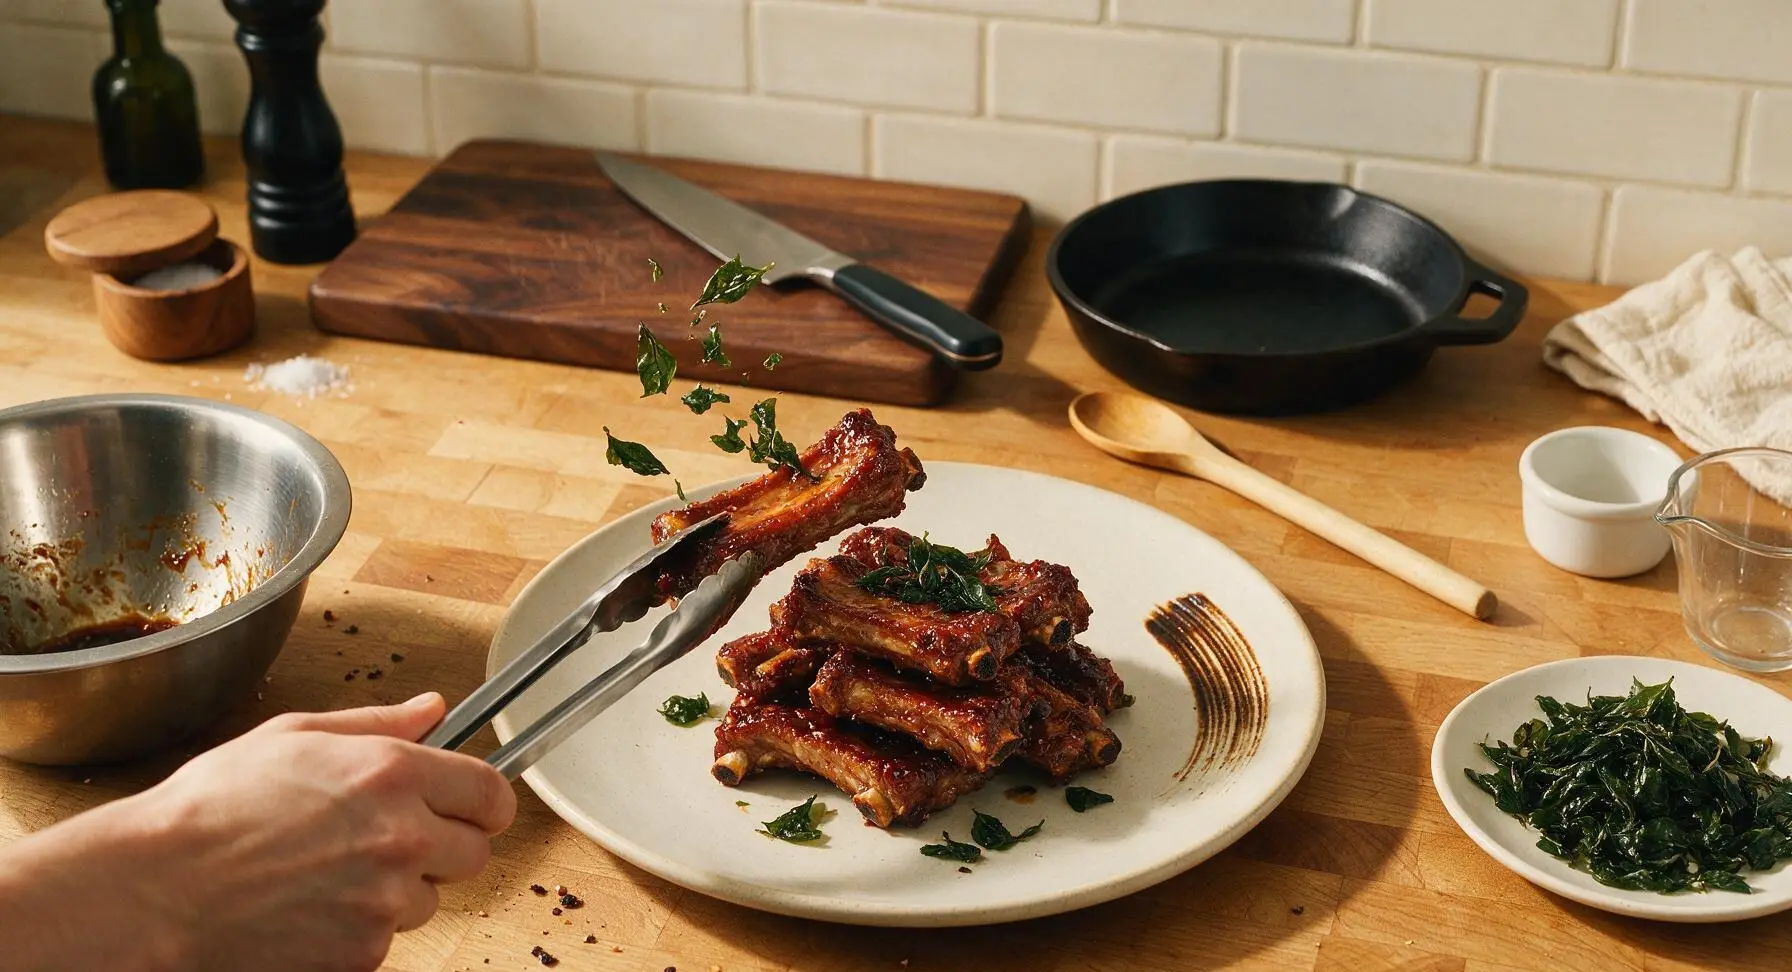
Arrange the glazed ribs in a neat stack on the large matte off-white dinner plate. Scatter 3/4 of the crispy fried basil leaves over and around the ribs, reserving a small handful for a top garnish. Drizzle any remaining glaze from the mixing bowl over the top of the rib stack, then add the reserved crispy basil as a final garnish. Serve immediately while warm.
Tips
2.Ensure Thai basil leaves are completely dry before frying: wet leaves will cause hot oil to splatter violently, and will turn soggy instead of light and crisp. Fry leaves for only 10-15 seconds at 170C/340F, as longer cooking will turn leaves bitter and dark brown.
3.Do not braise ribs until they fall off the bone: ribs that are too tender will break apart when tossed in glaze, leading to unevenly coated, messy pieces. The ideal doneness is when a fork pierces the meat easily, but the rib still holds firmly to the bone when lifted with tongs.






OMG these ribs were a total game changer for our Sunday family dinner! I was worried the crispy basil would burn in the oven but it came out perfectly fragrant, and the ribs were fall-off-the-bone tender. My 7 year old asked for seconds before he even finished his first plate! Only thing I did extra was add a tiny squeeze of lime at the end, chef’s kiss.
Took these to my neighborhood potluck last weekend and people were hounding me for the recipe before we even finished eating! I did them on the charcoal grill instead of the oven to get a little extra smokiness, and the crispy basil topping held up way better than I thought it would. 10/10, will be making these all summer long.
As someone who’s still pretty new to cooking, I was nervous to tackle a medium difficulty recipe that takes over an hour, but these were so worth it! The steps were way more straightforward than I expected, and my roommates are convinced I ordered takeout from our favorite Thai spot down the street. Win for me!
Solid recipe, but I wish the instructions noted how long to fry the basil to get it crispy without it turning bitter. I burned my first batch of basil and had to run to the bodega for more fresh basil mid-cook. Ribs themselves were amazing though, don’t get me wrong.
Made these for my teen son’s birthday dinner since he’s obsessed with all things Thai food, and he said they’re better than the ribs we get at the restaurant we go to for his birthday every year?!!! I’m calling that a massive mom win. Did add a little extra chili flake because we love heat in our house.
Meal prepped these for the week and I’m actually excited to eat my lunches this week, no sad desk salad for me! The crispiness held up way better than I thought it would even after reheating in the air fryer for a couple minutes. 10/10 for meal prep suitability.
I’ve been making Thai ribs for decades, and this basil crisp topping is such a clever little twist. The balance of fish sauce, garlic, and sweet soy in the marinade is spot on, no adjustments needed even for my picky palate. Great recipe, will be passing this along to my old line cooks.
I don’t eat pork so I swapped the ribs for bone-in chicken thighs and it still slapped! The basil crispy topping is so addictive I was snacking on it straight out of the pan while the chicken cooked. Would recommend this swap for anyone who doesn’t do pork.
Made these for my wife for our first anniversary dinner at home and I didn’t burn the house down! Win in my book. She said it’s the best thing I’ve ever cooked, so this recipe is permanently in our rotation now. Only mishap was I didn’t have Thai basil so I used regular sweet basil, still tasted great.
Took me a little longer than the 1 hour 15 minute cook time because my oven runs cold, but that’s on me not the recipe. The ribs were juicy, the basil was crunchy, the flavor was perfectly savory with a tiny hint of sweet. My only note is I wish there was more sauce! I doubled the marinade next time.
SO good. I’ve made three different Thai rib recipes off this site and this one is by far the best. The crispy basil doesn’t get soggy even when you toss it with the sauce, which was always my problem with other versions. 10/10 no notes.
Way too mild for my taste, I tripled the bird’s eye chili and it still didn’t have the kick I was looking for, but the base flavor is excellent. If you love super spicy Thai food like I do, definitely load up on the chilis, don’t be shy. The crispy basil is chef’s kiss regardless.
Made these for my dad for Father’s Day and he said they’re better than the ribs he makes on his fancy smoker. He’s already asked me to make them again for our family camping trip next month. The crispy basil was the star of the show for sure.
Made these for our office potluck and they were gone in 10 minutes. People were hovering by the platter before I even set it down! The only issue was I didn’t make enough, next time I’m doubling the batch for sure.
As a single dad with two super active kids, I’m always looking for recipes that feel fancy but don’t take all night to make. These were doable even on a weeknight between soccer practice and homework help! My kids loved it so much they asked me to add it to our weekly dinner rotation, and prepping the marinade the night before cut down on cook time so much, worked like a charm.
So happy this recipe is naturally gluten free if you swap the regular soy sauce for tamari! I was worried I’d have to tweak a ton to make it work for my celiac diet, but the swap was seamless and you couldn’t even tell a difference. My non-gluten free husband devoured half the rack.