
Bay Leaf Ribs
intro
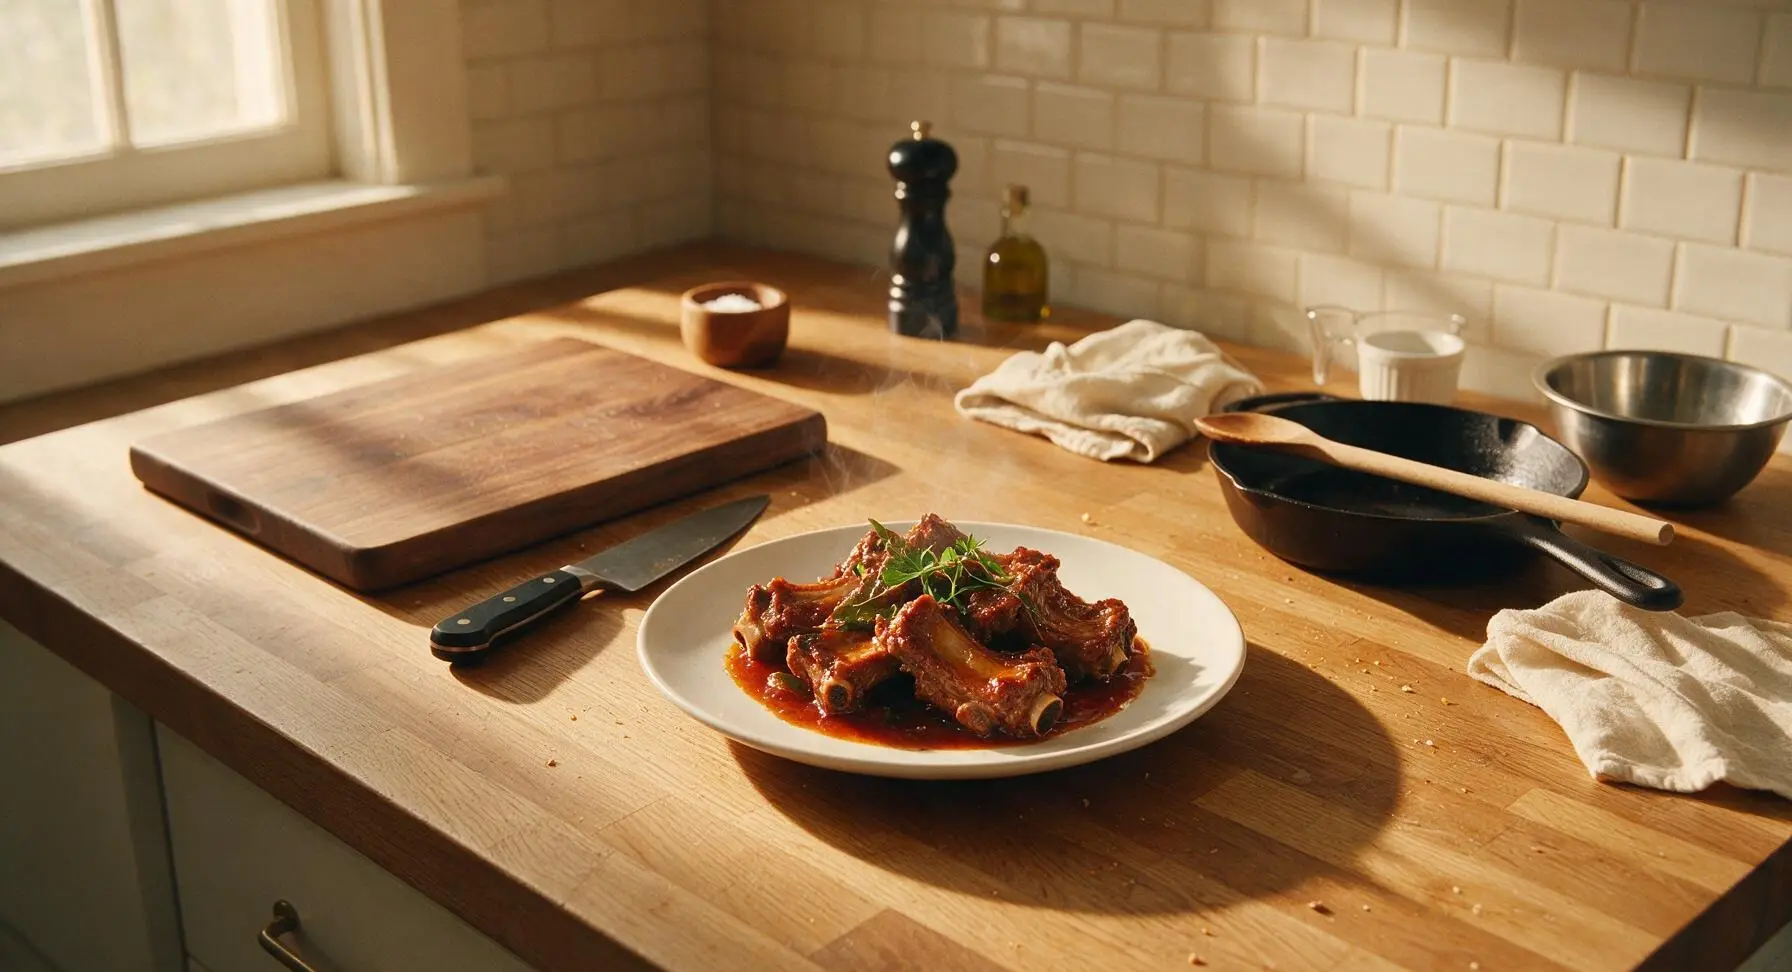
Tender, fall-off-the-bone pork ribs slow-braised with aromatic bay leaves, coated in a glossy savory-sweet red braising sauce, perfect for cozy shared family meals.
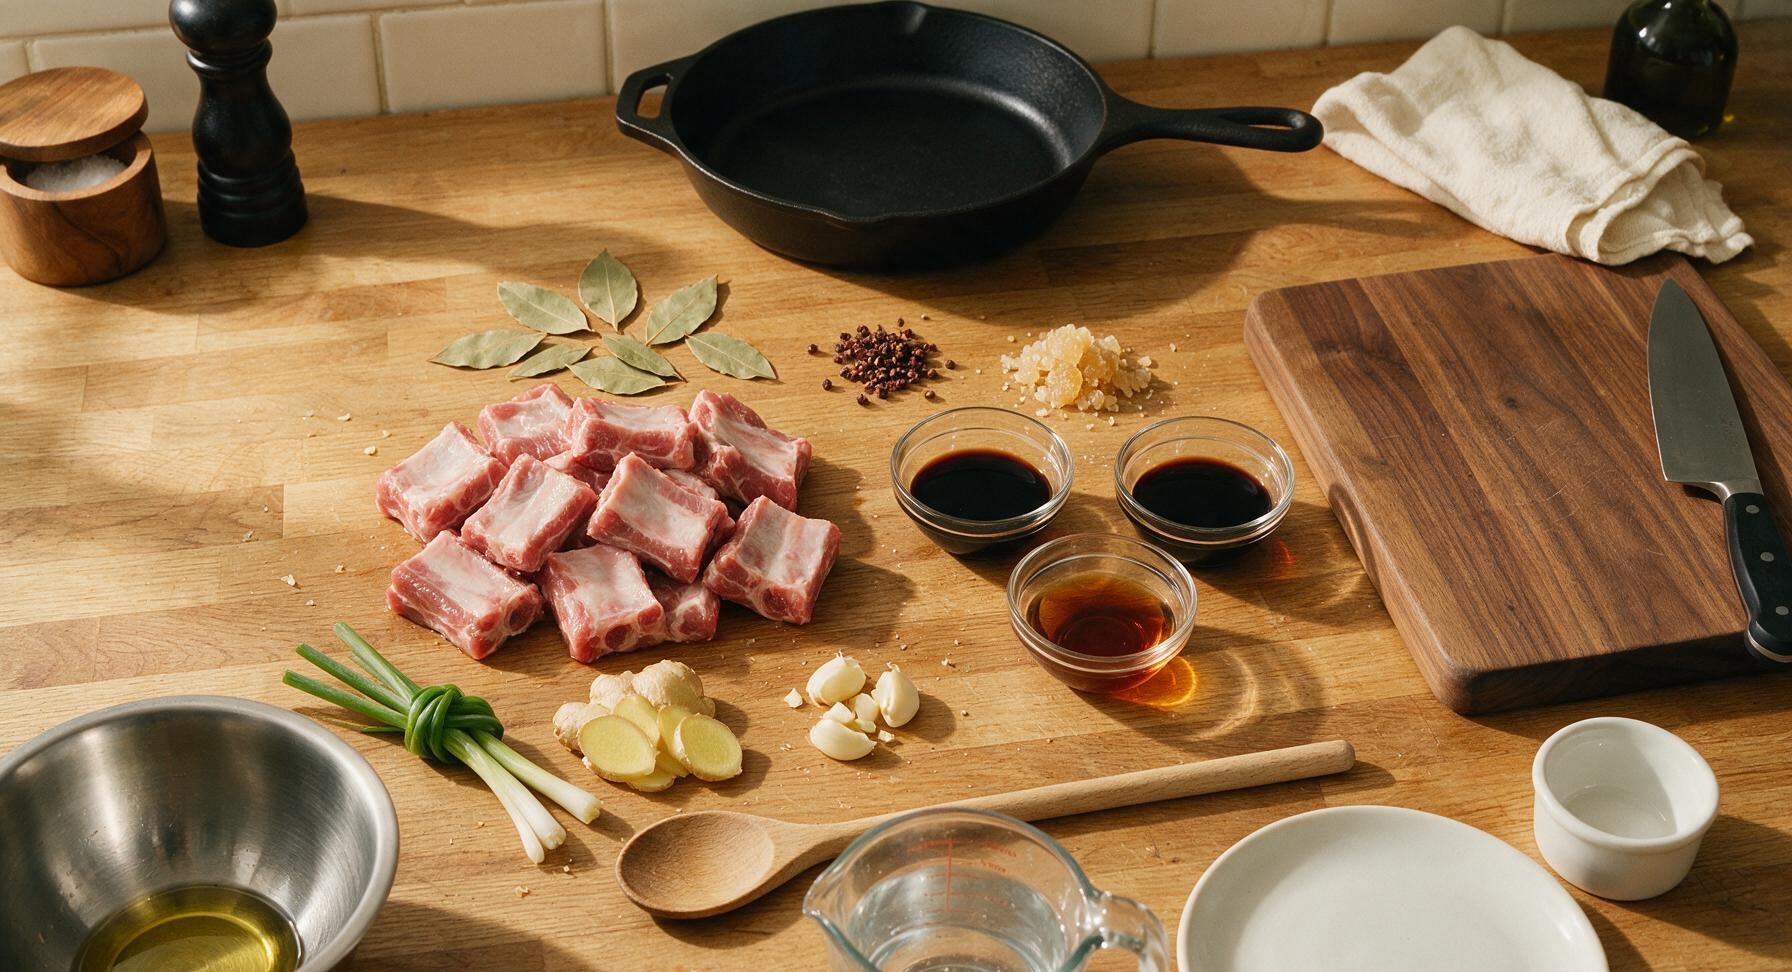
Ingredients
Steps
Blanch the Ribs
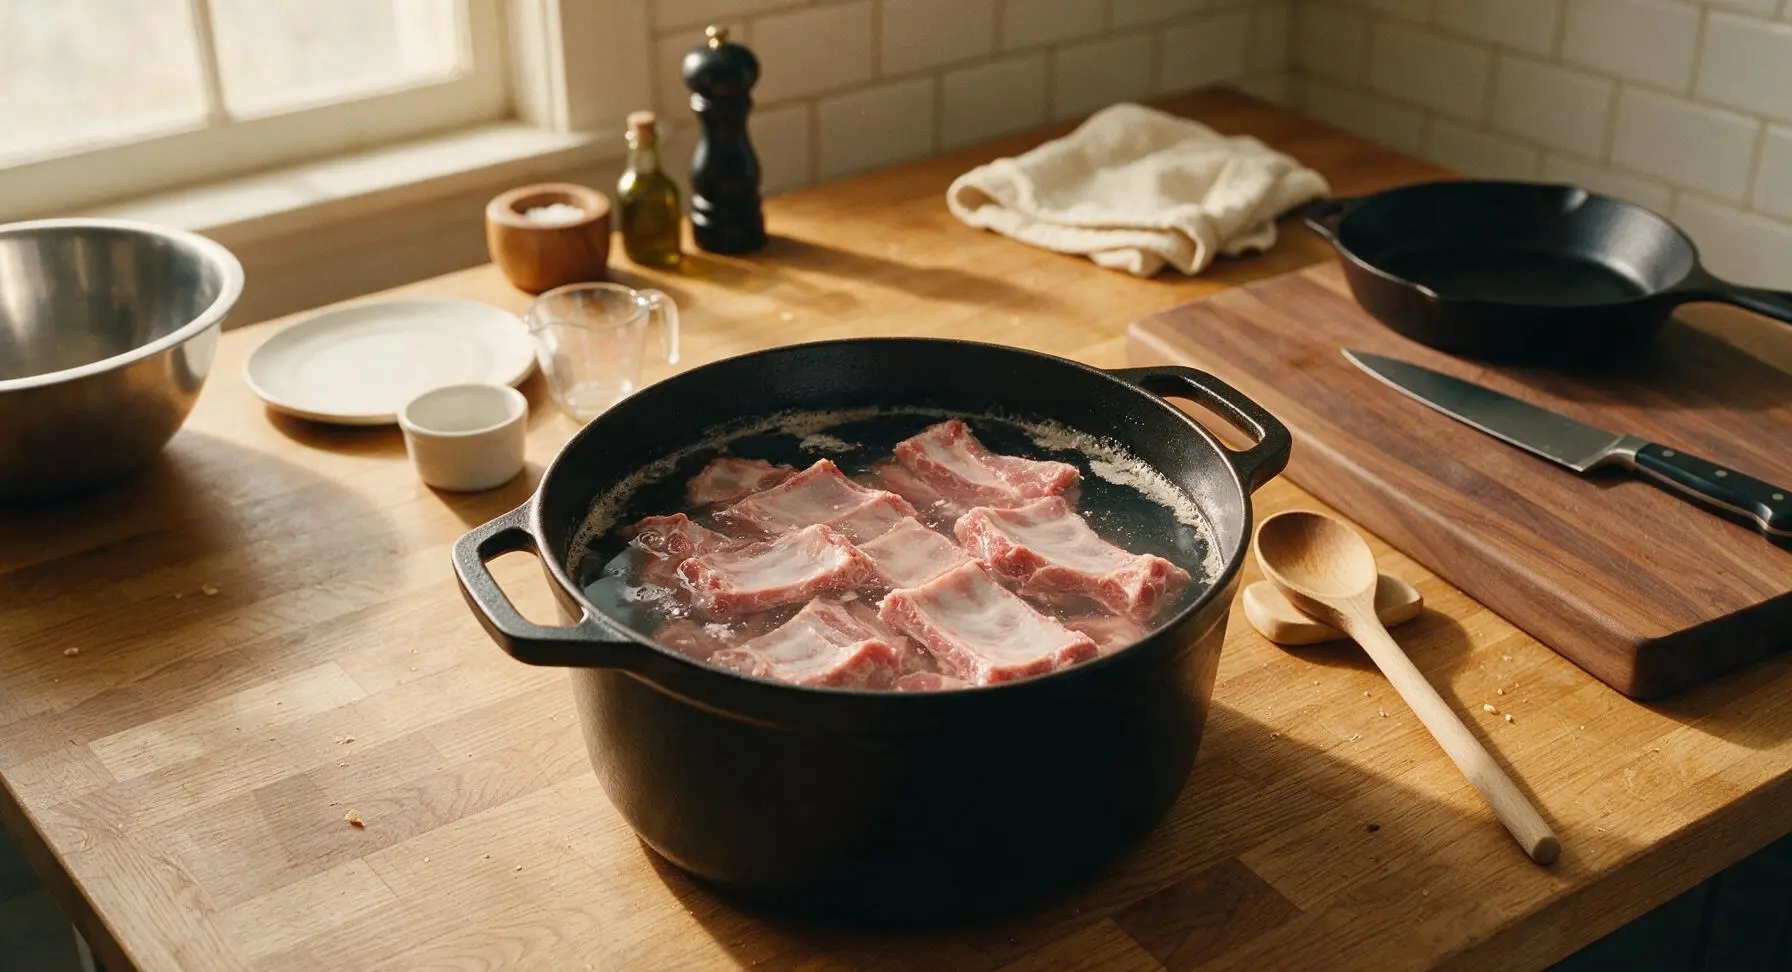
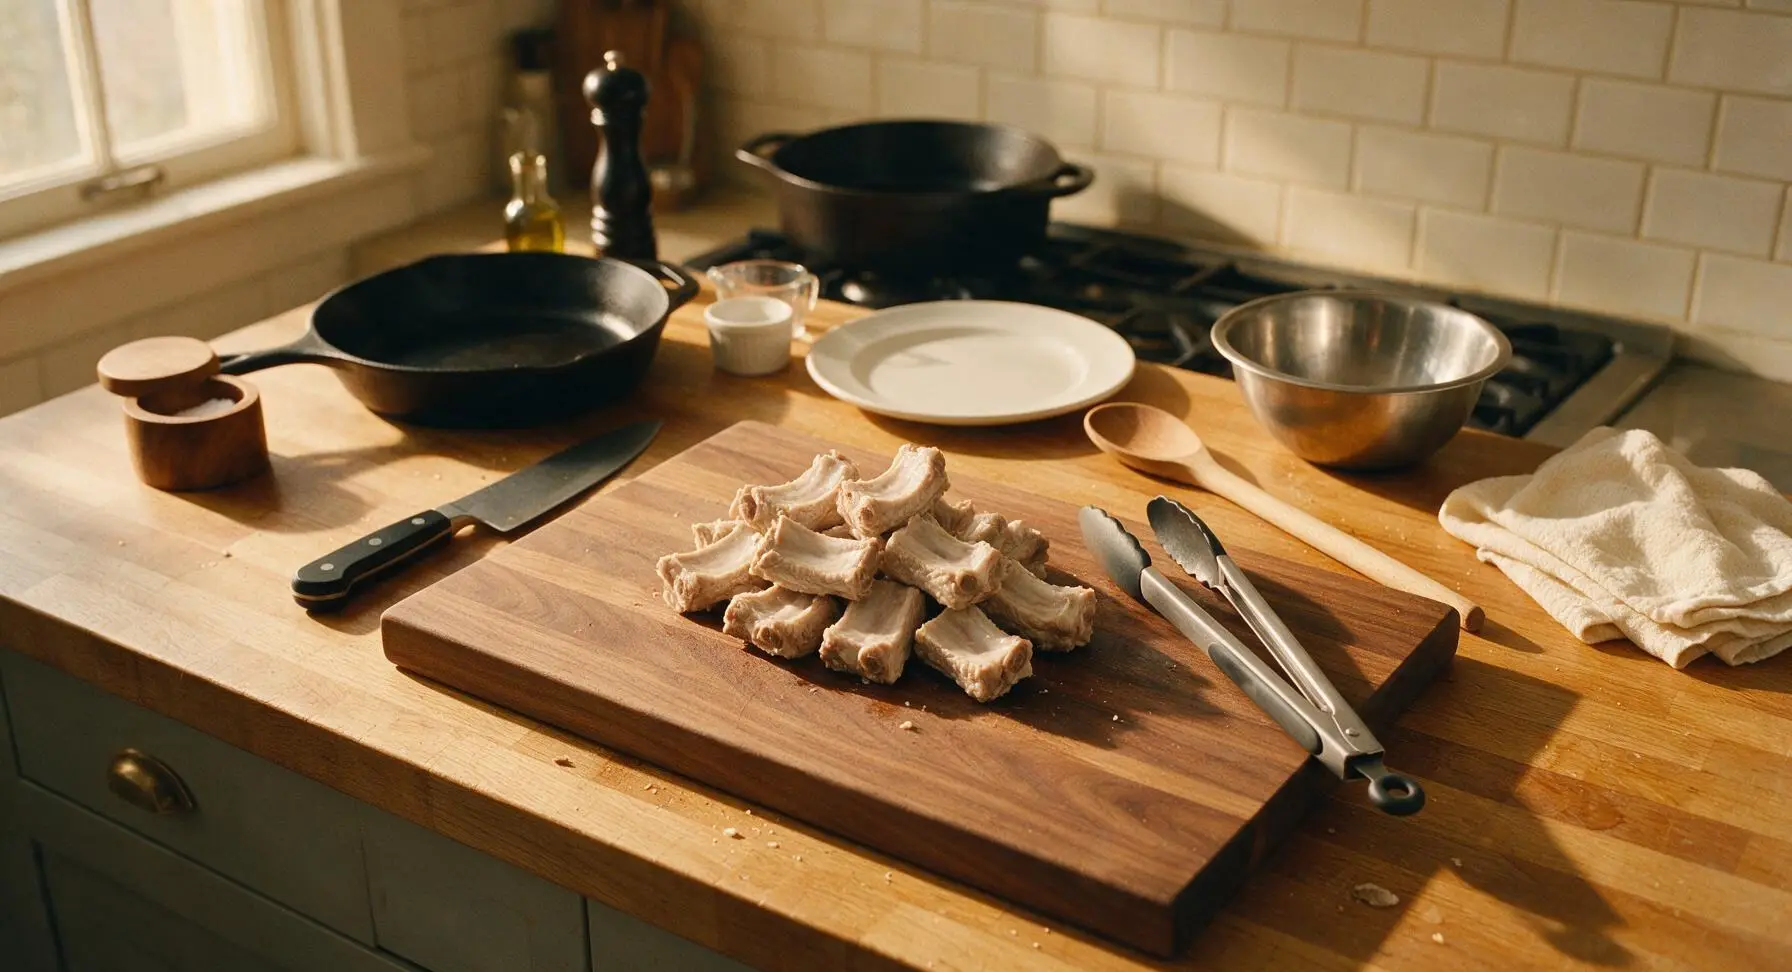
Place the cut spare ribs into the Dutch oven, cover with cold water, add 1 tablespoon of Shaoxing wine and 2 ginger slices. Bring to a rolling boil over medium-high heat (around 180C/350F burner setting), cook for 5 minutes until dull gray foam rises to the water surface. Use the silicone-tipped tongs to remove ribs one by one, rinse thoroughly under warm running water to wash away any attached scum, then set aside on the walnut cutting board. Discard all blanching water and wipe the Dutch oven completely clean with a sheet of paper towel before returning it to the stovetop.
Toast Aromatics and Sugar
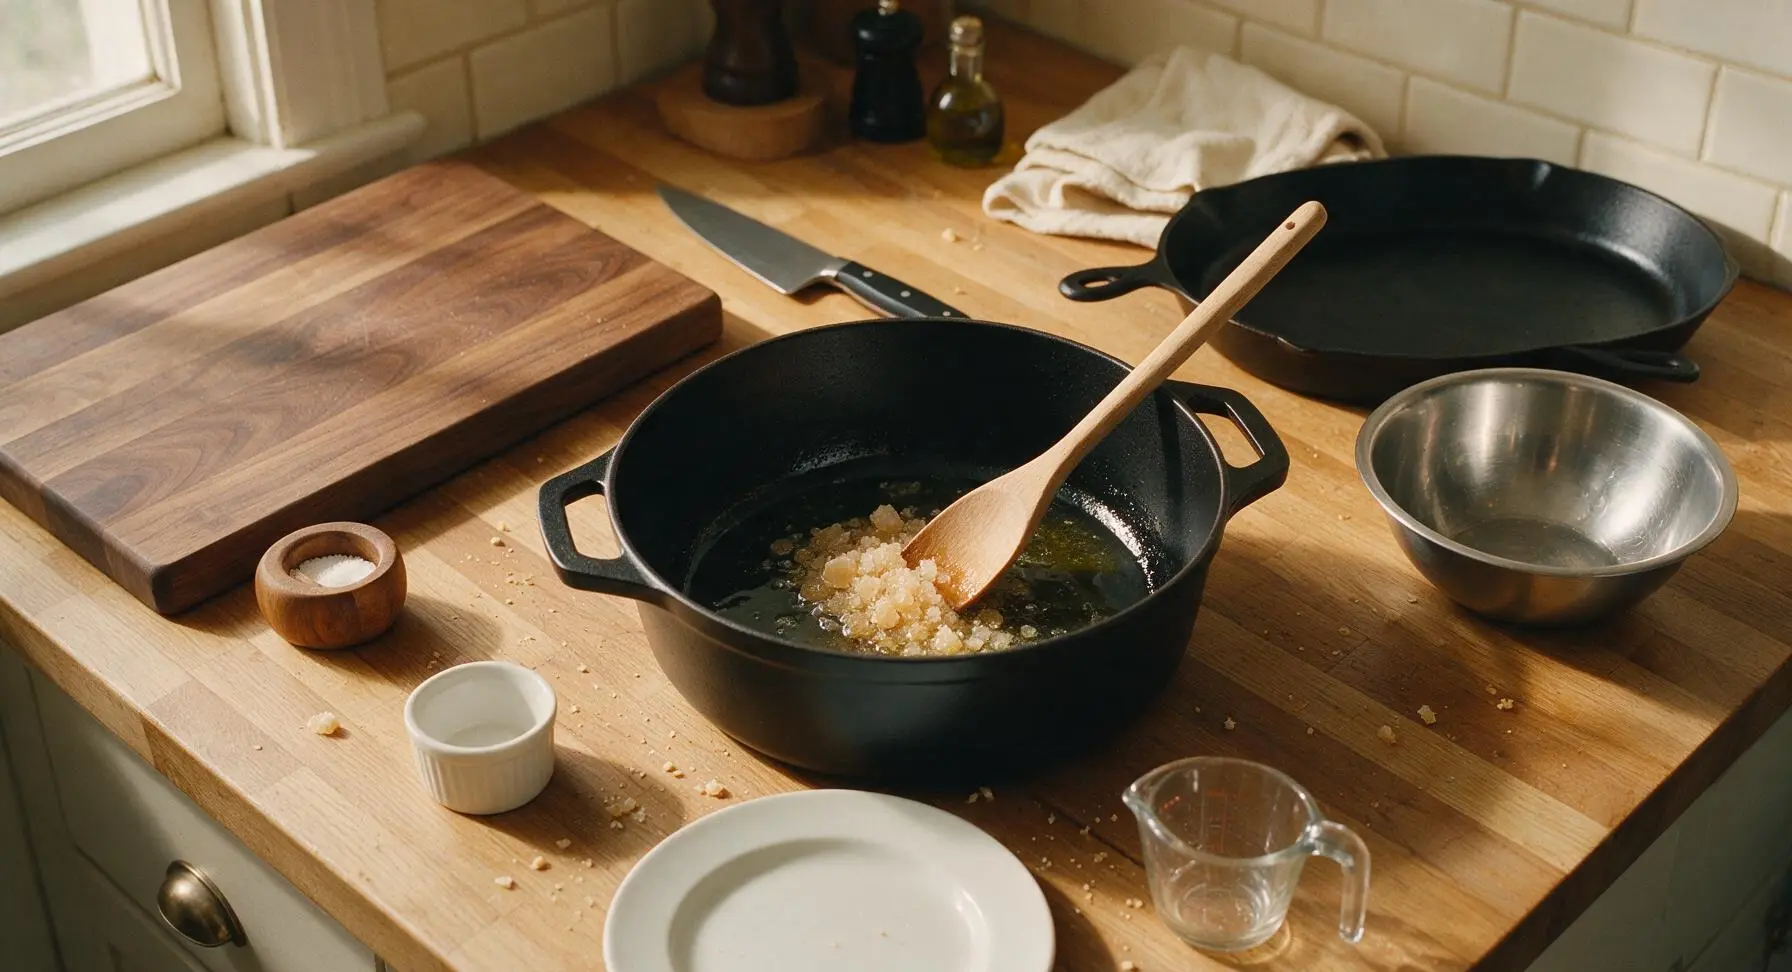
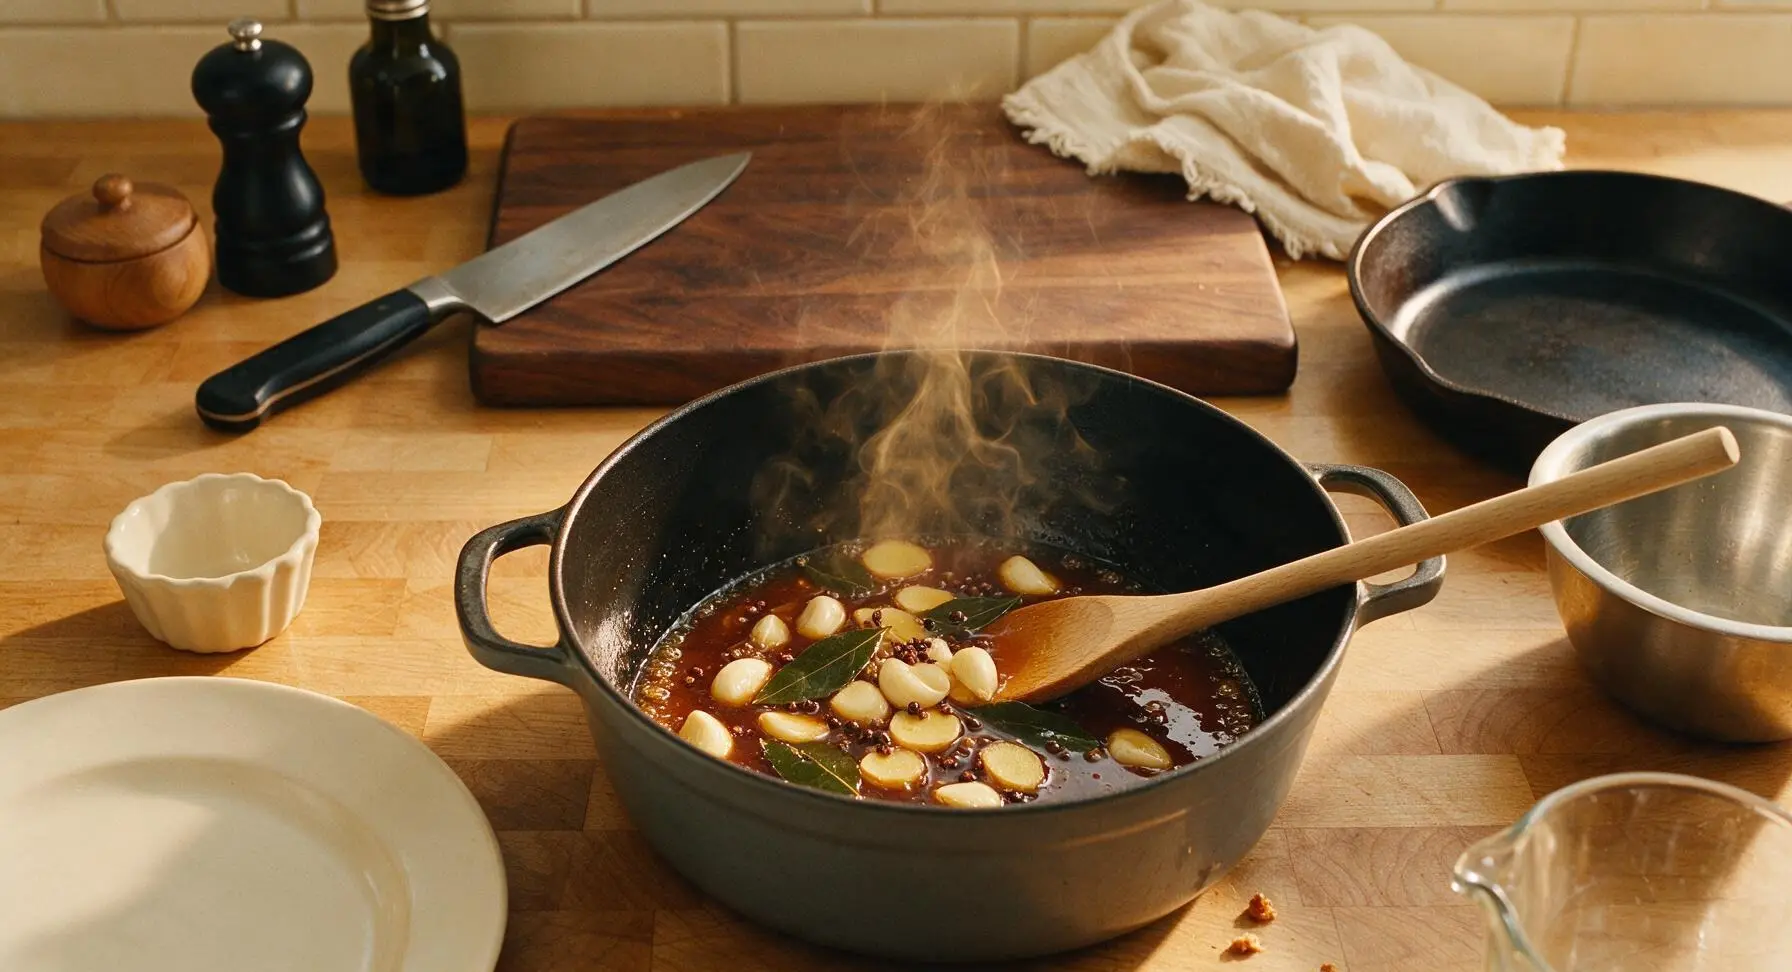
Heat 1 tablespoon neutral cooking oil in the clean Dutch oven over medium-low heat (around 120C/250F burner setting). Add the rock sugar, stirring constantly with the beech wood spoon for 2-3 minutes until the sugar melts completely into a deep amber caramel, the color of pure maple syrup (do not let it turn dark brown or black, as this will make the dish bitter). Add the crushed garlic, remaining ginger slices, Sichuan peppercorns, and 4 bay leaves, toasting for 30 seconds until a warm, spicy aroma rises from the pot.
Sear the Ribs
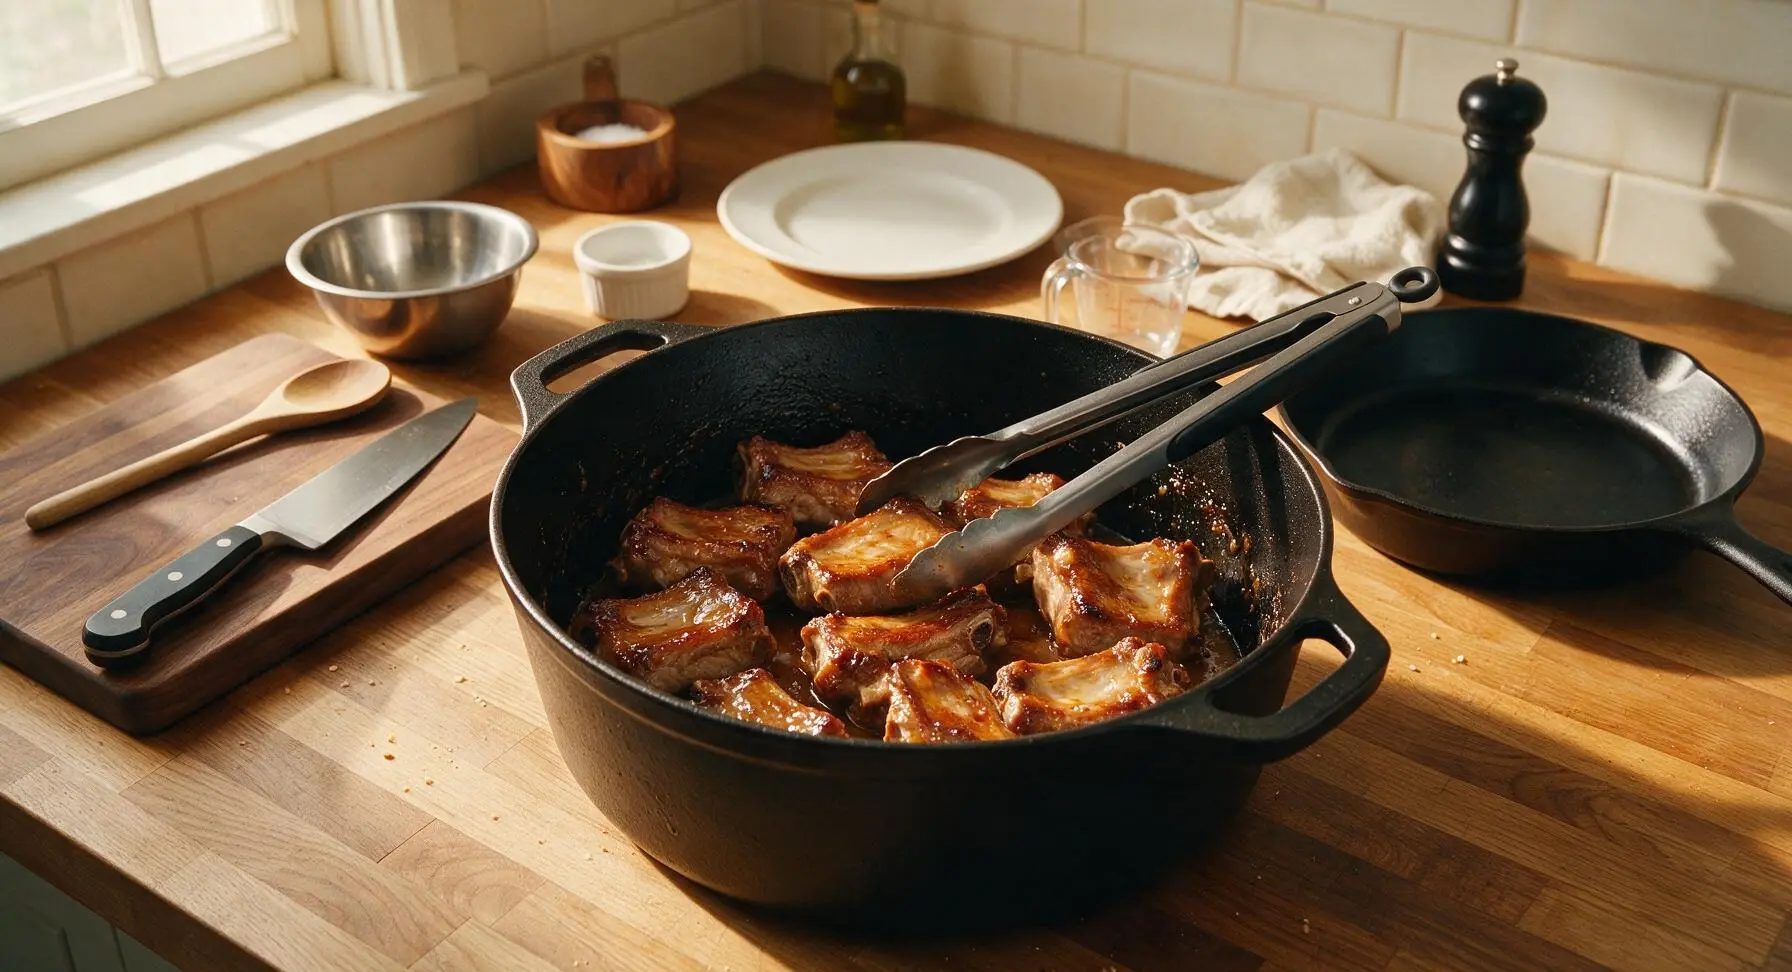
Add the dried, blanched ribs from the cutting board to the Dutch oven, turning repeatedly with the tongs to coat every piece evenly in the caramel and aromatic oil. Sear for 4-5 minutes, turning the ribs every minute, until all surfaces are lightly golden and the caramel clings in a thin, glossy layer to each rib, with no pale raw spots remaining.
Add Braising Liquid
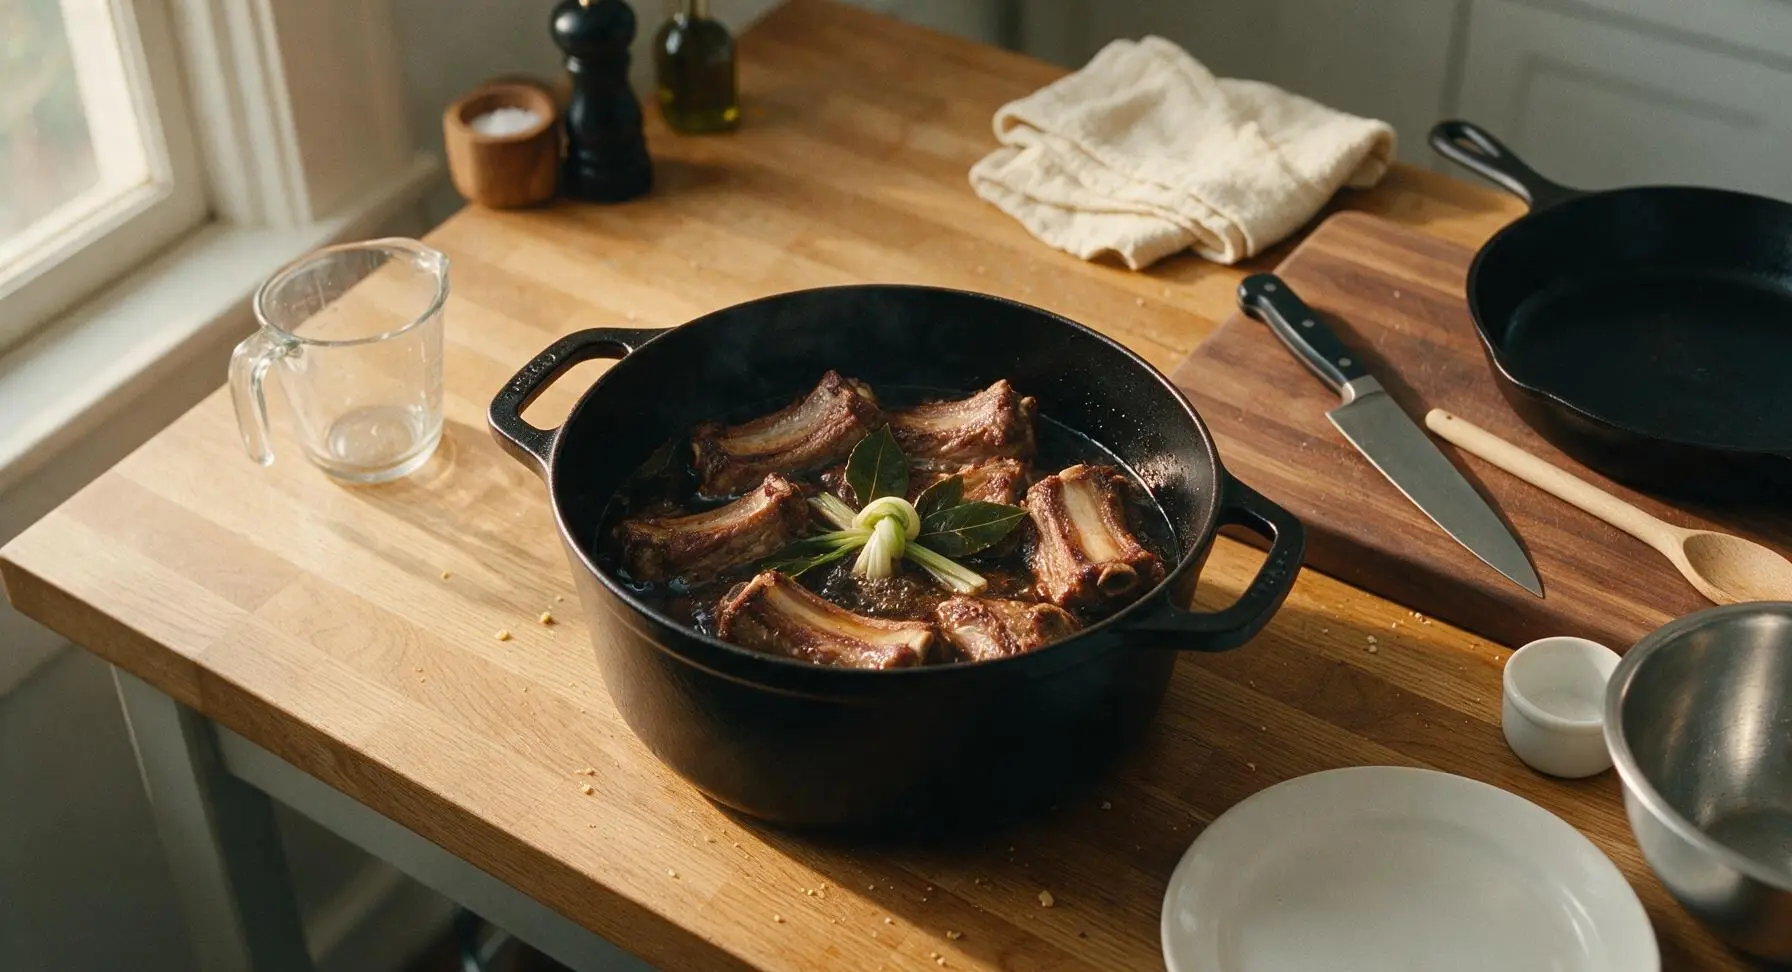
Pour in the remaining 1 tablespoon Shaoxing wine, 3 tablespoons light soy sauce, and 1 tablespoon dark soy sauce, stirring with the wooden spoon to coat the ribs evenly. Pour in 500ml of boiling water, ensuring the liquid covers 3/4 of the ribs (do not fully submerge, as this will dilute flavor and result in watery sauce). Tuck the tied scallion knot and remaining 2 bay leaves into the liquid between the ribs. Bring the pot to a gentle, low simmer, then turn the burner to the lowest heat setting.
Slow Braise Ribs
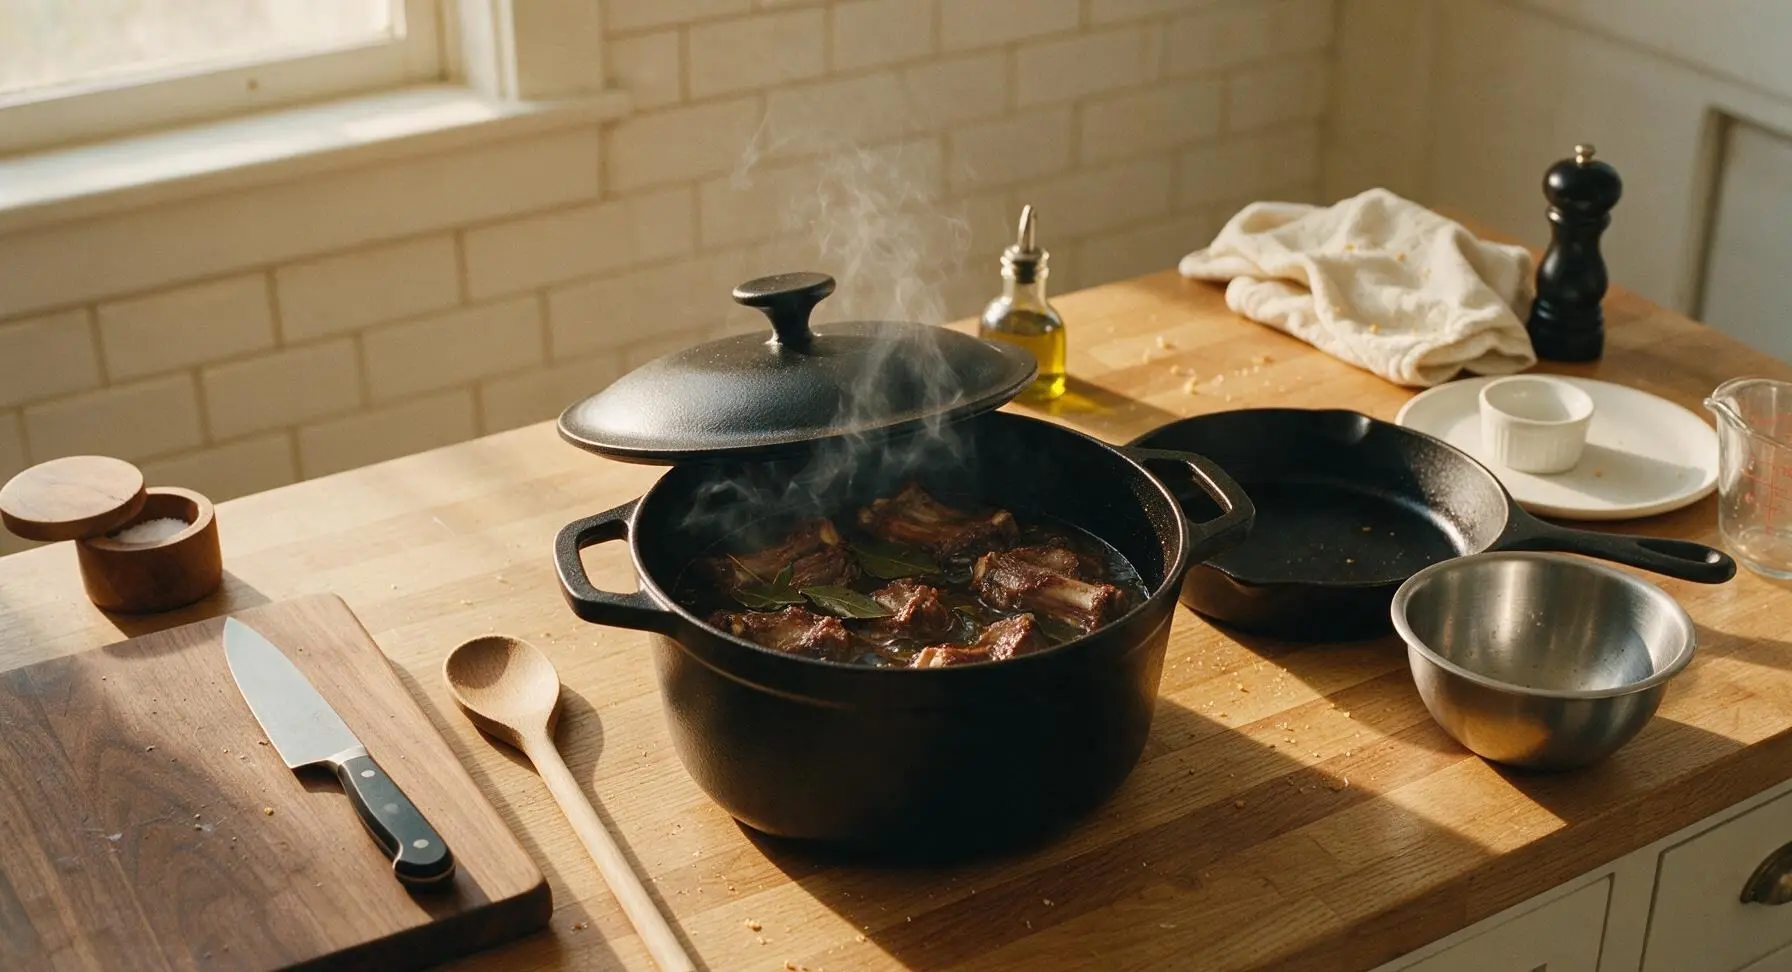
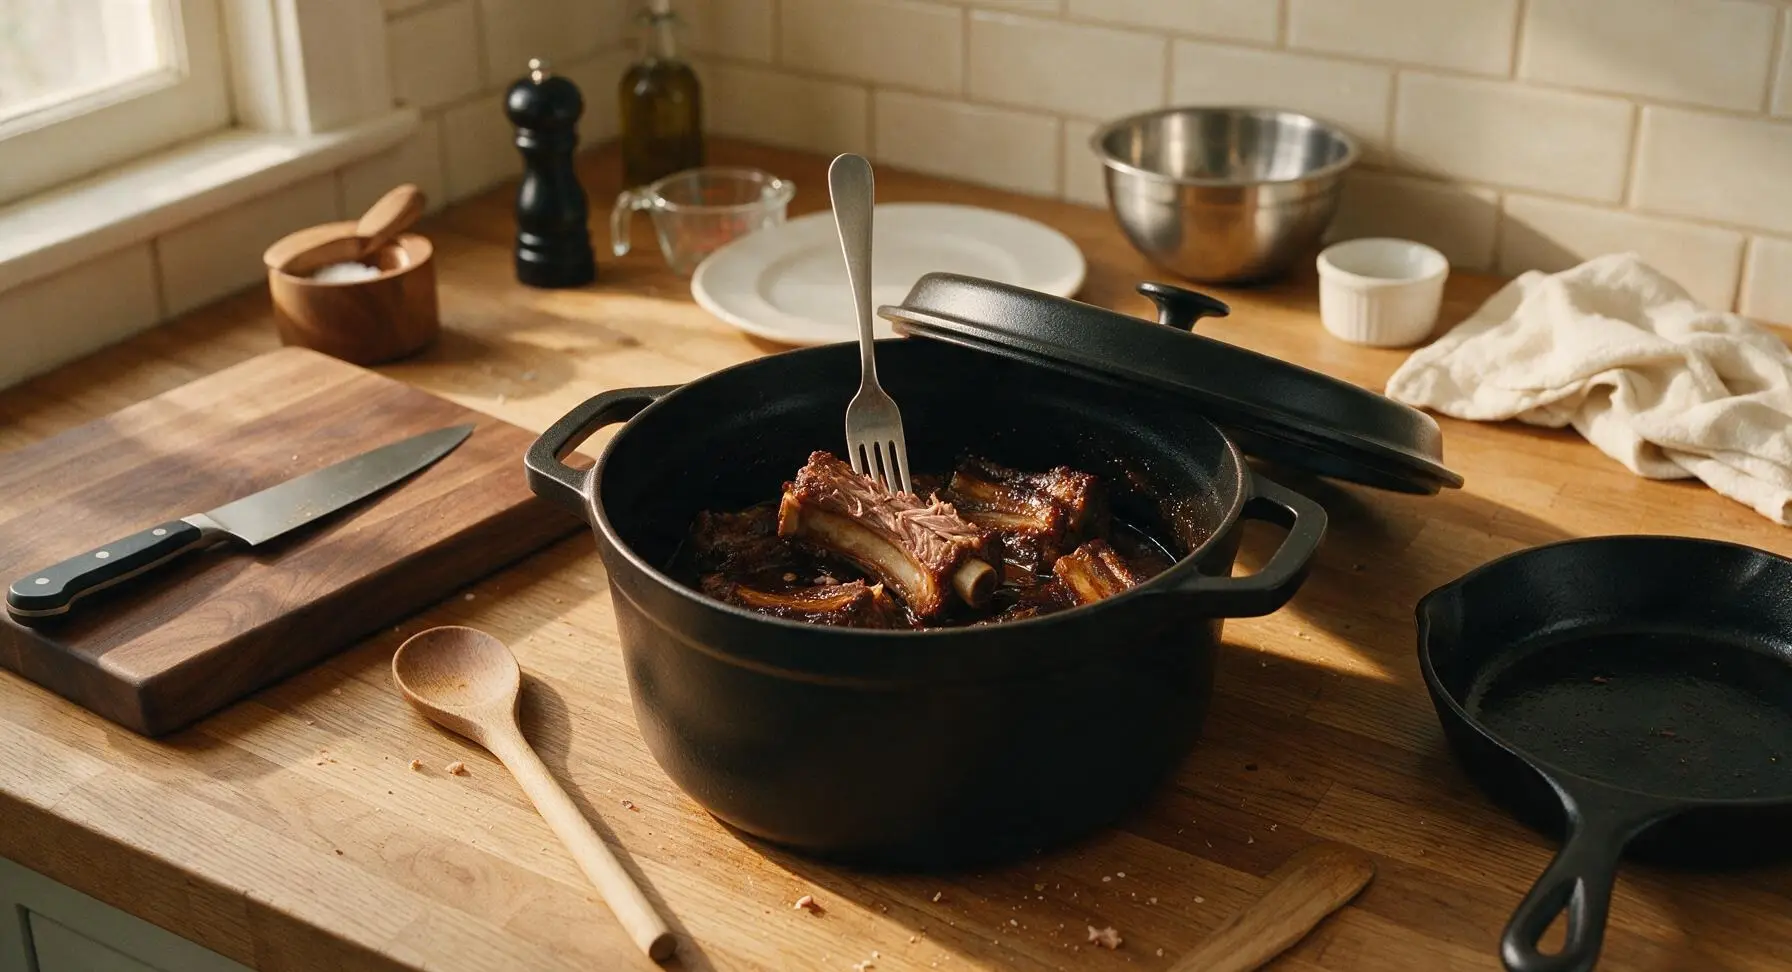
Cover the Dutch oven with its matching matte black lid, leaving a tiny 1cm gap at the edge to prevent boiling over. Let the ribs braise on the lowest heat setting for 1 full hour, avoiding frequent lid lifts which drop the pot temperature. Check once at the 45 minute mark to confirm the liquid is at a soft, quiet simmer (not a rolling boil) and not sticking to the pot bottom. The ribs are ready when a metal fork pierces the thickest part of the meat easily, with no resistance, and the meat pulls slightly away from the bone.
Reduce the Sauce
Remove the Dutch oven lid completely, setting it on a heat-resistant pad beside the stove. Use the tongs to pick out and discard the spent scallion knot, ginger slices, and softened bay leaves. Turn heat up to medium, stirring the ribs gently with the beech wood spoon as the sauce bubbles and reduces for 5-7 minutes, until it thickens to a syrupy consistency that coats the back of the spoon thickly, with no watery liquid remaining. Turn off the heat once the sauce clings tightly to every rib.
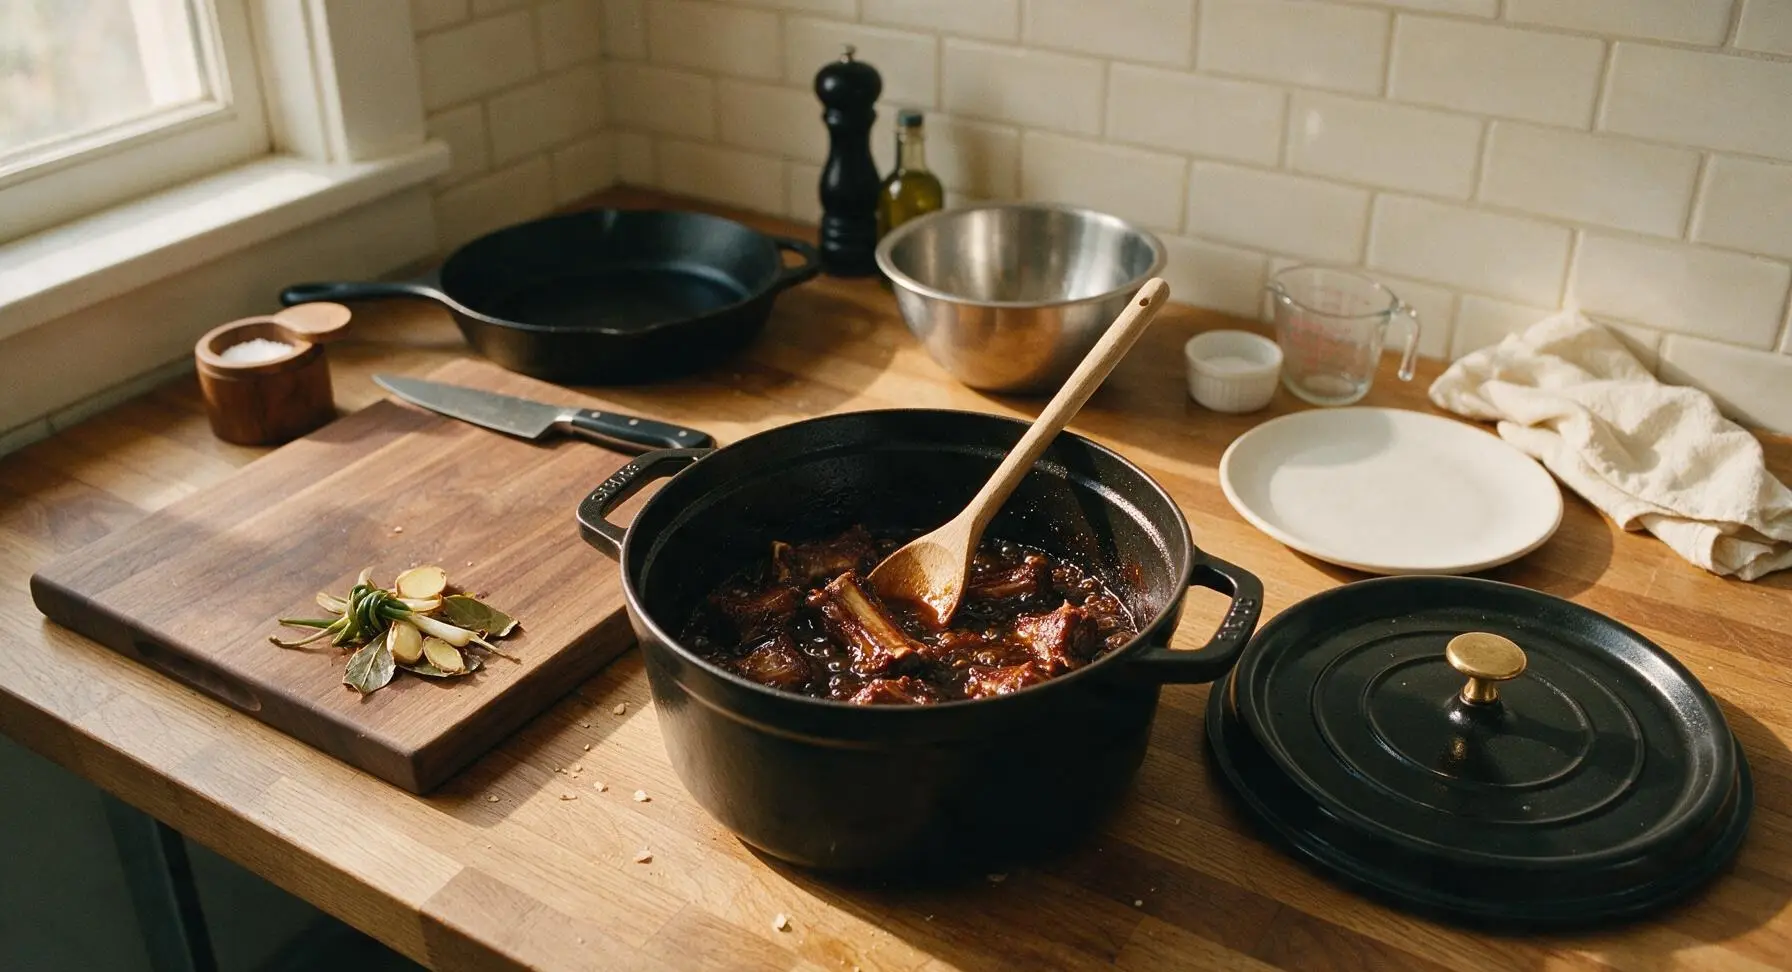
Plate and Serve
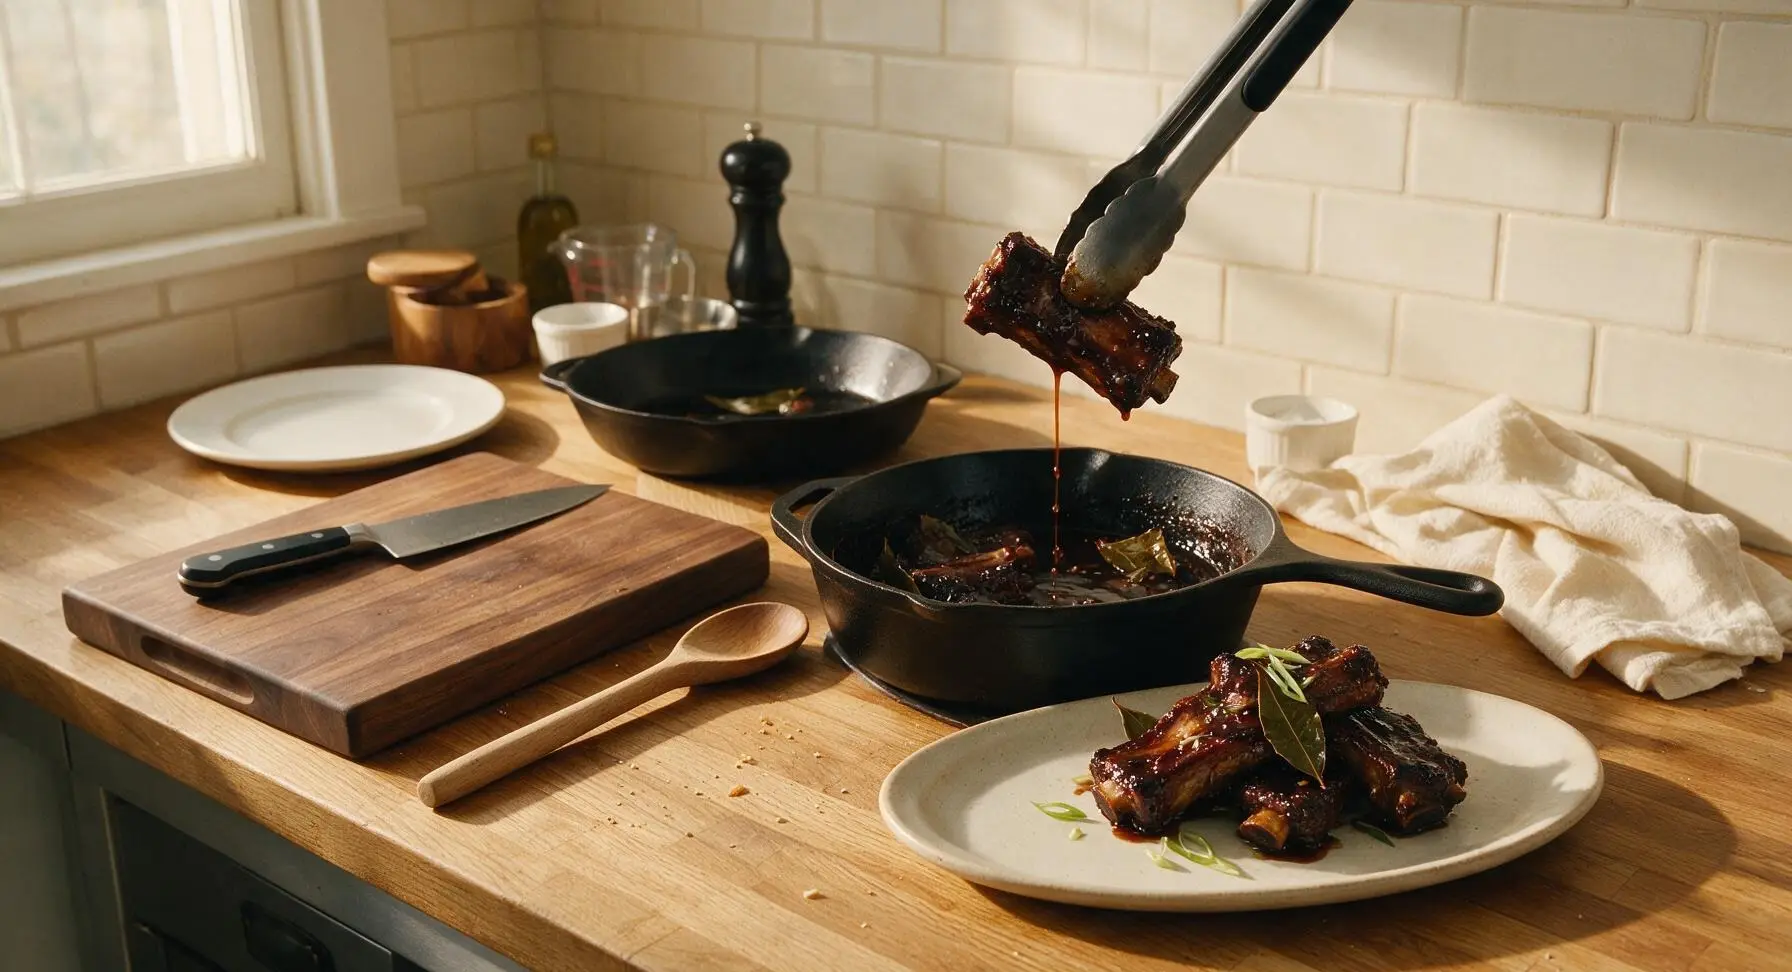
Use the tongs to transfer the glossy, sauce-coated ribs to the matte off-white ceramic serving platter, piling them neatly in the center. Drizzle any remaining thick sauce from the pot over the top of the ribs, tuck 2 reserved dried bay leaves between pieces for garnish, and sprinkle with a light pinch of thinly sliced scallion greens if desired. Serve immediately while hot, with steamed rice on the side if preferred.
Tips
2.Use boiling water when adding braising liquid: pouring cold water over seared, hot ribs will shock the meat fibers, causing them to seize up and become tough and chewy instead of meltingly tender. Boiling water keeps the pot temperature consistent for soft, fall-off-the-bone texture.
3.Keep the braise at a very low simmer: a rolling boil will agitate the meat and break down the muscle fibers too quickly, resulting in stringy ribs and a greasy, separated sauce. A quiet, gentle simmer with small, slow bubbles yields the best texture.






OMG these bay leaf ribs are a total game changer! I made them for our Sunday family dinner and even my super picky 7 year old asked for seconds. The bay leaf adds such a warm, earthy depth I never thought to add to ribs before, SO good.
Really solid rib recipe! Cook time was spot on for my oven, though I wish I’d added a little extra garlic like I usually do. The bay leaf flavor came through nicely without being overpowering, and these held up great for meal prep lunches all week.
Brought these to our neighborhood block party potluck last weekend and people were hovering over the platter asking for the recipe before I even set it down! The meat was fall-off-the-bone tender, no dry spots at all. 10/10 will make again for every gathering from now on.
Wait, I’ve literally never made ribs before because I thought they were too hard (medium difficulty had me nervous!) but these turned out perfect first try? I can’t believe it. Followed the instructions exactly, no tweaks, and my roommate said they’re better than the ribs we get at our local BBQ spot.
Loved the flavor profile here! I ended up smoking these instead of baking them since we had the smoker going for a camping weekend, and the bay leaf paired so well with the hickory smoke. Only note is I would add a touch more salt next time, but that’s just personal preference.
My kids went crazy for these! I was worried the bay leaf would be too “fancy” for their plain little palates but they didn’t even notice, they just shoveled ribs down and asked when we can have them again. Total win for a weeknight dinner that doesn’t feel boring.
These were good, but I think I used too many bay leaves? Mine had a slightly bitter aftertaste that threw the whole flavor off. I’ll try again with just the 2 leaves the recipe calls for next time instead of the 4 I grabbed on accident, oops.
Made these for my partner’s birthday dinner and they said it’s the best meal I’ve ever made for them. We paired it with roasted garlic mashed potatoes and roasted broccoli, and the whole meal felt like restaurant quality for a fraction of the price. Will absolutely be making these for date nights going forward!
I’ve tried probably a dozen rib recipes online and this one is top 3 for sure. The bay leaf adds this subtle, aromatic layer that most rib recipes are totally missing. I basted mine with a little apple cider vinegar the last 10 minutes of cook time and it was chef’s kiss.
Made these in my tiny apartment oven and they turned out way better than I expected! Only thing is my smoke alarm went off twice from the fat drippings, oops, next time I’ll put a baking sheet under the rack like the recipe note said, my bad.
These are now our go-to ribs for Sunday supper! The cook time is totally manageable even with a house full of grandkids running around, I don’t have to stand over a grill for hours. The meat is so juicy, no tough chewy bits at all, even when I get distracted helping with homework while they cook.
Made a double batch of these on Sunday for meal prep and they reheated like an absolute dream! I was worried ribs would get dry in the microwave but they stayed tender and flavorful all week long. Saved me so much money instead of grabbing takeout for lunch every day.
Made these for our backyard cookout when it poured rain and we couldn’t use the grill, and honestly? No one even missed the grilled ribs. These were so flavorful and tender, everyone was raving. The bay leaf is such a secret weapon, I’m telling all my friends about this recipe.
So happy I found this recipe! It’s totally low carb if you skip the sugary BBQ sauce slather a lot of ribs use, the bay leaf and dry rub have so much flavor you don’t even miss the sauce. Perfect for my keto meal plan, and my non-keto husband didn’t even notice it was “diet food”.
Took me a minute to track down fresh bay leaves at my grocery store (I almost used dried but decided to follow the recipe exactly) and wow, it made such a difference! My only complaint is the cook time felt a little long for a weeknight, but the end result was totally worth it.
I’ve been cooking ribs for over 40 years and I never thought to add bay leaf as a primary flavor. Let me tell you, this old dog learned a new trick! These are some of the best ribs I’ve ever made, my wife said they’re better than the ones I make on the grill in the summer. High praise coming from her.
Made these for our college football tailgate last weekend and they were gone in 10 minutes flat. I kept them warm in a slow cooker after baking them, and they stayed perfect the whole tailgate. People were asking for the recipe before the first quarter even started. 10/10, will be a staple for every game day this season.
So happy this recipe doesn’t have any weird hidden allergens! I have soy and gluten sensitivities and it was so easy to adapt to fit my dietary needs without losing any flavor. The bay leaf is such a nice touch, it makes the ribs feel special without needing a bunch of complicated sauces or seasonings.
These were really tasty! I added a little honey to the rub for a tiny bit of sweetness, and it paired so well with the earthy bay leaf. My only note is I had to cook mine about 10 minutes longer than the recipe said because my oven runs a little cool, but that’s a me problem, not the recipe’s fault. Will definitely make again.