
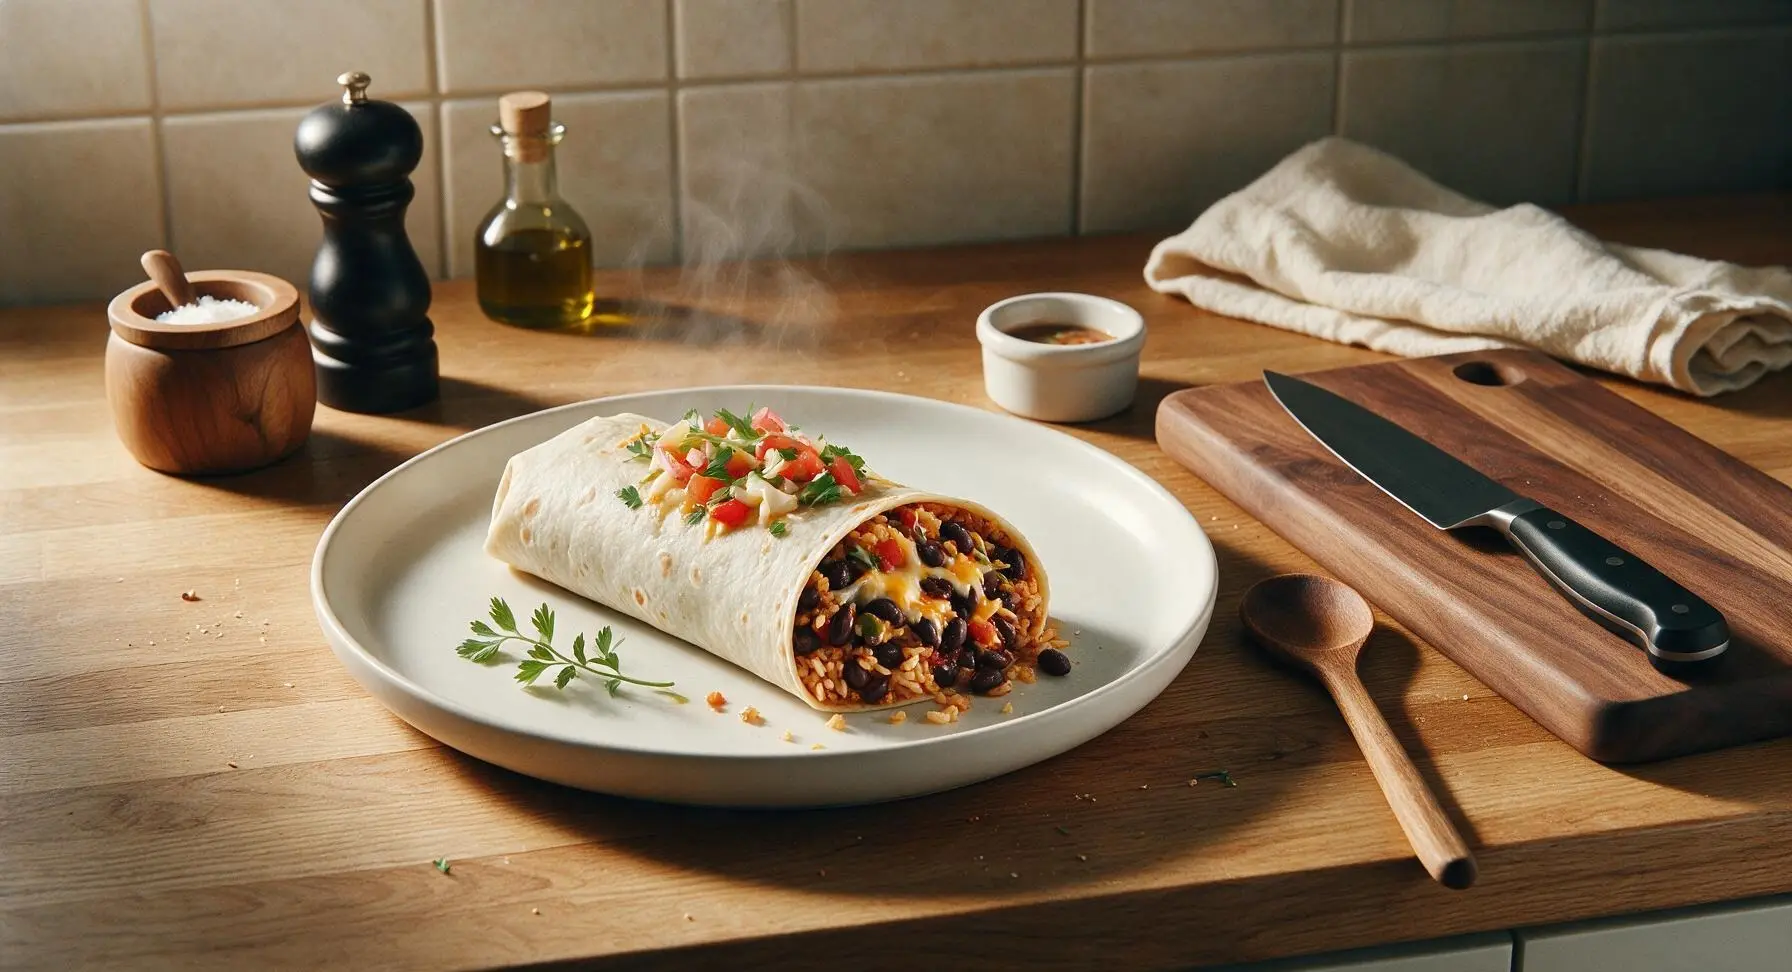
bean and rice burrito

title 1
bean and rice burrito
⏱️ cook time 15 minutes
🍽️ servings 4
⚡ Difficulty easy

intro

Hearty, budget-friendly Tex-Mex bean and rice burritos with spiced black beans, fluffy rice, melty cheese, and bright fresh toppings, perfect for fast, satisfying weeknight meals.

Ingredients
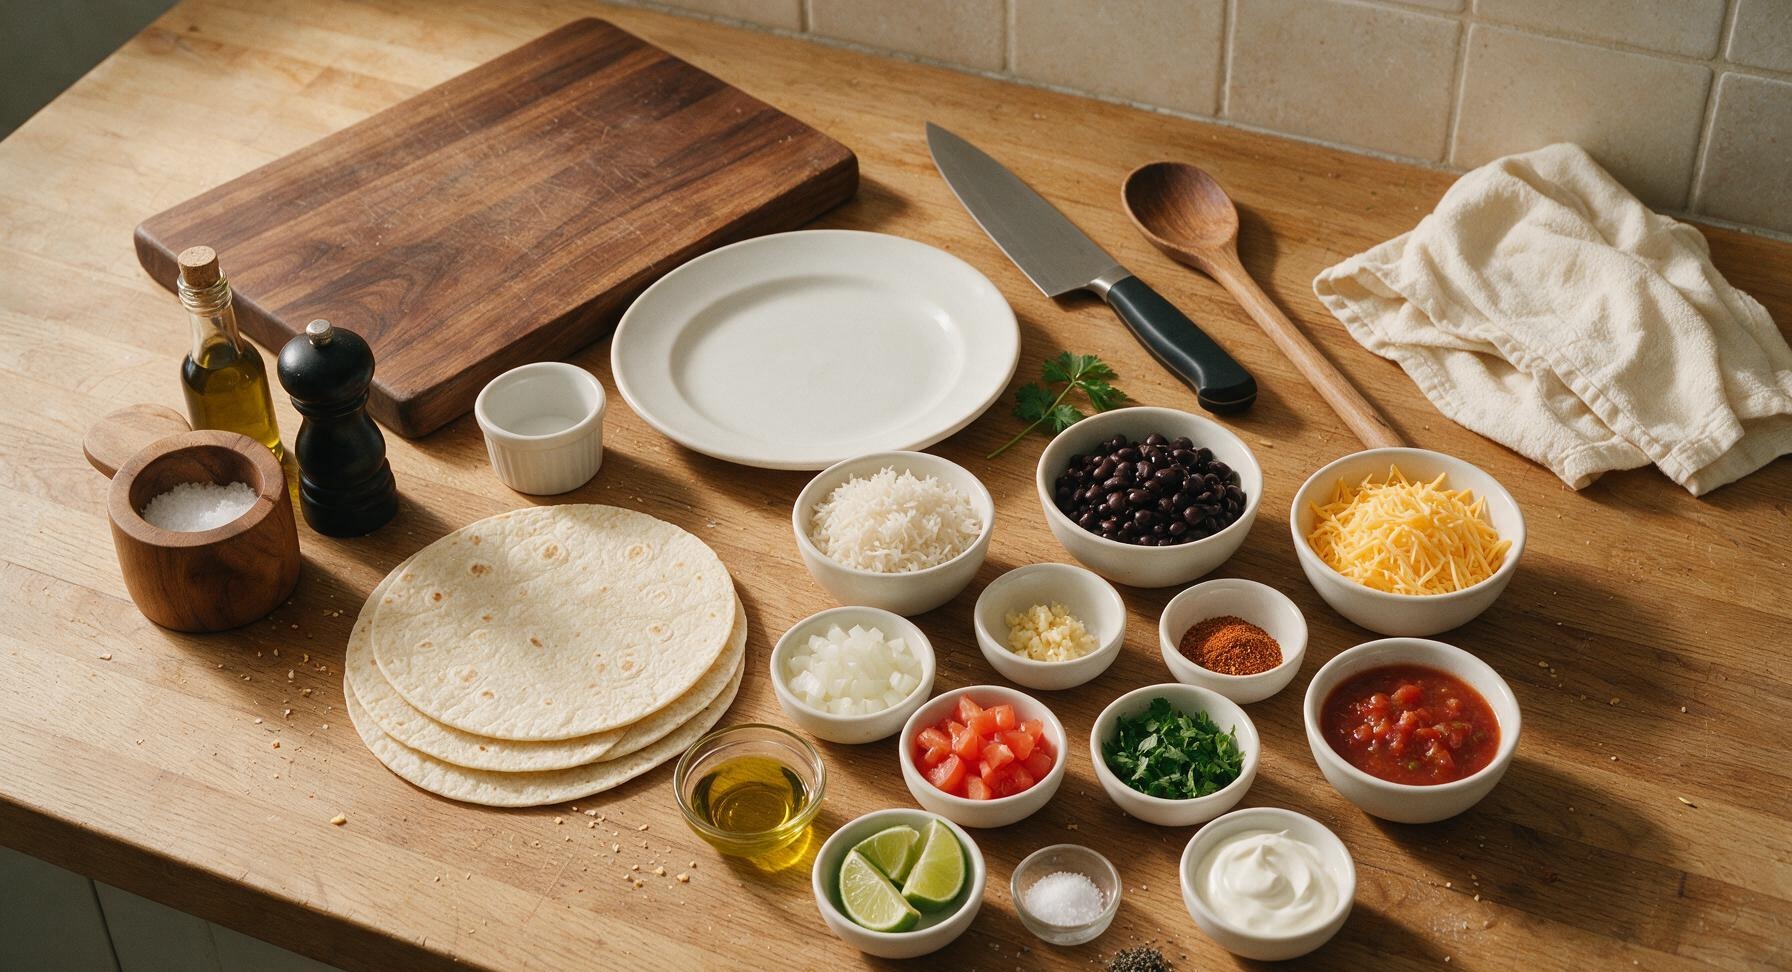
10-inch flour tortillas 4 each
Cooked long-grain white rice 2 cups
Canned black beans (rinsed, drained) 1 (15oz/425g) can
Shredded sharp cheddar cheese 1 cup (113g)
Yellow onion (diced) 1/2 cup (75g)
Garlic (minced) 2 cloves (6g)
Taco seasoning blend 2 tbsp
Extra-virgin olive oil 1 tbsp
Roma tomato (diced) 1 medium (120g)
Fresh cilantro (chopped) 1/4 cup (10g)
Fresh lime (cut into wedges) 1 whole (60g)
Kosher salt 1/2 tsp
Ground black pepper 1/4 tsp
Mild red salsa (for serving) 1/2 cup (120g)
Full-fat sour cream (for serving) 1/4 cup (60g)

Steps

1

Sauté onion and garlic

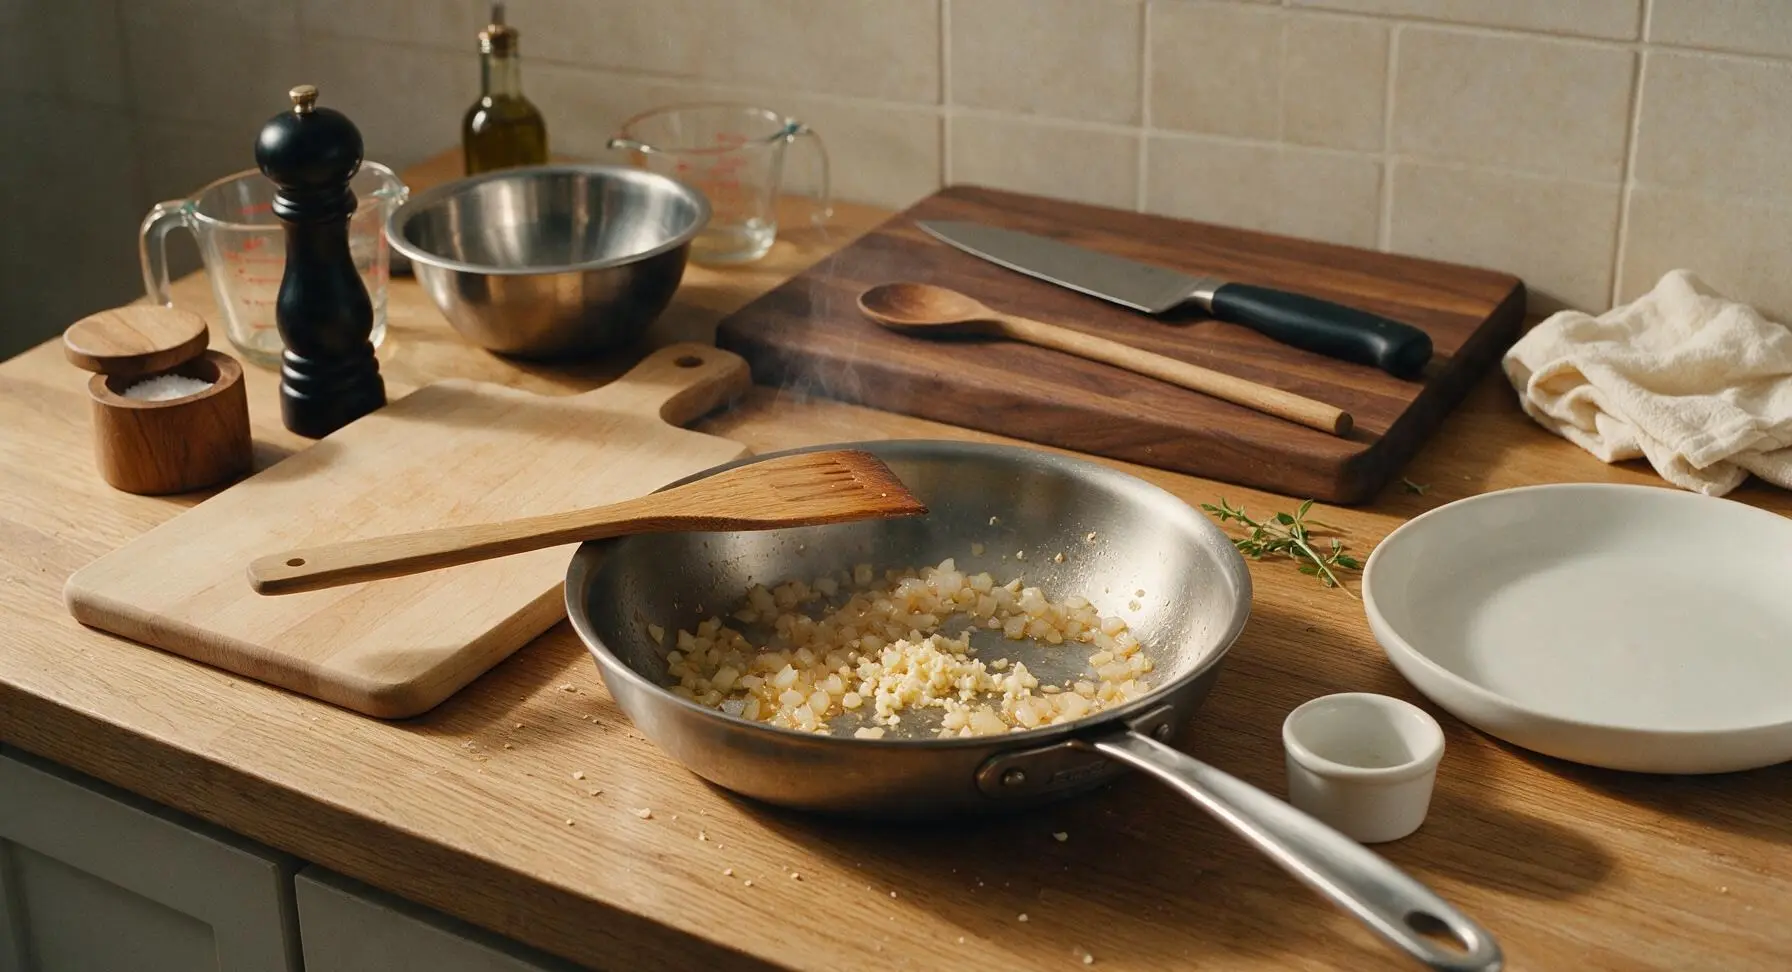
Heat 1 tablespoon olive oil in the 10-inch stainless steel skillet over medium heat (350°F/175°C). Add the 1/2 cup diced yellow onion and cook for 3 minutes until soft and translucent, stirring occasionally with the honey oak wooden turner. Add the 2 minced garlic cloves and cook for 30 seconds more until fragrant, taking care not to burn the garlic which will turn bitter. Season with 1/4 teaspoon kosher salt.
Step 1
step1:Sauté onion and garlic
2

Simmer spiced beans

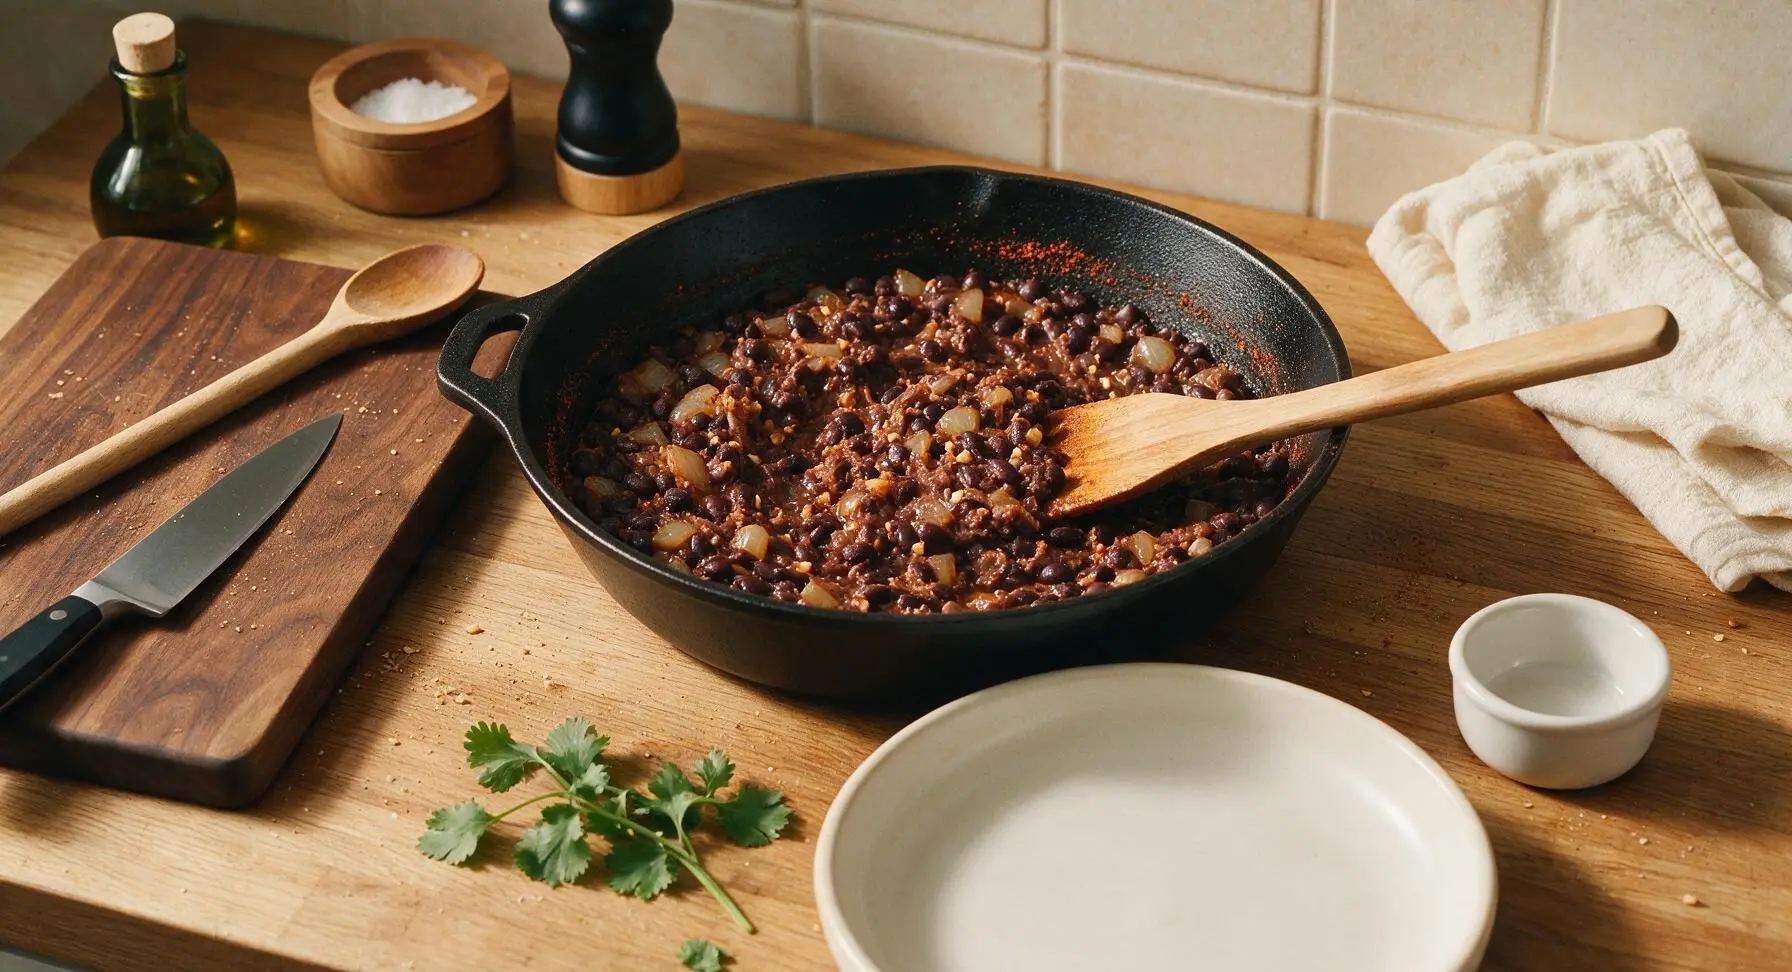
Add the rinsed, drained 15oz can of black beans and 2 tablespoons taco seasoning to the skillet with the onion and garlic. Stir to coat evenly, then reduce heat to medium-low and simmer for 5 minutes, mashing roughly 1/3 of the beans with the back of the wooden turner to create a creamy, thick filling. Season with remaining 1/4 teaspoon kosher salt and 1/4 teaspoon black pepper. The filling should hold its shape when stirred, not be runny.
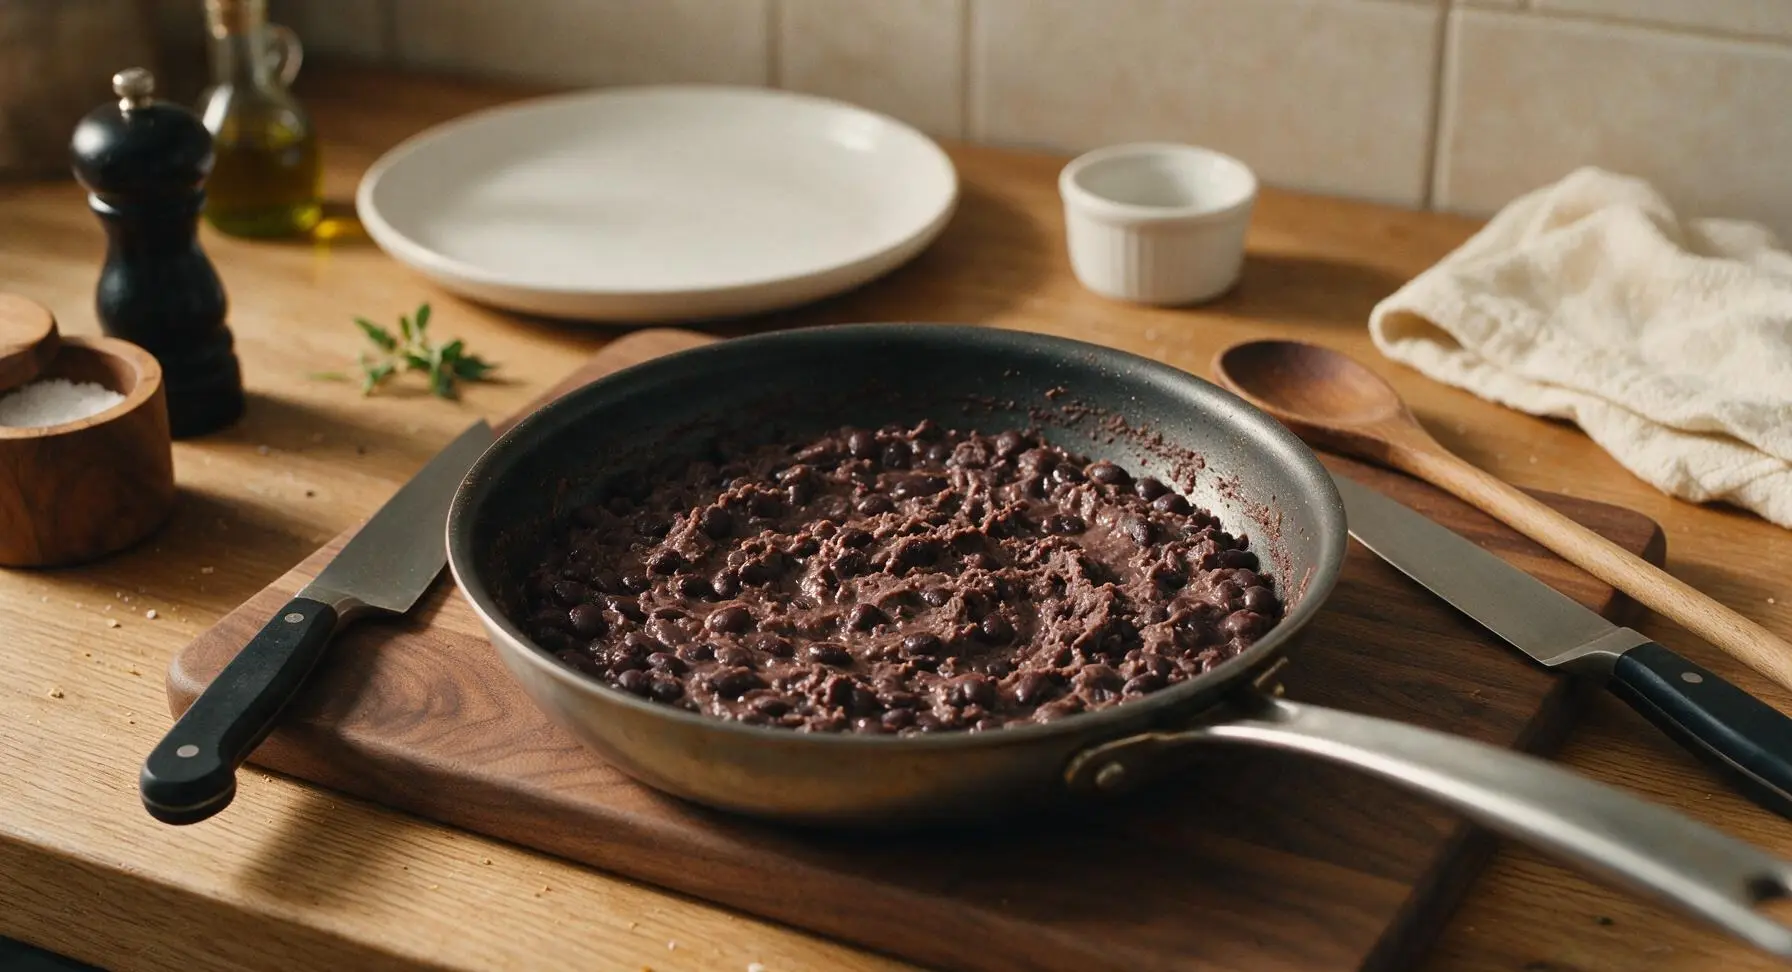
Step 2
step2:Simmer spiced beans
Step 2
step2:Simmer spiced beans
3

Warm flour tortillas

Remove the bean filling from the skillet and set it aside in the medium stainless steel mixing bowl. Wipe the skillet clean with a corner of the linen towel, then return to medium heat. Warm each 10-inch flour tortilla for 20 seconds per side until soft and pliable, with faint light brown toasting spots. Stack warmed tortillas on a clean section of the cutting board and cover loosely with a corner of the linen towel to keep them soft while you assemble.
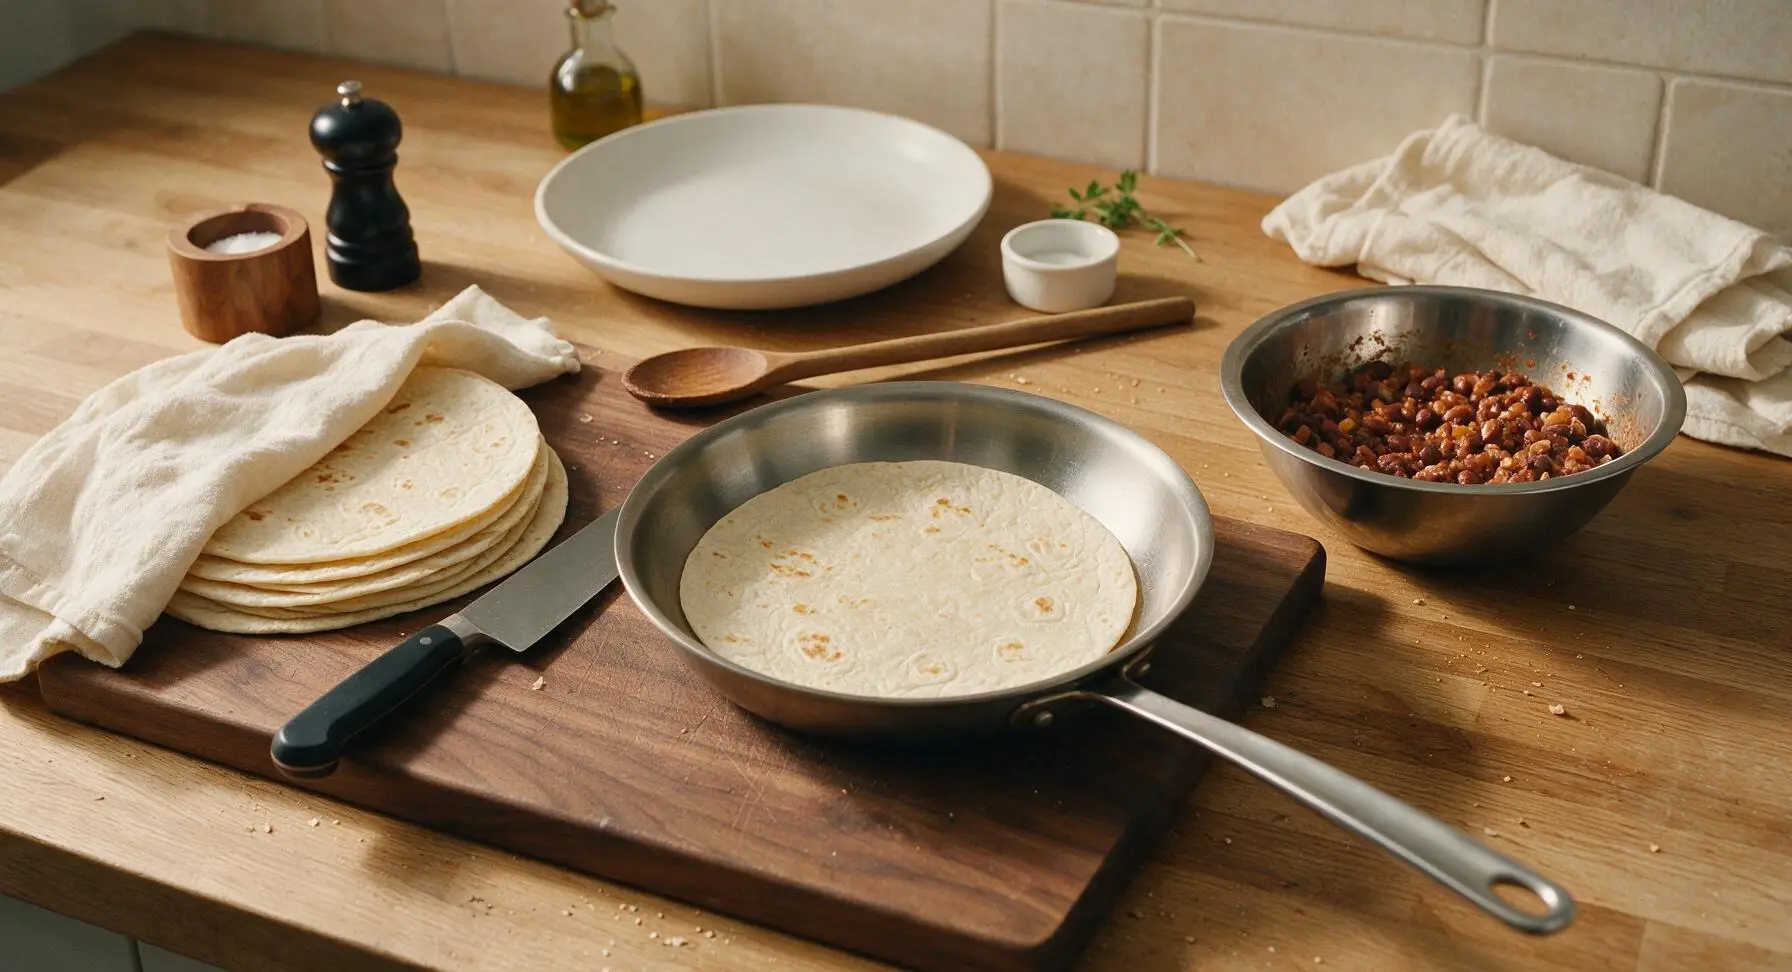
Step 3
step3:Warm flour tortillas
4

Layer burrito fillings

Lay one warmed tortilla flat on the light maple cutting board. Add 1/2 cup cooked white rice in a narrow horizontal line across the center of the tortilla, leaving a 2-inch border on the left and right edges. Top the rice with 1/3 cup of the spiced bean filling, 1/4 cup shredded cheddar cheese, and 2 tablespoons diced Roma tomato. Sprinkle with a pinch of chopped cilantro and a tiny squeeze of fresh lime juice. Do not overfill, as this will cause the burrito to burst when rolling.
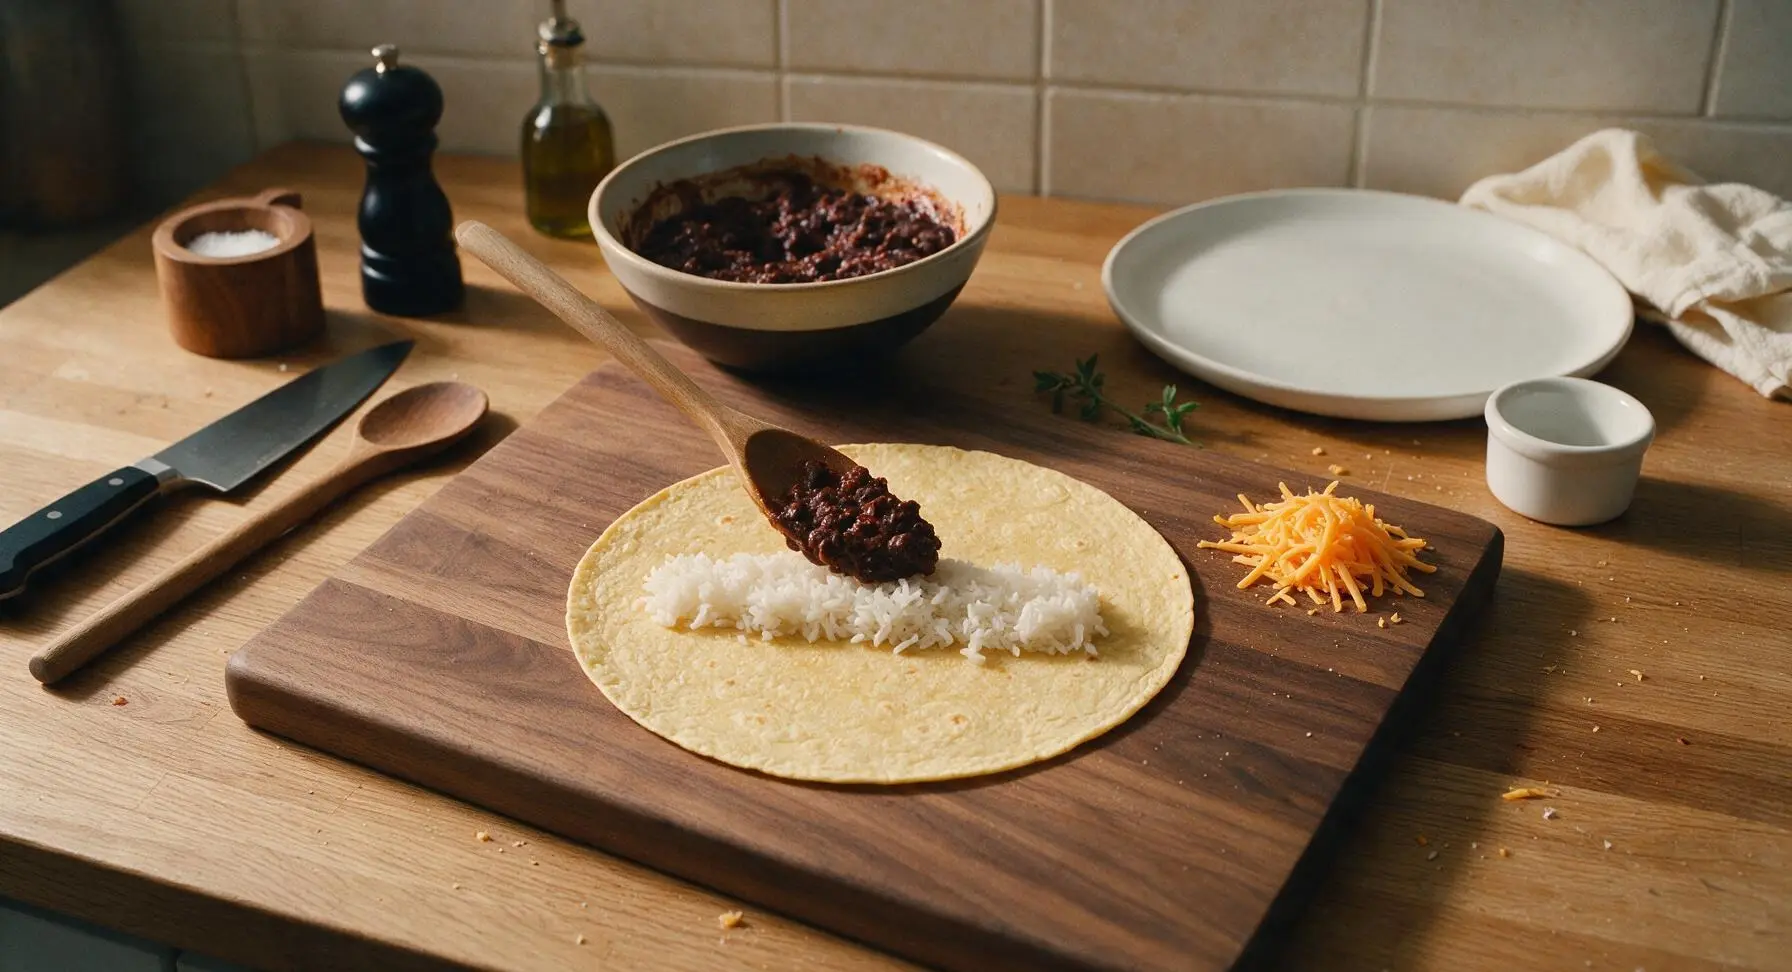
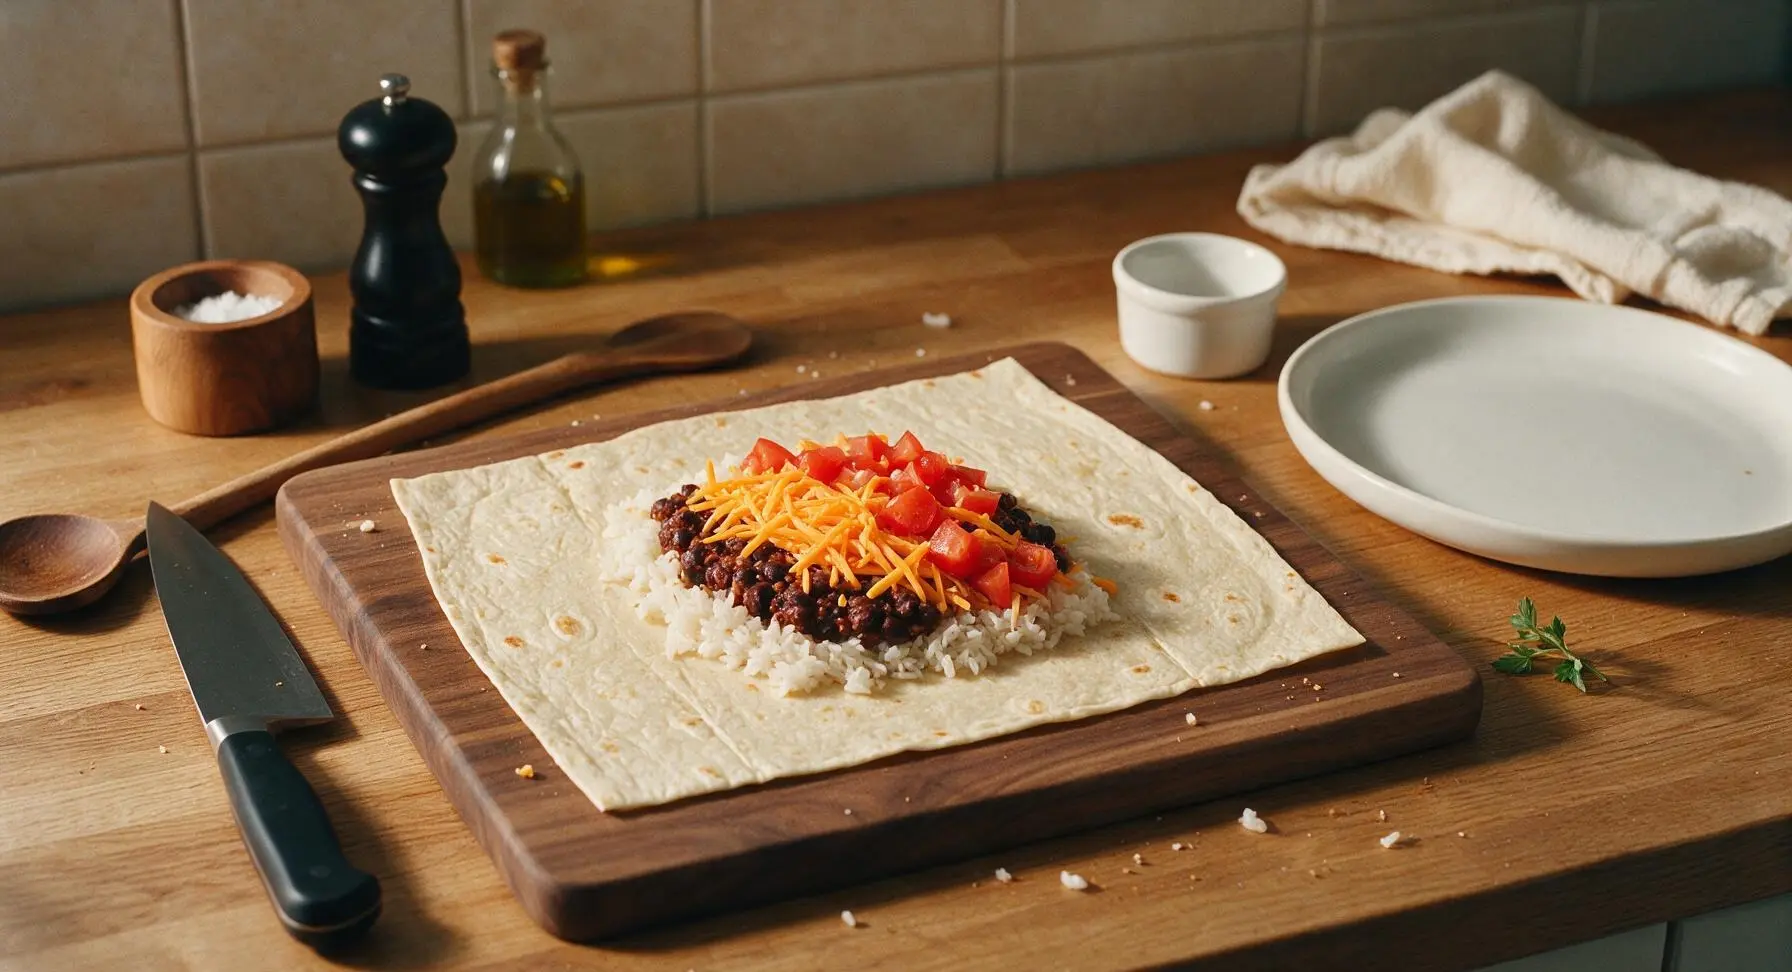
Step 4
step4:Layer burrito fillings
Step 4
step4:Layer burrito fillings
5

Roll burritos tightly

Fold the left and right edges of the tortilla in over the ends of the filling line. Tuck the bottom edge of the tortilla (the edge closest to you) tightly over the fillings, pressing gently to compact the ingredients, then roll the burrito away from you in one smooth, tight motion to form a sealed cylinder. Place the burrito seam-side down to hold its shape while you repeat the process with the remaining 3 tortillas and fillings.
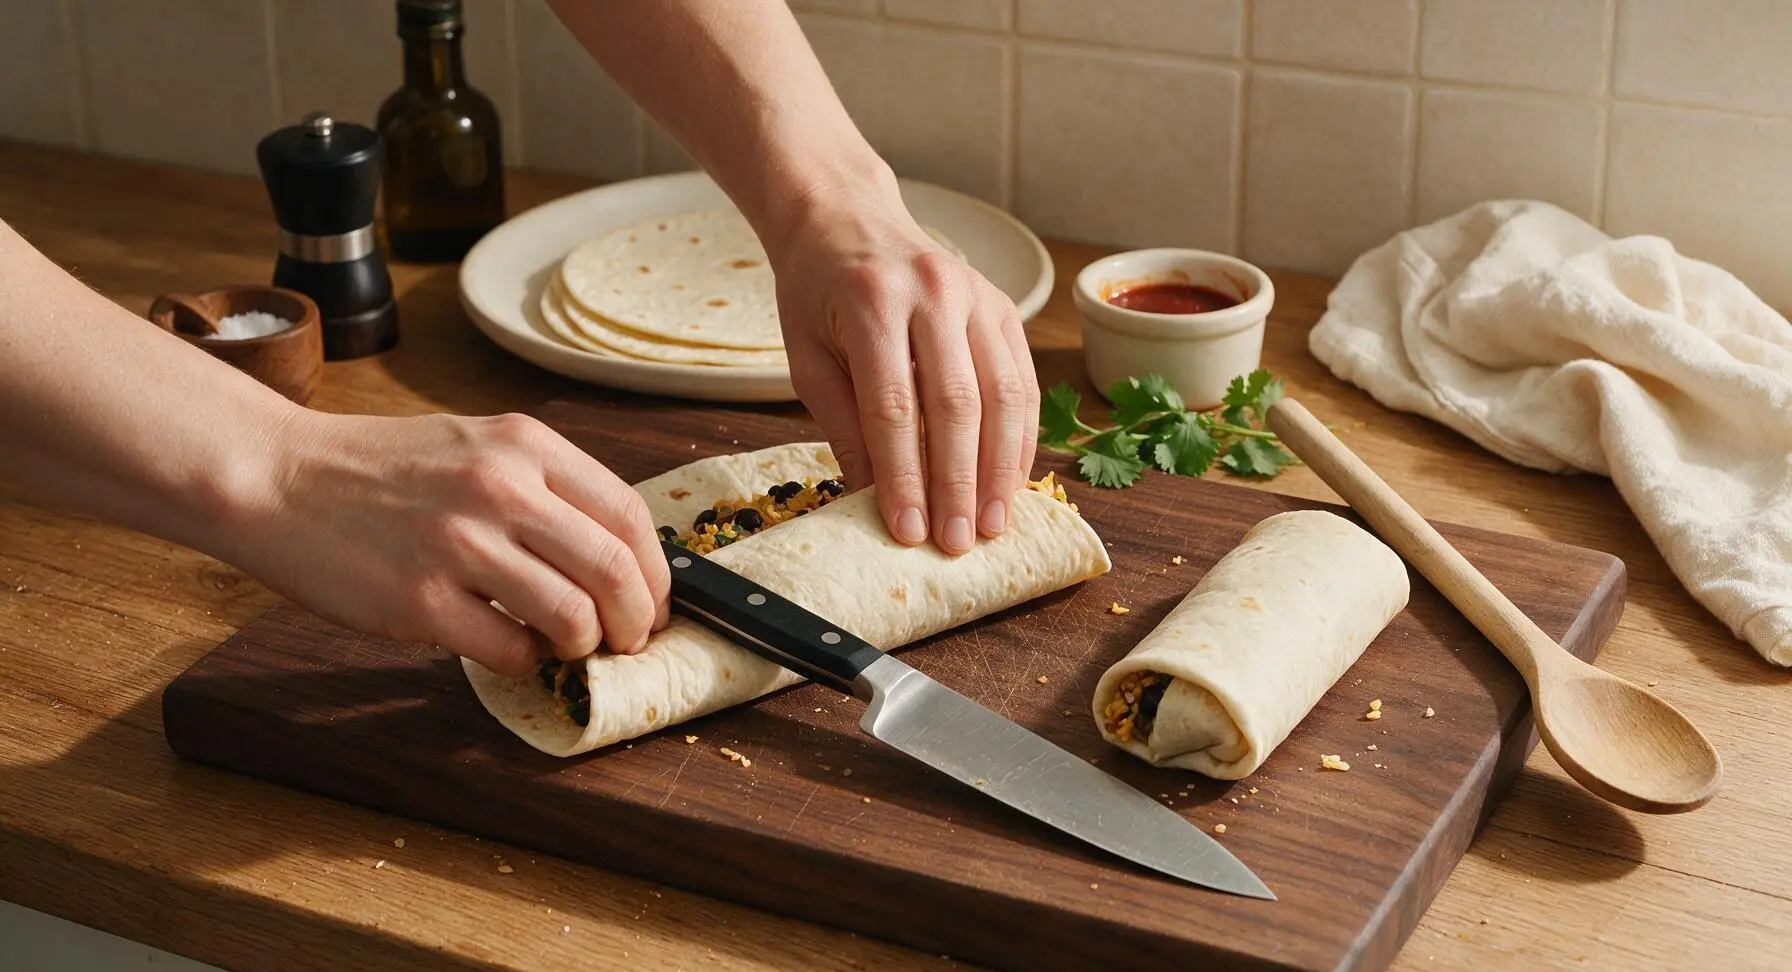
Step 5
step5:Roll burritos tightly
6

Toast burrito seams

Return the rolled burritos to the stainless steel skillet over medium-low heat, seam-side down. Cook for 1 minute per side, turning gently with the silicone-tipped metal tongs, until the tortilla is crisp and golden brown on all sides and the cheddar cheese inside is fully melted. The sealed seam will be set and will not unroll when moved.
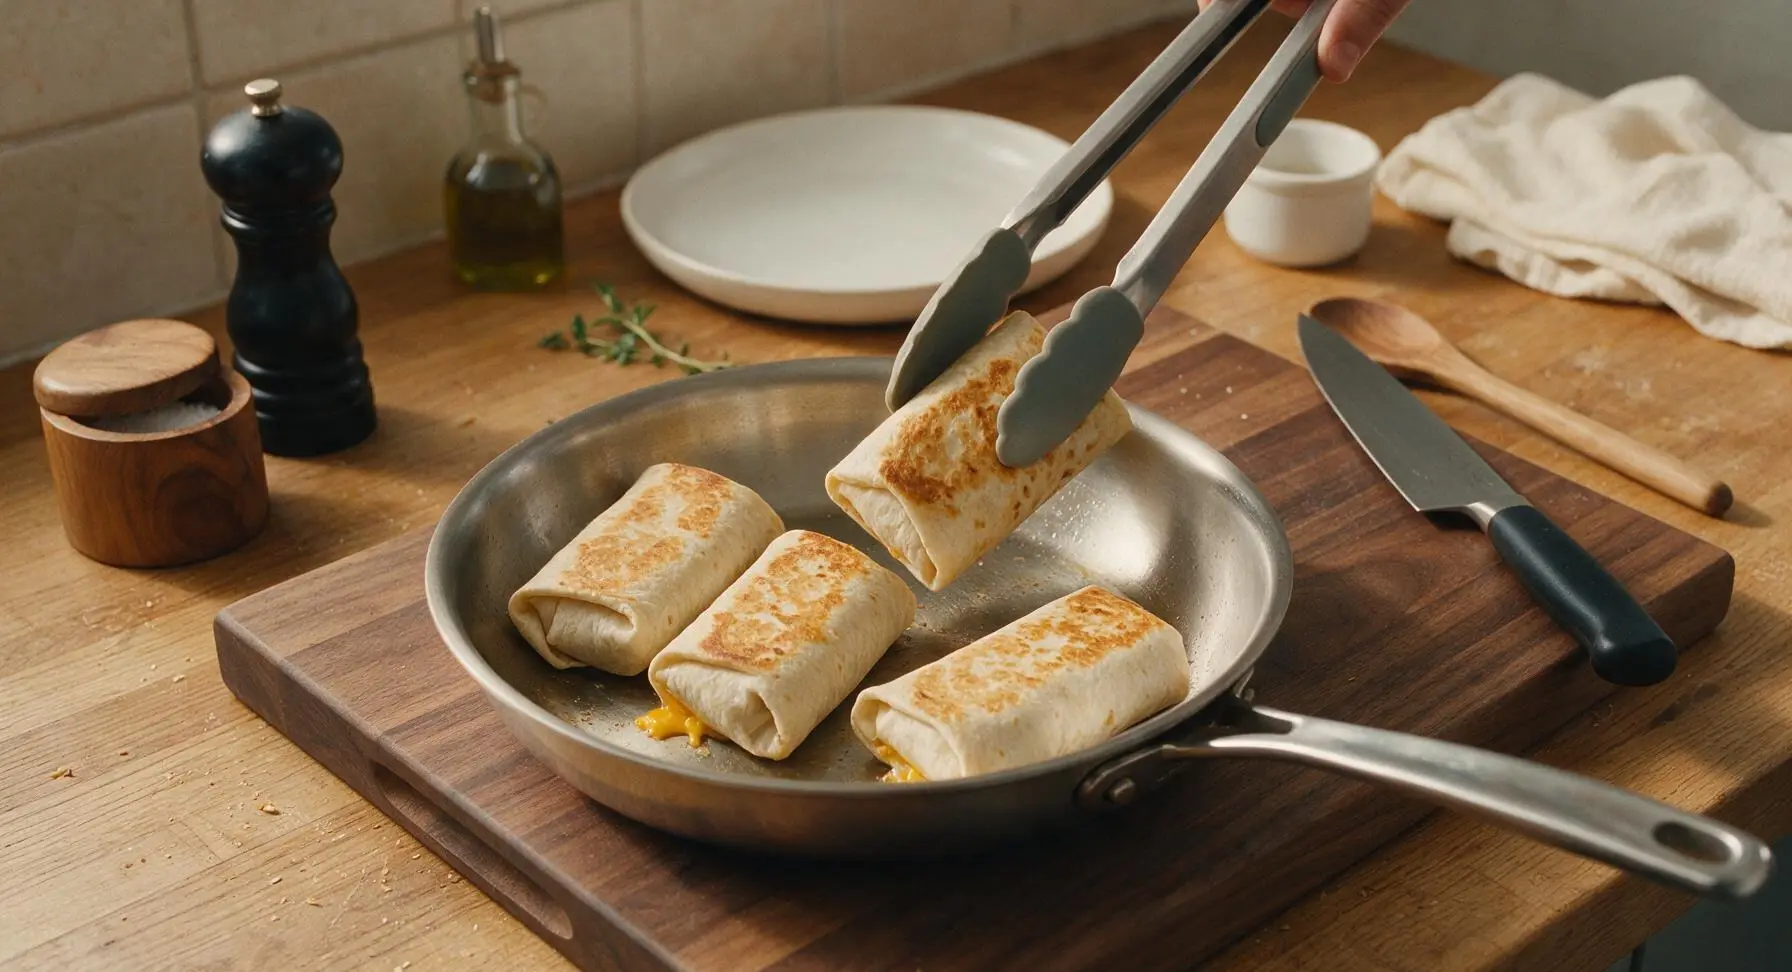
Step 6
step6:Toast burrito seams
7

Plate and serve

Transfer the toasted burritos to the matte cream ceramic dinner plates, 1 burrito per plate. Serve with 2 tablespoons red salsa, 1 tablespoon sour cream per plate, extra lime wedges, and a sprinkle of remaining chopped cilantro. Serve immediately while warm and crisp.
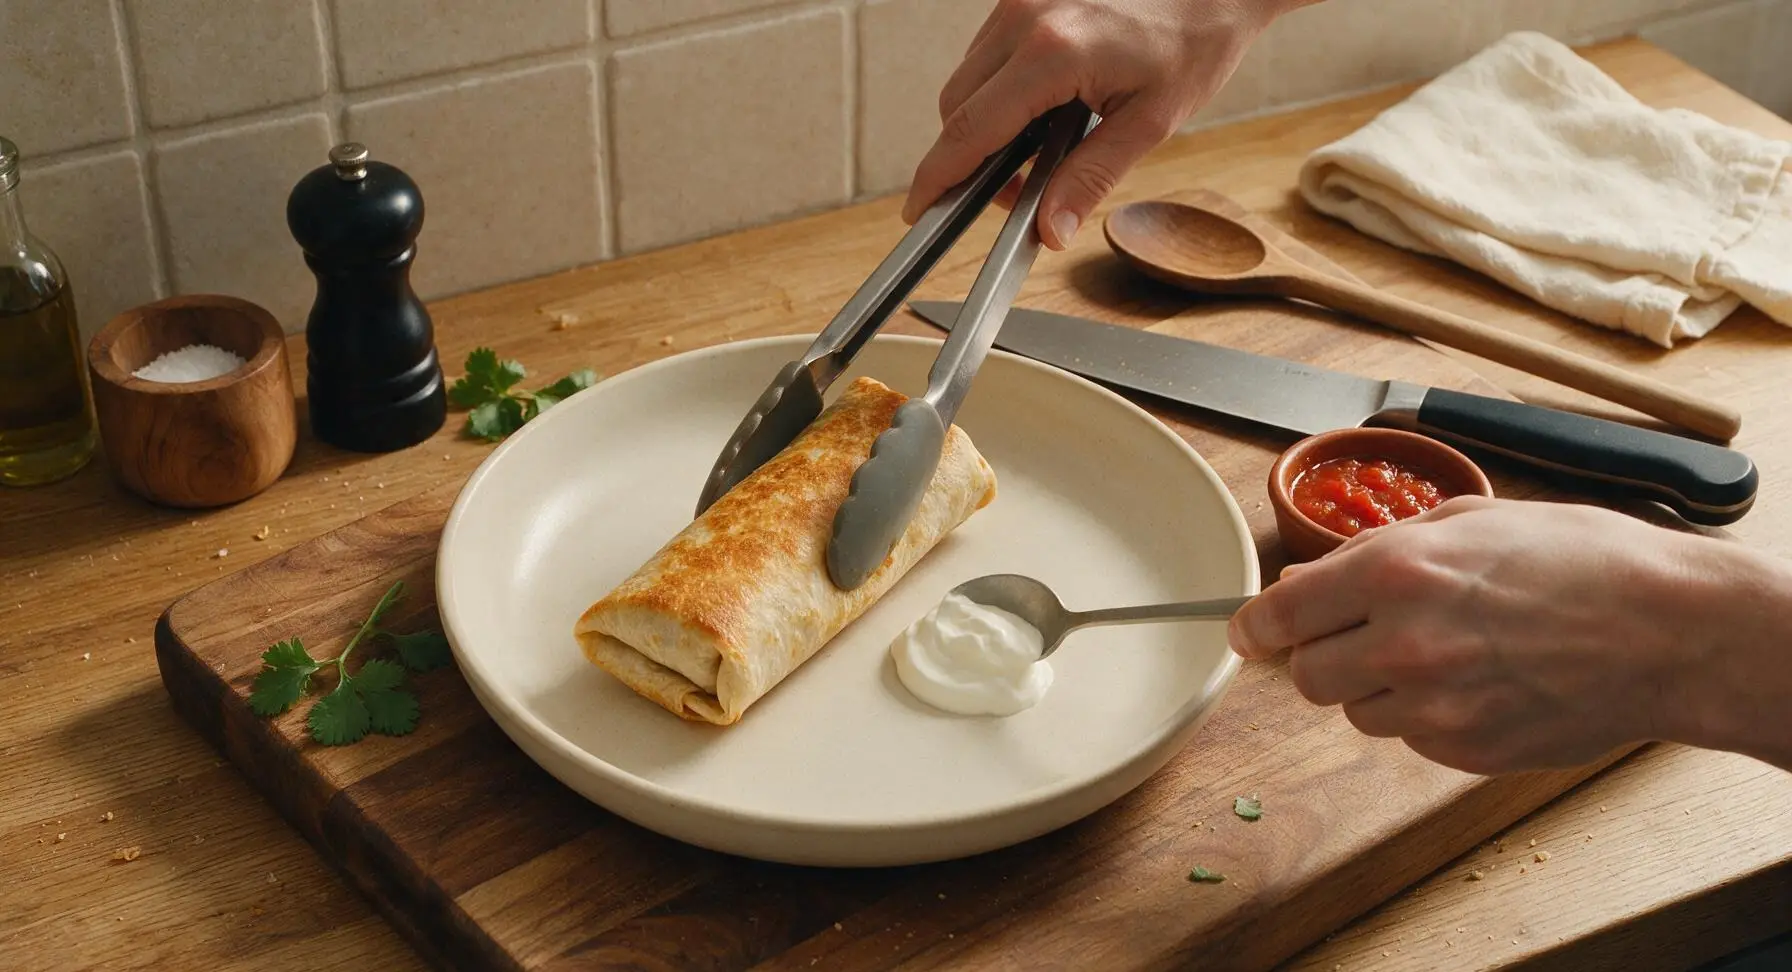
Step 7
step7:Plate and serve

Tips

1.Mash roughly one-third of the black beans when making the filling: this creates a creamy, sticky base that holds loose rice and cheese in place, while leaving whole beans intact for pleasant textural contrast, rather than making a uniform mushy filling.
2.Warm tortillas for 20 seconds per side before assembling: cold, room-temperature tortillas are stiff and prone to cracking or tearing when rolled tightly, while gently warmed tortillas are pliable enough to stretch around fillings without breaking.
3.Toast assembled burritos seam-side down first: the direct heat fuses the overlapping tortilla edge to seal the burrito shut, preventing fillings from spilling out as you eat, and adds a nutty, crisp outer texture that contrasts the soft interior fillings.


✨ You May Also Like

Main Course
🍜 United Kingdom

A showstopping classic of tender seared beef, savory mushroom duxelles, and crisp prosciutto wrapped in flaky golden puff pastry, baked to juicy perfection.

⏱️ 2 hours 1Main Course ★ 4.7
Main Course
🍜 India

Tender charred marinated chicken simmered in a rich, spiced creamy tomato sauce, this iconic Anglo-Indian curry pairs perfectly with basmati rice or warm naan.

⏱️ 50 minuteMain Course ★ 4.6
Main Course
🍜 Thailand

Classic tangy, sweet, and savory Thai stir-fried rice noodles with shrimp, tofu, and crunchy garnishes, balancing all five core Thai flavor profiles.

⏱️ 30 minuteMain Course ★ 4.5
Main Course
🍜 United Kingdom

Crispy golden beer-battered cod and fluffy double-fried chips, served with tangy tartar sauce and malt vinegar: the timeless, beloved British pub comfort classic.

⏱️ 45 minuteMain Course ★ 4.7
Main Course
🍜 Mexico

Smoky, chile-marinated pork tacos with caramelized pineapple, fresh cilantro, and lime: a beloved classic Mexican street food perfect for casual summer gatherings.

⏱️ 1 hour 45Main Course ★ 4.8
Main Course
🍜 United States

Crunchy Fritos corn chips layered with savory beef chili and melted cheddar, topped with cool, zesty fixings for a beloved, cozy Tex-Mex comfort food.

⏱️ 35 minuteMain Course ★ 4.8

bean and rice burrito:Frequently Asked Questions

1.Can I swap long-grain white rice for brown rice in these burritos? ▾
Absolutely! Brown rice works great, just budget 10–15 extra minutes of cook time to get it tender, since it has a tough outer bran layer. Toss the cooked brown rice with a pinch of cumin and a squeeze of fresh lime to amp up that Tex-Mex flavor so it pairs perfectly with the spiced black beans.
2.Why do I need to rinse and drain canned black beans before using them? ▾
Great question! Rinsing washes away the starchy, salty canning liquid that can make your burrito filling mushy and overly briny. It also cuts down on that faint metallic canned bean aftertaste. A quick 30-second rinse under cold running water, followed by a good shake to drain excess moisture, is all you need for best results.
3.What’s the best way to keep my burritos from getting soggy? ▾
The #1 trick is to make sure all your fillings aren’t dripping wet before rolling—pat rinsed beans dry a little, and don’t douse rice in excess sauce. I also recommend melting cheese against the warm tortilla first to create a moisture barrier between wet fillings and the tortilla, which stops sogginess fast.
4.Can I make these burritos ahead of time for weekly meal prep? ▾
Definitely! These are ideal for meal prep. Assemble fully rolled burritos without fresh, watery toppings like salsa or sour cream, wrap each tightly in plastic wrap or aluminum foil, and stash them in the fridge for up to 4 days. Reheat in a dry skillet or microwave when ready to eat, then add cold toppings last.
5.How do I roll a burrito so filling doesn’t fall out while I’m eating? ▾
It’s easier than you think! Warm your 10-inch tortilla for 10 seconds in the microwave or on a dry skillet first so it’s flexible, then pile fillings in a tight line down the center, away from the edges. Fold the short left and right ends in over the filling, tuck the long bottom edge tight, and roll firmly all the way up to seal.
6.Can I use a different type of cheese instead of sharp cheddar? ▾
Of course! Sharp cheddar adds that classic tangy, melty bite, but you can swap it for pepper jack for a little spicy kick, Monterey Jack for a milder, ultra-gooey texture, or even crumbled queso fresco for a brighter, saltier finish. Shredding your own cheese instead of using pre-shredded gives the smoothest melt, too.
7.Do I have to cook the diced yellow onion before adding it to the filling? ▾
I highly recommend sautéing diced yellow onion for 3–4 minutes over medium heat until it’s soft and slightly translucent before mixing it with the beans. Raw onion has a really sharp, harsh bite that can overpower other fillings, and cooking it brings out its natural sweetness that pairs perfectly with spiced beans and rice.
8.Can I freeze these bean and rice burritos for quick future meals? ▾
These burritos freeze beautifully for up to 3 months! Assemble and roll them tightly, skip any fresh watery toppings, wrap each individually in foil, and stash them in a labeled freezer bag. When ready to eat, reheat straight from frozen in a 375°F oven for 25–30 minutes, or unwrap and microwave for 2–3 minutes.
9.What simple swaps make these burritos fully vegan? ▾
It’s super simple to make these fully vegan! Just swap the shredded sharp cheddar for your favorite plant-based cheddar or pepper jack shreds, and double-check that your 10-inch flour tortillas don’t contain lard (most store-bought options are accidentally vegan these days). Add a dash of smoked paprika to the beans for an extra savoriness boost, too.
10.What fresh toppings pair best with these bean and rice burritos? ▾
The bright fresh toppings really make these burritos sing! My go-tos are diced ripe tomato, shredded crisp iceberg lettuce, a dollop of sour cream, a spoonful of mild or spicy salsa, a squeeze of fresh lime, a few slices of creamy avocado, and a pinch of chopped cilantro if you enjoy it. Add these right before serving so they stay crisp.
11.Can I use pinto beans instead of black beans for the filling? ▾
Absolutely! Pinto beans are a classic Tex-Mex burrito filling, and they work perfectly here. Just make sure you rinse and drain them the same way you would black beans, and toss them with the same warm spices you’d use for the black bean filling. You can even do a half-and-half mix of black and pinto beans for extra texture.
12.My flour tortillas keep cracking when I roll them—what am I doing wrong? ▾
That almost always means your tortillas are too cold! Cold, straight-from-the-fridge tortillas are stiff and prone to splitting. Warm them for 10–15 seconds in the microwave wrapped in a damp paper towel, or heat them for 30 seconds per side on a dry cast-iron skillet until soft and pliable, and they’ll roll without cracking every time.
13.How should I season the beans and rice to get that classic Tex-Mex flavor? ▾
You don’t need fancy spice blends! Toss your rinsed black beans and sautéed onion with 1 teaspoon of ground cumin, ½ teaspoon of chili powder, a pinch of garlic powder, and a small pinch of salt while they warm through. Fluff your cooked long-grain rice with a squeeze of lime and pinch of salt to keep it light and flavorful, not bland.
14.Can I add extra protein to these burritos to make them more filling? ▾
Definitely! These burritos are super customizable. You can toss in seasoned ground beef or turkey, shredded rotisserie chicken, scrambled eggs for a breakfast twist, or even extra-firm sautéed tofu if you want a plant-based protein boost. Just make sure any added protein isn’t dripping excess grease or moisture to avoid soggy tortillas.
15.How many burritos does the base recipe yield? ▾
With standard, satisfying portions—about ¼ cup cooked long-grain rice, ⅓ cup seasoned black beans, 2 tablespoons shredded cheddar, and a spoonful of sautéed onion per 10-inch tortilla—this base recipe makes 6 hearty burritos, perfect for feeding a small family or prepping a week of quick, budget-friendly lunches.
16.What’s the best way to reheat leftover burritos so the tortilla doesn’t get tough or chewy? ▾
For refrigerated leftovers, reheat them in a dry skillet over medium-low heat for 3–4 minutes per side, pressing gently with a spatula, to get a slightly crisp tortilla and warm, melty filling. If you’re short on time, microwave for 60 seconds, then finish in the skillet for 1 minute per side to avoid rubbery, chewy tortillas.

Comments (18)

2 days ago

OMG this was such a game changer for our weekly Taco Tuesday! I’ve been overcomplicating burritos for years, but 15 minutes total cook time? Are you kidding? My 3 kids devoured every bite, even my picky 7 year old who usually picks out beans asked for seconds. 10/10 will be adding this to our regular meal prep rotation too!

yesterday

Wait did you add any extra cheese? I’m thinking of throwing some shredded cheddar in mine tonight!

yesterday

So glad your family loved it! Shredded cheddar, a dollop of sour cream, or even a little pickled jalapeño makes a perfect add-in if you want to mix it up!

3 days ago

As someone who’s surviving on a dorm meal plan budget and barely has a working microwave, this was SO easy to throw together. Used canned black beans, leftover microwave rice, wrapped it in a tortilla and I had lunch for 3 days straight. Way cheaper than the campus burrito stand that charges $12 a pop.

2 days ago

That’s the best kind of hack! Canned beans and leftover rice work perfectly here—so glad this fits your college budget, saves so much time and money!

1 week ago

Made these for our neighborhood potluck last weekend and people were asking me for the recipe left and right! I added a little smoked paprika to the bean mix for extra depth, and it slapped. Super easy to make a big batch for a crowd too, no stress.

yesterday

I swapped the white rice for cilantro lime brown rice and used pinto beans instead of black, and it turned out amazing! My husband didn’t even notice it was meatless, he thought there was ground beef in there somehow? Wild. Perfect quick weeknight dinner when we don’t feel like putting in a ton of effort.

2 hours ago

Oh the cilantro lime rice swap is genius! I’m gonna do that next time I make these, I always have a bag of that in my freezer.

30 minutes ago

Wait, is it weird that I ate three of these in one sitting? No regrets. The seasoning blend is exactly what I was missing from my usual homemade burritos, not too salty, just the right amount of cumin and garlic. SO good.

5 minutes ago

Girl same, I ate two last night and almost went for a third, no shame. These are dangerously good.

just now

No judgment at all! We’ve definitely gone back for seconds (and thirds) when testing this recipe too, happy you’re enjoying the seasoning!

5 days ago

Got home late from work last night, had literally zero plan for dinner, threw this together in like 12 minutes flat? My kids thought I ordered takeout. Total lifesaver for those chaotic weeknights when you don’t have time to run to the grocery store.

3 days ago

That’s exactly why we love this recipe! It’s designed for those busy nights when you just need something fast, filling, and that the whole family will eat. So glad it saved your dinner!

2 weeks ago

Used gluten free tortillas and this worked perfectly! No weird texture issues, the filling is so flavorful it doesn’t even matter what kind of tortilla you use, honestly. Great option for my GF kiddo who’s been missing fast food burritos lately.

2 days ago

Made a big batch of these on Sunday, wrapped them individually in foil, and grabbed one for lunch every day this week. They heat up so well in the office microwave, no sogginess, no weird flavor after 4 days in the fridge. 10/10 for meal prep.

yesterday

Do you freeze them or just keep them in the fridge? I wanna try prepping these for next month’s busy work weeks!

5 minutes ago

Added a whole chopped habanero to the bean mix and a drizzle of hot sauce, and *chef’s kiss*. Perfect base recipe that you can customize however you want, it’s hard to mess up even if you’re a garbage cook like me lmao.

just now

A habanero? You’re braver than me! I can barely handle a dash of tapatio, but I bet that’s delicious for people who love heat.

just now

Love that spicy twist! This recipe is totally made for customizing, whether you load it up with hot peppers or keep it mild for the whole family, it works either way!

2 hours ago

Okay full transparency, I burn toast 90% of the time. This was the first thing I’ve ever made that didn’t come out charred or taste like cardboard! I’m so proud of myself lmao, my roommate said it was actually good. Easy difficulty rating is no joke.

30 minutes ago

This makes us so happy to hear! This recipe is perfect for new cooks because it’s nearly impossible to mess up, and so customizable once you get more comfortable in the kitchen. Great job making your first successful meal!

1 week ago

Made these for our church potluck last Sunday, cut them into bite sized pinwheels and they were gone in 10 minutes. People kept coming back asking if there were more, I should’ve made double the batch! Next time I will, for sure.

3 days ago

Total cost per burrito is like $1.20? You can’t beat that right now with grocery prices being insane. I bought all store brand ingredients, canned beans, cheap rice, value pack tortillas, and it tastes just as good as the $8 burrito from the place down the street.

2 days ago

Wait that’s such a good price point! I’ve been spending so much on takeout burritos lately, I need to make these this week to save some cash.

5 days ago

Threw these on the griddle for a minute after wrapping them to get the tortilla crispy, and man, that took it to a whole other level. The slight crunch on the outside, warm cheesy (I added queso) filling? Absolute perfection for game night.

3 days ago

Crispy tortilla on the griddle is such a pro move! I’m making these for our next game night watch party for sure.

2 days ago

That griddle crisp is next level! We love adding a little toast to the tortilla too, it brings out such a nice nutty flavor. Great call adding queso, that sounds incredible.

yesterday

My 10 year old only eats like 5 foods, and burritos are one of them, but he’s never liked the ones I make at home until now! He said this tastes “exactly like the school lunch burrito” which is the highest compliment he can give apparently. Win for mom.

2 hours ago

That’s the highest compliment there is! So glad this passed the kid taste test, nothing beats a recipe that even the pickiest eaters will get excited about.

2 weeks ago

Used vegan refried beans, skipped the cheese, and added some corn and avocado, and this was such a solid vegan burrito! Super filling, didn’t feel like I was missing anything at all. Great base recipe for plant based eaters too.

2 days ago

Used leftover taco meat from the night before, mixed it in with the beans and rice, and wow, that was the best leftover hack ever. Turned yesterday’s taco night into today’s burrito lunch, zero food waste, zero extra work. Obsessed.

1 week ago

I’ve tried so many bean and rice burrito recipes online and this one is by far the best. No weird fancy ingredients, no 45 minute cook time, just straight up good, classic burrito flavor. Reminds me of the ones my abuela used to make when I was a kid, just simpler.

5 days ago

Wait that’s such a sweet compliment! I’m always chasing that childhood burrito flavor too, I can’t wait to try this recipe this weekend.

3 days ago

That means the world to us! We wanted this recipe to feel like that comforting, familiar classic you grew up with, without all the extra work. So glad it hit that note for you!

just now

These are the perfect post-workout meal! So much protein from the beans, carbs from the rice, I don’t feel bloated after eating like I do when I get a fast food burrito on the way home from the gym. Added a little Greek yogurt instead of sour cream for extra protein, chef’s kiss.

just now

The Greek yogurt swap is genius! I never think to use that instead of sour cream, that’s gonna add so much extra protein without the weird tang I thought it would have?

just now

Great call with the Greek yogurt swap! It adds that same creamy texture as sour cream with way more protein, perfect for post-workout fuel. So glad this fits your routine!



